
TRYX Panorama SE - Open Air PC Brutalist Nature

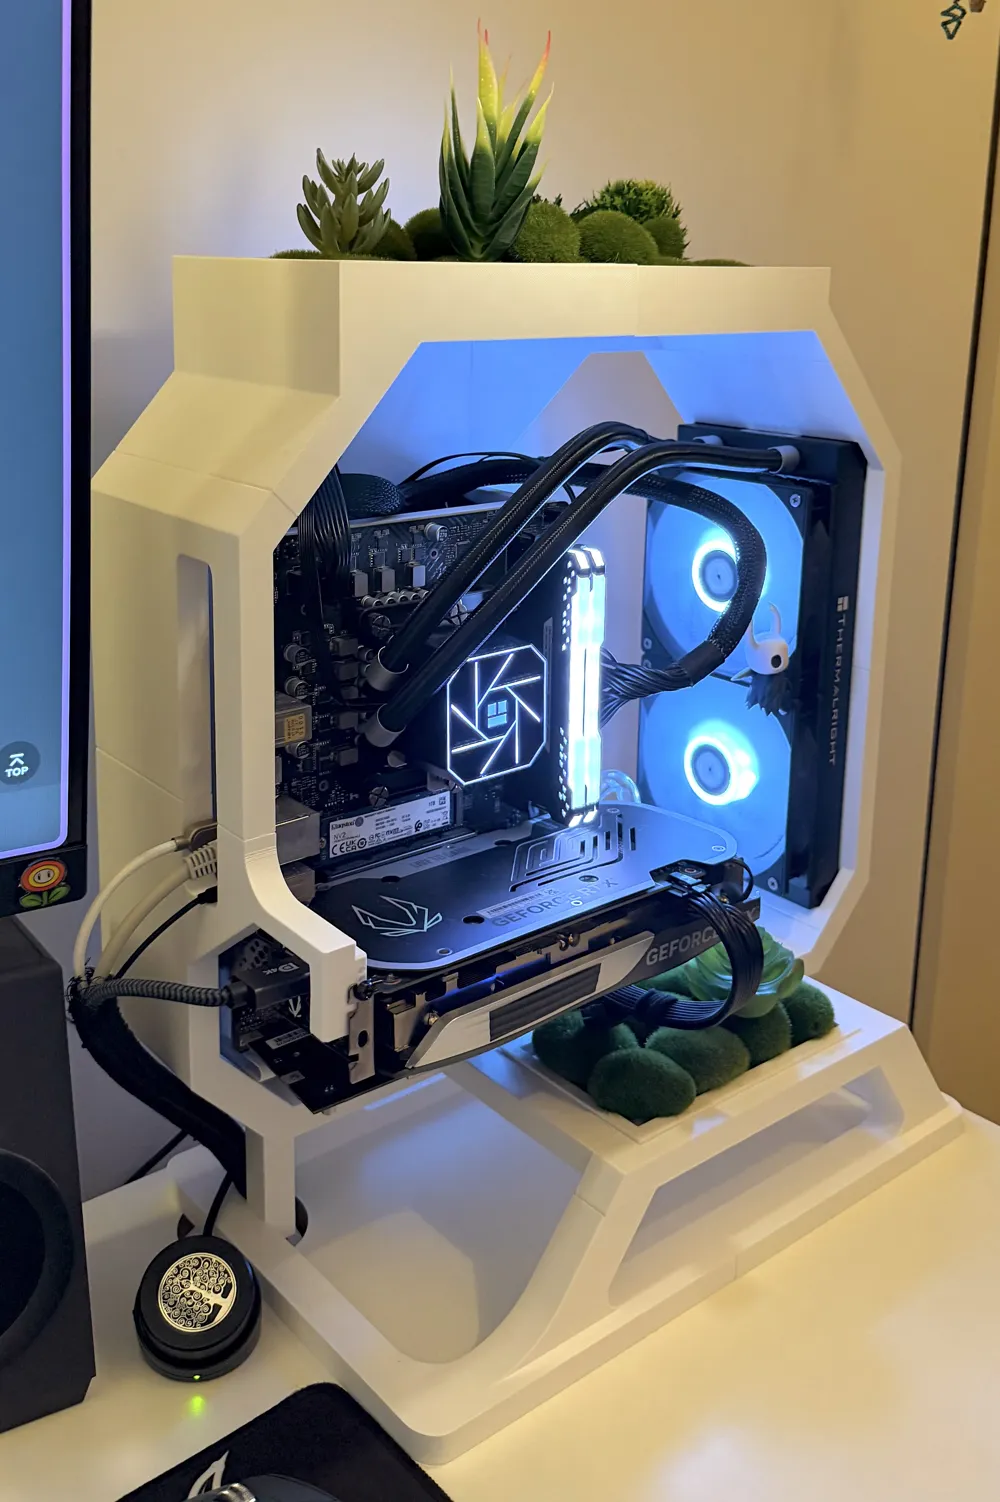
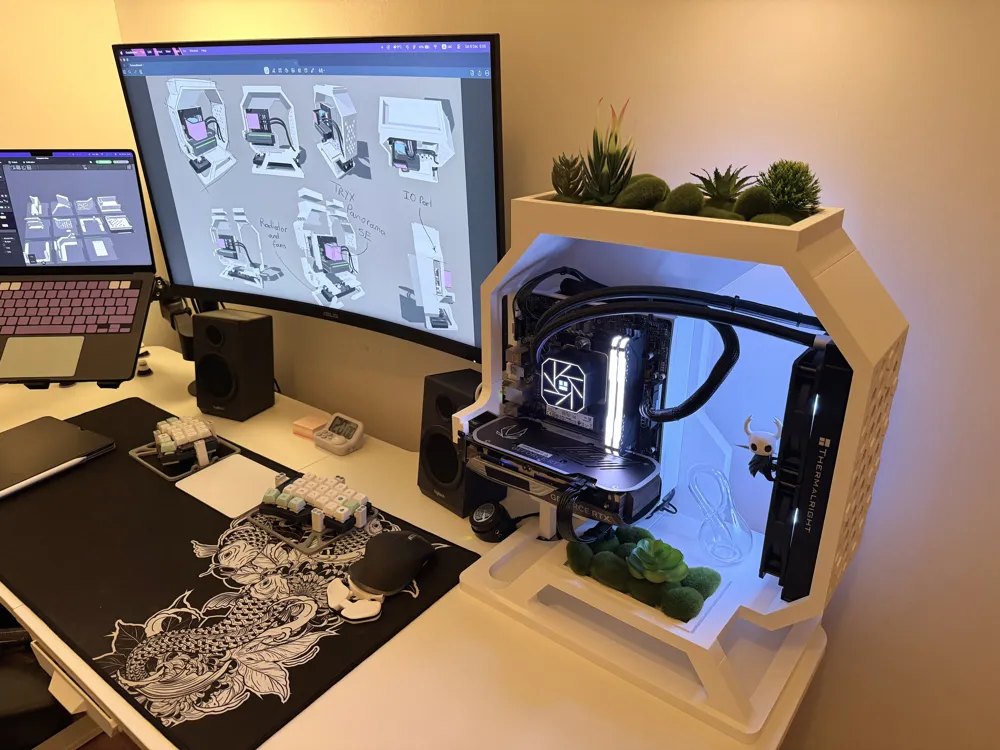
Print Profile(8)


Description
(Please read at the bottom of the description the printing profile specifications before printing!)
(Please also read the new ITX Profiles Disclaimer at the bottom)
A bit of Background:
I'd been waiting a while for a contest that genuinely excited me and made me want to participate in. When I saw this one, I immediately set aside everything and got started on designing this instead of studying for my exams...
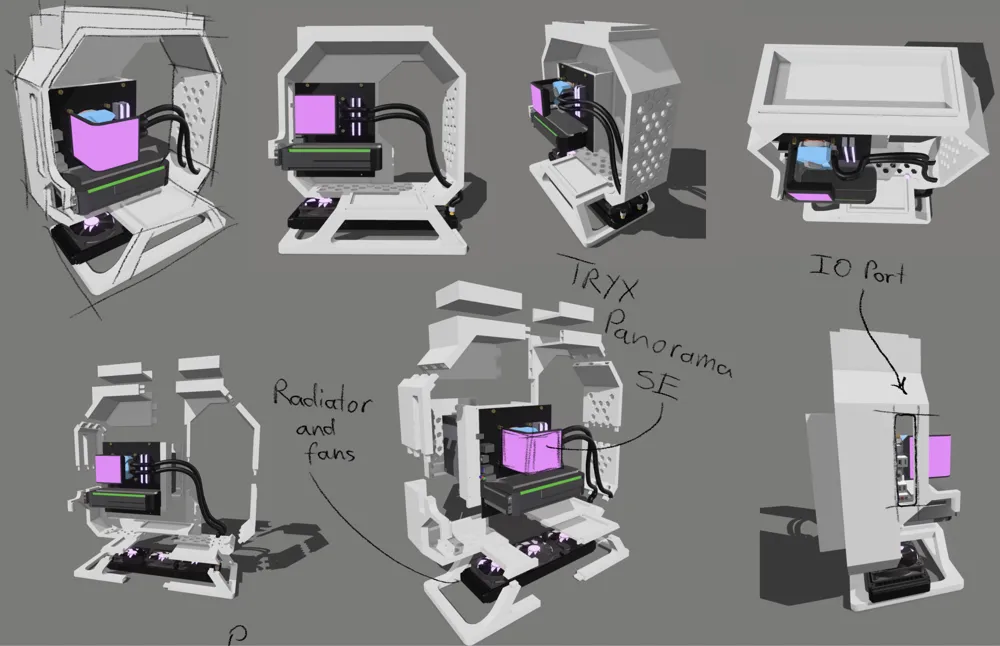
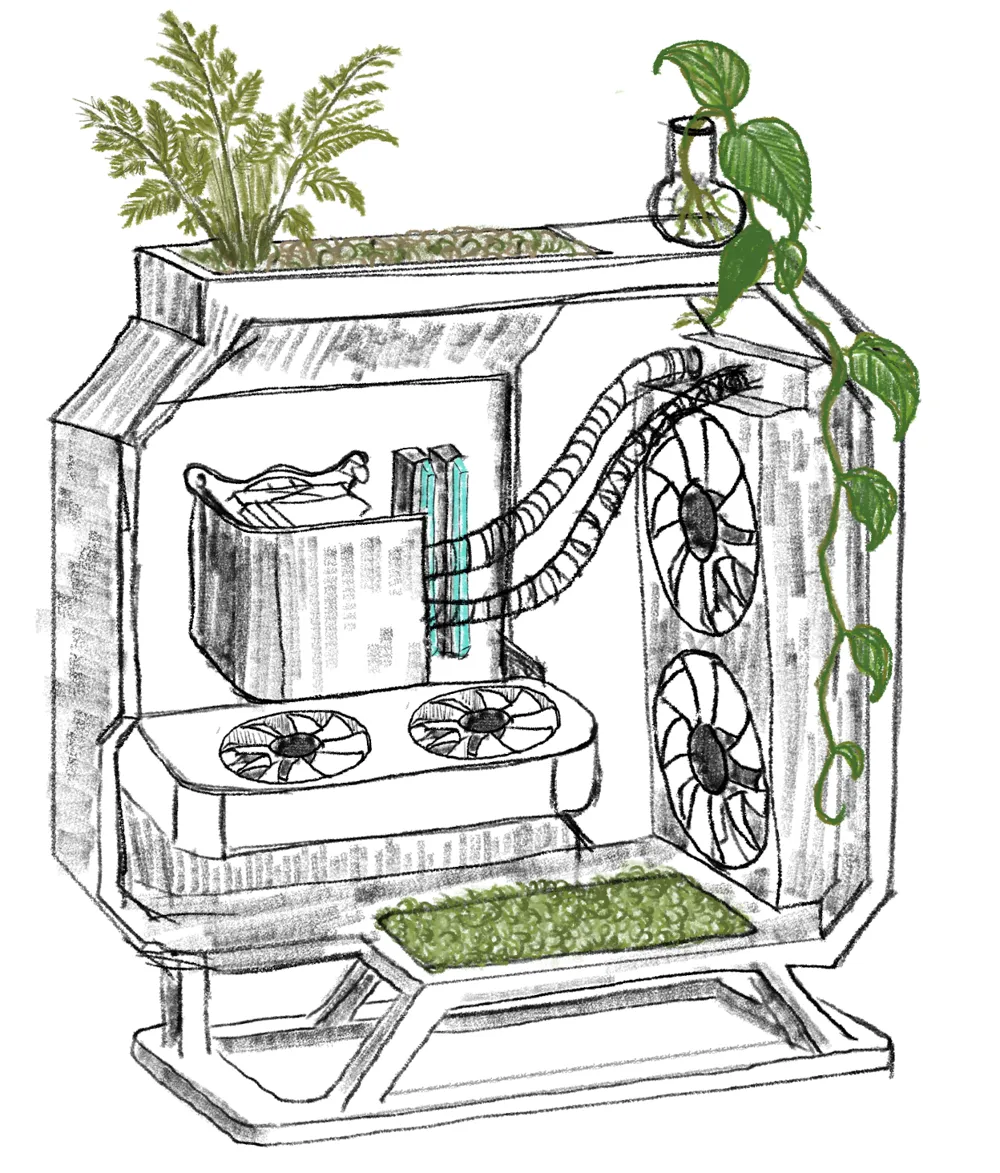
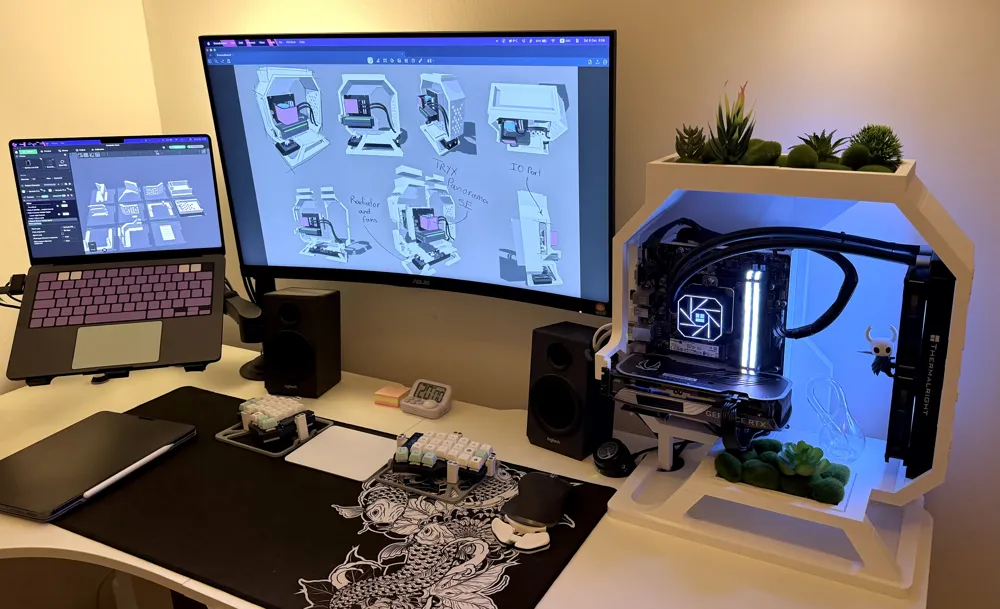
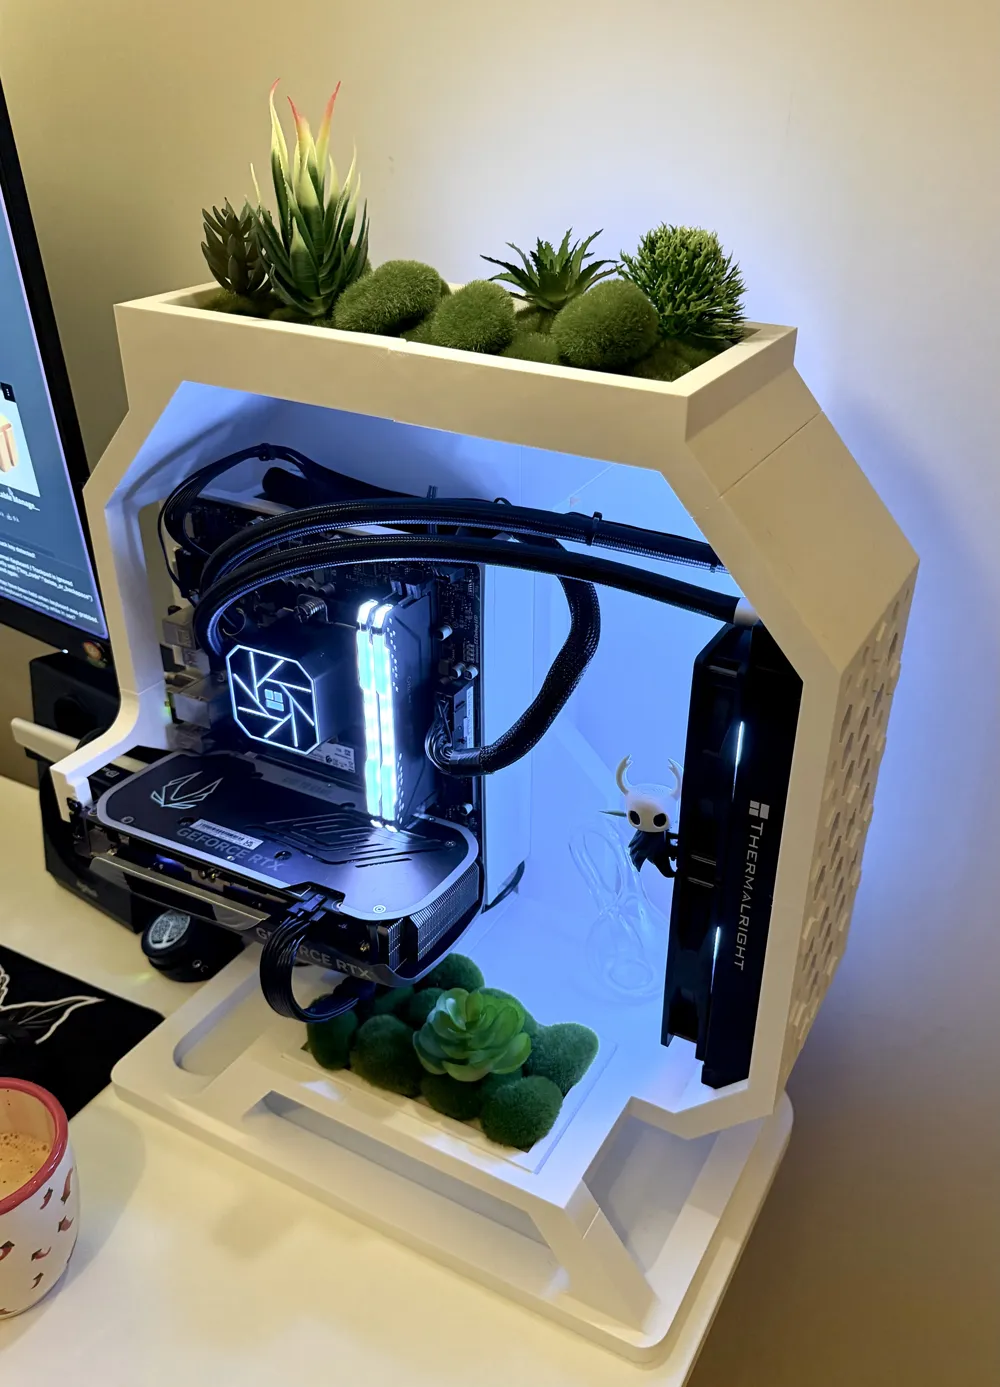
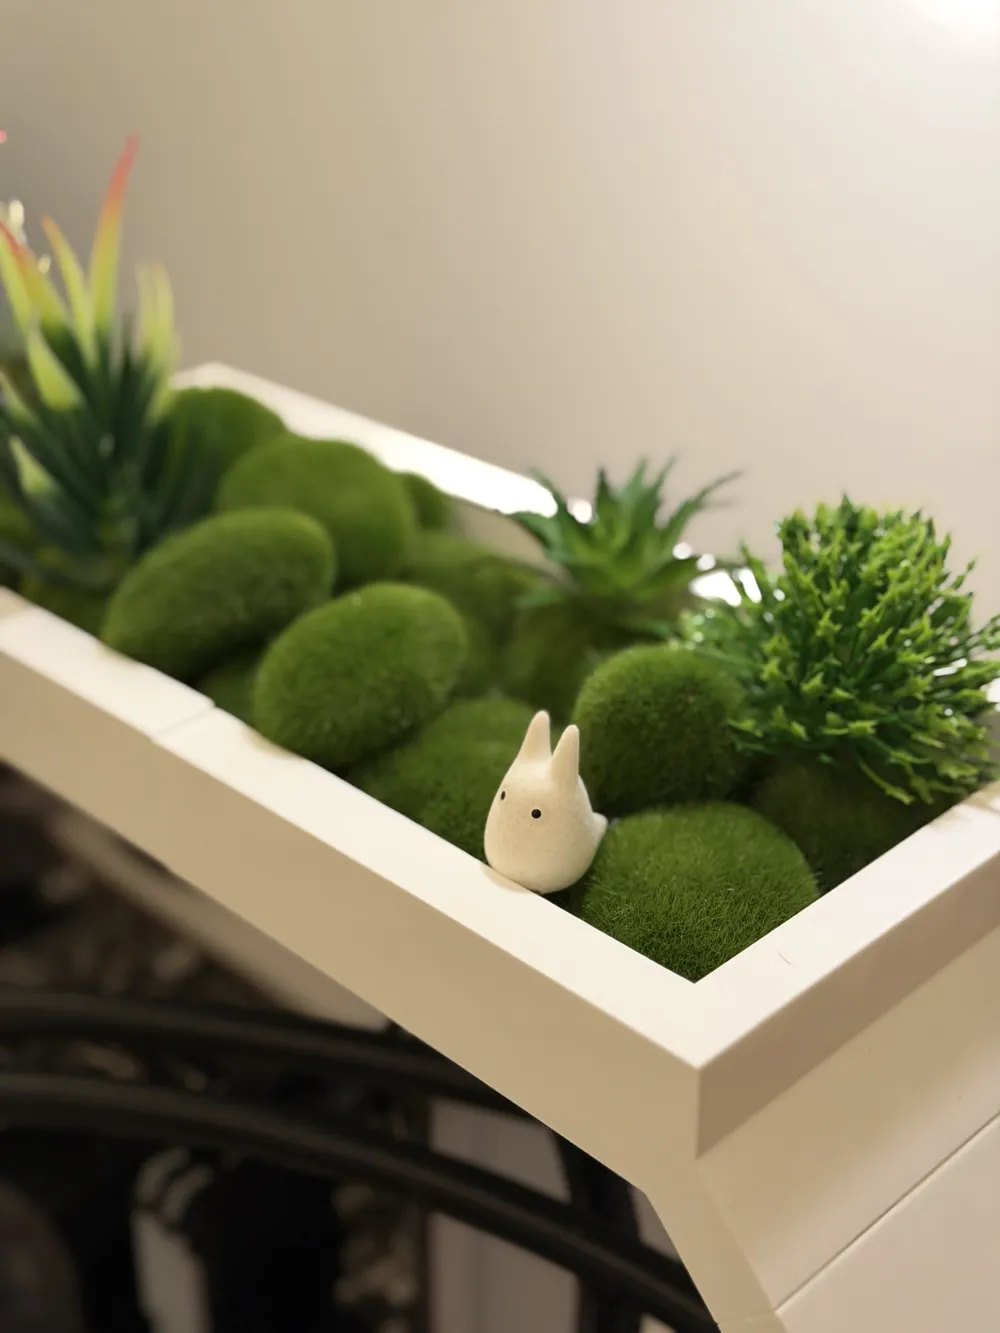
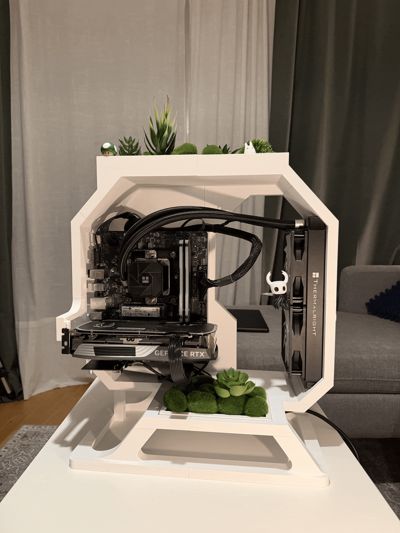
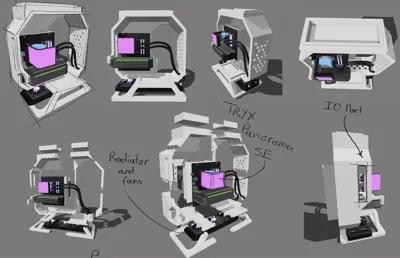
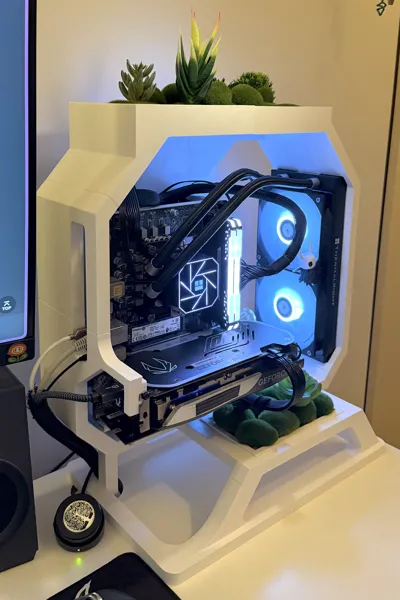
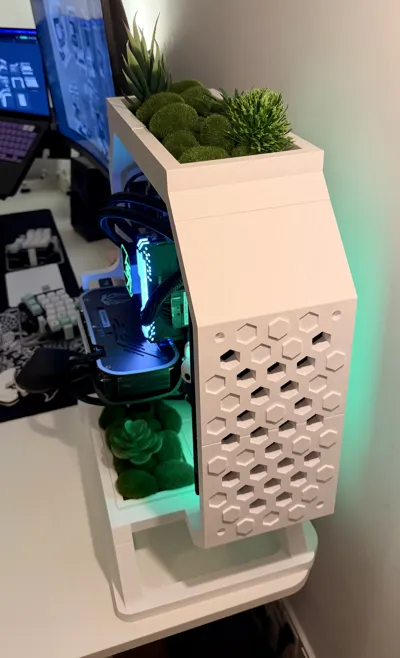
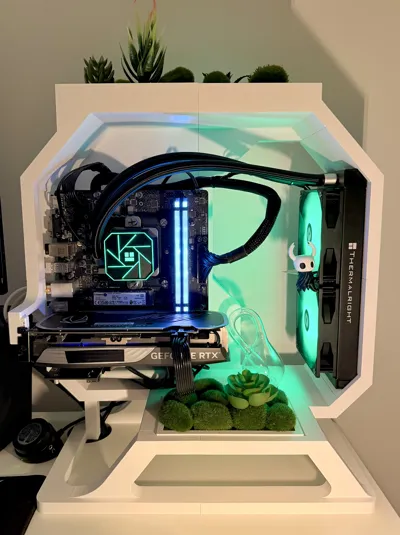
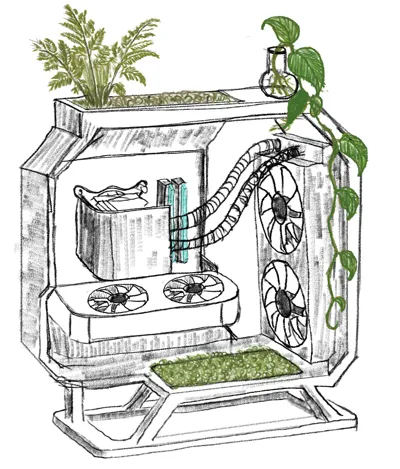
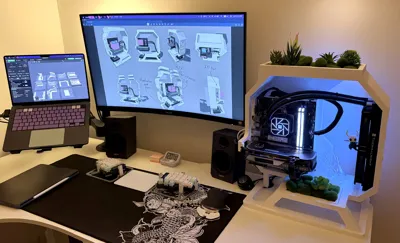
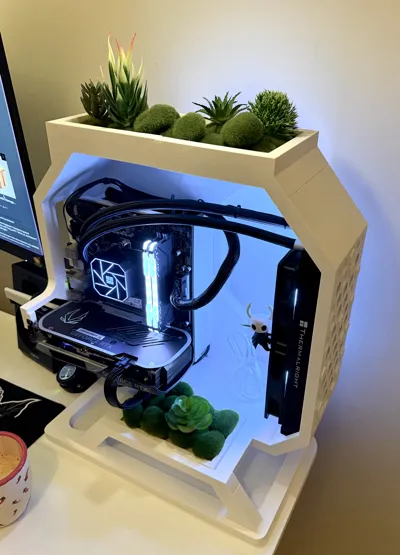
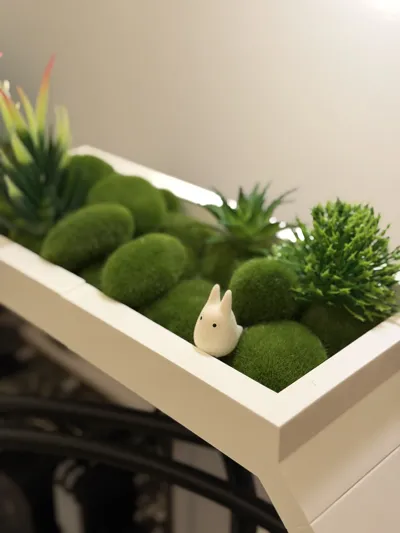
I've always liked the combination of minimalist, modern brutalist architecture softened by lots of plants so I built my design around that concept. The sketch shown in picture eight was my starting point.
Contest Information:
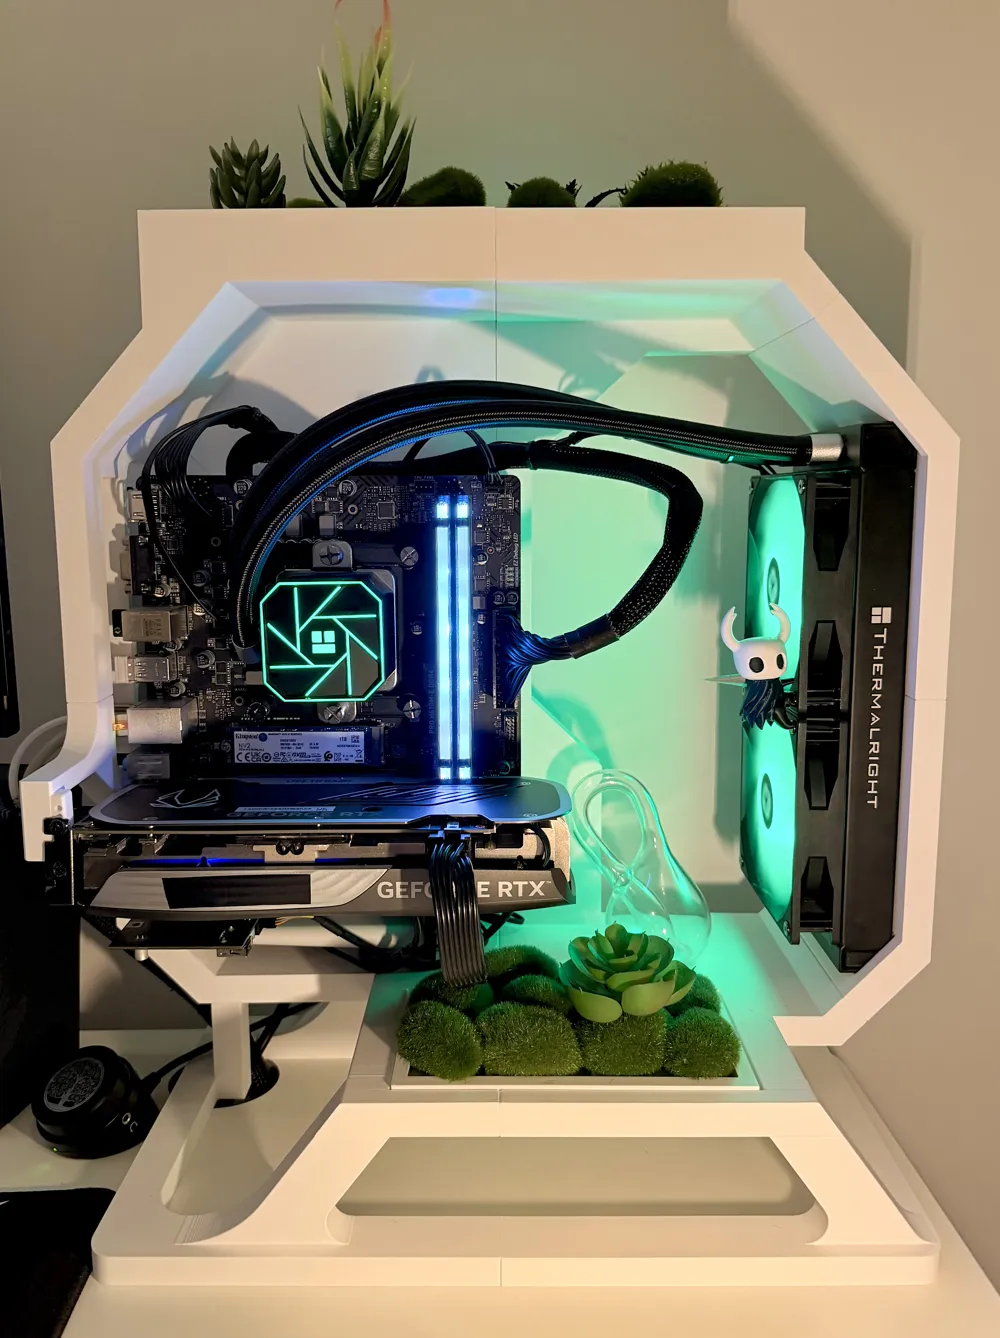
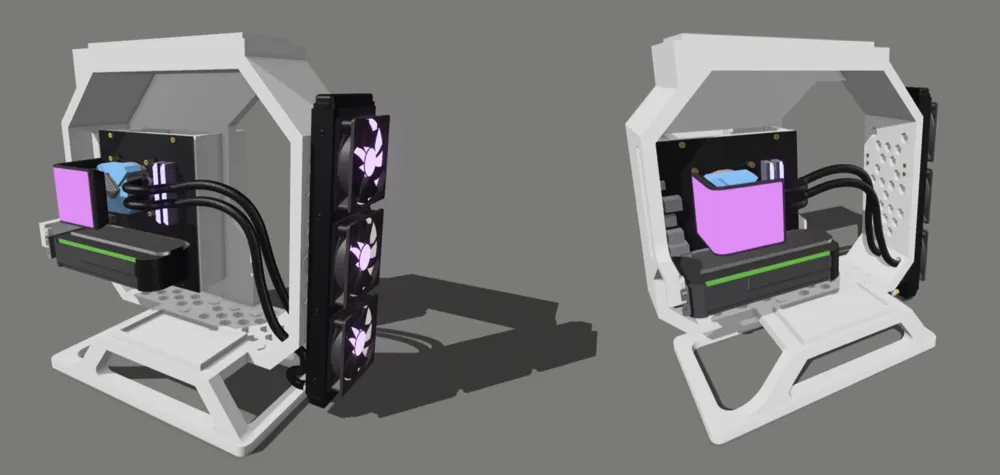
The original model is designed to meet the specifications of the contest and to house the TRYX Panorama SE together with its 360mm radiator but since I don't already own it myself, I made an adaptation which fits my PC's components and is the version that can be seen in the pictures.
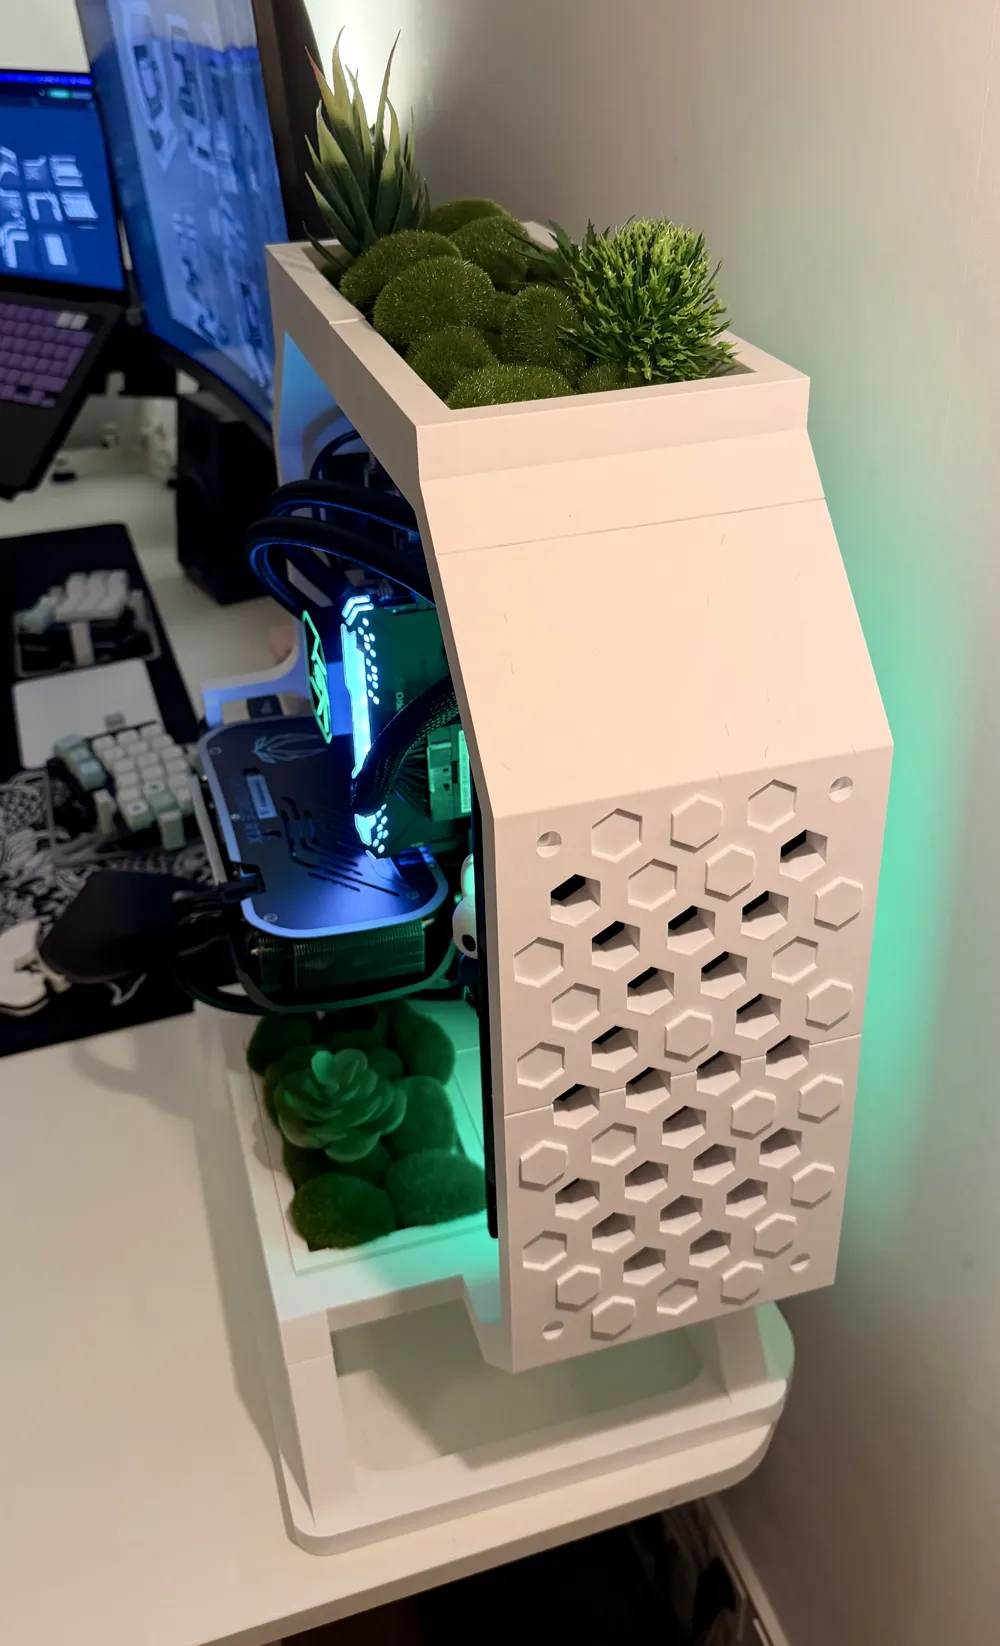
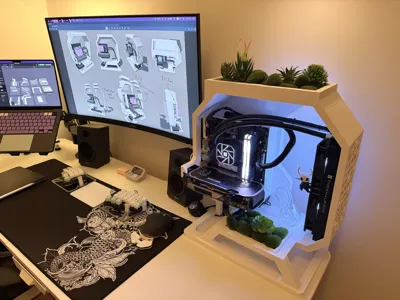
The open-front layout and the placement of the case to the right ensure that the TRYX Panorama SE remains the visual centerpiece, facing the user directly. The octagonal frame and base create a sturdy and stable structure, while the hexagonal ventilation cutouts on the right panel and bottom allow for excellent airflow to the radiator without sacrificing rigidity.
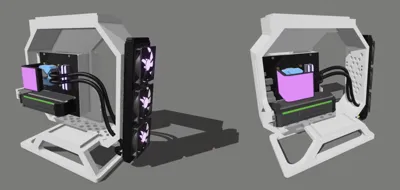
As shown in the last image, there is also an alternative configuration that mounts the radiator vertically on the side instead of at the base.
If I win something I will be definitely printing the parts needed to update my PC :D
Additional parts you'll need:
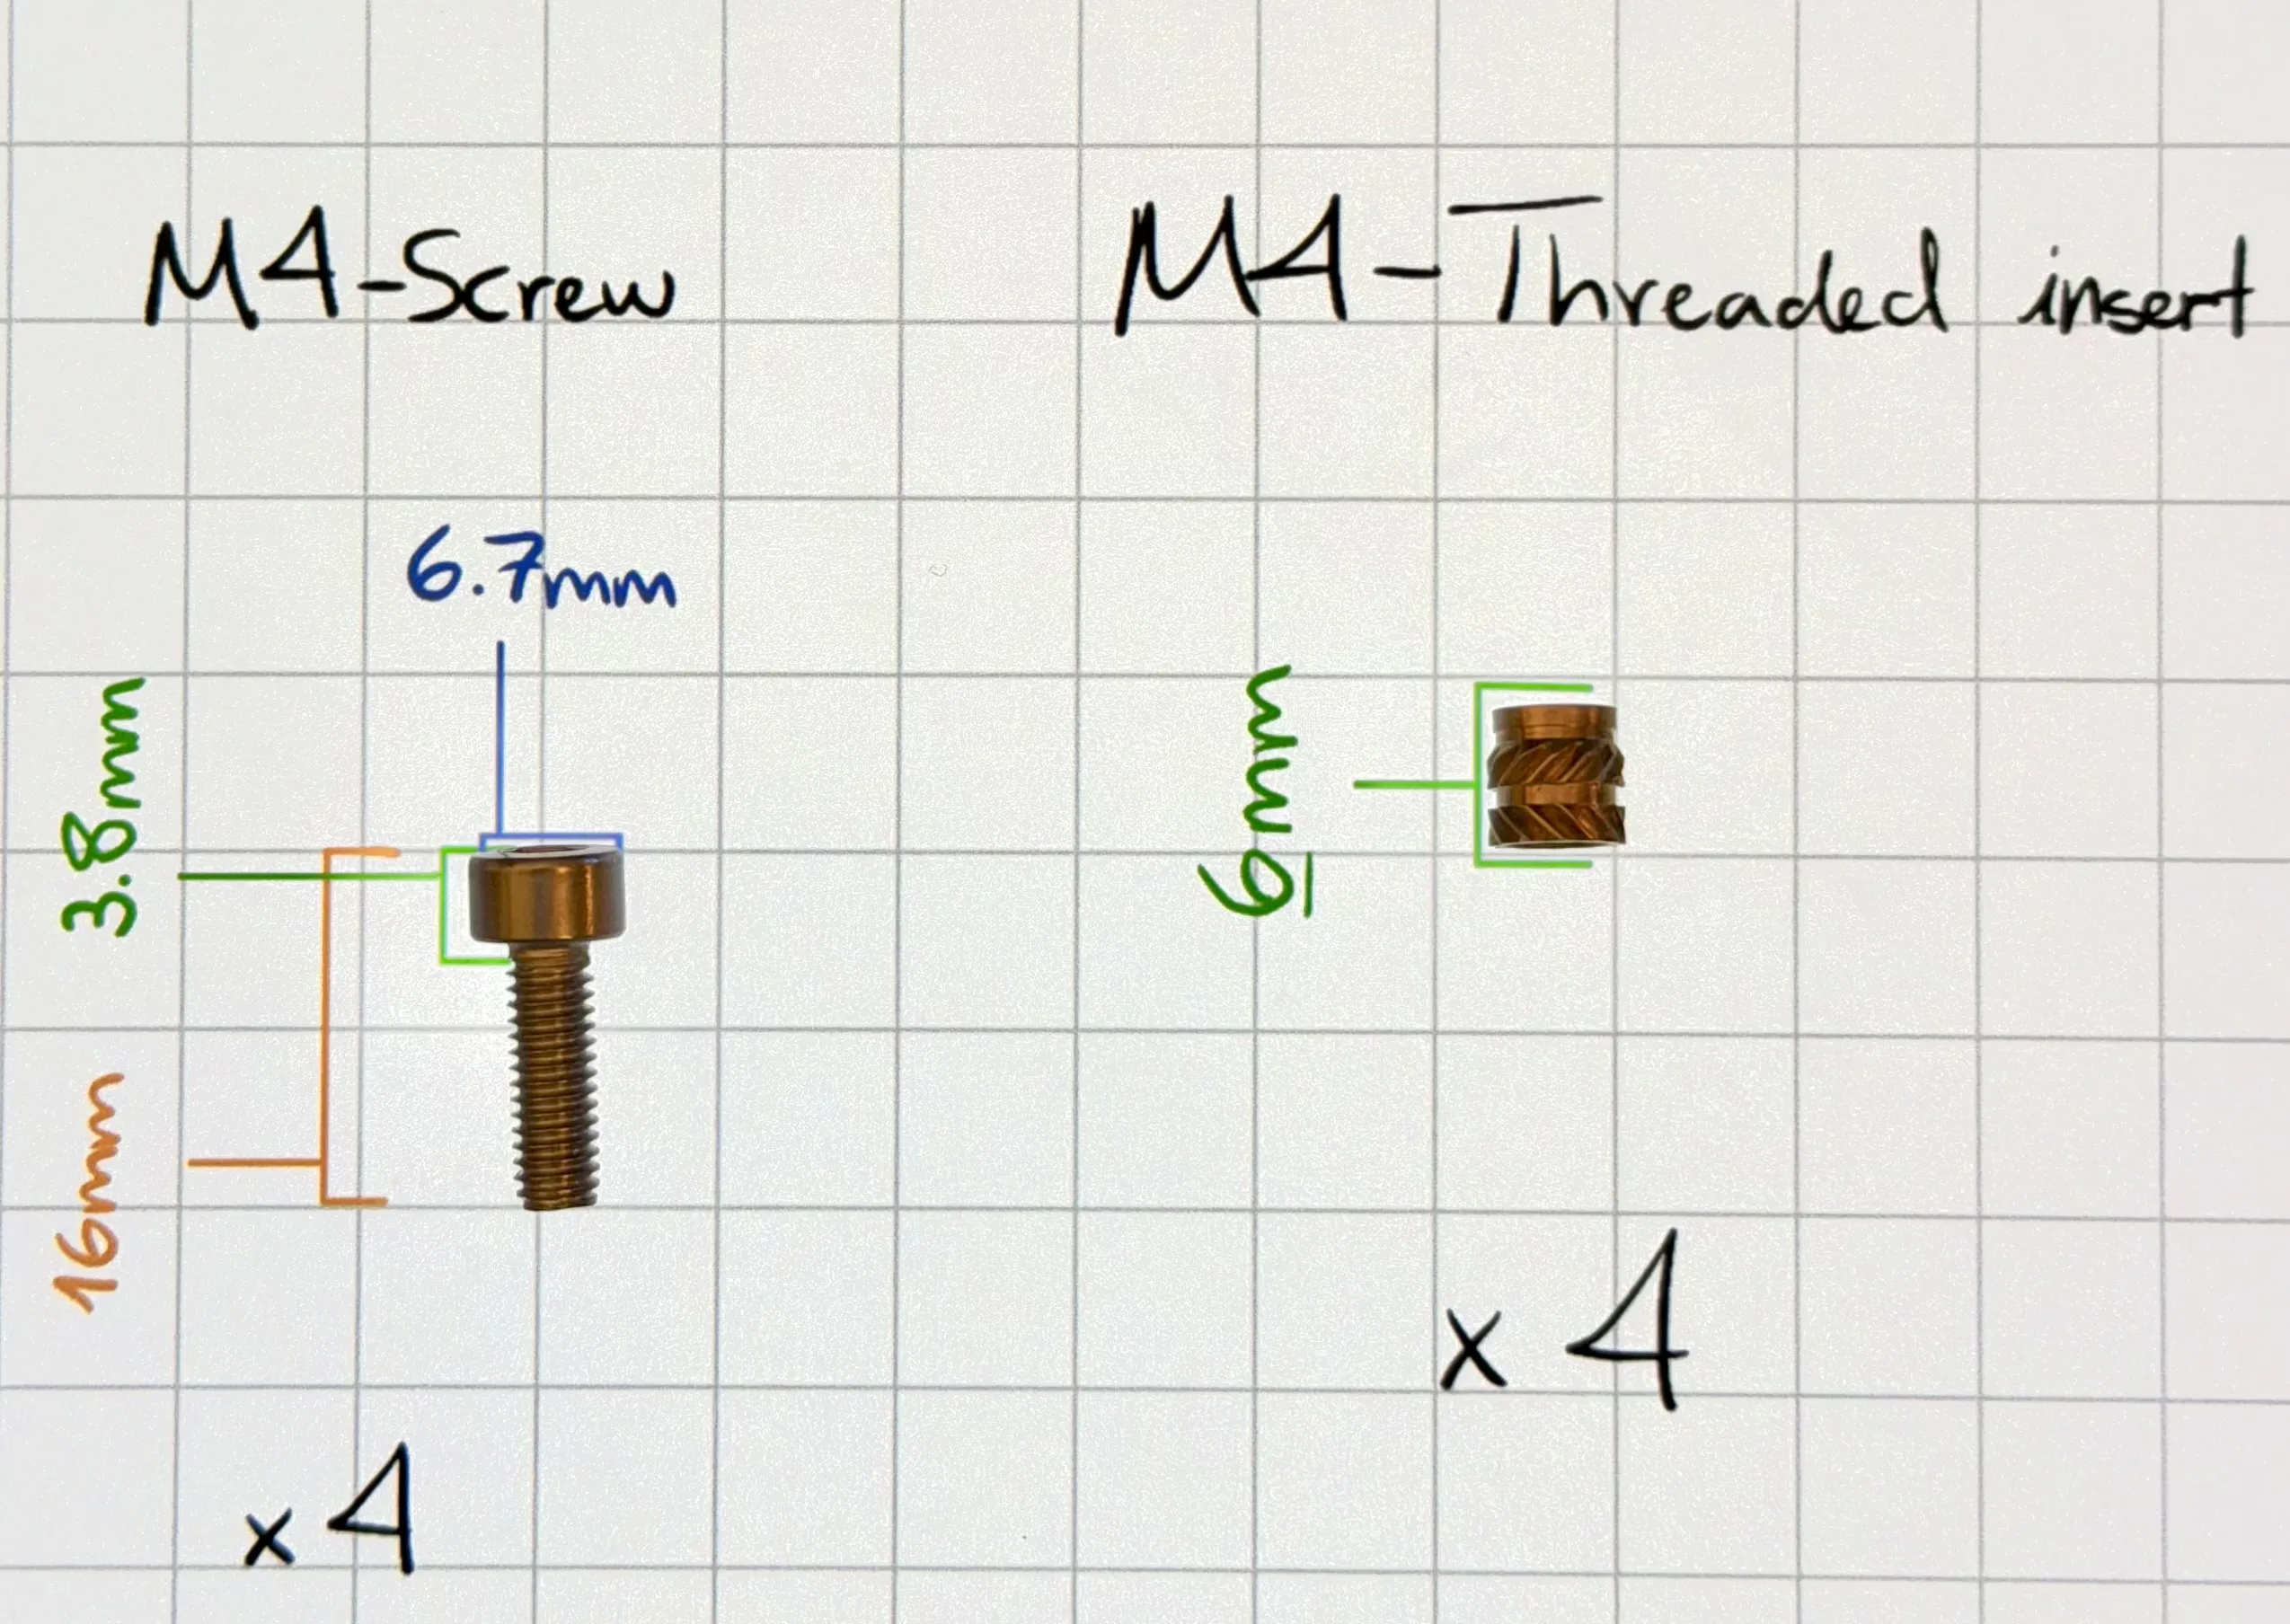
- 4 M4 Screws
- 4 M4 Threaded Inserts
32 Neodymium magnets (12 mm × 5 mm × 2 mm)
The parts that require threaded inserts are labeled accordingly in the slicer.
More specific measurements of the screws and inserts used can be seen in the picture below:
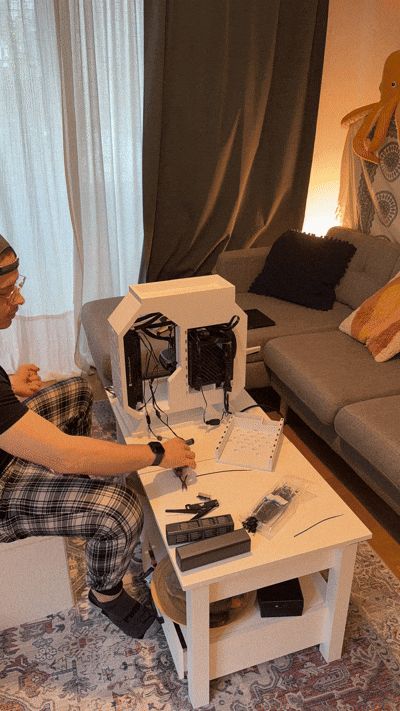
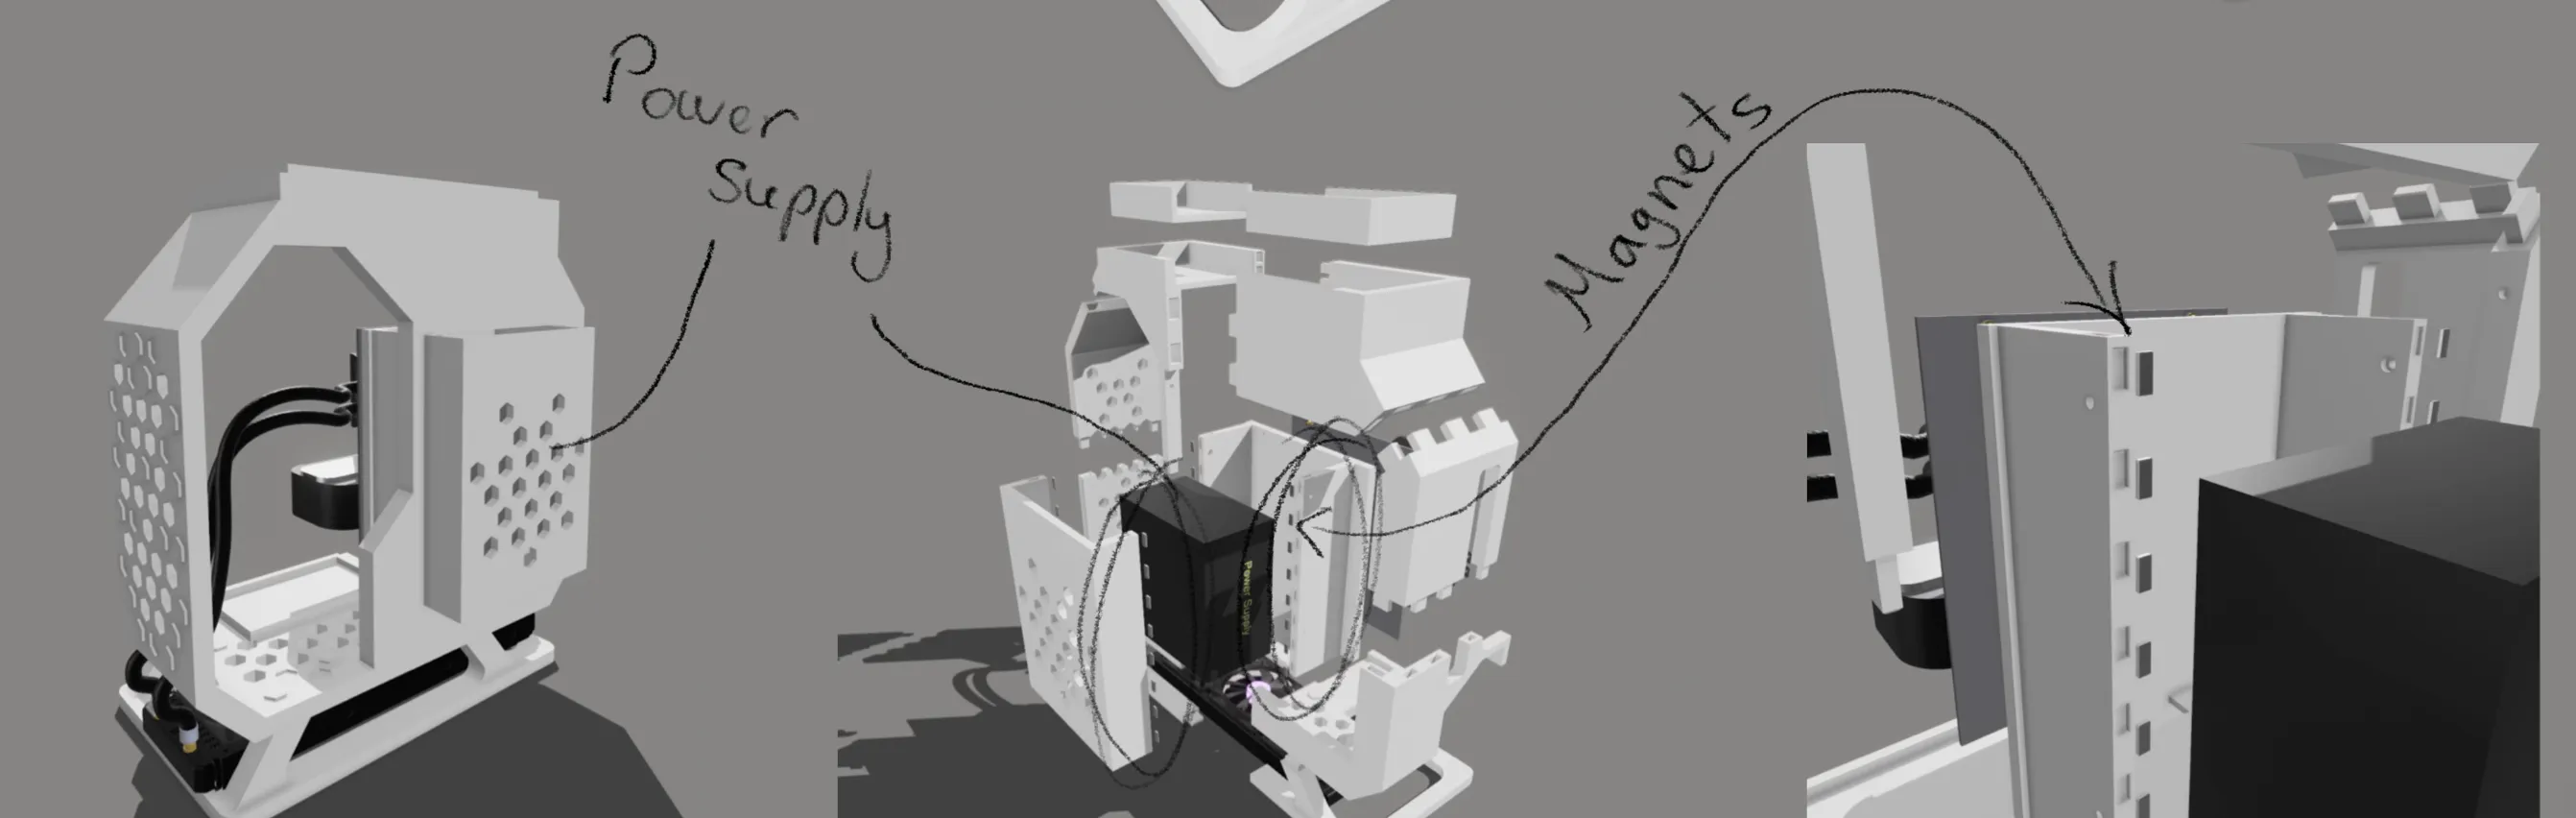
The 32 magnets (12mm x 5mm x 2mm) are used to attach the back plate of the case which provides secure placement and ventilation to the power supply unit.
I also recommend using super-glue to bond the pieces together.
Links to the Plants and Magnets:
Artificial Plants: https://www.amazon.de/dp/B0D4QPG6JG?ref=ppx_yo2ov_dt_b_fed_asin_title
Artificial Moss Balls: https://www.amazon.de/dp/B0CSN26T58?ref=ppx_yo2ov_dt_b_fed_asin_title&th=1
Magnets: https://www.amazon.de/dp/B0D7C6B6LT?ref=ppx_yo2ov_dt_b_fed_asin_title&th=1
Printing Profiles Information:
240mm Radiators:
Use the printing profile "connections up" if you want your build to look like the one in the pictures, the radiator screw holes in my radiator (thermalight) are asymmetrical under reflection along the middle axis.
If you want to mount the radiator with the hoses coming out of the bottom use the printing profile "connections down". Please do check that the hoses don't get in the way of the GPU once mounted.
Alternatively, if your radiator does not use the same spacings you can use double sided tape, it works great! (I know it works great because I printed the wrong version for myself and didn't want to reprint, so I settled for tape)
360mm Radiators:
If you want to mount your 360mm radiator on the side, you're good to go with the printing profile "TRYX Panorama SE radiator side mount"
If you want it at the bottom I would recommend downloading "TRYX Panorama SE radiator base mount" as this one includes mounting holes on the base to attach the radiator.
UPDATE (19.12.2025)!!:
I just uploaded two new printing profiles for the base and side mounting configurations of the 360mm Radiator adapted for radiators with non-detachable hoses. Please download this one if you cannot unplug the hoses in your radiator as otherwise you will not be able to pass them through the holes of the side piece.
ITX Motherboards:
I have added print profiles for ITX Motherboards, they are based on blueprints I found online as seen in the cover picture of the printing profiles. All the mounting holes for the motherboard seem to be identical to my m-ATX except for one, so I added the new one and kept the original just in case.
Please print the plate "PSU Front ITX" first and then “Lower Left” to test whether the mounting height of the GPU also matches.
ATX Motherboards:
I started working on a version for ATX Motherboards but realized quite quickly just how big they are. In order to fit them into the model I would have to scale up everything. This poses a problem because the existing pieces already reach the limits of a 256mm^2 print bed so I would have to divide the model into more pieces.
Additionally, it seems that GPU placement is slightly lower than m-ATX and ITX and without being able to test it myself I do not feel confident enough uploading a printing profile that may not work… with pieces this size, printing something that does not work is wasteful and extremely disappointing.
I am also unsure about the needed clearing for the IO ports window.
I promise I will try to come up with some creative solution when I have the time again.
But in the meantime, for all the reasons mentioned above, I will sadly not be doing an ATX version in the foreseeable future
License



Comment & Rating (135)