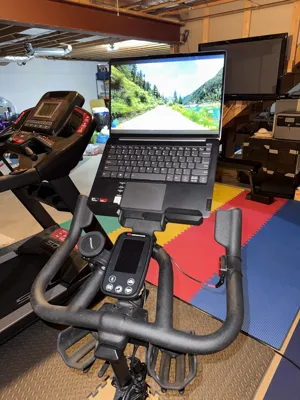
Laptop stand for Bowflex C6 or Schwinn IC4


Print Profile(1)

Description
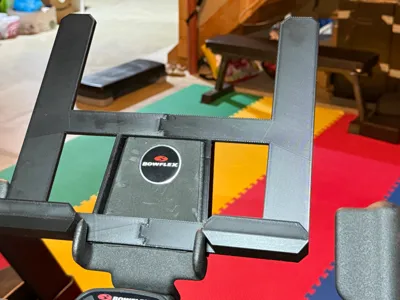
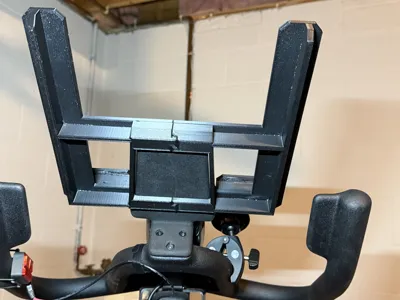
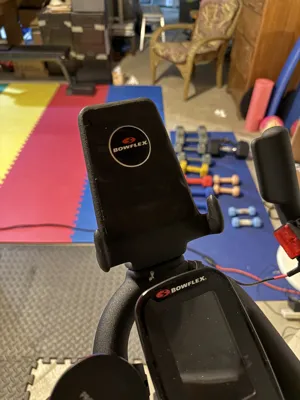
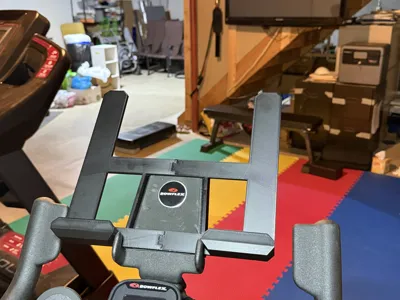
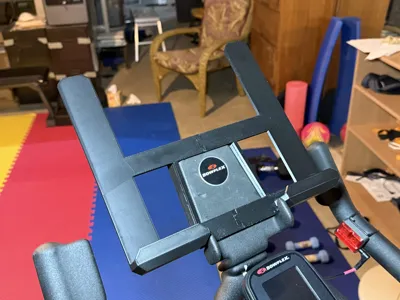
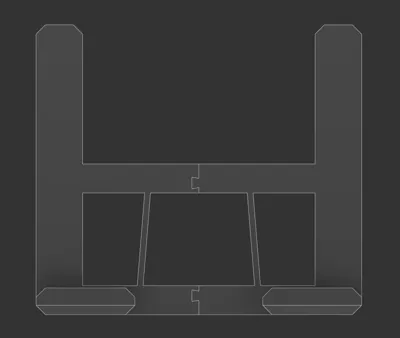
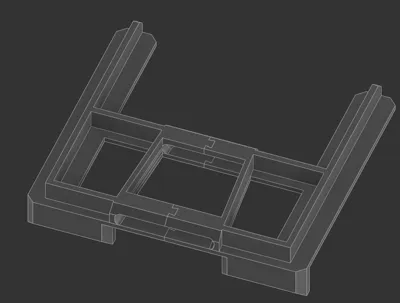
This is a laptop stand I made for a Bowflex C6 excercise bike. It should also fit a Schwinn IC4, but I haven't tested it. There are two variations. One is in 4 pieces that must be glued together. They fit a 250mm x 250mm plate. If you have a smaller plate, you should use the second variation broken into 8 pieces here: https://makerworld.com/en/models/2083534-laptop-stand-for-bowflex-c6-or-schwinn-ic4-8pc . Note, I have not tested the 8-piece variation since I only need one of these.
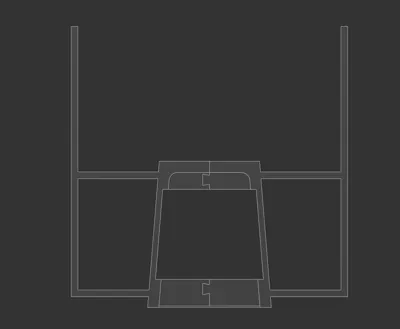
I designed this quickly to fit my needs, so it's not fine-tuned. There is a test piece you can print first to confirm your tablet holder is the right size for this. Slide the test piece over the tablet holder. It should have a bit of friction but slide all the way to the bottom and be nice and snug. If not, you may have a bike variation with a different tablet holder, and this may not work for you.
I included photos of my print layouts if you want to print with something other than Bambu.
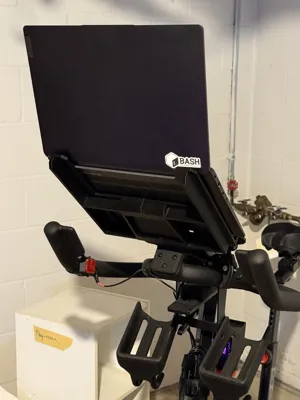
Material: I printed in ABS because I wanted it to be strong. Although I didn't try, PLA should be fine as long as you don't have a very large laptop. The bottom parts are there for rigidity.
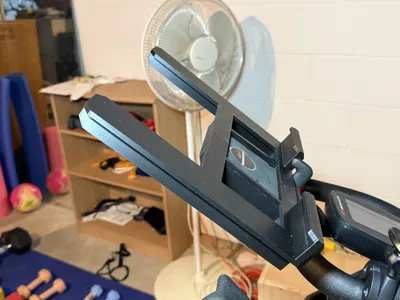
Supports: The only area that needs support are the laptop hooks at the bottom of the top pieces. I used standard supports and it came out clean. Tree supports didn't work that well since they have a log way to go to get to the build plate.
I also have screen shapes of the 4 top pieces and 4 bottom pieces. They have dovetails to help fit them together correctly. Be sure to glue these well. Glue the 2 or 4 top pieces together, then the 2 or 4 bottom pieces. Once those are together and dried, glue the top and bottom together. NOTE: There's no alignment aid here, so be extra careful that bottom and tops align, and that the sides of the center section that slides over the tablet holder align. Glue liberally so the entire thing is rigid.
License
You may create derivative works based on this object, provided that all such derivative works are published exclusively on the MakerWorld platform and include proper attribution to the original creator. You may not share, upload, host, distribute, or publish this object—or any derivative work of this object—on any other digital platform, marketplace, or distribution channel. Commercial use of this object and any derivative works is strictly prohibited. This includes, but is not limited to, selling, renting, sublicensing, or using the object in any context in which you receive monetary compensation or other financial benefits.
Comment & Rating (0)