
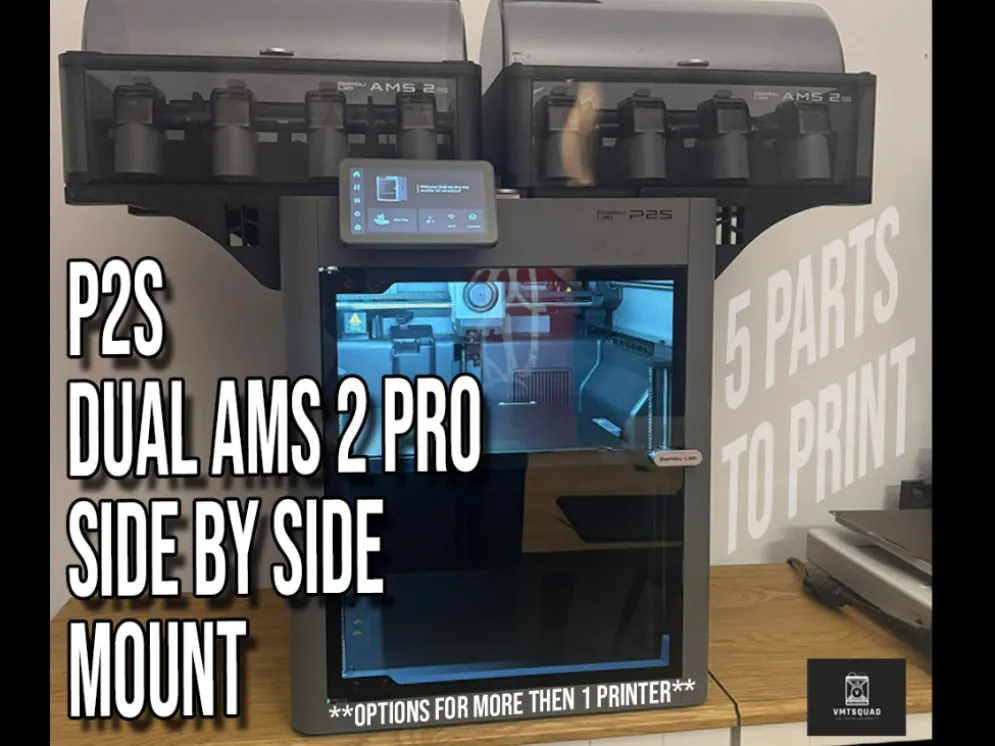
P2S / P1S / X1C DUAL+ AMS 2 Pro side by side mount
Print Profile(5)


Description
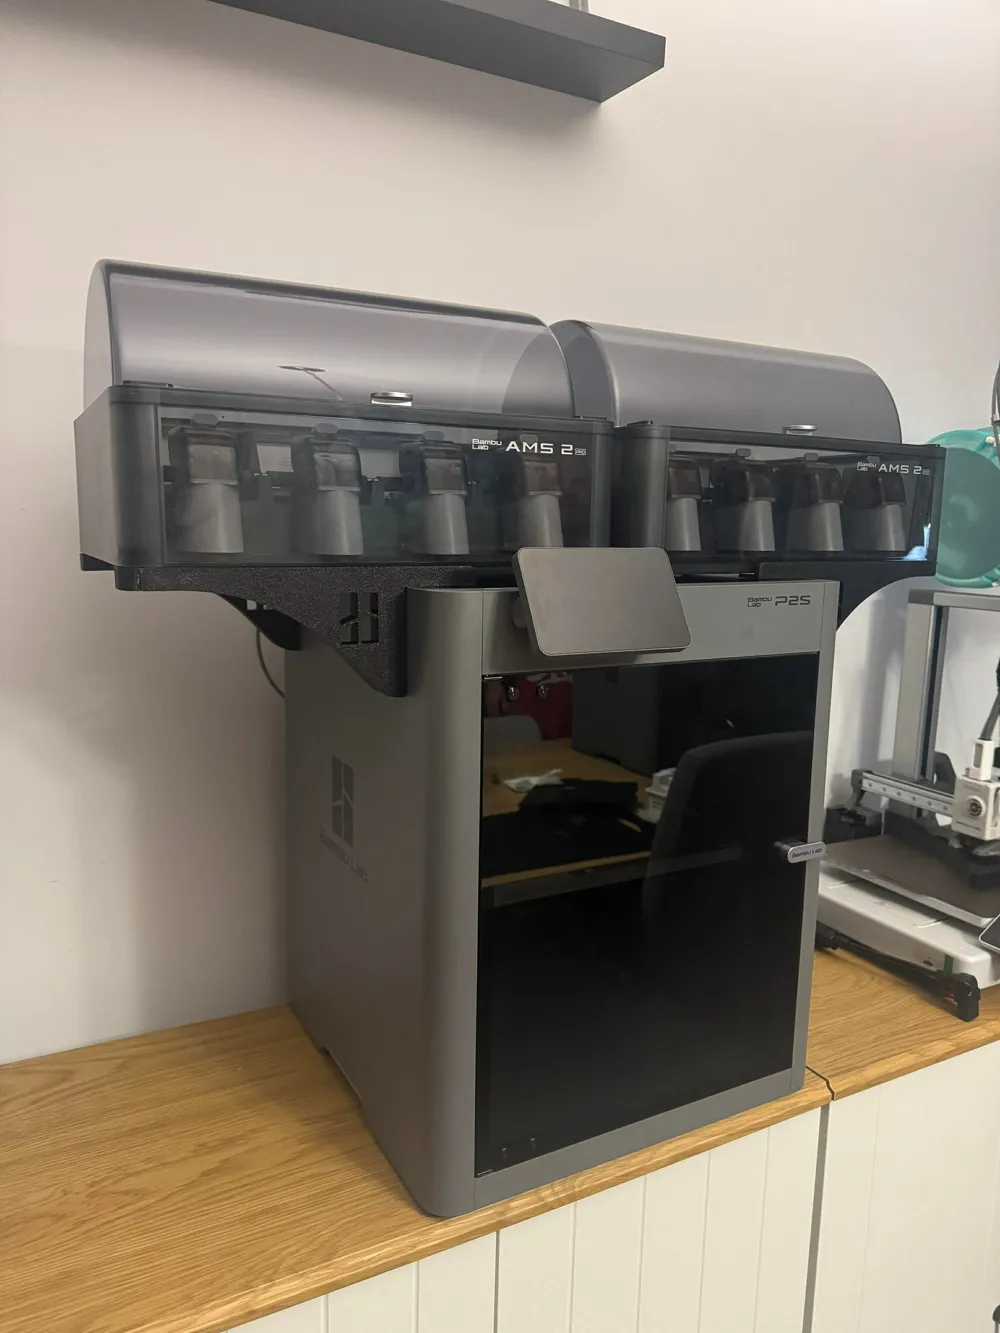
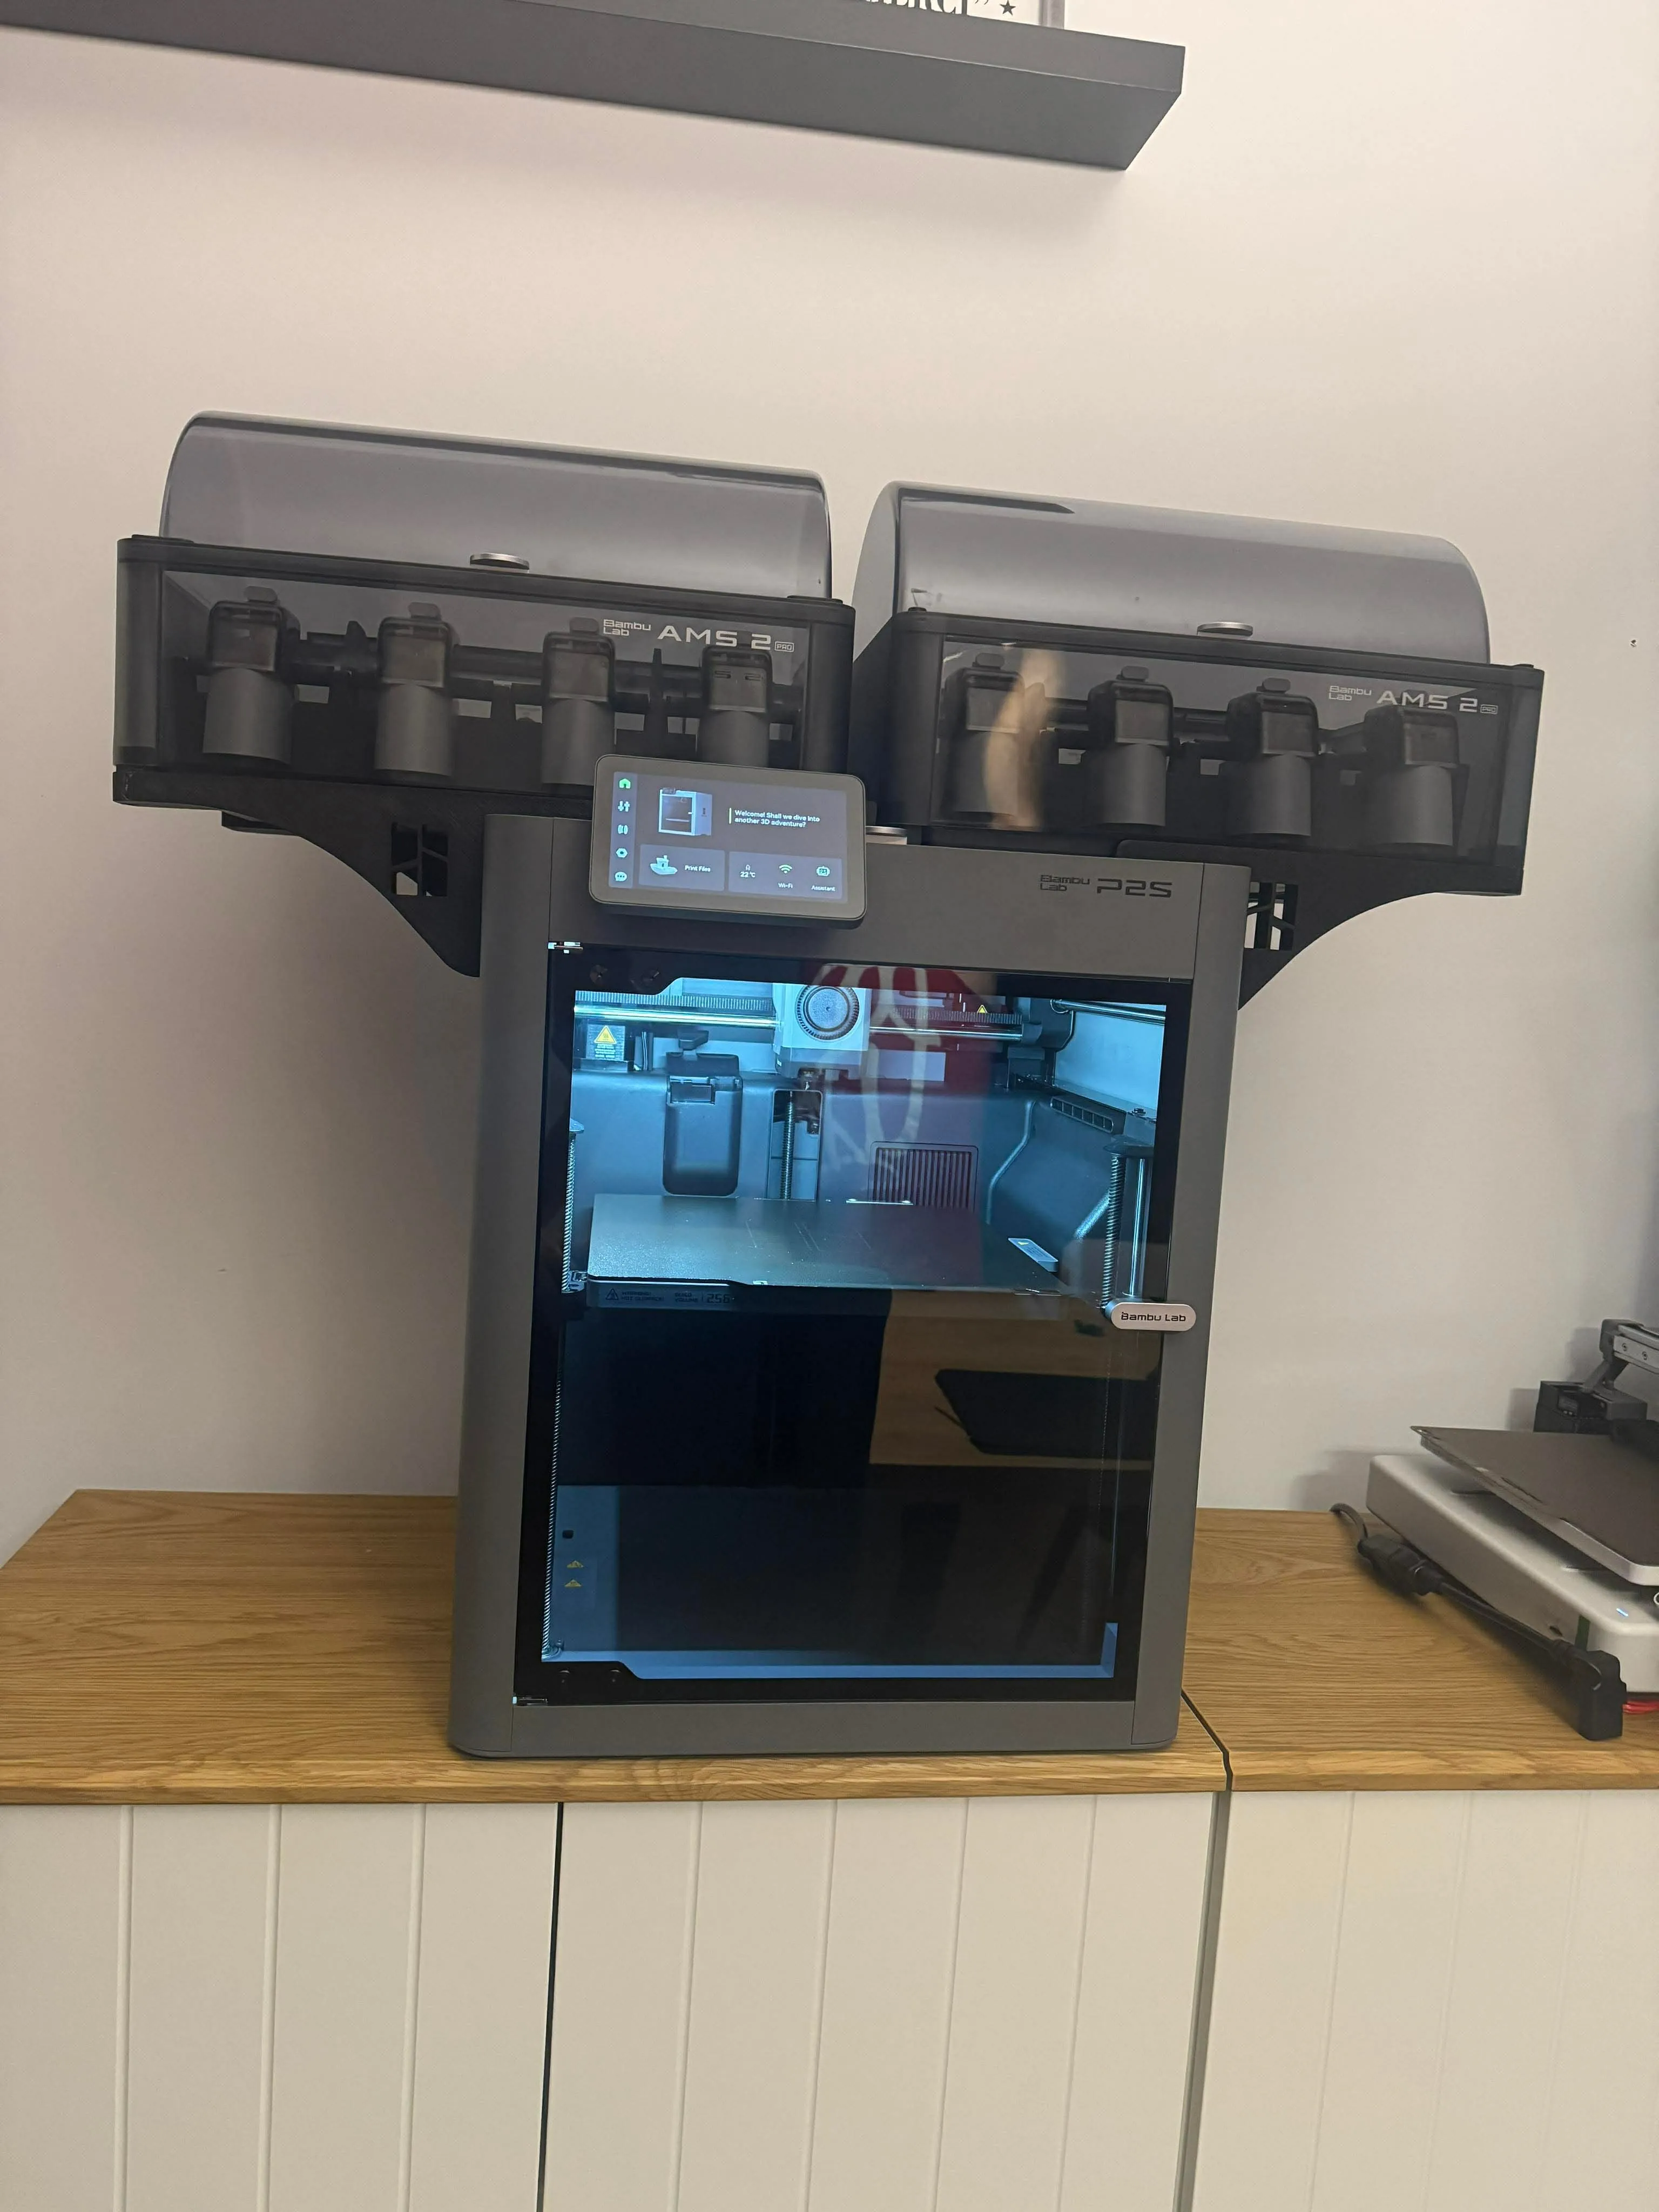
P2S DUAL+ AMS 2 Pro Side by Side Mount V1.0
Here's a simple but effective model I've be working on since I have my P2S.
Upcoming updates / improvements:
- AMS Power Cable Management
- Find a way to secure the unit in the back of the printer
BACK STORY
Since I got my first P2S with the AMS 2 pro, I wanted to be able to print with more then 4 colors for my projects.
I got myself an extra AMS 2 Pro, thanks to Bambulab for the 100$CAD off during the black friday sales.
Then I searched for a rack or mount that would fit my needs and printed more the 3 models and they all had something I didn't need or involved a lot of moving parts.
So I got into my Fusion 360 and created my own.
THE MAIN IDEA
- Simple to print
- Low material uses
- Low print total print time
- Easy to assemble
- Limited parts
THE DESIGN / PARTS NEEDED
- PLA & PETG works for this model
- Print time = Less then 11h
- Choose the option for your setup;
- OPTION #1 - One P2S + 2 AMS
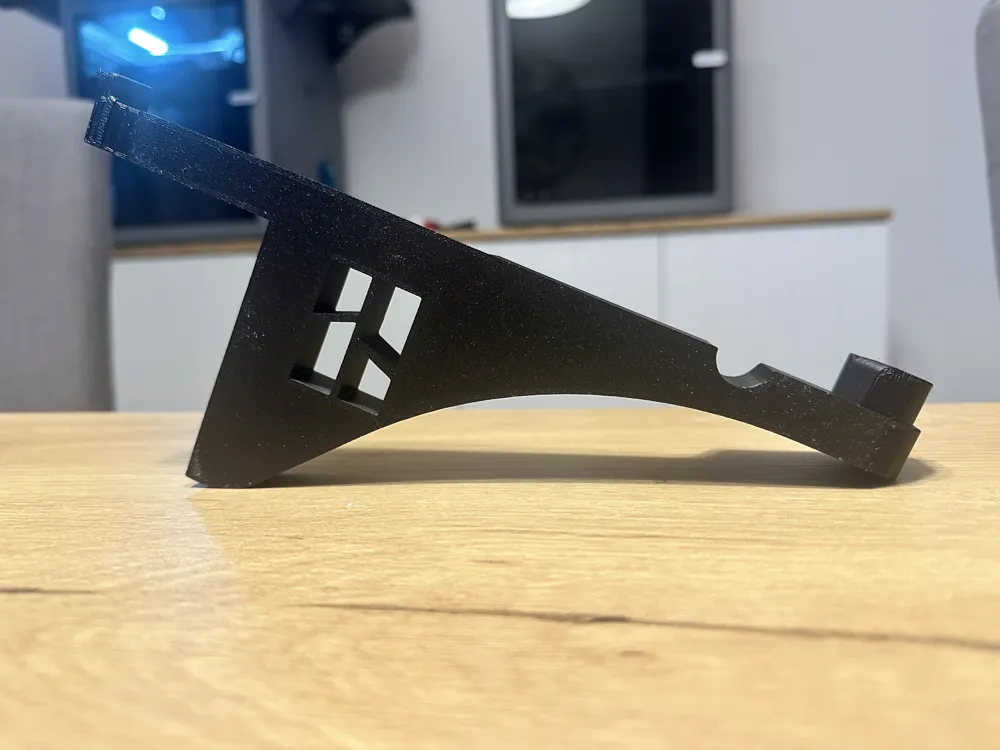
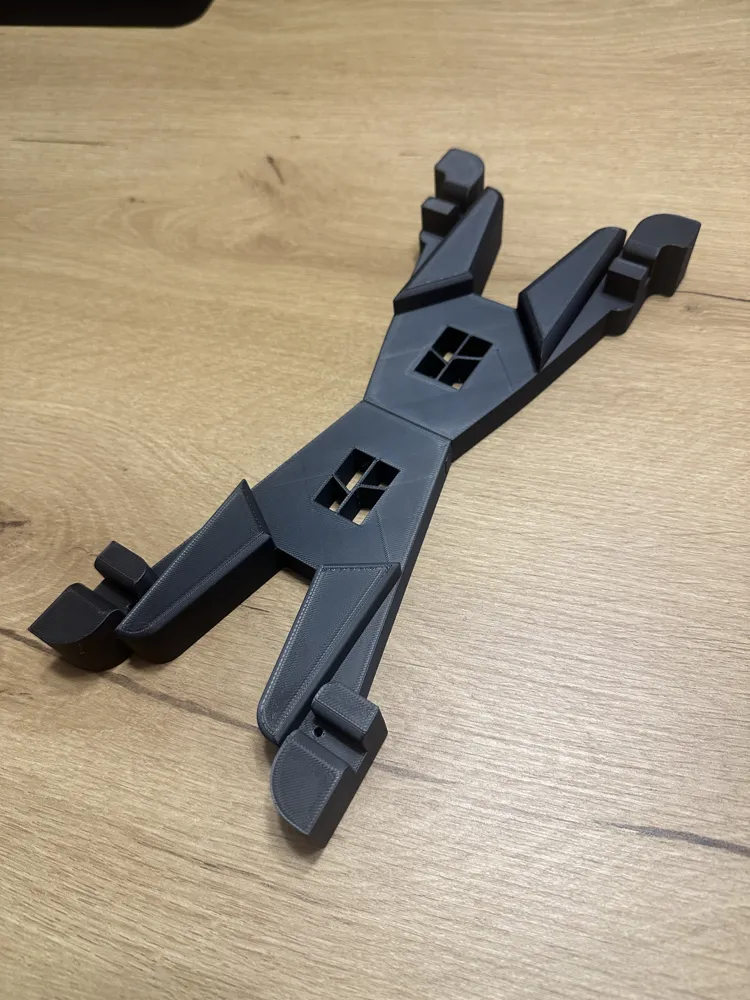
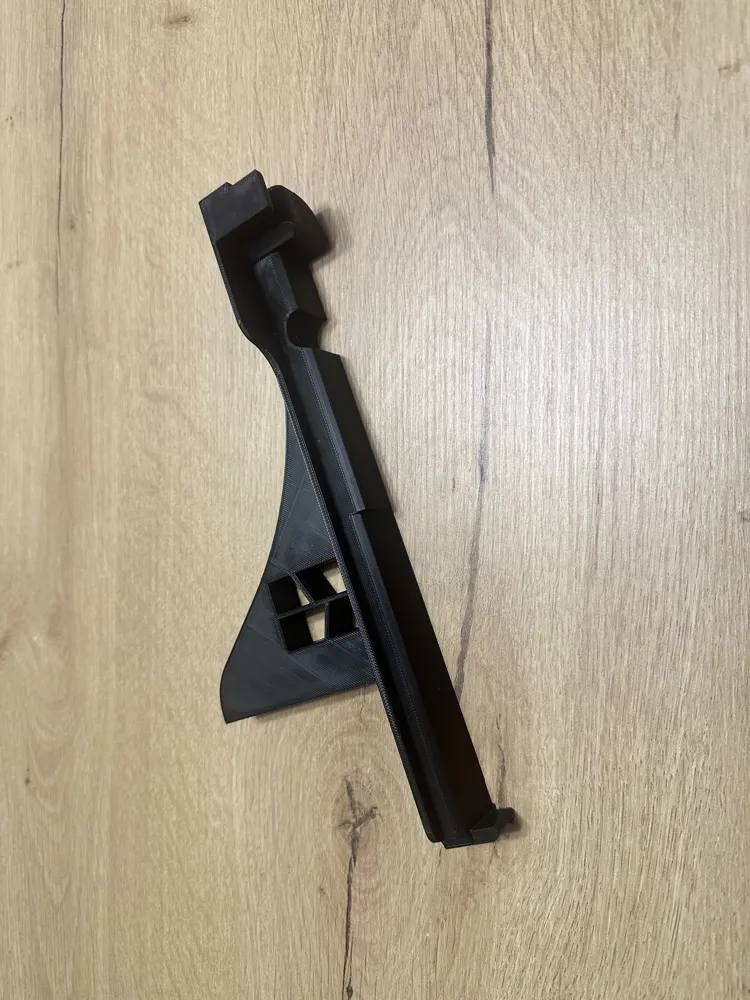
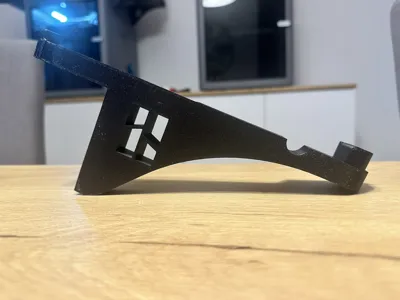
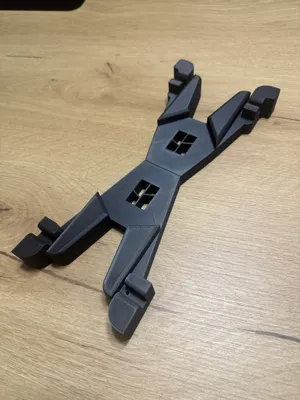
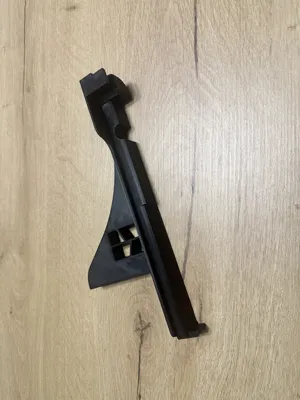
- Plate #1 - REAR Brackets
- Plate #2 - FRONT Brackets
Plate #3 - CENTER Brackets
- OPTION #2 - Two P2S + 3 AMS (10cm spacing between printers)
- Plate #1 - REAR Brackets
- Plate #2 - FRONT Brackets
Plate #3 - CENTER Brackets (print two)
- OPTION #1 - One P2S + 2 AMS
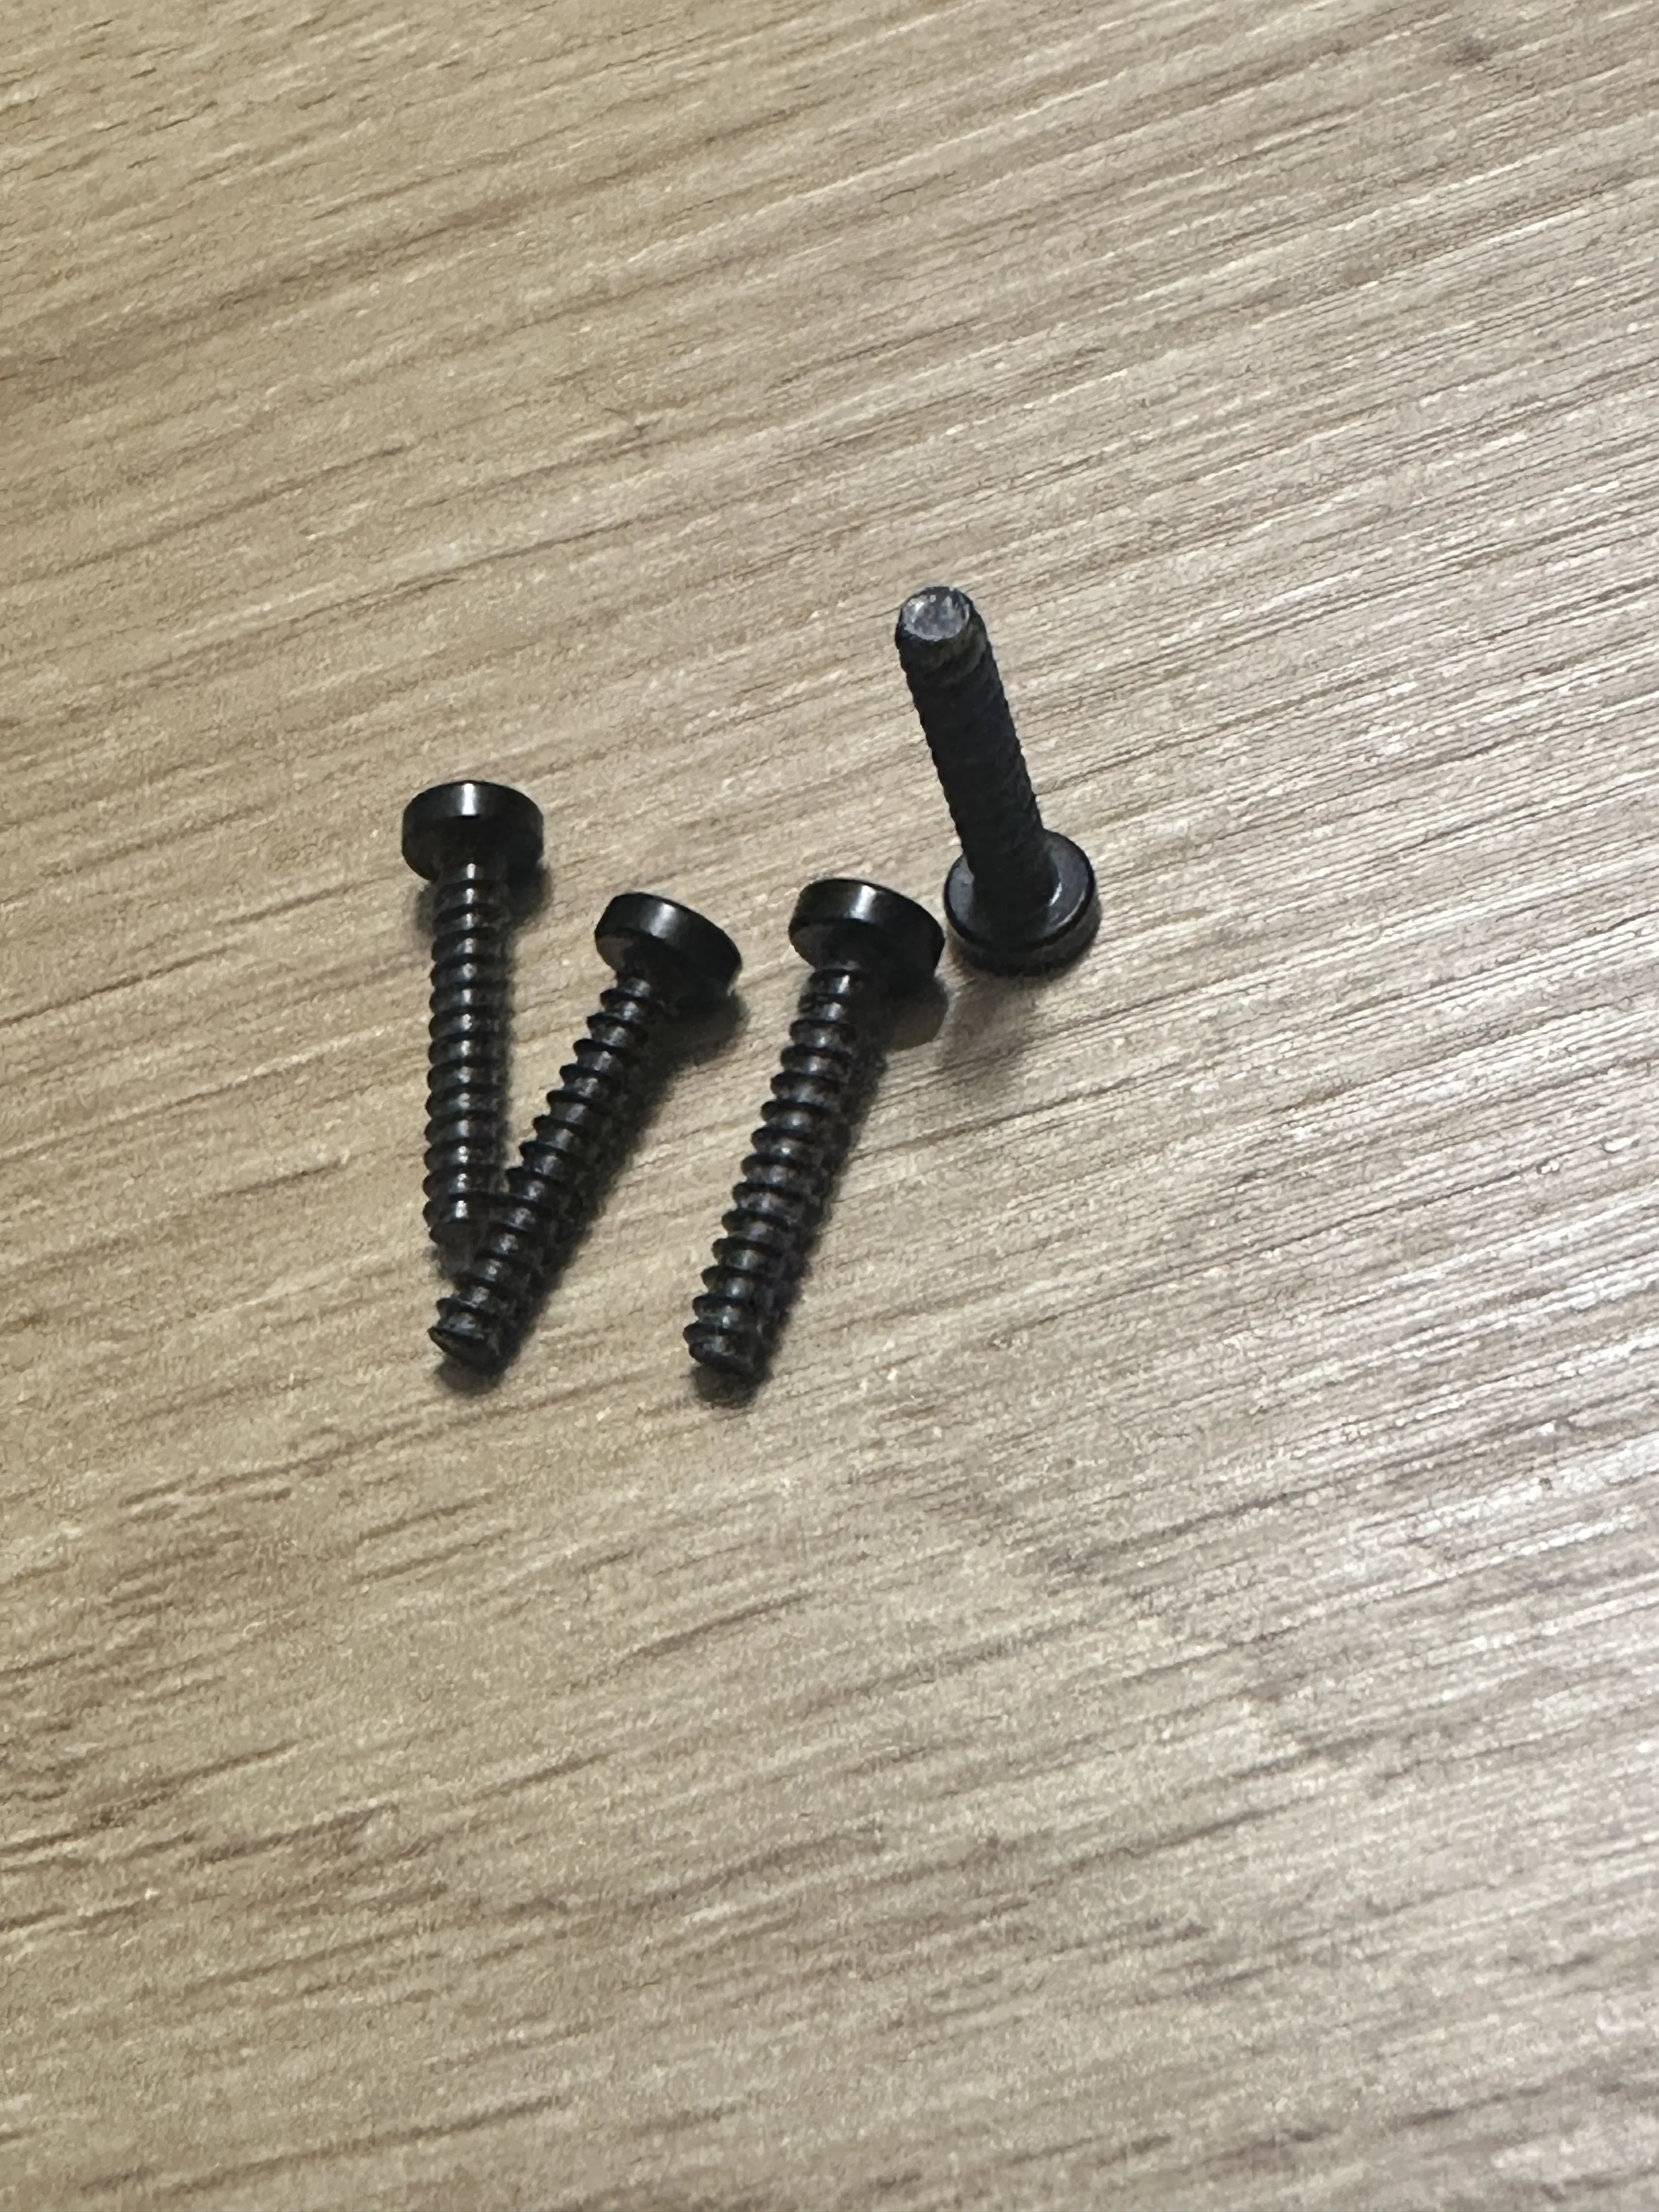
8 x Bolts needed to secure the parts to the AMS. I used BT3x12 SHCS (Self Tapping Screw) from bambu but shorter screw could also work. (It can work without bolts but I DO NOT RECOMMAND)
- OPTIONAL PARTS (If you want to join more then 2 AMS with multiple P2S side by side)
There's a different profile for it
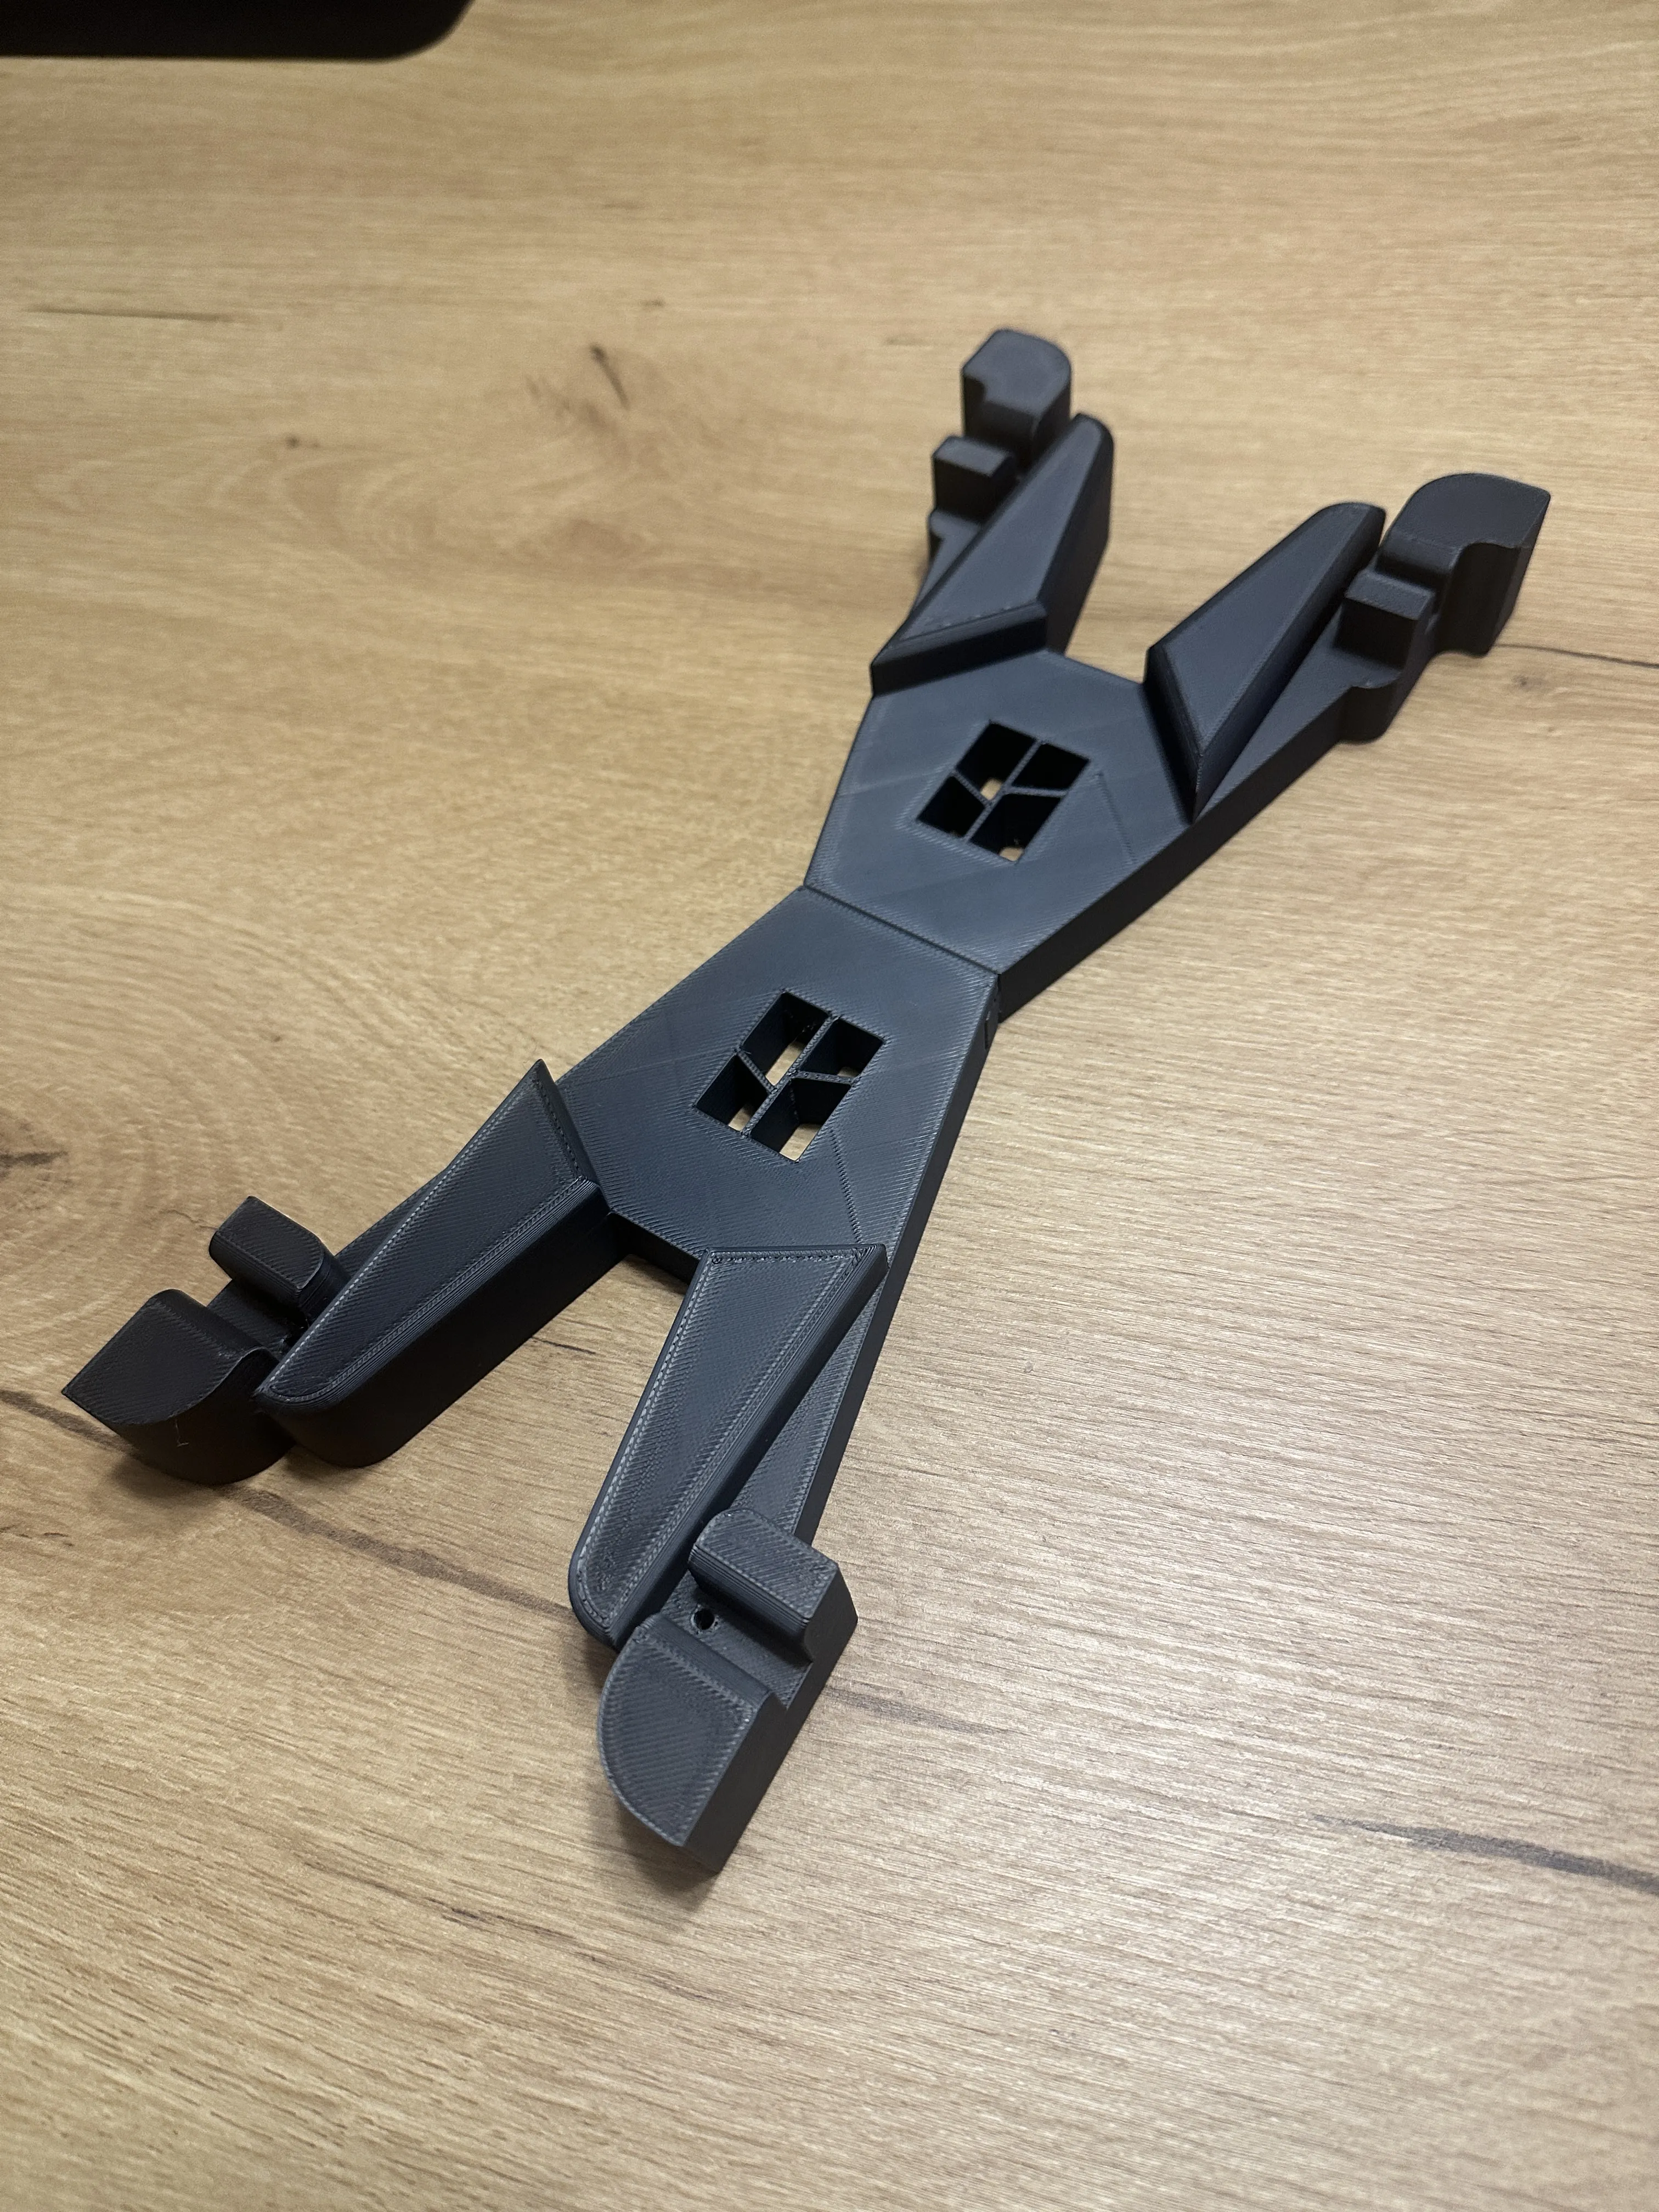
This part replaces the Center bracket on PLATE #1 and gives you 10cm spacing between two printers (space recomanded). You need to print this part TWICE and install them between each AMS.
I will upload more spacing options soon to help other that would want a smaller spacing between printers.
HOW TO ASSEMBLE
Remove everything inside your AMS .
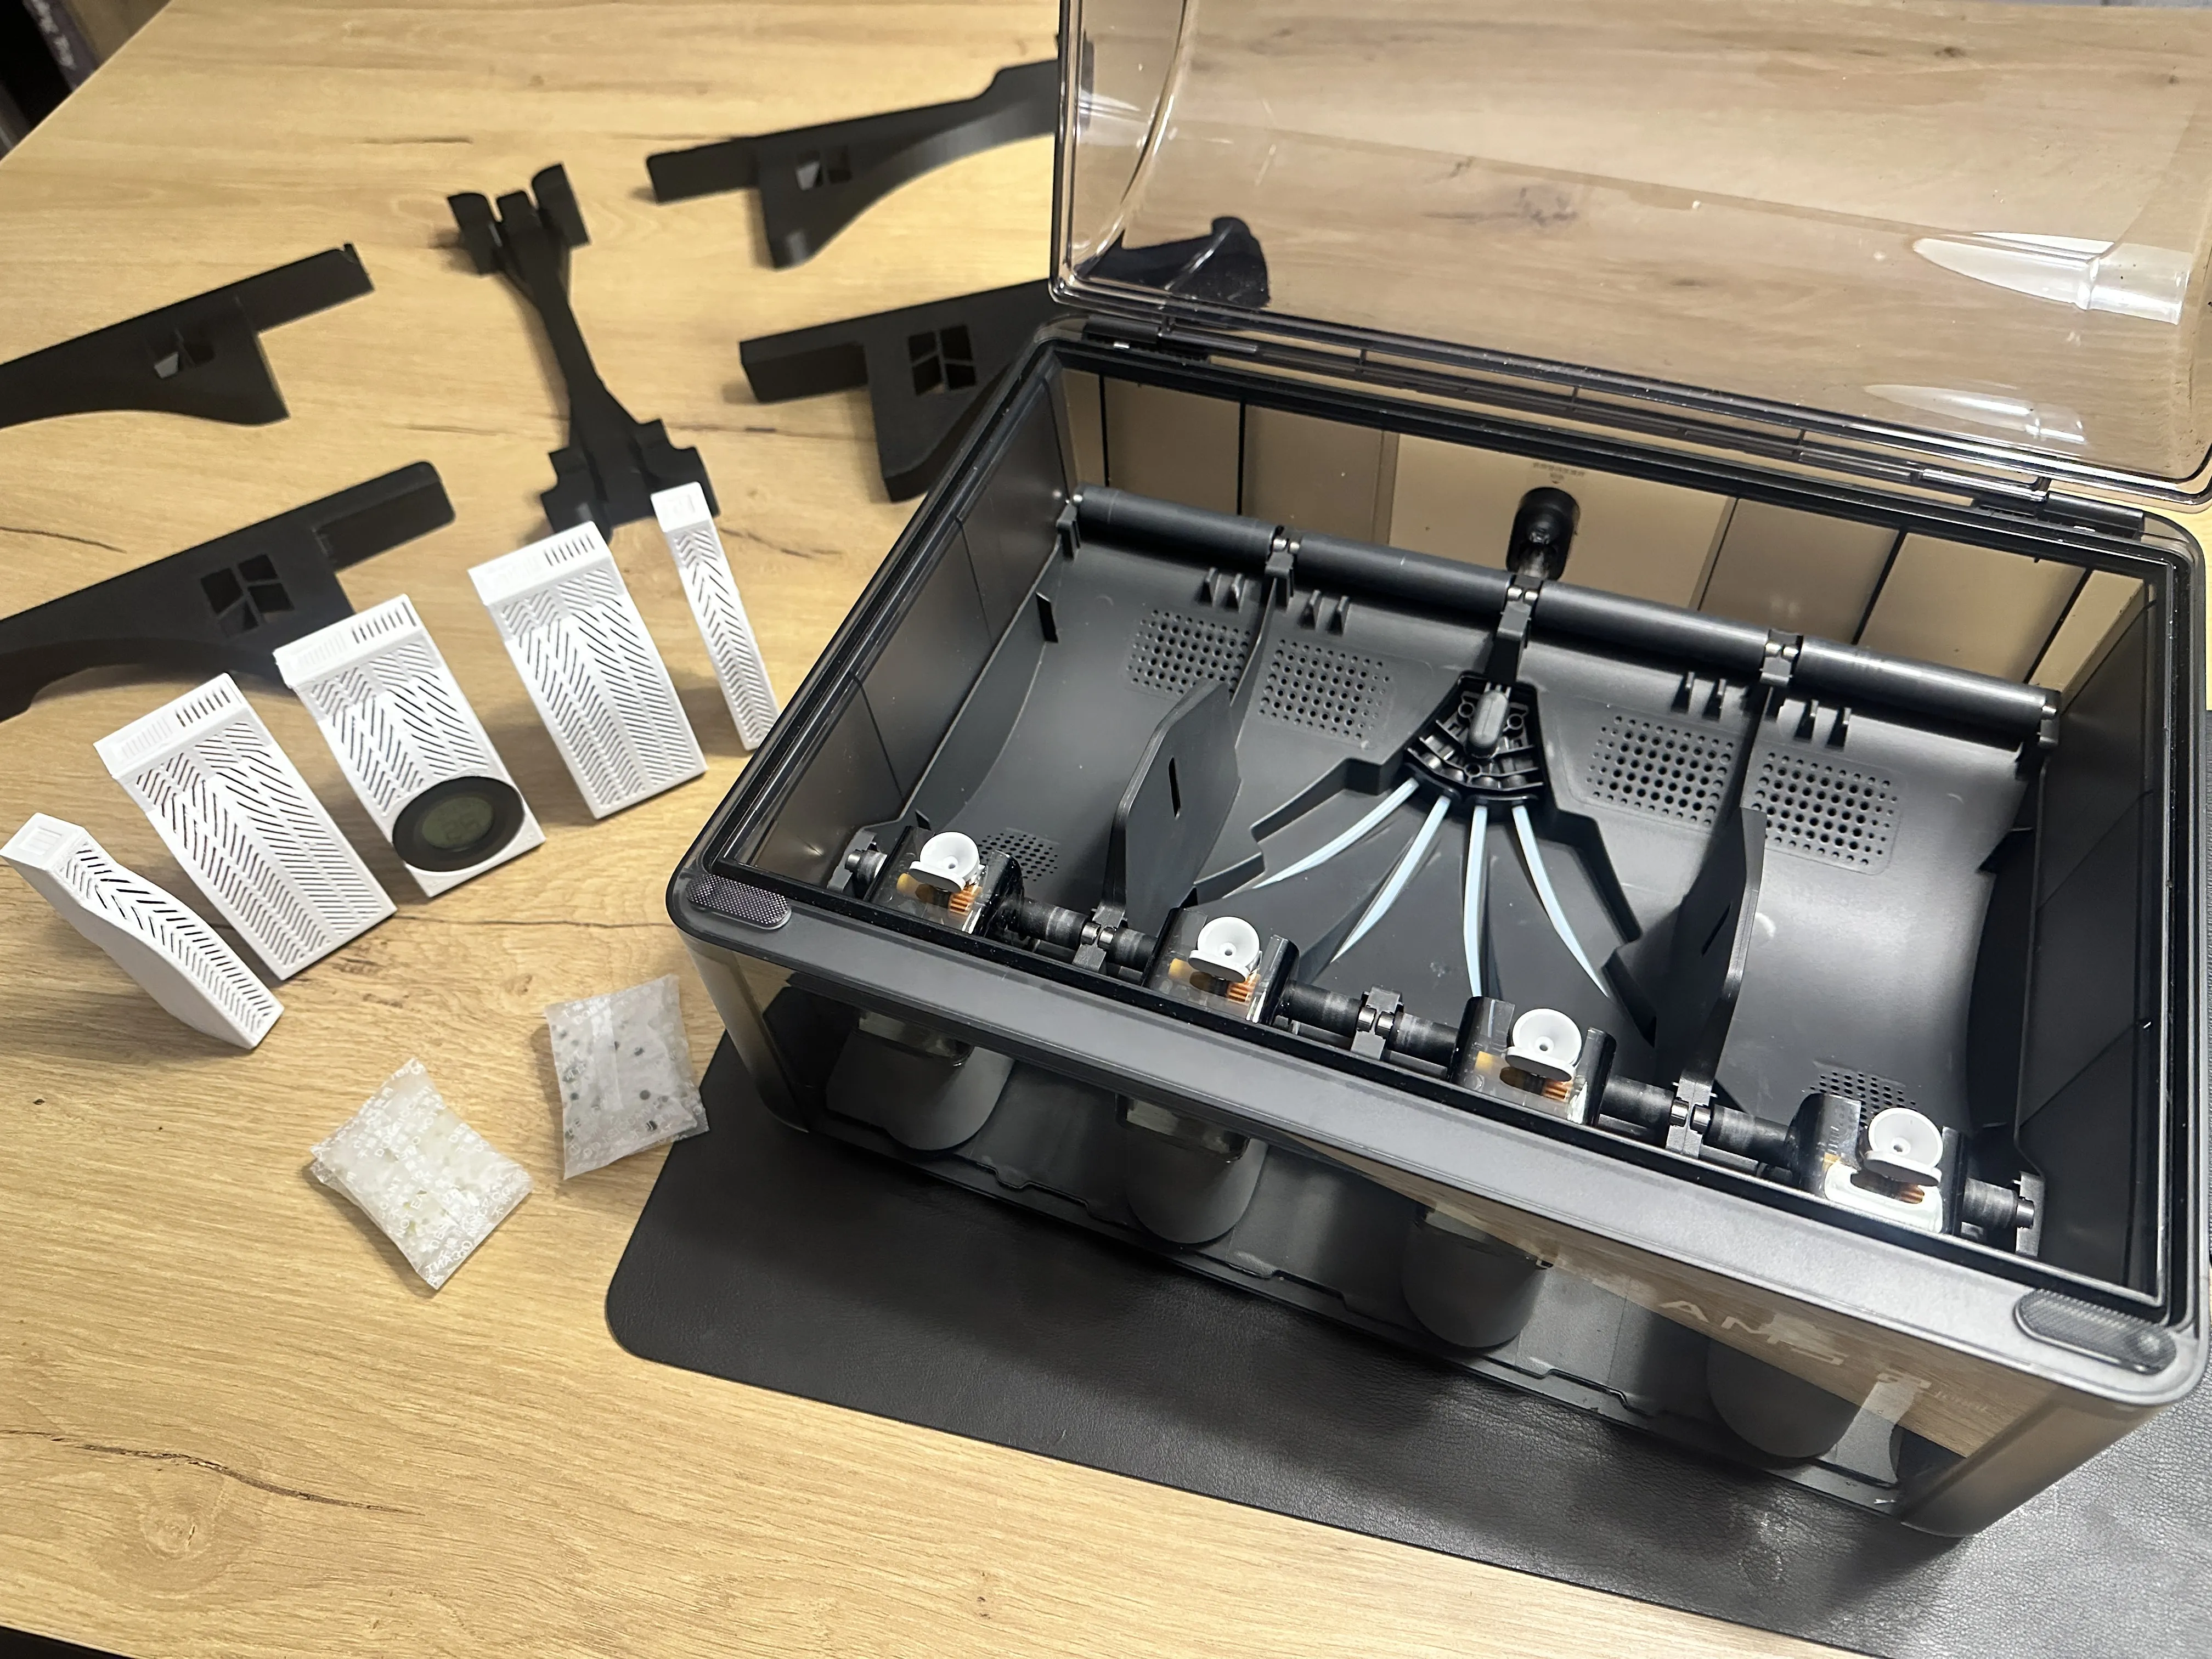
- Lock both tabs on the AMS Lid.
Flip both AMS face down on a flat surface.
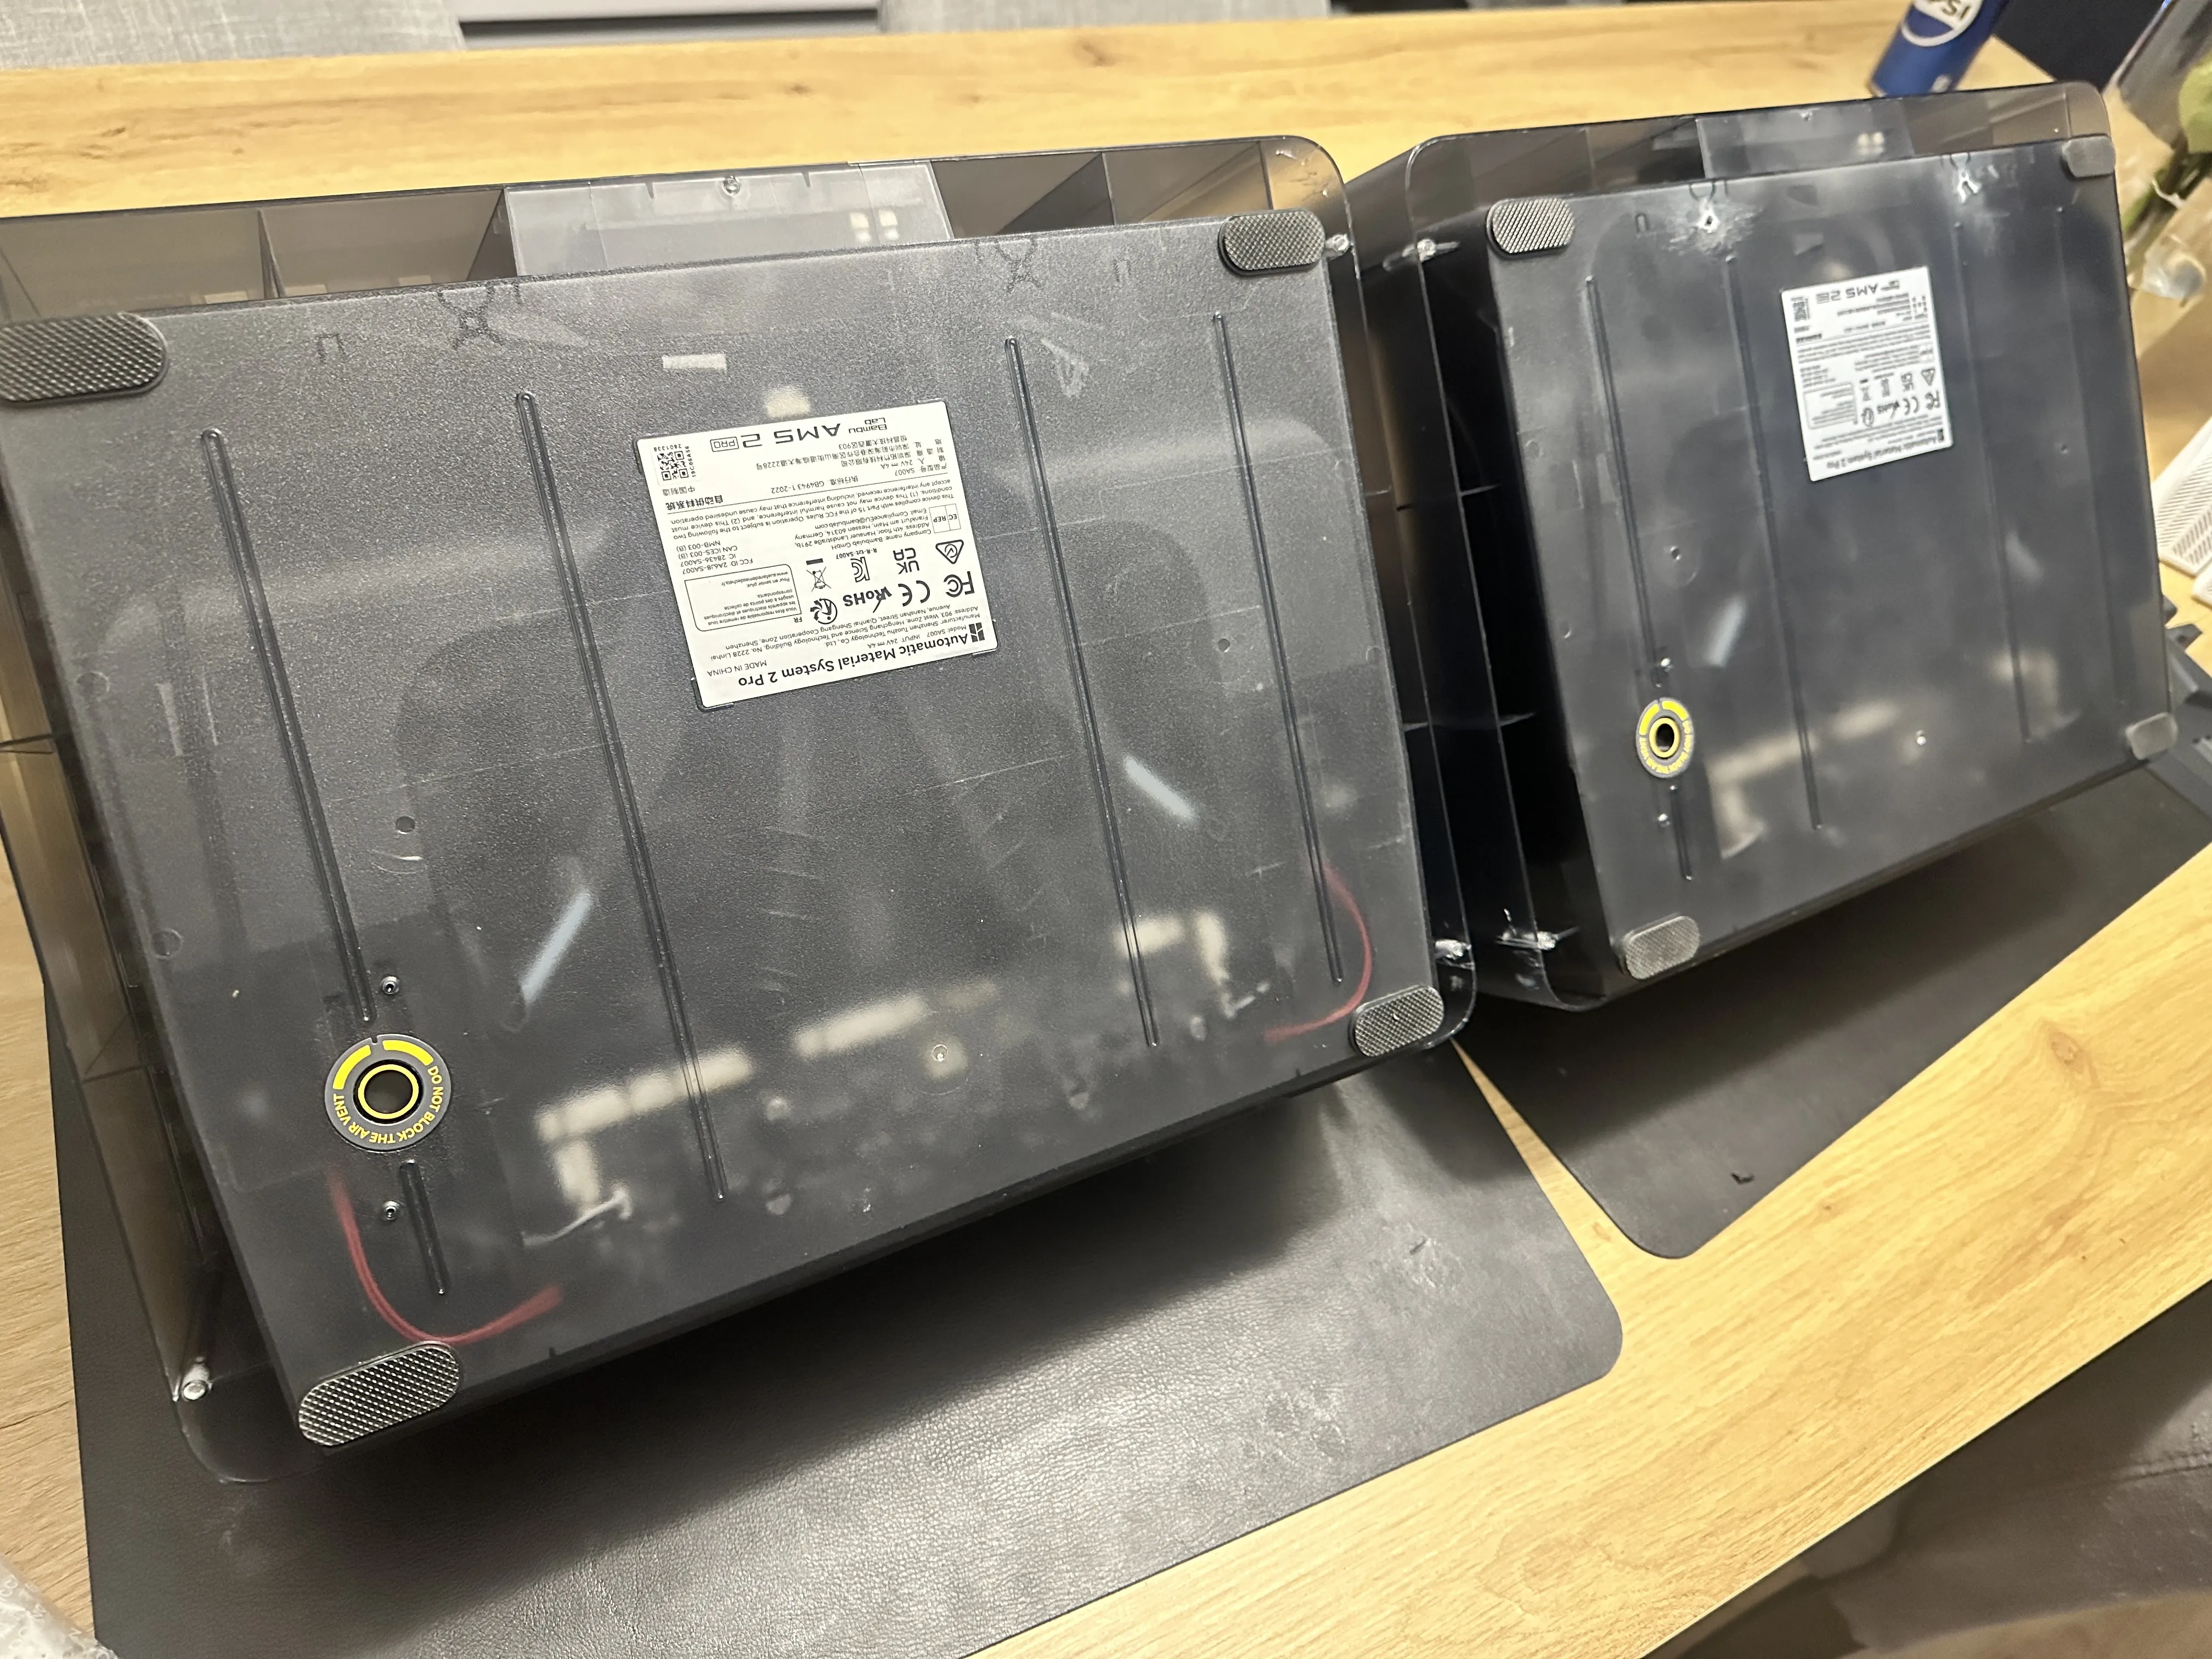
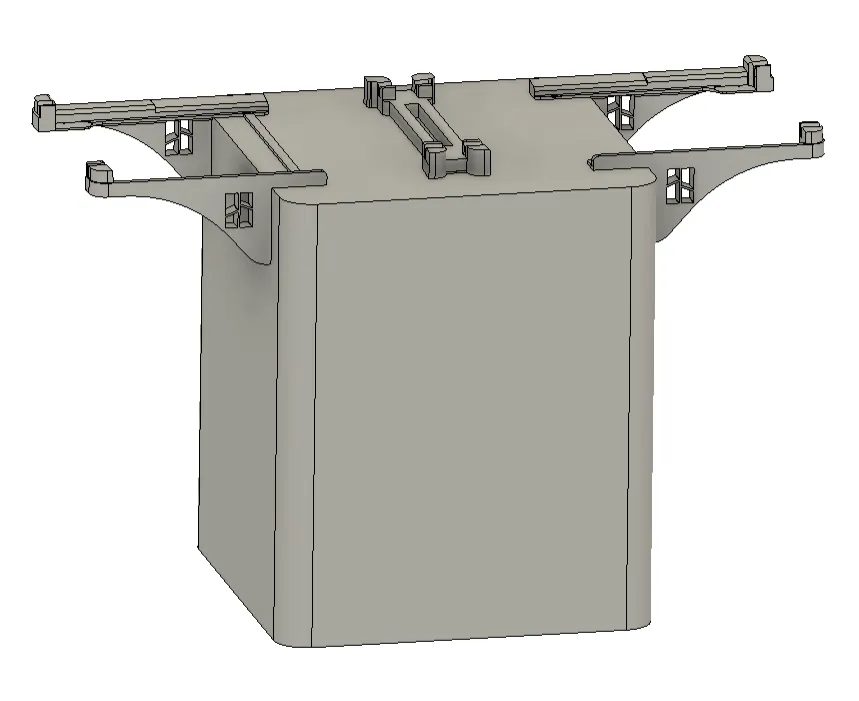
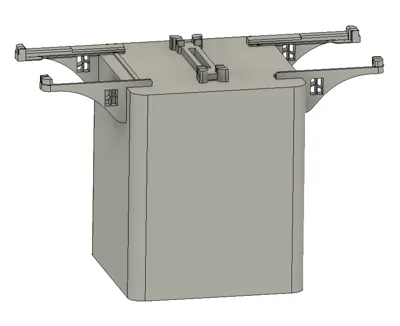
- Place the CENTER BRACKET under both AMS (The part should slide easily without force)
Use 4 screws to secure the bracket on both AMS together. (BE CAREFULL NOT TO OVER TIGHT THE SCREWS, IT COULD DAMAGE THE AMS PLASTIC)
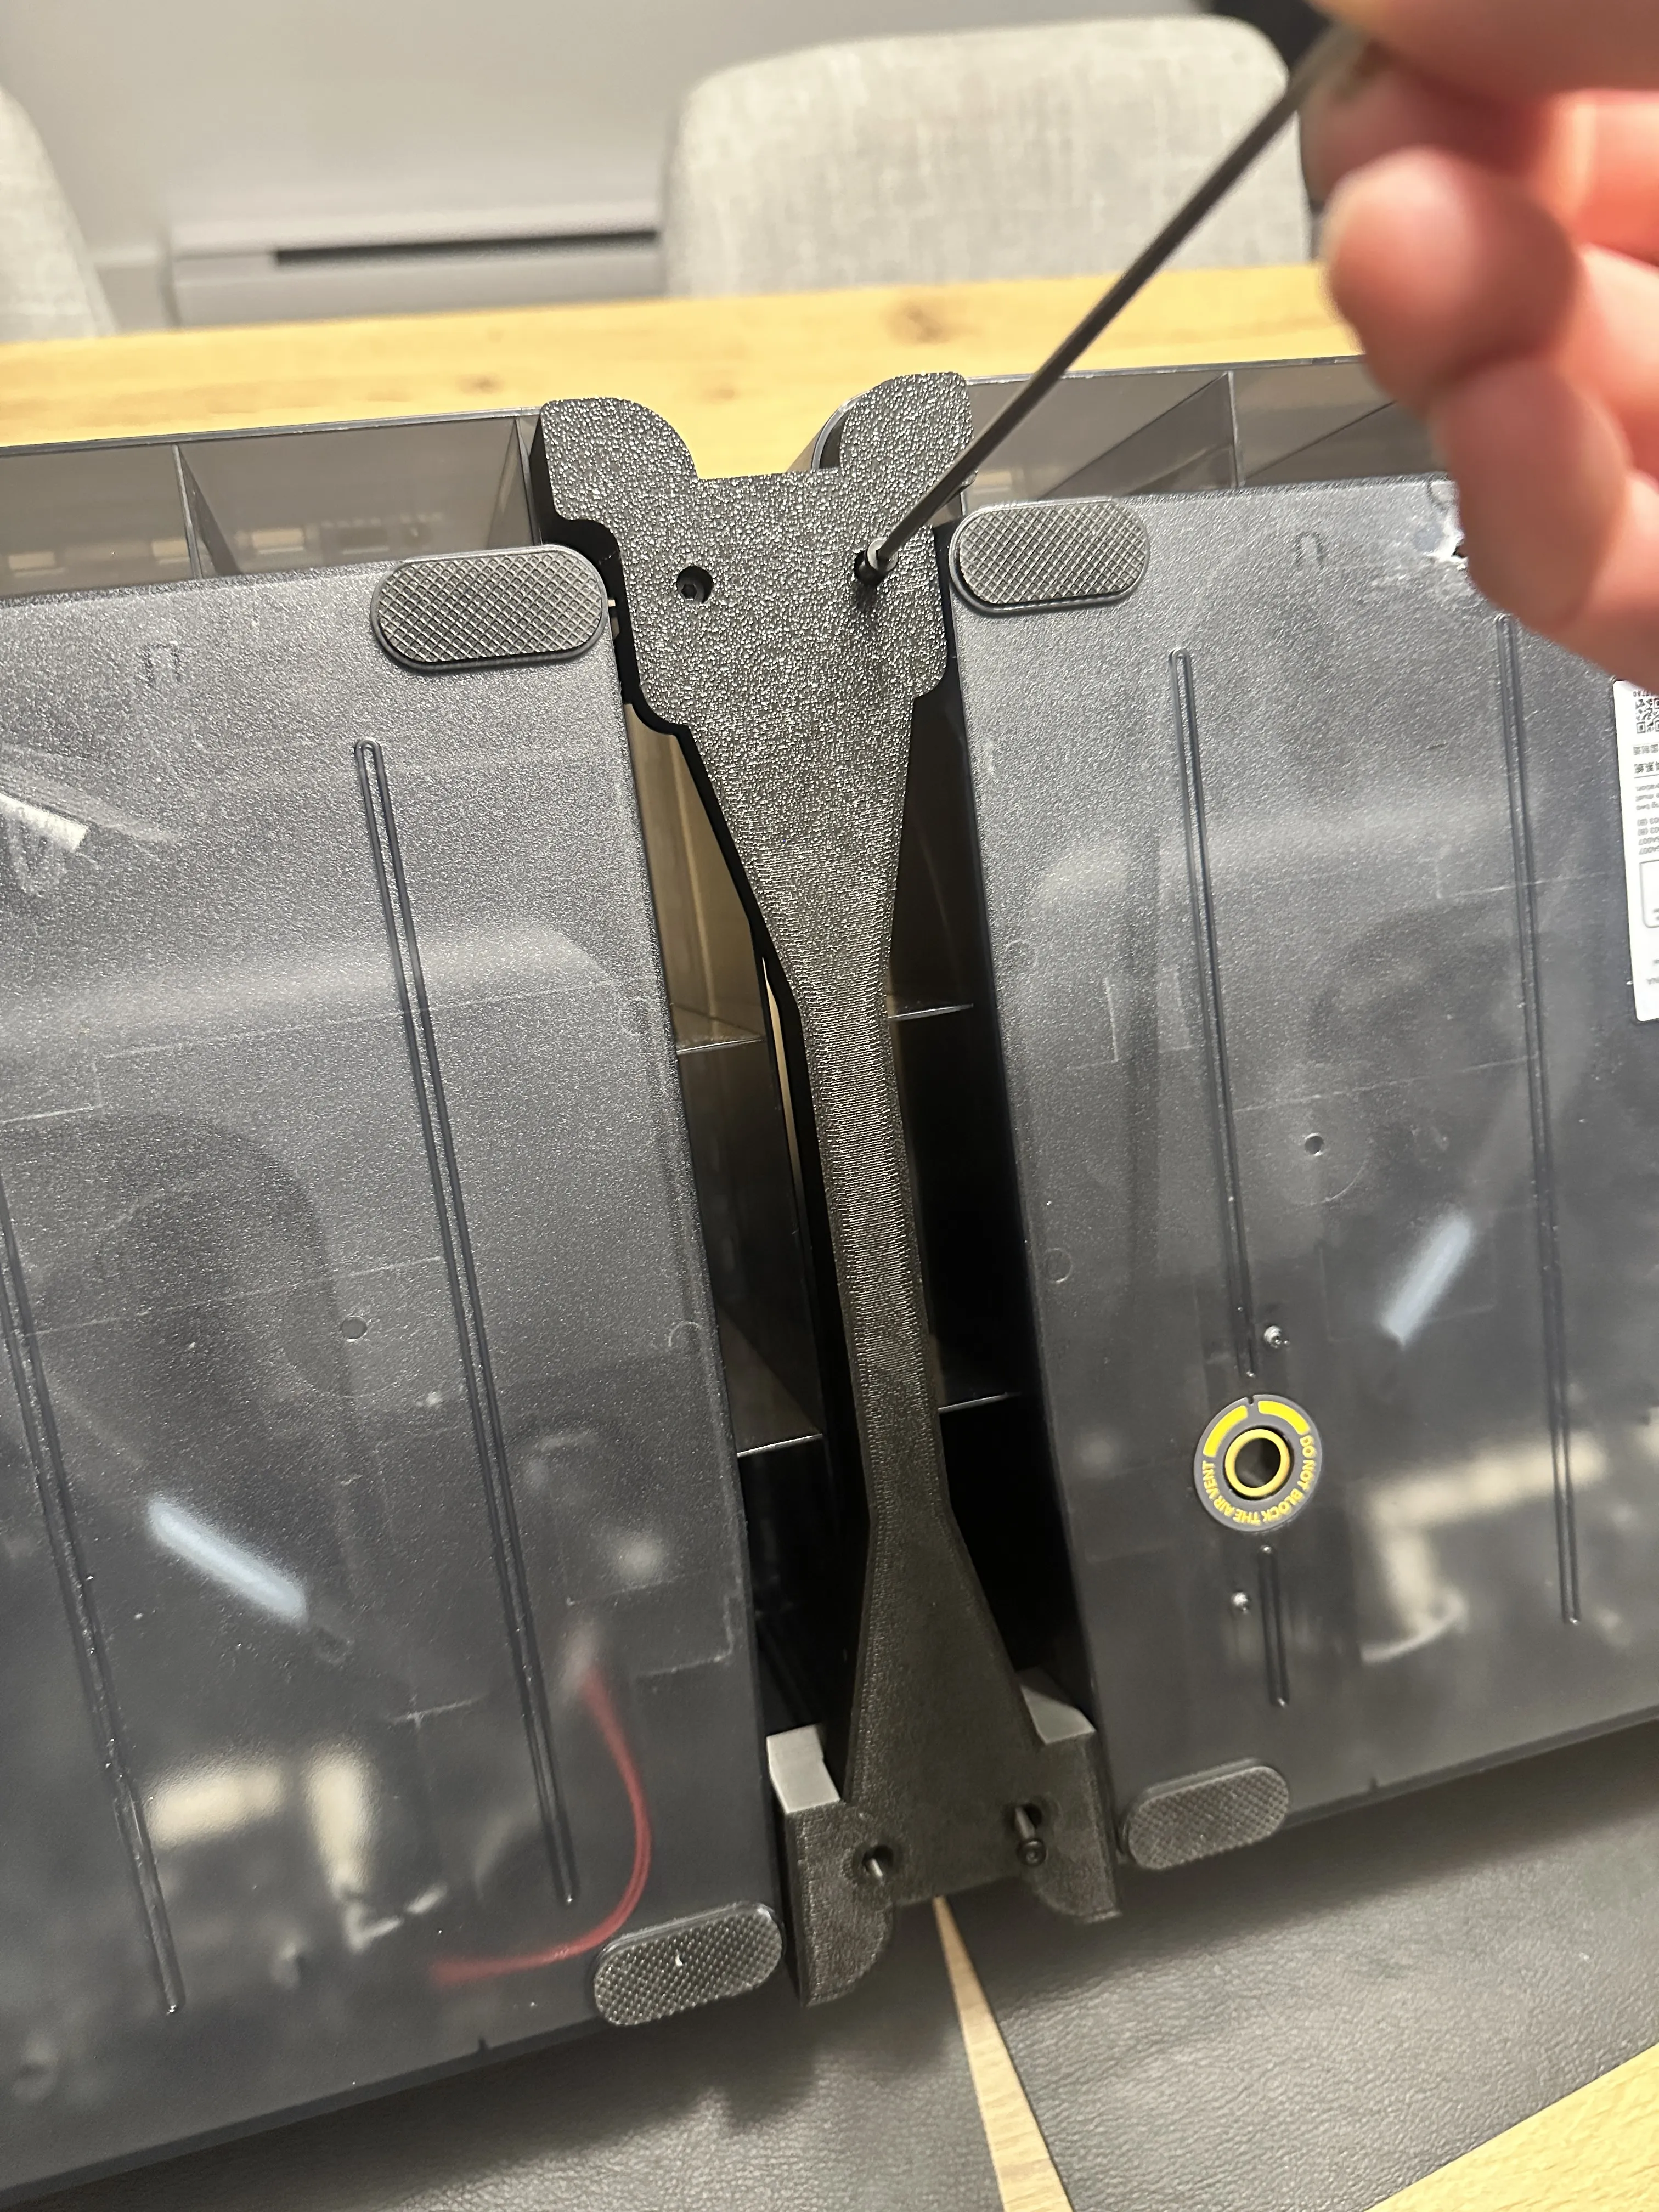
Insert the REAR and FRONT brackets to each Corners (don't forget the screws, I do not recommand using this model without them)
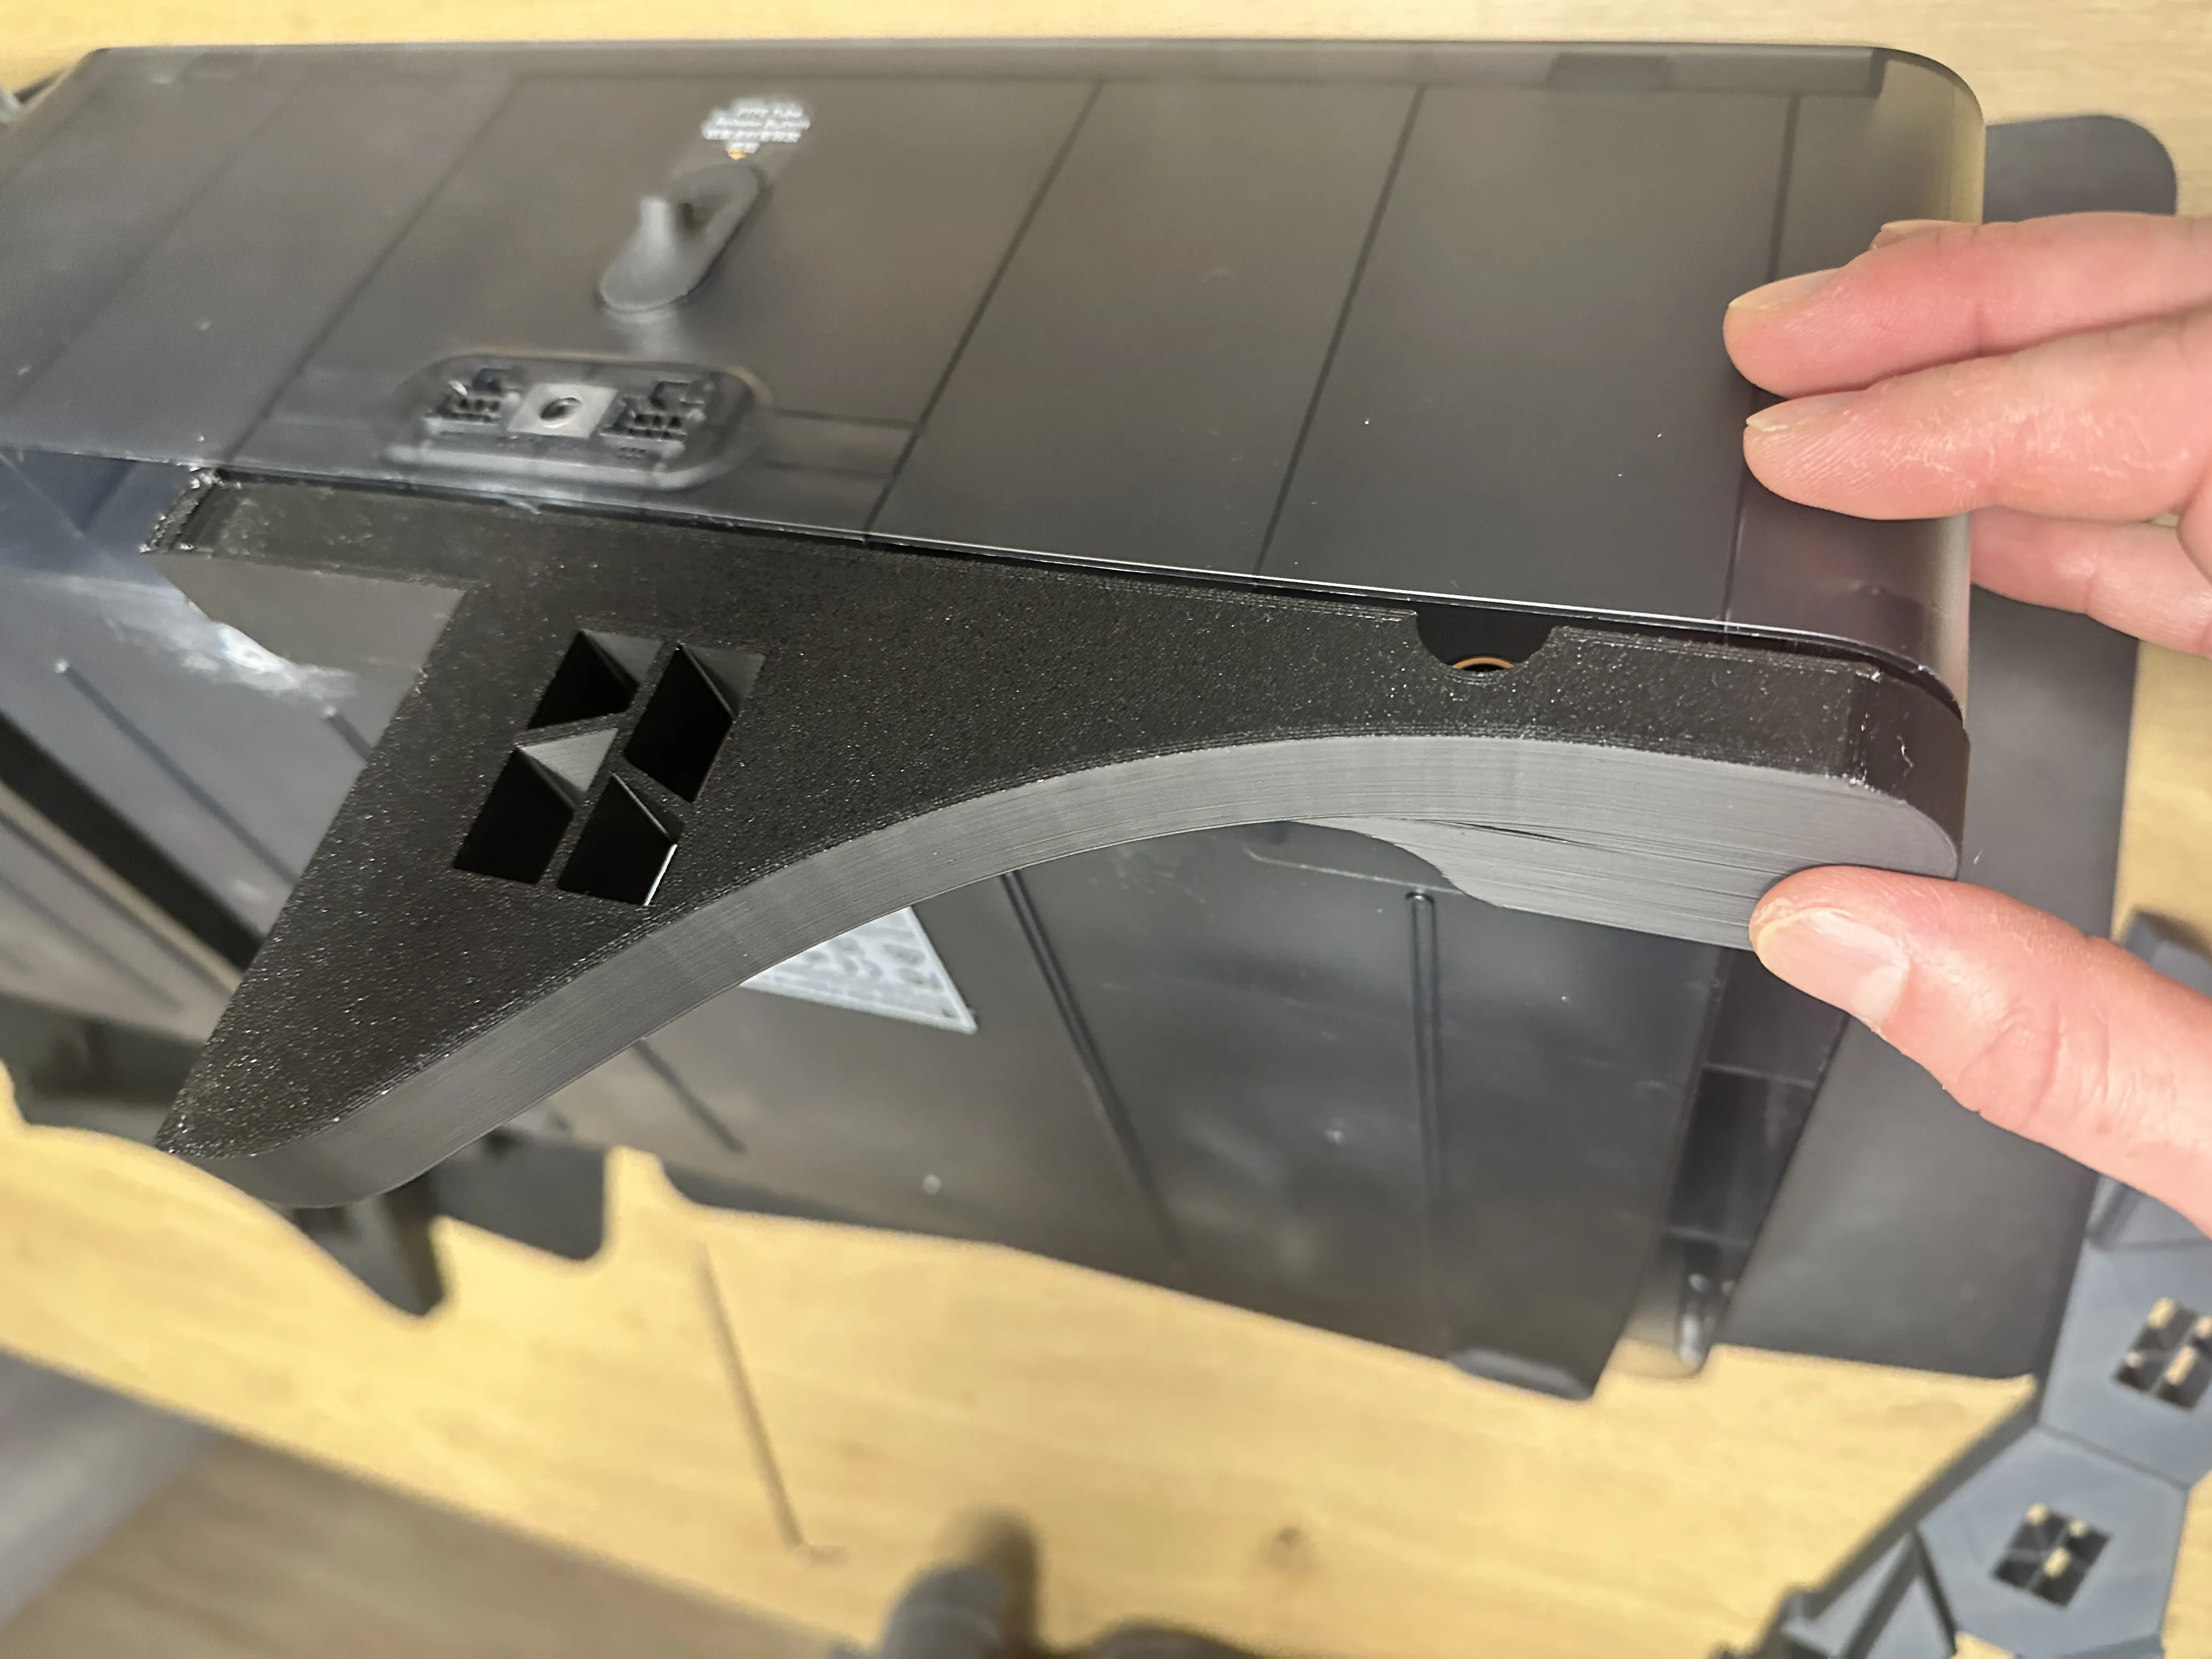
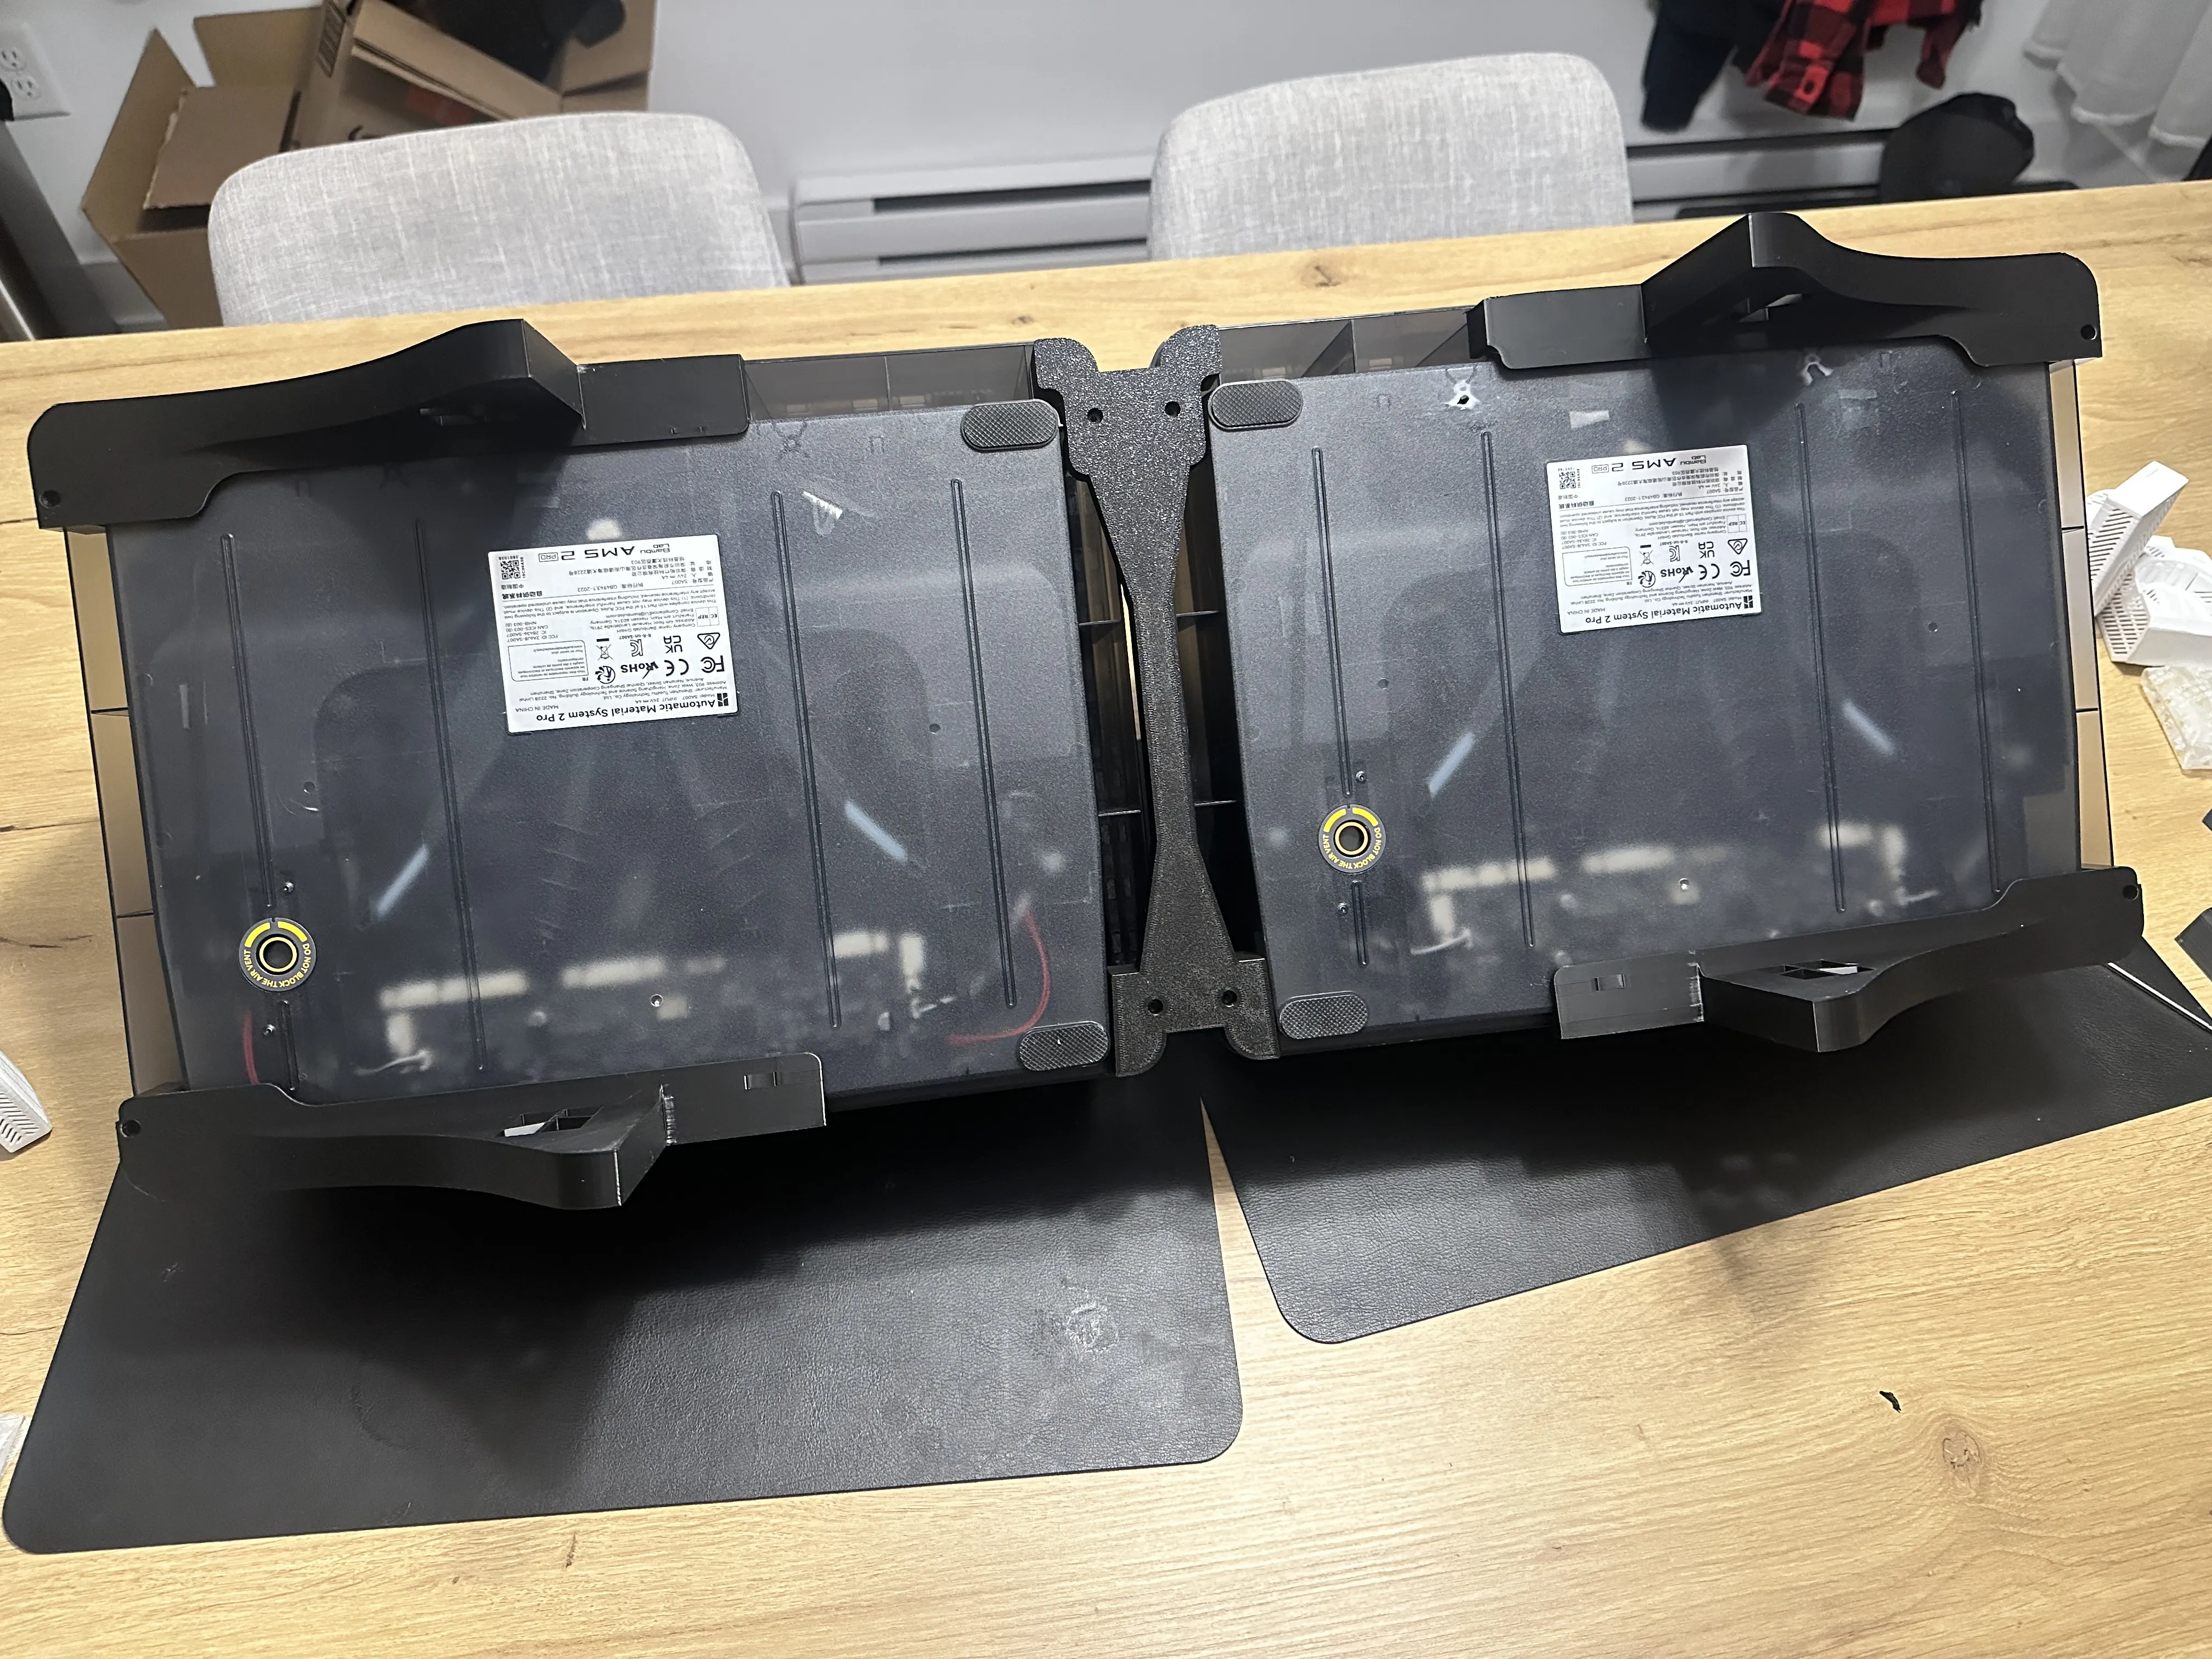
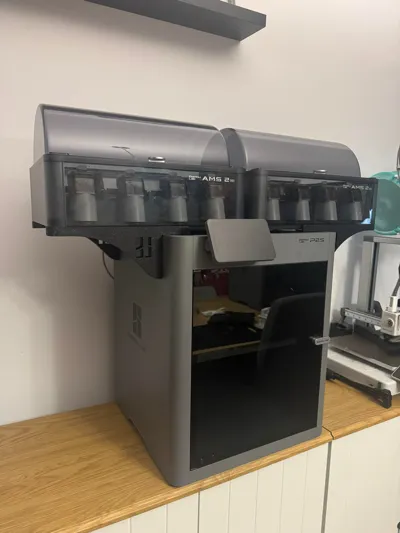
I recommand to have someone help you for this step ; carefully Lift the unit and place it on top of you P2S.
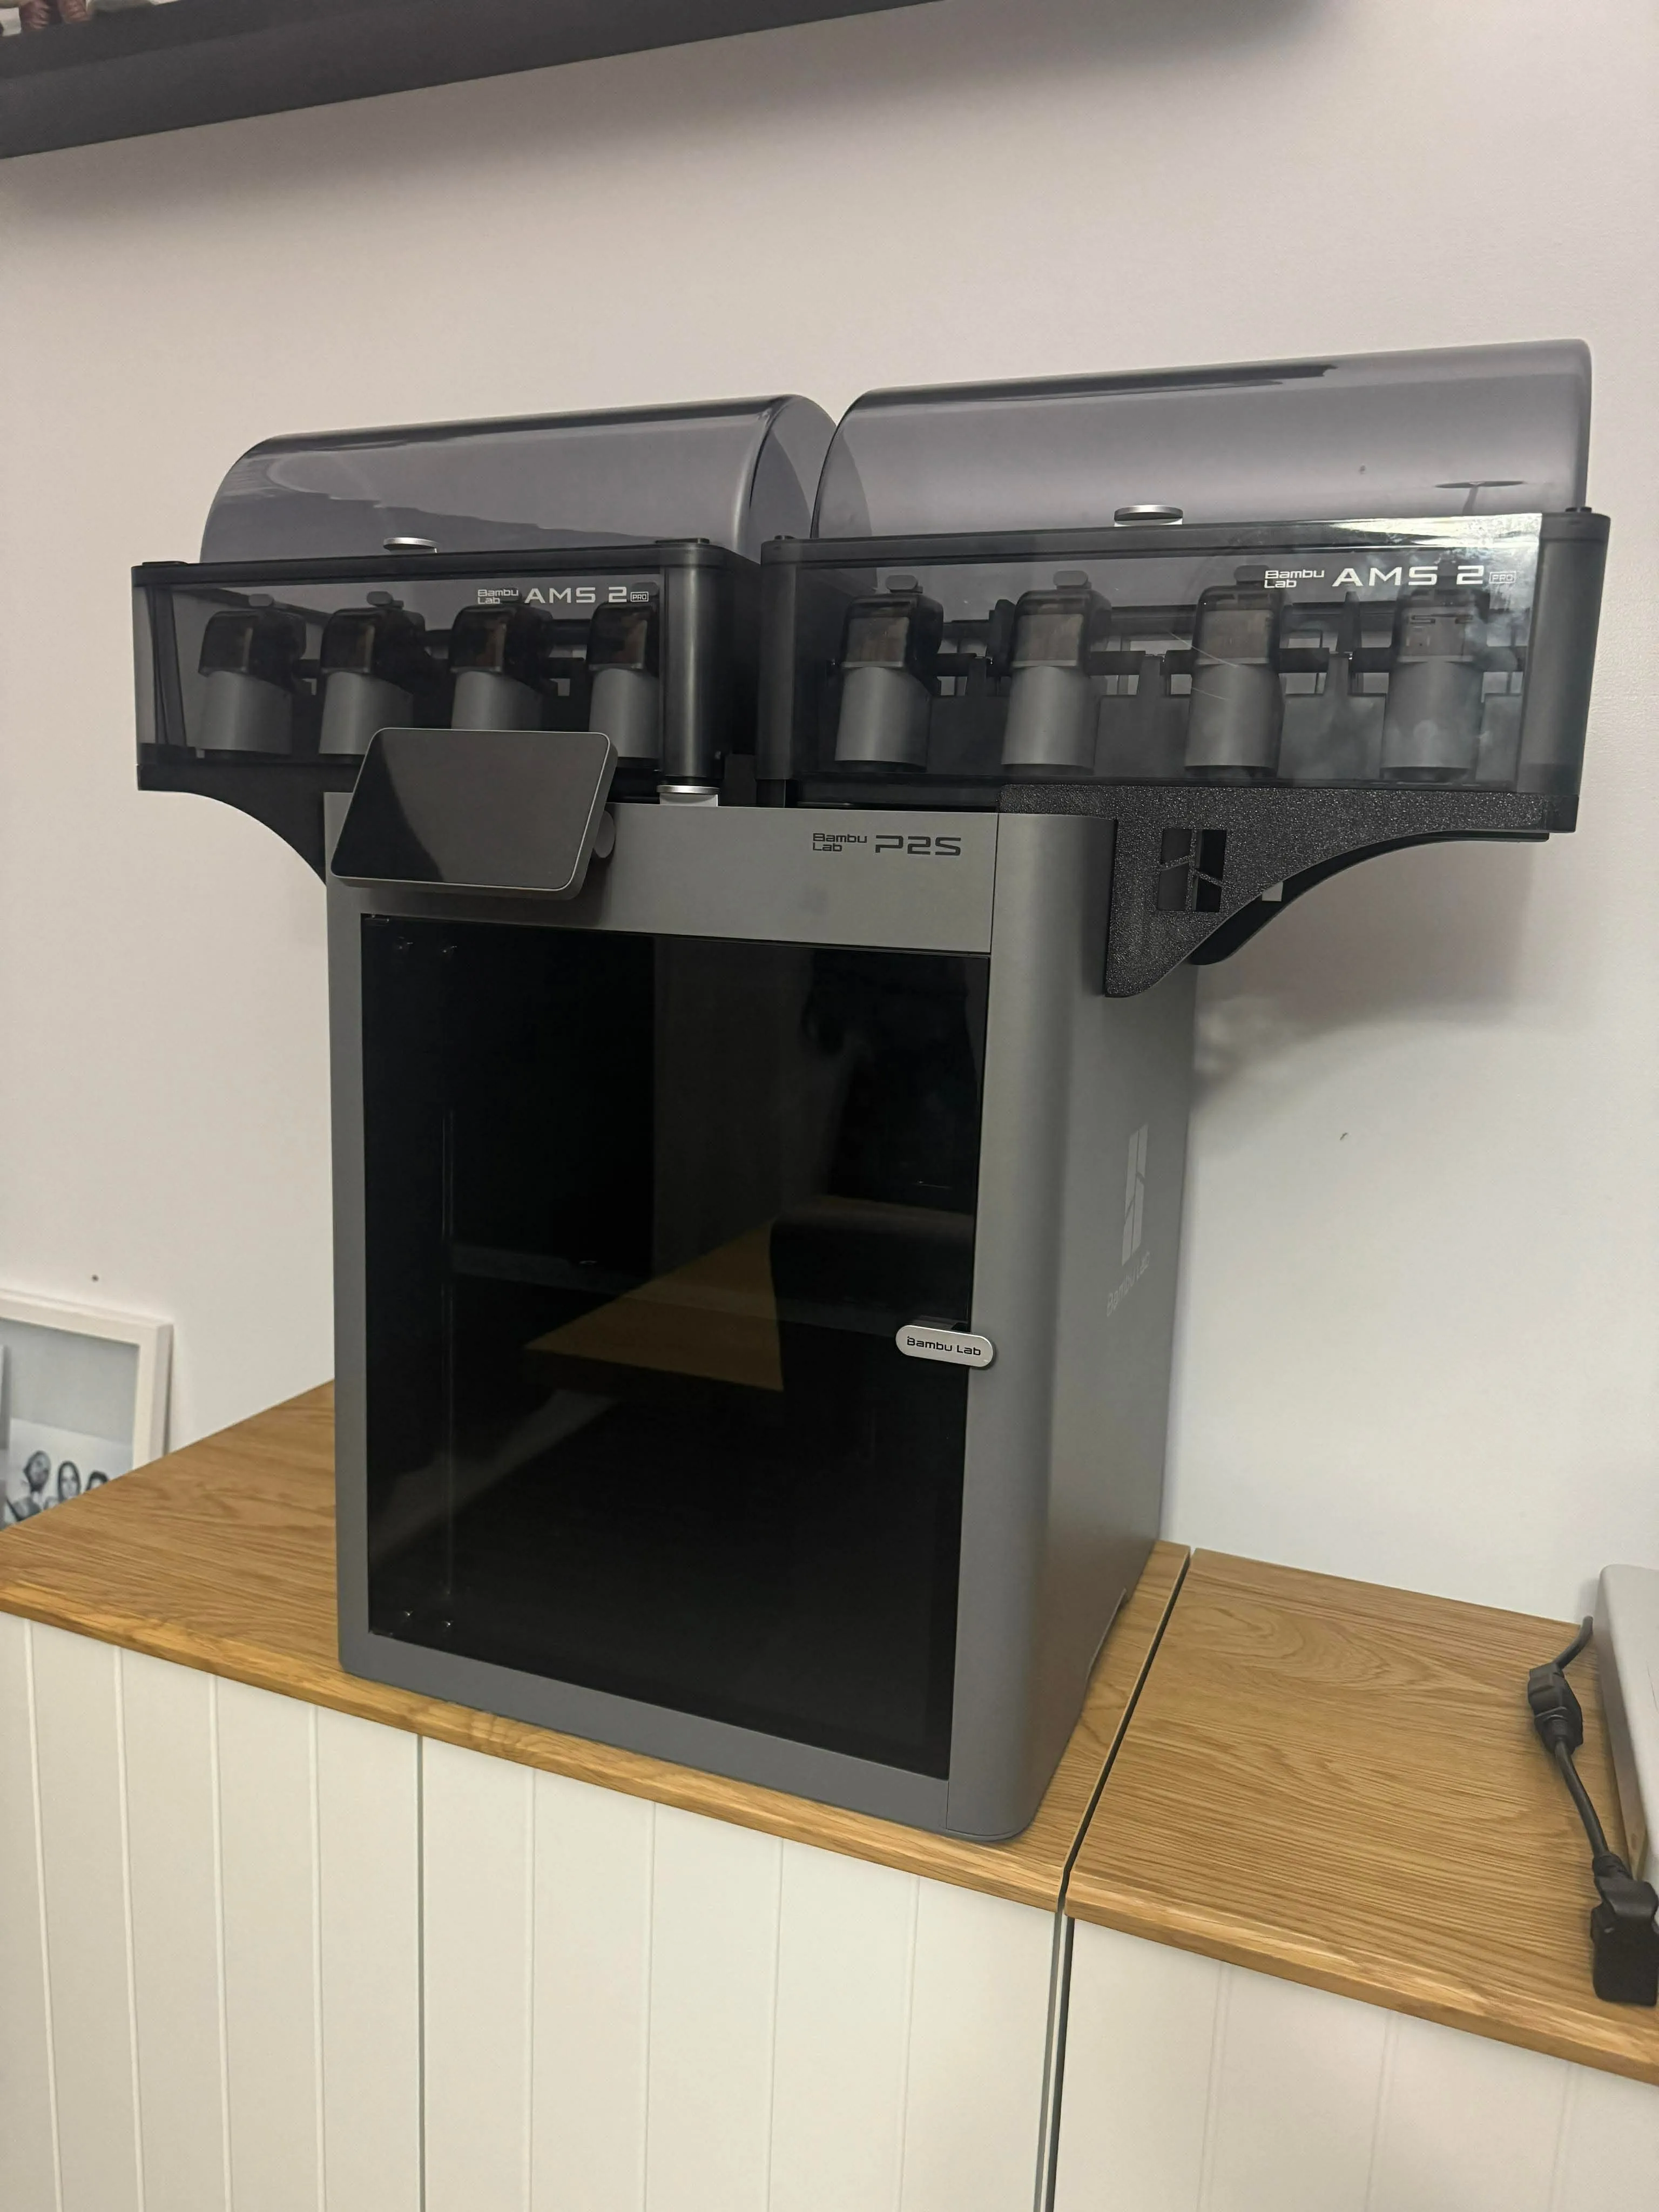
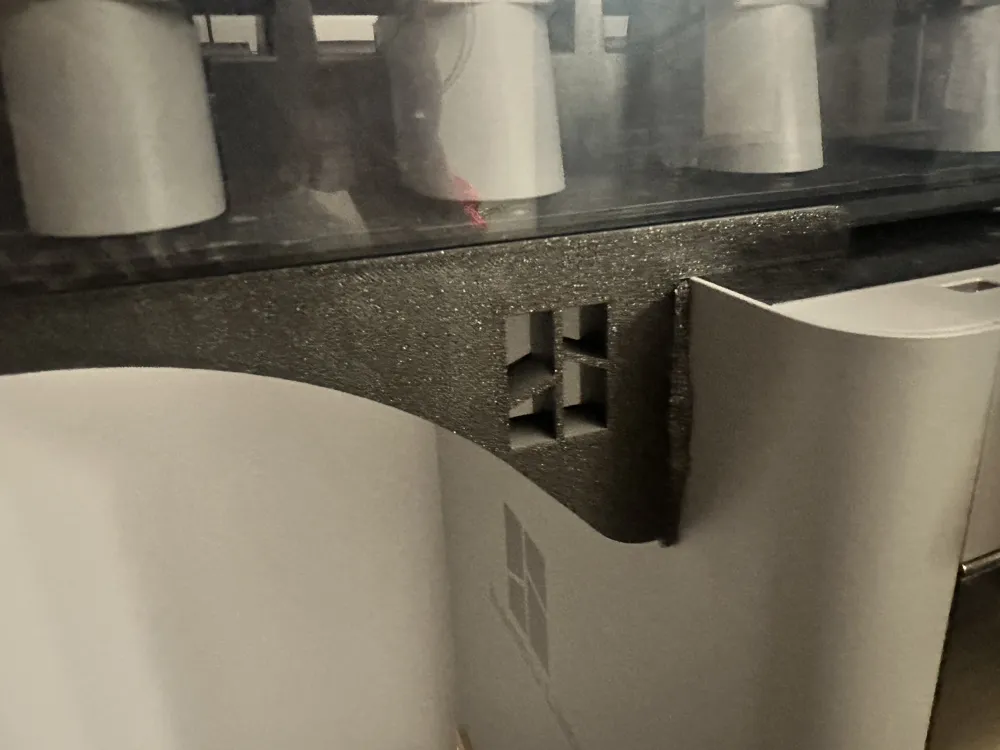
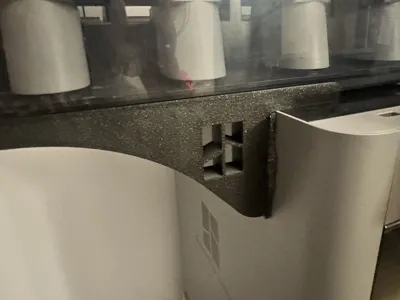
There's a 1.25 mm clearance on each side between the bracket and the printer. I suggest using some foam to protect that printers side and prevent the unit from moving. I also tested the unit without foam and it works fine without damaging the printer's side panel.
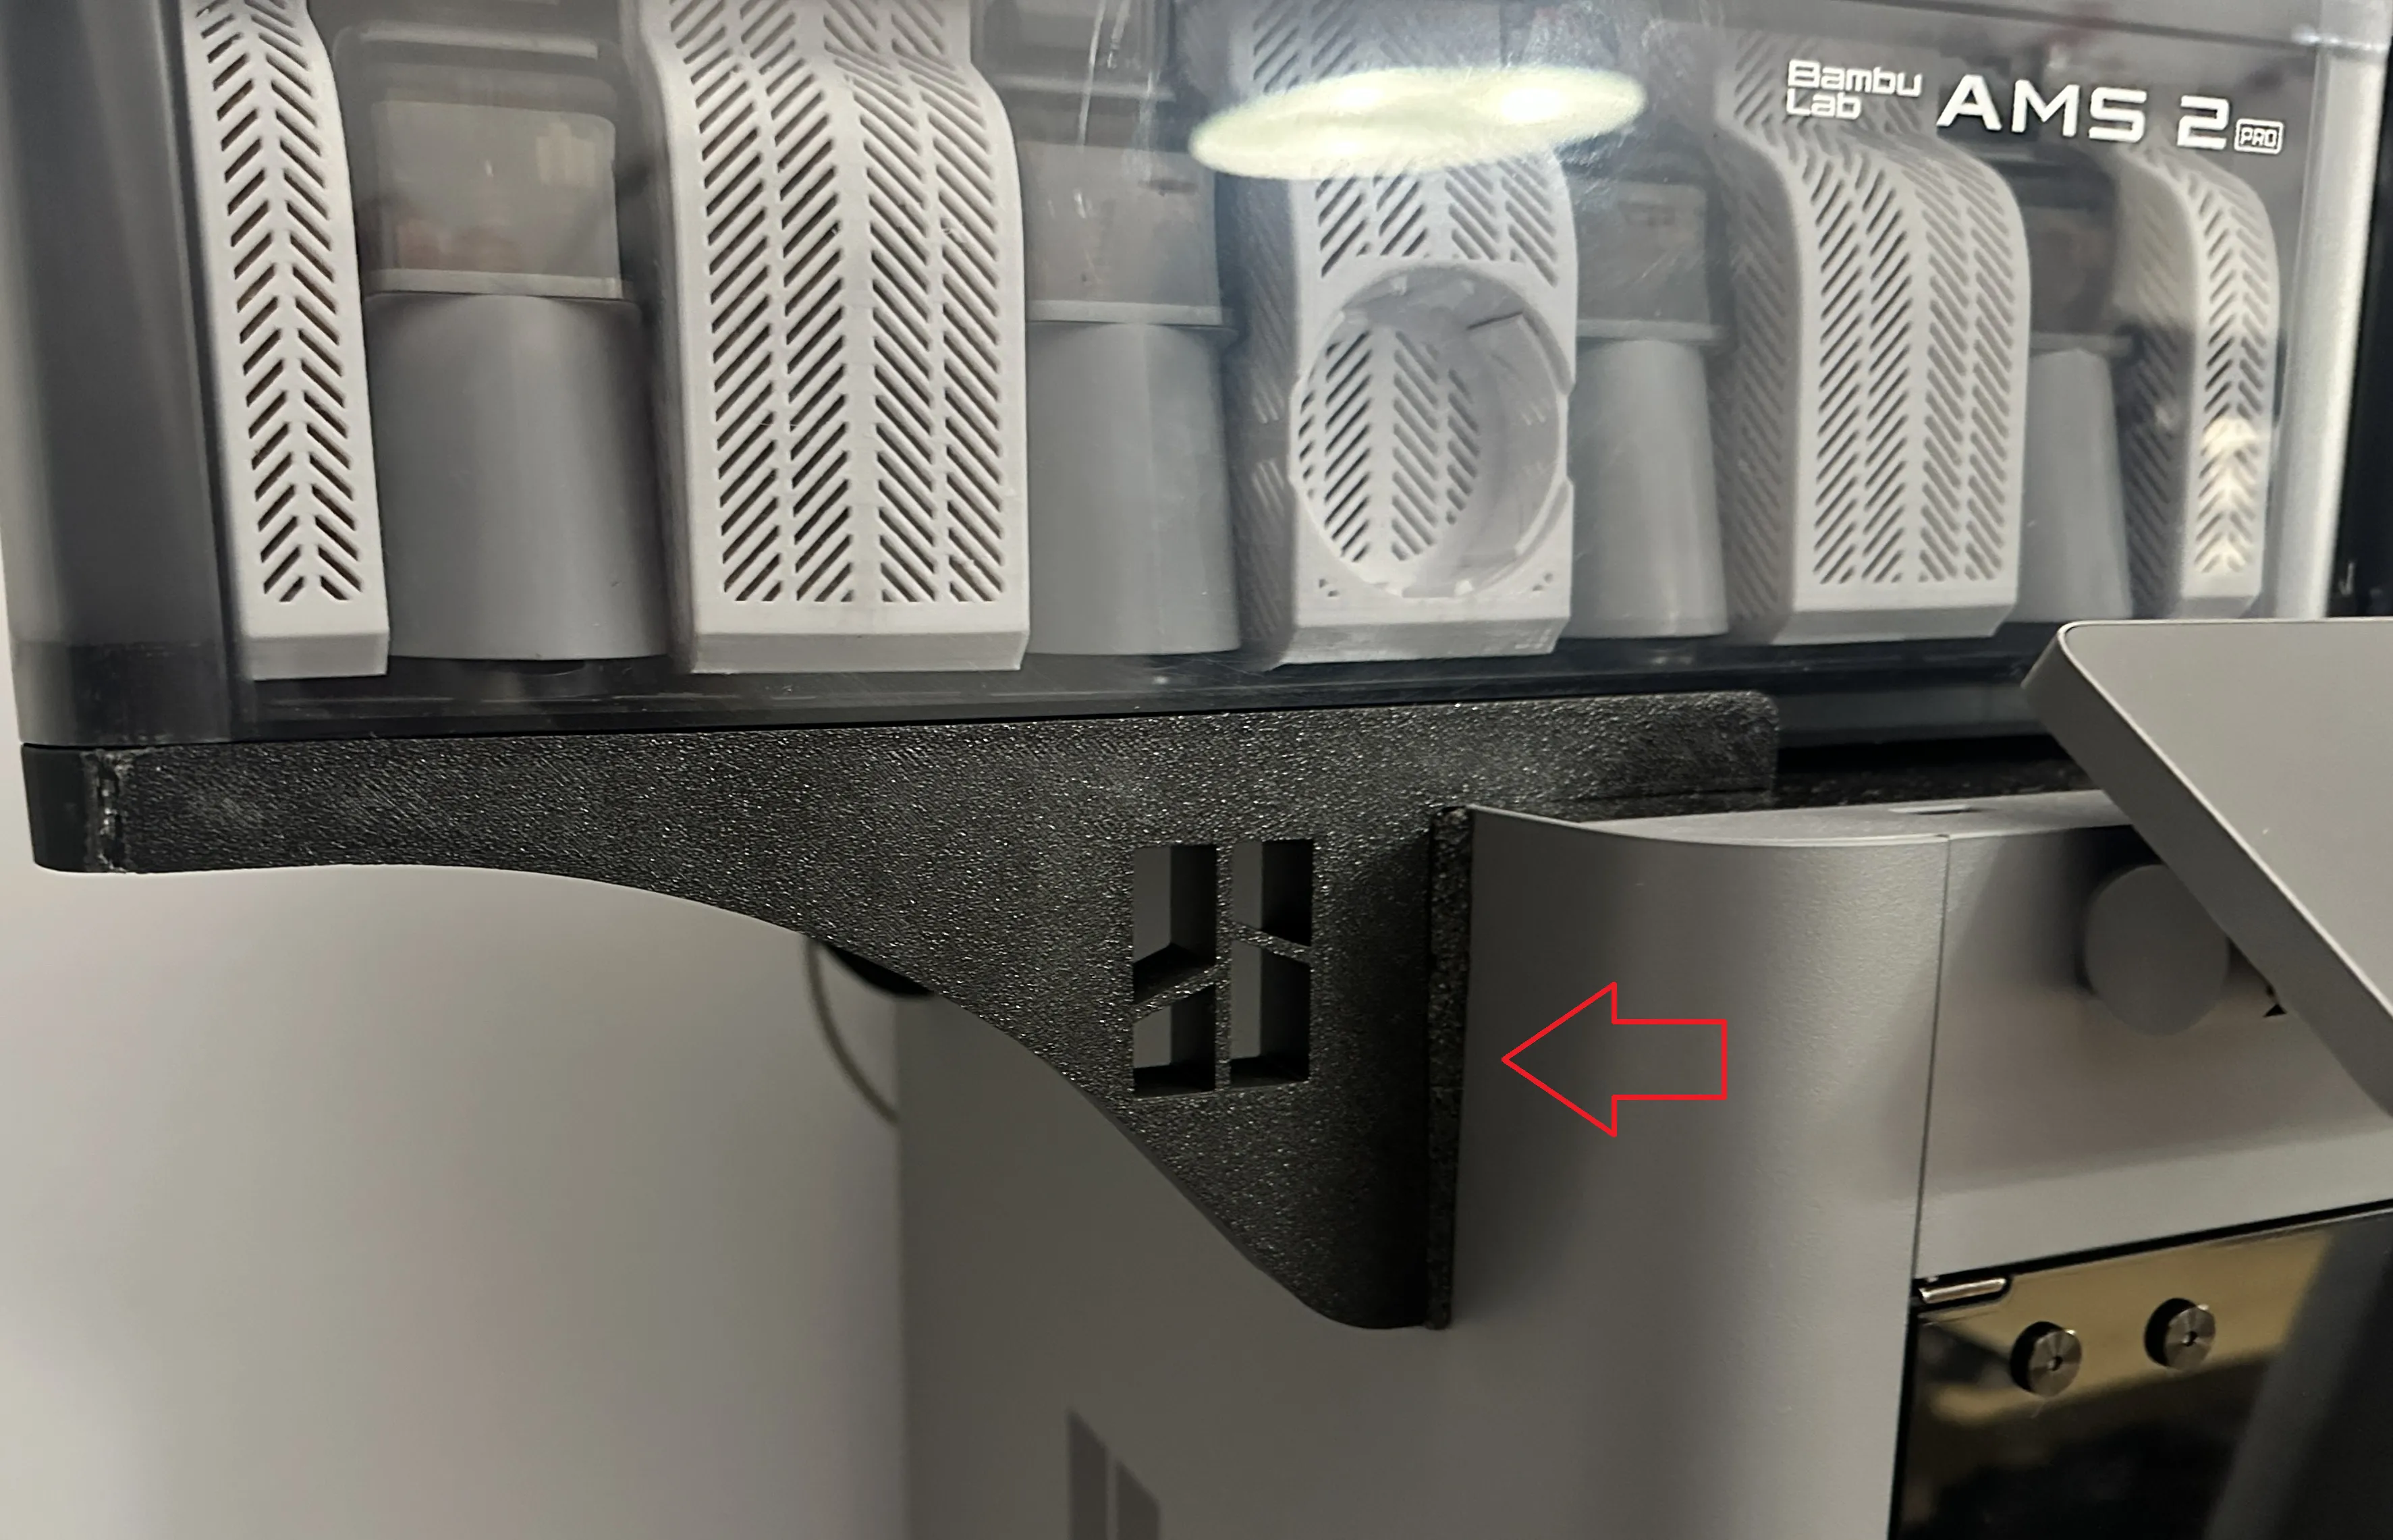
I used some of the thin packaging foam from the P2S box.
NOW SIMPLY RECONNECT EVERYTHING AND ENJOY MULTICOLOR PRINTING WITH 8 COLOR POSSIBLE.
VMTsquad
Boost Me (for free)
Drop me a boost, it's the best way to help me!
- VMTsquad
License

You shall not share, sub-license, sell, rent, host, transfer, or distribute in any way the digital or 3D printed versions of this object, nor any other derivative work of this object in its digital or physical format (including - but not limited to - remixes of this object, and hosting on other digital platforms). The objects may not be used without permission in any way whatsoever in which you charge money, or collect fees.


Comment & Rating (357)