
P2S Exhaust Filter
Print Profile(6)




Description
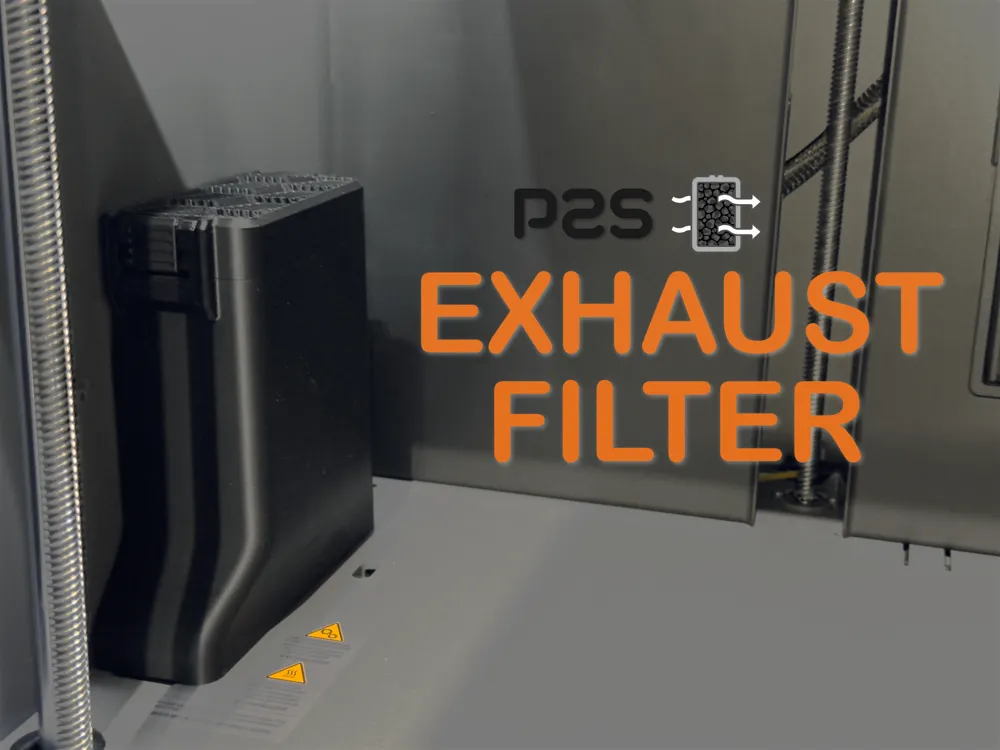
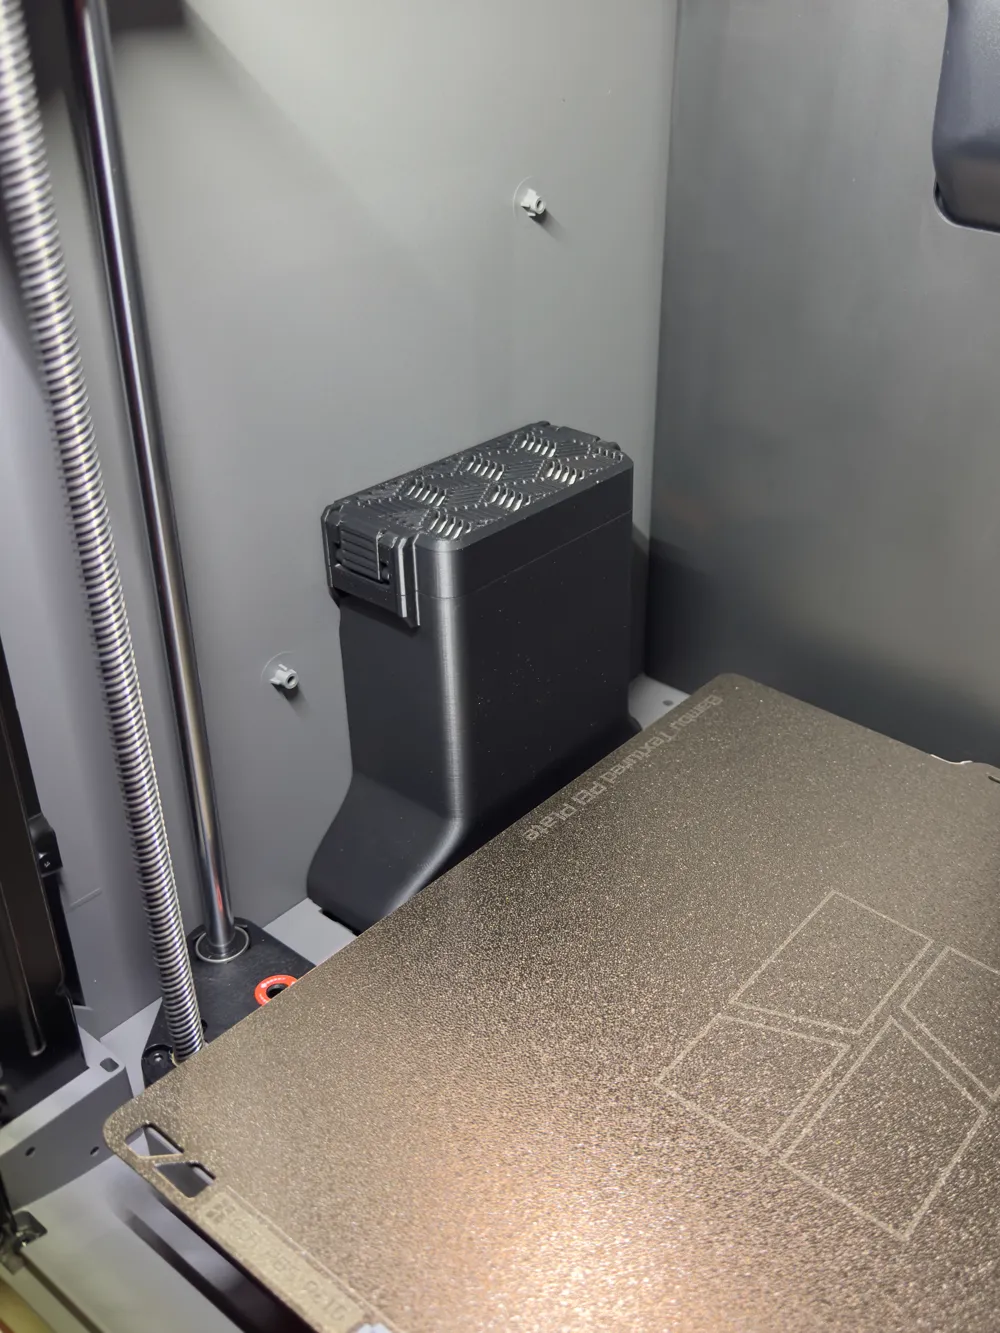
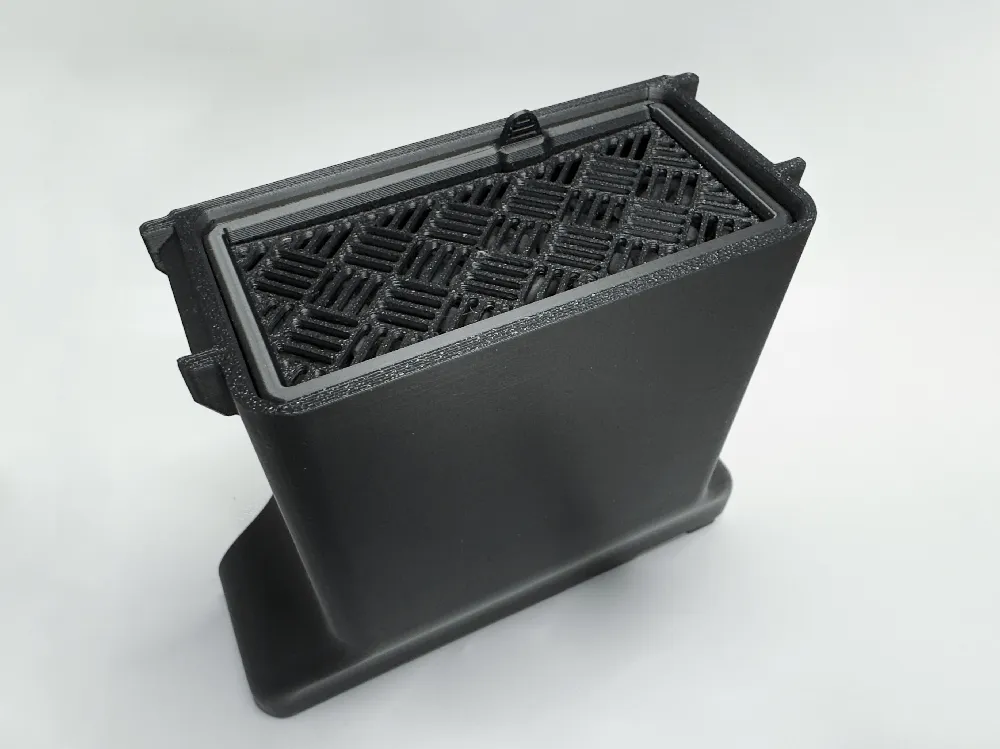
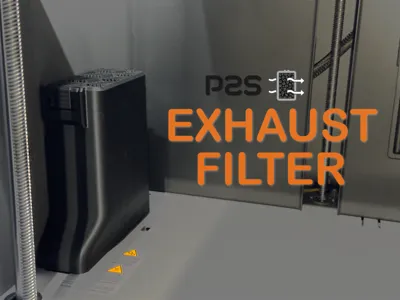
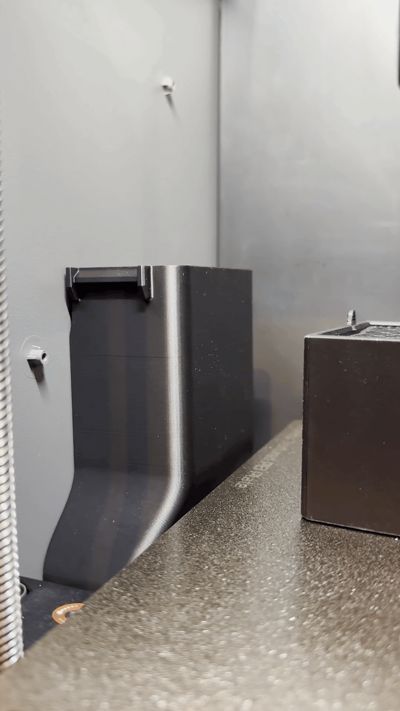
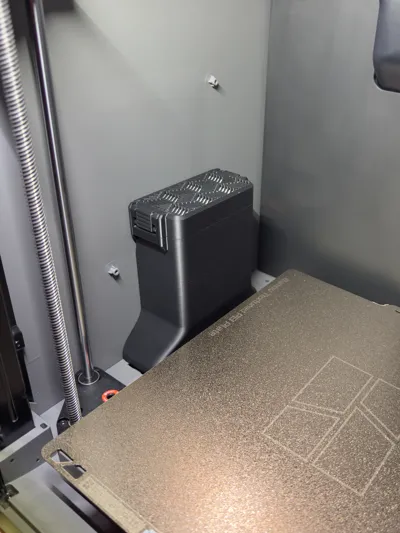
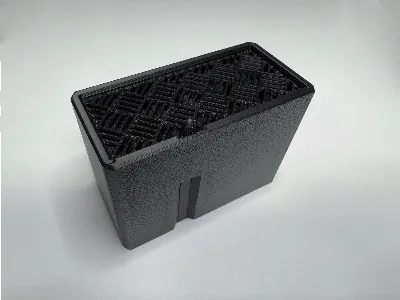
Add-on exhaust filter for the Bambu Lab P2S that uses the previously unused left air channel.

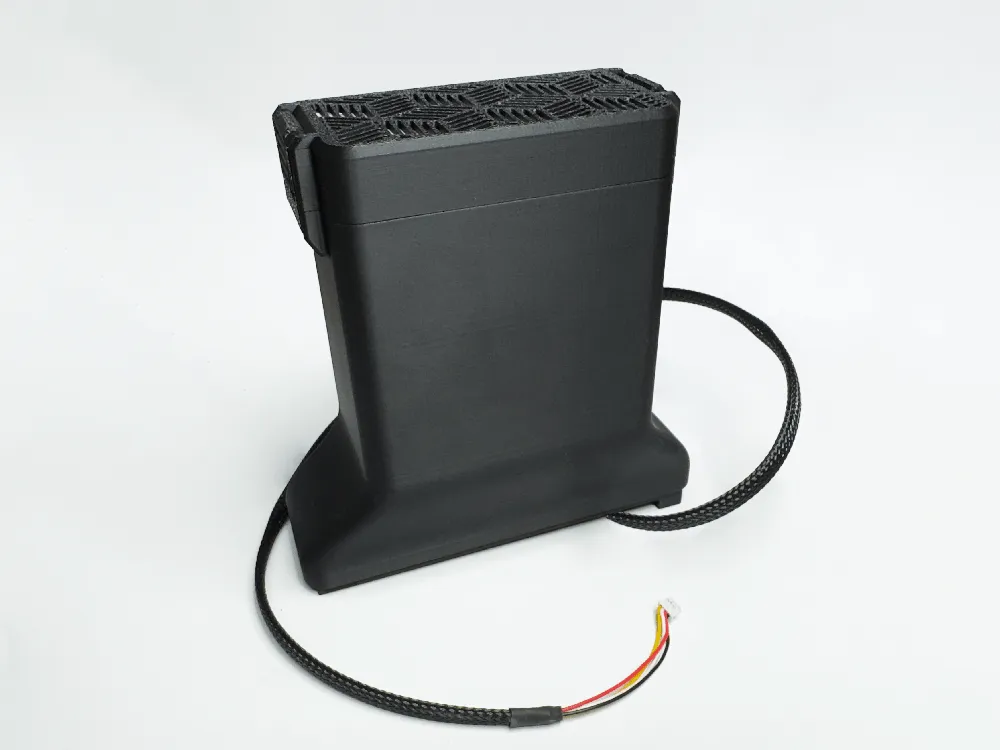
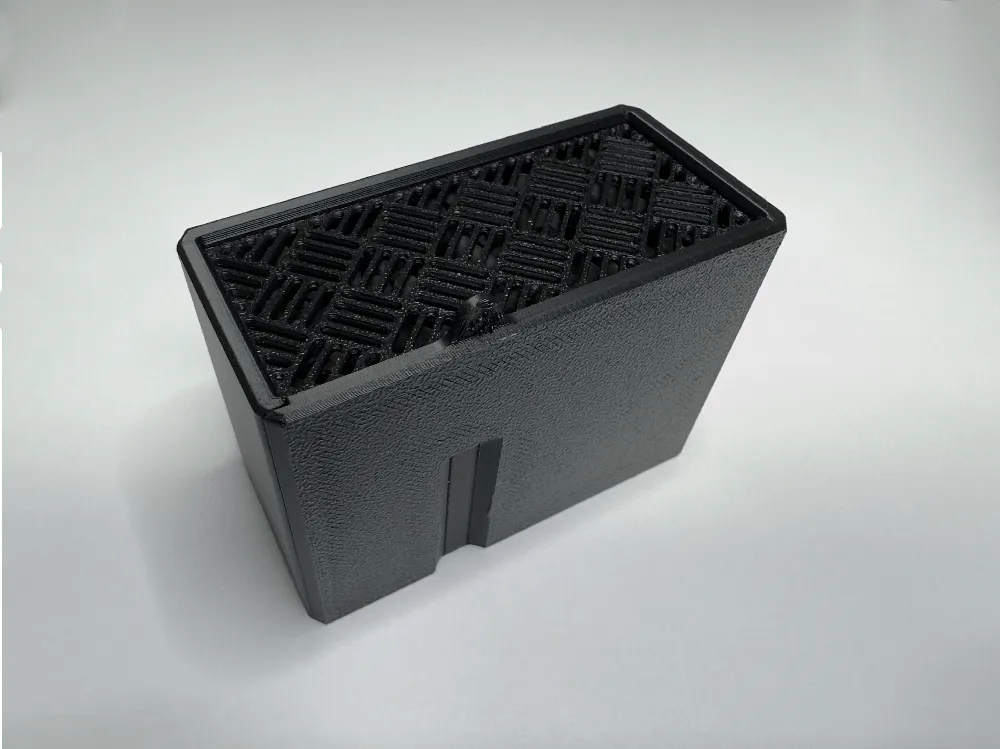
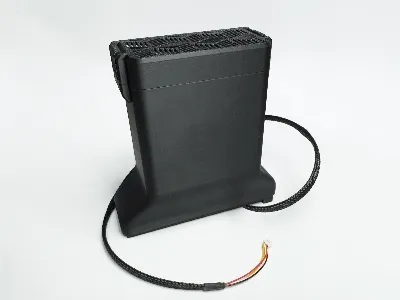
The fan box plugs in where the original flap sits and pulls the air through an 80×40 mm HEPA filter and a carbon cartridge.
Features
- Uses the original left air channel of the P2S – remove the flap, plug in the fan box.
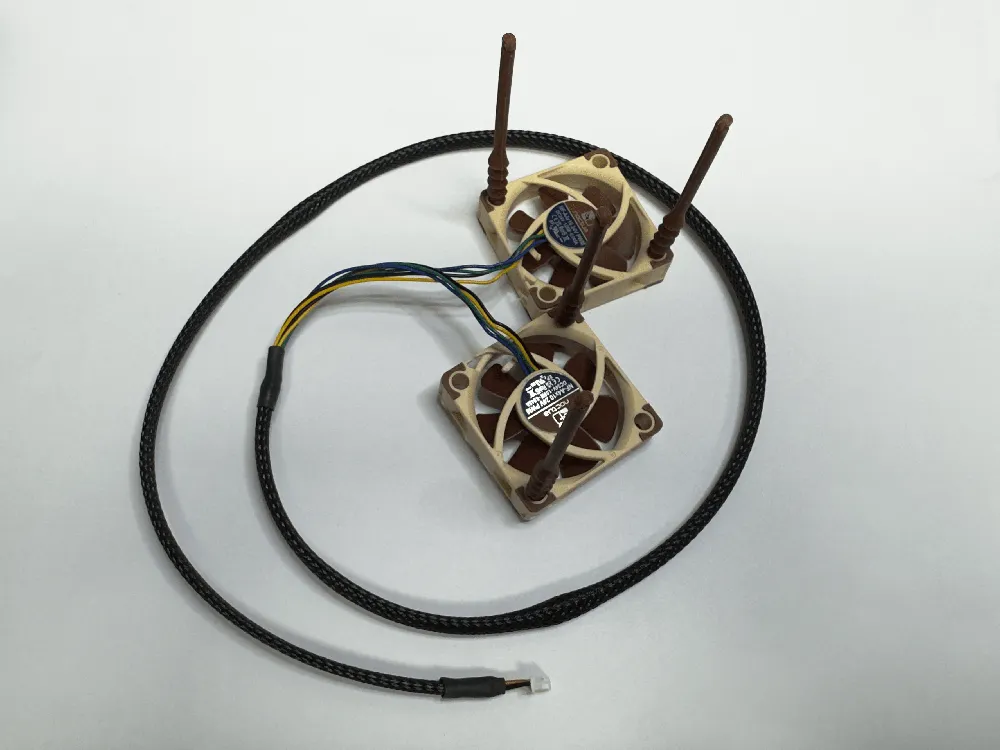
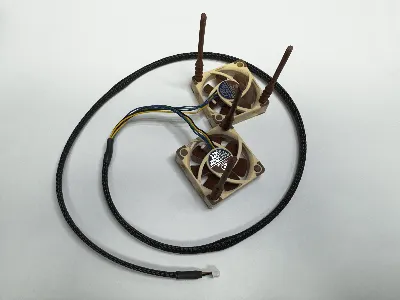
- Two 40×40 mm fans (3D-Models for 10 mm, 20 mm and 28 mm fan height available).
- Filter stack consisting of:
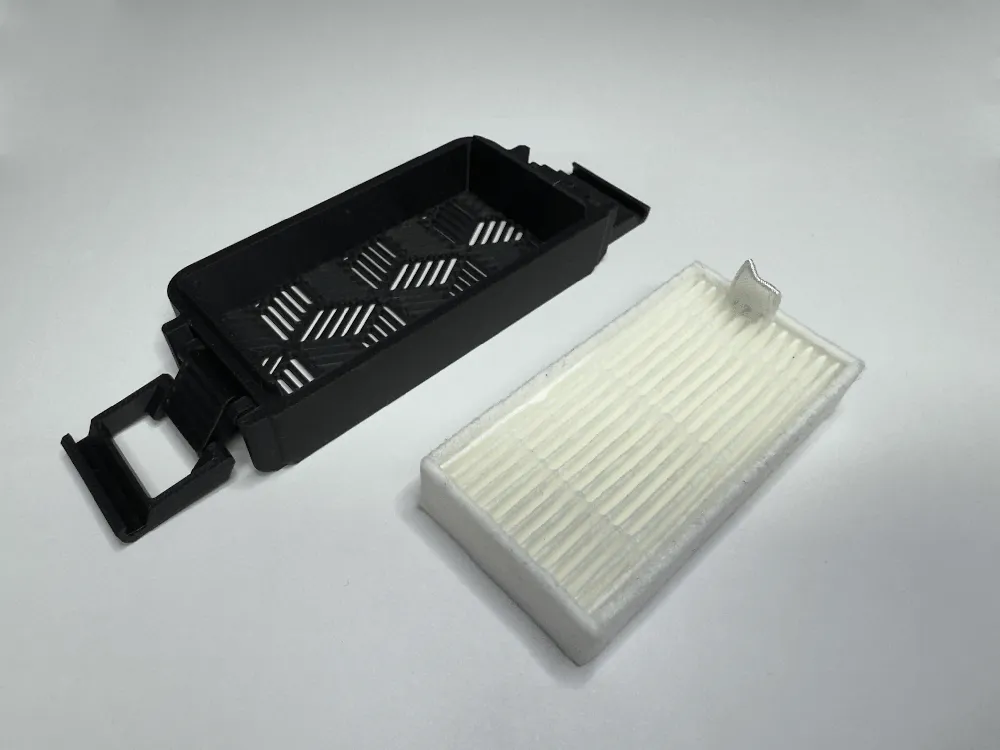
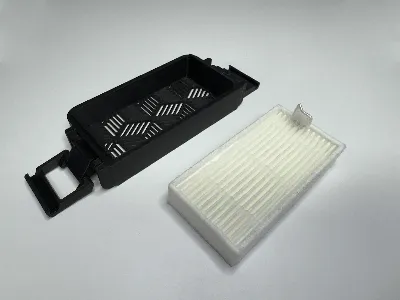
- 80×40 mm HEPA filter
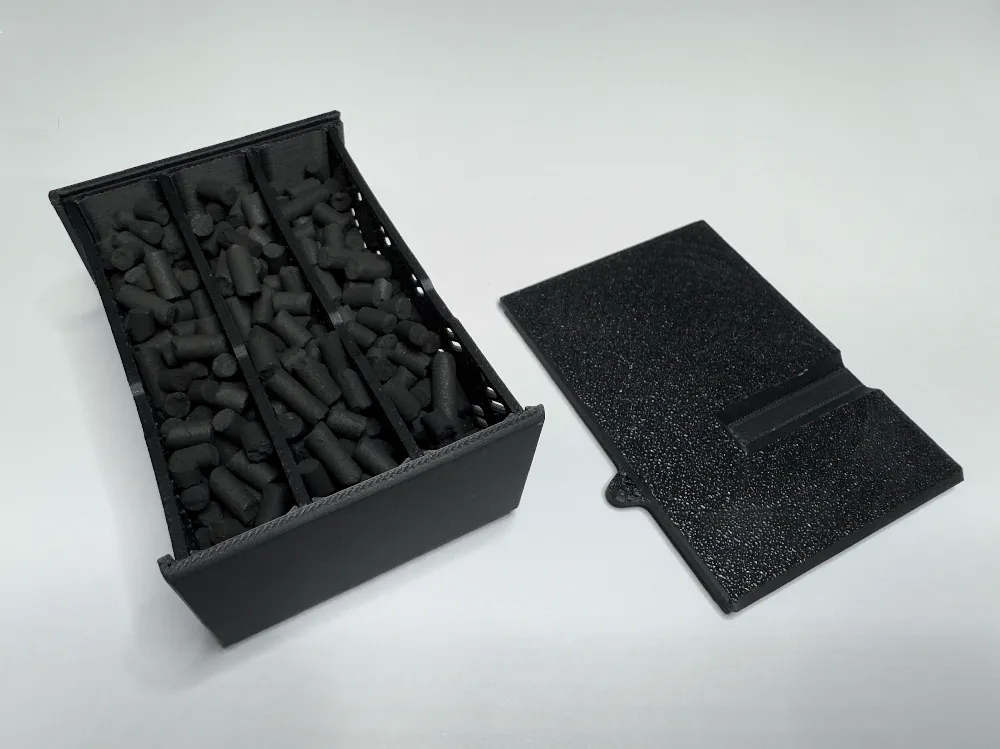
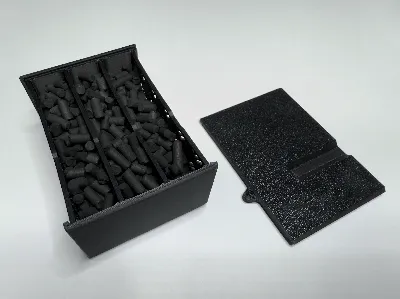
- Carbon cartridge filled with loose activated carbon granulate.
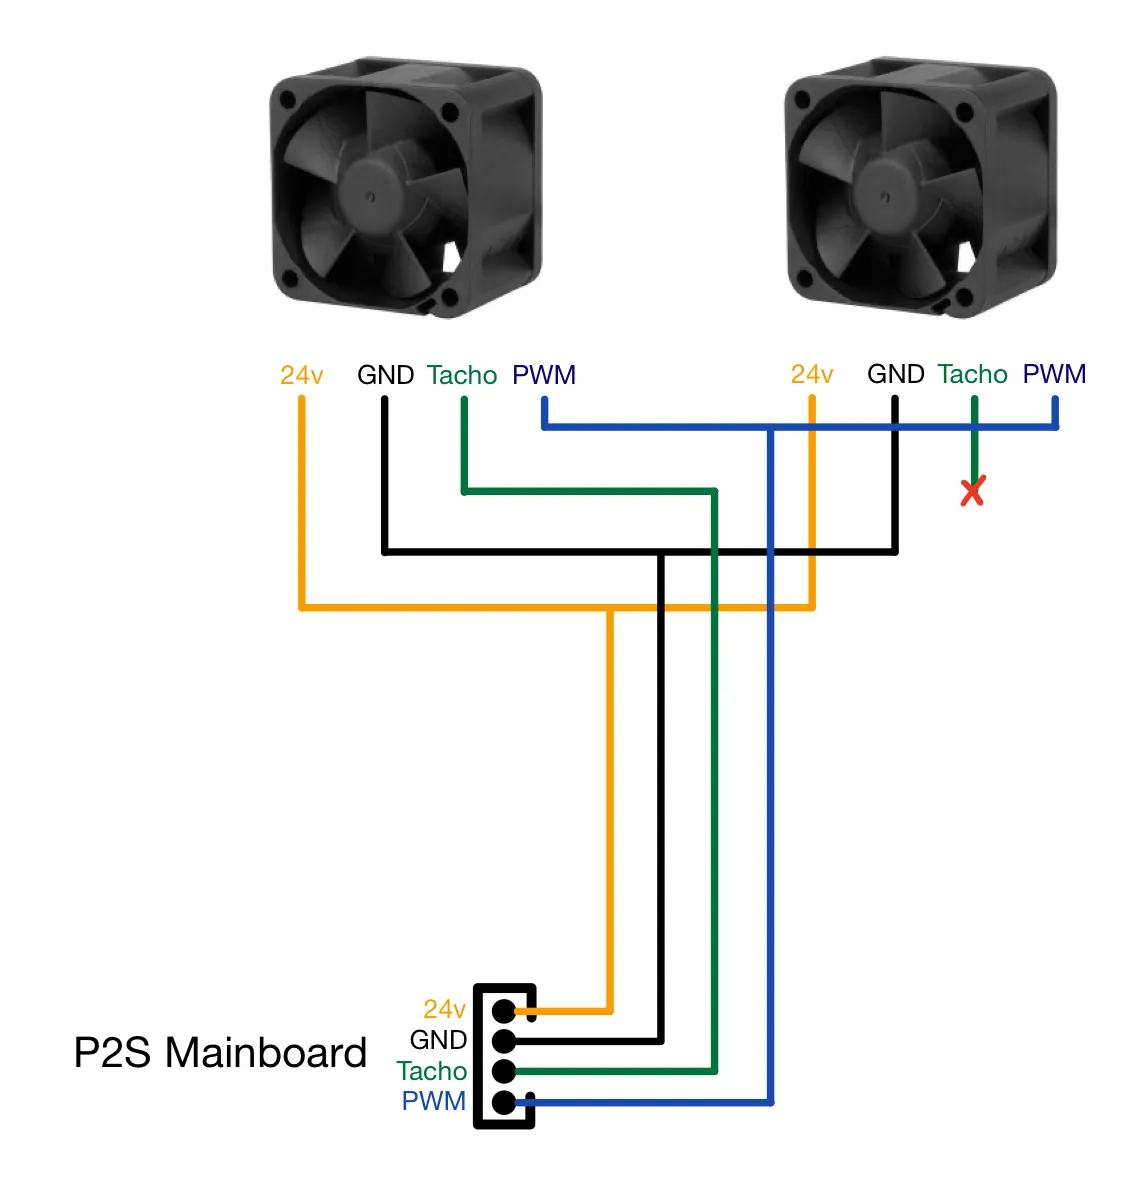
- Fans are connected to the P2S mainboard:
- Can be controlled through the printer display, Bambu Studio, or G-code / filament profiles.
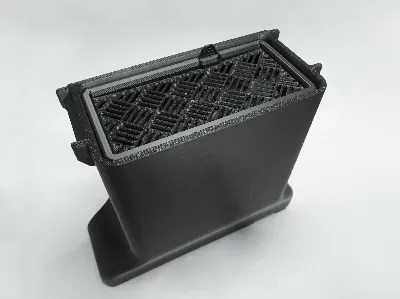
- Carbon cartridge can be pulled out from the top, HEPA filter is mounted in the lid.
- Lid is held in place with print-in-place latches, no additional screws required.
Bill of Materials (BOM)
Fans (2 × 40×40 mm)
I would recommend a fan with the following features so that it can be controlled via the printer, but any fan will work as long as the size is correct.
- 2 × 40×40 mm, 24 V, 4-pin PWM
- Max power per fan: ≤ 9 W (≤ 18 W total)
Examples:
- Quiet: Noctua NF-A4x10 24V PWM
– very quiet, but not a lot of airflow. - Powerful: e.g. ebm AxiForce 40
– much more airflow, but also louder.
Note: Some people seem to be having trouble finding vendors with more powerful fans that match the specifications. I am currently waiting for another option from China: HDHfan manufacture a fan with around 6–8 times the power of a normal 10 mm fan, costing around 7 dollars per fan. I will test it and update this post with my findings. If you need help finding the right fan, please let me know.
Filters
- 1 × 80×40 mm HEPA filter (cheap and easy to get e.g. from Amazon https://www.amazon.com/s?k=HEPA+Filter+vacuum+robot&crid=3HIN3DOGK3W31&sprefix=hepa+filter+vacuum+robot%2Caps%2C183)
- Activated carbon granulate / I used Pellets Ø4mm (only use granules that are rated for air filtration and should include the label acid-free carbon otherwise it can corrode metal parts in a printer.
Electronics / Wiring
- 1 × JST 1.25 mm 4-pin connector (for the P2S mainboard)
- 4-core cable, approx. 50–60 cm
(depends on your cable routing inside the printer) - Heat-shrink tubing / cable sleeve as desired
Assembly
- Prepare the fan box
- Pick the file that matches your fan height (10/20/28 mm).
Wire the fans in parallel (24 V, GND, tach (only use one wire), PWM wired accordingly).
- Mount both 40×40 mm fans in the box, airflow direction: pulling air through the filters to the outside.
- Optional: Use the cable clip to secure the fan cable inside.
- Install the box in the P2S
Remove the original cover from the left air channel.
I designed a tool to make removal easier. (Still be careful not to break the cover when using it.)
https://makerworld.com/de/models/2123930-p2s-remove-tool-for-side-cover#profileId-2299387
- Insert the fan box from the inside, it should fit snugly into place. First push it downwards and then push the top against the side panel.
- Use the printed fixing pin to secure the box (fits inside the mounting hole from side panel).
- Install the Filter
- Press the HEPA filter into the lid until it sits firmly.
- Fill the carbon cartridge with granulate (not fully) and close the magazine.
- Insert the cartridge from the top into the shaft.
- Mount the lid with the clamps.
Electrical Connection to the Mainboard
Warning: Mod at your own risk! Always disconnect power before working inside the printer.
Uses the 24 V 4-pin fan header for the left auxiliary part cooling fan https://wiki.bambulab.com/en/p2s/maintenance/install-auxiliary-part-cooling-fan-left on the P2S mainboard.
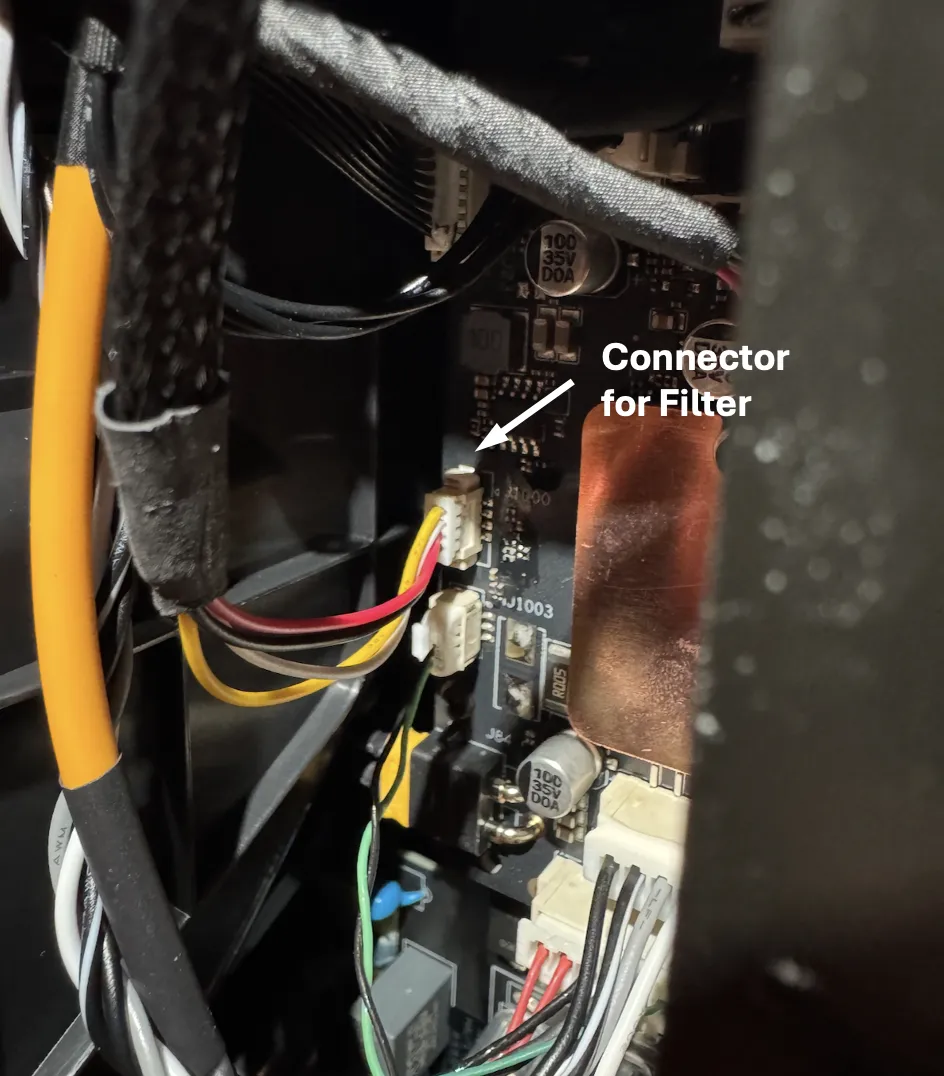
- Pinout from top to bottom:
- 24 V
- GND
- Tach (RPM signal)
- PWM (control signal)
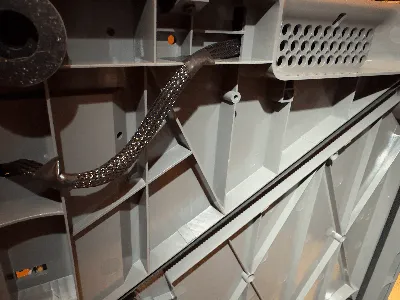
- Crimp/solder a suitable cable using a JST 1.25 mm 4-pin connector.
- Cable length around 50–60 cm so you can route it cleanly.
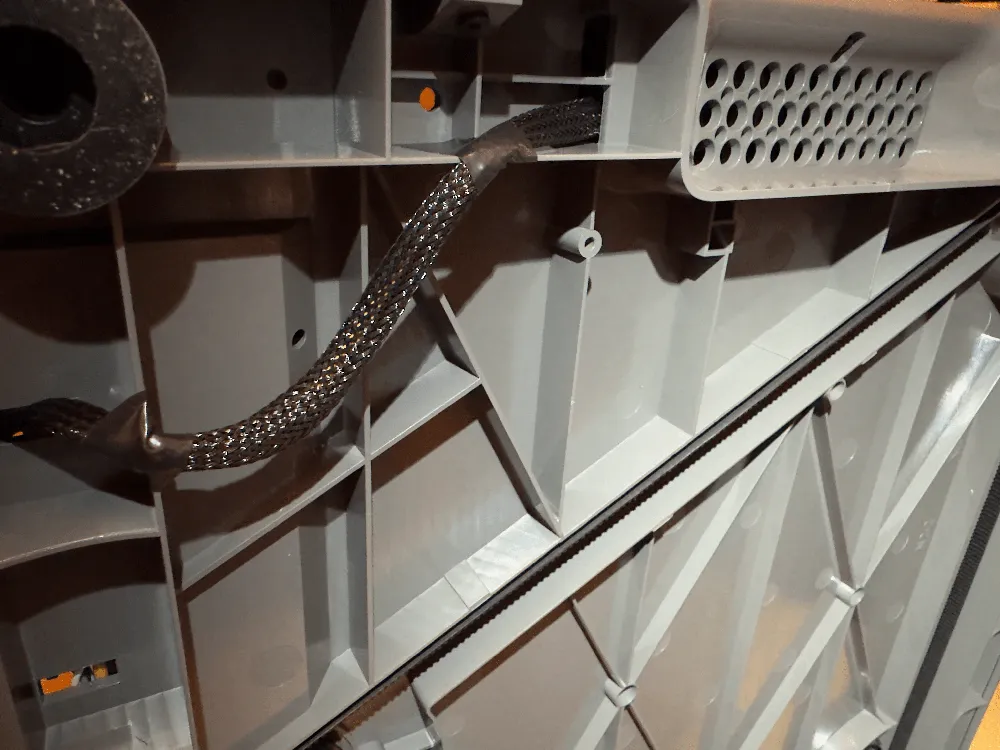
- Suggested routing:
Lead the cable out through a side opening in the left air channel.
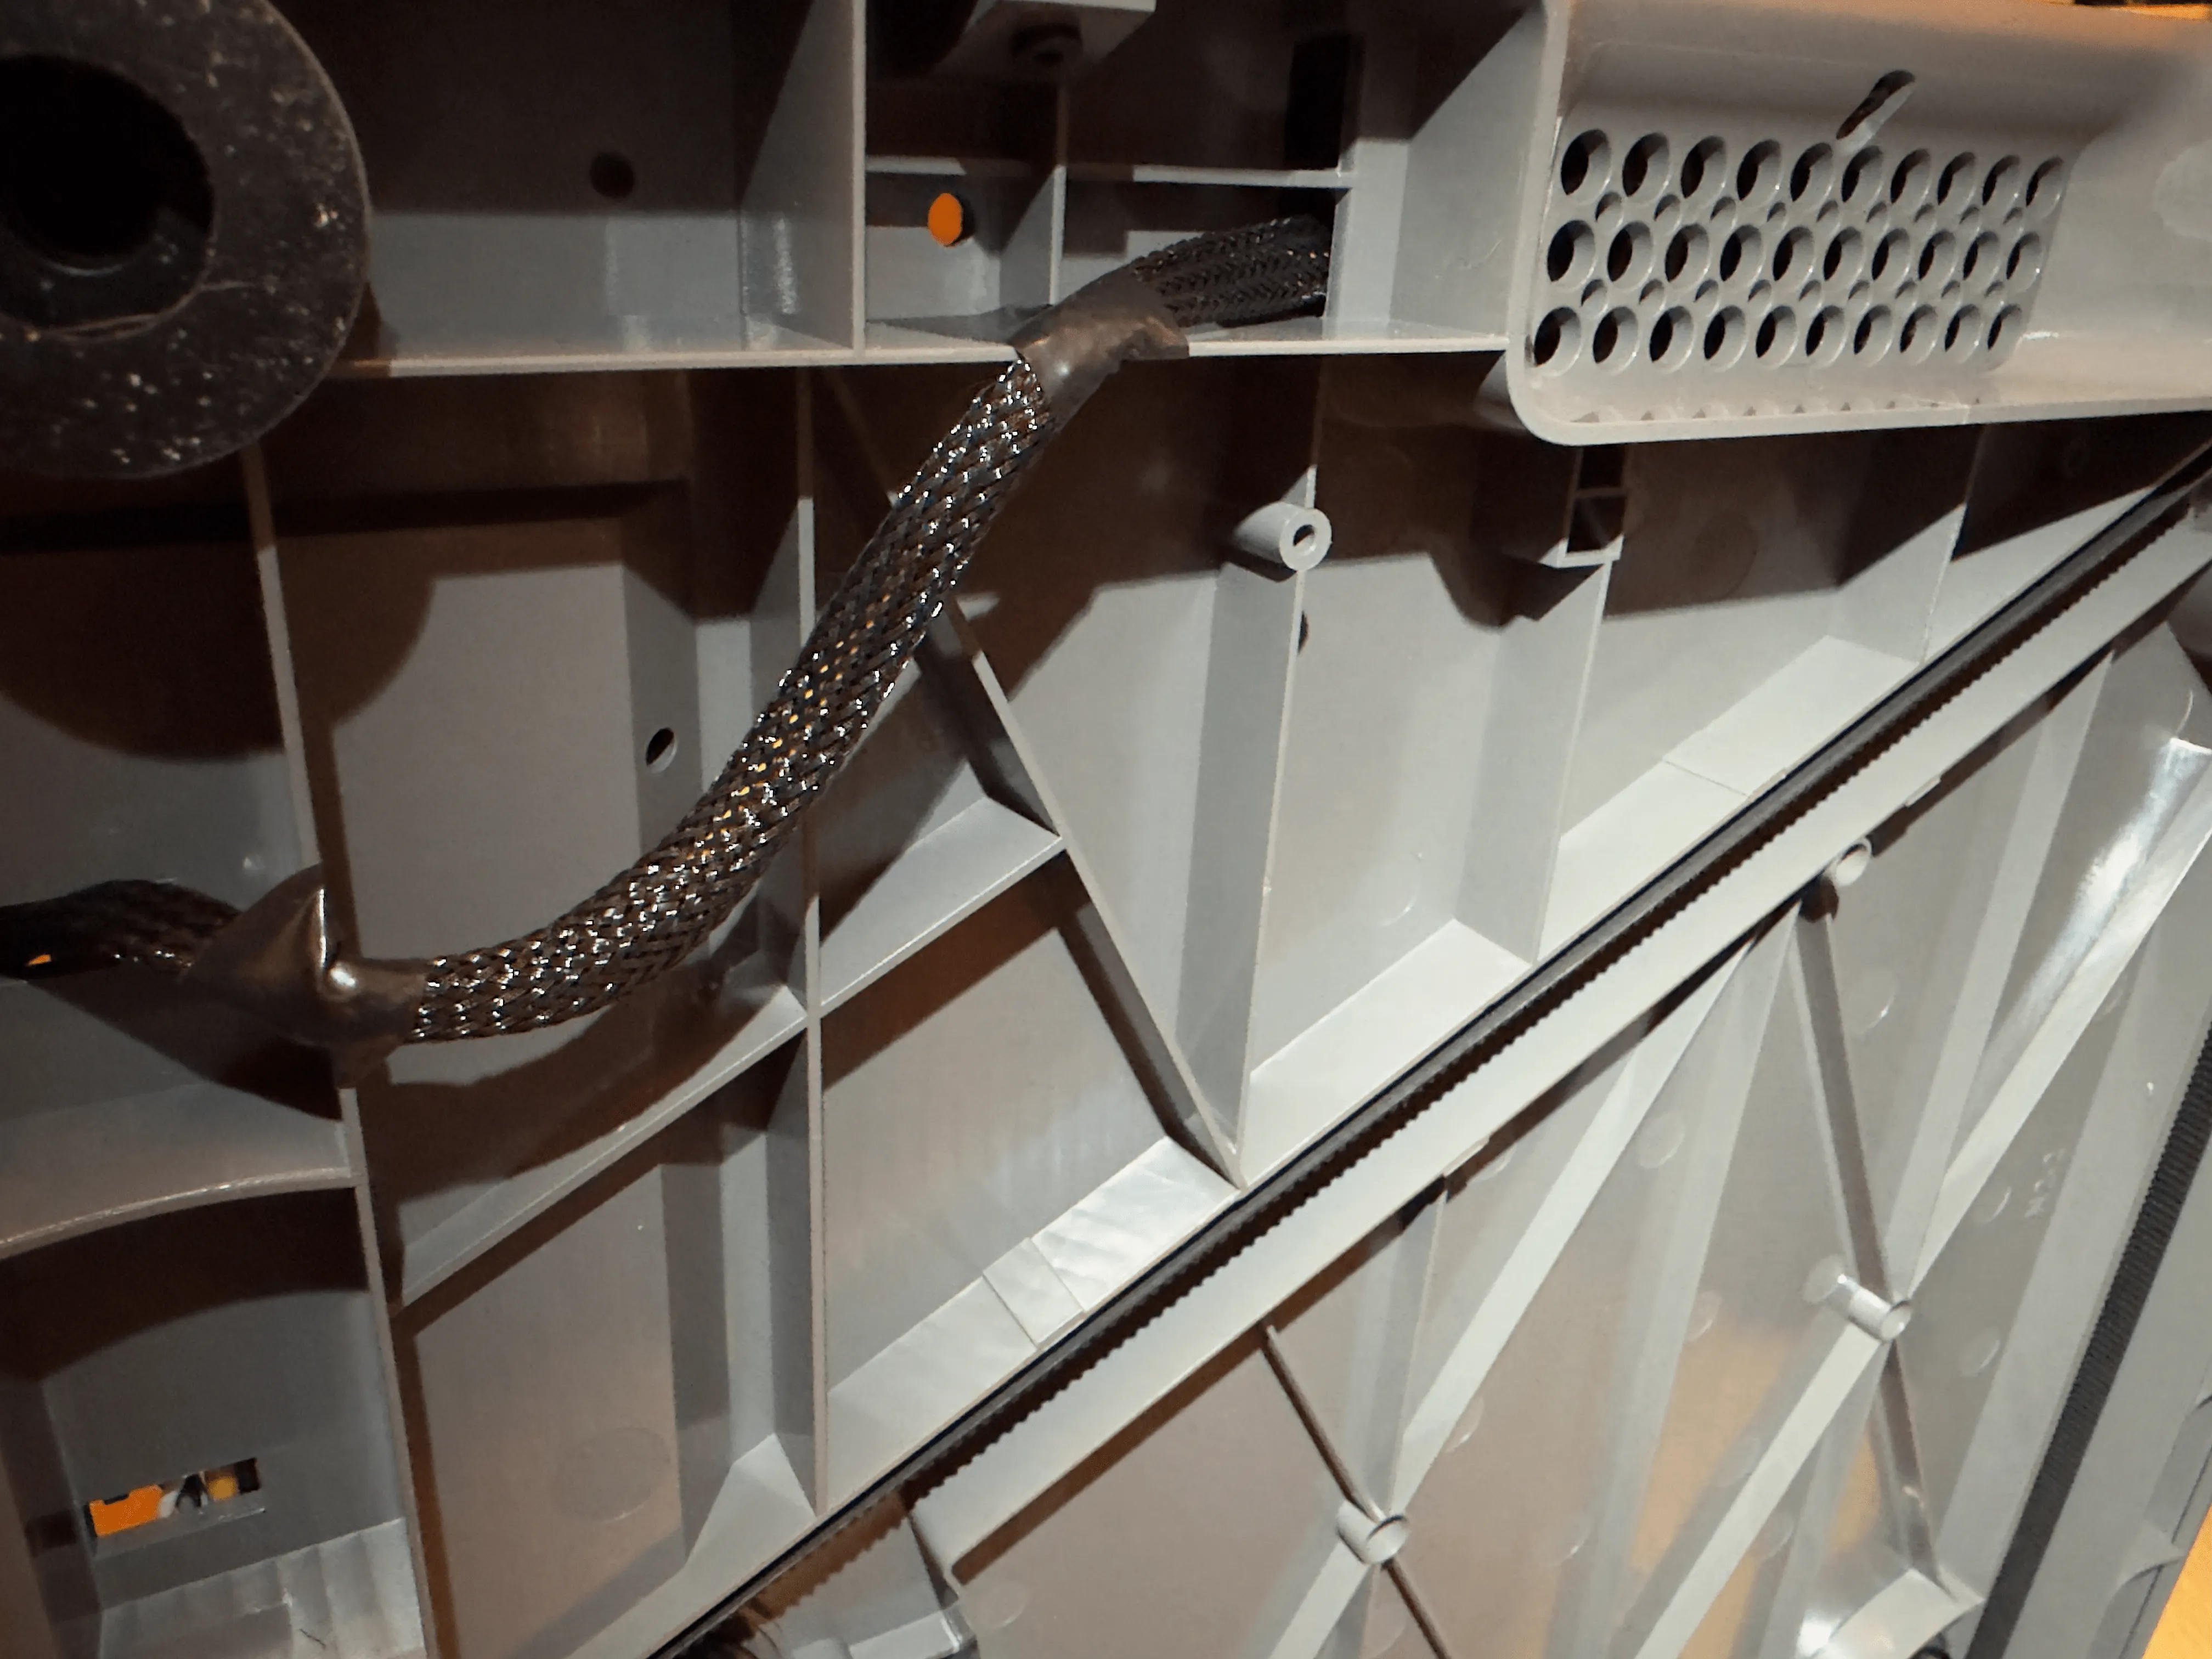
- Run it along the underside of the printer to an existing opening into the mainboard area.
- Plug it into the appropriate 4-pin fan header.
Operation / Control
How does the P2S control the fans?
The P2S changes between cooling and heating mode depending on the softening temperature (min_vitrification_temperature in the G-code) set in the filament profile. If the temperature is set under 50°C, cooling mode will activate; otherwise, heating mode will activate.
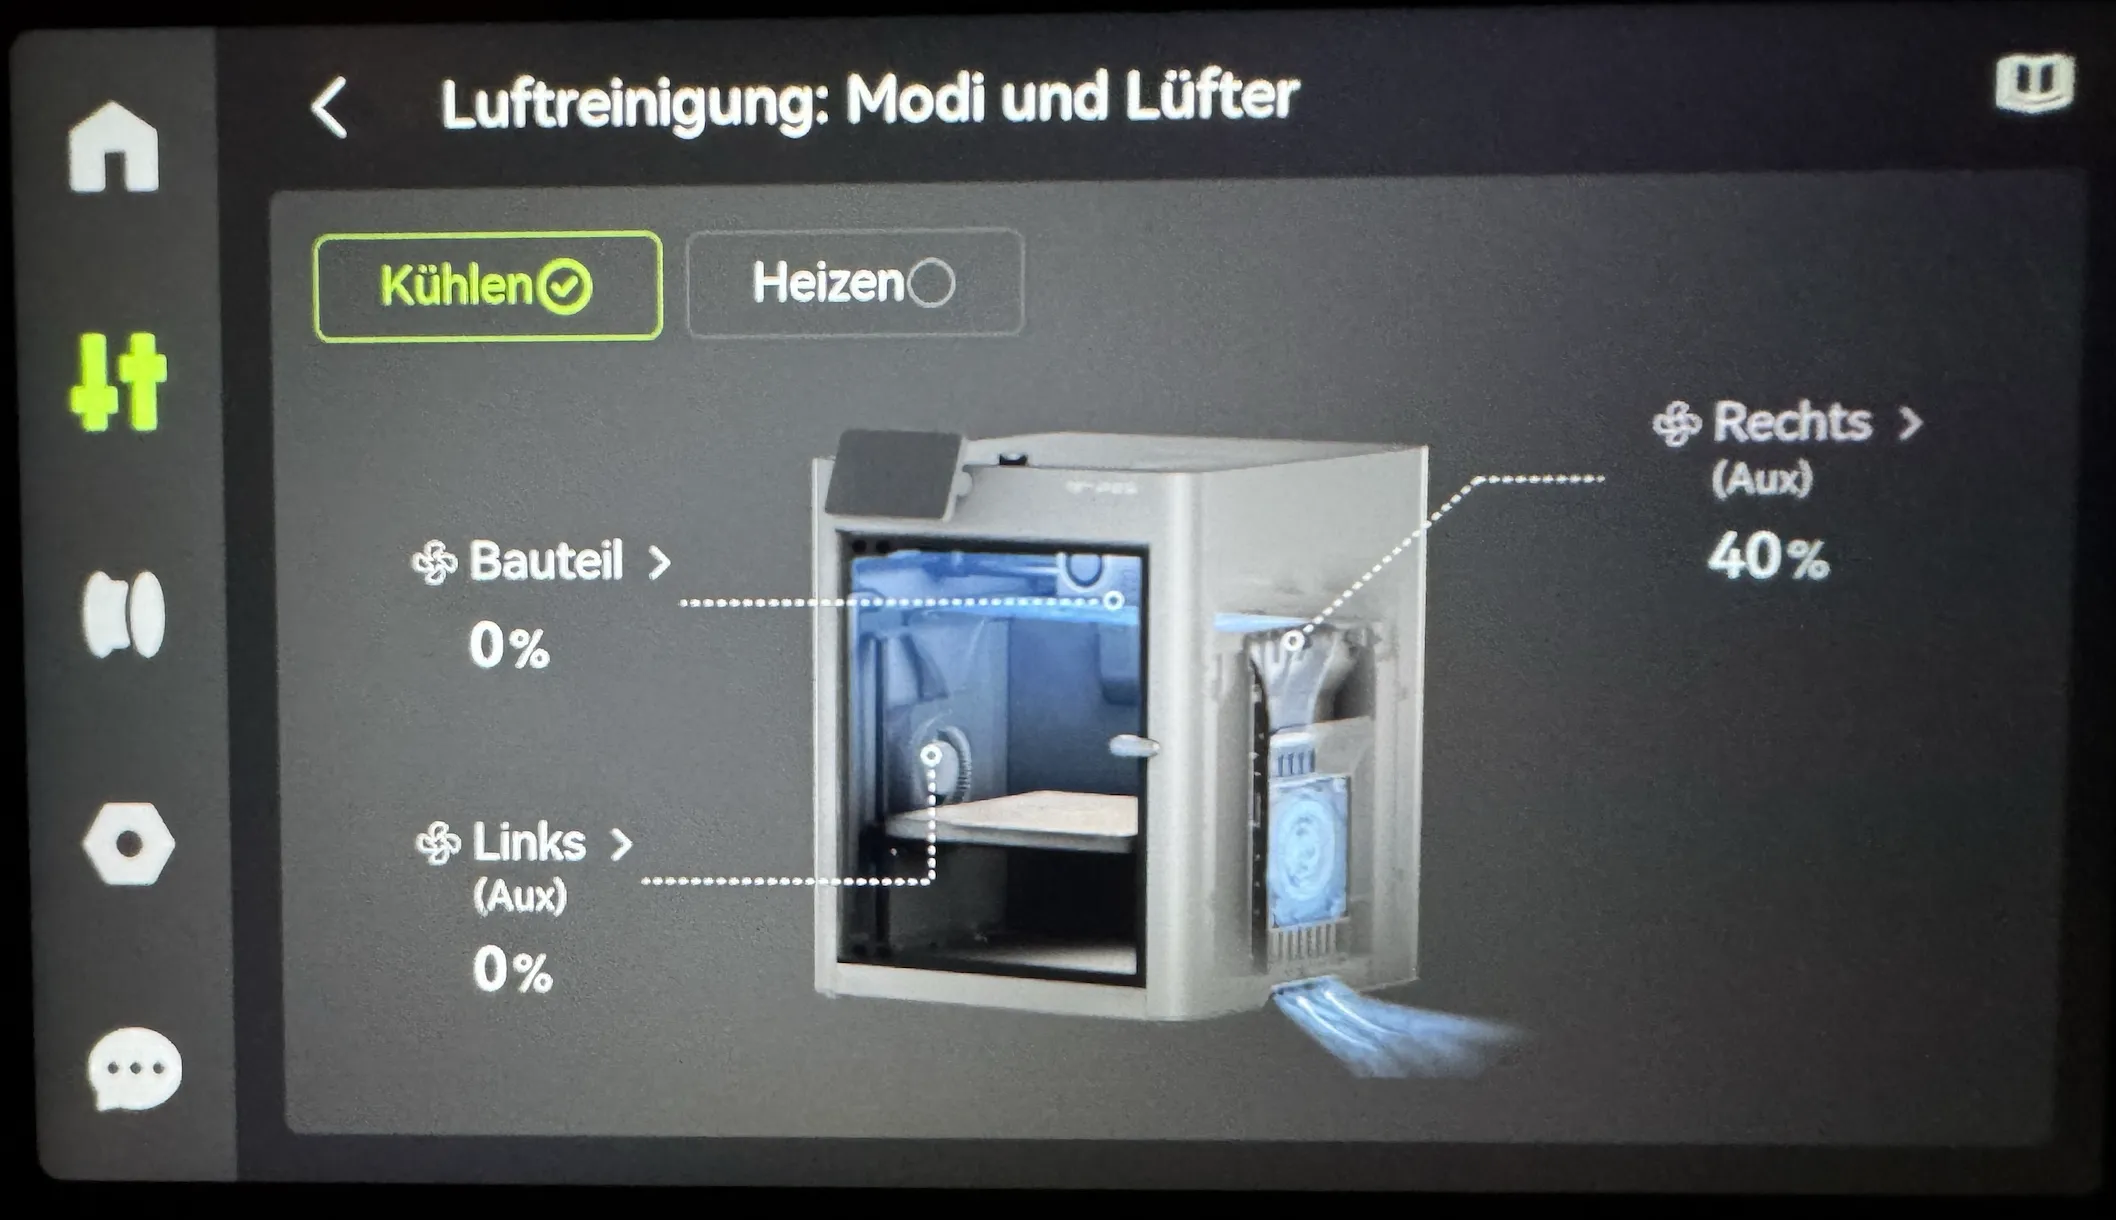
In cooling mode, all controls work: you can use Bambu Handy, Bambu Studio or the printer's display to change the fan speed of the filter, or set the fan speed in the filament profile under 'Auxiliary part cooling fan'. This sets an fix speed for the left aux fan (filter) and the minimum speed for the right aux fan. The right aux fan will speed up when the chamber temp. increases to cool it down. For example you set the Auxiliary part cooling fan in the filament profile to 40%, then the left filter fan will run at 40% speed and the right aux fan aswell, aslong as the temp is below 30°C. When the temp in the chamber increases the right fan will increase speed up to 100%.
In heating mode, you cannot control the fan from Bambu Handy, Bambu Studio or the printer display (it is locked as "OFF"). However, the speed set in the filament profile is still used, so the fan runs and filter works. Here the 'Auxiliary part cooling fan' under the filament profile sets an fix speed for the left aux fan (filter) while the right fan is fixed at 50% and uses the internal filter in the back. For example you set the Auxiliary part cooling fan in the filament profile to 40%, then the left filter fan will run at 40% speed and the right aux fan at 50%. If you set it to 80%, the left fan will be 80% and the right still 50%.
If you want more control over the fan you can use the M106 P10 S255 (S255 for 100% fan speed, S127 for 50% fan speed) to only control the left fan (filter). Using the G-code would only be necessary for specific requirements. The best way to use the filter is with the filament profile. You simply select the filament you want filtered and the desired strength, and the filter will start automatically.
Overview over the Controls:
via the printer display,
via Bambu Studio, Hambu Handy
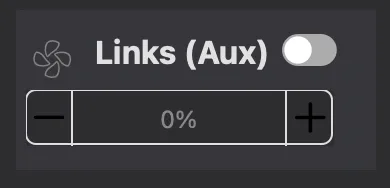
and via G-code / filament profiles.

That allows custom fan curves depending on filament type or how sensitive you are to fumes/particles.
Notes / Disclaimer
- This mod is not officially endorsed by Bambu Lab.
- Installation is at your own risk and may affect your warranty.
- Make sure the total fan power does not exceed 18 W (2 × 9 W).
- After installation, check that all fans spin freely and no cables are rubbing or being pinched.
Boost Me (for free)
License

You shall not share, sub-license, sell, rent, host, transfer, or distribute in any way the digital or 3D printed versions of this object, nor any other derivative work of this object in its digital or physical format (including - but not limited to - remixes of this object, and hosting on other digital platforms). The objects may not be used without permission in any way whatsoever in which you charge money, or collect fees.


Comment & Rating (67)