
Brick Nativity Set (Highly Detailed w/ Tea Lights)
Print Profile(4)


Bill of Materials













Description
Membership
All Commercial License Memberships are currently SOLD OUT. The next opportunity to join is expected in 2027, unless availability changes earlier. Thank you for your interest and support.
Follow me on MakerWorld for more of my designs, drops, and future releases! : makerworld.com/en/@3DMakerSpace/upload
Update: Through my ongoing efforts to give back to the community during the time of Christmas, I am making this model free to print and free to sell. Whether you gift it, decorate with it, or sell it at a holiday market, you’re helping spread the joy of making ! Happy Holidays!
Brick Nativity Set (Free Selling License)
Highly Detailed Premium Display Edition (with Tea-Light Campfire Lamps)
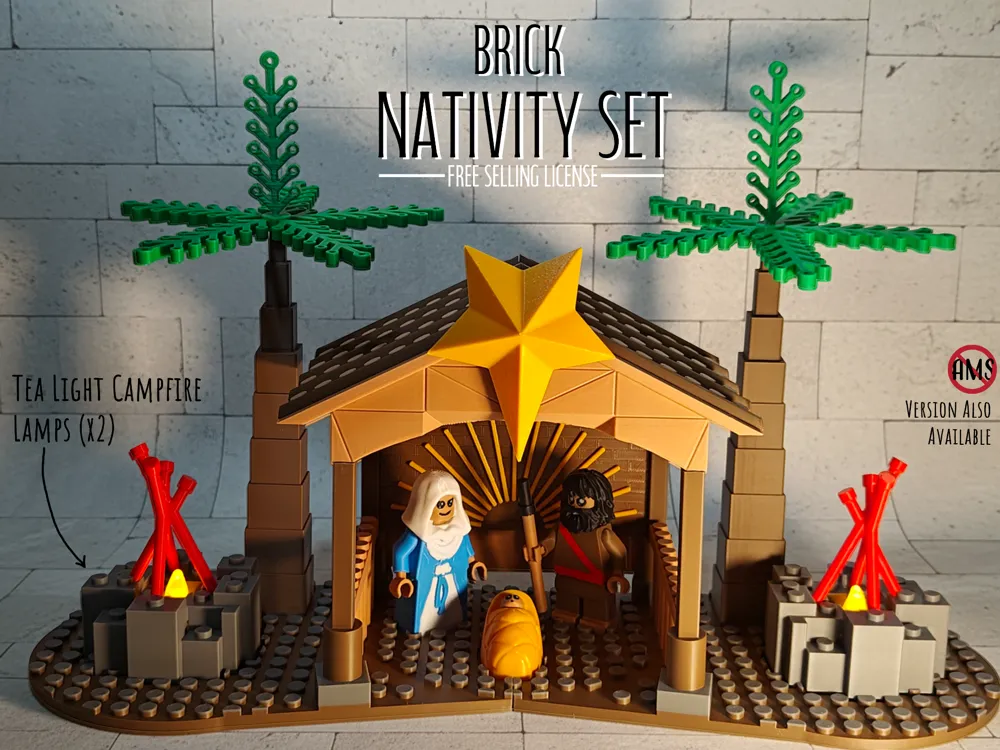
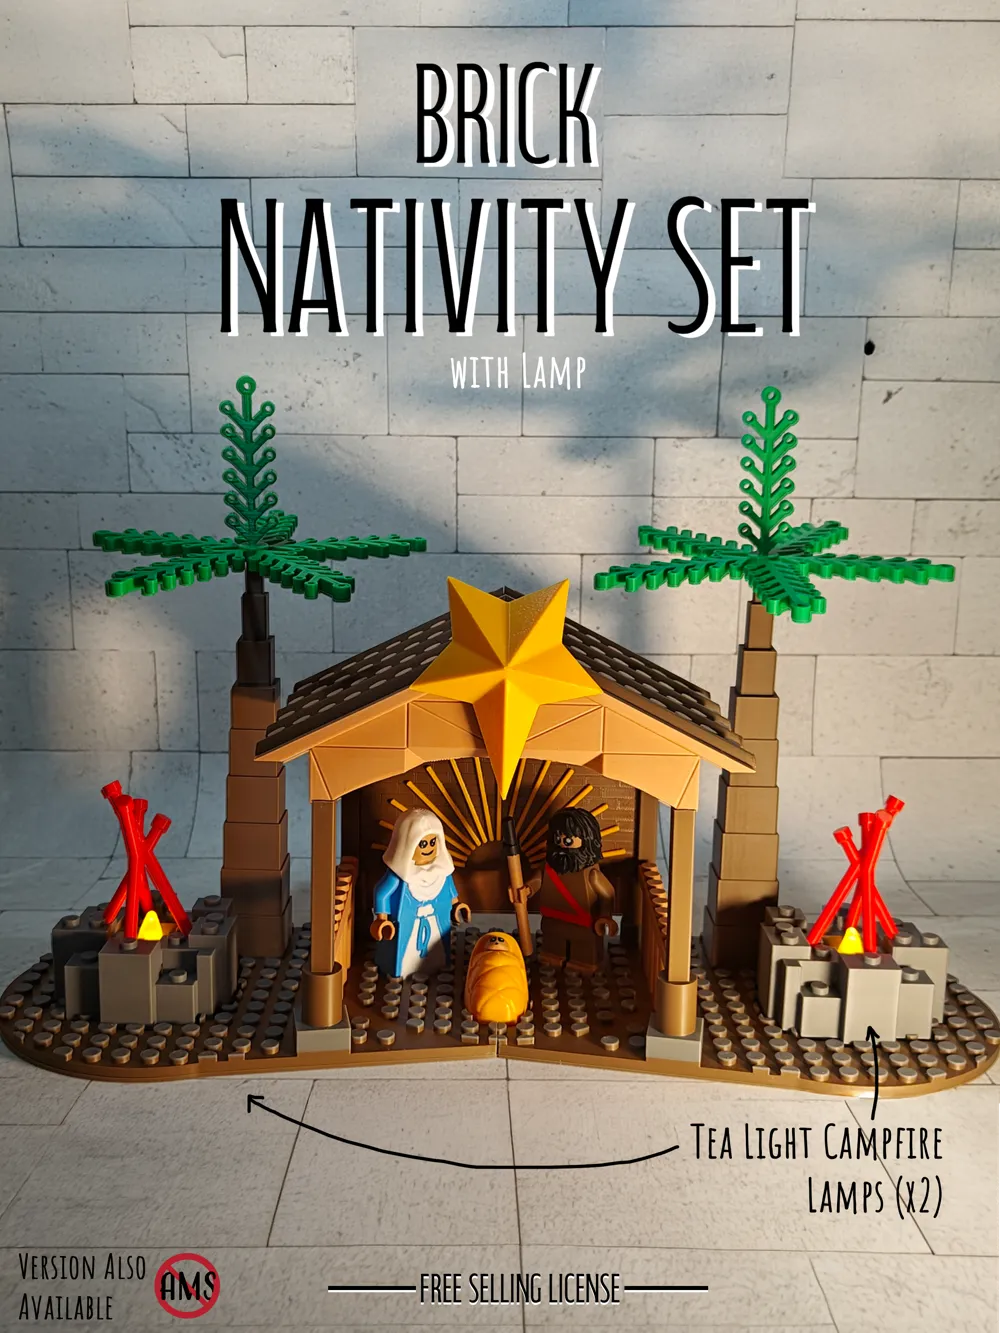
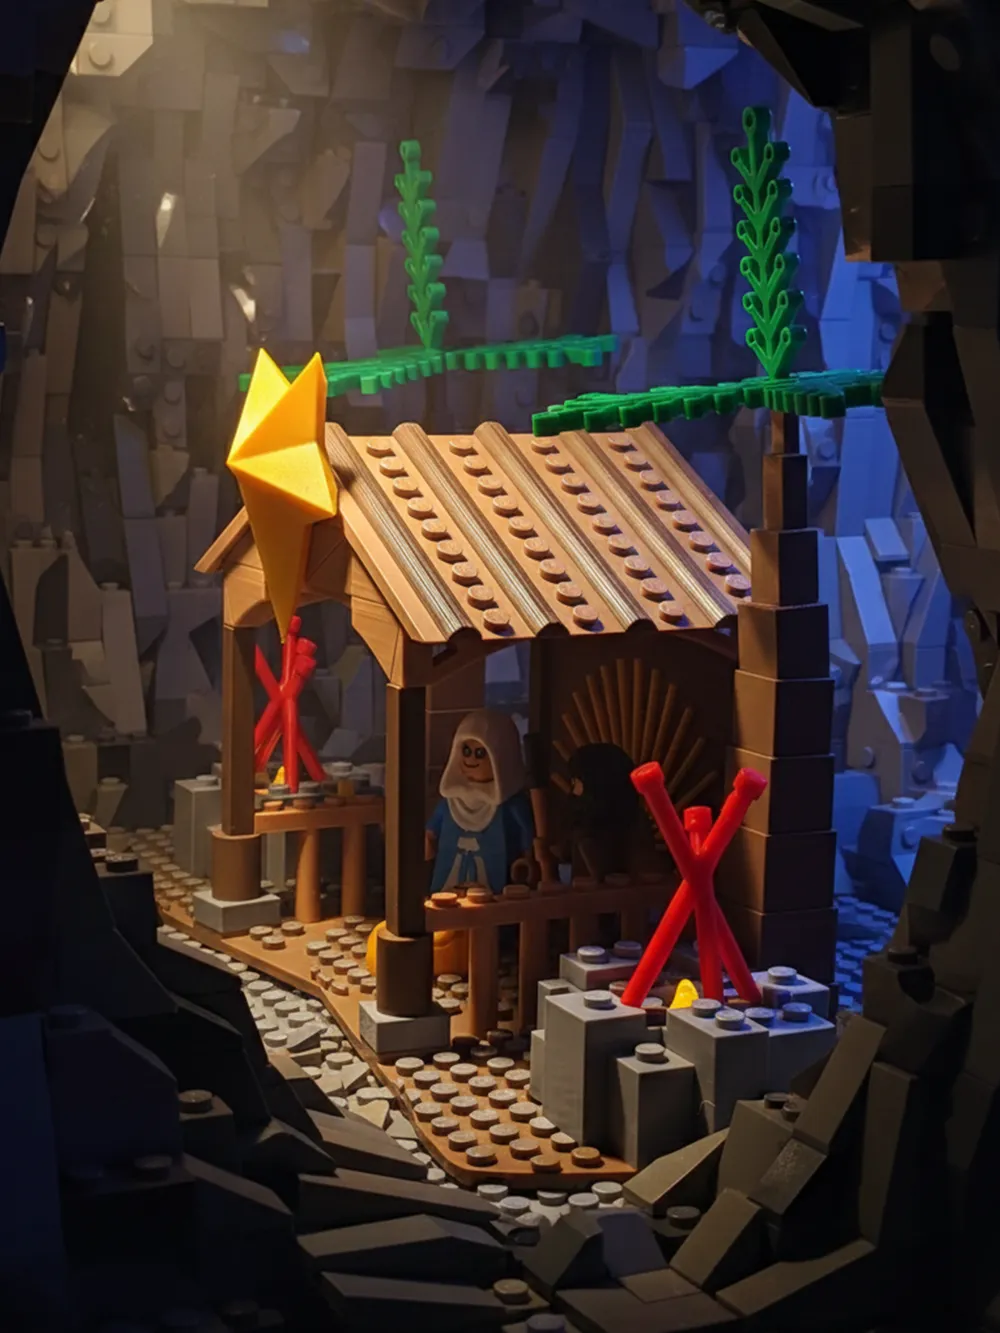
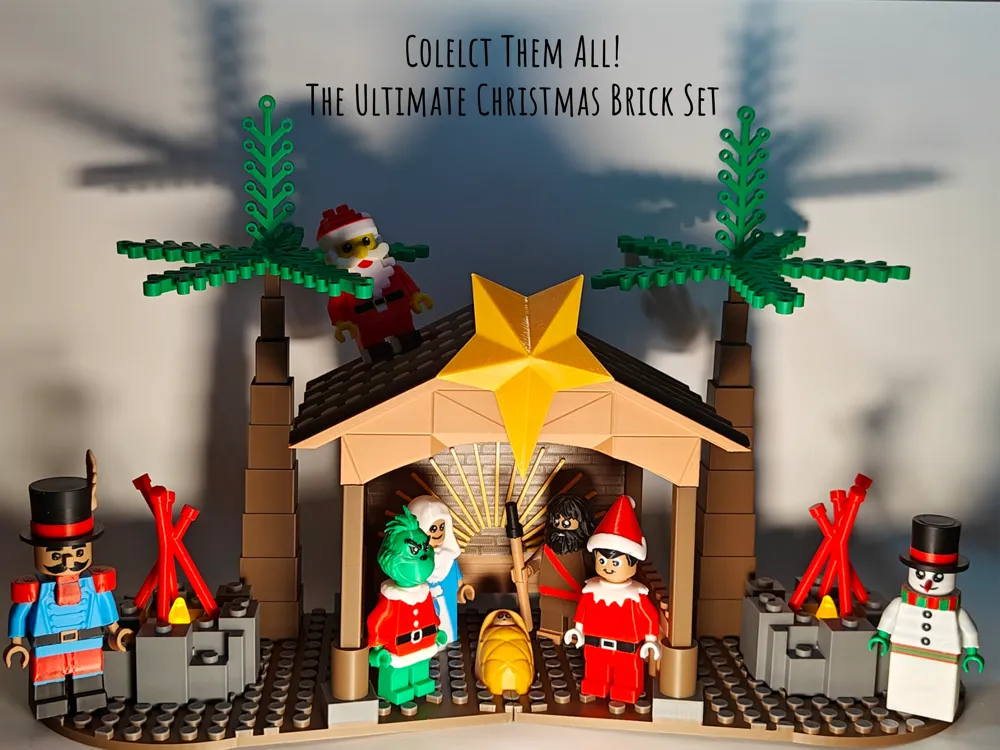
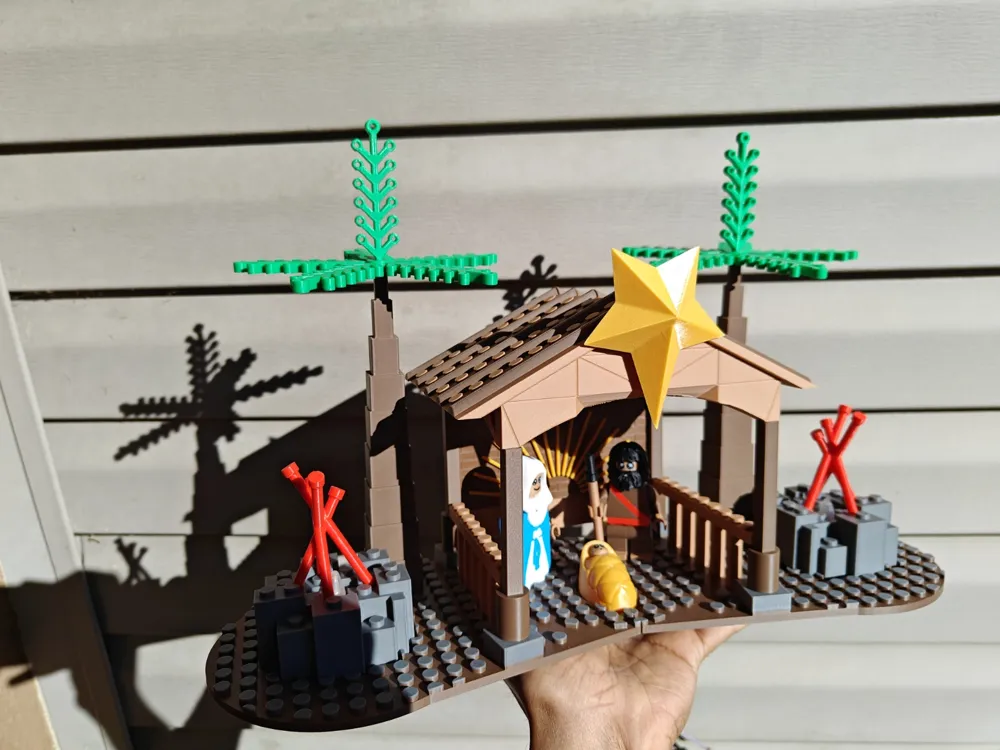
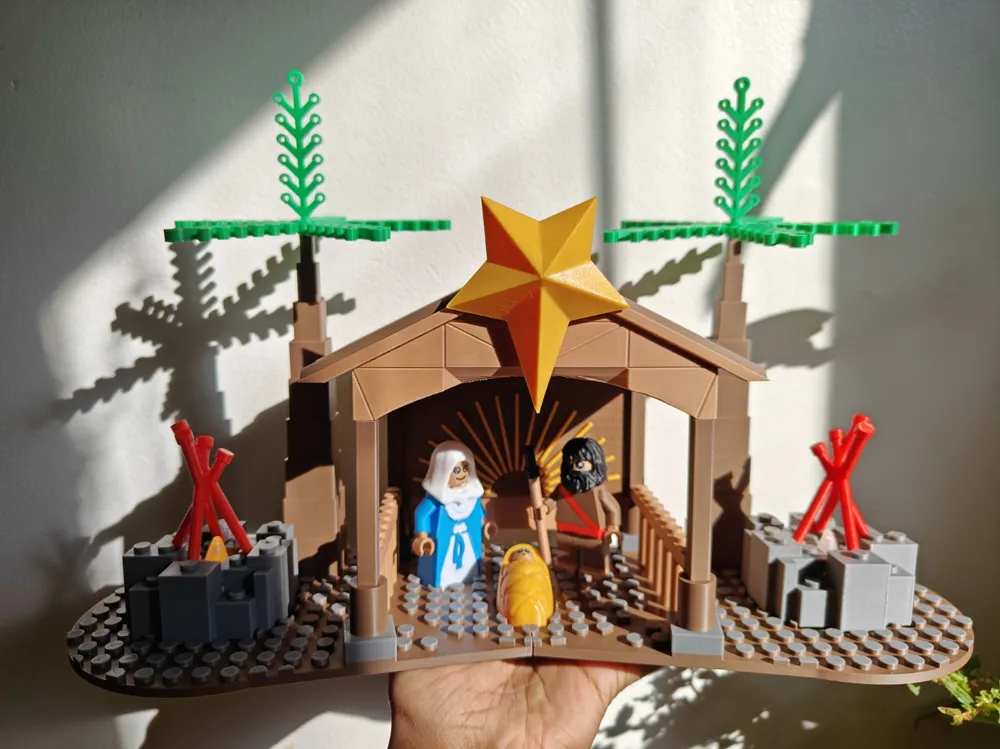
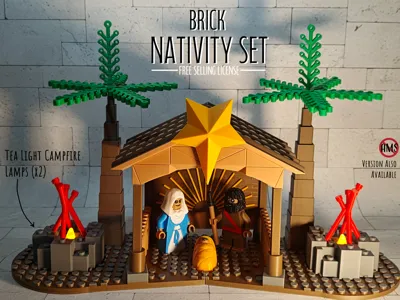
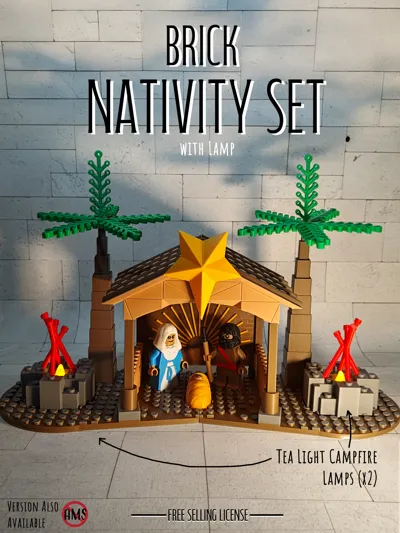
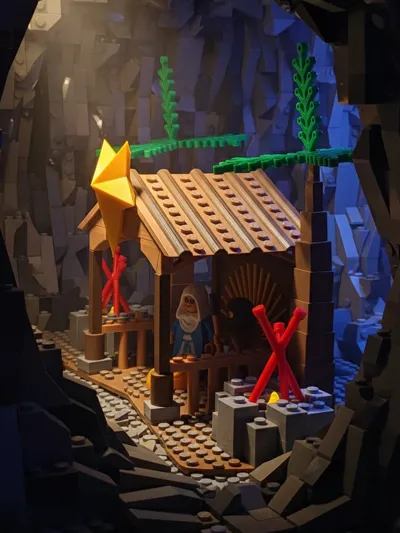
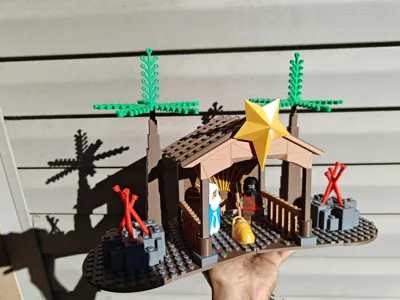
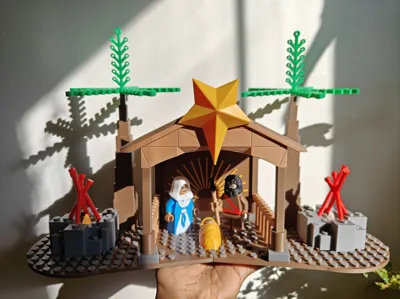
A hand-crafted (designed), highly detailed, and architecturally rich brick nativity set designed for Christmas lovers, collectors, display lovers, and holiday décor enthusiasts. Every element in this build - from the sculpted rock campfires and palm trees to the star-crowned stable - is carefully arranged to create an immersive, atmospheric scene that feels alive even in miniature, reflecting the true essence of back in time at Jesus's birth in Bethlehem.
Boost Me (for free)
Enjoyed this open-source nativity? Please consider boosting to help me keep releasing free, high-quality models -- thank you! Boost = 💖
Key Features:
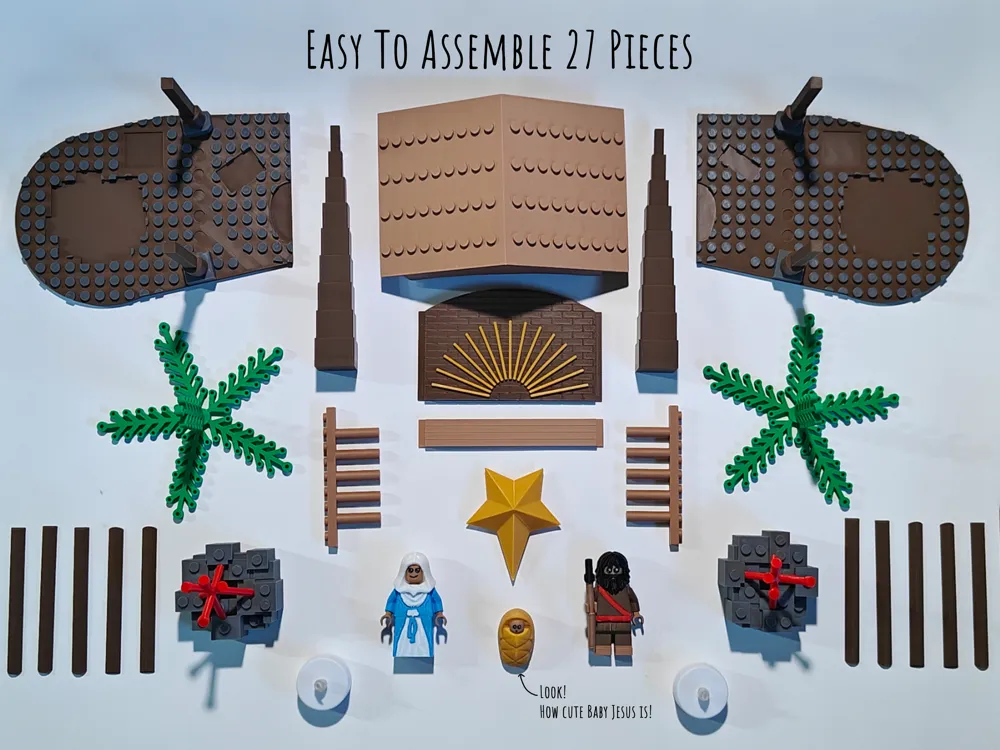
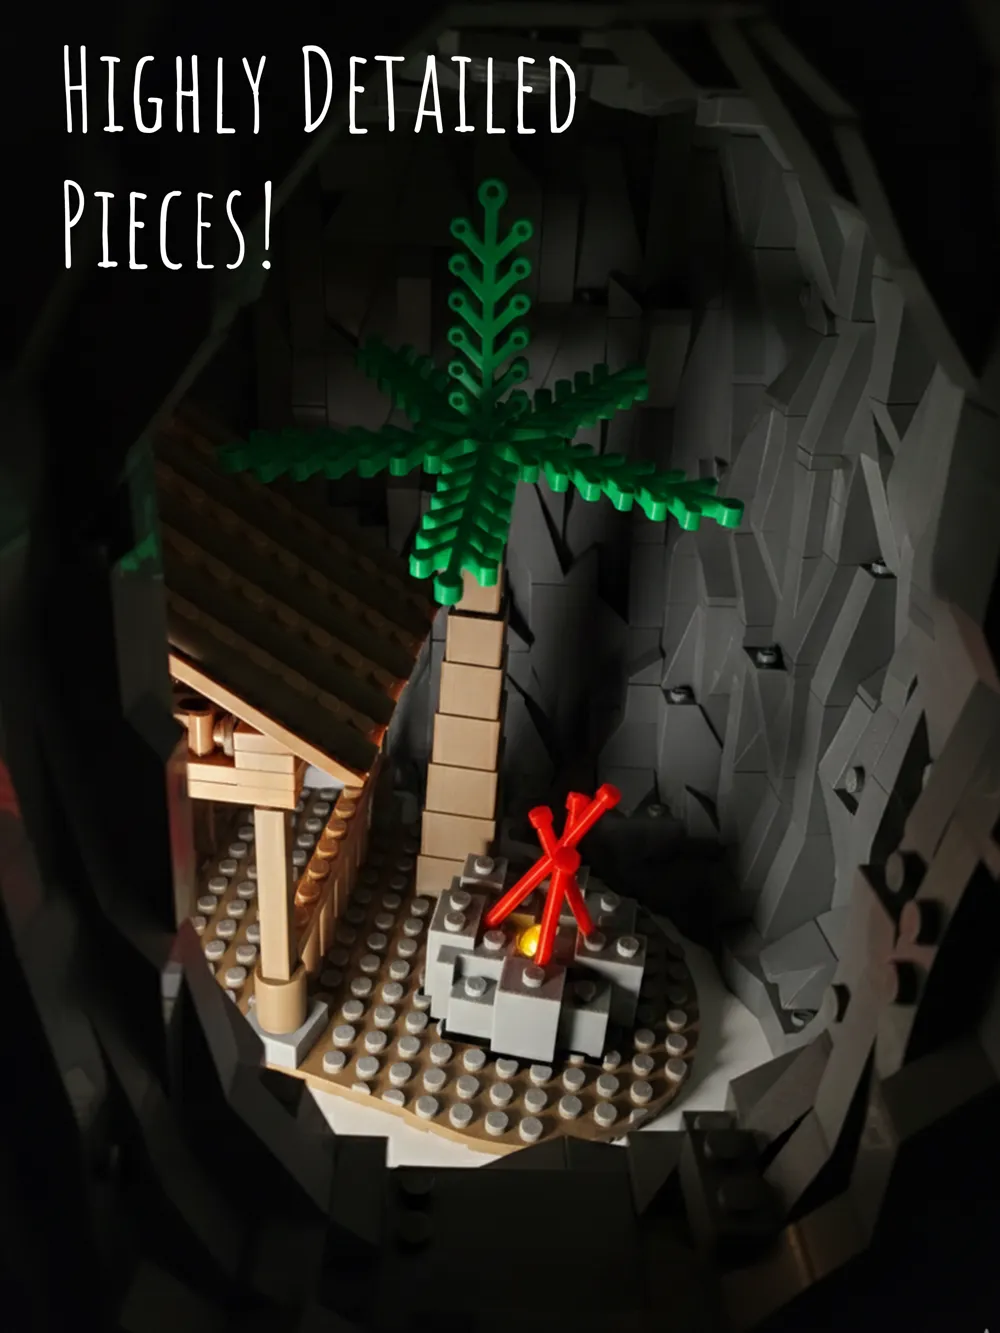
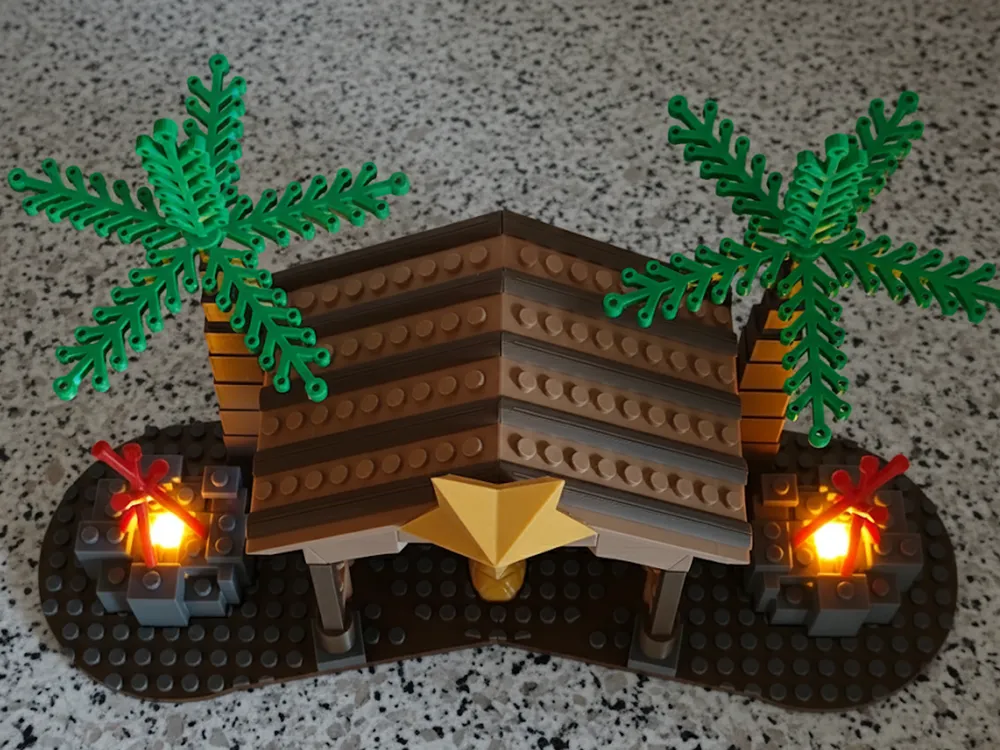
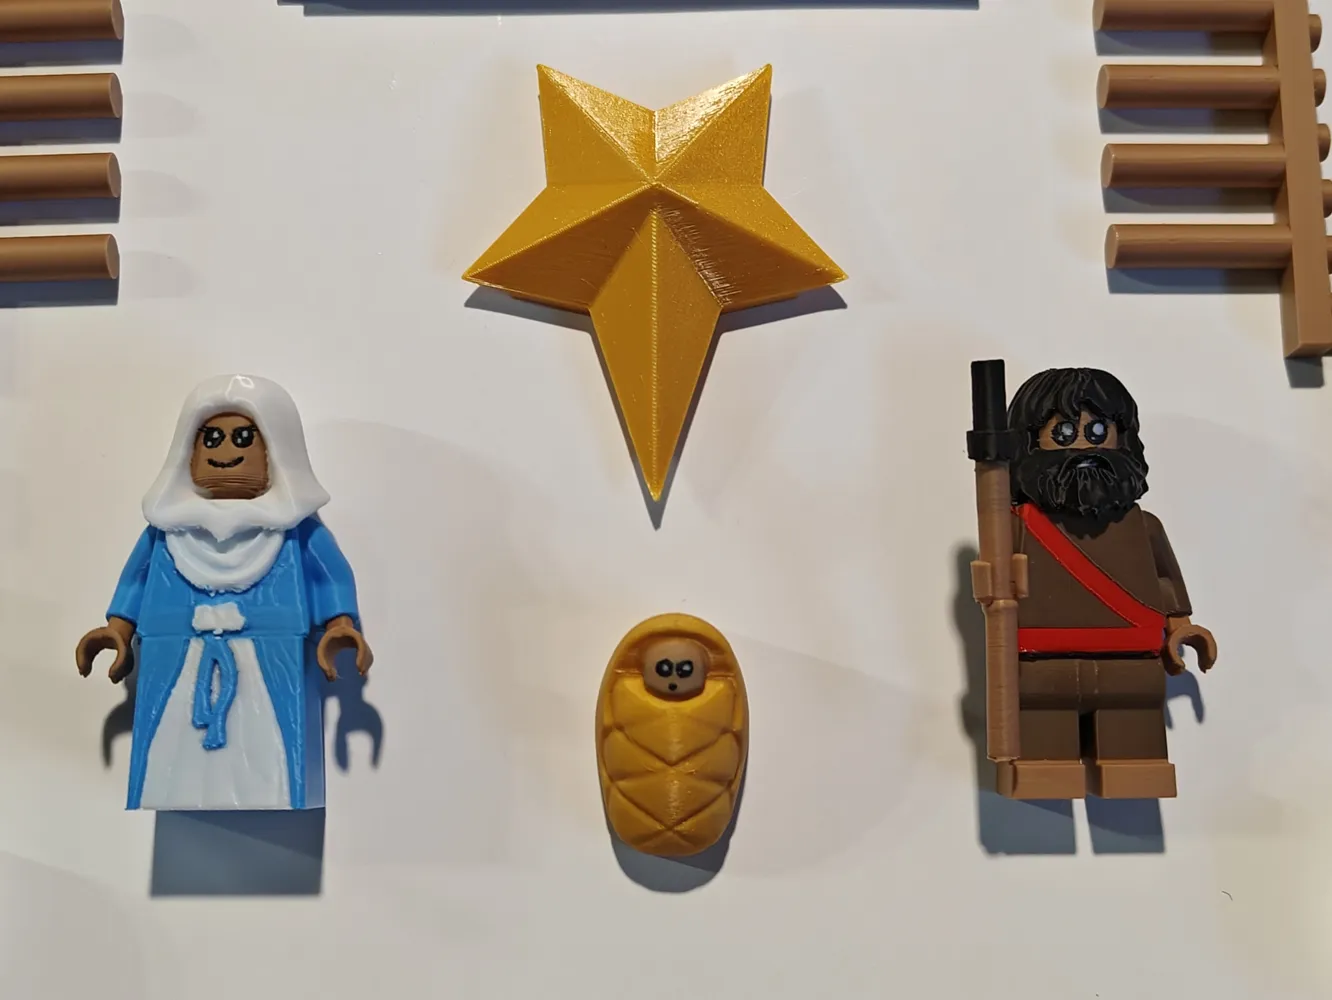
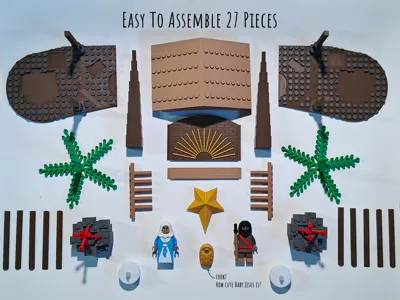
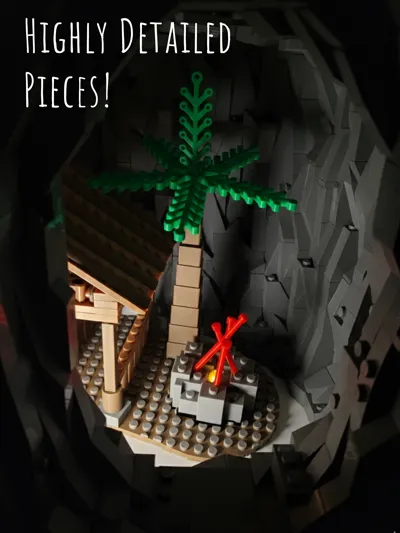
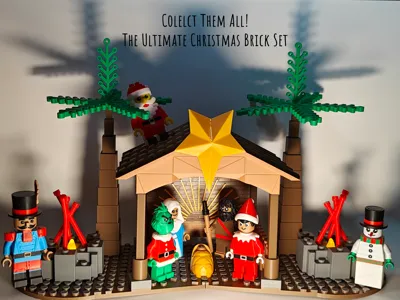
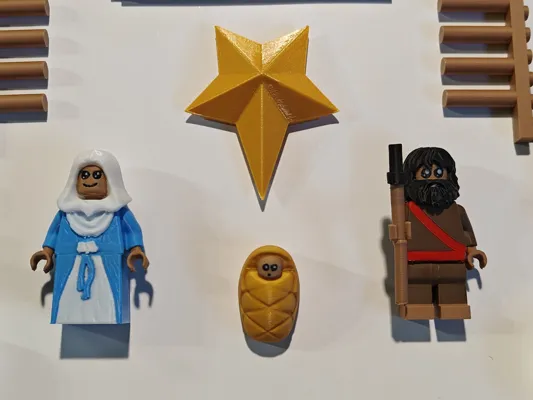
- 27 Highly Detailed Pieces including stable structure, roof panels, sculpted rocky base, palm trees, star, two campfires, and minifigure-style characters of Baby Jesus, Mary, and Joseph.
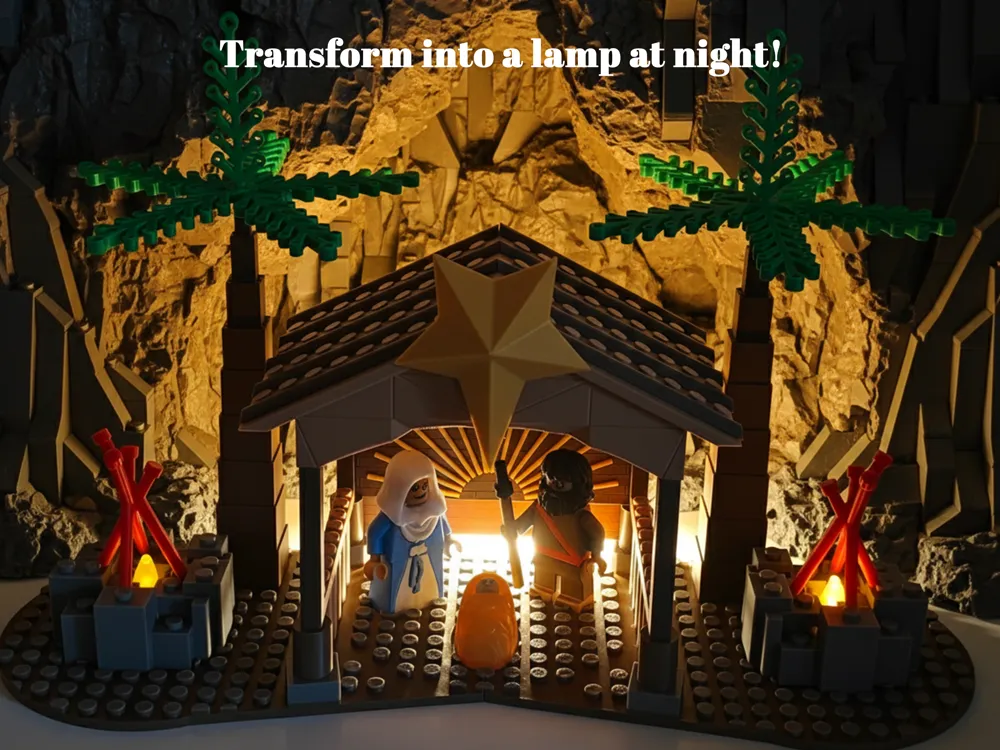
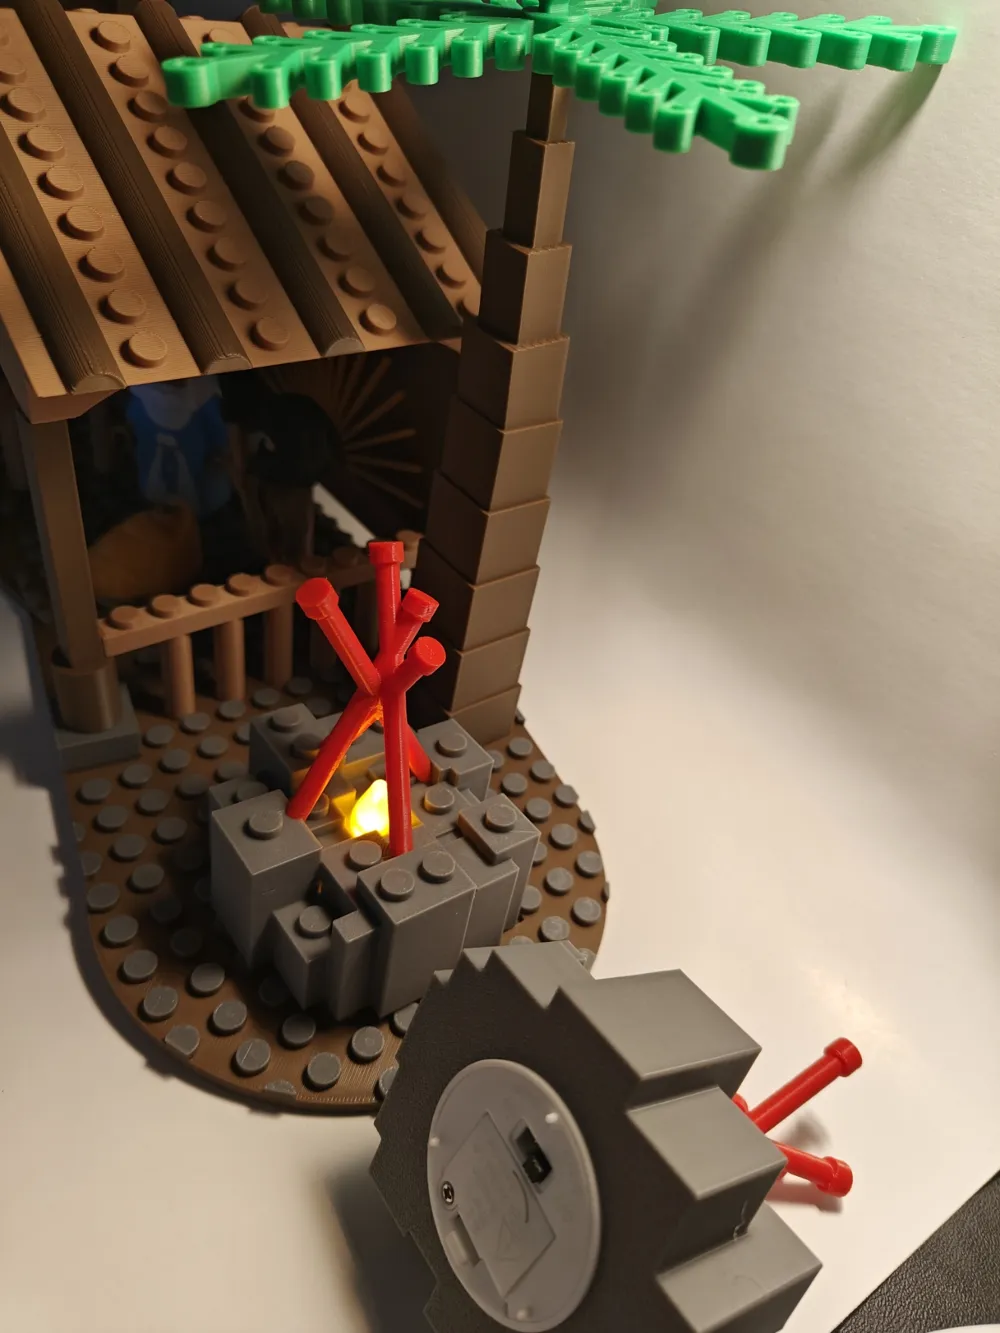
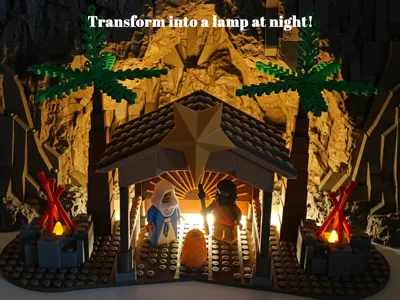
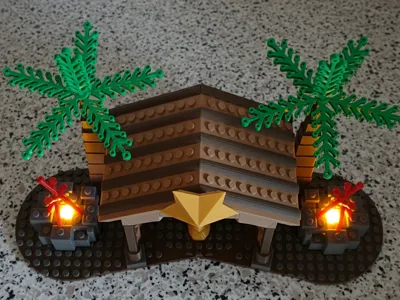
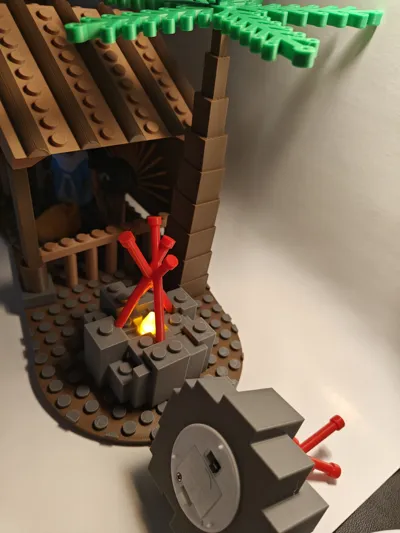
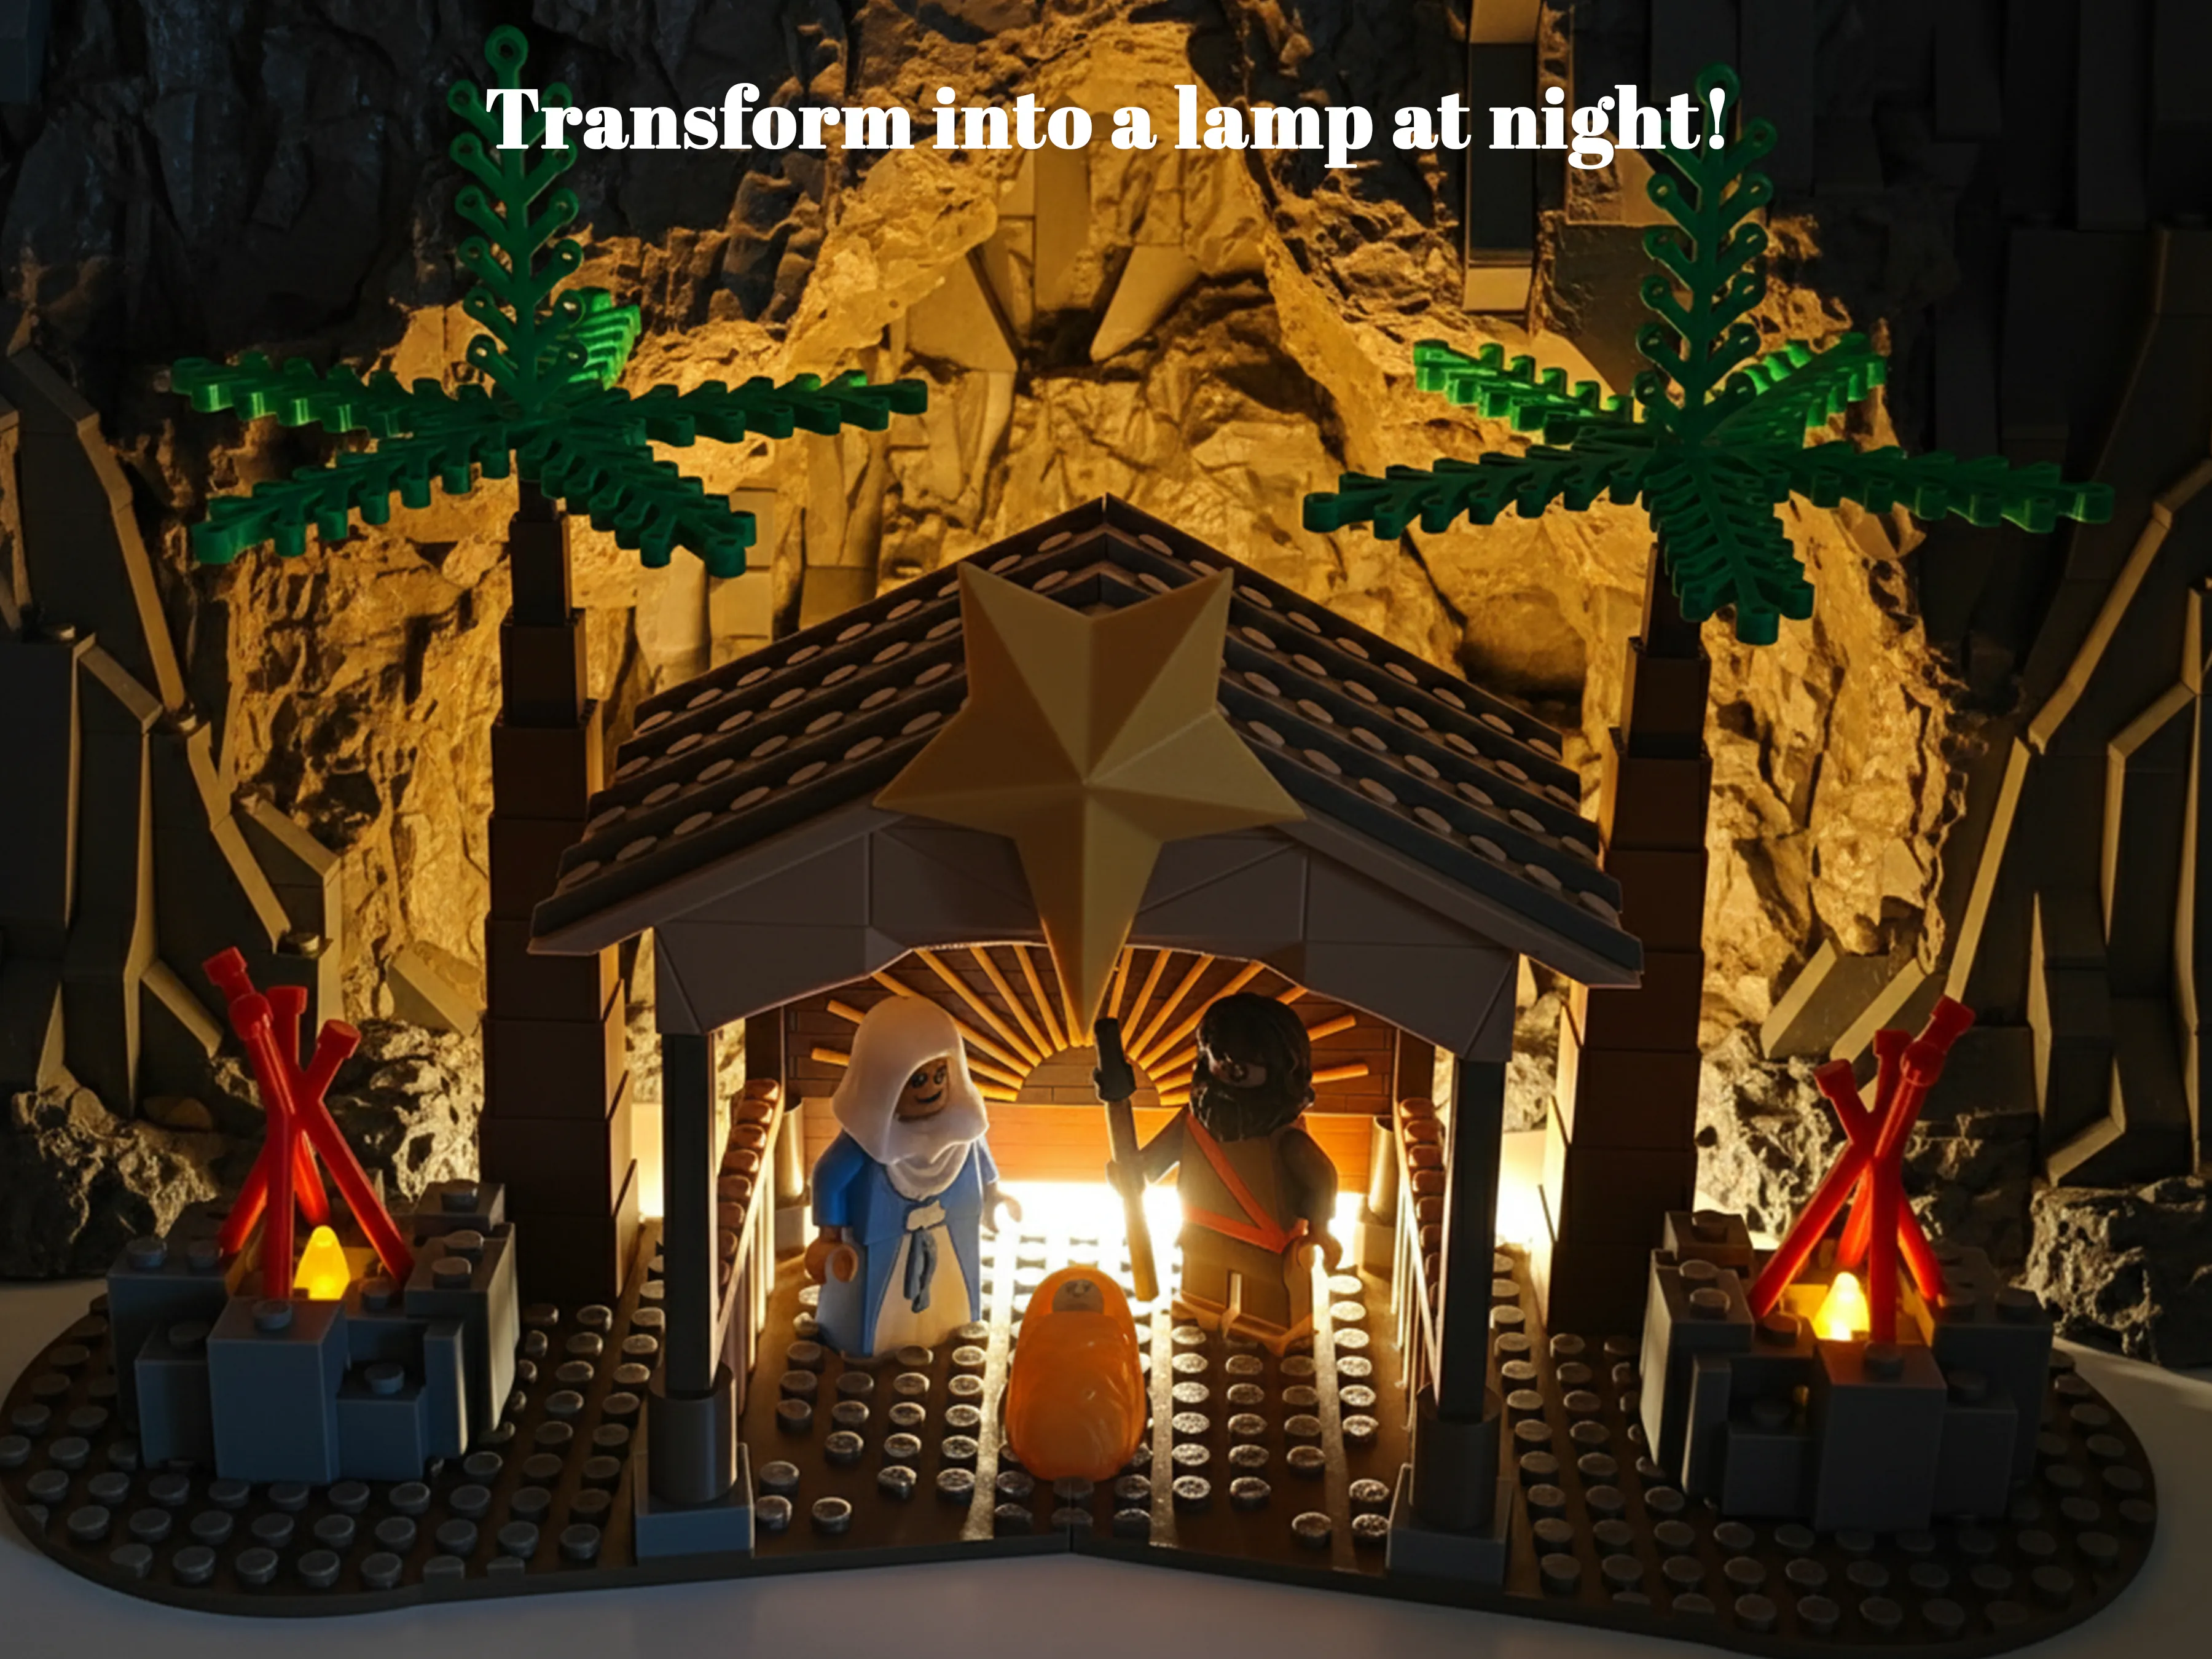
- Tea-Light Ready Campfire Lamps (x2) designed to hold standard LED tealights for a warm, glowing festive effect.
- Fully Snap-Fit Assembly (superglue for permanent stability).
- Collector-Grade Design with dimensional textures, layered elements, dramatic lighting pockets, and display-quality silhouette.
Free Selling License Included
This model is intentionally designed with an open-source mindset - makers are encouraged to remix, expand, and personalize it in any way they like. Add angels, the Three Kings, shepherds, animals, or entirely new side structures; enlarge the base to create a sweeping desert landscape; or design custom backdrops and accessories to enrich the scene. The geometry is simple, modular, and creator-friendly, making it easy for anyone to adapt, extend, or evolve this nativity set into their own unique interpretation.
Print Profiles Included:
- AMS Version
Multi-color printing for the full visual experience - print profile is optimized for minimal purge waste. - NO AMS Version
Optimized for single-color printers.- Includes automatic pause points for selective color-change.
- The minifigures print as single-color pieces (hand-painting optional for customization).
- Perfect for creators who want aesthetic control without multi-material printing.
A1 Mini Optimized Profiles
Fully tuned print settings for builders using the Bambu A1 Mini.
This model blends traditional nativity charm with modern brick design principles. Each element is designed to feel tactile, intentional, and beautifully crafted.
ASSEMBLY INSTRUCTIONS
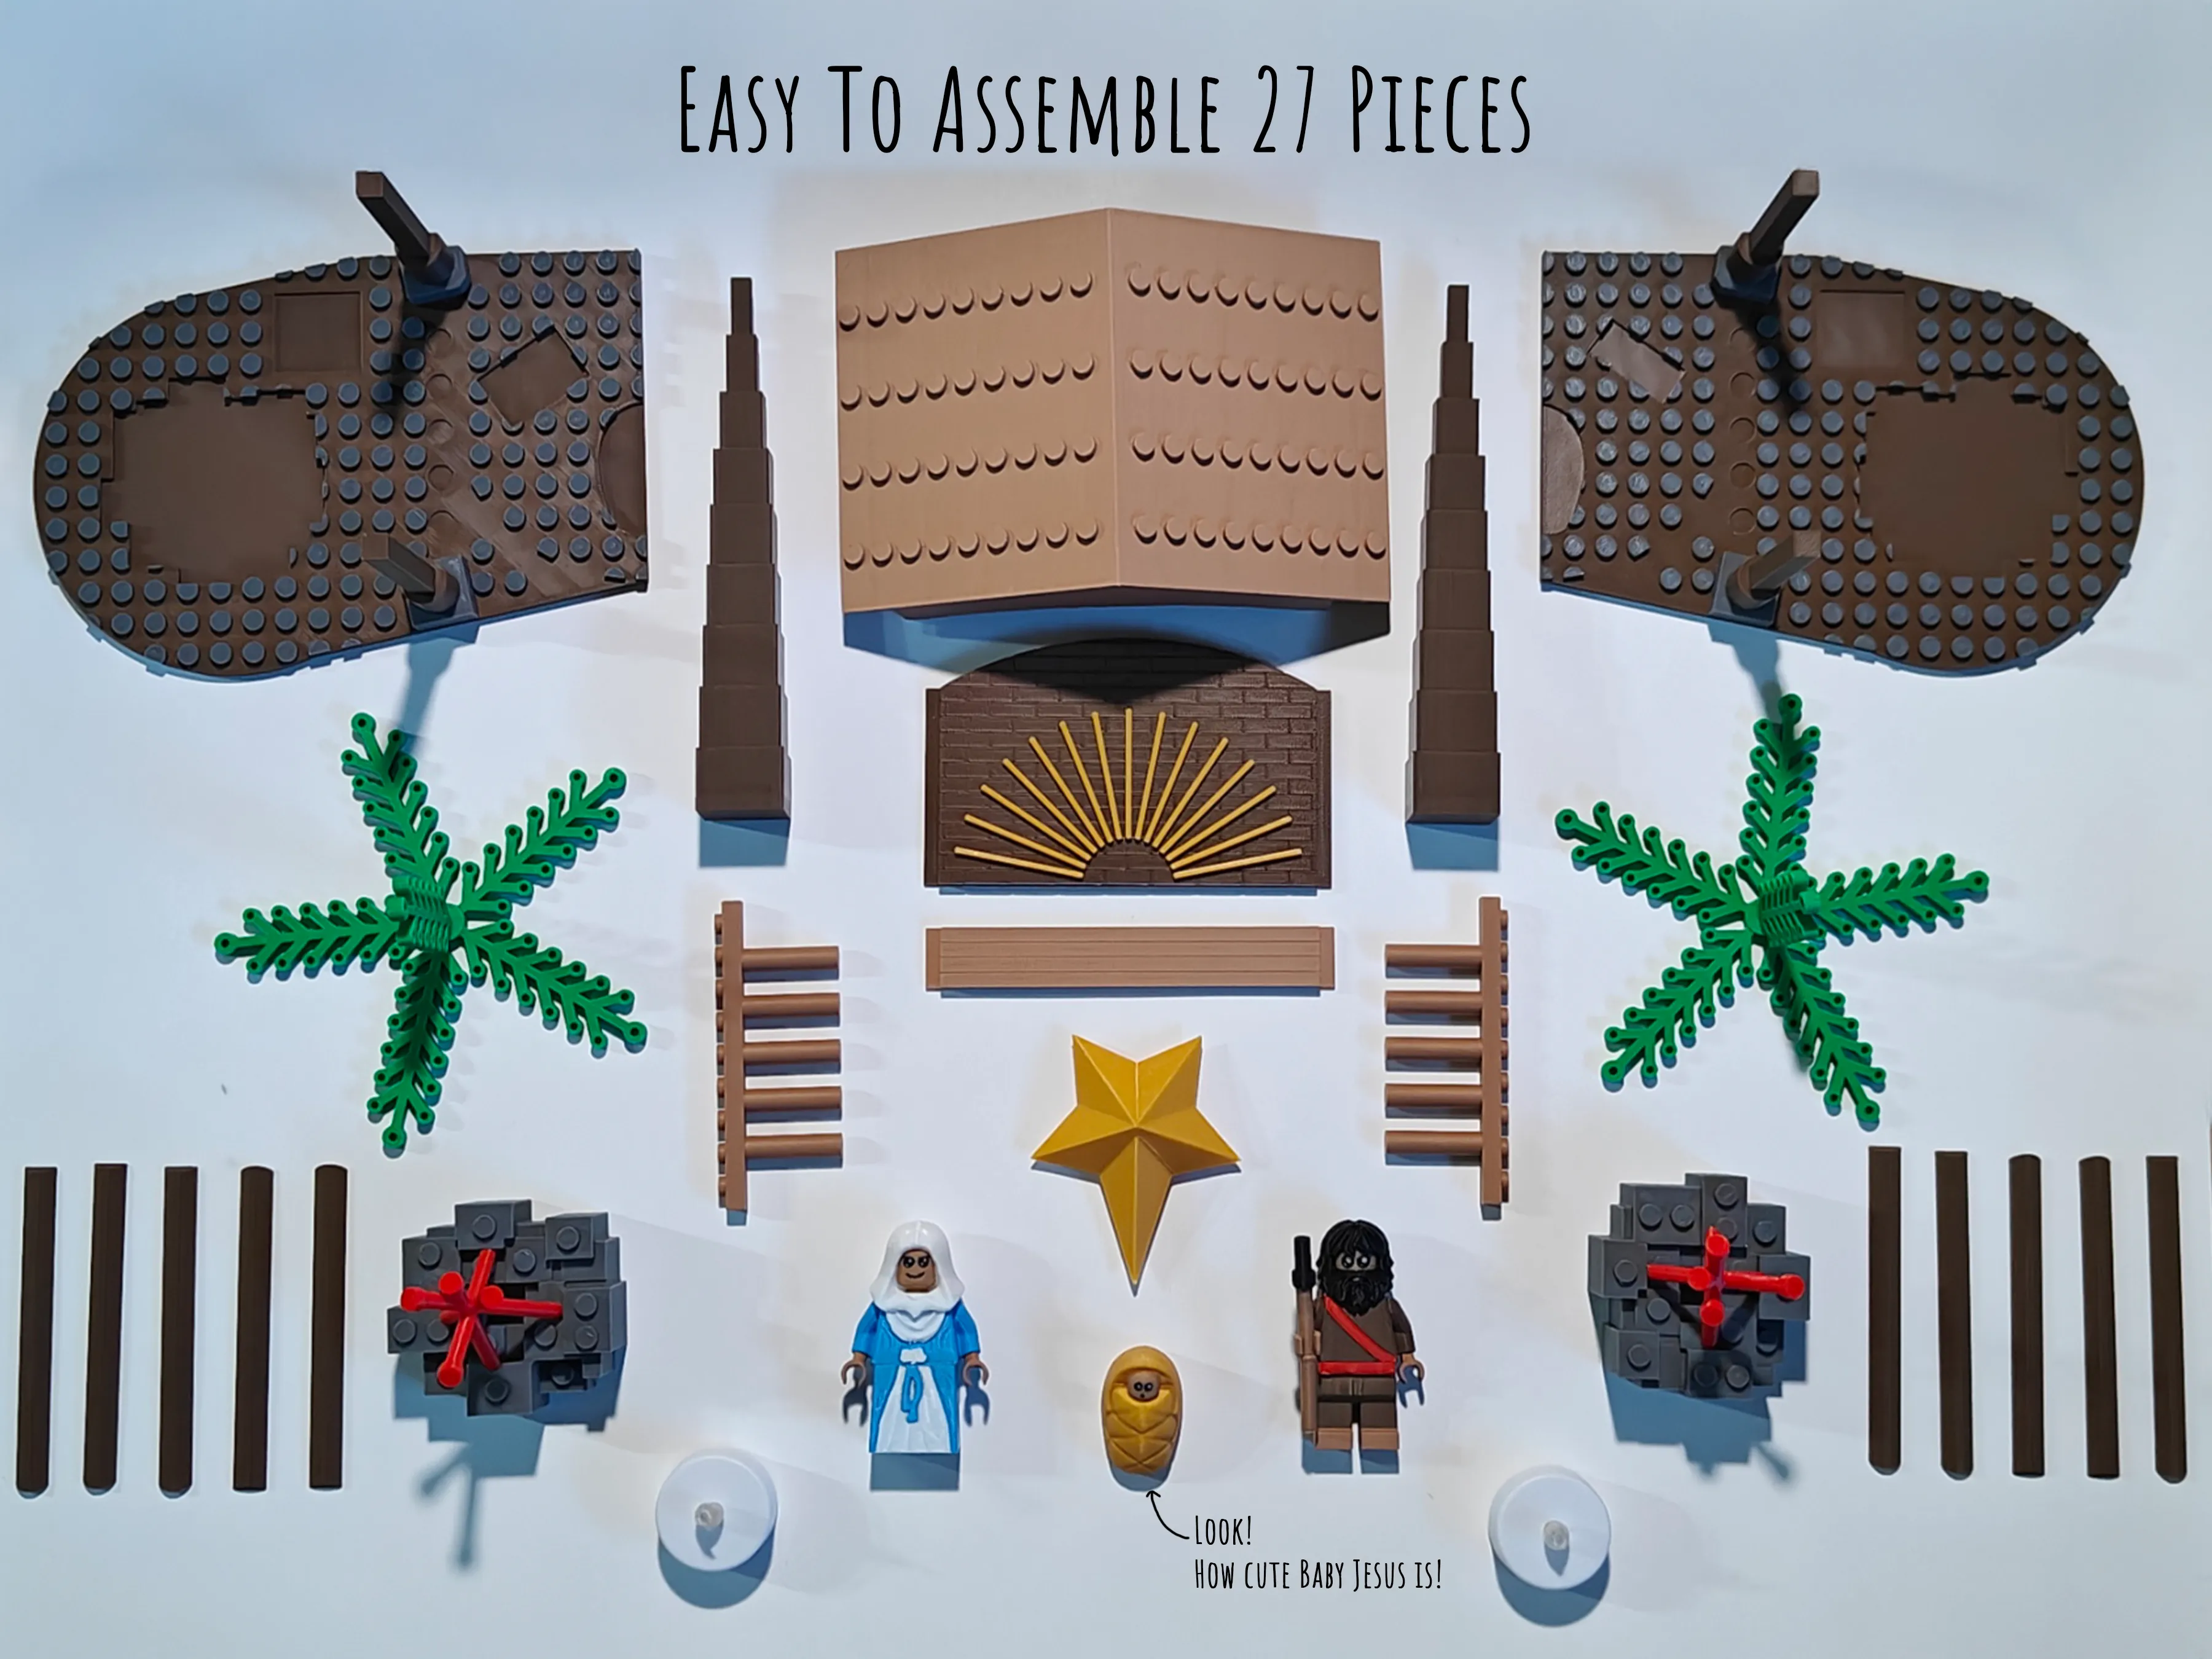
STEP 0: Print all pieces and get them ready to be assembled!
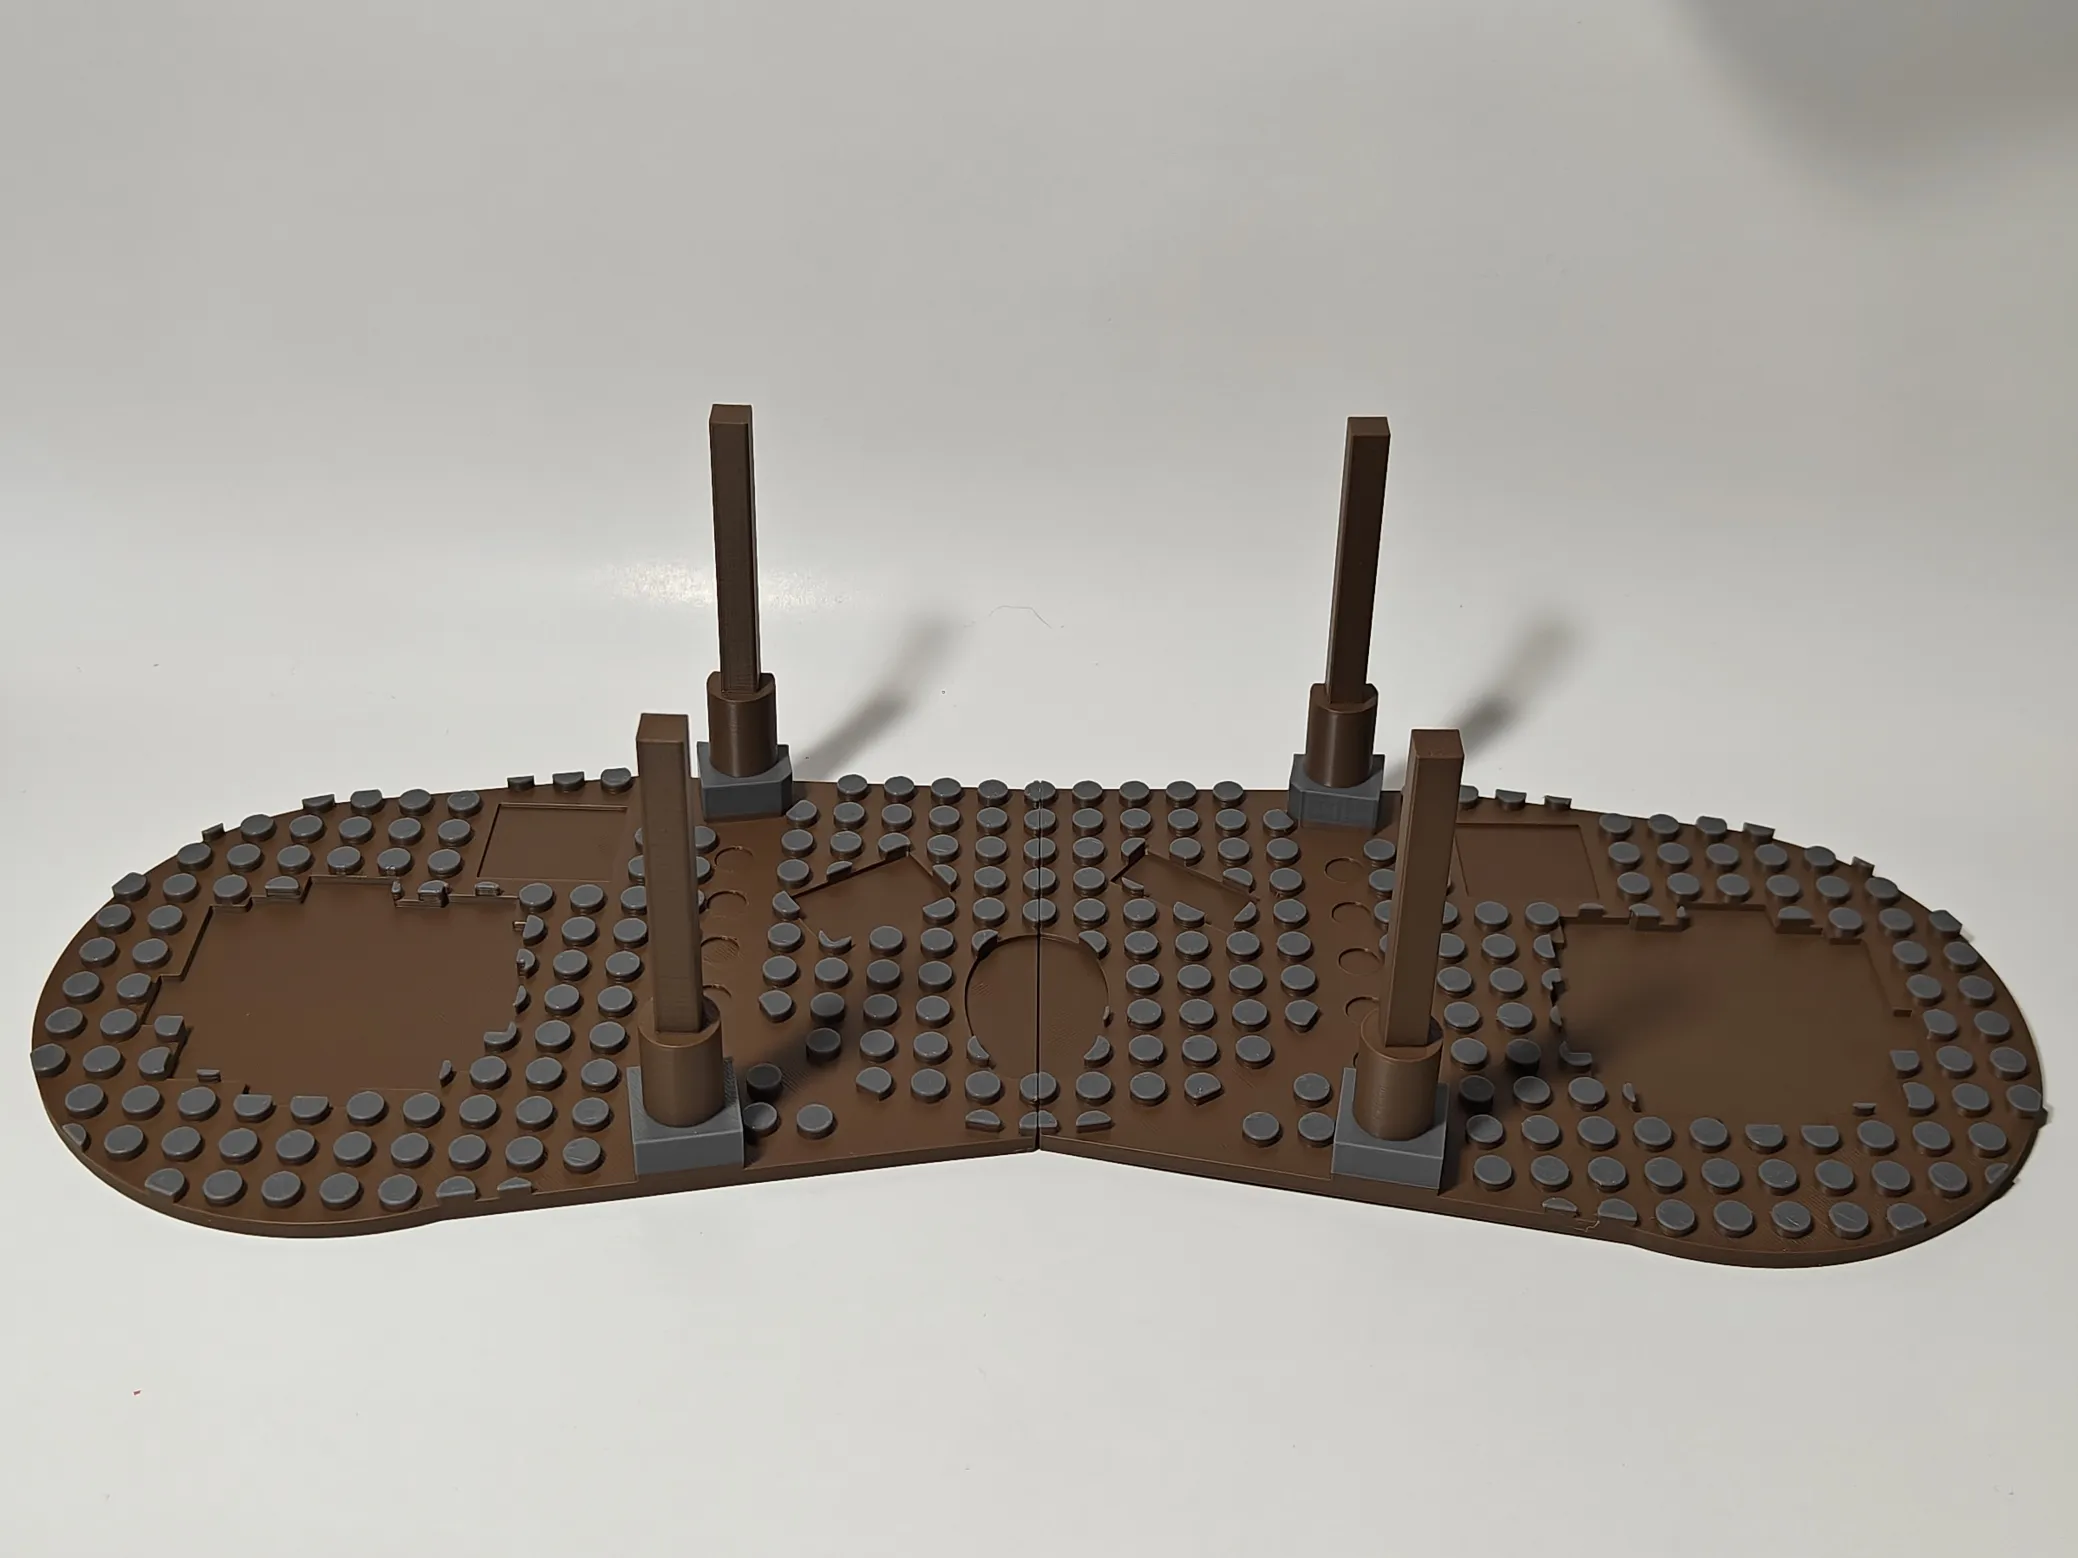
STEP 1: Superglue the base parts 1 and 2 together.
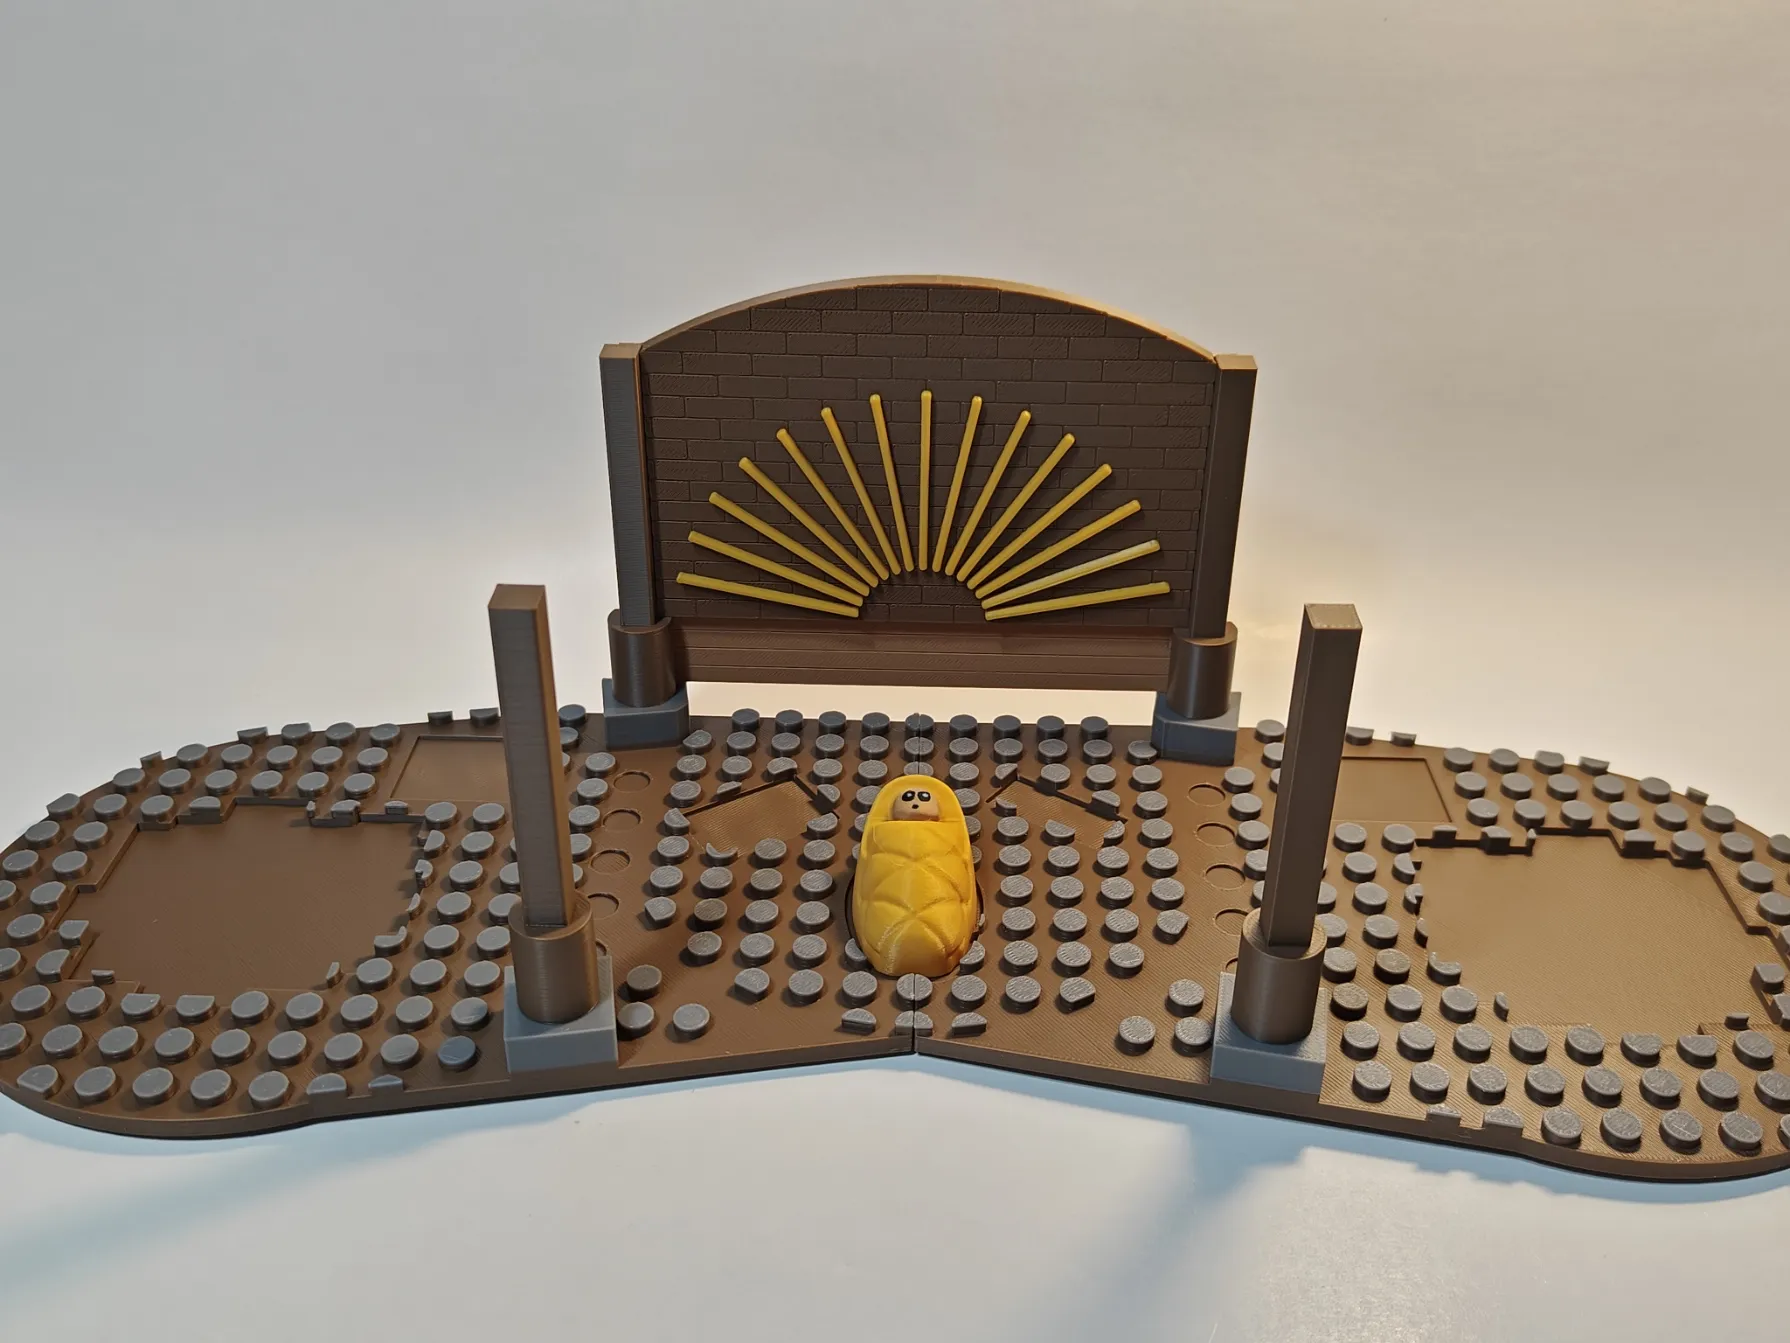
STEP 2: Superglue baby Jesus in the middle of the two base plates, the back wall, and the bottom panel. These will also bring additional stability to the base.
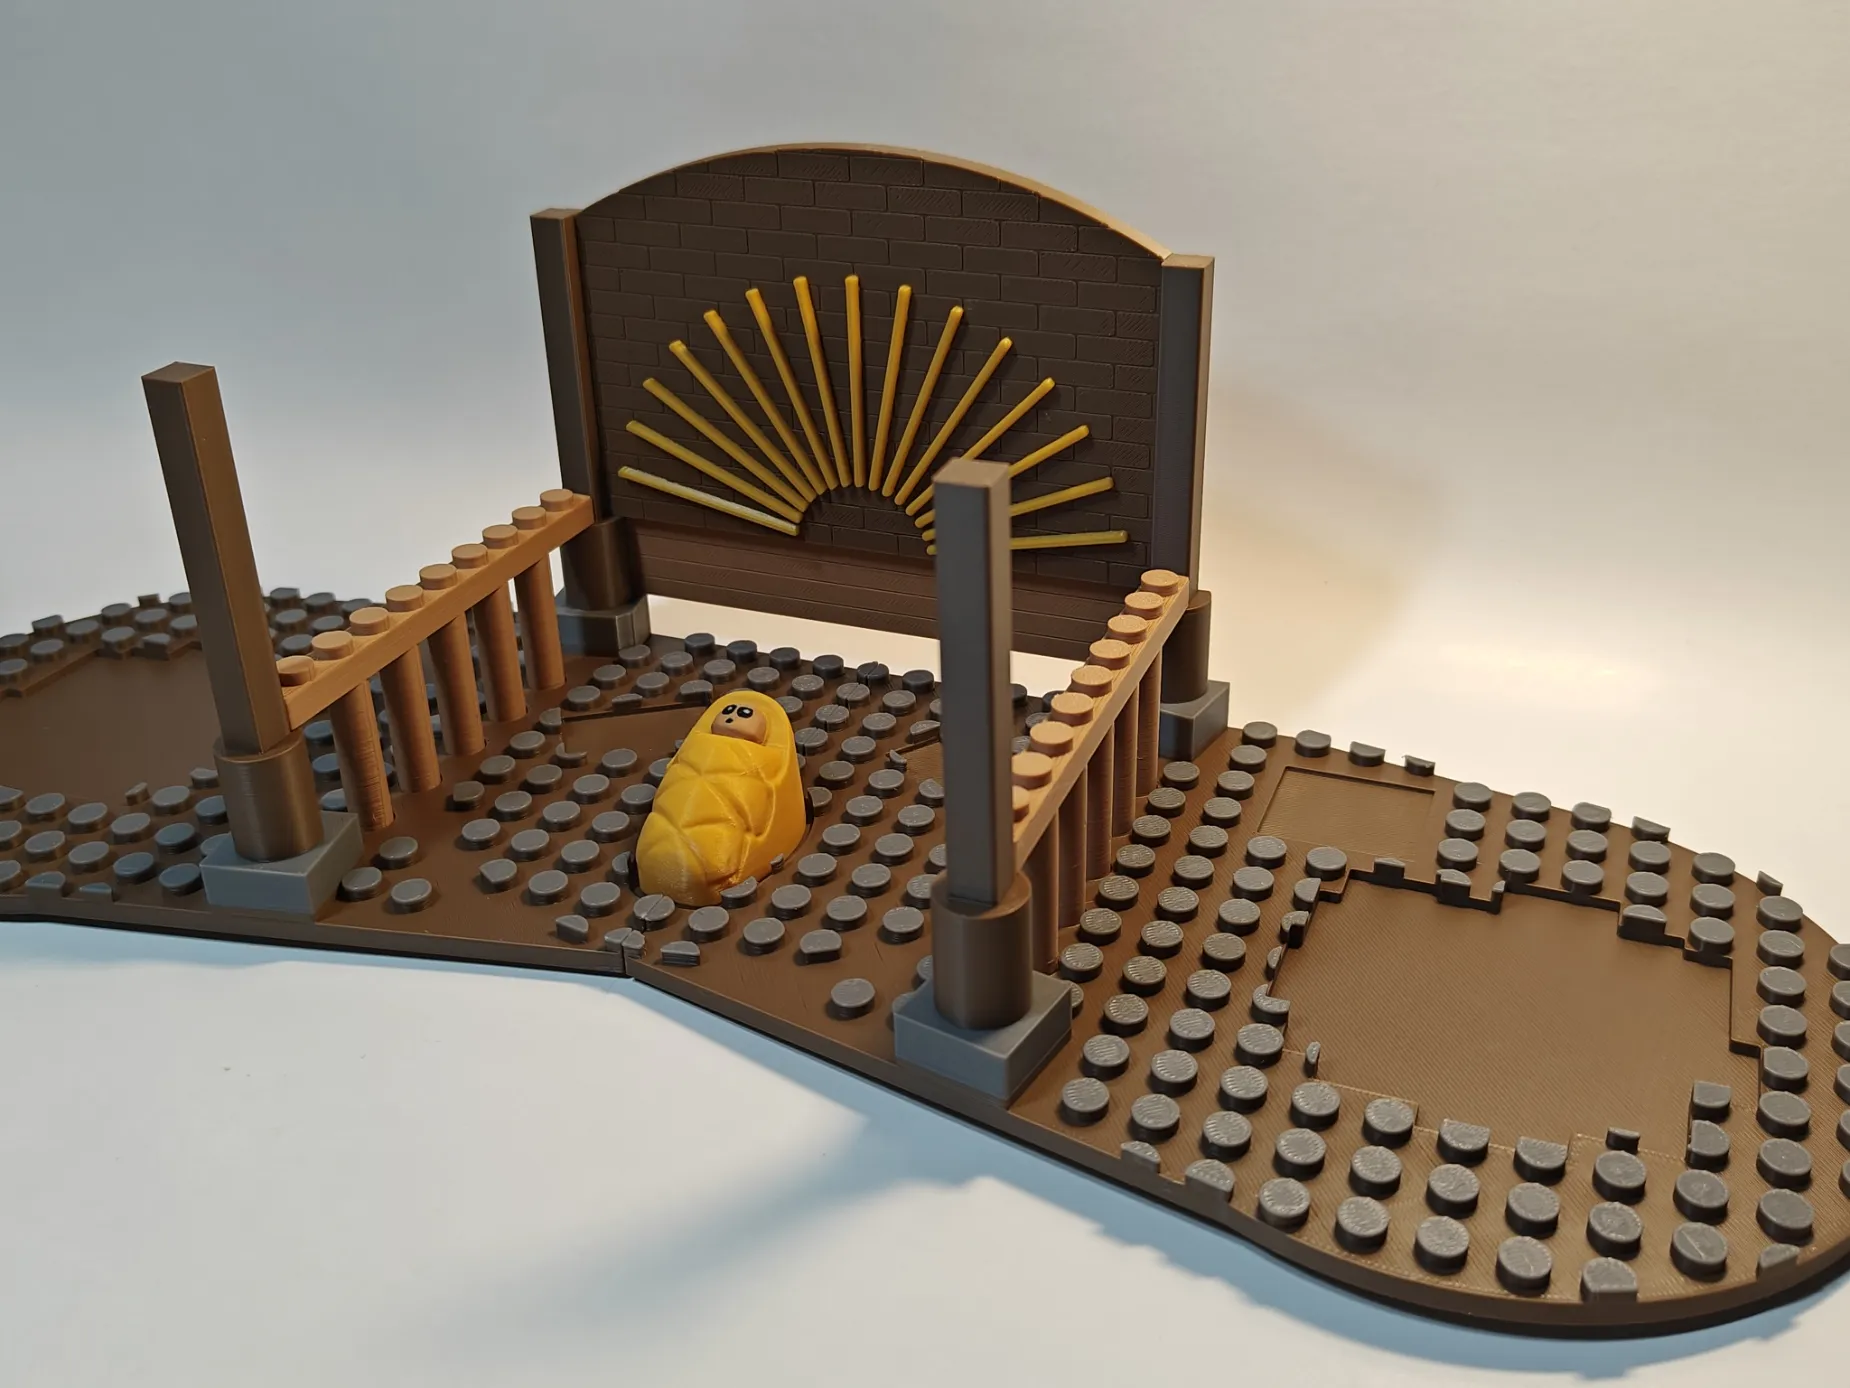
STEP 3: Superglue the side railings to the pillars of the stable.
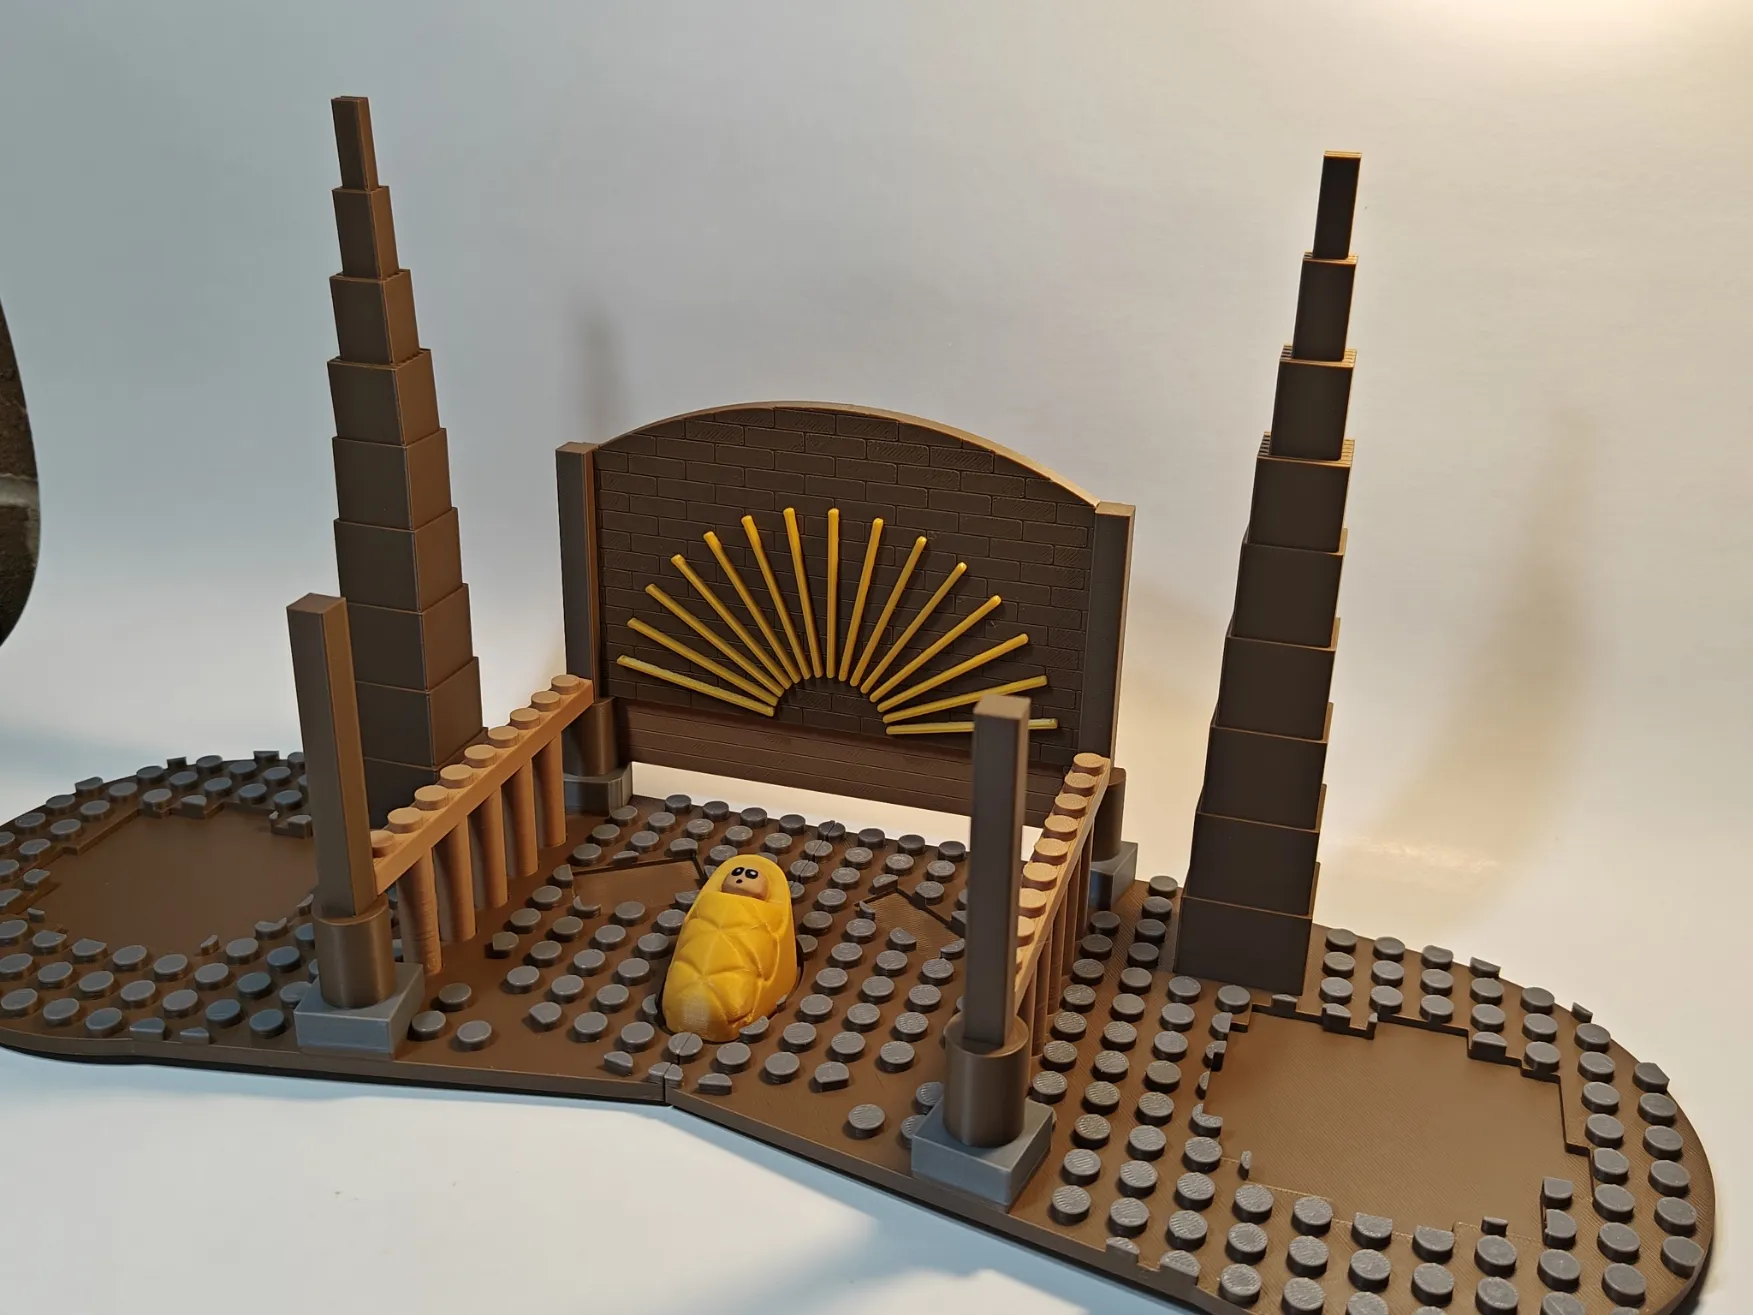
STEP 4: Attach the palm tree trunks on both sides. Make sure they are bending towards the front.
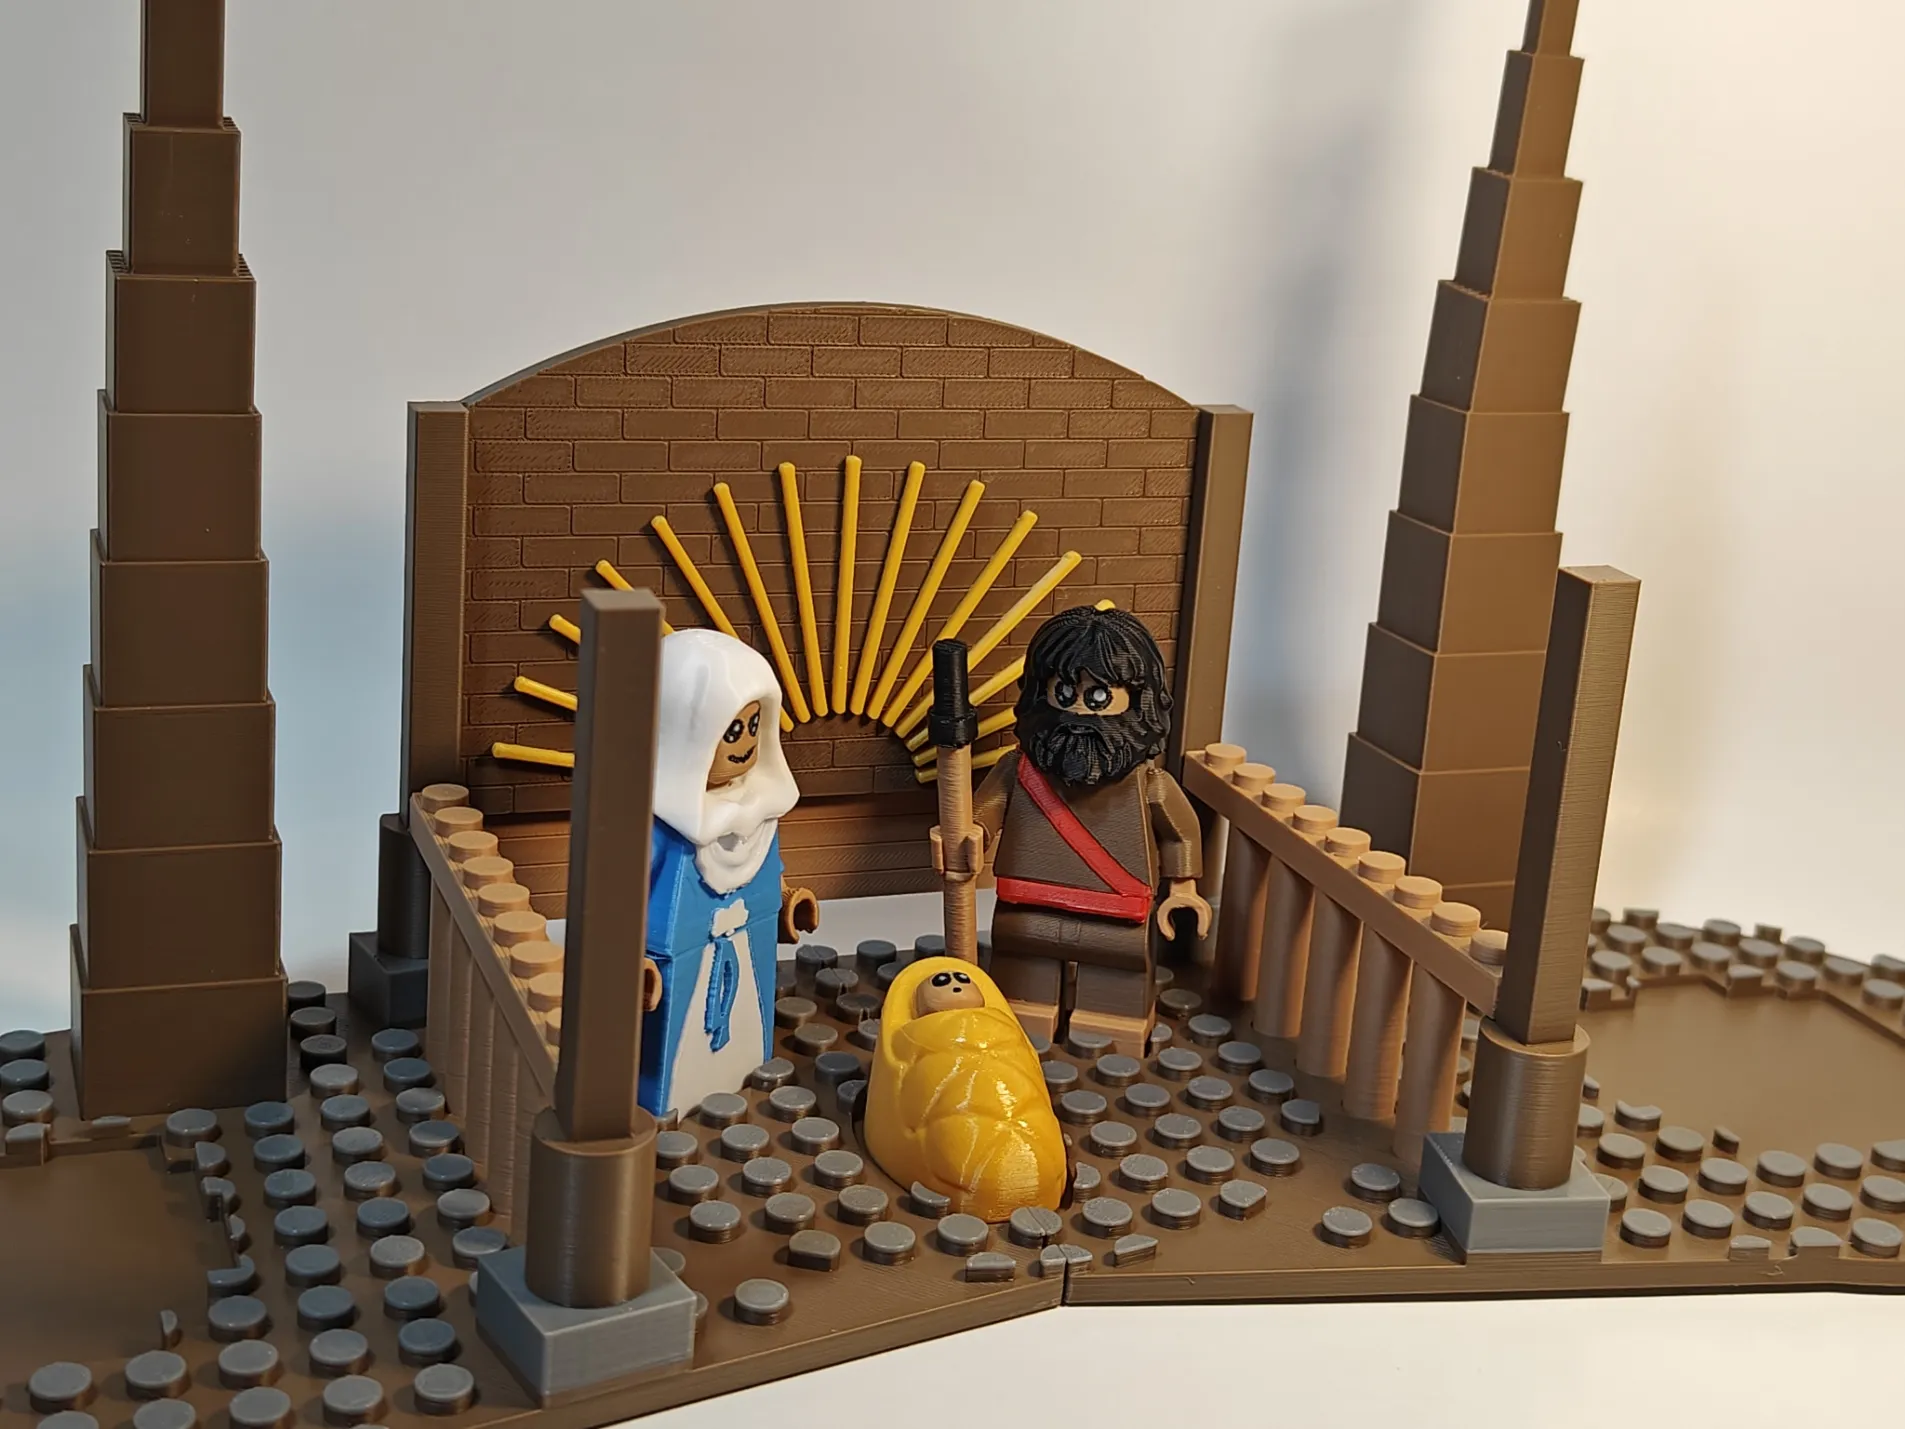
STEP 5: Place Mother Mary and Joseph in their slots and glue them to the base plate.
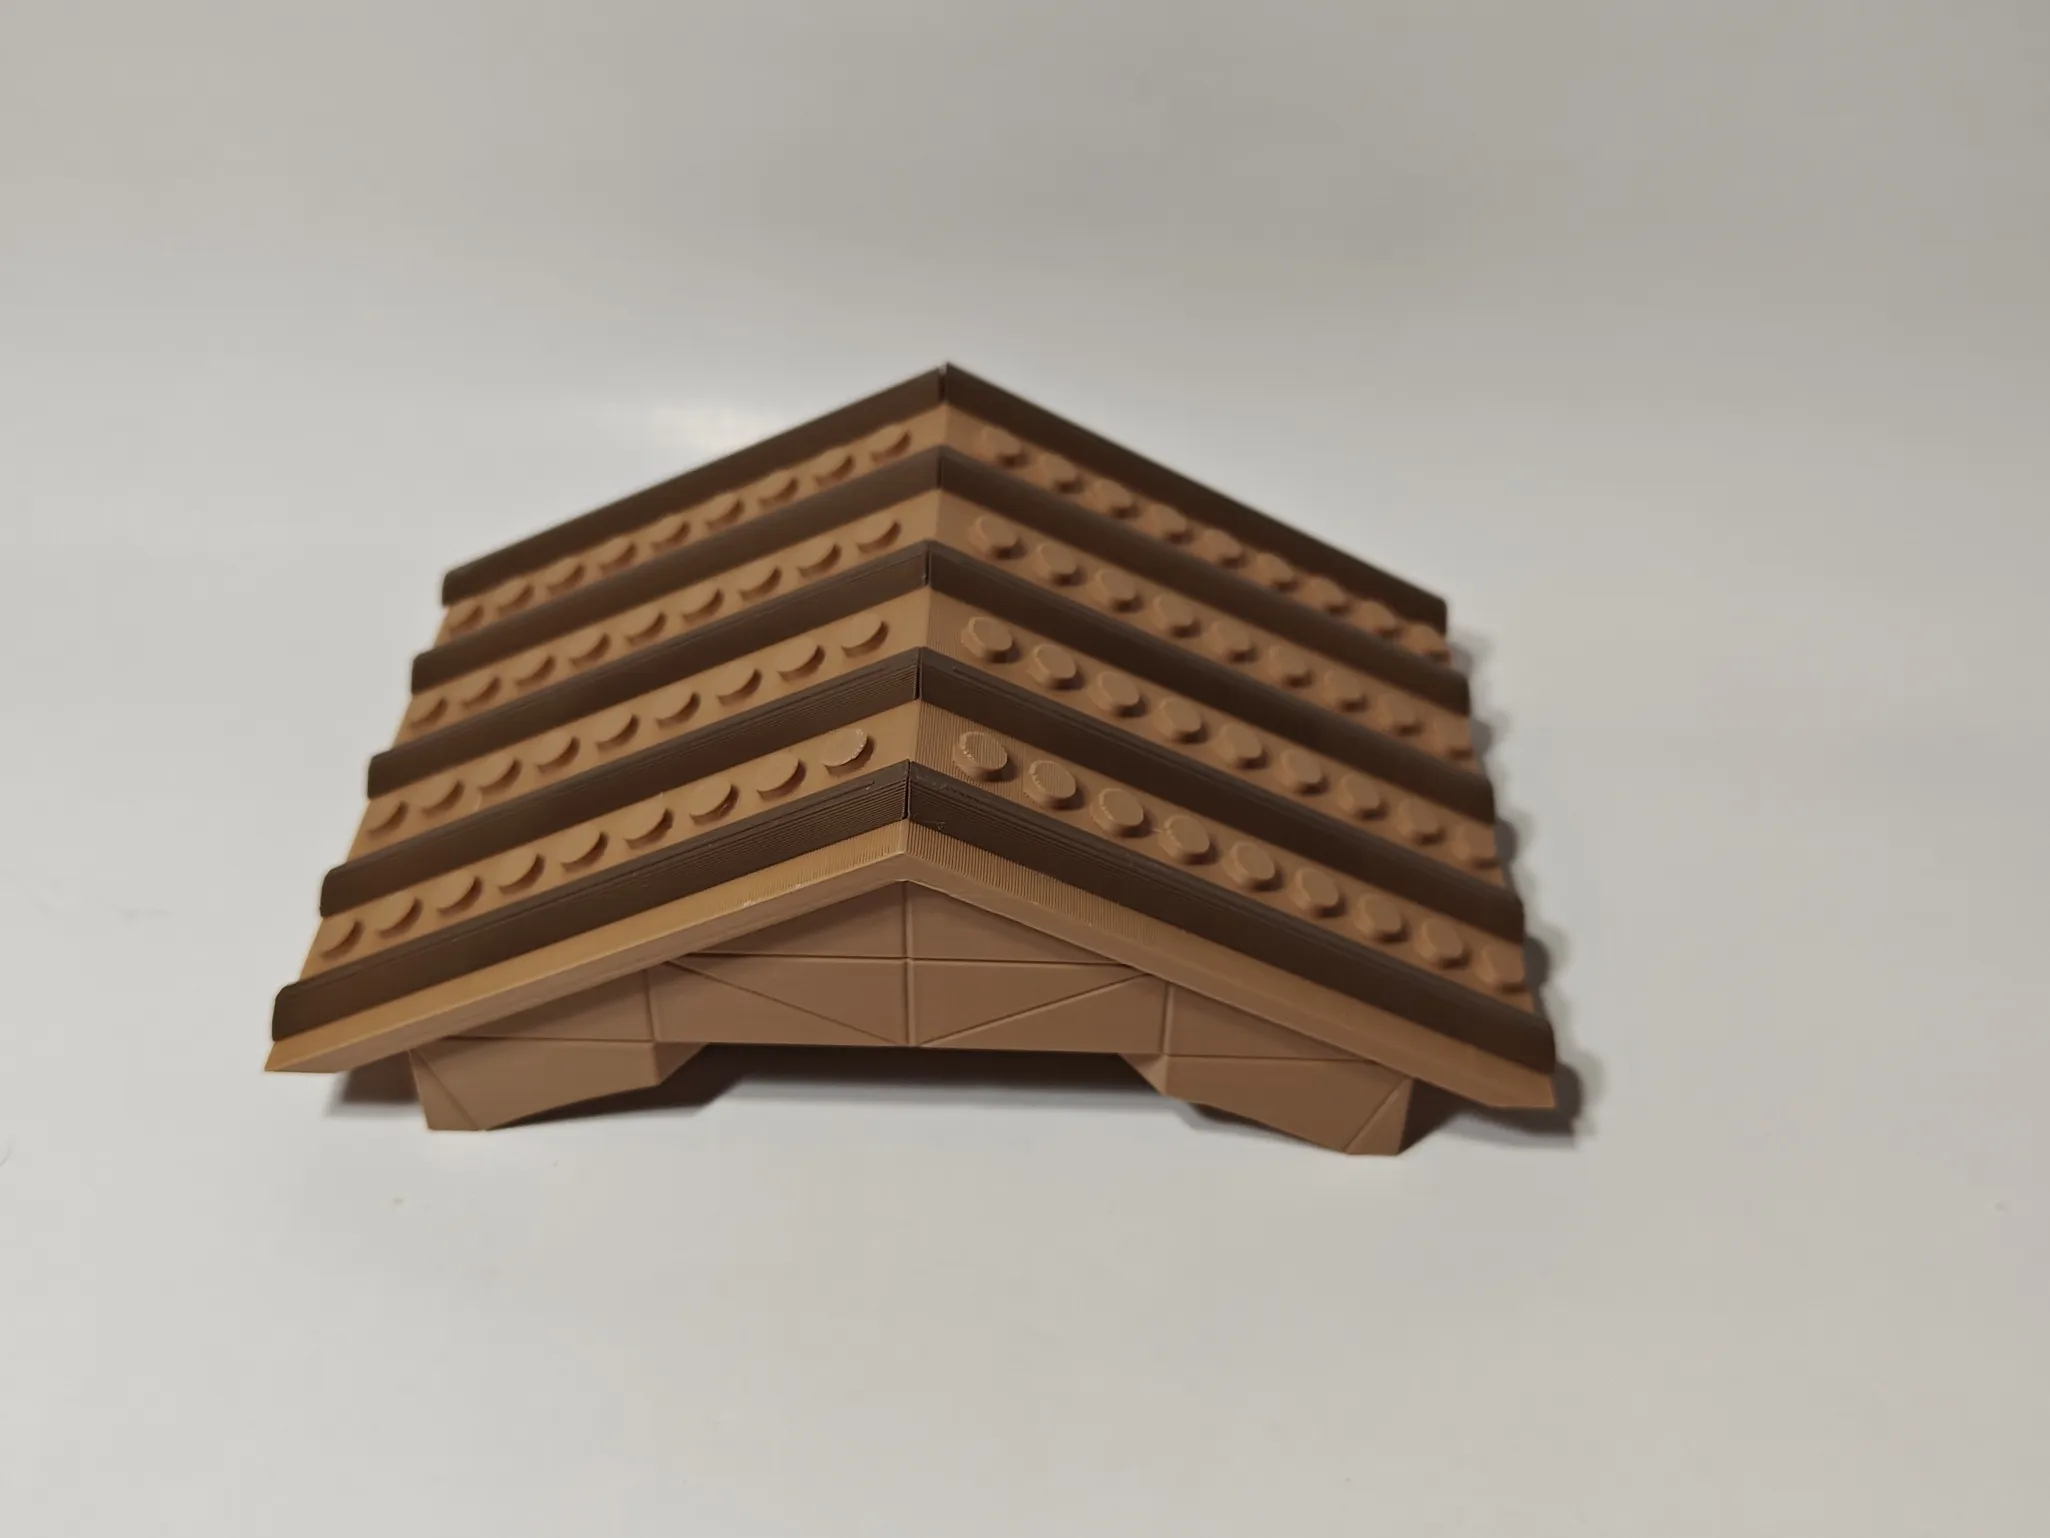
STEP 6: Glue the roof slats (logs) to the top surface at an angle. Make sure they are all aligned well for visual finishing.
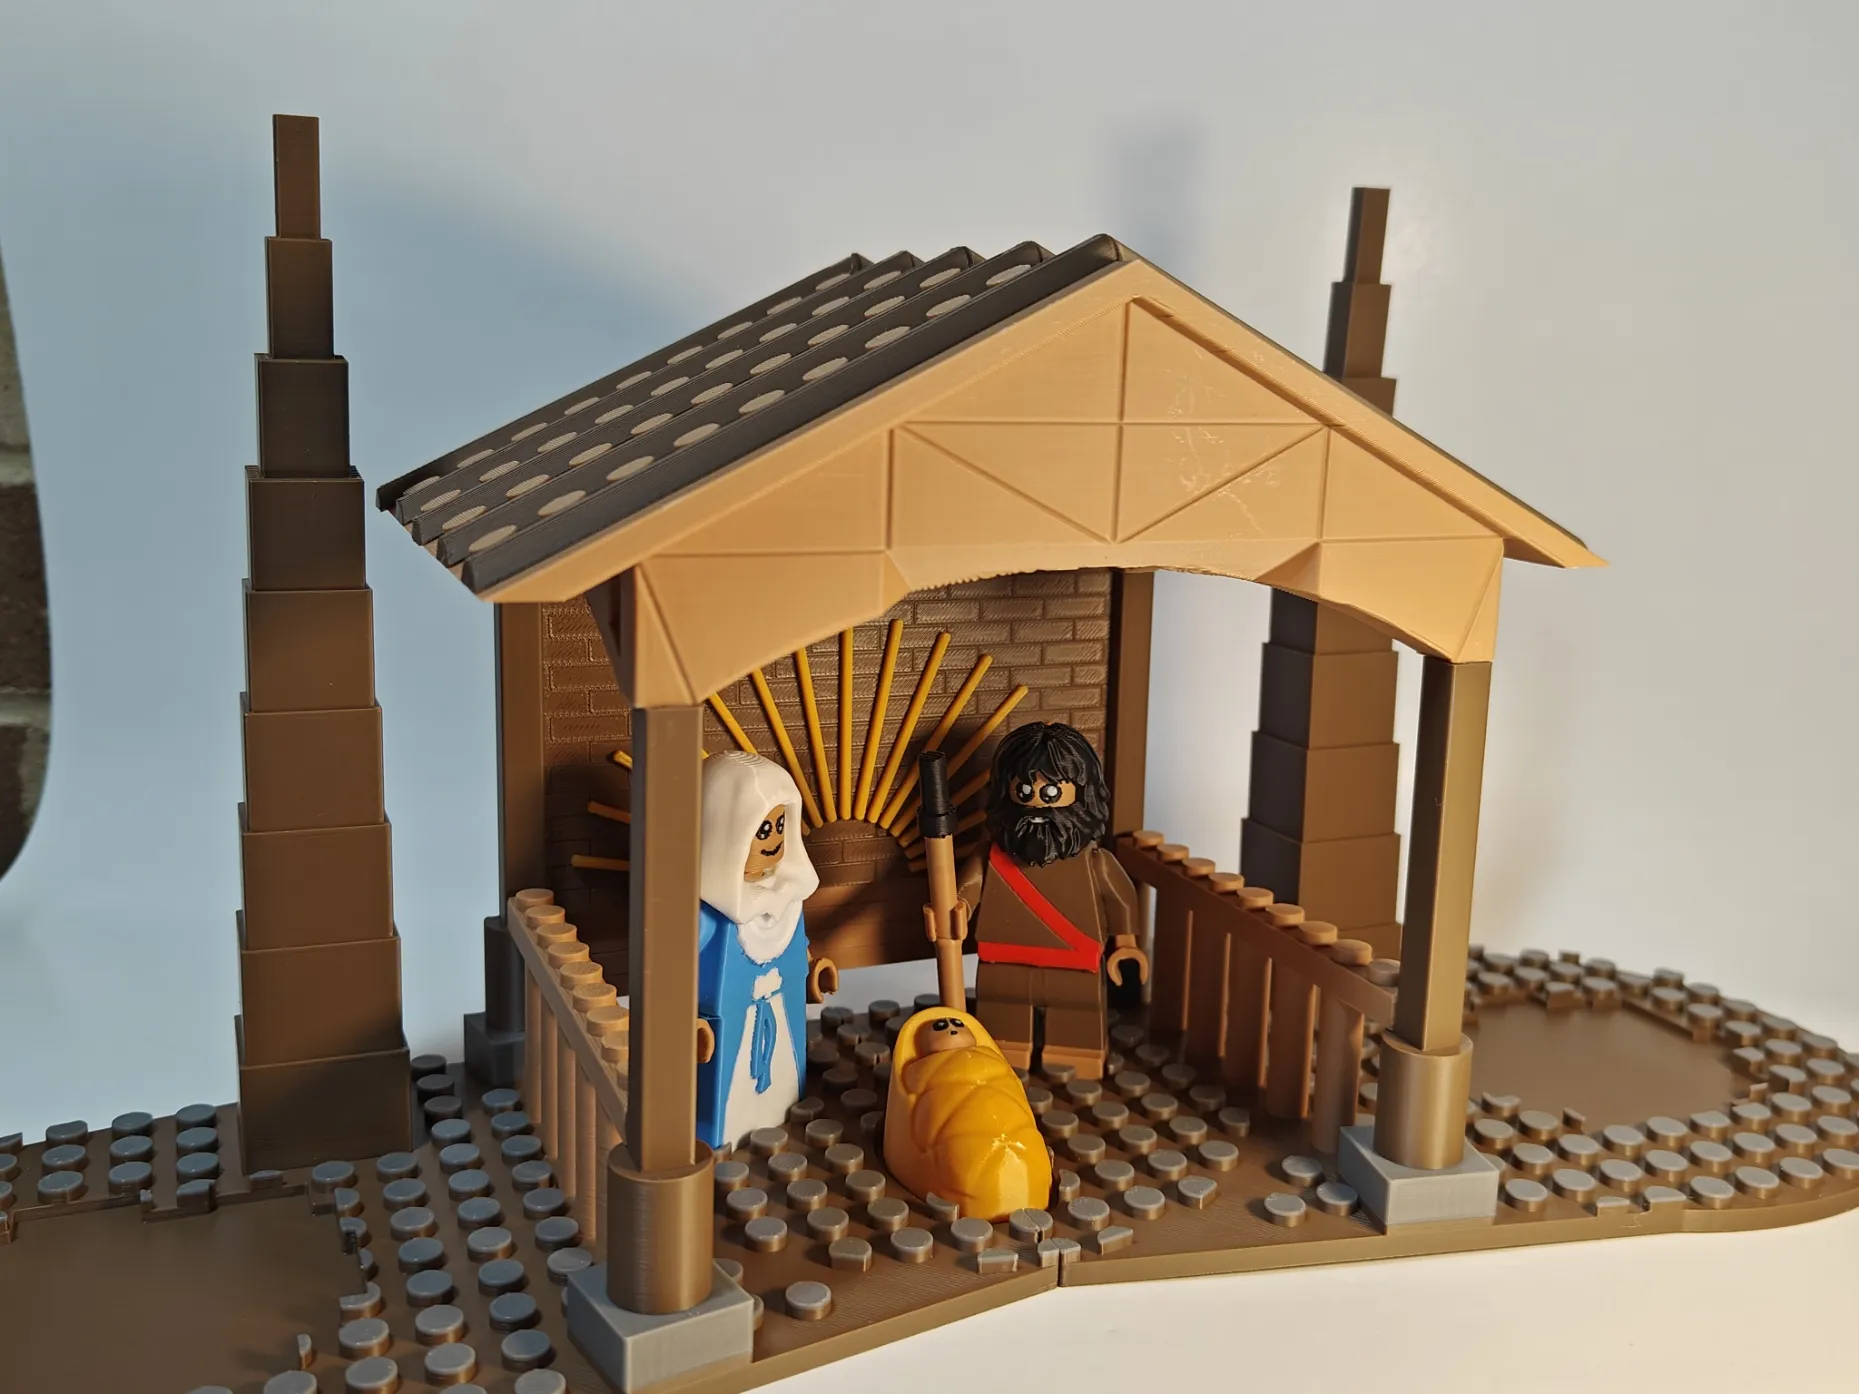
STEP 7: Once the roof is dry, place it on top of the four pillars and superglue it down. Make sure it is well-aligned with all four.
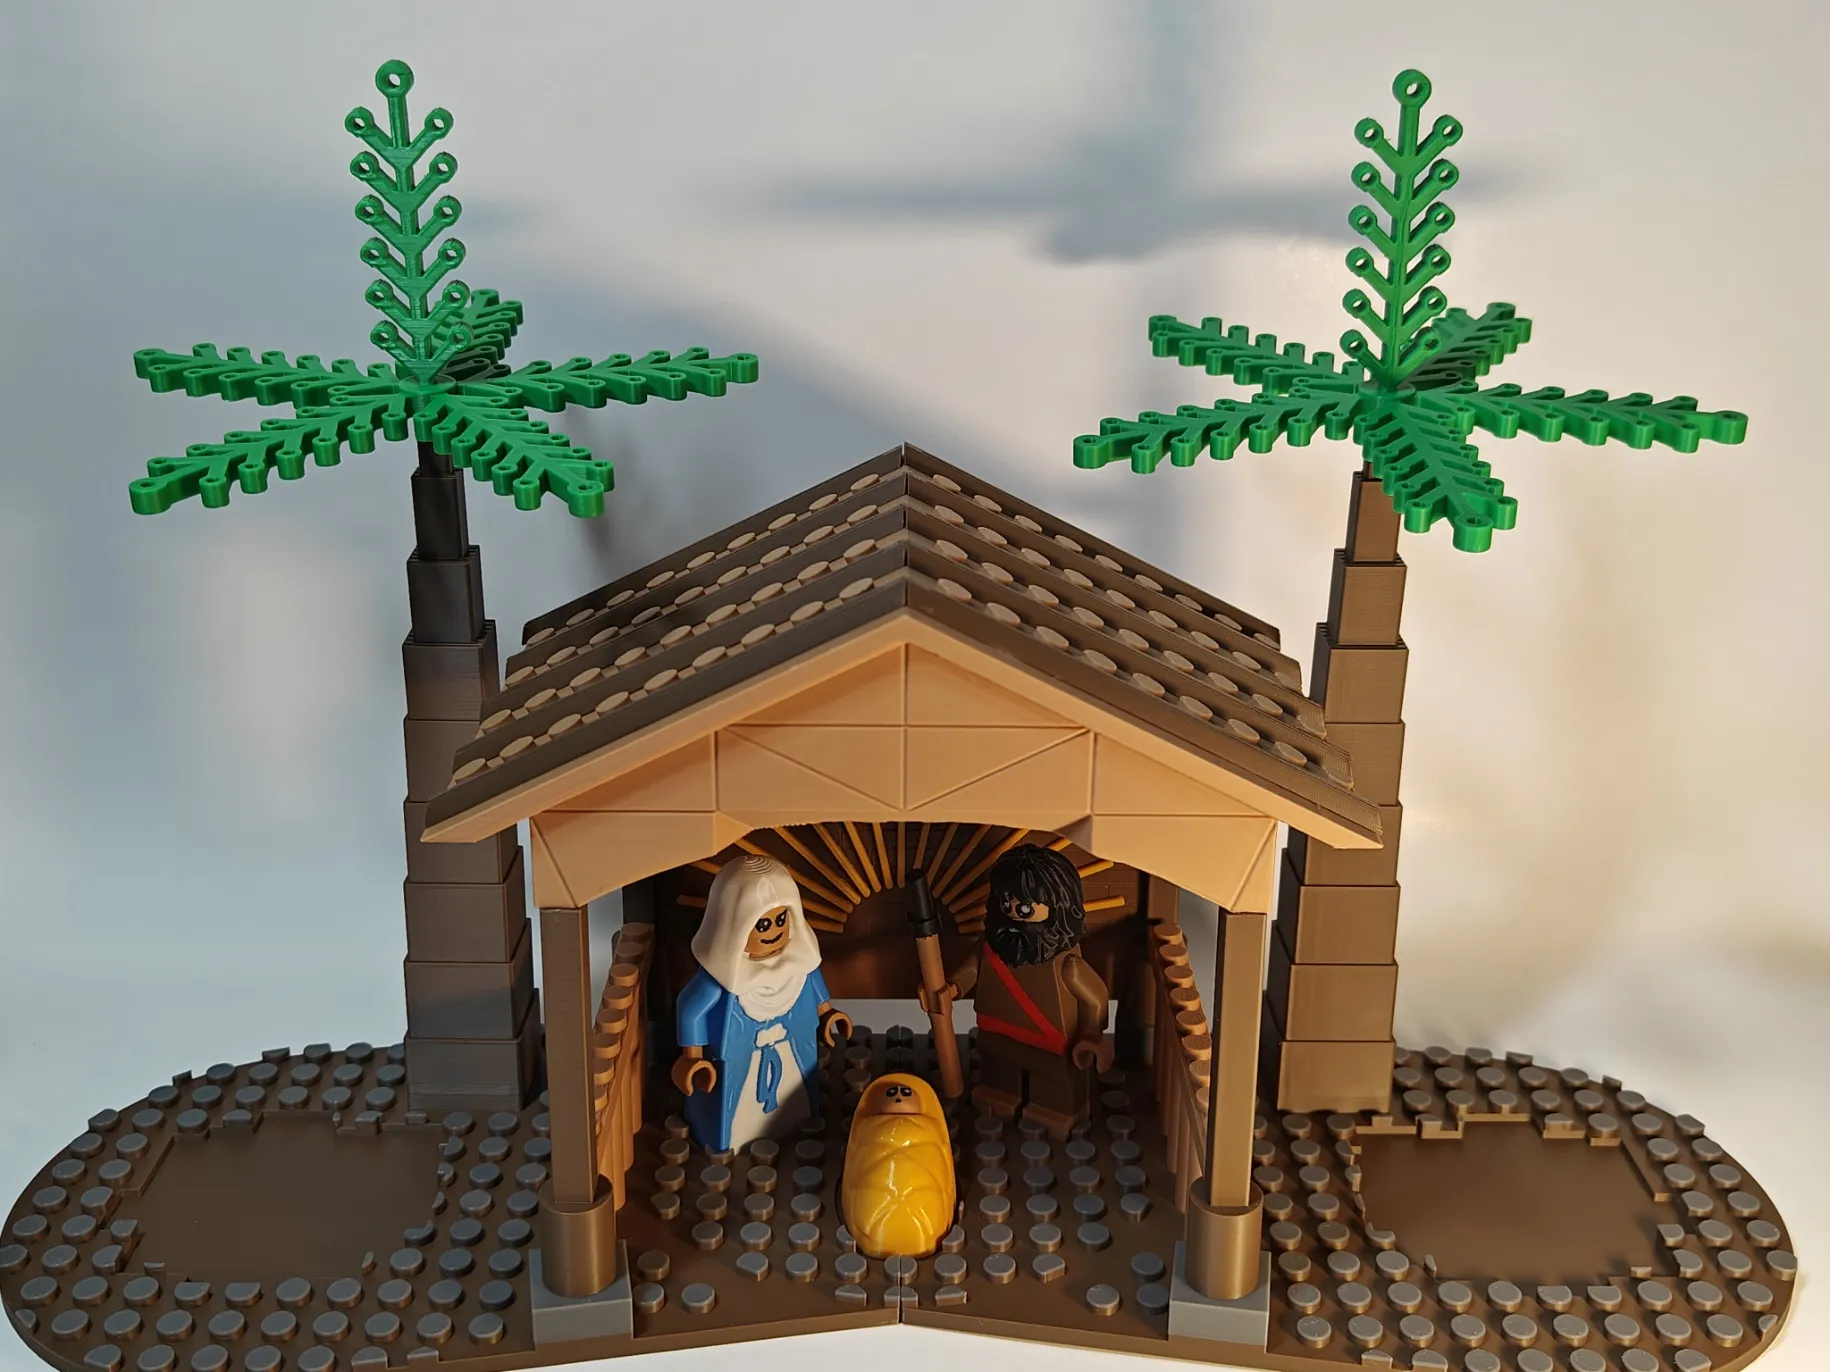
STEP 8: Place the Palm tree leaves onto the trunk.
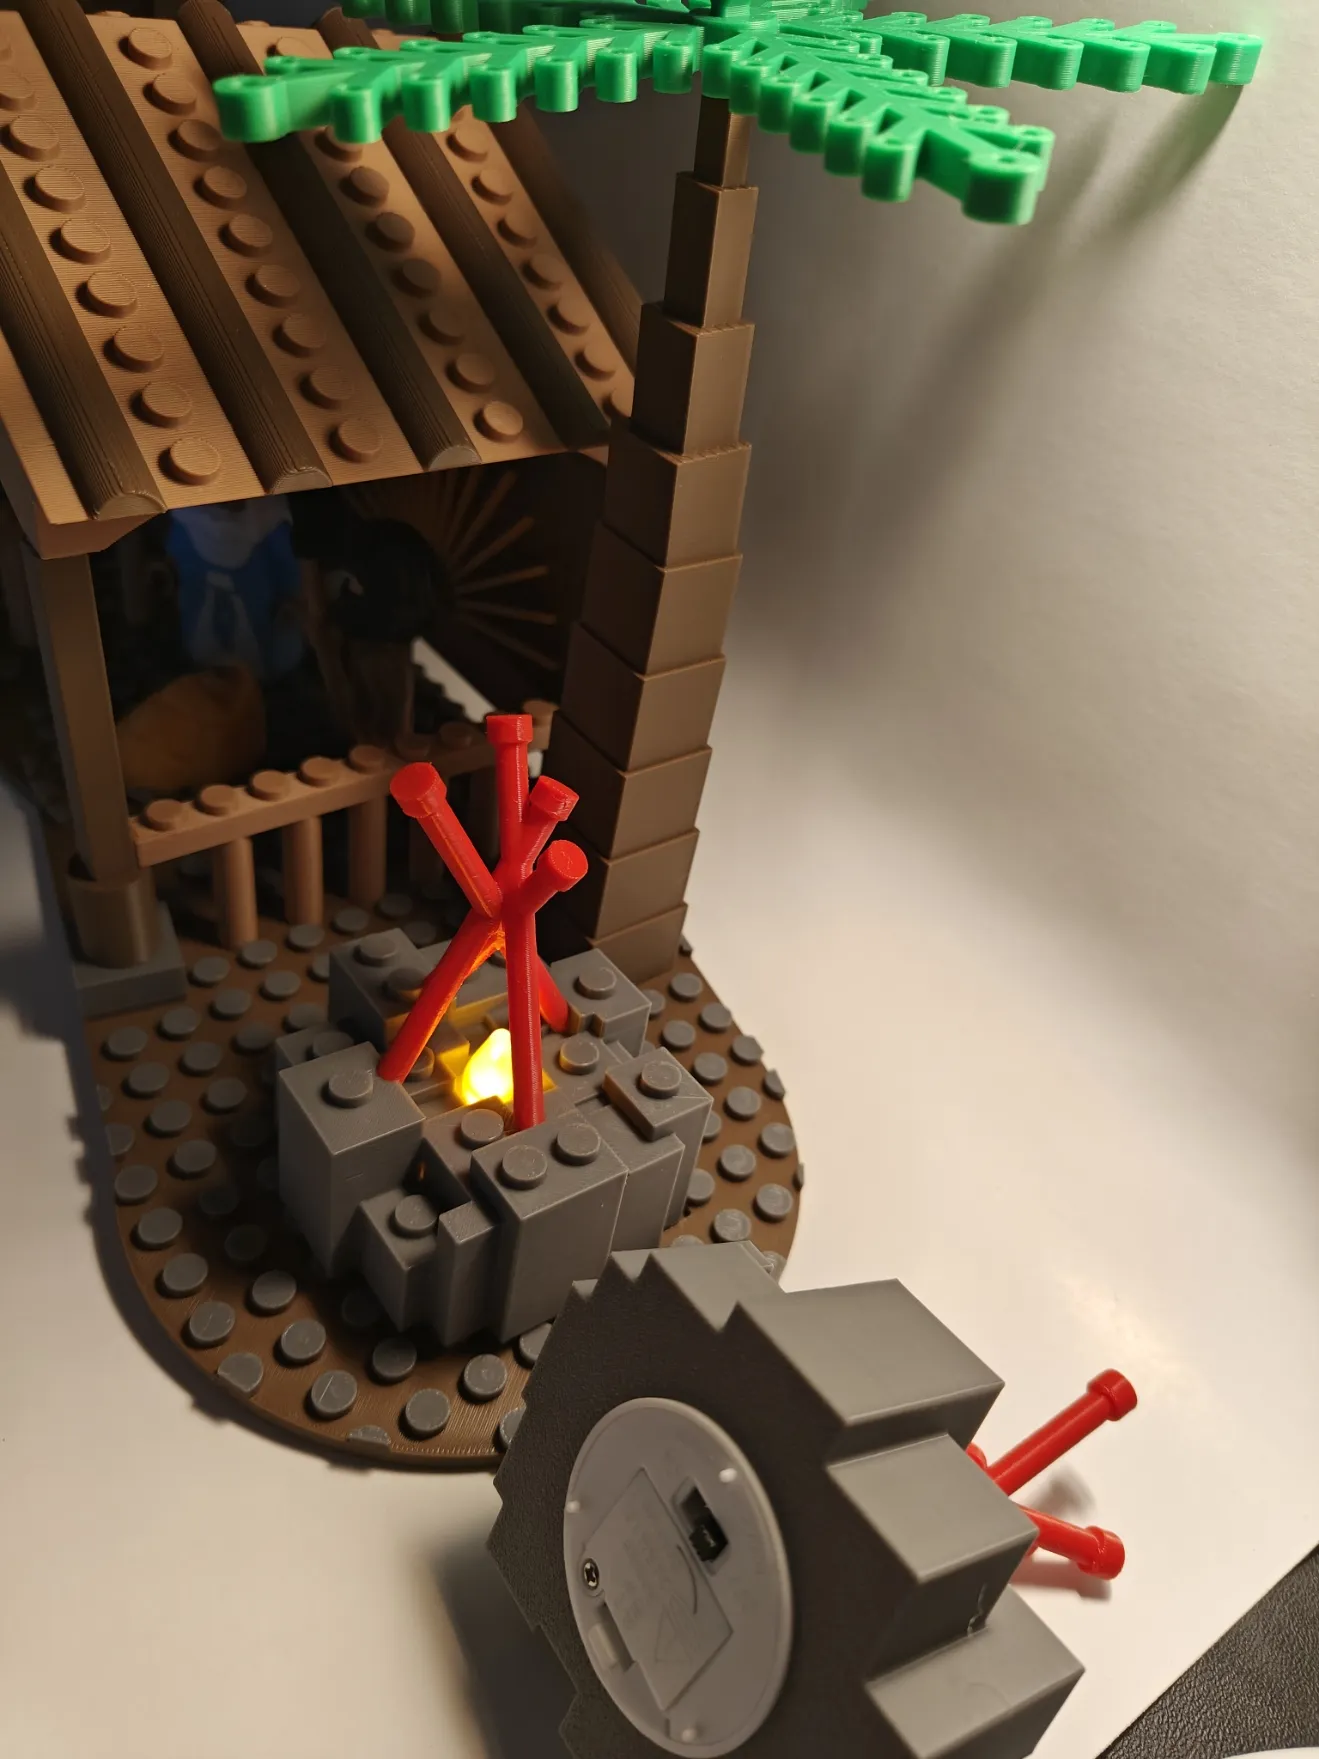
STEP 9: Place two tea-light candles inside both the campfires and place them in their respective slots on both sides of the base plate.
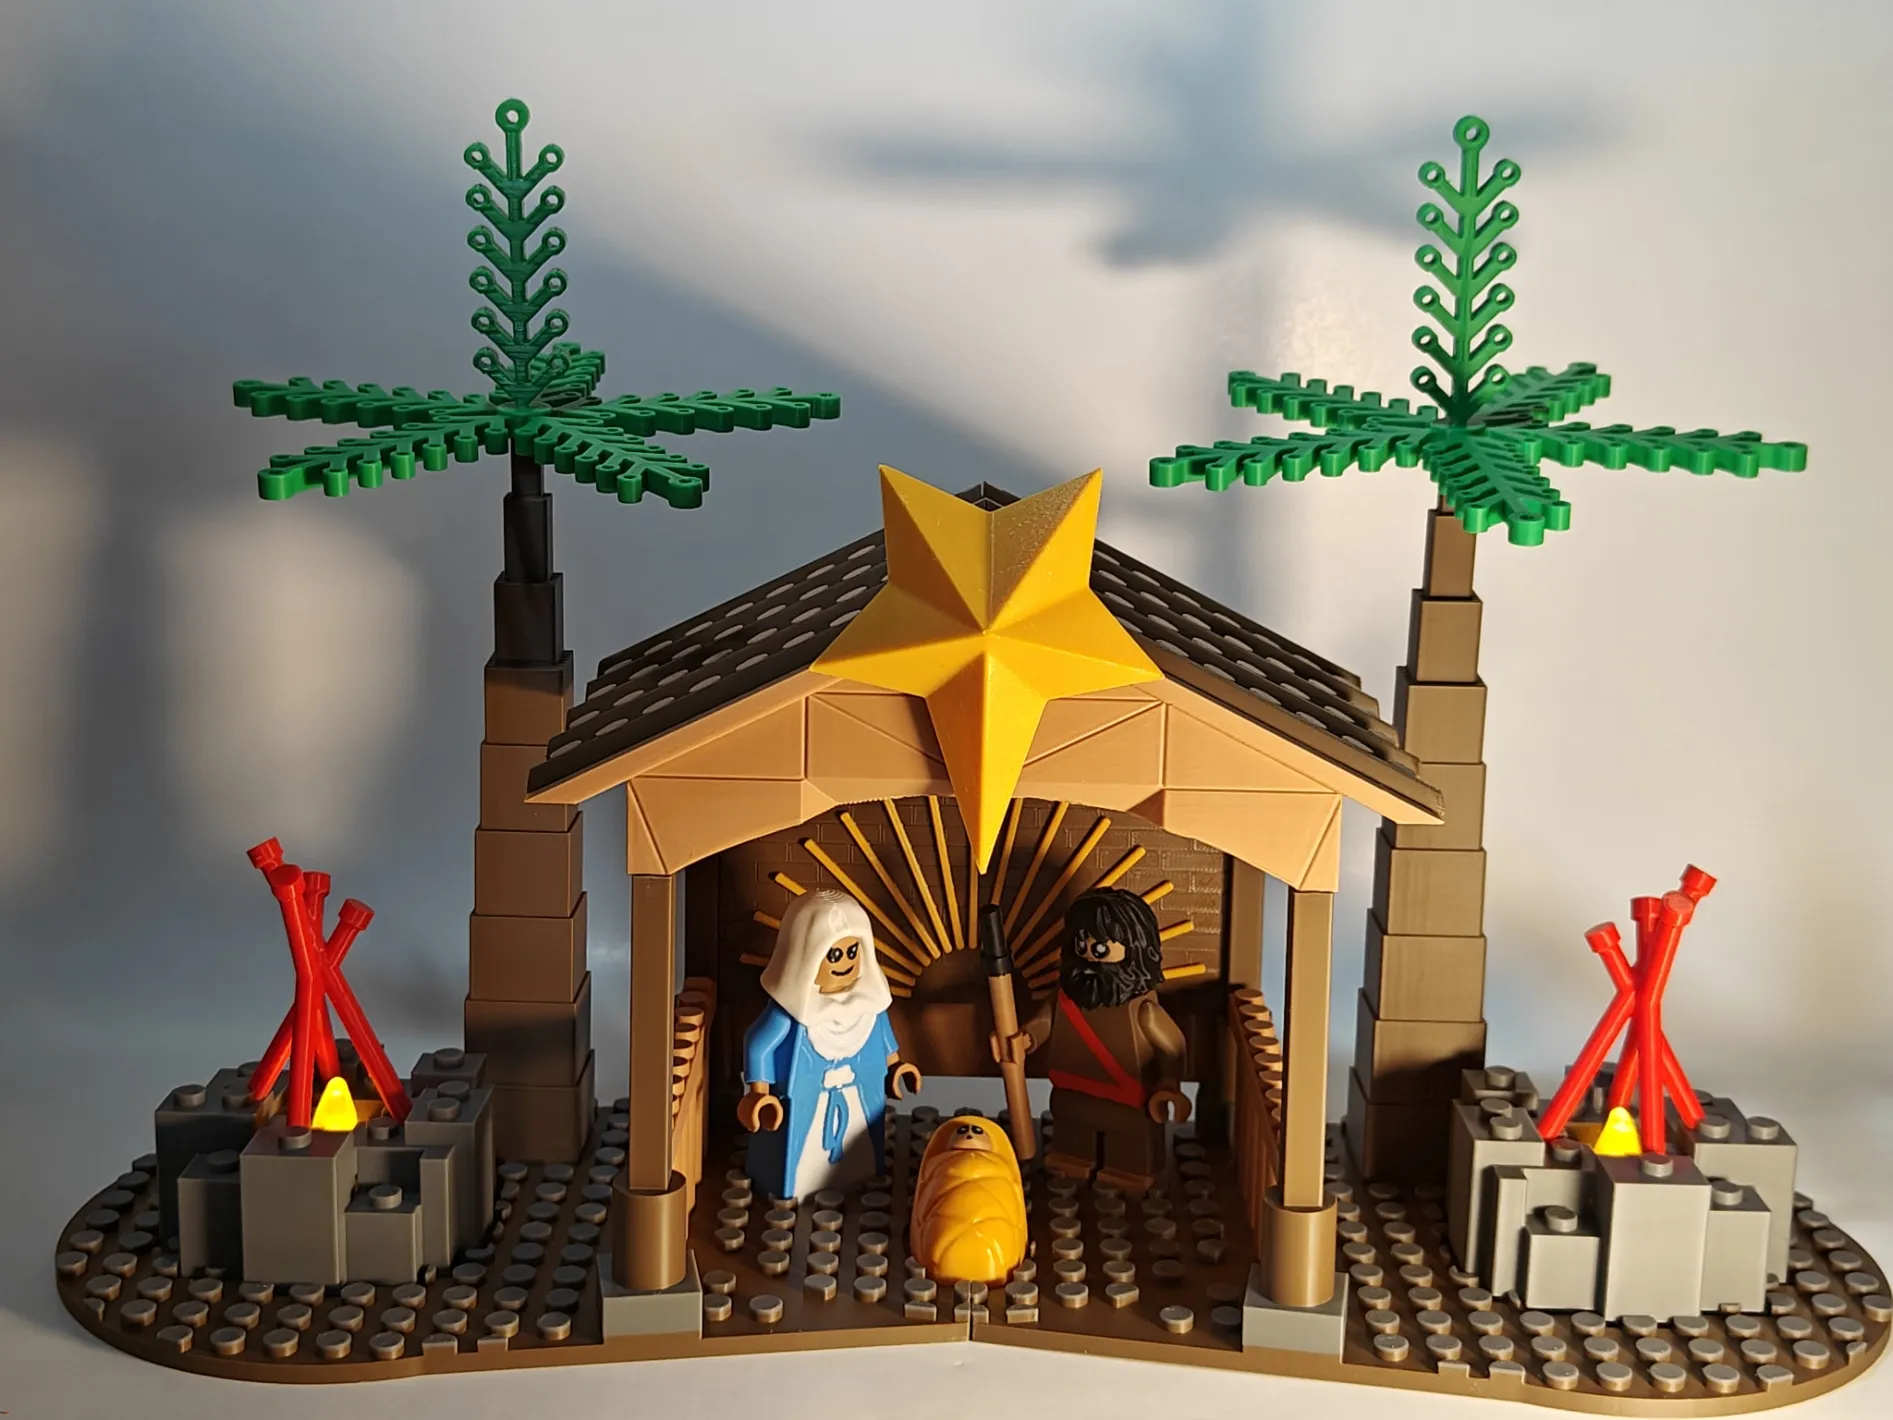
STEP 10: Finally, attach the Star in front of the roof using the given slot at the back of the Star. It should slide easily onto the edge of the roof. Superglue it there.
Boost Me (for free)
Please consider boosting this model if you liked it!
License

You shall not share, sub-license, sell, rent, host, transfer, or distribute in any way the digital or 3D printed versions of this object, nor any other derivative work of this object in its digital or physical format (including - but not limited to - remixes of this object, and hosting on other digital platforms). The objects may not be used without permission in any way whatsoever in which you charge money, or collect fees.


Comment & Rating (54)