
Pai Sho Set from Avatar
Print Profile(1)
Bill of Materials







Description
Ahoy hoy,
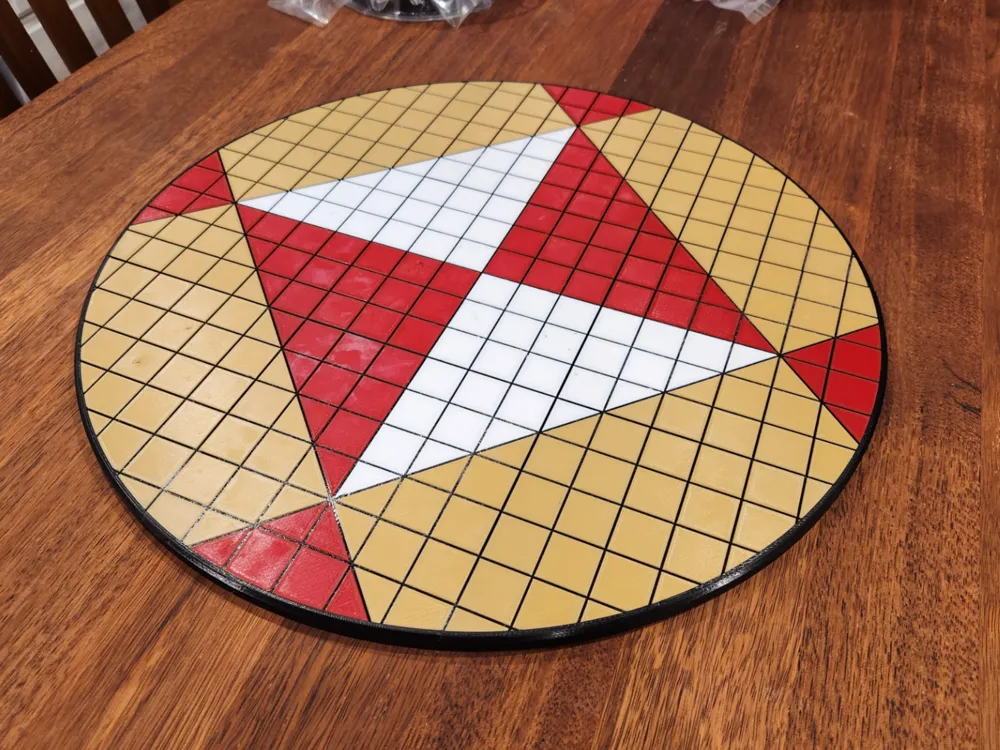
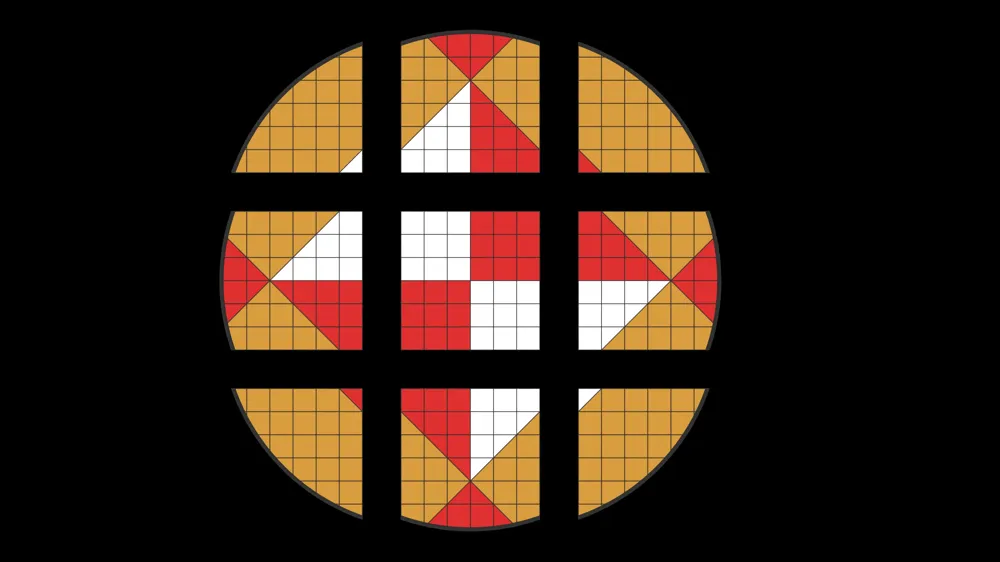
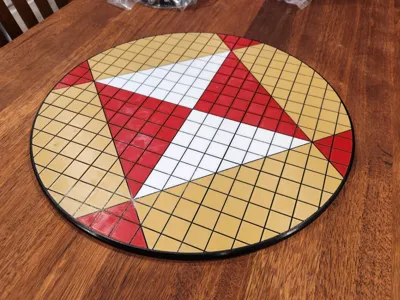
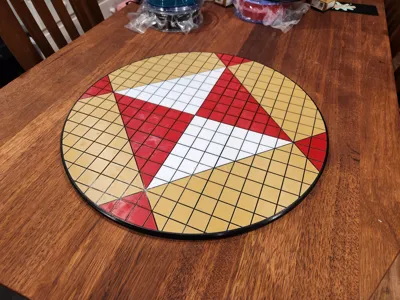
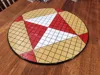
I've decided to make a 3D printable version of the game of Pai Sho from Avatar - The Last Airbender.
This is based heavily on the show, and loosely inspired by the following sites/projects:
- http://paisho.pbworks.com/w/page/11167060/FrontPage
- http://lotusgambit.pbworks.com/w/page/45592429/Home
- https://skudpaisho.com/site/
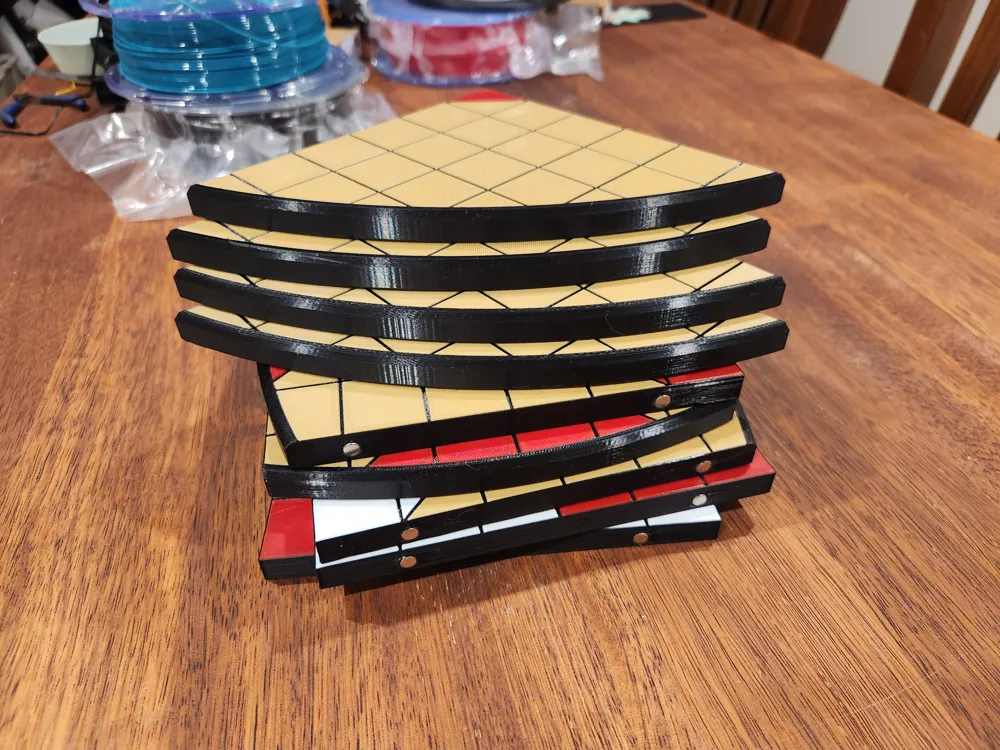
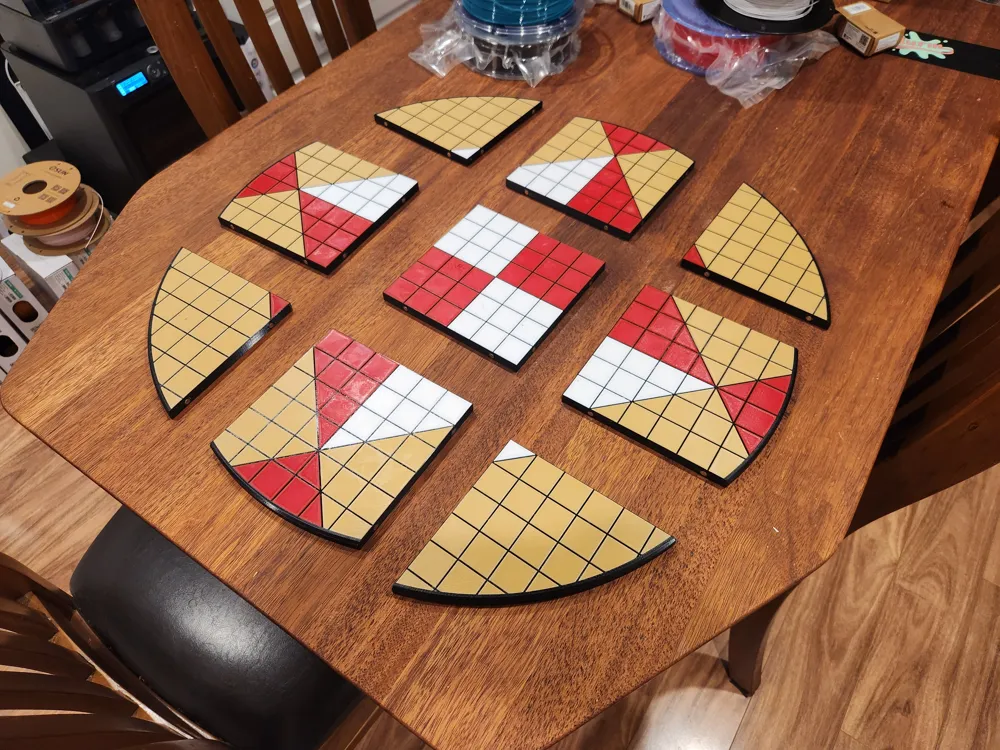
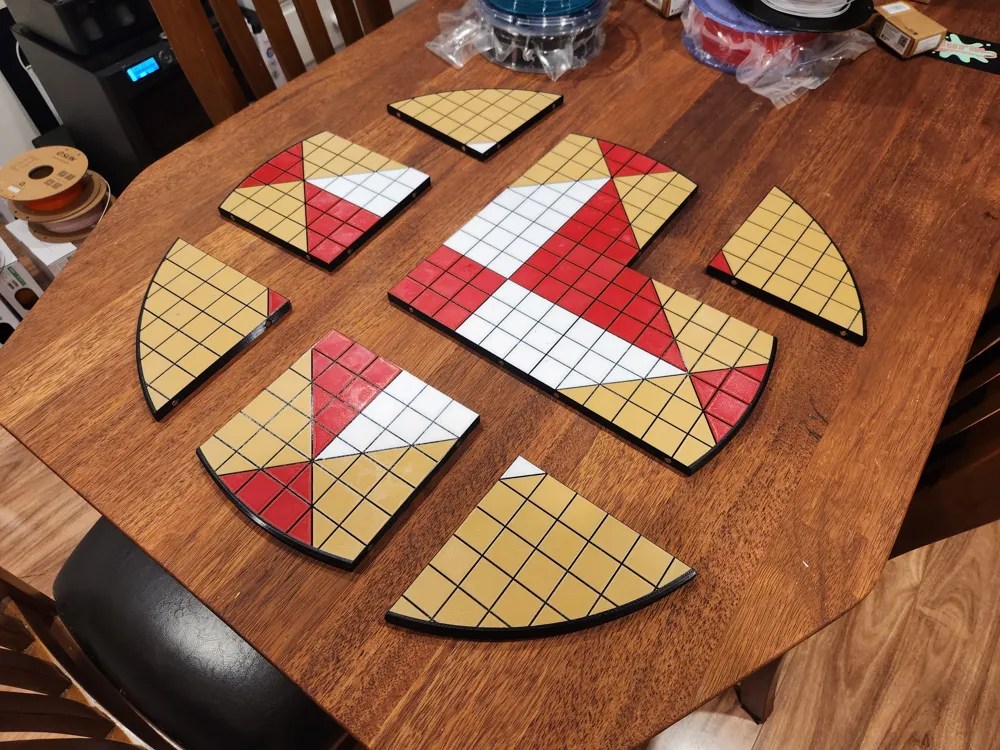
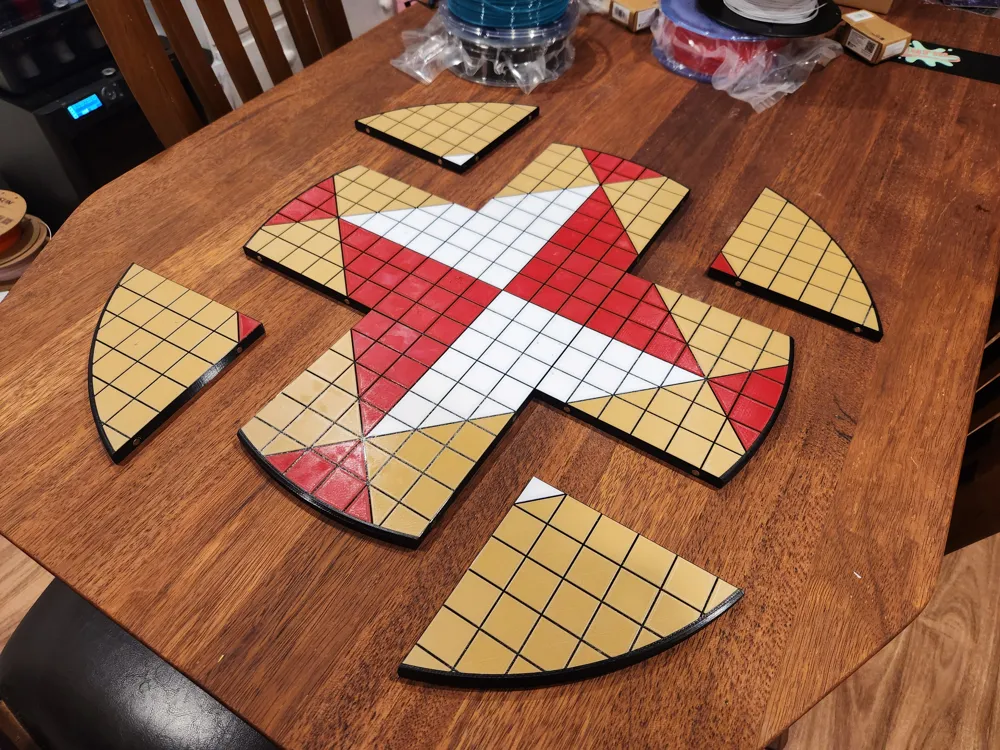
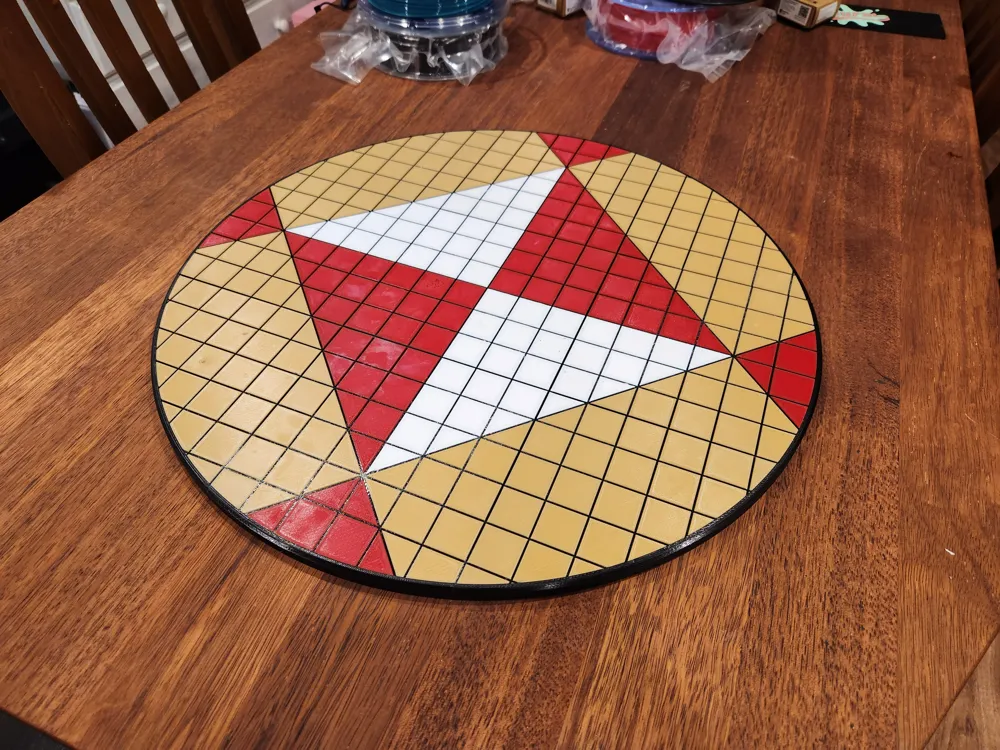
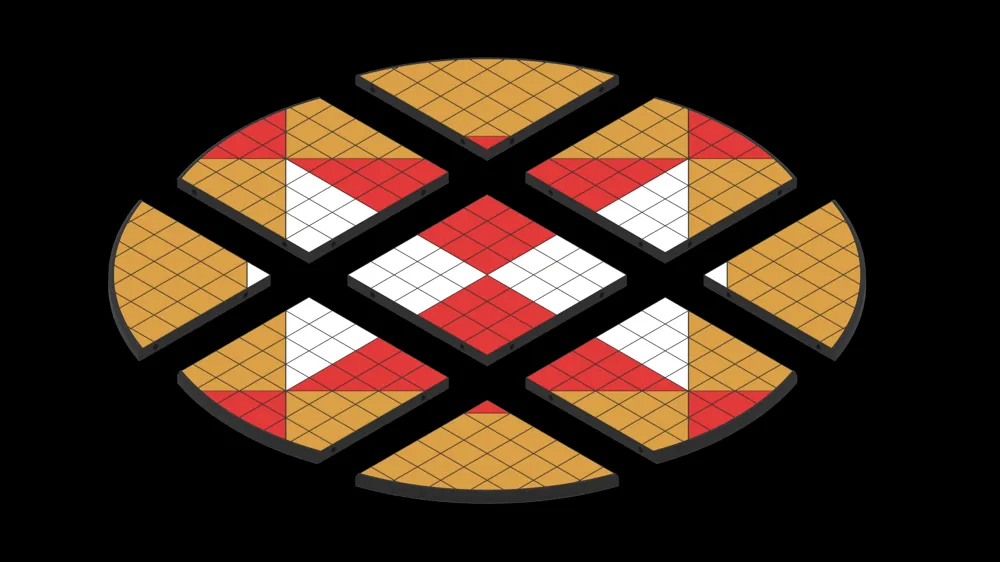
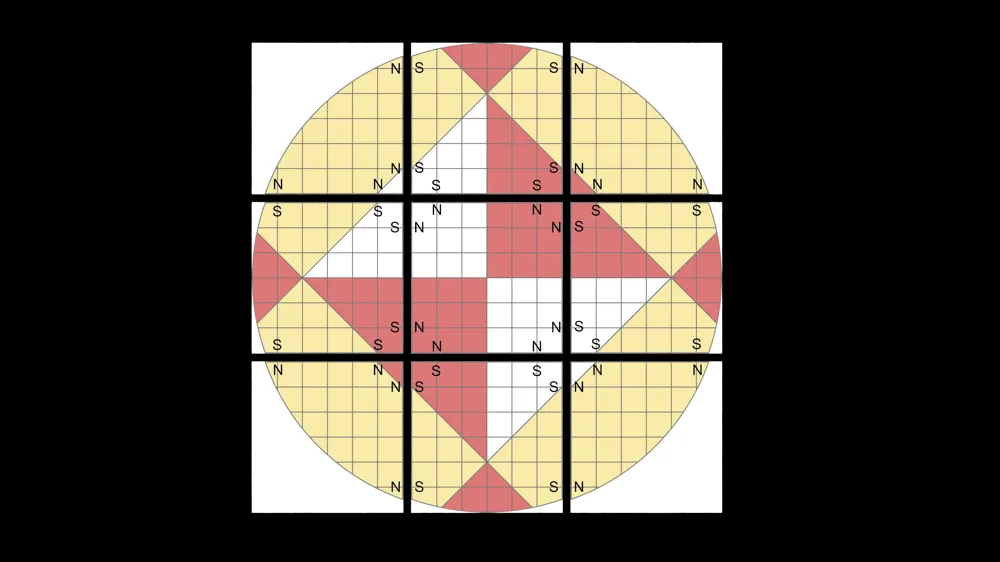
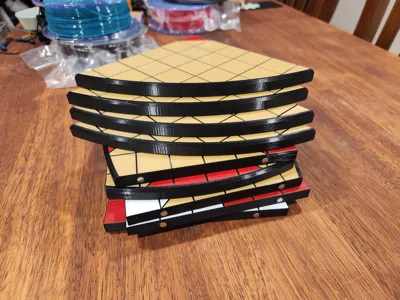
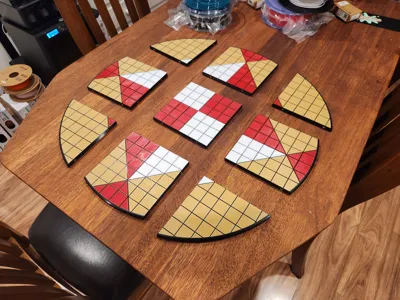
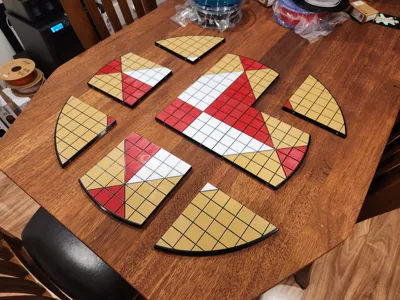
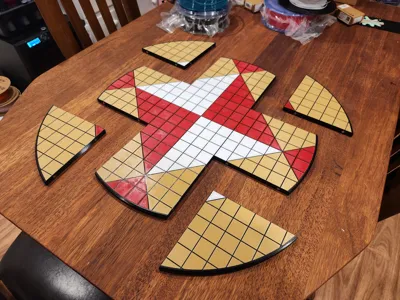
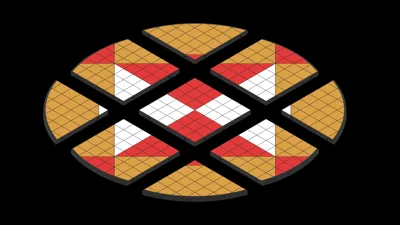
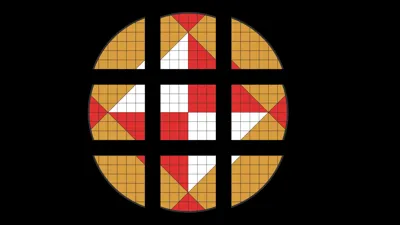
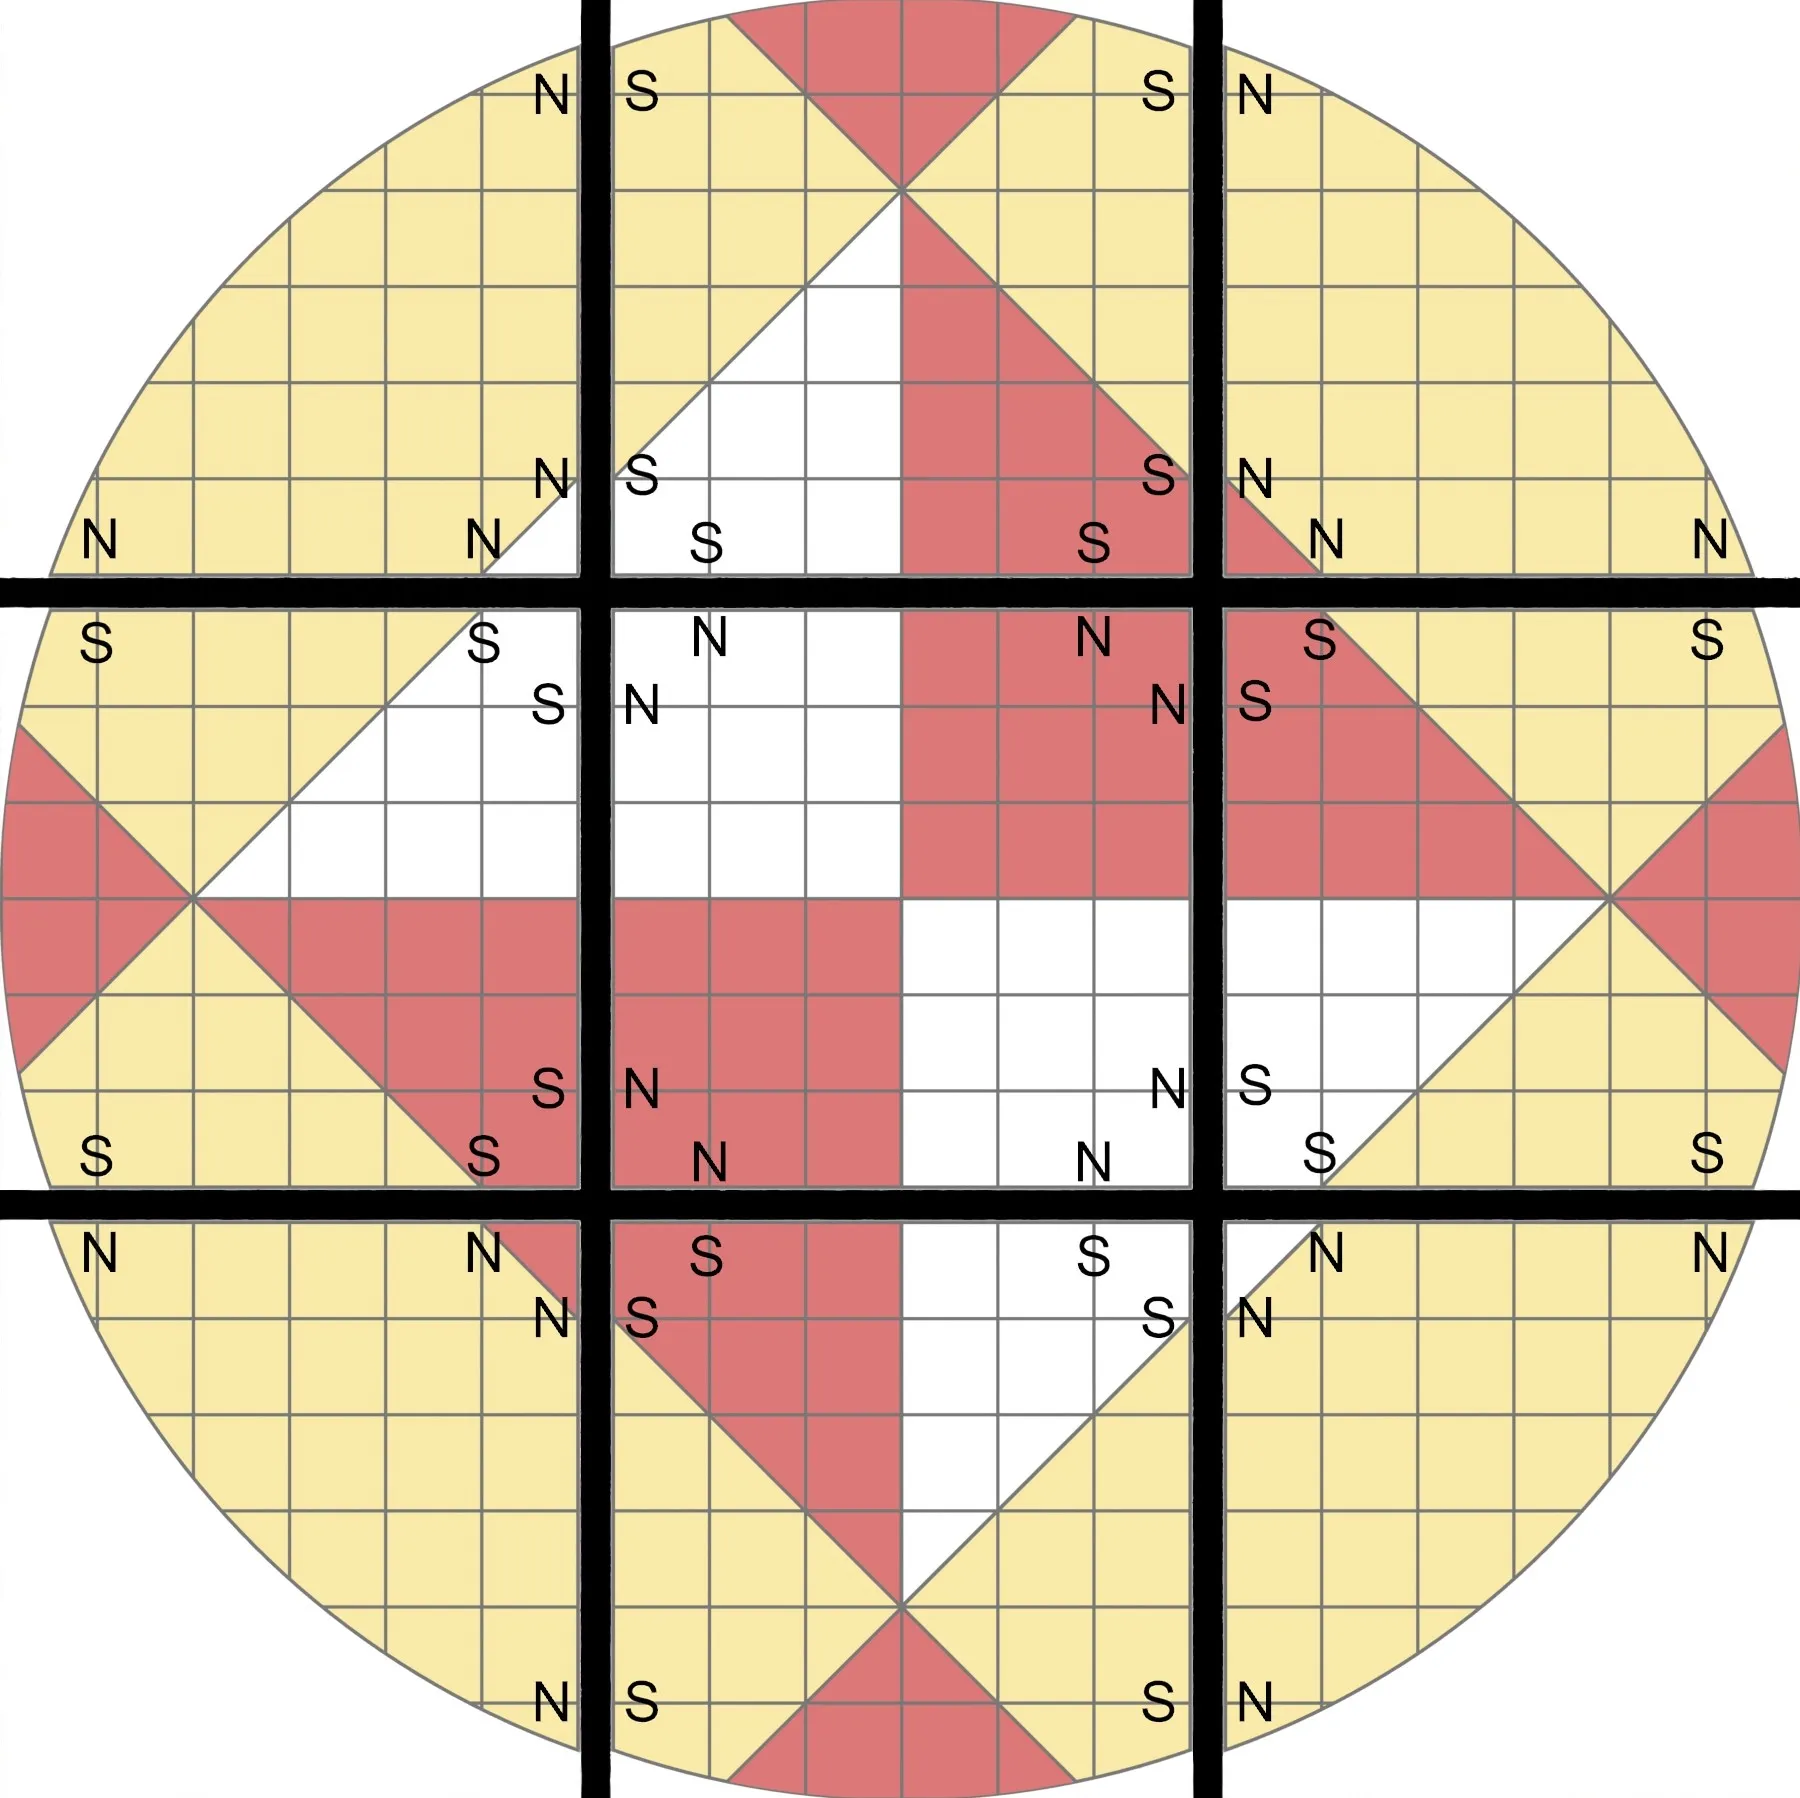
The board is designed to be printed in 9 pieces, and is held together by 6mm x 3mm magnets. The magnets are pressed (I had to gently tap them in with a hammer) into their holes, which were primed with a bit of Gorilla Super Glue Gel. My board was printed in PETG, but PLA would've been a lot easier and had more colour options.
Board pieces were printed with a 0.4mm nozzle, at 0.2mm layer height. 8% infill, rectilinear. More infill massively increases print times on these. Stock profile for the core piece had the print time ~5h30m, but when tweaked it dropped to ~3h10m. I'm uploading it with a stock profile because it just works, but if you want a quicker print I'd be sure to play with the settings.
You could also print it in wood filled filament, but make sure to print with a 0.6mm nozzle or larger as 0.4mm and smaller tend to clog quite a lot. I ended up using Siddament PETG Peanut V2 for the “yellow” portion.
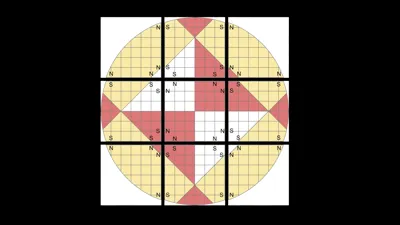
Magnetic pole layout:
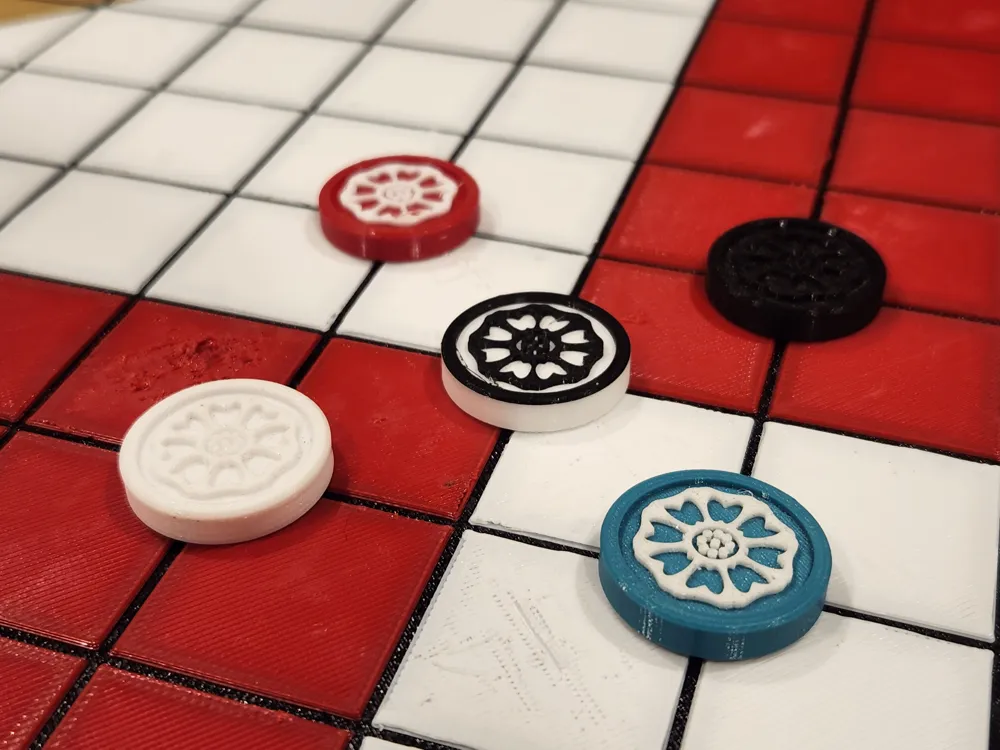
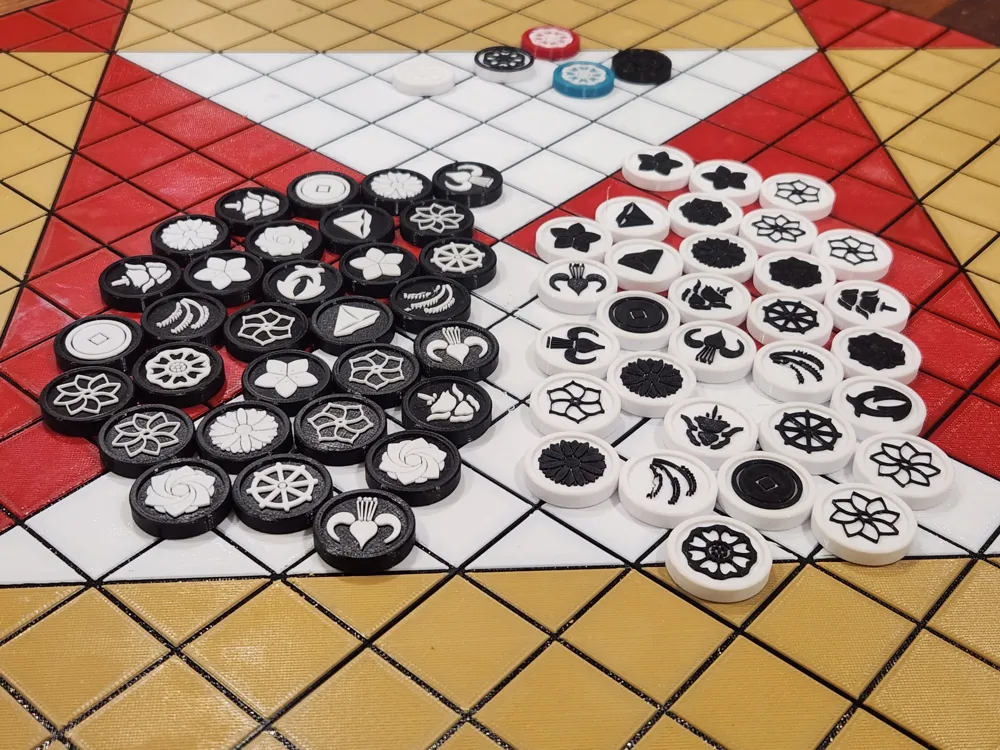
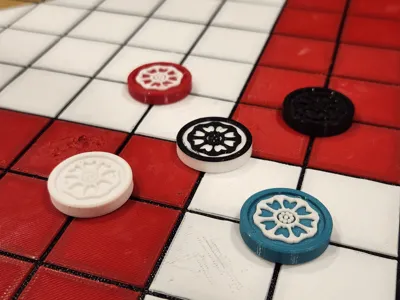
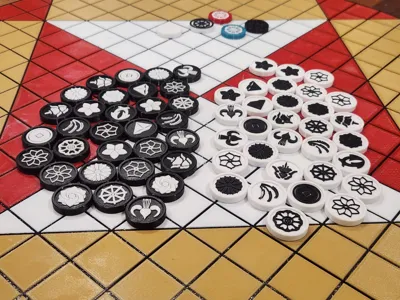
The tiles/pieces can be printed all in one go or in small batches. I printed all of mine with a 0.2mm nozzle for fine details. It makes all the difference in final finish, especially for the finer details. The smaller the layer height the better, but maybe do a test print to see how much time and energy you want to spend. I ended up at 0.2mm nozzle, 0.1mm layer height.
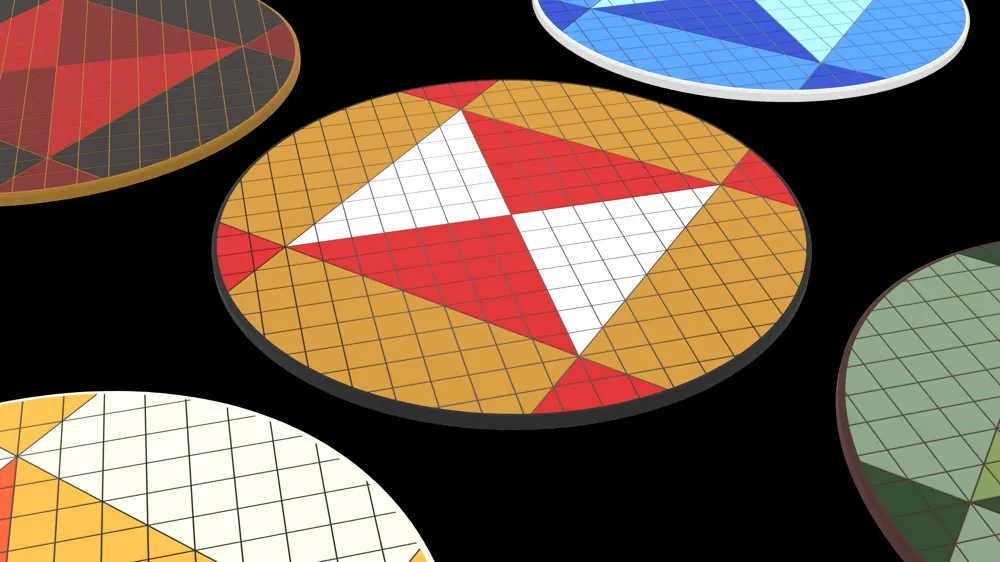
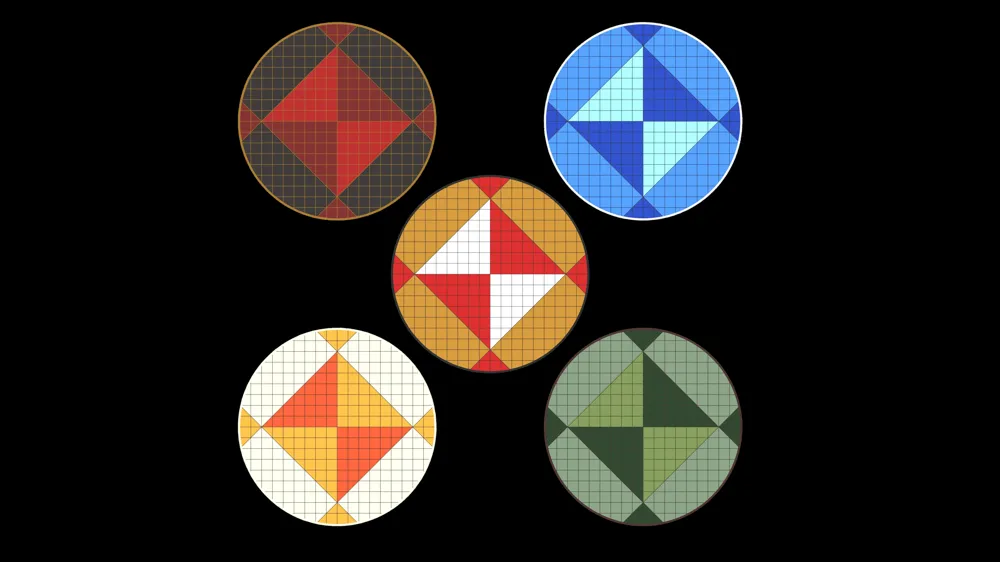
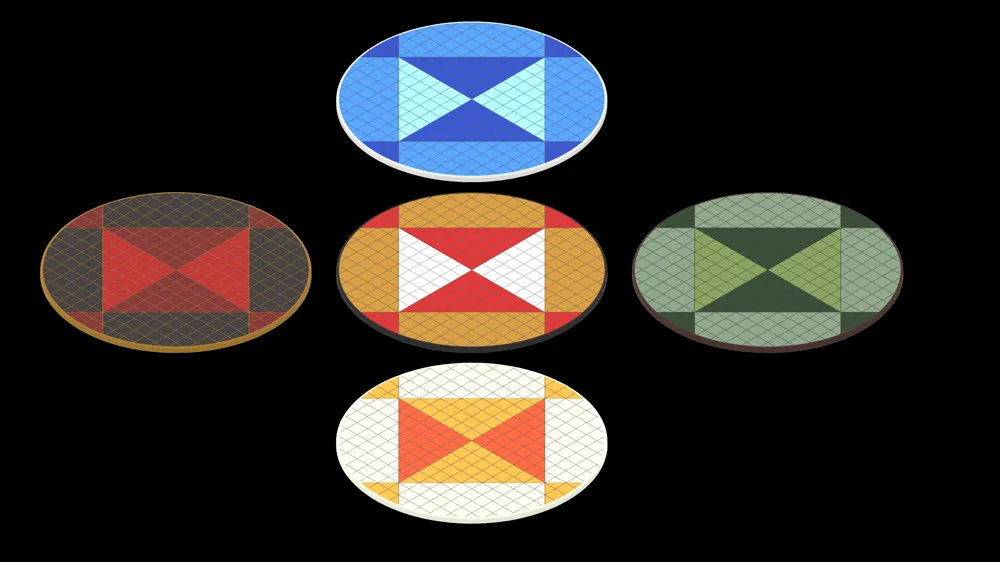
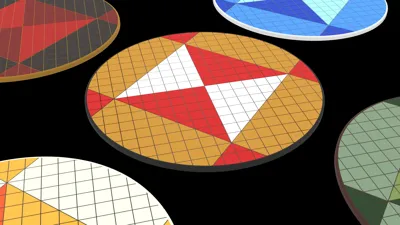
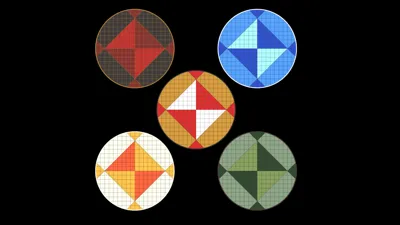
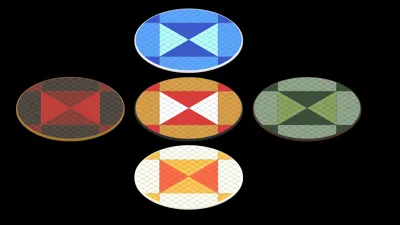
Any colour combination is possible, so go wild! I've included pictures of a few different versions, but you could also just as easily print them all in the same colour and make it much faster.
At this time I don't have a storage solution, other than stacking all of the board pieces on a shelf and putting sealed bags of pieces next to it. I might make a box later if there's enough interest.
Please upload pictures when you print yours so I can see all of your colour combinations!
License



Comment & Rating (10)