
Xbox Elite 1 & 2 Thumbstick Mod for Asus ROG Ally
Print Profile(4)


Description
IMPORTANT: Make sure to download the correct print profile for the Xbox Elite 1 or Xbox Elite 2 thumbsticks you own.
Description
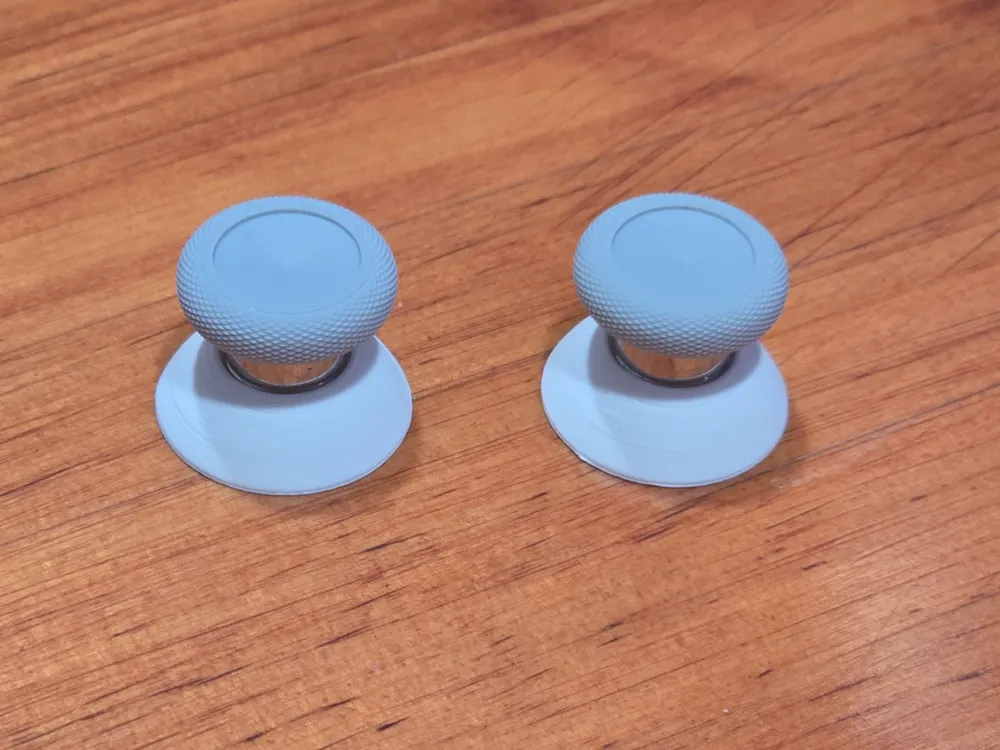
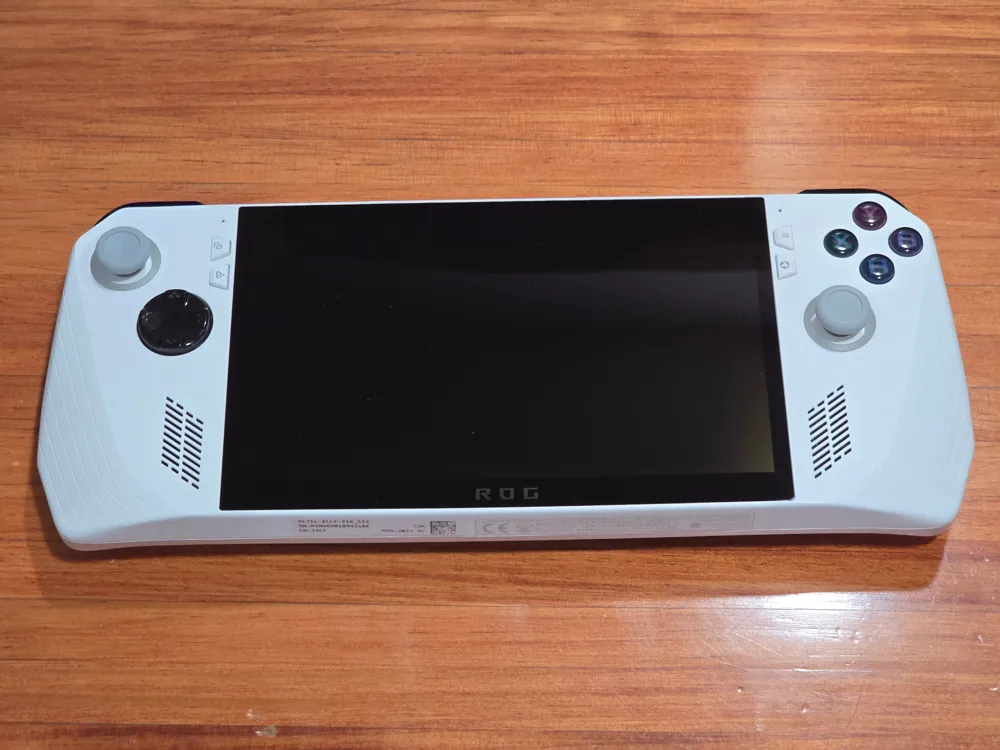
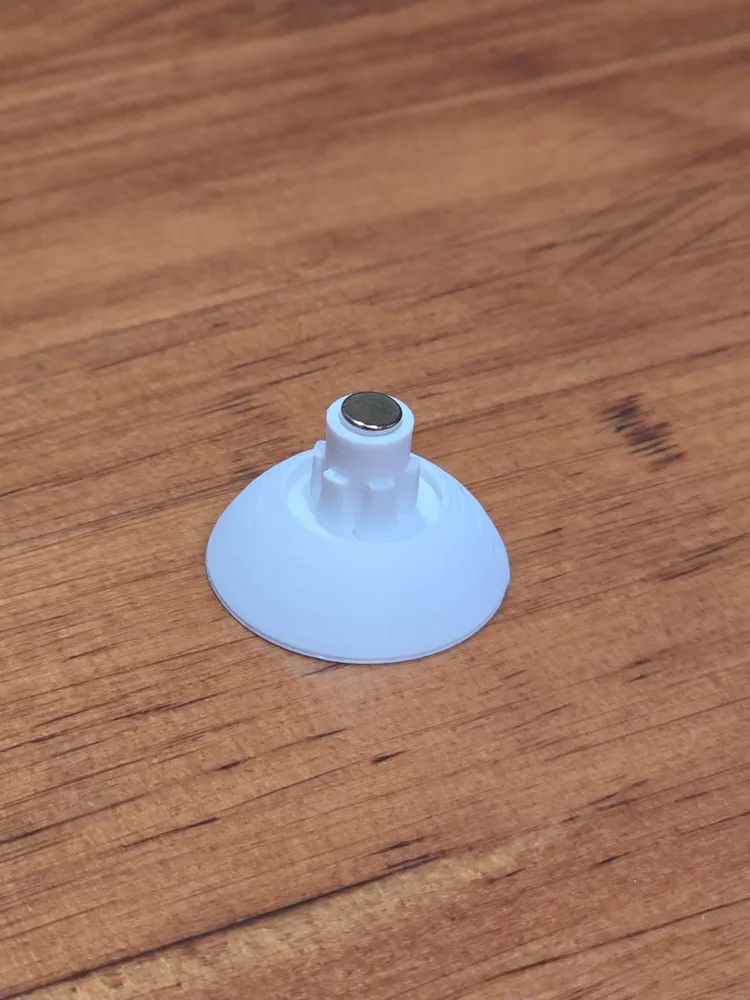
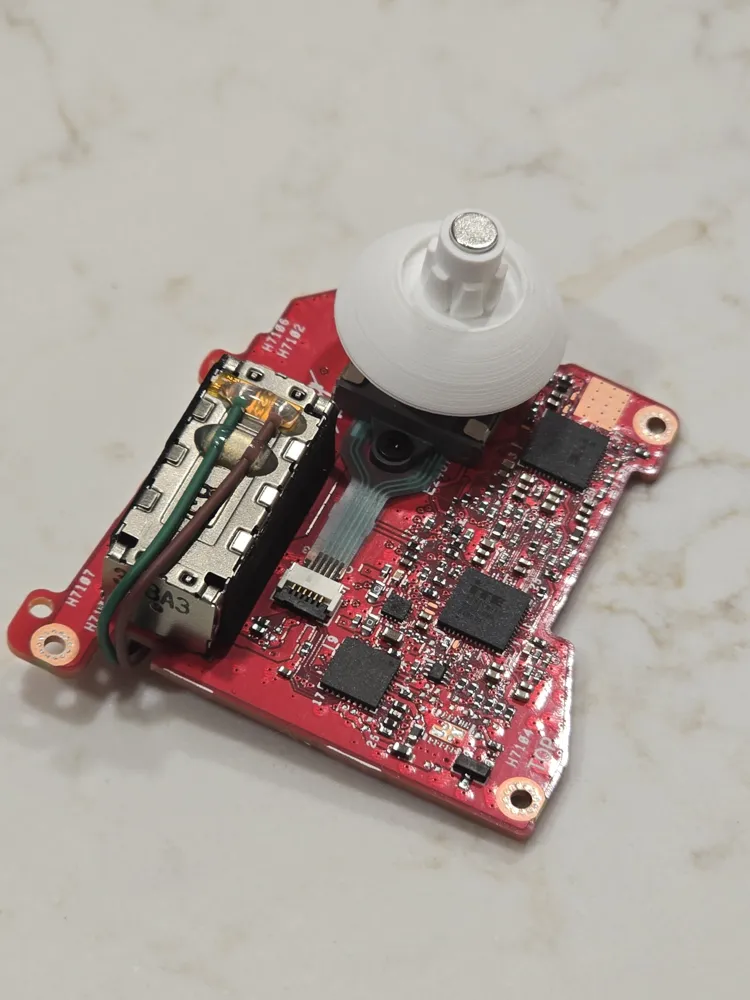
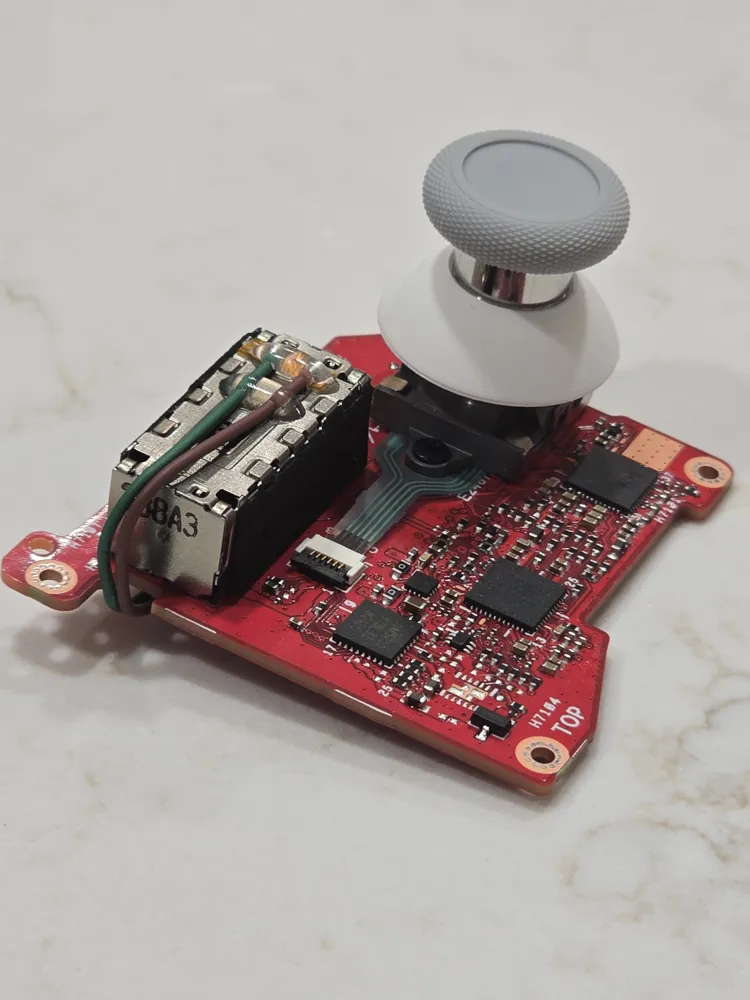
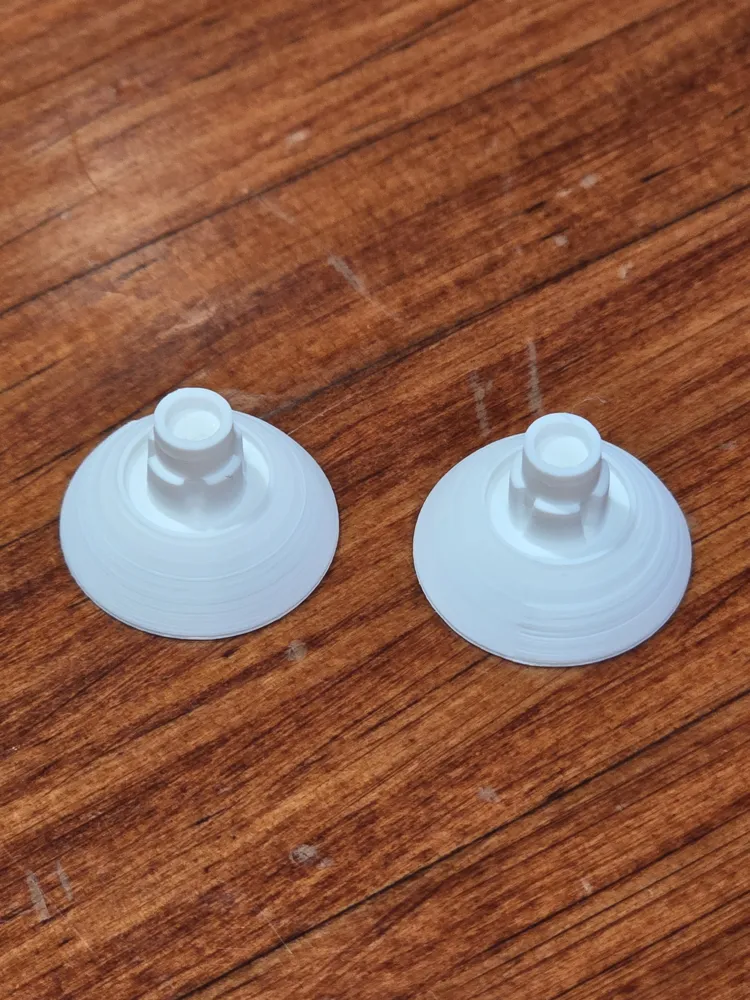
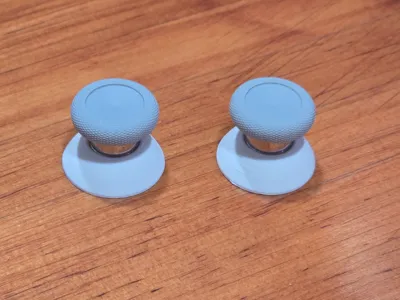
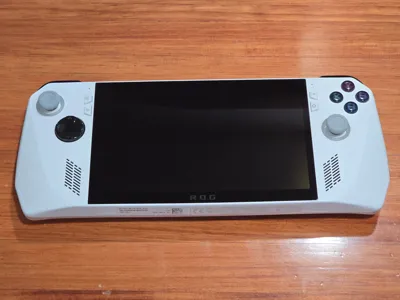
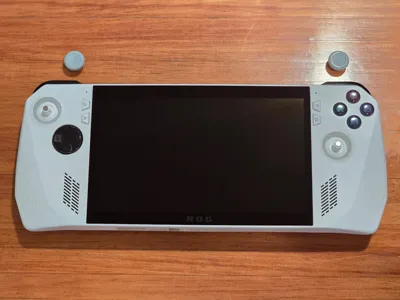
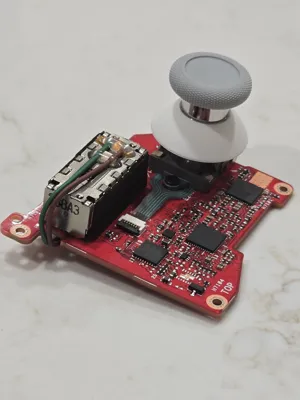
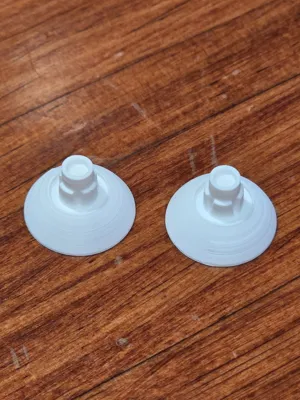
The goal of this project was to create a thumbstick receiver for my original Asus ROG Ally that allowed me to use the swappable Xbox Elite thumbsticks. Since the stock Ally thumbsticks are plastic, they started to develop a cut/groove around the shaft from being pressed into the LED ring. After finding that other available prints had some tolerance issues, I focused on creating a design that provides:
- A snug fit
- Smooth movements
- Easily changeable thumbsticks
- Ability to use the metal Xbox Elite thumbsticks to avoid cuts/grooves developing
NOTE: The recommended approach is to use the default printer settings in the provided file. However, the model's parts have been left unmerged so you can easily adjust sizes or settings if a customization is required for your specific needs.
Additional Materials Needed:
- 4mm x 2mm Magnets
- The pack includes the size you need. I bought this one to have some additional sizes around for other projects as needed.
- Super Glue
Thumbstick Assembly:
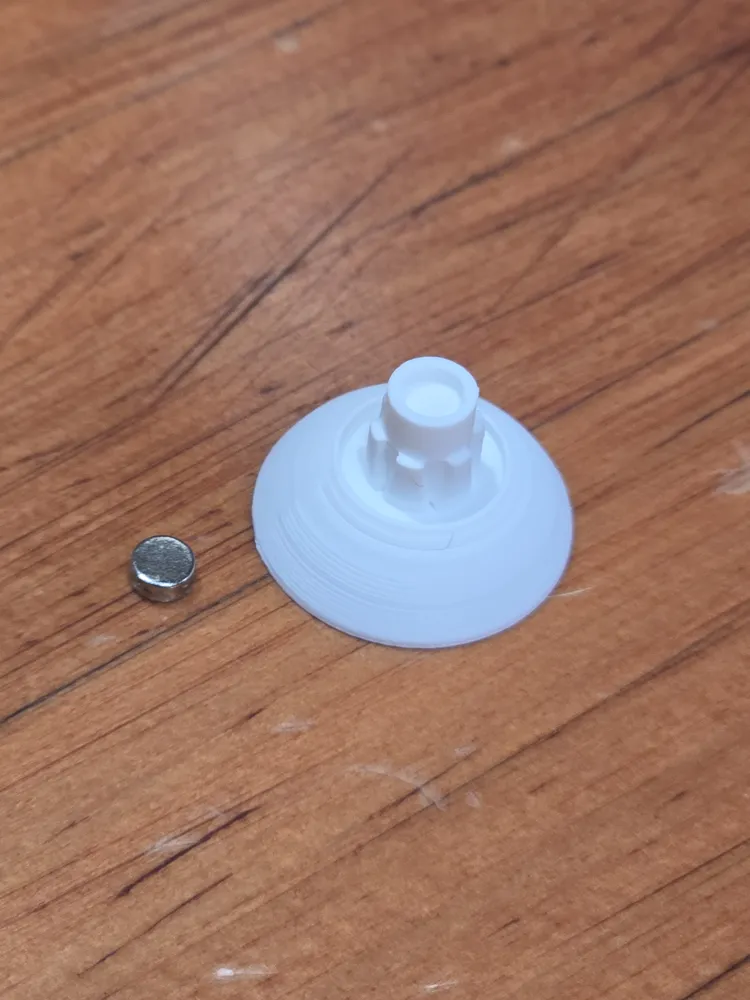
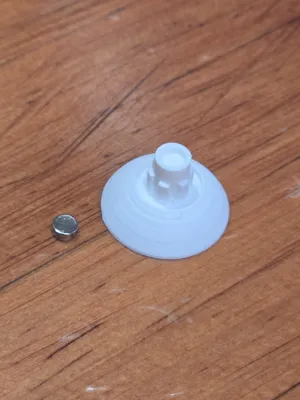
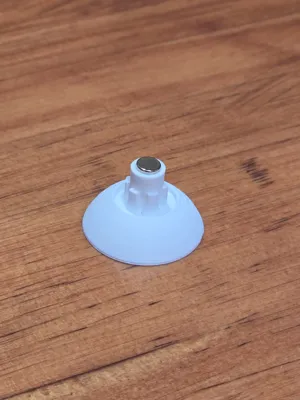
Once you have the thumbsticks printed, you will need to attach the magnets.
- Make sure to place the magnets in the correct orientation. When finished, the magnets in both thumbsticks should repel each other.
- Make sure to place a small amount of super glue in the slot for the magnet before pressing it in.
- The slot for the magnet is snug, so it's easiest to place the magnet on a tabletop and press the thumbstick down on top of the magnet to get it in place.
- The magnet will stick out of the slot slightly by design. About 75% of the magnet will be within the slot when it's fully in place.
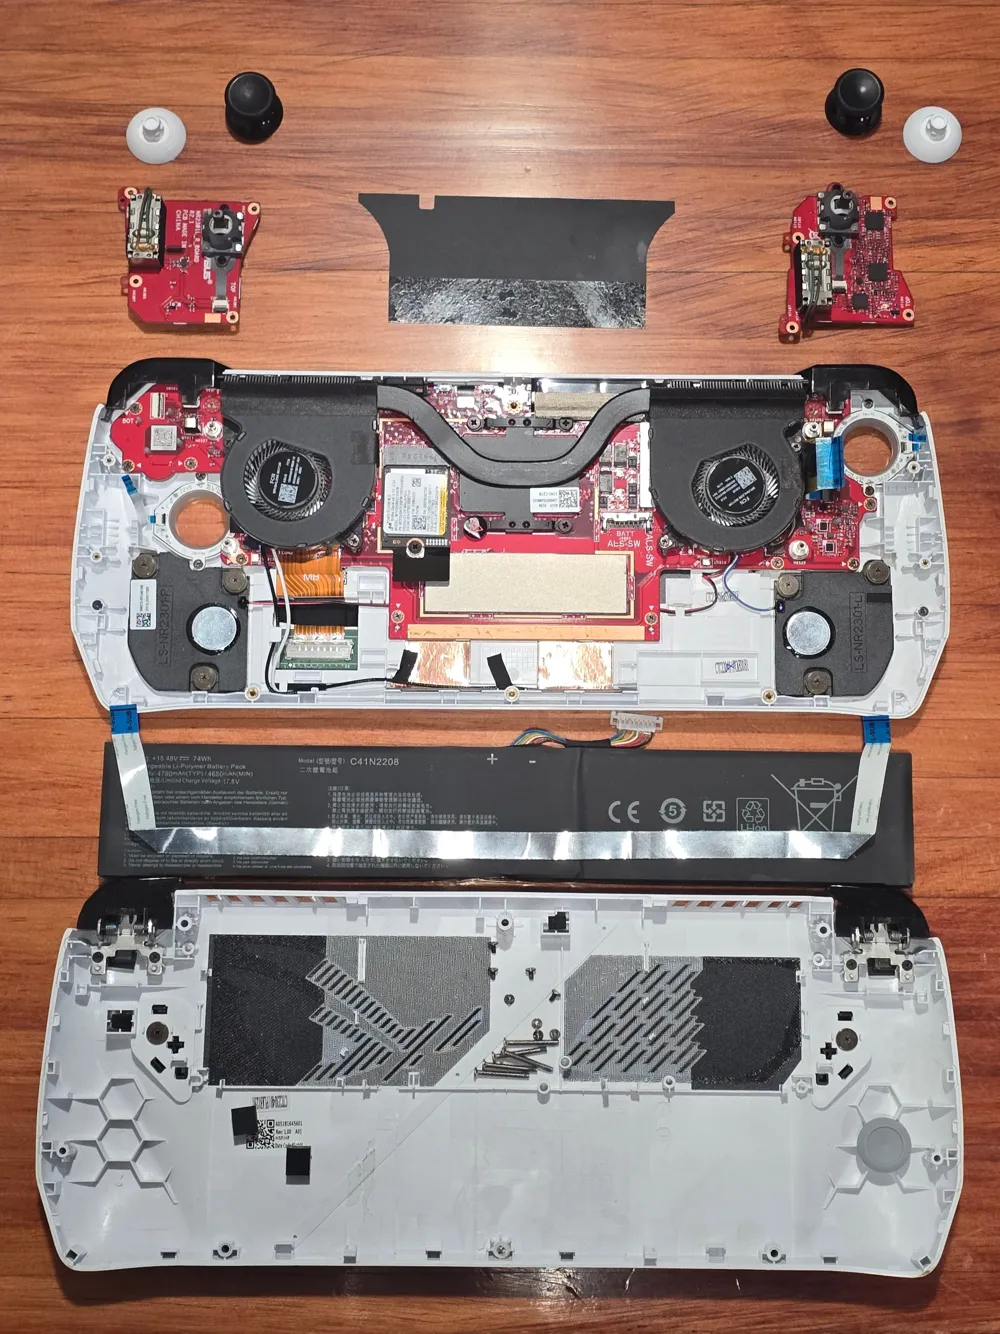
Dissassembling The Ally:
NOTE: Proceed with caution when disassembling your Ally. Disassembly of the console may void your device warranty, carry a risk of damage to internal components, and is done at your own risk.
Step 1:
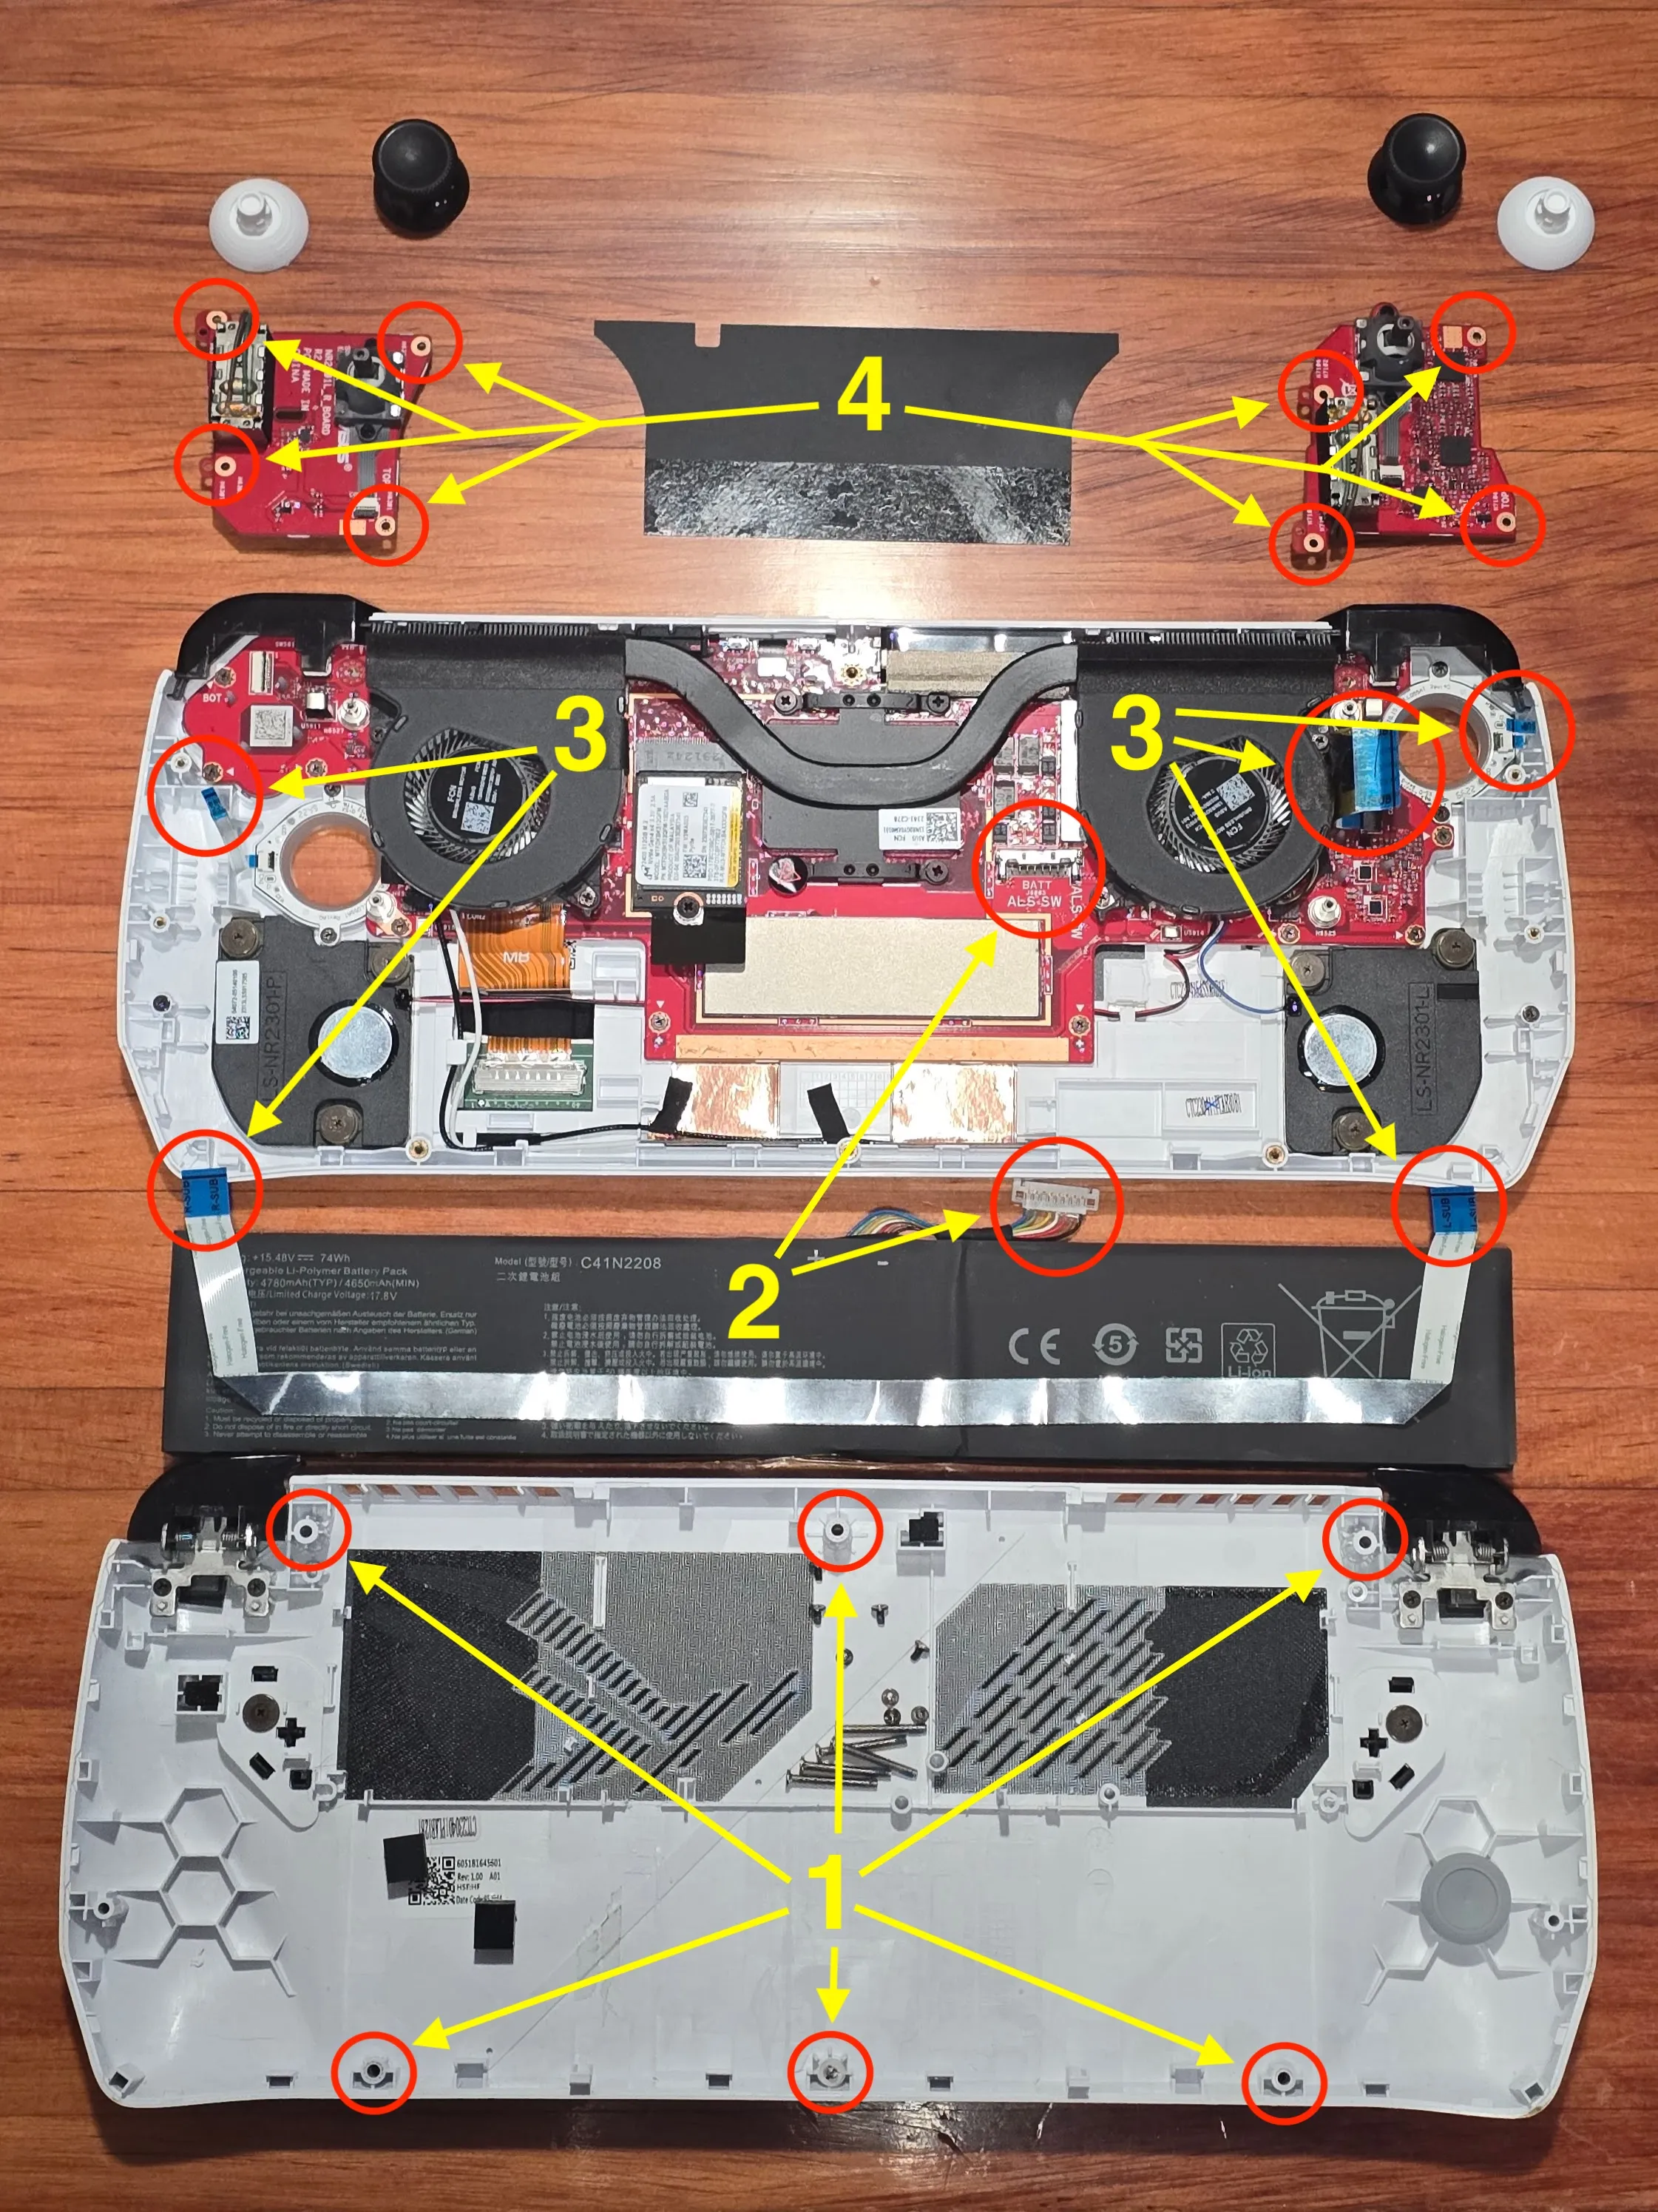
- On the back side of the Ally, remove the 6 small screws. The bottom middle screw will loosen, but will not come all the way out.
- Use a thin tool along the edge of the Ally to pry/detach the back plate.
- Keep all your screws together in one location so you don't lose any.
Step 2:
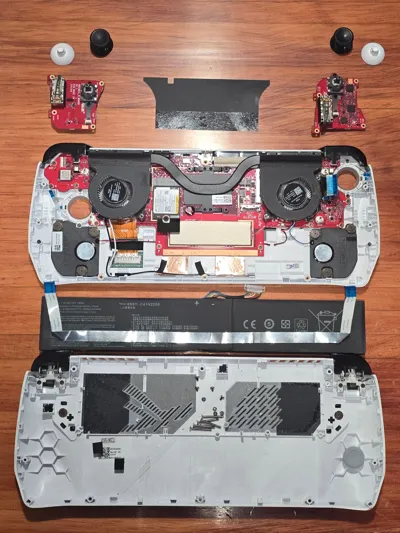
- Detach the battery clip from its receiver as depicted below with label 2.
- You will need to slide the clip up first at the top of the receiver before lifting the battery cable clip out from the receiver.
- You don't have to remove the battery as I did. You can leave it sitting in its location in the case.
Step 3:
- Detach all blue ribbons as depicted below with label 3.
- There are a total of 5 blue ribbons to detach from their receivers.
- Flip up the little black clips on each receiver, and the ribbons will slide right out.
Step 4:
- Remove the 4 small screws from each board you just removed the ribbons from, as depicted below with label 4. There are 8 screws in total.
- Place all 8 small screws in the same location as your other screws so you don't lose them.
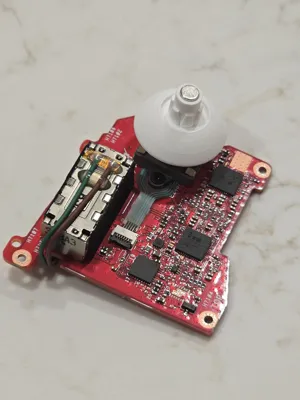
- Now, carefully remove both boards from their locations.
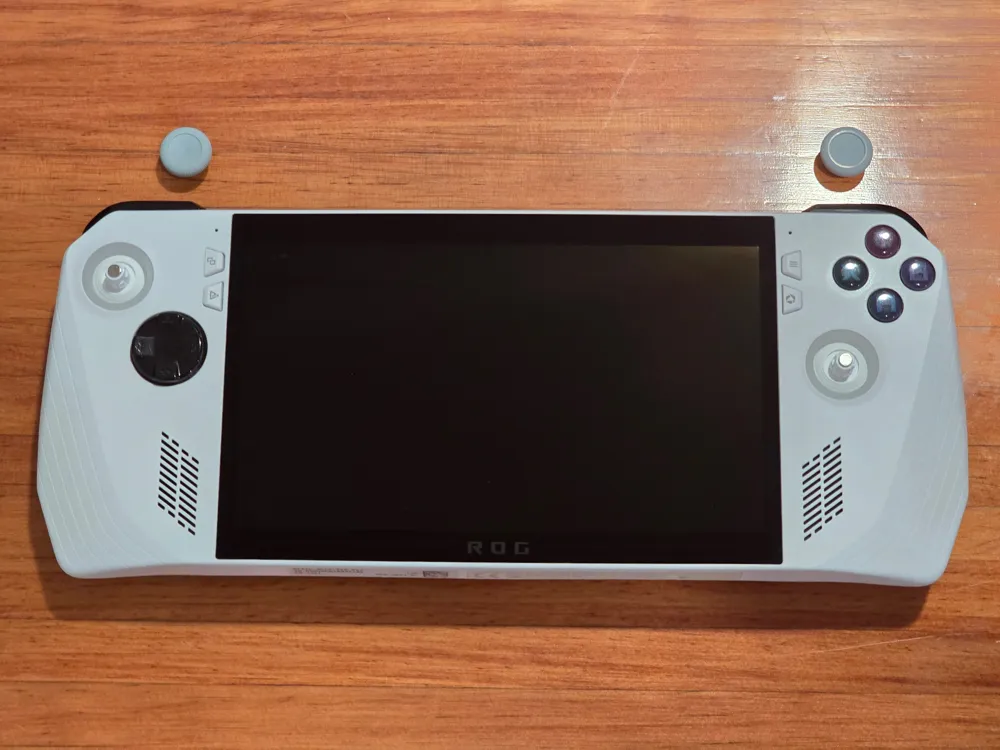
- Remove the original thumbsticks by pulling them off from where they sit.
- Slide the new thumbsticks on.
Ressassembling The Ally:
You can put everything back together by simply reversing the process of disassembly. Just keep in mind the following:
- Make sure both boards the thumbsticks attach to are properly seated before putting the screws back in.
- Make sure all 5 blue ribbons are properly slid back into their receivers before pushing the little black clips back down that secure them in place.
- Make sure the battery cable clip is pushed back in after reattaching the battery wiring to secure the wiring in place.
IMPORTANT:
SINCE YOU DETACHED THE BATTERY CABLE, THE ALLY WILL ONLY POWER BACK ON IF YOU PLUG IT INTO A CHARGER FOR ITS INITIAL BOOTUP AFTER REATTACHING THE BATTERY CABLE. AFTER THAT INITIAL BOOTUP, YOU CAN POWER ON WITH OR WITHOUT THE ALLY PLUGGED IN AS NORMAL.
Boost Me (for free)
If you're feeling generous, any boosts you send my way are super appreciated. They directly help me buy more filament, which means I can keep creating and uploading even more models for everyone to enjoy. Thanks for your support!
License

You shall not share, sub-license, sell, rent, host, transfer, or distribute in any way the digital or 3D printed versions of this object, nor any other derivative work of this object in its digital or physical format (including - but not limited to - remixes of this object, and hosting on other digital platforms). The objects may not be used without permission in any way whatsoever in which you charge money, or collect fees.


Comment & Rating (19)