
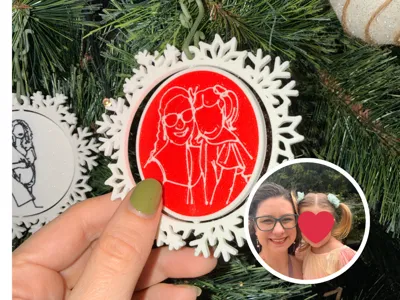
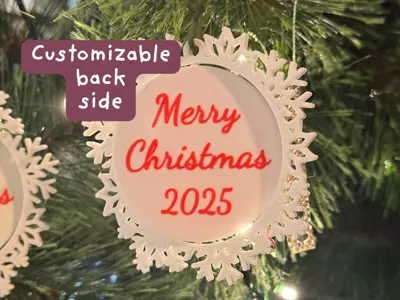
Spinning SVG Snowflake Ornament
Print Profile(1)

Description
Boost Me (for free)
Did you enjoy this model? Send me a boost!
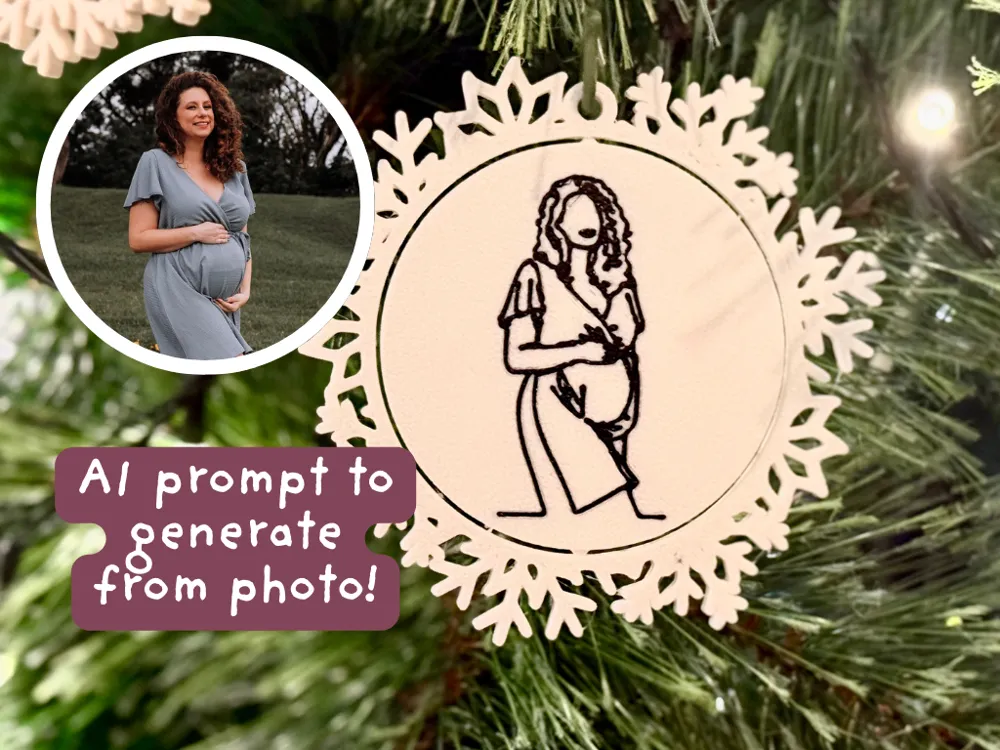
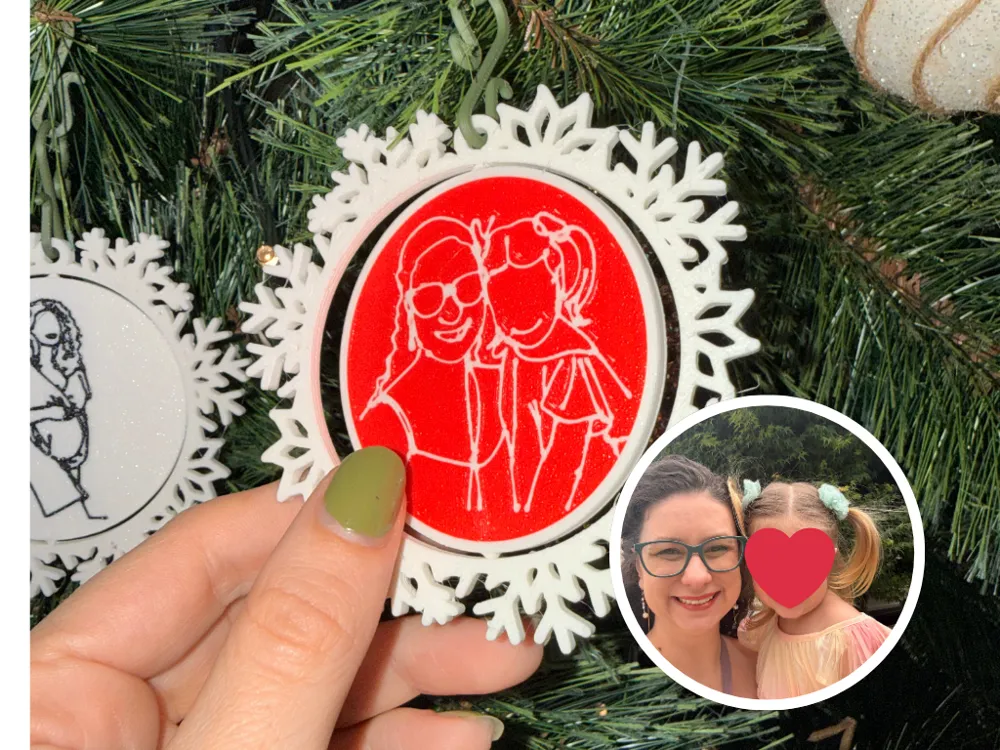
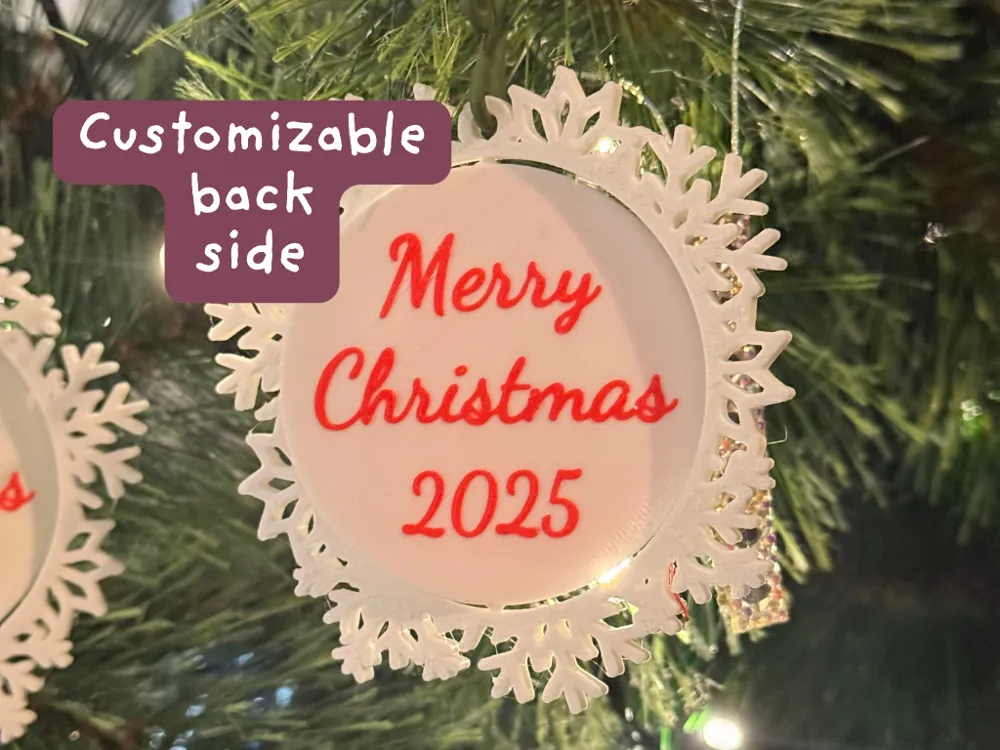
This customizable snowflake ornament can take any SVG image. However, I am suggesting it to be used with a line art made out of a photo.
Short video instructions:
Step 1:
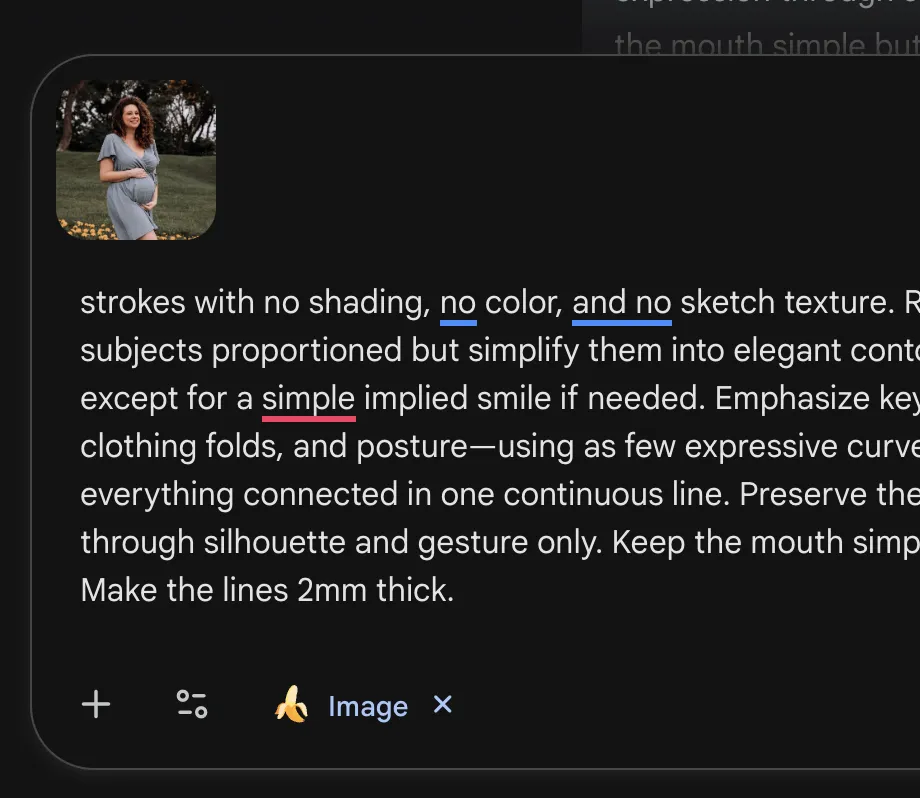
Use your favorite image-to-image AI generation. I had my best results with Google Gemini Nano Banana. Upload your image and copy this suggestion prompt
| Create a minimalist one-line illustration based on the photo. Use clean, smooth, uniform black strokes with no shading, no color, and no sketch texture. Remove background. Keep the subjects proportioned but simplify them into elegant contour outlines. Omit all facial features except for a simple implied smile if needed. Emphasize key shapes—hair flow, glasses, clothing folds, and posture—using as few expressive curves as possible while keeping everything connected in one continuous line. Preserve the pose and emotional expression through silhouette and gesture only. Keep the mouth simple but with a natural expression. Make the lines 2mm thick. |
Step 2:
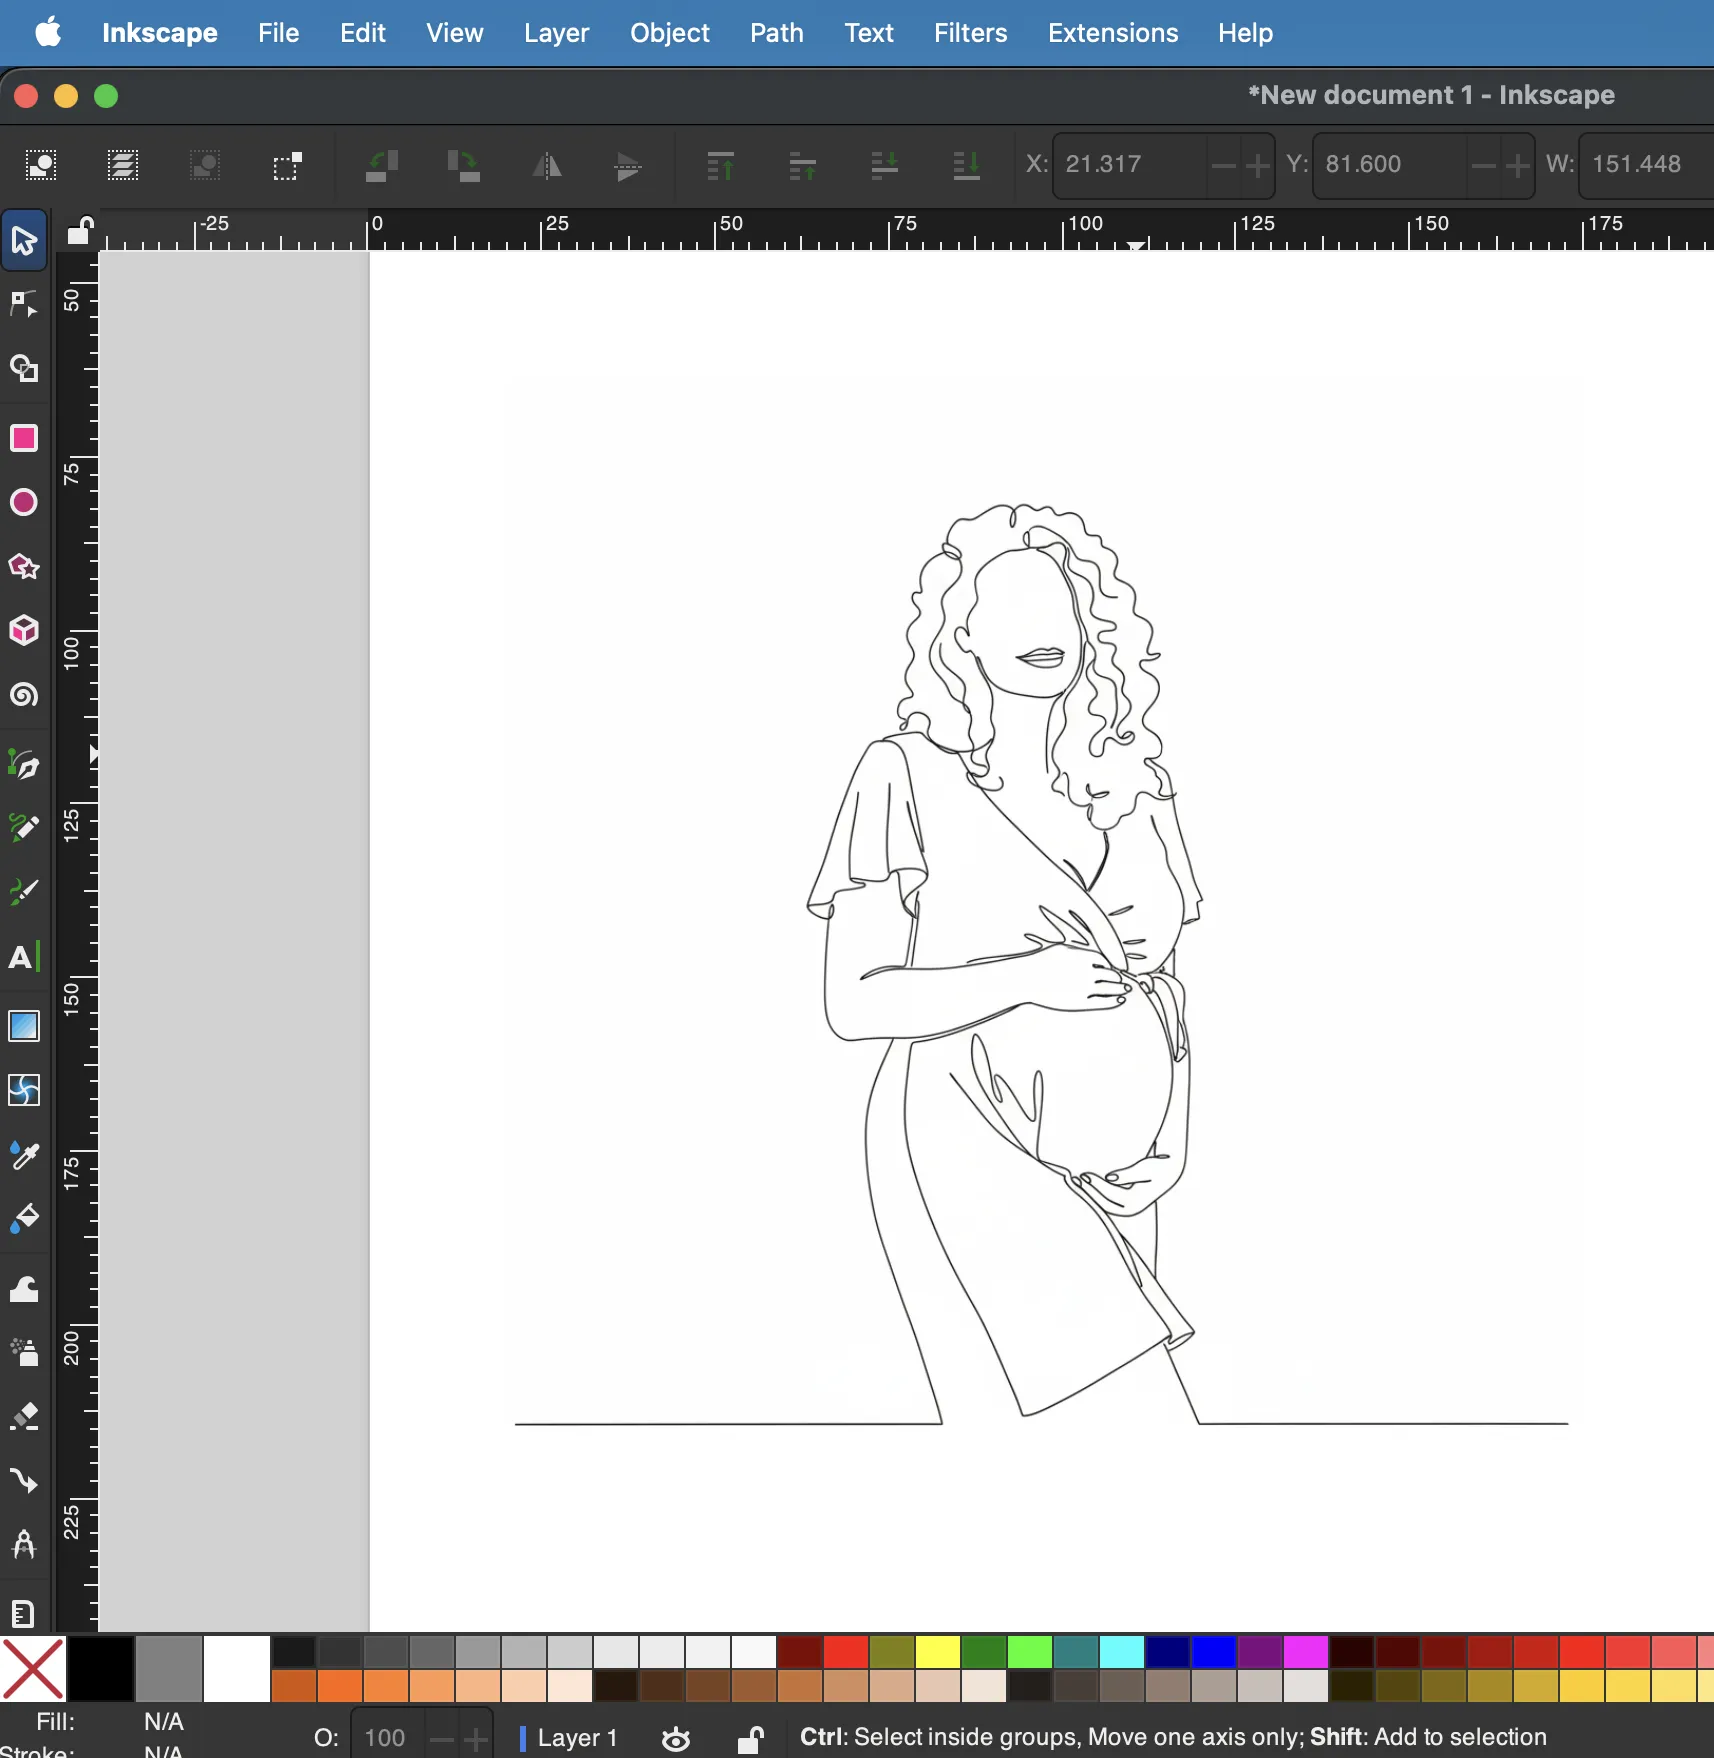
If you intent to print on a 0.2 nozzle, you might get away with just converting the result to SVG. However, to print in a 0.4 nozzle, we need to thicken the lines. For this, I suggest using Inkscape (free). Open the generated image in Inkscape
Step 3:
- Path > Trace Bitmap
- Centerline tracing
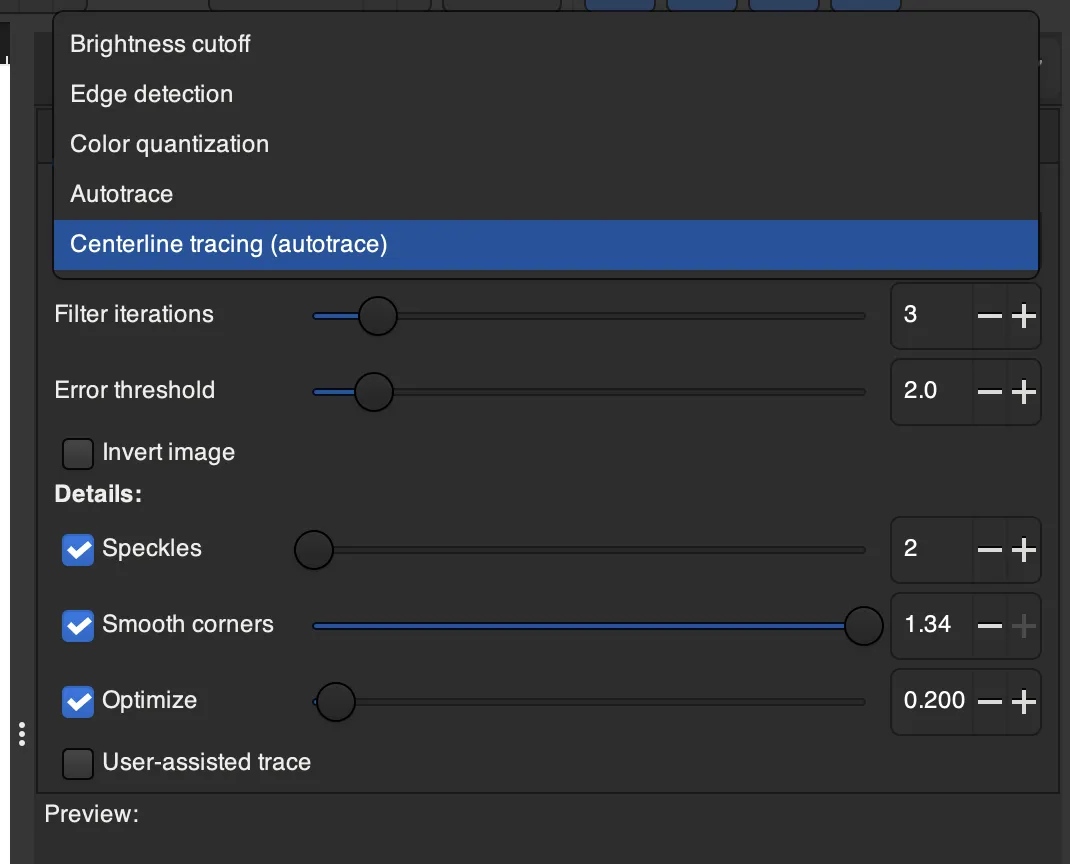
Step 4:
- Delete original Image
Thicken the lines using the stroke menu
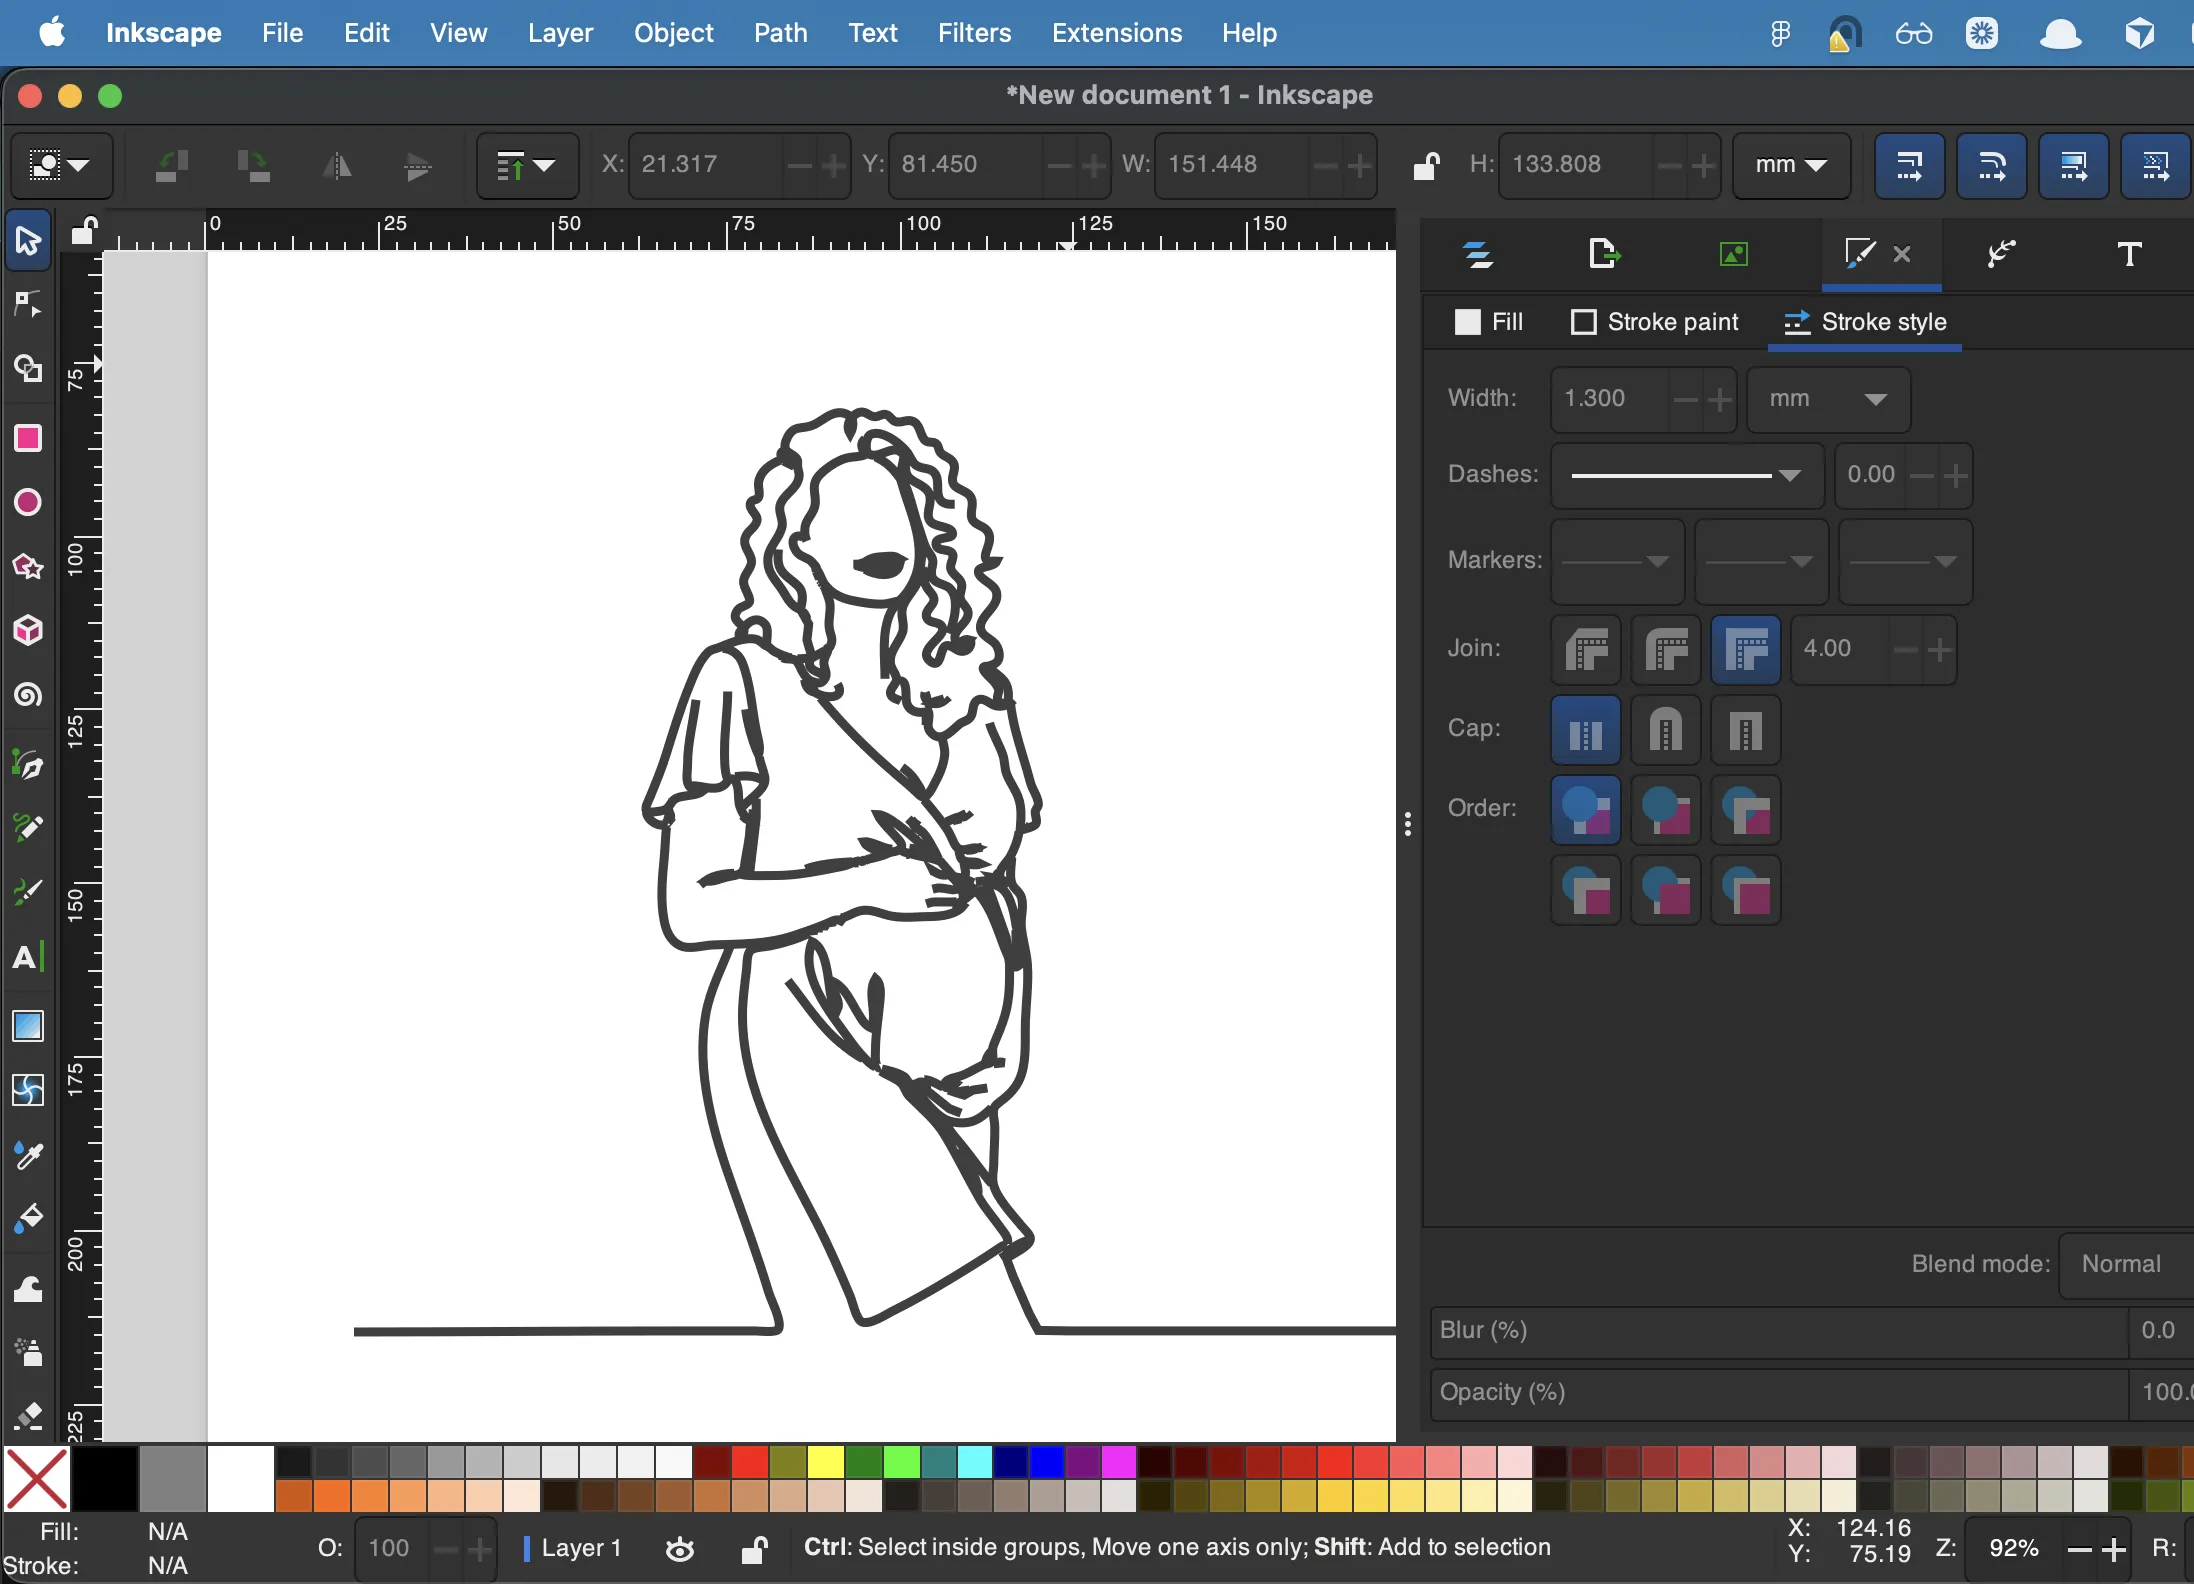
Step 4:
Path > Stroke to Path
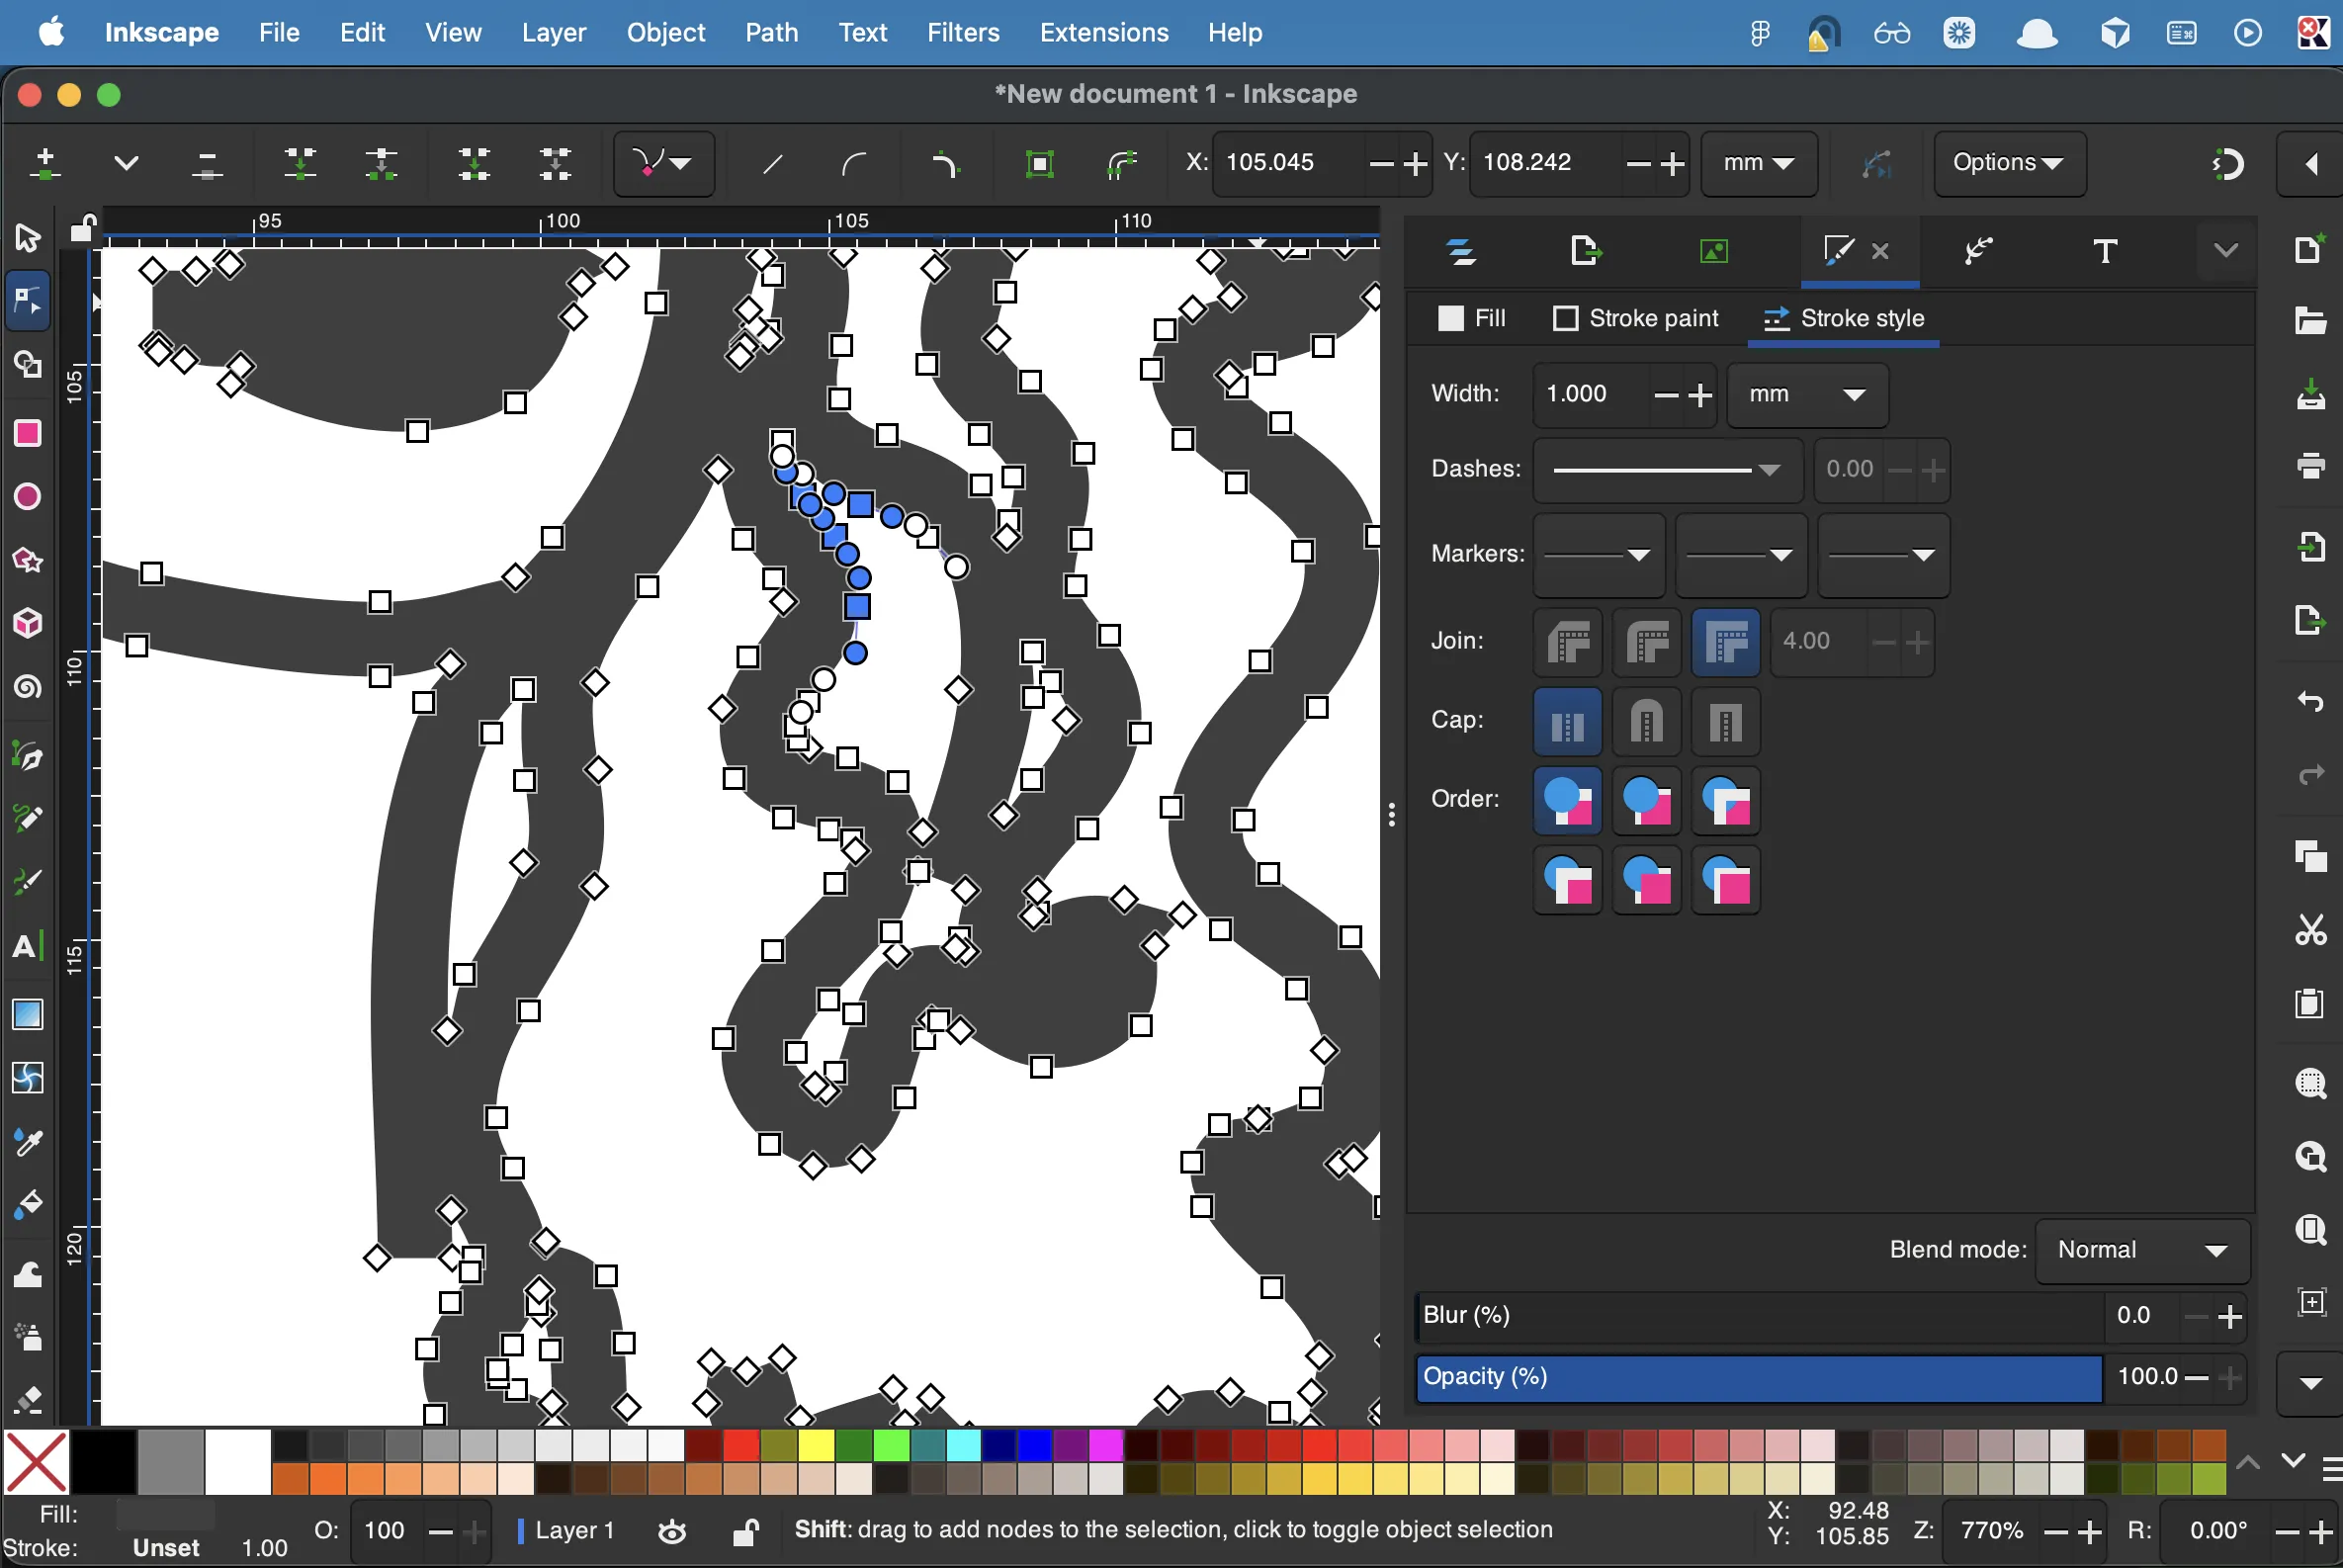
Step 5:
- Export the final image as SVG
- Upload on the customizer on this website
- Select scale / position
- Export to .3MF
- Image is on the bottom
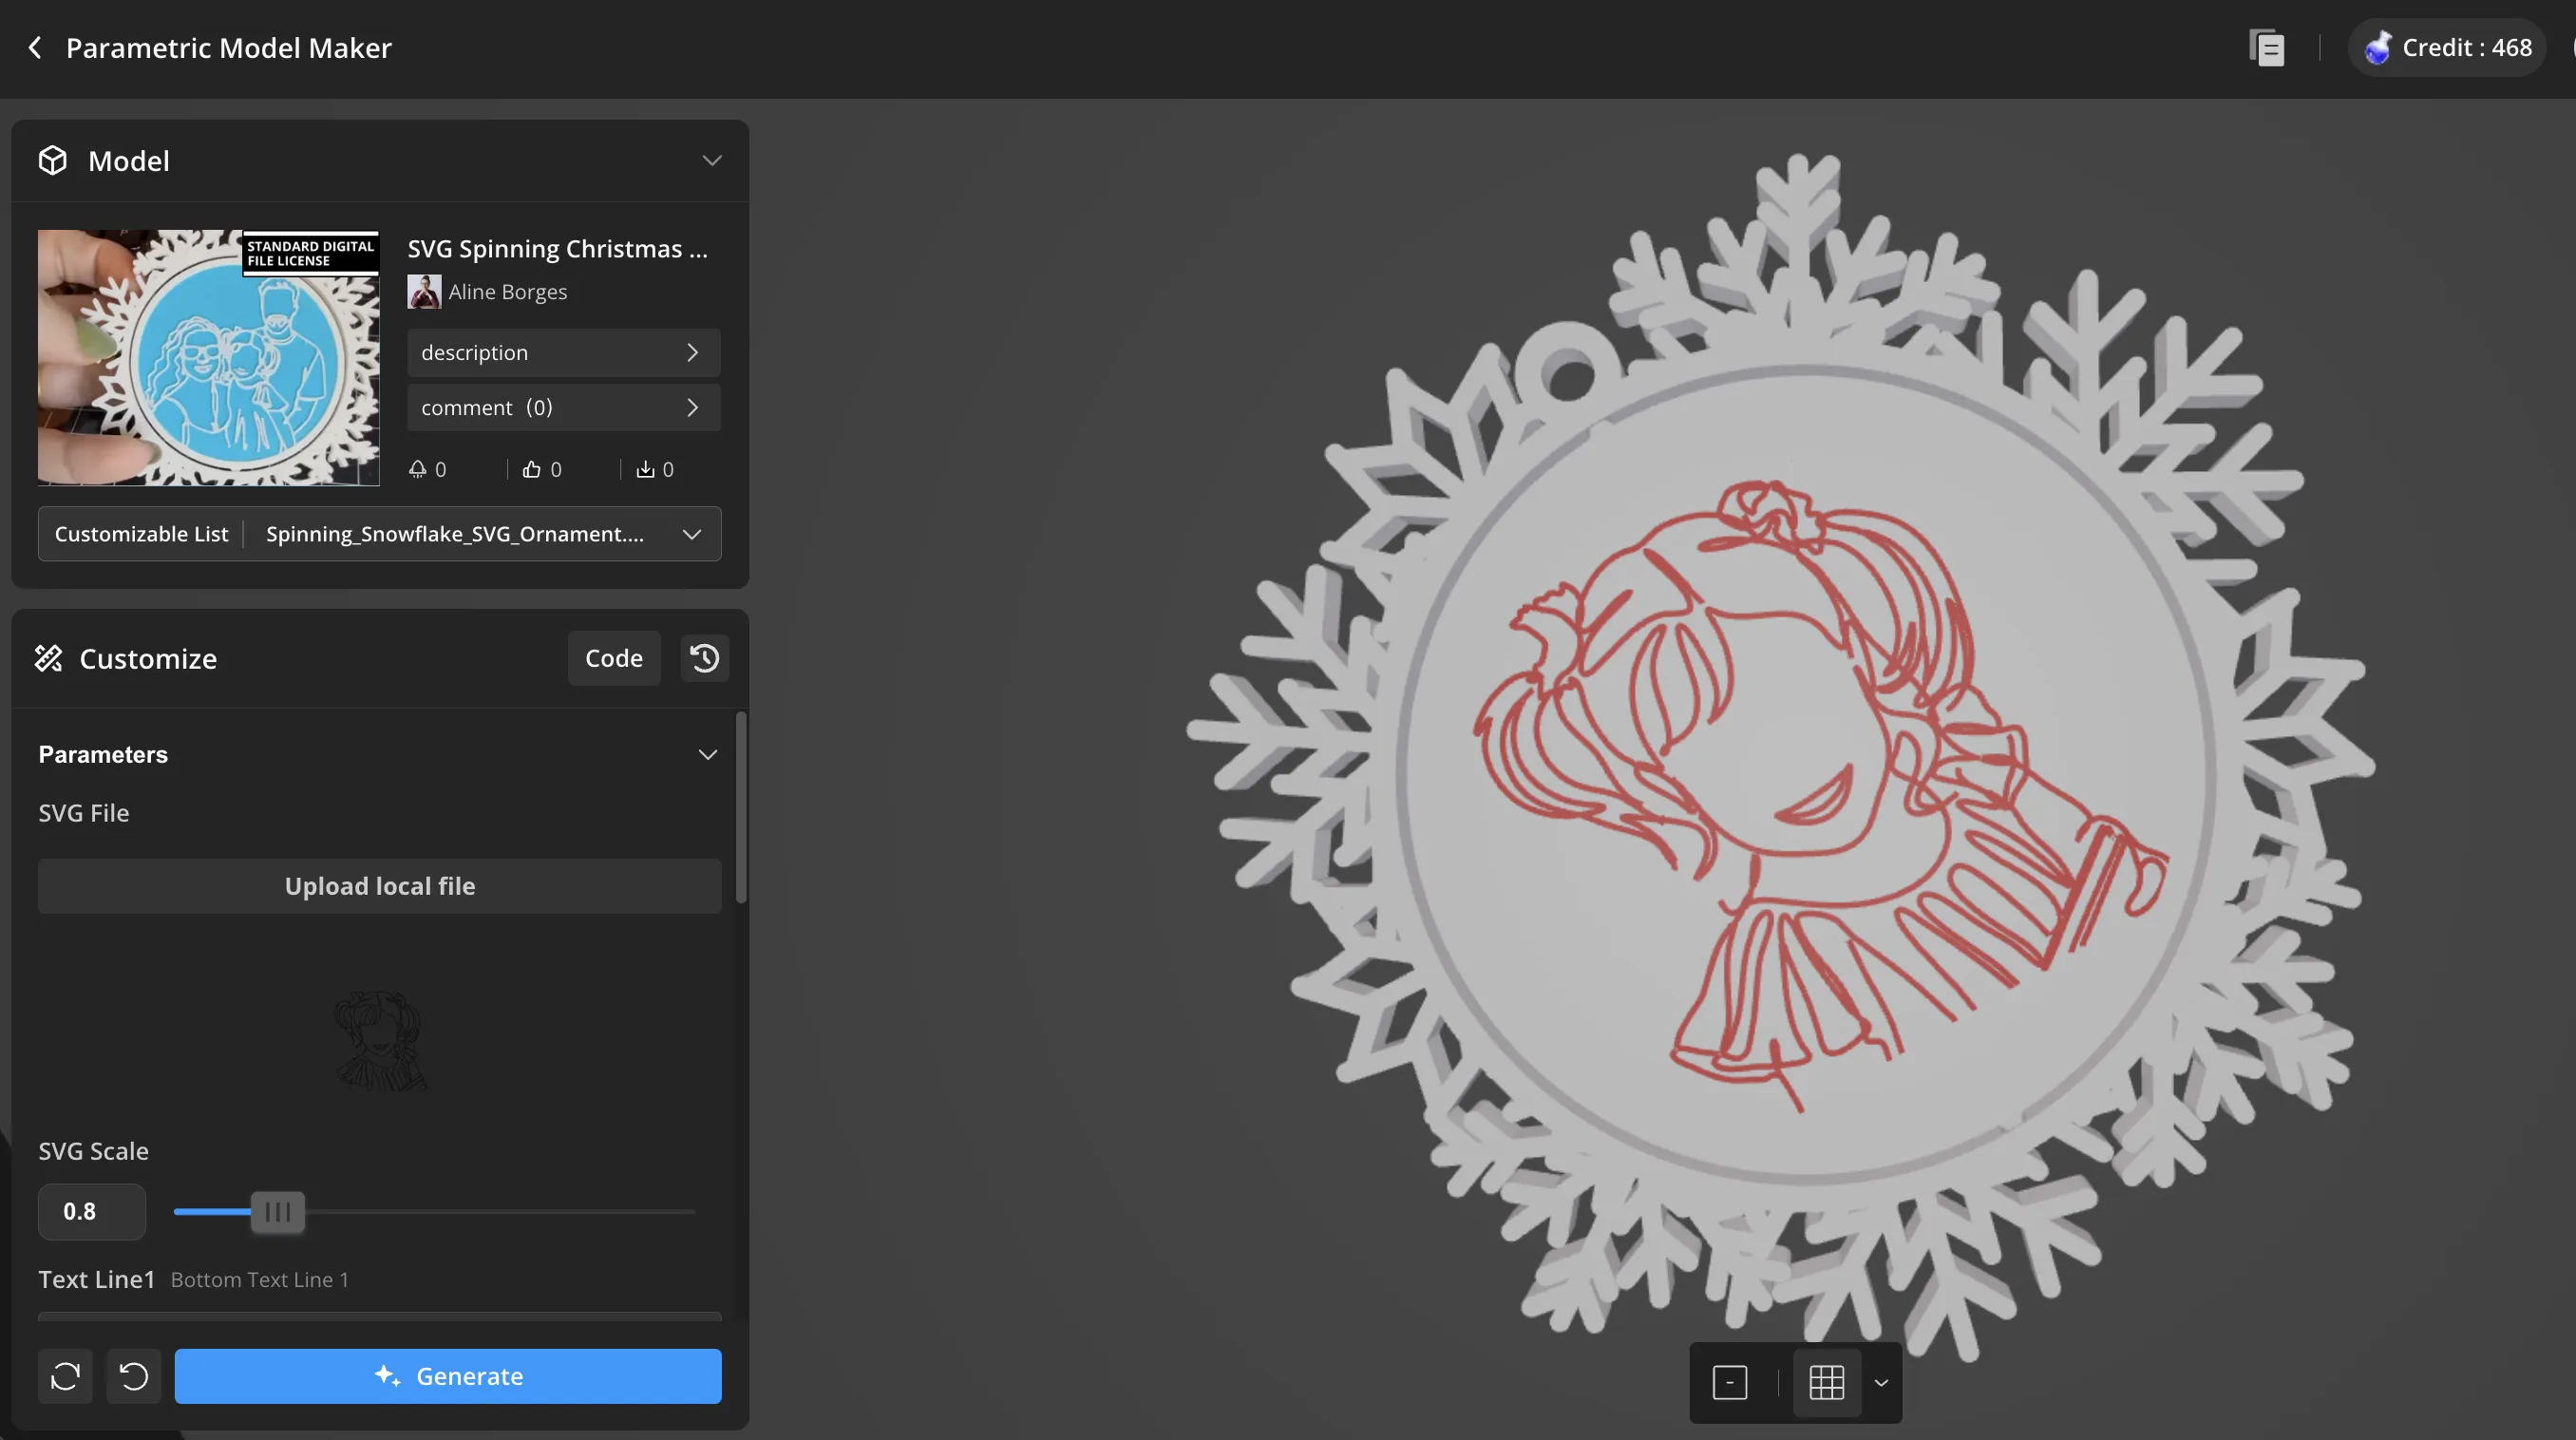
Step 6:
- When slicing in bambu studio, check if the image s going to show well
- You might get away with reducing first layer width to ~0.38
- If that doesnt work, repeat the past steps and thicken the line a bit more
Have fun!
License

You may create derivative works based on this object, provided that all such derivative works are published exclusively on the MakerWorld platform and include proper attribution to the original creator. You may not share, upload, host, distribute, or publish this object—or any derivative work of this object—on any other digital platform, marketplace, or distribution channel. Commercial use of this object and any derivative works is strictly prohibited. This includes, but is not limited to, selling, renting, sublicensing, or using the object in any context in which you receive monetary compensation or other financial benefits.


Comment & Rating (4)