
Complete Series of Train Turnouts
Print Profile(1)

Description
Boost Me (for free)
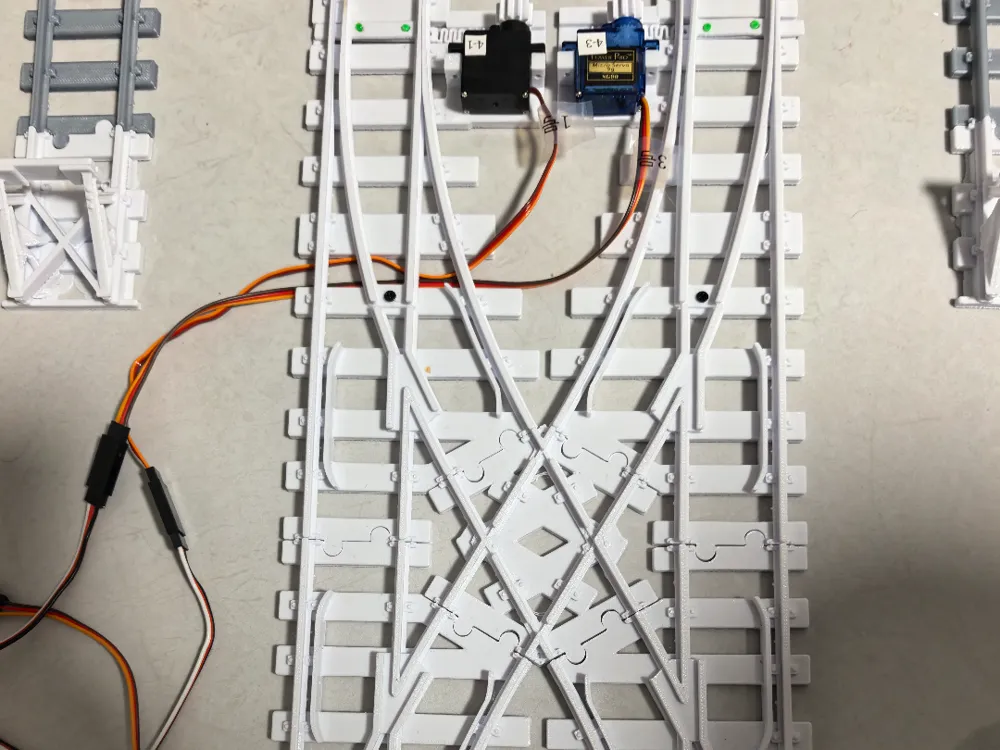
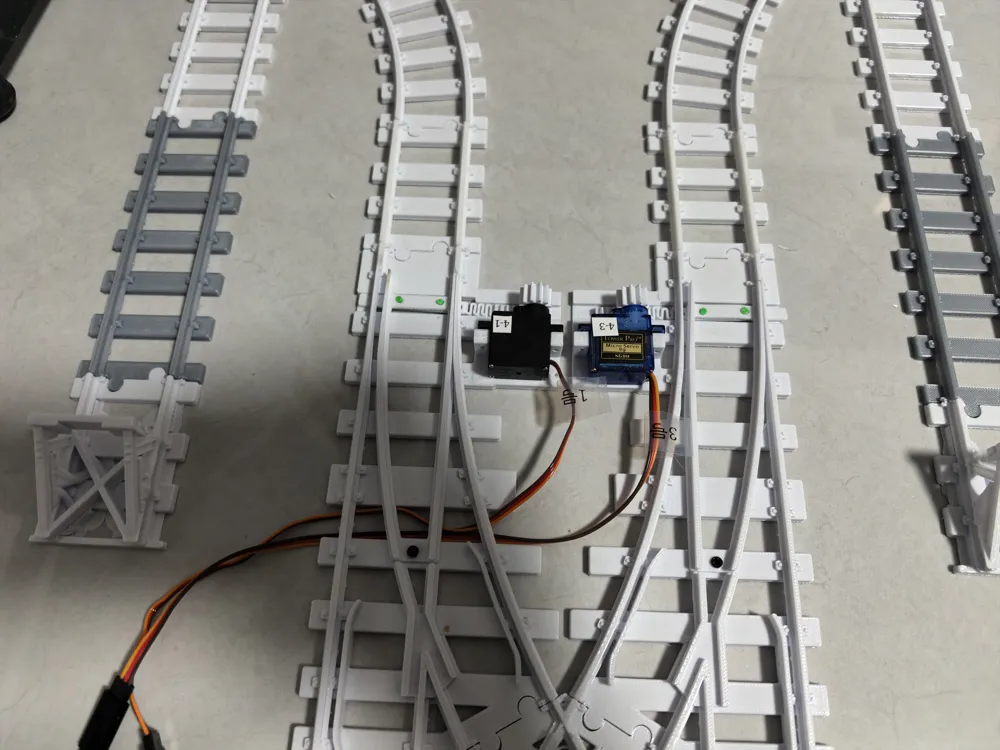
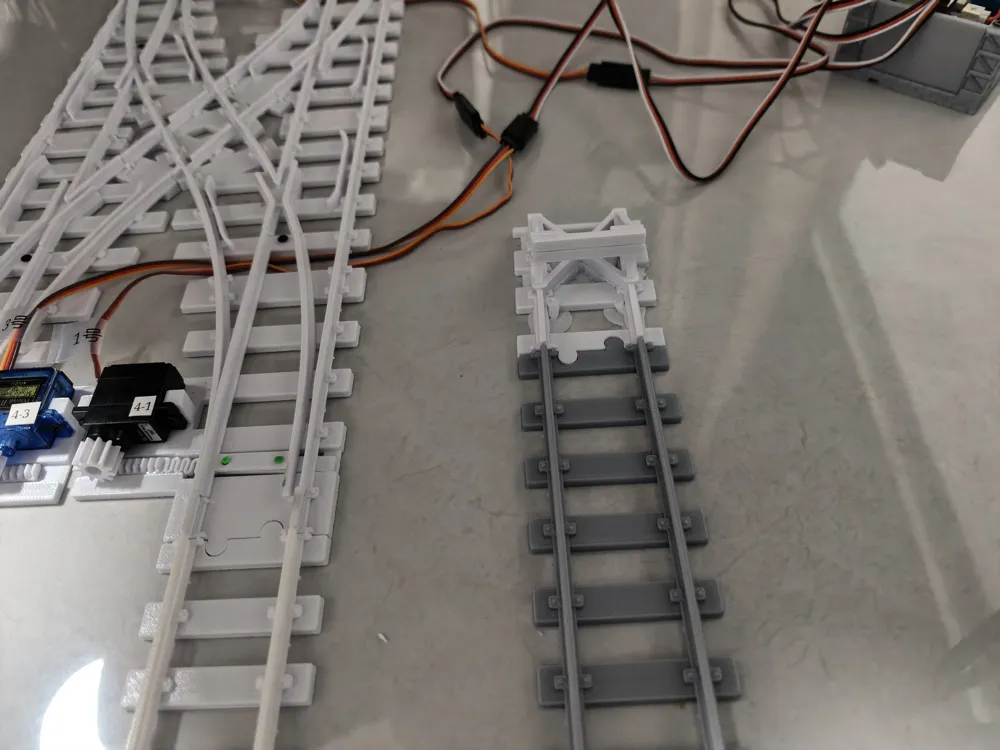
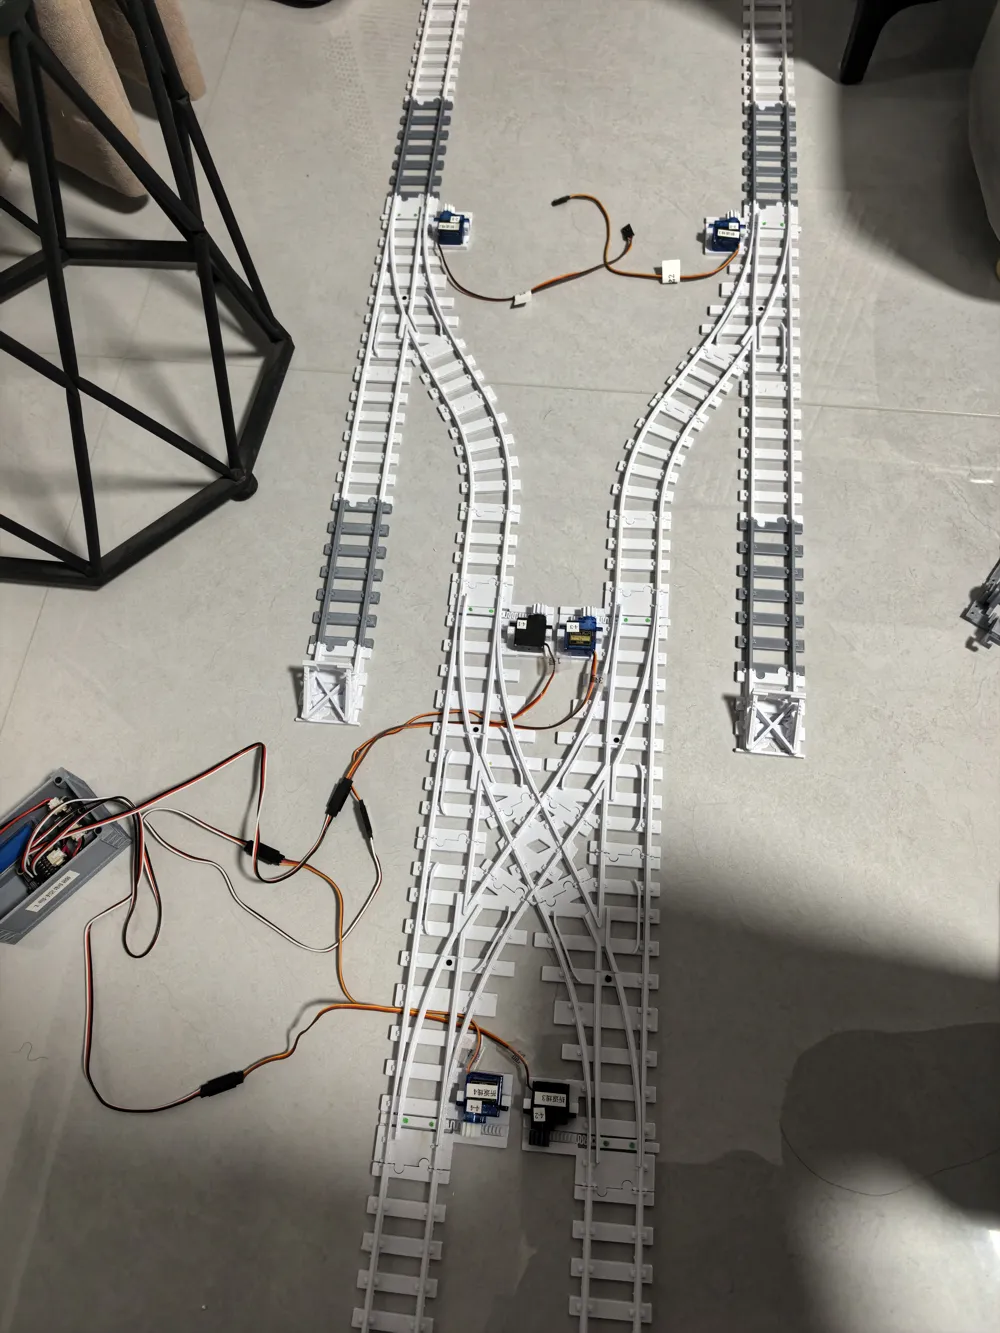
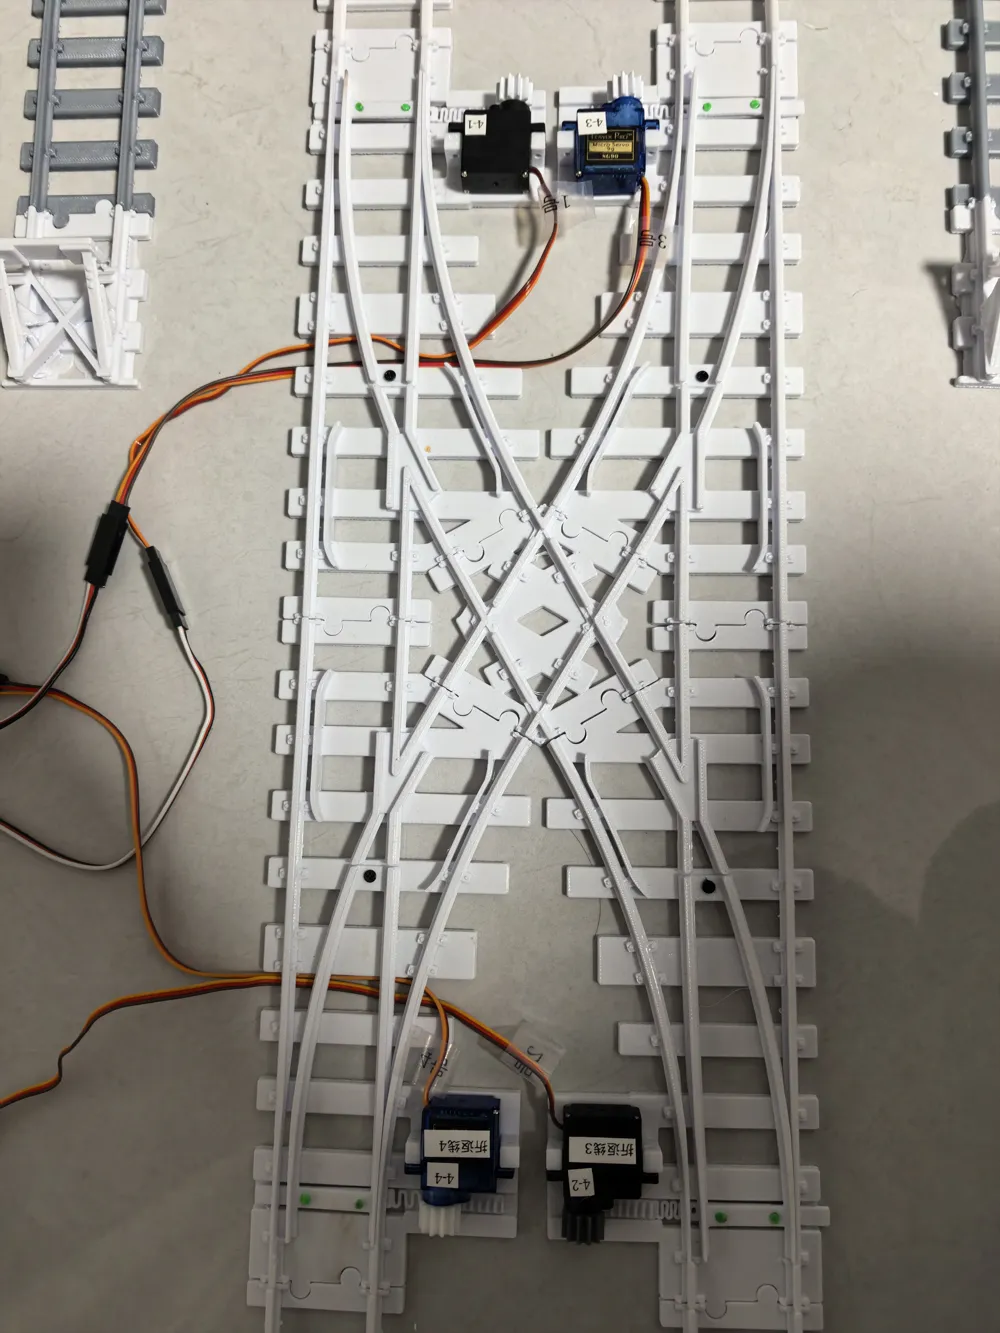
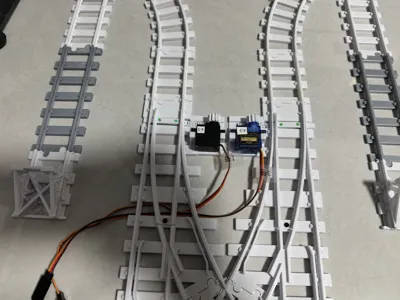
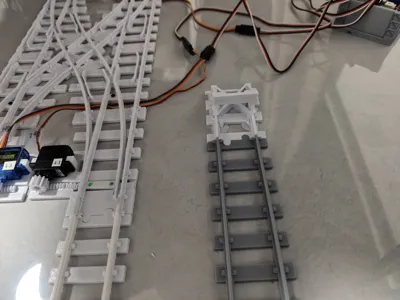
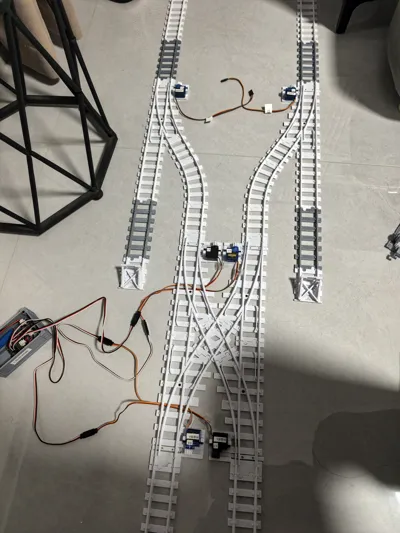
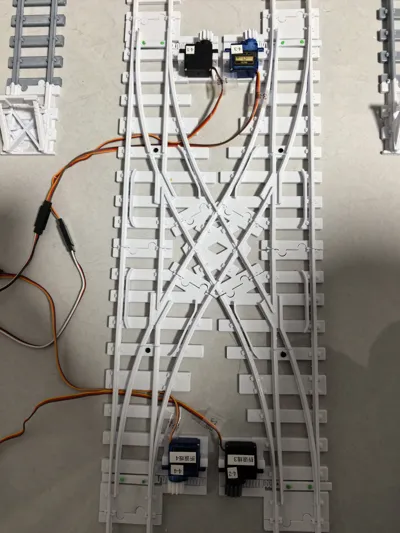
Both left and right switches are available, can be infinitely expanded according to your needs, the train size is adapted to the Old Iron No. 1 train, other track accessories are from Old Iron No. 1, thanks to the author. The track and switch files are referenced from G-scale straight train track, the scaling ratio is 63.8. If you need other accessories, you can download them from the author and then scale them down proportionally. The servo motor is set to two positions, 65 degrees and 0 degrees, adapt it yourself (when debugging, first adjust to 0 degrees, place the position and fine-tune it. 0 degrees is best chosen to be close to one side. When rotated to 65 degrees, it will move to the other side. Angle servos costing about 4 yuan on Taobao have also been debugged, and they are almost all at this angle). If it adapts well later, I will upload it. Debug and fix the servo motor first, otherwise it will damage the transmission rod. Do not use tree-like combinations for end stops, they are very difficult to disassemble. I combined two parts directly, the strength is average. If it breaks, prepare your own 502 (super glue). It's best to slow down the train, otherwise it will derail. The switch box is also directly combined and modified from Old Iron No. 1, just make do with it. It's best to control the switches one by one. When debugging, linking multiple together will cause errors and make them unusable. If there is an expert who understands, they can provide guidance. Bambu Lab's kit was used
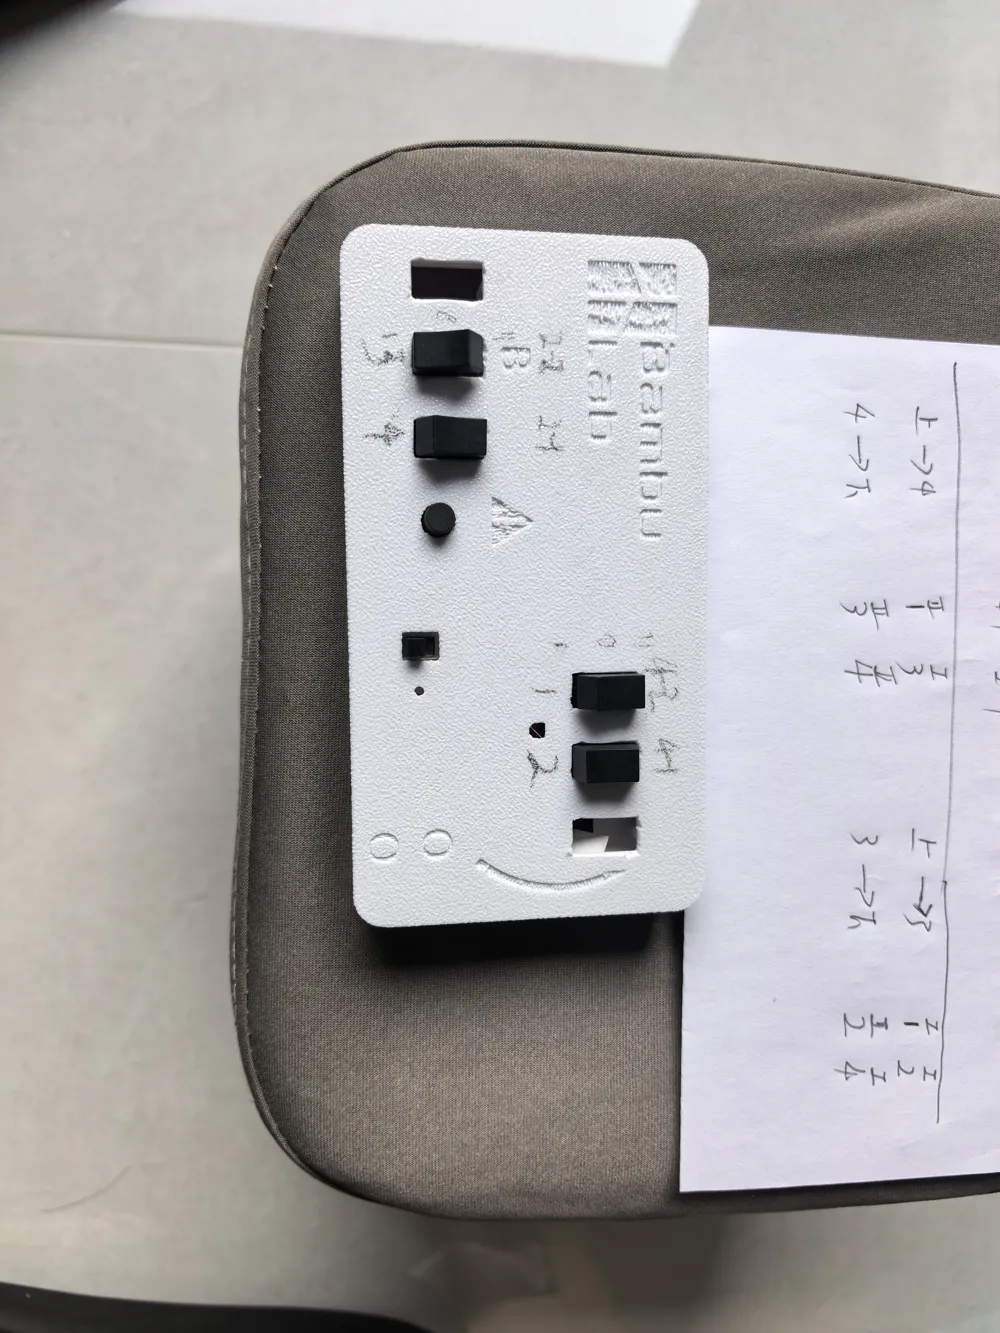
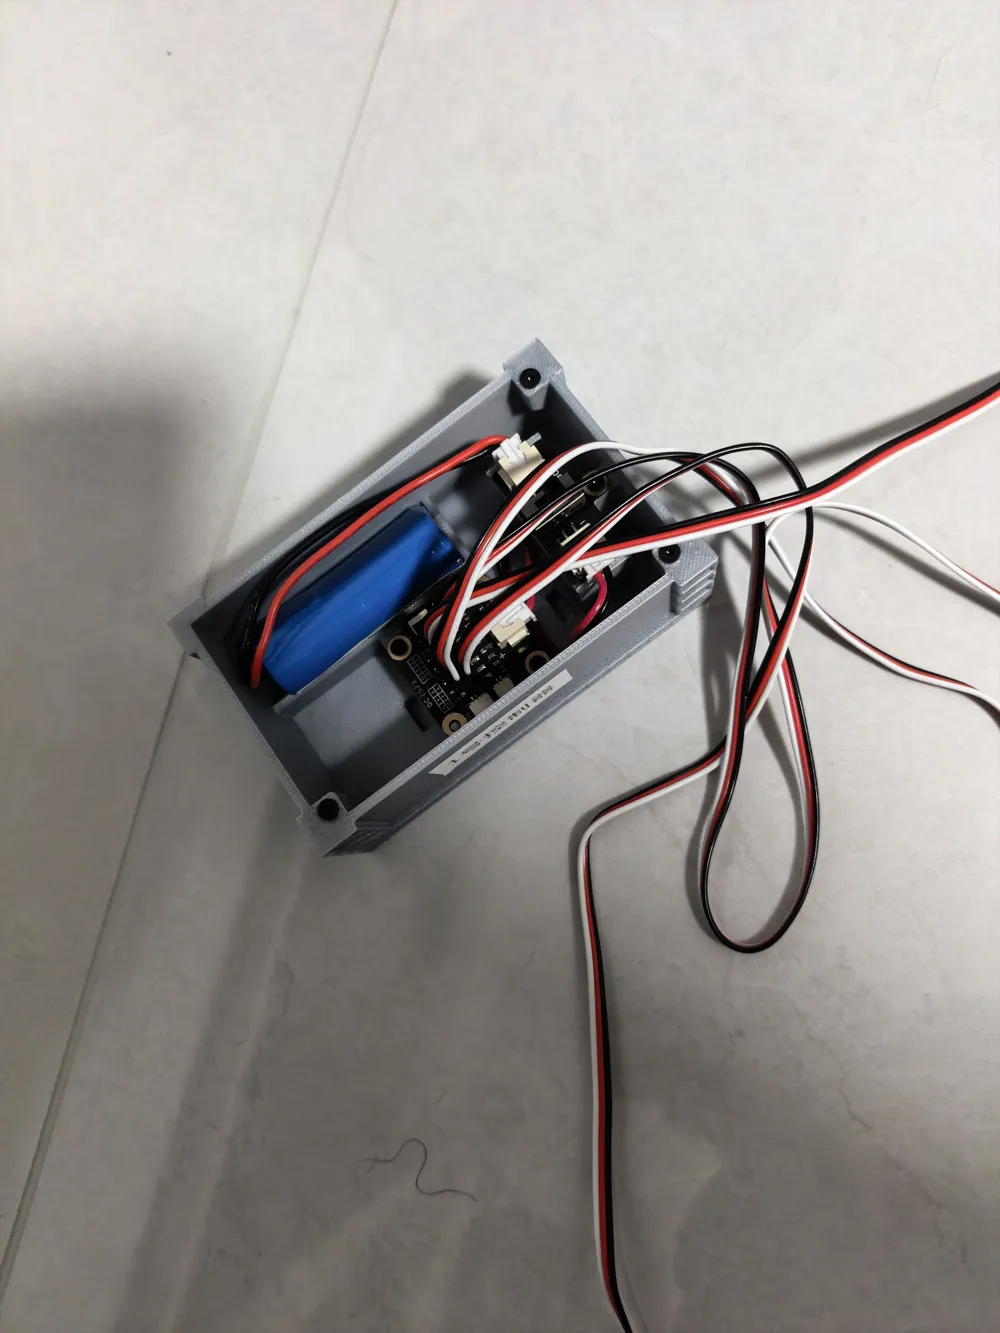
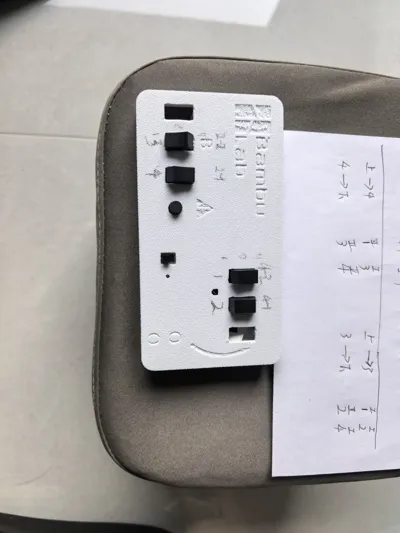
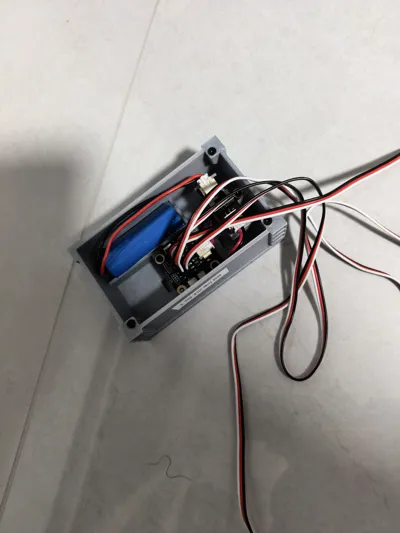
Updated the latest transmission rod file on December 10th, modified the gear ratio for smoother operation. The servo angle also needs to be modified, set to 80 degrees. Added a switch control box, completely transferred from Old Iron No. 1, thanks to the author. The control files have also been adapted and will be uploaded later. It can control up to 6 servo motors, so two control boards are needed, one controls four numbered 1-4, and the other controls two numbered 5-6. For the second control board, the servo motors are plugged into positions 1 and 2 on the control board. If you don't know how to assemble, you can go to Old Iron No. 1 to see the tutorial. The installation is universal. Again, before screwing on the servo motor, you must first debug and fix its initial position, otherwise it will damage the transmission rod. The configuration file is being uploaded, I don't know if it will pass
Documentation (1)
License

You may create derivative works based on this object, provided that all such derivative works are published exclusively on the MakerWorld platform and include proper attribution to the original creator. You may not share, upload, host, distribute, or publish this object—or any derivative work of this object—on any other digital platform, marketplace, or distribution channel. Commercial use of this object and any derivative works is strictly prohibited. This includes, but is not limited to, selling, renting, sublicensing, or using the object in any context in which you receive monetary compensation or other financial benefits.


Comment & Rating (1)