One Piece Yoru (Mihawk's Sword)


Print Profile(1)

Description
I HIGHLY RECOMMEND DOWNLOADING THE PIECES ONE BY ONE AND SLICING THEM YOURSELF TO FIT THEM ONTO SMALLER PRINTERS AND WITH PARAMETERS TO MATCH DIFFERENT FILAMENTS
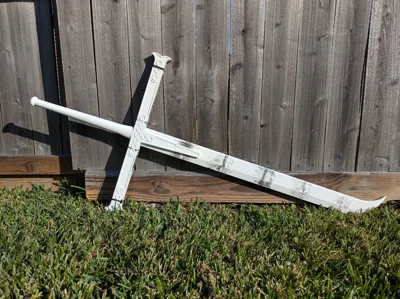
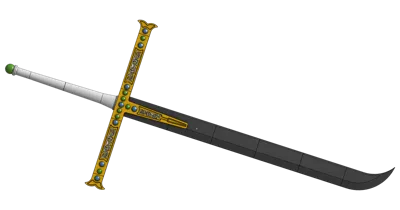
Modeled Mihawk's sword for some of my friends and wanted to post the files here as well, unfortunately the final assembly ended up being a little chaotic but everything works, there's just a lot of redundancy since I'd never made something so big before that also needed to be disassembled. The proportions and design of this are based on the live action design and for a person who is 5' 10" or ~178cm tall.
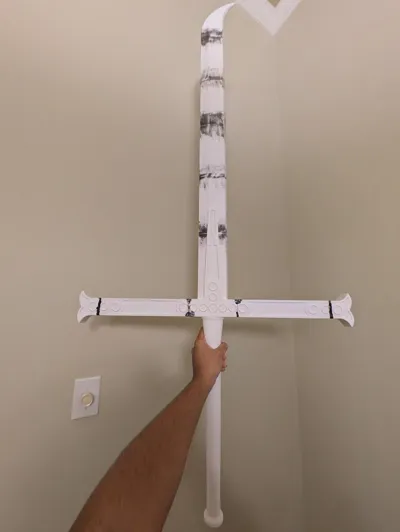
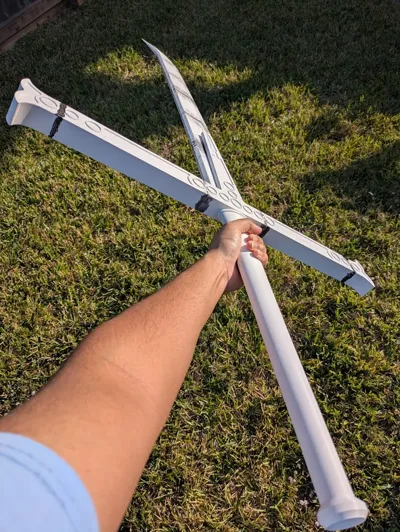
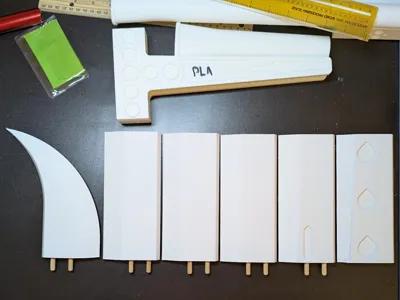
I printed the entire sword in ASA so the seams you see between the prints are all welded together using an ASA slurry. The entire sword has two 1450mm long and 4.7625mm (3/16") diameter thick metal rods going down the length for support with each seam between the body pieces having holes for 1/4" x 1 1/2" wooden dowels for alignment and added strength. There are also holes for magnets (1x 12x2mm, 6x 25x3mm, and 2x 40x10x3mm) but these may or may not be necessary depending on your needs and how your prints turned out. I cut my lengths of metal rod from a 6' section so I modeled additional slots to use most of the rest of the leftover length of rod across the cross-guard but that's not necessary. For the filigree, you need to more or less freehand the placement of but the jewels and pommel should all slot into their respective places.
Personally, I needed this sword to break down to fit into a car, so I glued together all the blade piece together, all the cross-guard pieces together, and all the hilt pieces together. The friction between the rods and dowels allowed for just those to hold the blade, cross-guard, and hilt together with minimal slipping. The magnet holes were unnecessary with how the tolerances turned out with the ASA but you may or may not need them depending on how tightly together everything fits. I think the amount of magnets from the cross-guard to blade is severe overkill, but the option is open if you need it.
Apologies for all the unit mixing and chaotic design, this was definitely an experiment for me but now I know how to approach large scale props like this in the future.
License
You shall not share, sub-license, sell, rent, host, transfer, or distribute in any way the digital or 3D printed versions of this object, nor any other derivative work of this object in its digital or physical format (including - but not limited to - remixes of this object, and hosting on other digital platforms). The objects may not be used without permission in any way whatsoever in which you charge money, or collect fees.
Comment & Rating (7)