
Kendama - Based on Jet Shape (75g/75g)
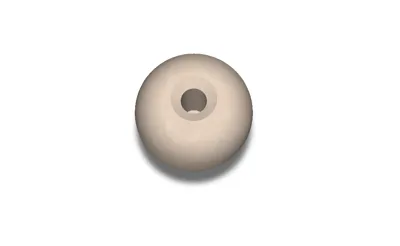
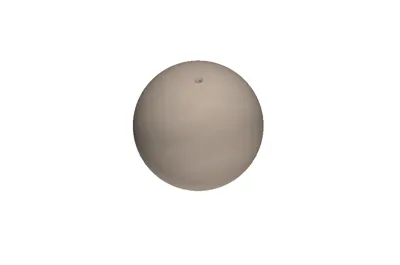
Print Profile(2)

Description
The assembly clearance in this model is 0.15 mm, make sure your printer performs within this tolerance.
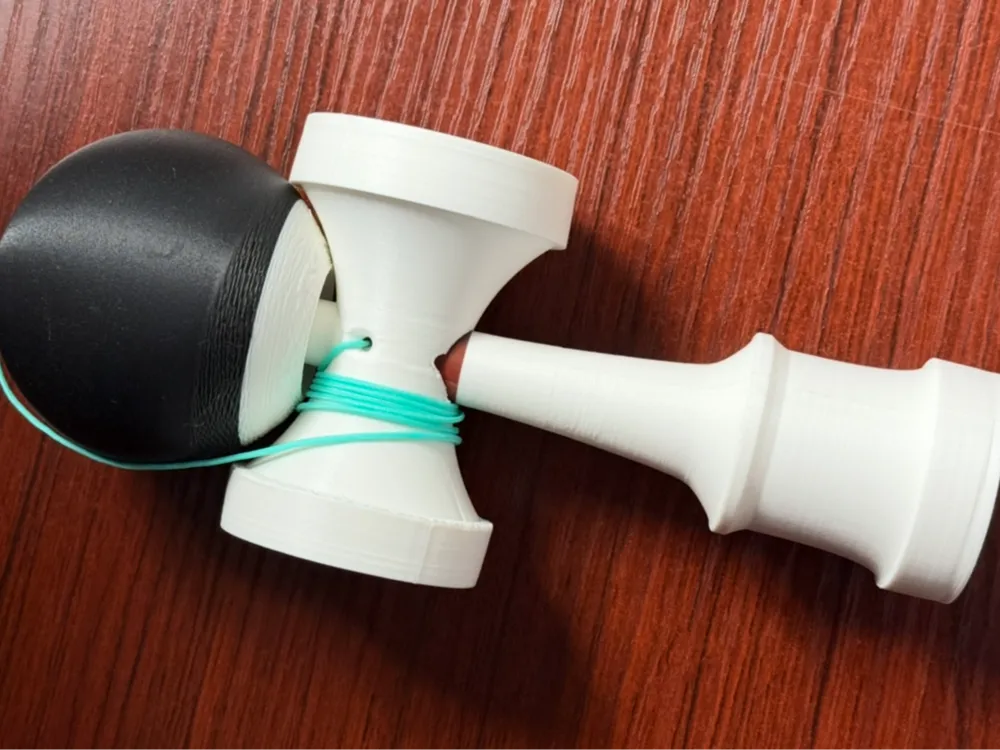
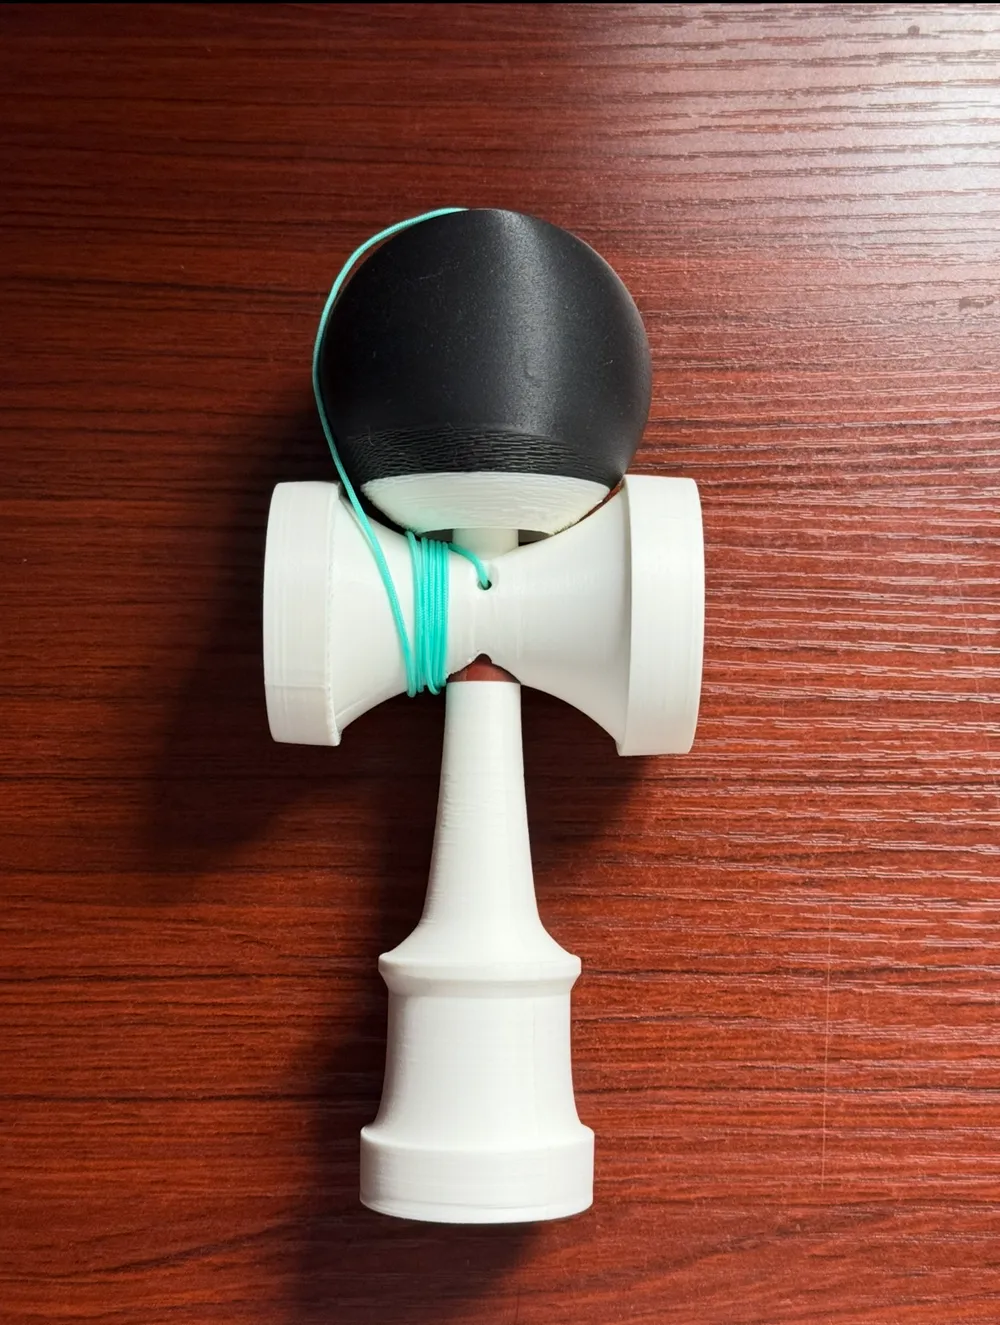
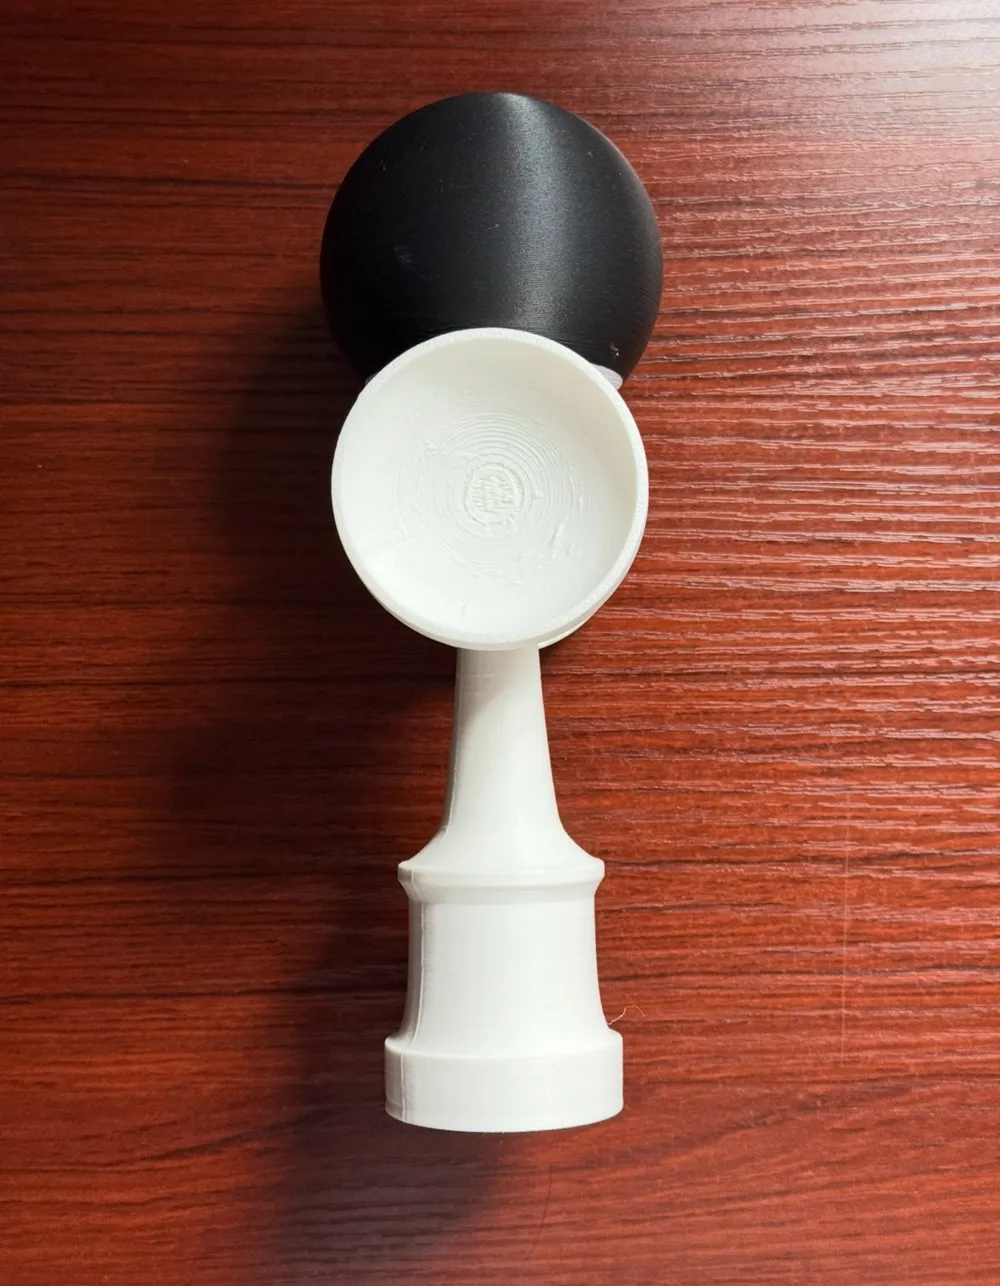
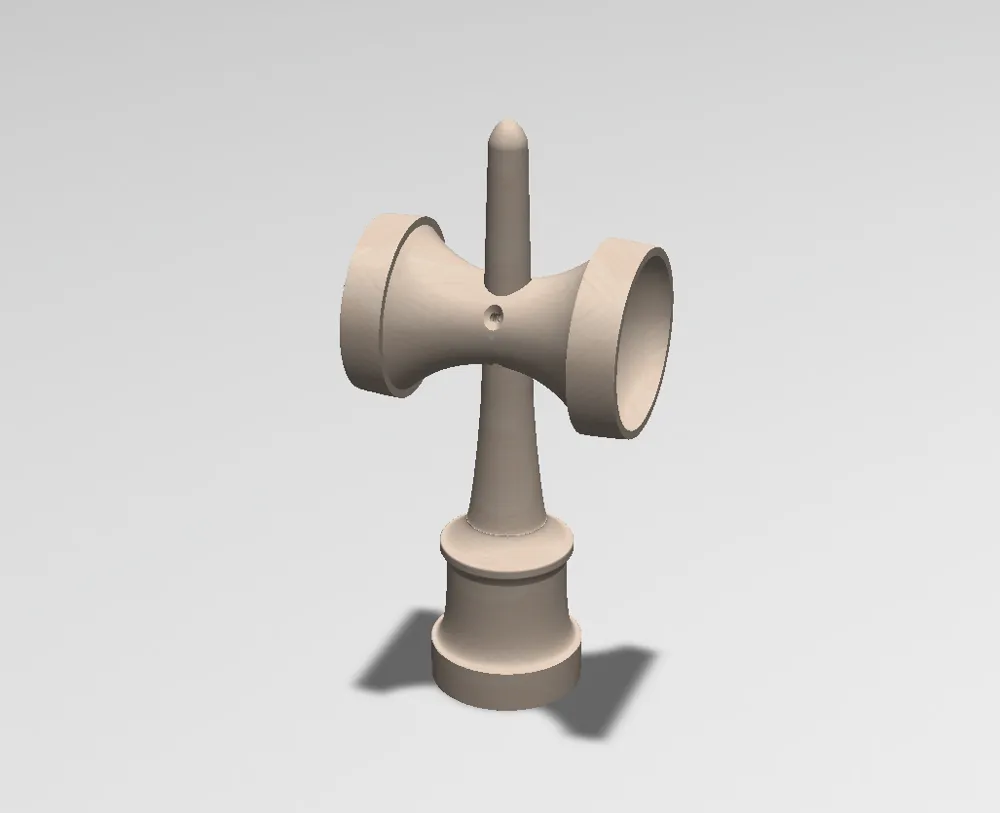
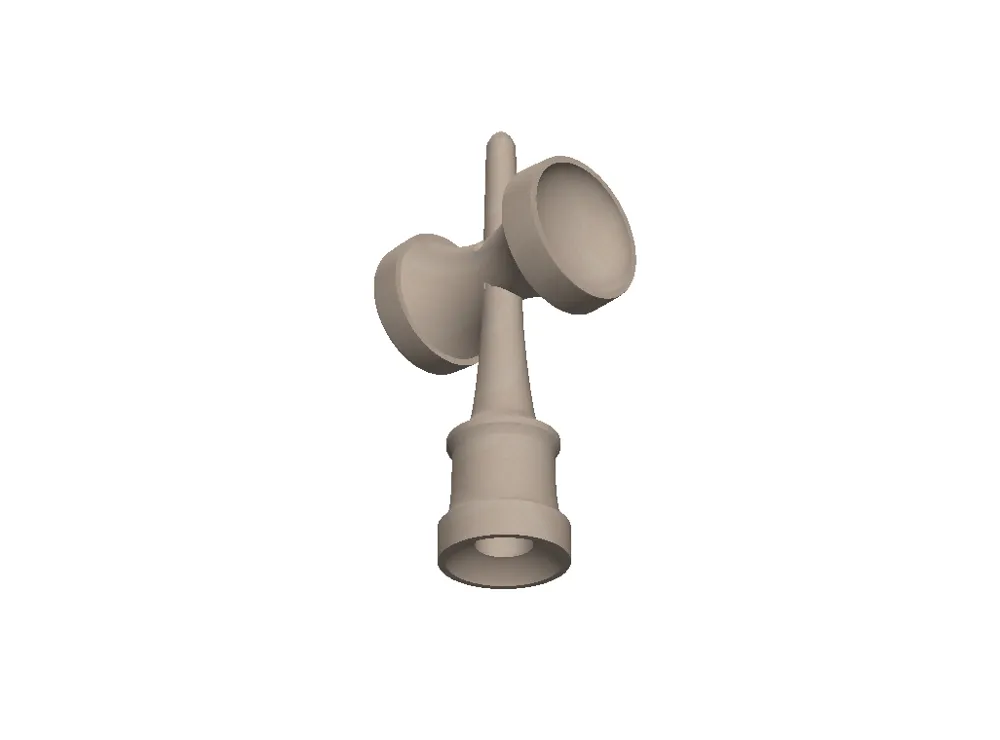
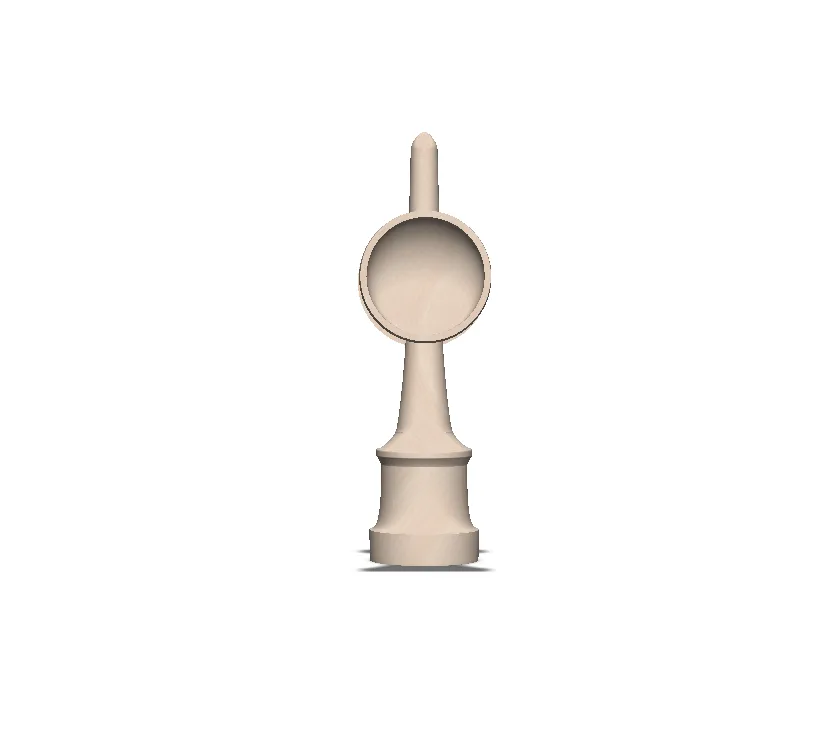
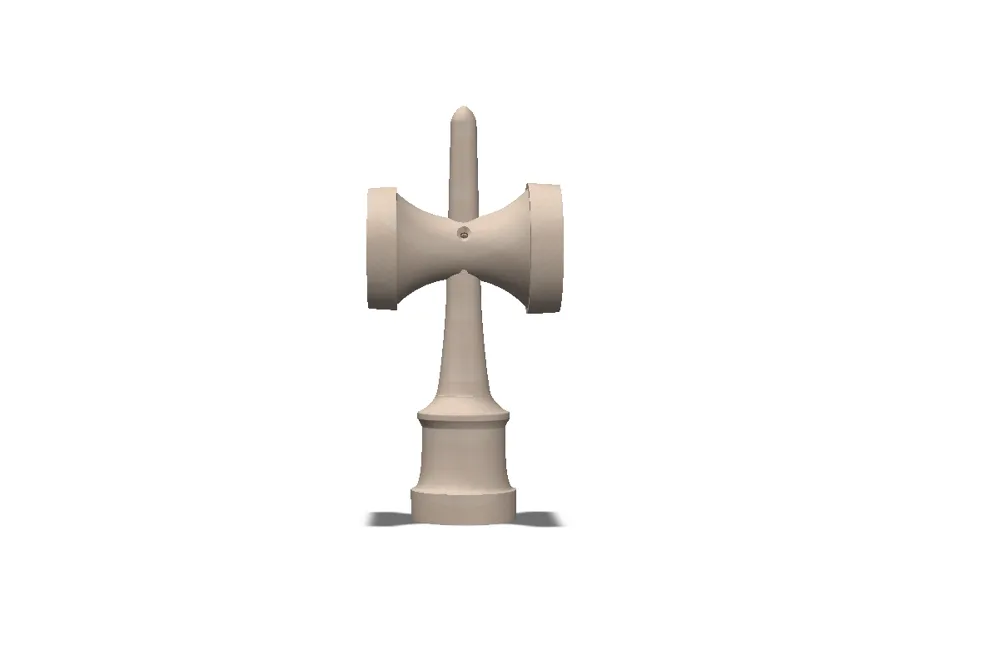
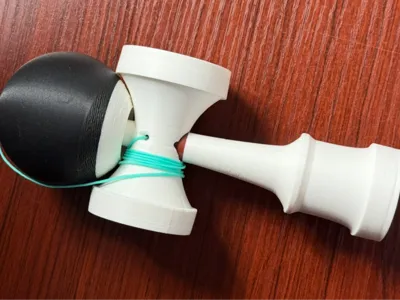
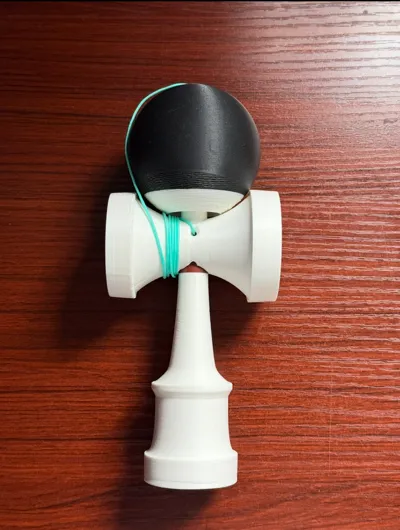
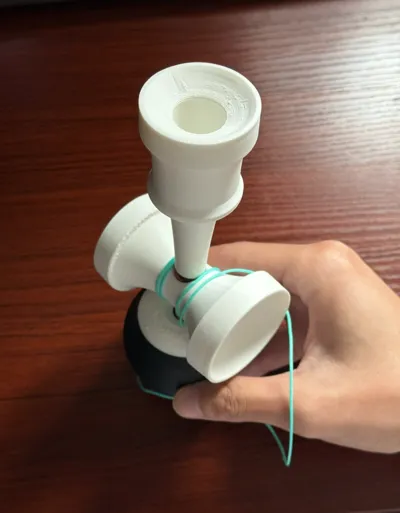
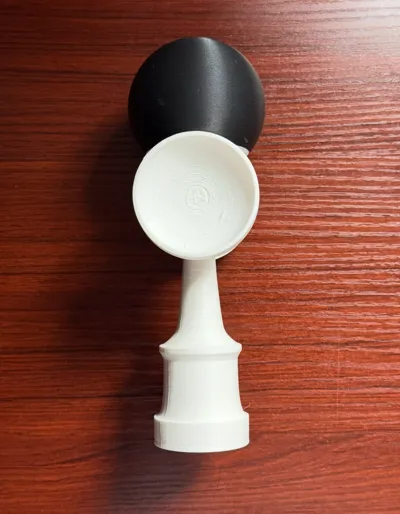
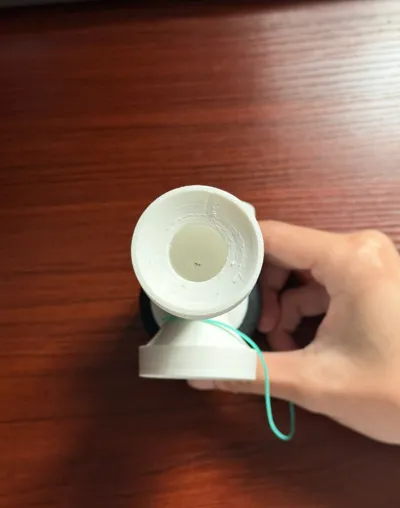
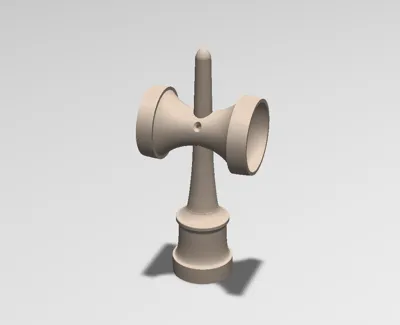
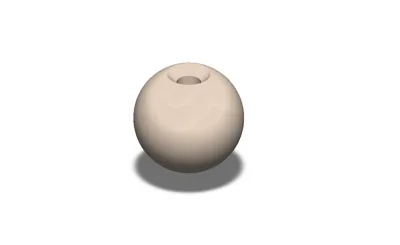
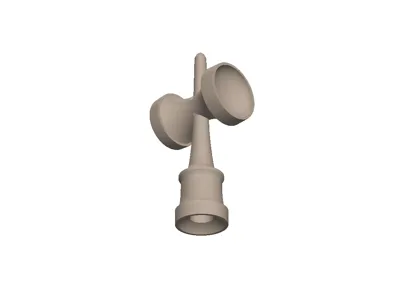
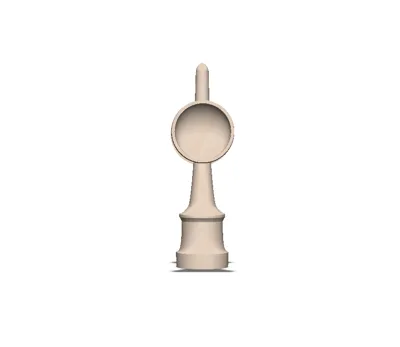
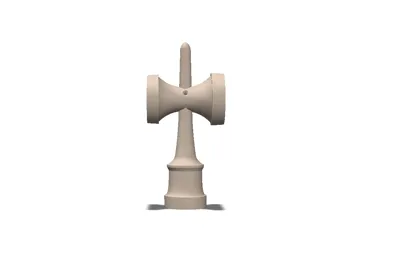
This is a kendama based on the KUSA “Jet” shape. The cup sizes/edges, overall height, and overall width match the Jet dimensions, while the grip and handle detail may not be a perfect match. The spike has also been designed with a bullet tip for durability.
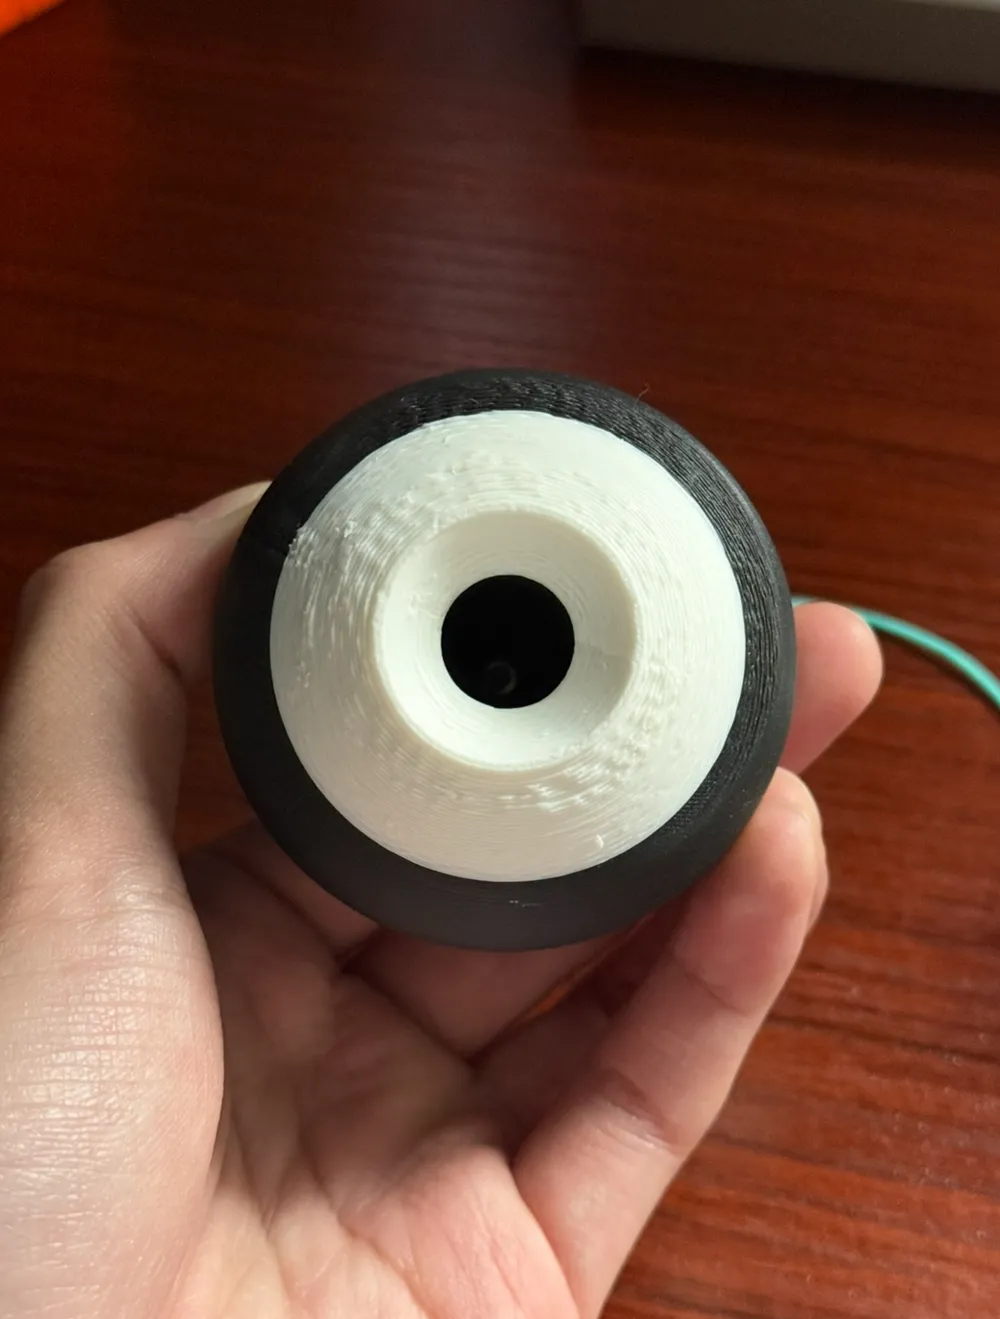
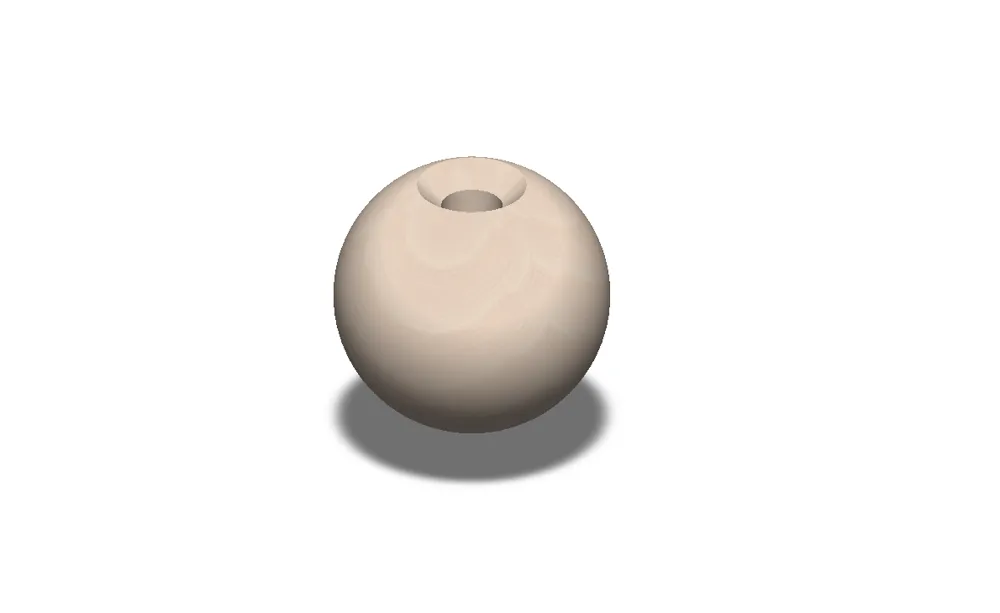
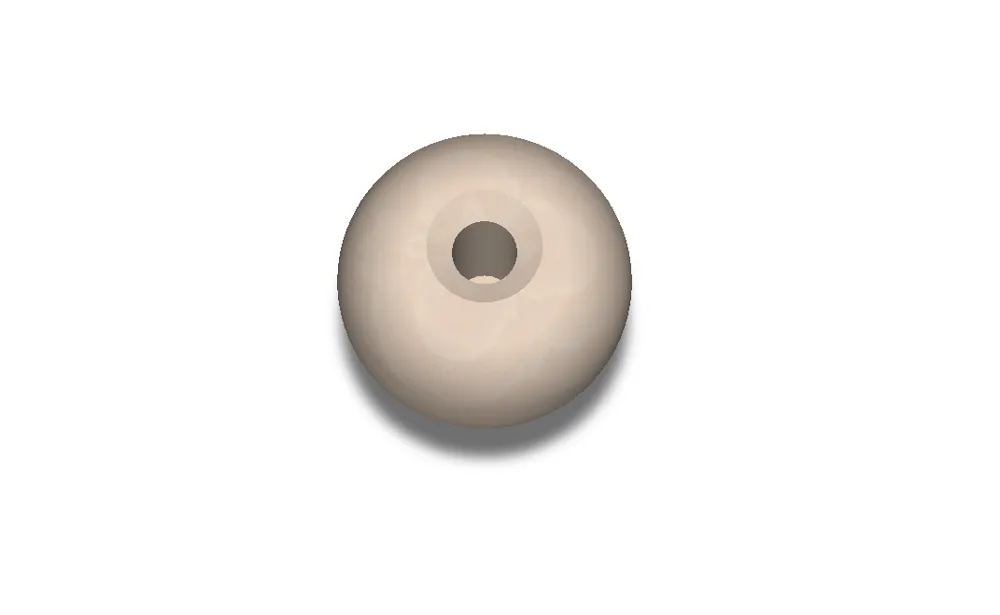
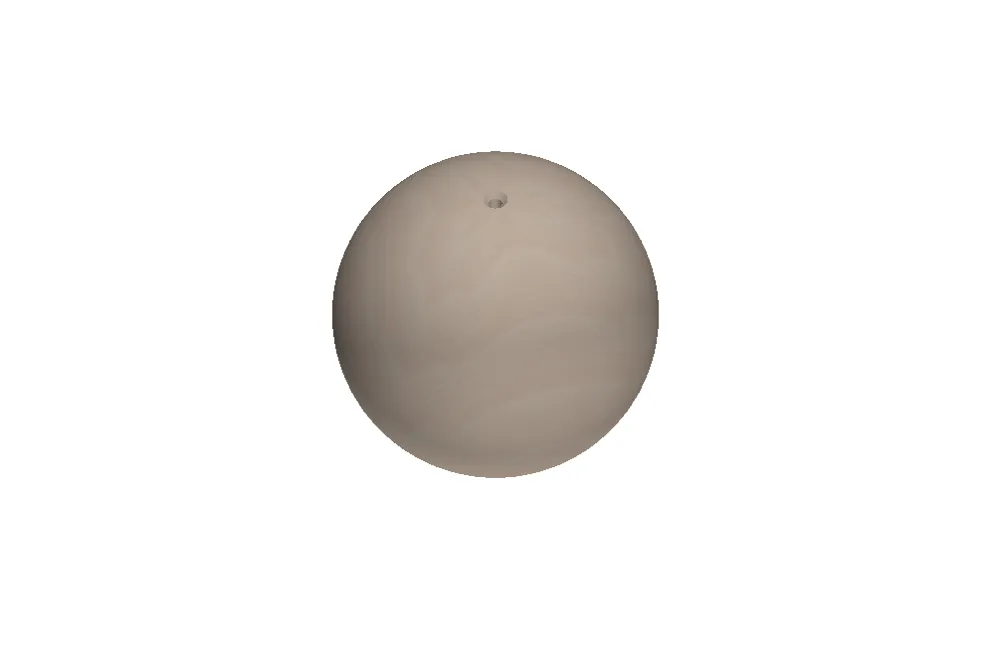
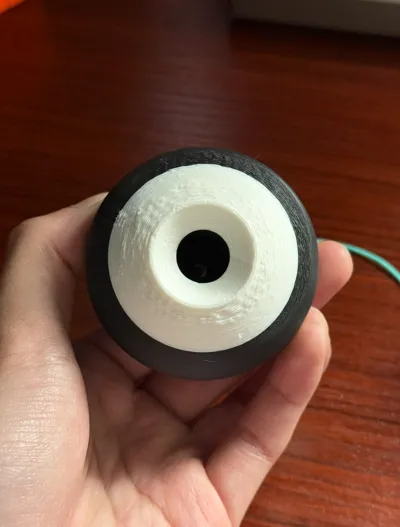
If you have AMS, I recommend painting near the holes of the ball, so you can track where the top and bottom of the ball is.
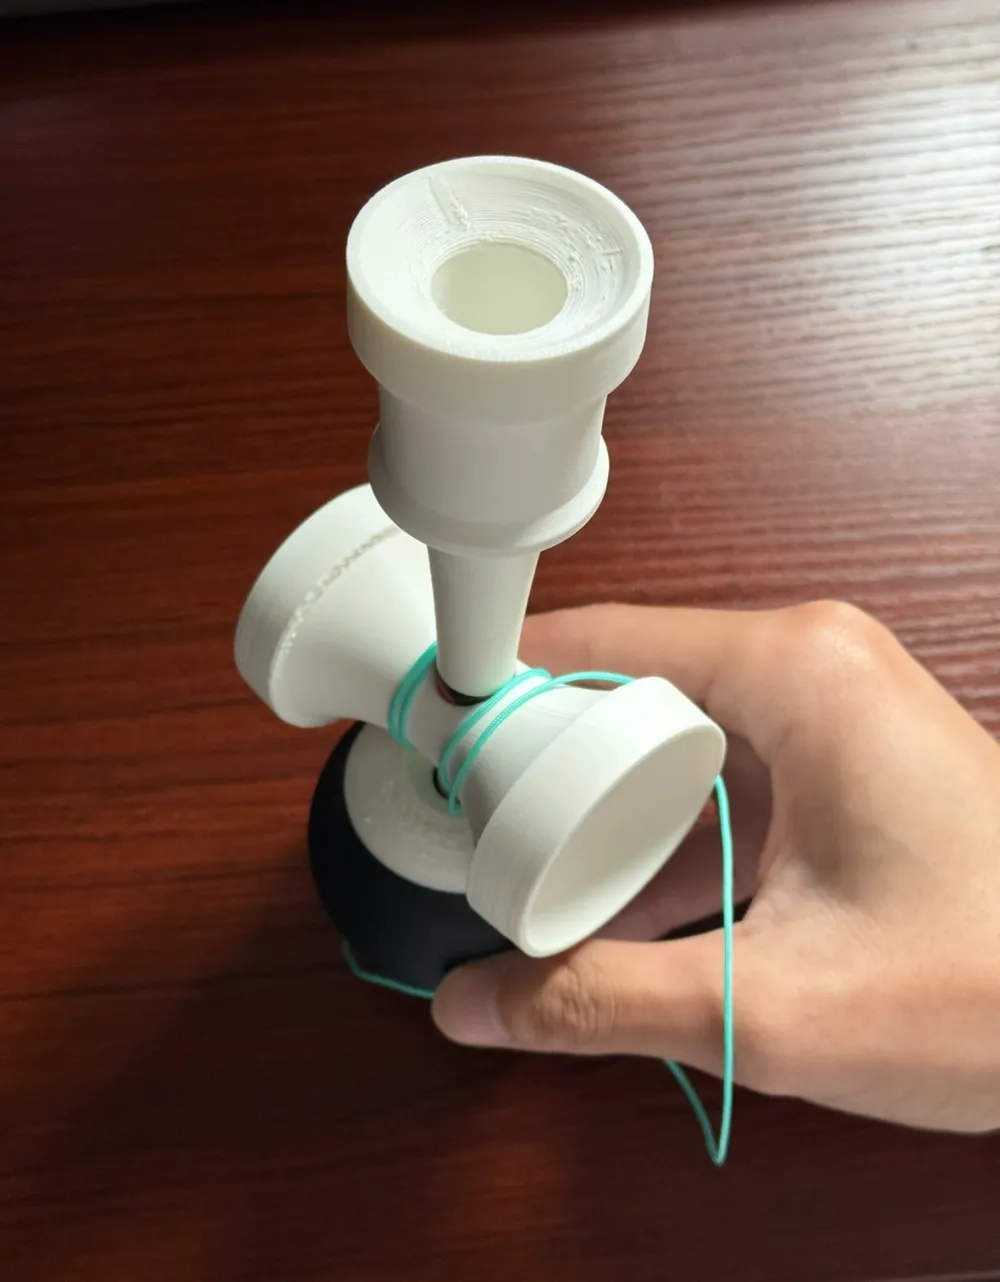
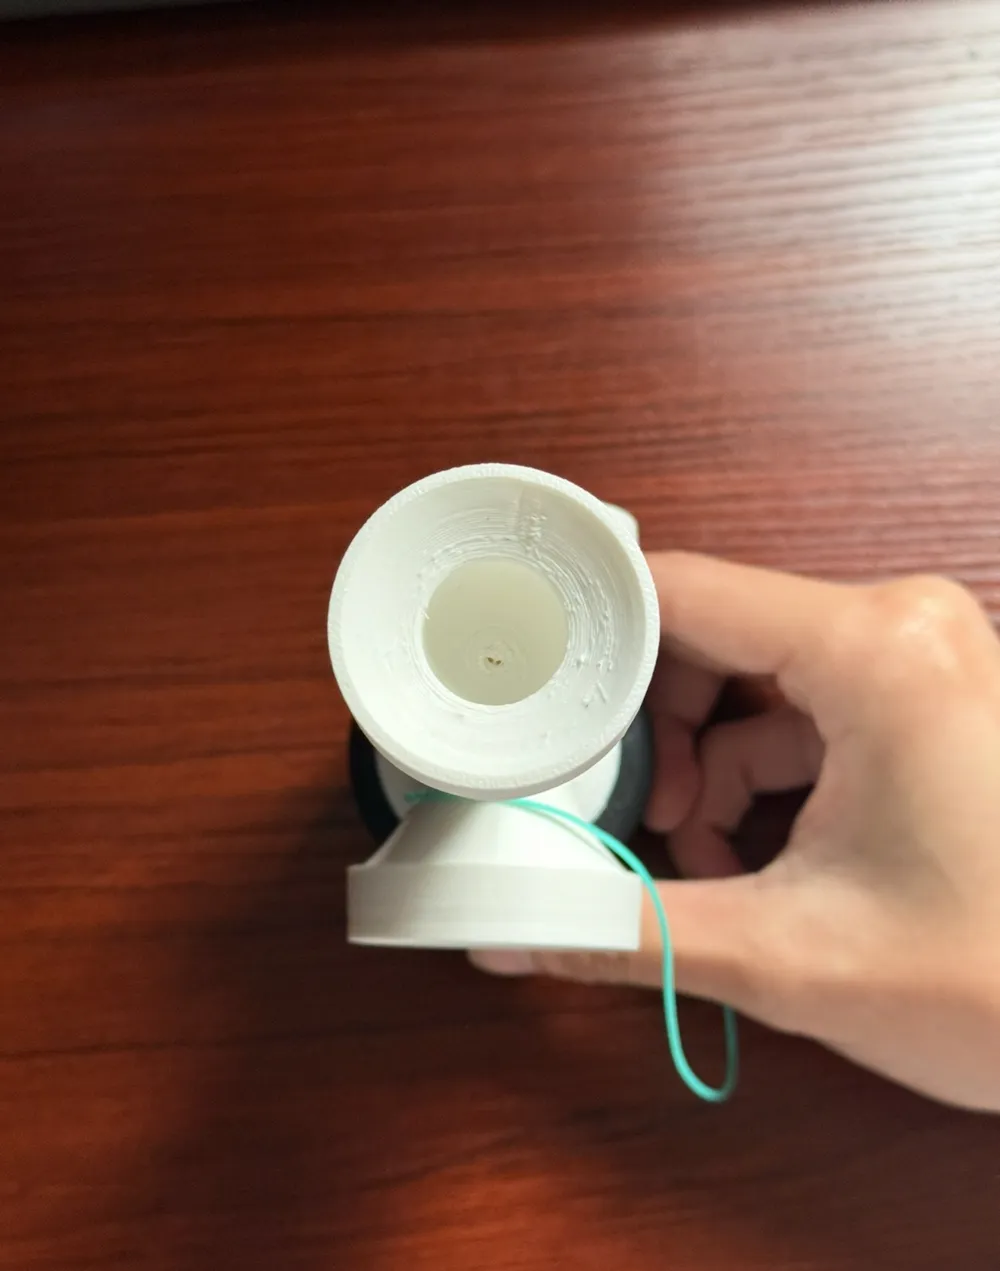
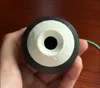
For assembly, if the fit is loose, wrap tape/a sticker around the stick before assembling so that the cups can squeeze better onto it (in picture)
In PLA, the model results in a ~75g tama and ~75g ken, and can be adjusted with filament and print settings. This puts the setup in the medium-weight range of a normal weight-matched kendama.
Important Notes Before Printing
String Hole Tester Included
To avoid wasted filament, I included a small hole-test block sized exactly the same as the string holes used in the kendama.
This allows you to check:
- Whether the fit is good (big enough to pass, but not enough for a knot to pass through)
- Whether you need to adjust hole diameter in your slicer/software
If your printer does not give you the best hole size for your string:
- Tama hole: X-Y compensation be adjusted directly in Bambu Studio.
- Ken hole: may need to be resized in your preferred software.
Print Notes
Reinforced Wall Modifiers
The ken includes modifiers that add extra walls/infill around the joint areas.
My early versions broke at these points, but this reinforced version has held up for me.
You can adjust these modifiers to match your printer strength or preferred durability/weight.
Supports
The reason for the manual supports:
- Under the big cup lip for cleaner overhangs
- On the small cup lip
- Near the bottom of the tama to improve bed adhesion
Different printers and materials may allow removing these supports entirely or adding extra.
License

You shall not share, sub-license, sell, rent, host, transfer, or distribute in any way the digital or 3D printed versions of this object, nor any other derivative work of this object in its digital or physical format (including - but not limited to - remixes of this object, and hosting on other digital platforms). The objects may not be used without permission in any way whatsoever in which you charge money, or collect fees.


Comment & Rating (8)