
Halo MkV Action Figure - Master Chief - MODULYR V3


Print Profile(4)


Description
Description;

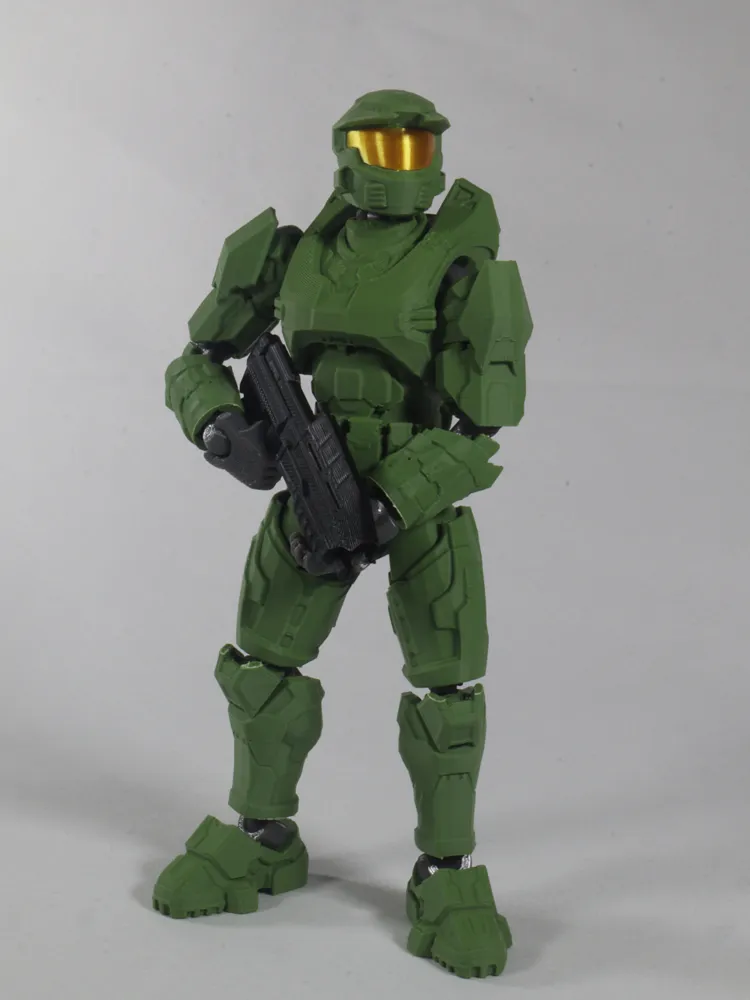
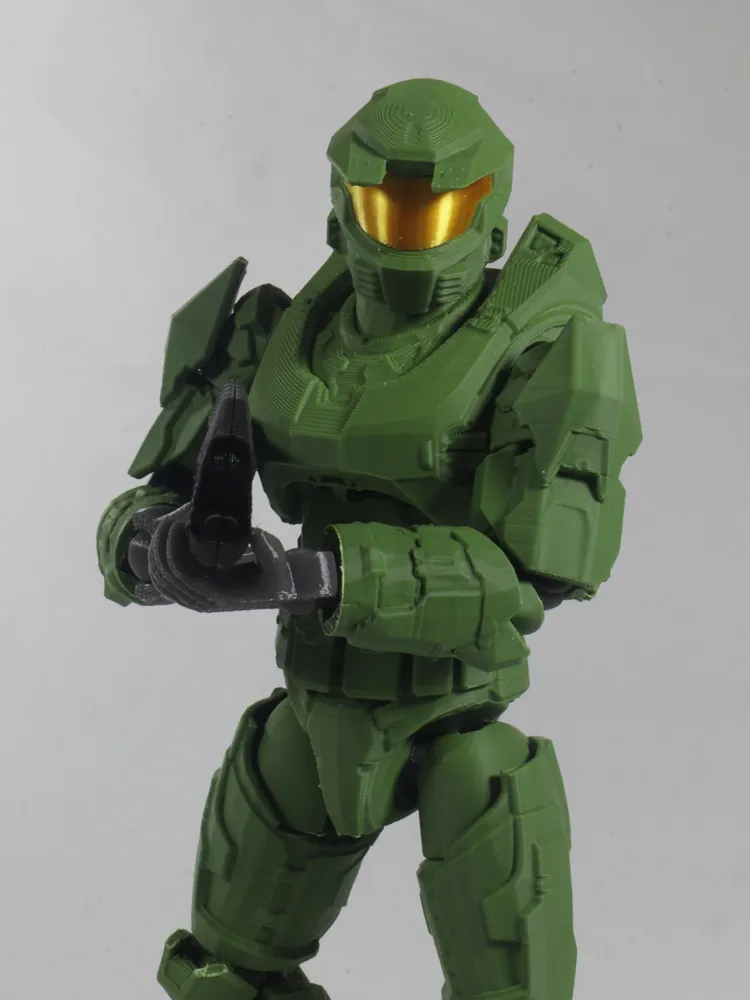
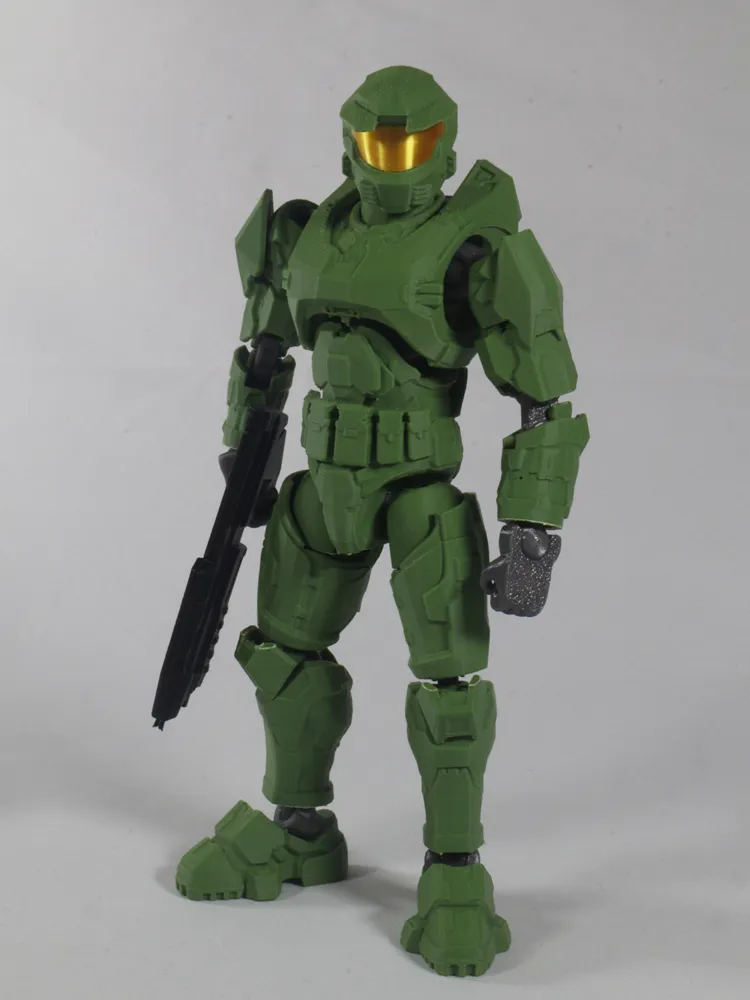
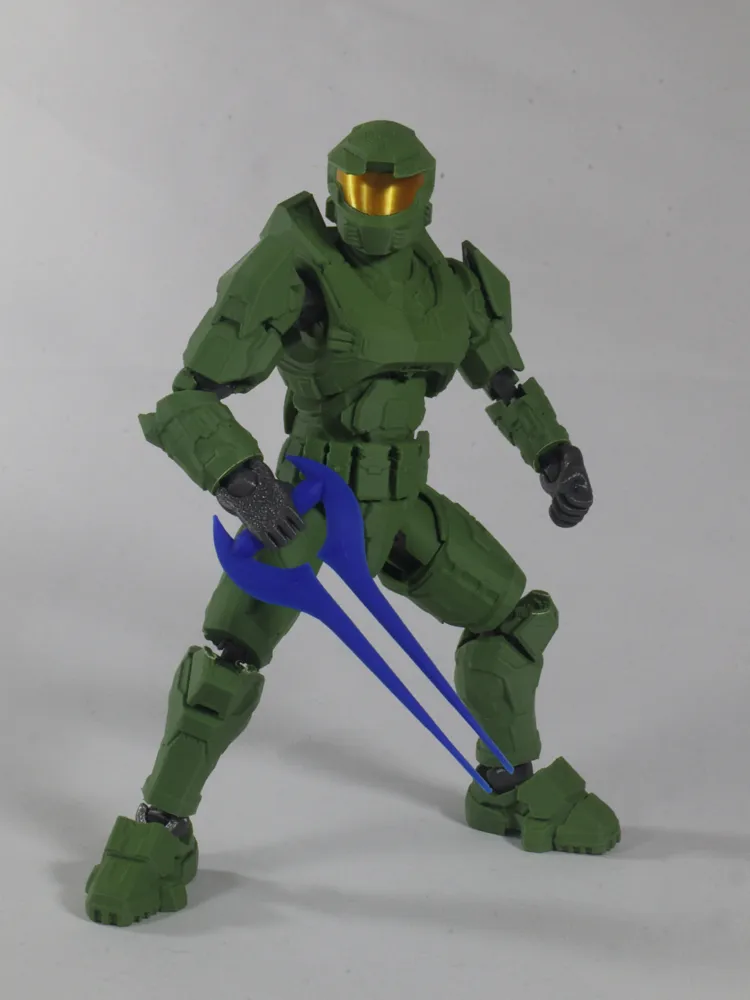
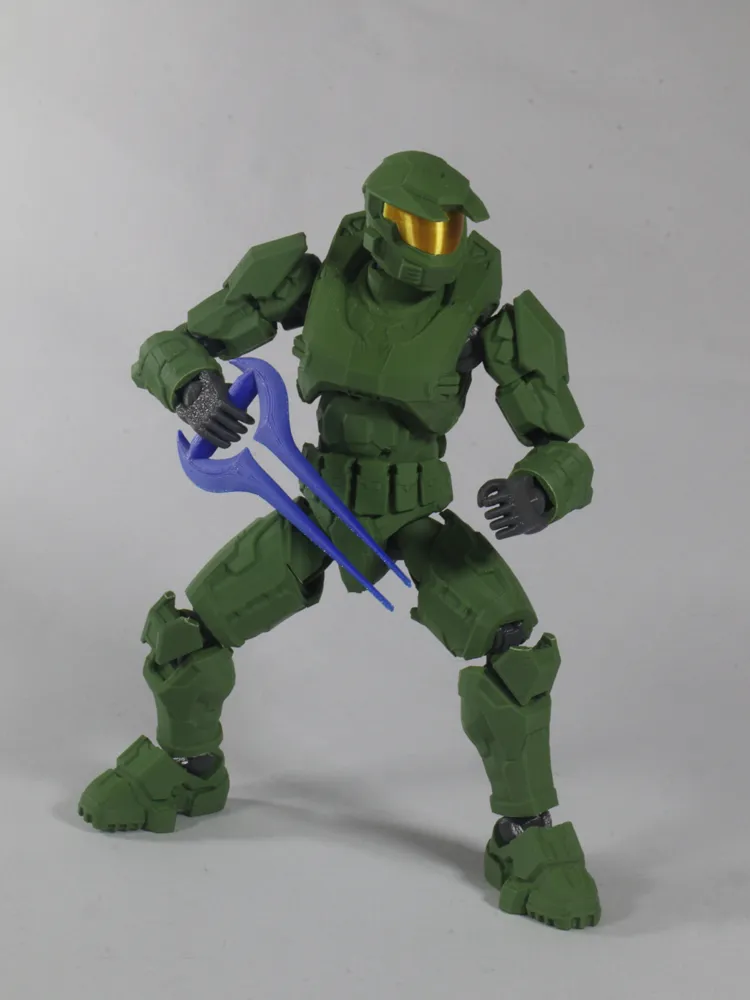
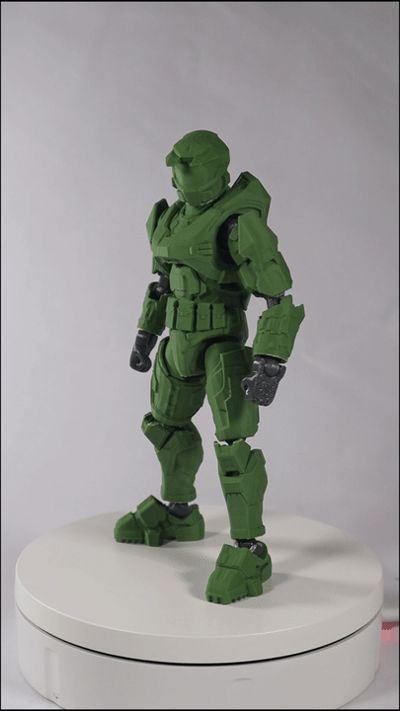
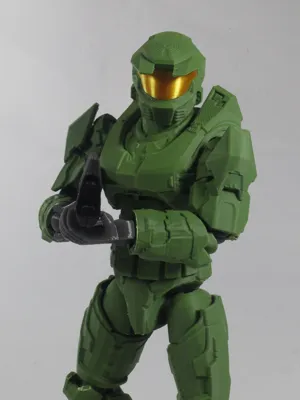
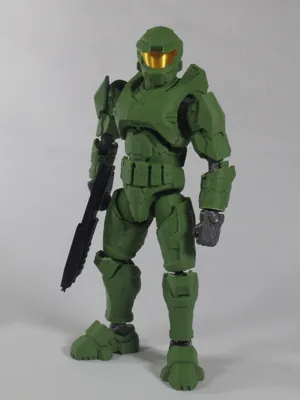
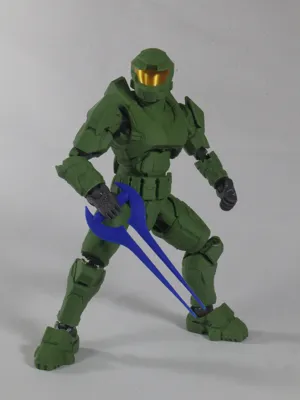
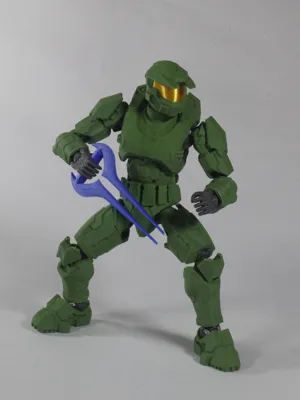
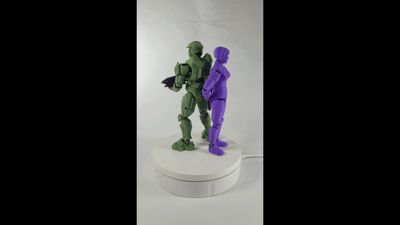
Halo Mk V Armor from Halo Infinite (ripped from in-game) adapted to an action figure using my MODULYR V2 action figure template.
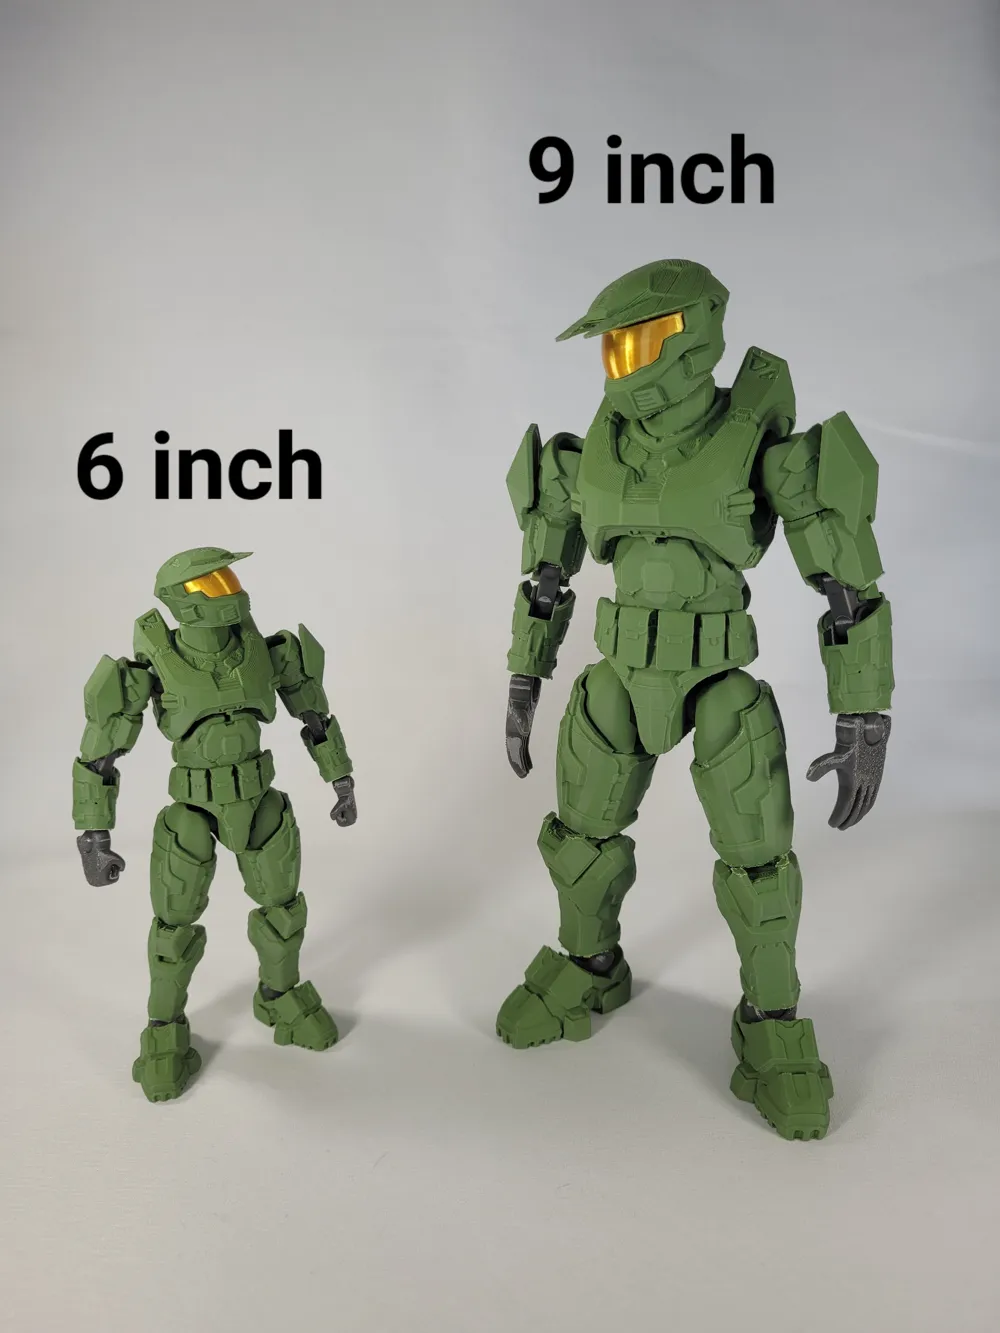
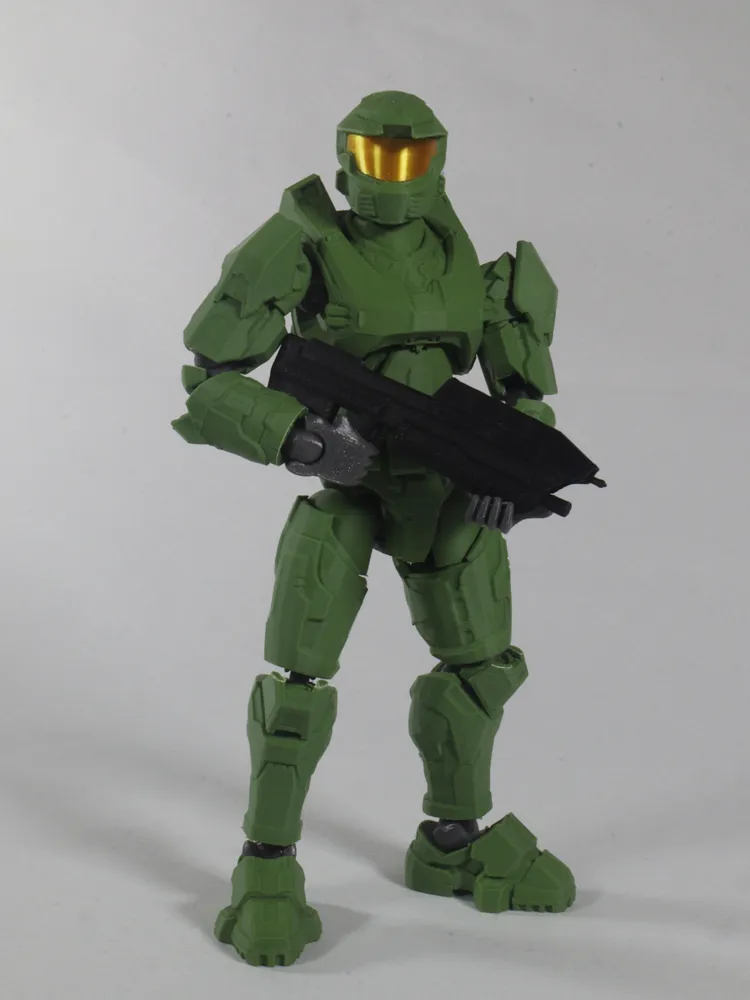
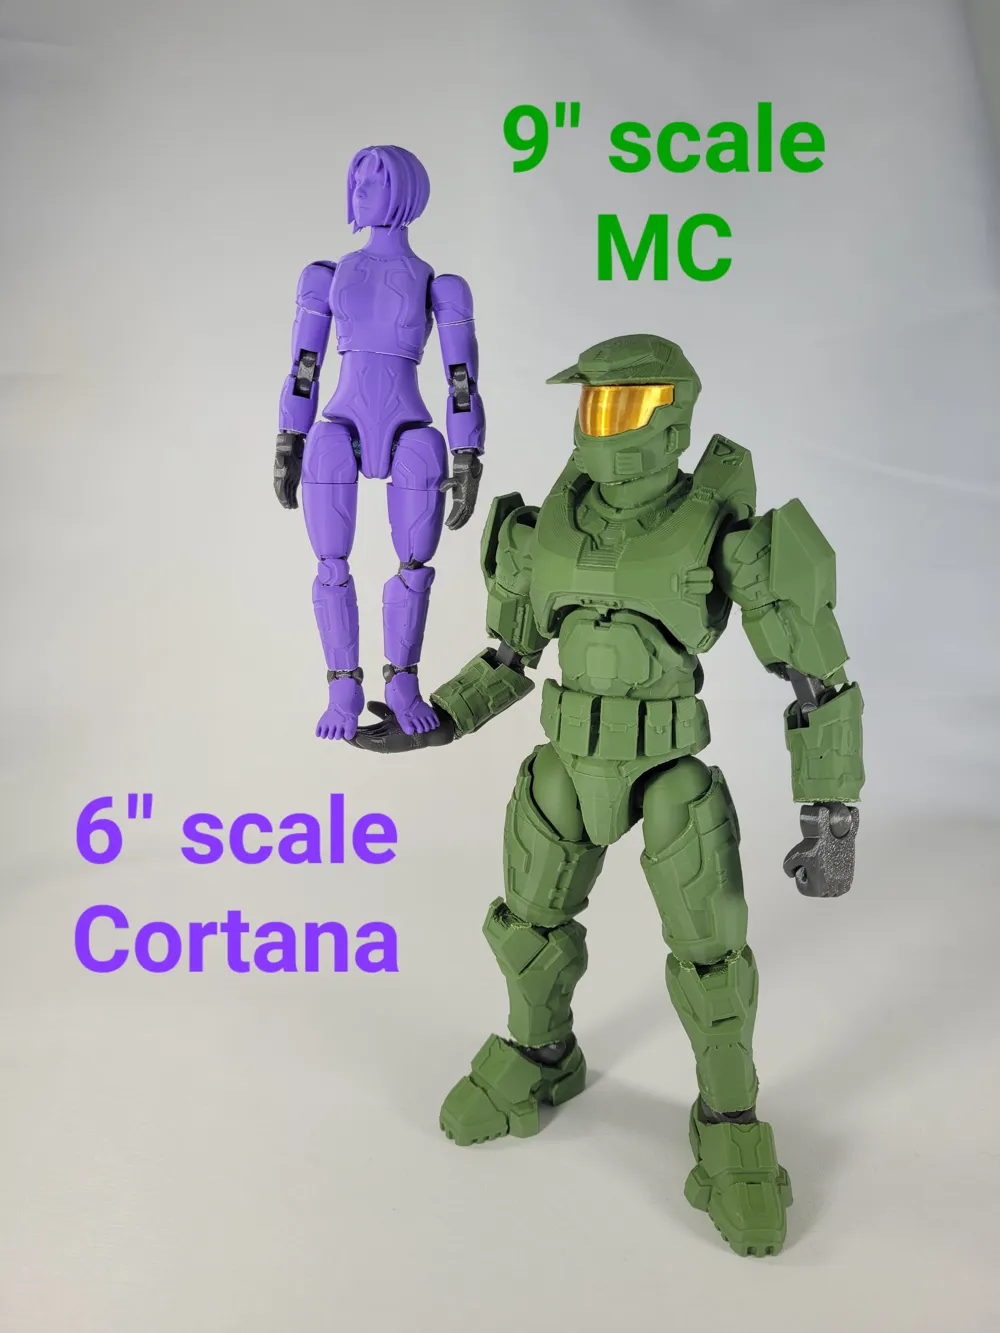
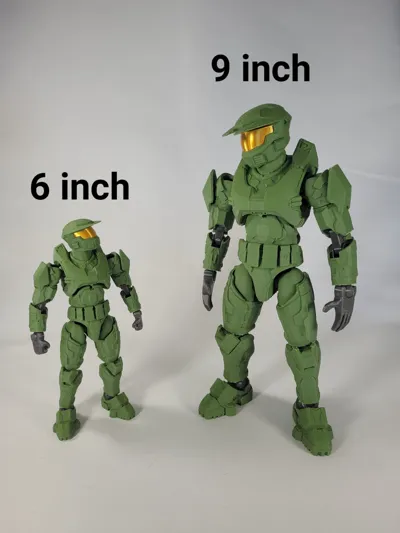
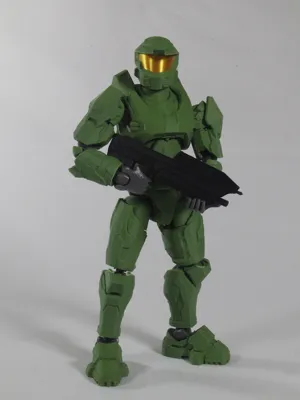
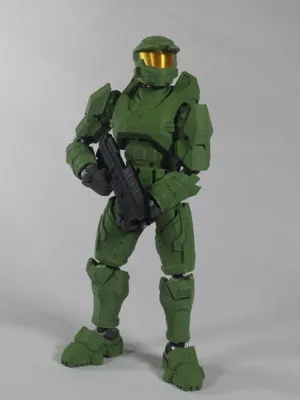
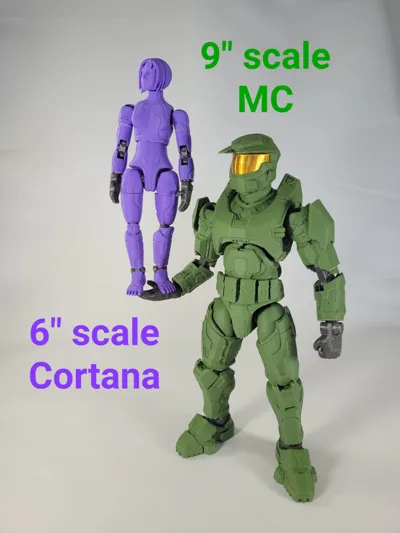
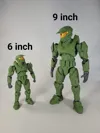
This is a 6 inch scale figure, with 22 points of articulation. It comes with a colored visor option, the MA5B AR and Energy Sword accessories.
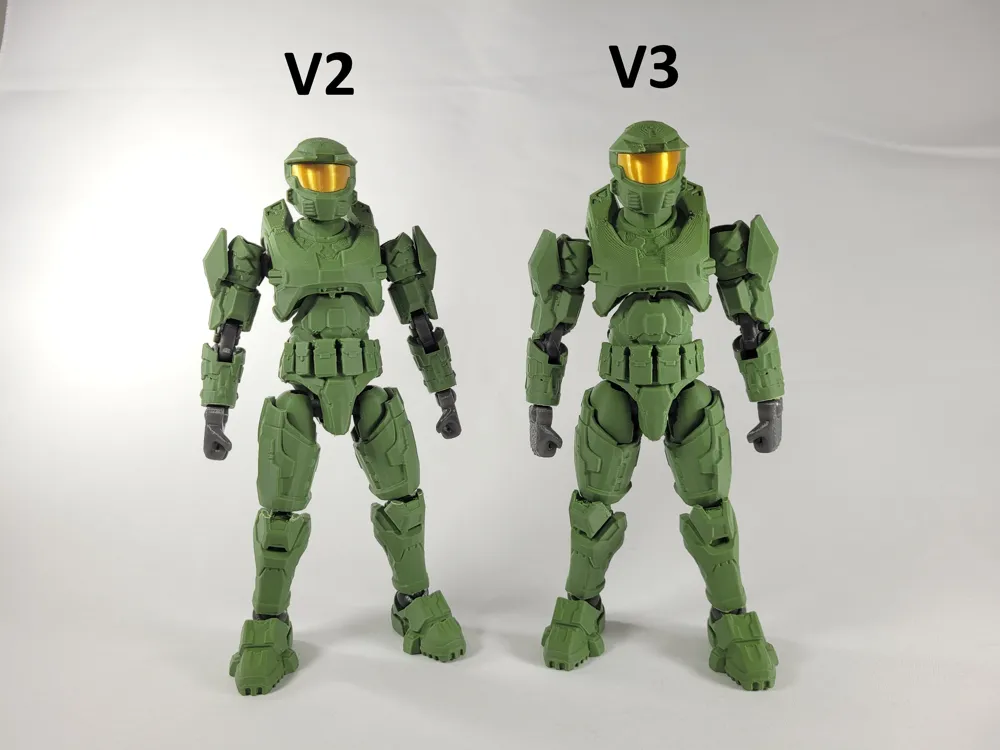
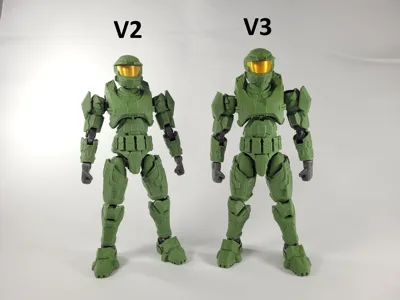
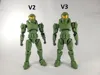
MODULYR V3 Update now available! Improvements over MODULYR V2;
- Smaller gaps between hip-torso to make a nicer look
- Neck redesign to hide the skeleton piece
- Skeleton pieces are now symmetric, no need to check the direction of the bicep and thigh pieces
- Elbows and knees have less side to side motion and are more sturdy

Cortana MODULYR V3 model now available! Make the perfect companion to Master Chief: Cults 3D page
Assembly Guide;
Please view my assembly guide video and PDF below for instructions on how to put the pieces together;
Printing Details;
Filament Choice
PLA is needed for the body parts, PETG for the skeleton parts. I used a silk filament for the visor for a metallic effect. You can experiment with different filament types, but I can’t guarantee that the joints will hold as well.
Brims (body pieces)
The body pieces have brims since I’ve had issues with bed adhesion. It makes it more time consuming to take them off, so if you’re feeling confident with your bed adhesion, you can try disabling the brim.
Runners (skeleton pieces)
The skeleton pieces have runners connecting the pieces to make it simpler to identify the pieces while looking at the assembly PDF. If you don’t want to use the runners, right click the runner and skeleton pieces in MakerStudio, select Split > To Objects, then delete the runner.
Helmet + Visor multi-color
If you choose to print the helmet and visor separate for multi-color, you can delete the helmet from the body pieces plate and drag the visor-less helmet to that plate.
General Settings
I used 0.12mm layer height and 7% infill density. Feel free to change these to your liking for faster printing or more solid pieces.
Tolerance Adjustments
Since these pieces are press fit, the tolerances matter a lot. However, due to variability between filaments and printers, I can’t guarantee your printer will print everything with a good fit. Here’s 2 settings you can play with if parts are too tight / too loose (in Bambu Studio):
Too loose: select parts > Quality > Precision > X-Y hole compensation: set to -0.1mm & X-Y contour compensation set to 0.1mm
Too tight: select parts > Quality > Precision > X-Y hole compensation: set to 0.1mm & X-Y contour compensation set to -0.1mm
Hope you enjoy, and happy printing!
Documentation (2)
License



Comment & Rating (93)