
Minecraft - DIY - Articulated Eyes/Body - Figurine Pendant - Model
Print Profile(9)


Description
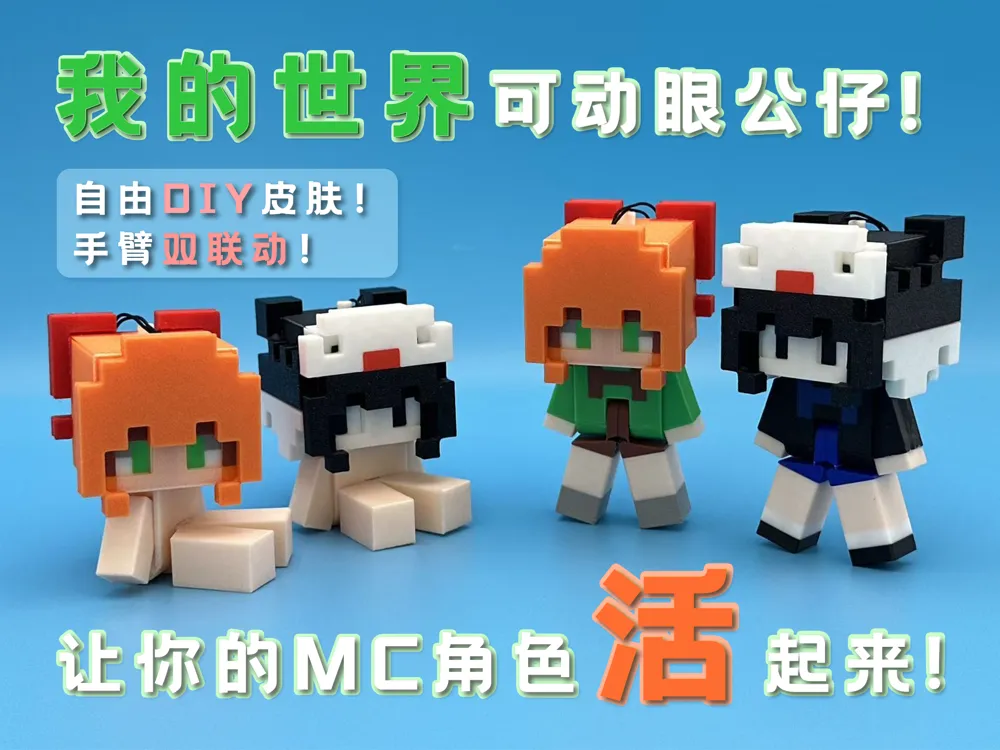
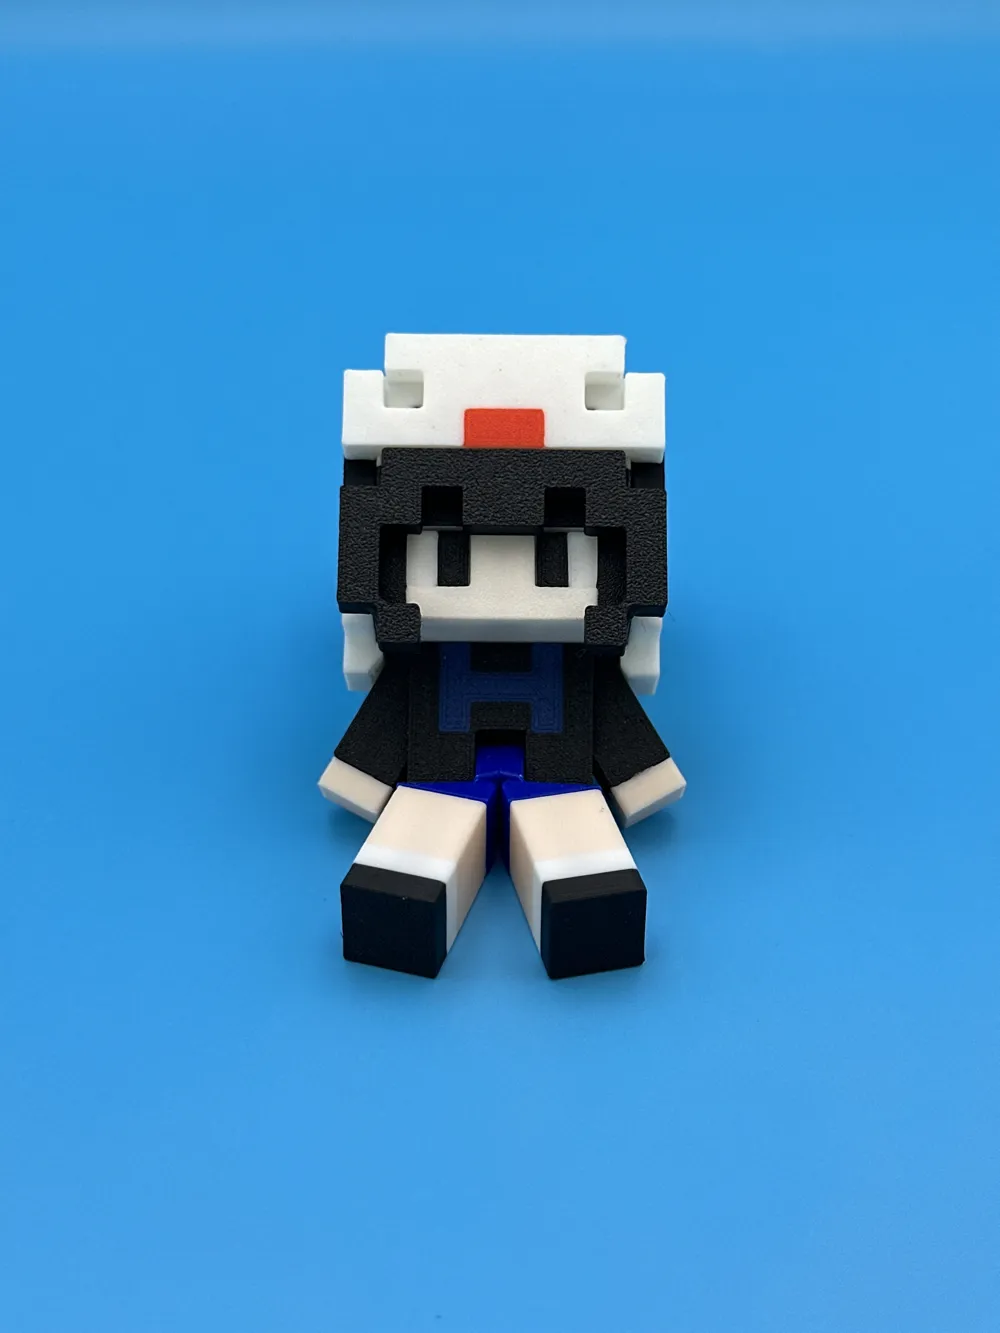
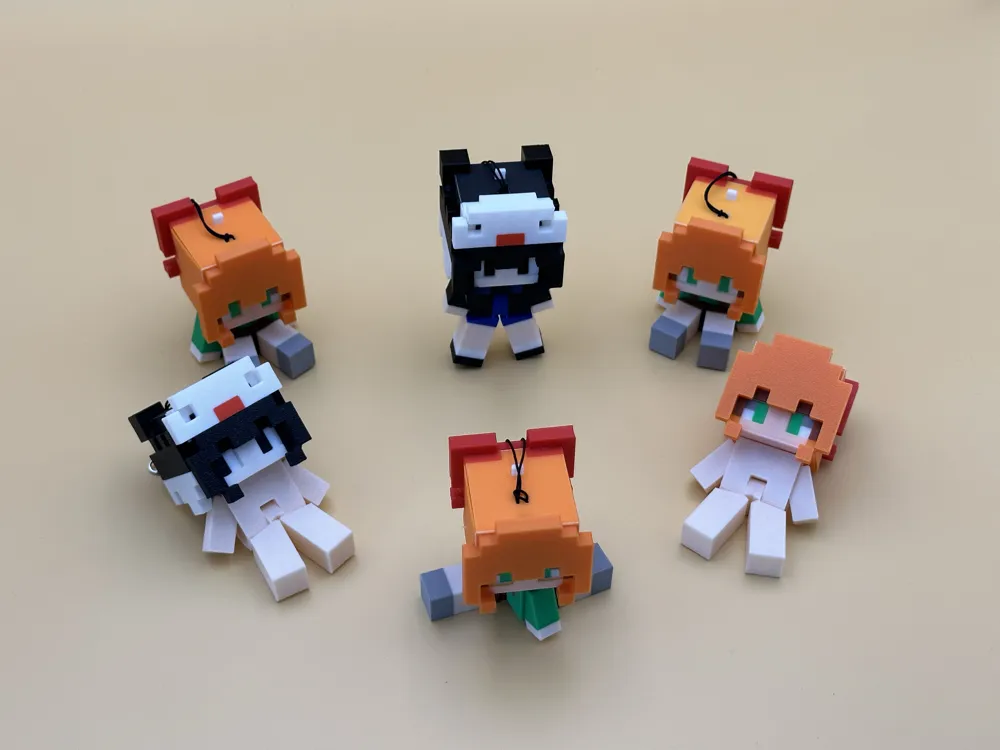
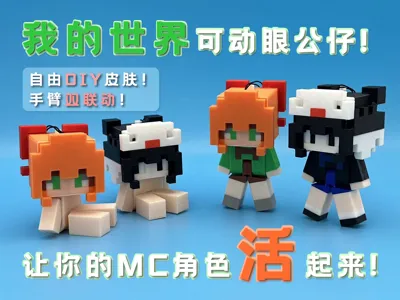
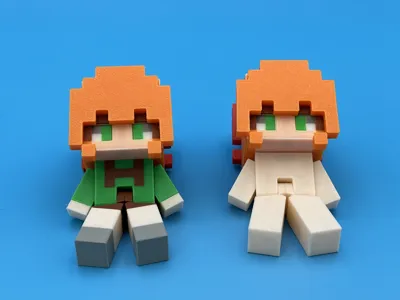
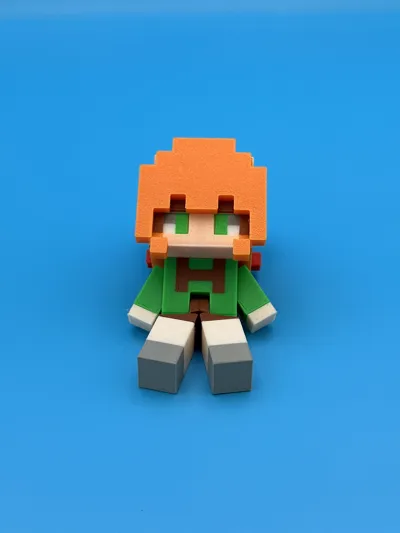
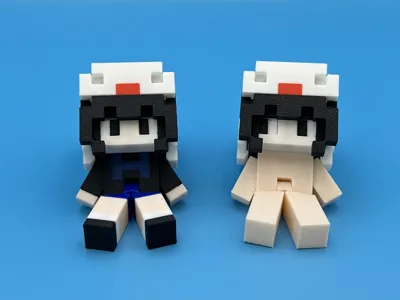
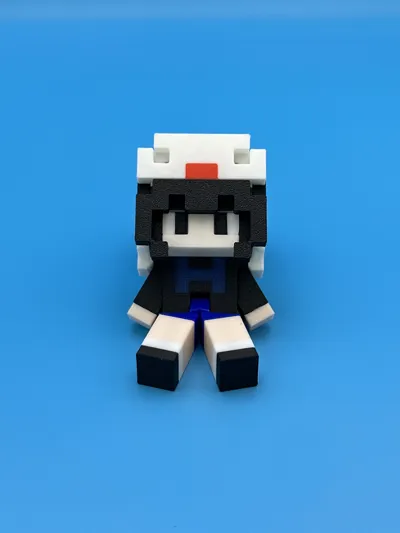
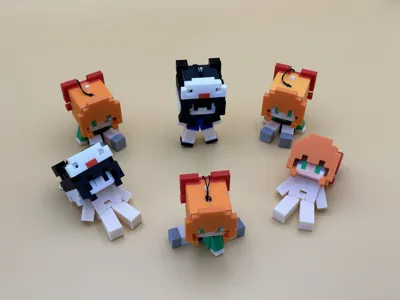
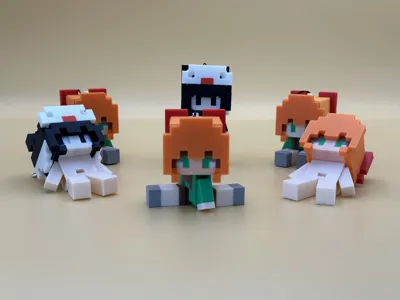
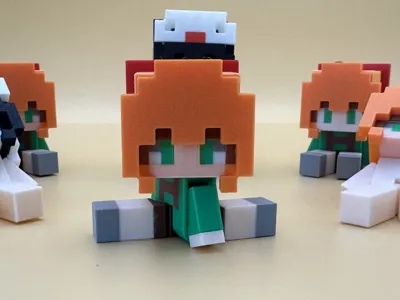
My Minecraft pixel doll with movable eyes is here!

Movable eyes!?
Changeable skin!?
Press-down dual linkage!?
Super cute and adorable!!!
Boost Me (for free)
I've seen most DIY models from players on the market, some are highly articulated, some are highly accurate to the original, all are very exquisite! So what kind of model should I make~
Erm... how about super cute! Yes! Super cute!
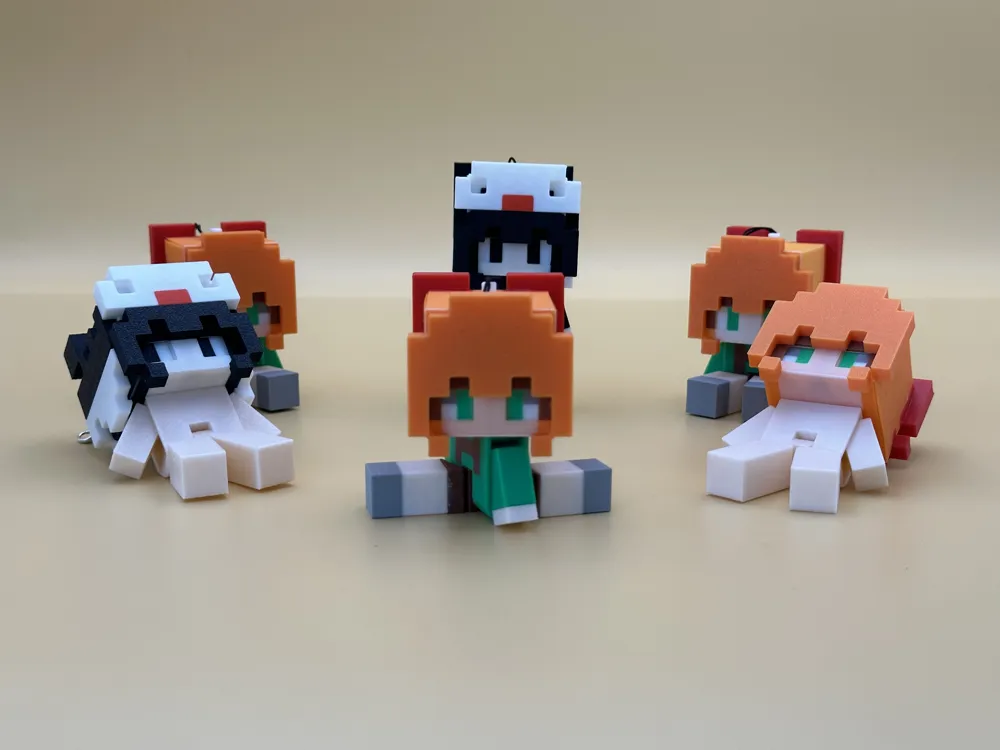
A cuddly body~ lively eyes~ can stand~ can sit~ can spread legs~
Of course, that's not all! I've envisioned many accessories, display stands! Or automated blinking! A throne! I want to realize them one by one!
Continuously optimizing and innovating! I need your support! Thank you!
Description:
This project was originally inspired by some Minecraft mods, referencing mods: 3D Skin Layers (second layer), Shinra Bansho Monogatari: Dolls (body), and resource pack: Detailed Animations (blinking). In fact, real-life MC blinking masks have long been available on the market, but I truly got the idea from this resource pack! The project started from July 25th - to date, and has been continuously optimized and updated recently.
Model introduction and assembly drawings are further below~
Update Log~
December 27th Update:
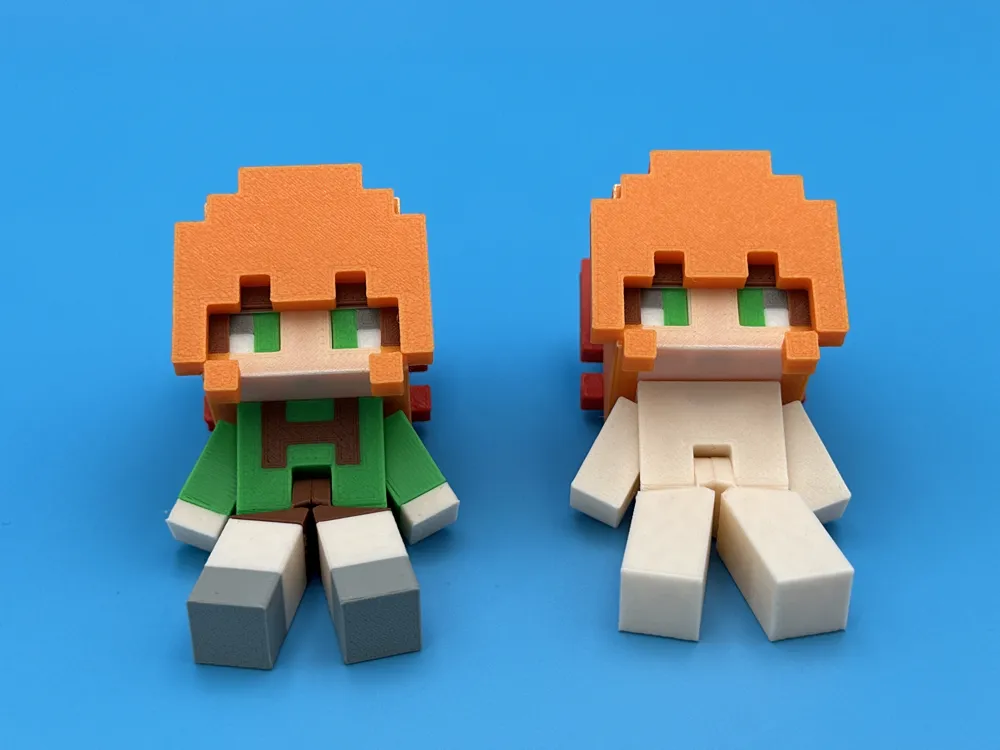
Added a fourth set of public skin models and made a significant discovery!
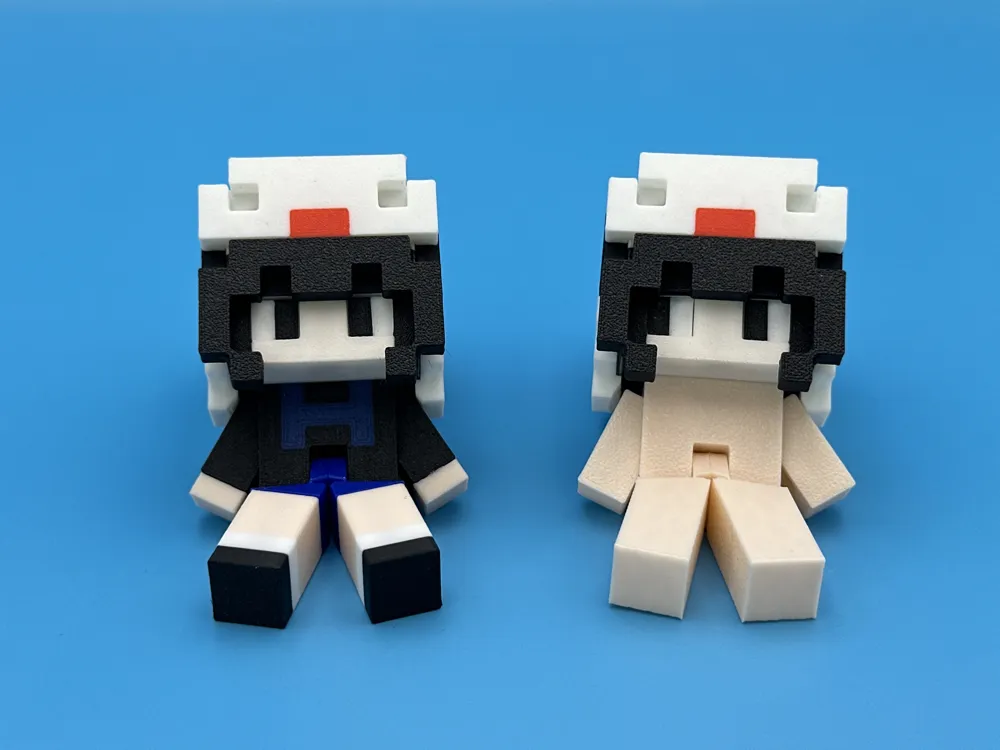
1. Added a new set of models from friend HELEMAIDONGA, only including all modified parts!
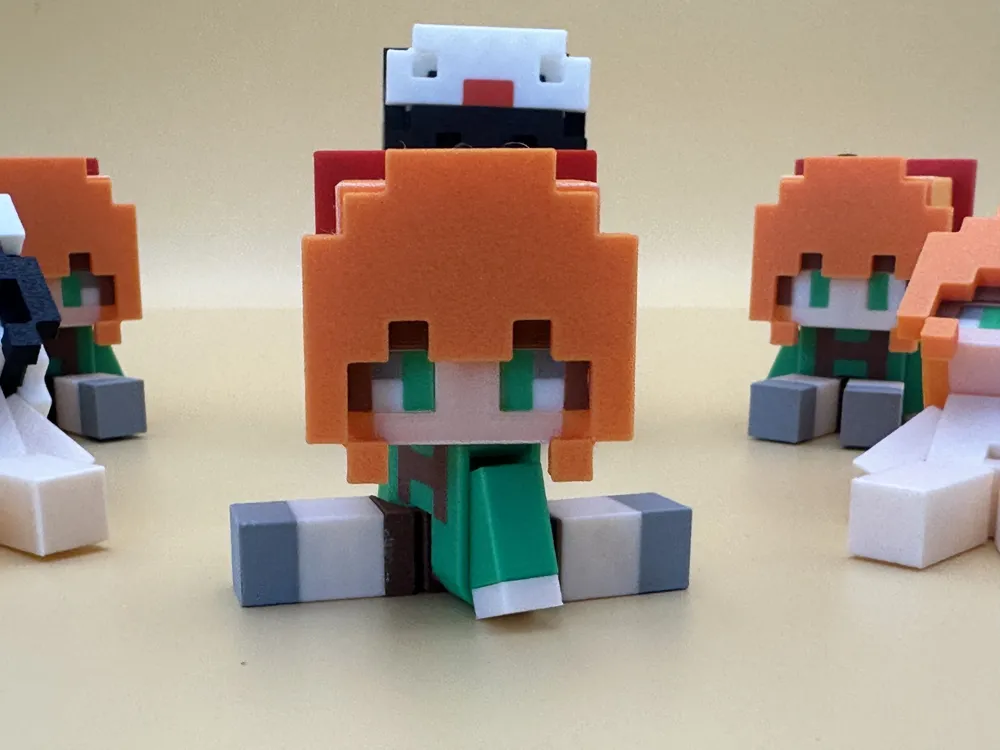
2. Regarding the coloring function explained in the December 17th update, coloring with this function does not print as a single layer. Even if my part is 0.2mm thick, and the default layer height is 0.2mm, it will still print as two layers. When printing light-colored filament, if the second layer is a different color, it will make the surface appear darker/lighter. This is due to the higher translucency of light-colored filament. In Alex's model, the skin parts clearly lean towards orange-red, so I changed the second layer of his face to skin tone, so that the skin tone is not affected by other colors. However, this will lighten the orange in other parts of the face, but since this part is covered by the second layer of skin, it doesn't have a significant impact.
Perhaps by flexibly using the translucency of the first, second, and third layers of light-colored filament, the skin can display more color distinctions even with a single AMS?!
Brief explanation:
The color used with the coloring function is closer to the filament's own color;
Modifying the color of the first layer part depends on the filament color of the upper layer;
This only applies to light-colored filament! (So my original video is still useful TwT)
Also, another note, when selecting different parts of the same object, using ALT allows you to add selection blocks, making coloring more convenient. (How is this the opposite of my usual key qwq)
And if it's a full coloring, the second layer's routing will be inexplicably strange, and colors that are connected in the same block will also be printed in two separate squares, resulting in slight color defects in the print (I don't know if my coloring direction is wrong or what qwq)
December 23rd Update:
Adjusted the magnet slots in the body parts, and the reset is now essentially the same as the original version~
4 additional reset magnets are needed for the body and arms
December 21st Update:
Added a third set of public skin models and uploaded a new assembly video
1. The new set of models is from friend lanyi223, only including all modified parts!
2. New assembly video link:Minecraft Movable Eye Doll Assembly Tutorial
December 17th Update:
Optimized assembly structure and added DIY instructions
1. Adjusted the size of the holes for assembling structural parts with the skin layer (to solve assembly issues caused by different materials for structural parts)
2. Added limits to the connecting rods between the head and body parts (to solve the problem of inverted connecting rods getting stuck in structural parts)
3. Uploaded a simple explanatory video of the model~ (I was so nervous, recorded it many times hhhhhh)
Link:Simple Model Introduction
4. Previous skin DIY tutorial update: (PS image processing is still necessary)
You can quickly color by filling and dragging the mouse
(I just realized this TwT, I used to foolishly color them one by one)

December 15th Update:
Optimized the interchangeable eye design
1. Adjusted the size of the fixed shaft holes in the hardware version.
2. Modified some second-layer models to facilitate eye replacement:
Separate the body, unclip a bottom face from the back of the neck, pull the eyes out from the side, and then replace them!
(Aaaah, I only just realized... having a second layer made eye replacement very troublesome TwT, it's already modified, and there are reserved grooves, so it can be easily removed!)
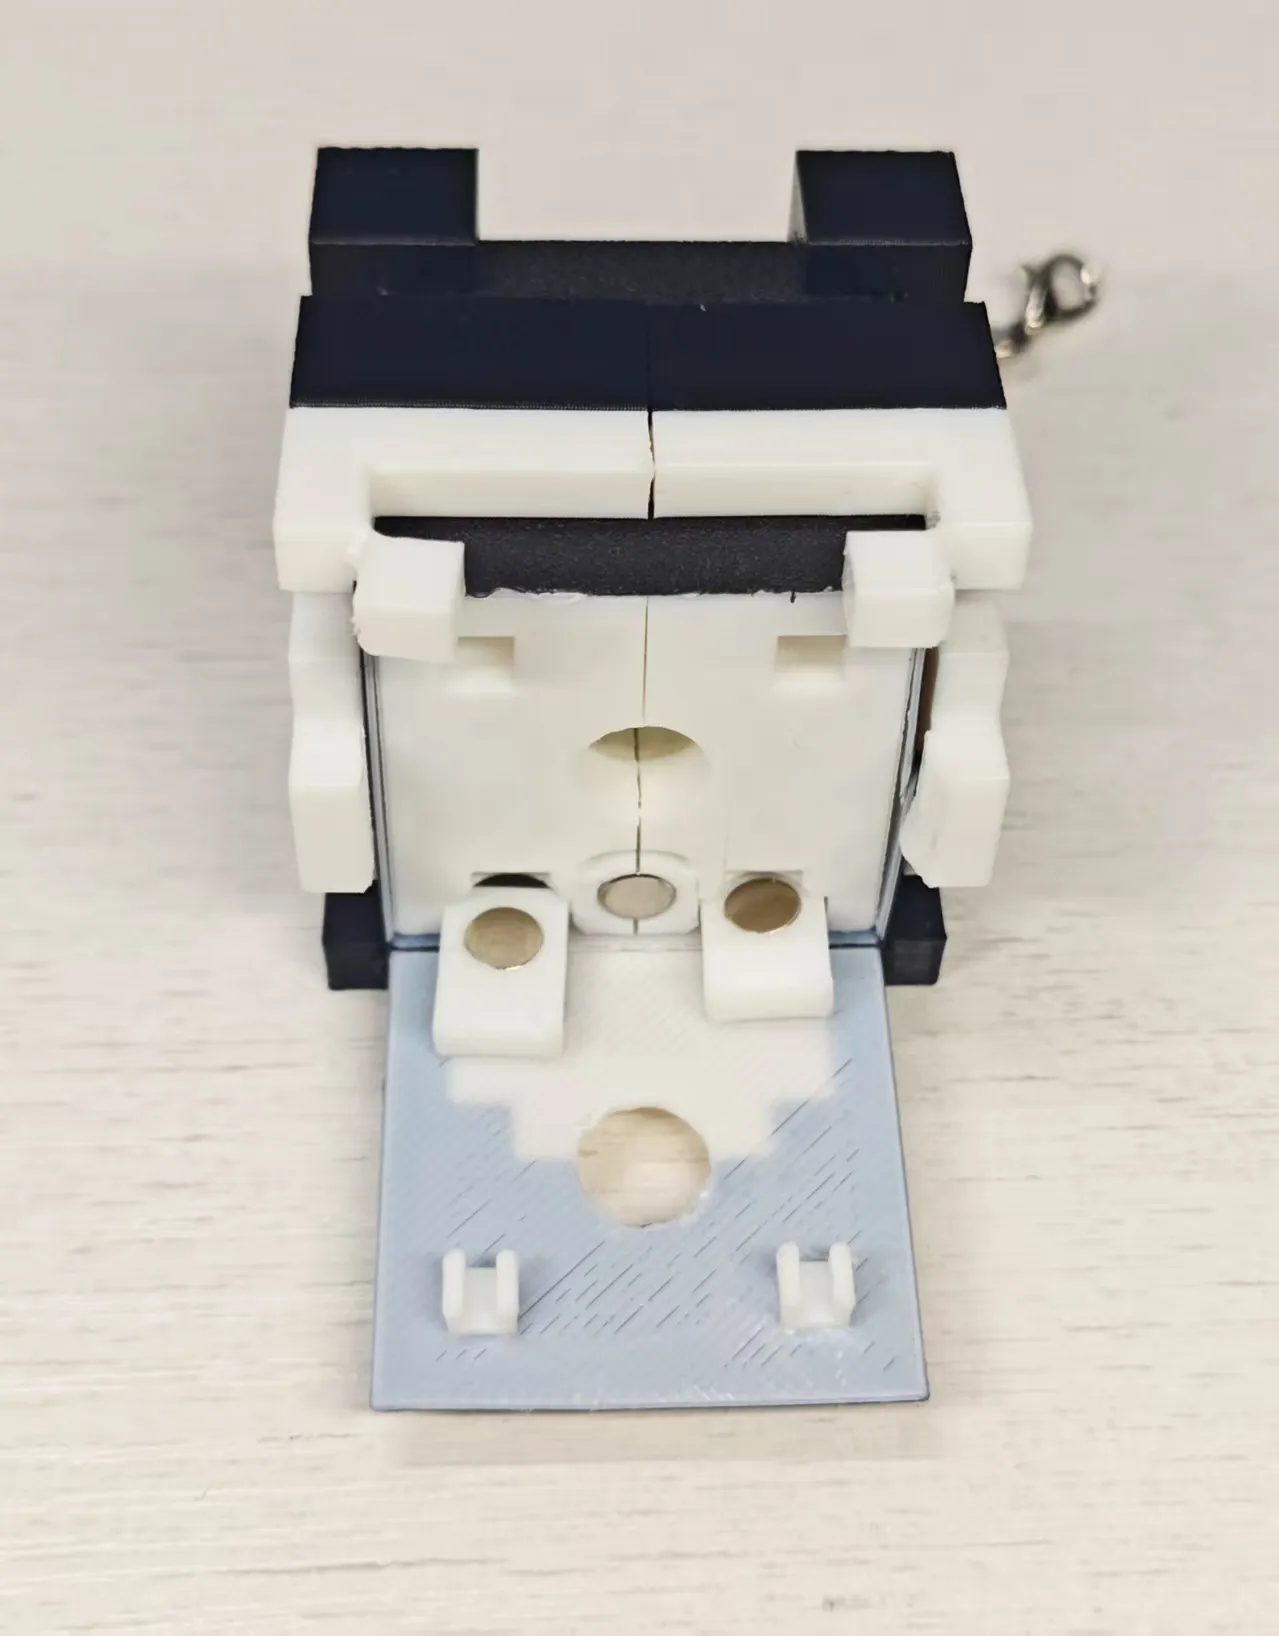
December 13th Update:
Added body and integrated linkage

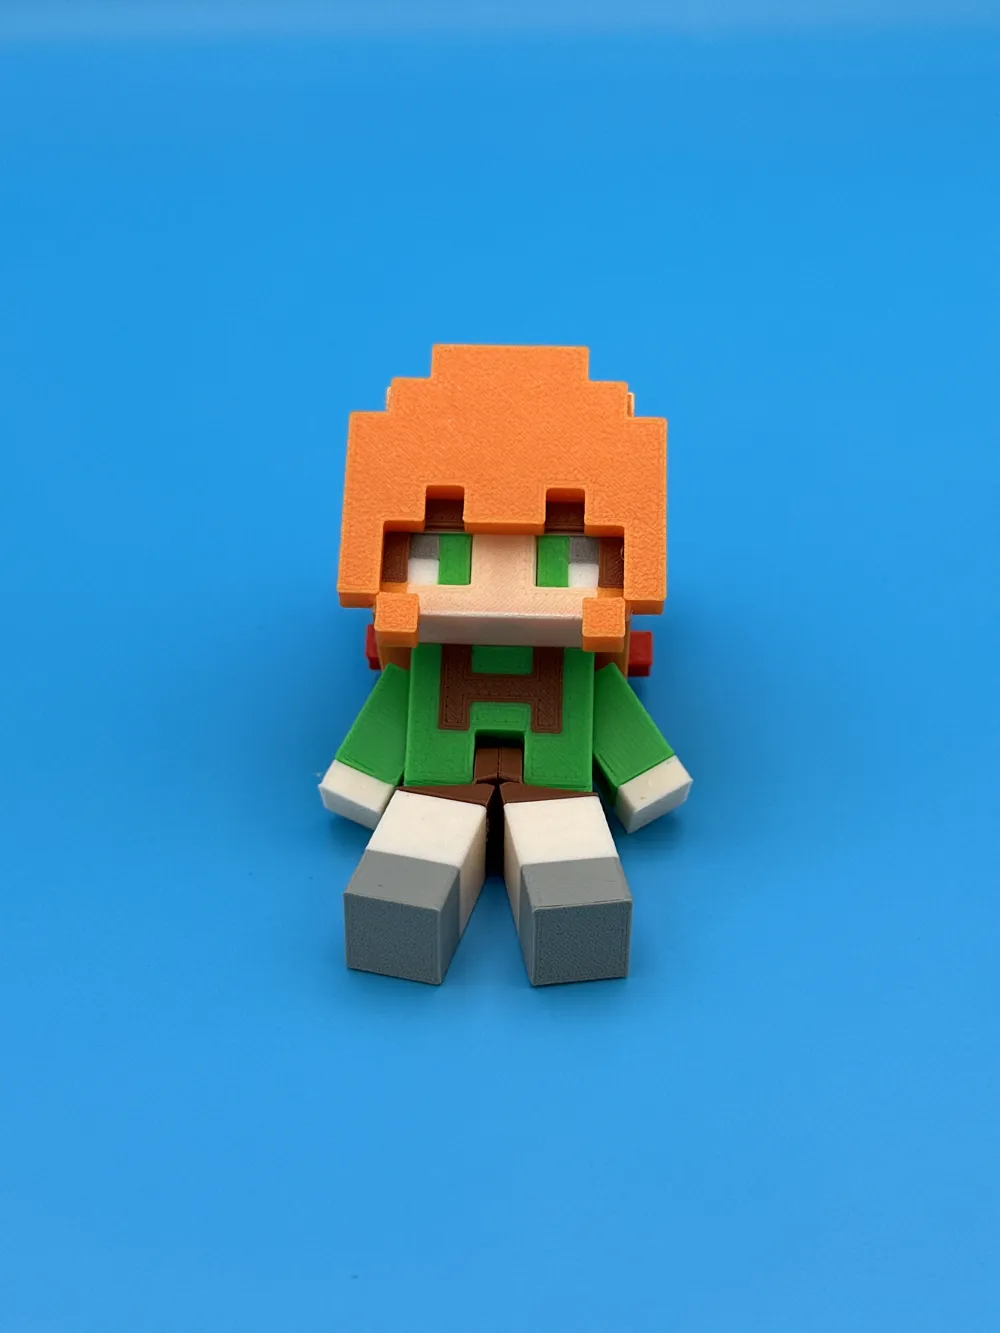
1. Added an arm linkage mechanism with an angle of approximately 20°. It can be linked simply by connecting the body and head. (Gravity reset)
2. Added separately colored bodies for Jiaozi Dawang and Alex. (Jiaozi Dawang's second layer had some interference, which has been modified in the new configuration)
The base body has also been added to each print profile.
3. Additionally, new assembly drawings for the body parts have been added.
4. Optimized the instructions for the non-hardware version.
December 7th Update:
Added Alex's second layer modeling
December 6th Update:
Added a hardware-free configuration
However, this will increase friction, which has been verified (slight resistance). Apart from the skin, lever, and button, all other models have been modified. It has been added to each print profile. (Hardware-free version)
Spring folding installation details:
Same as the hardware version, the installation order remains unchanged.
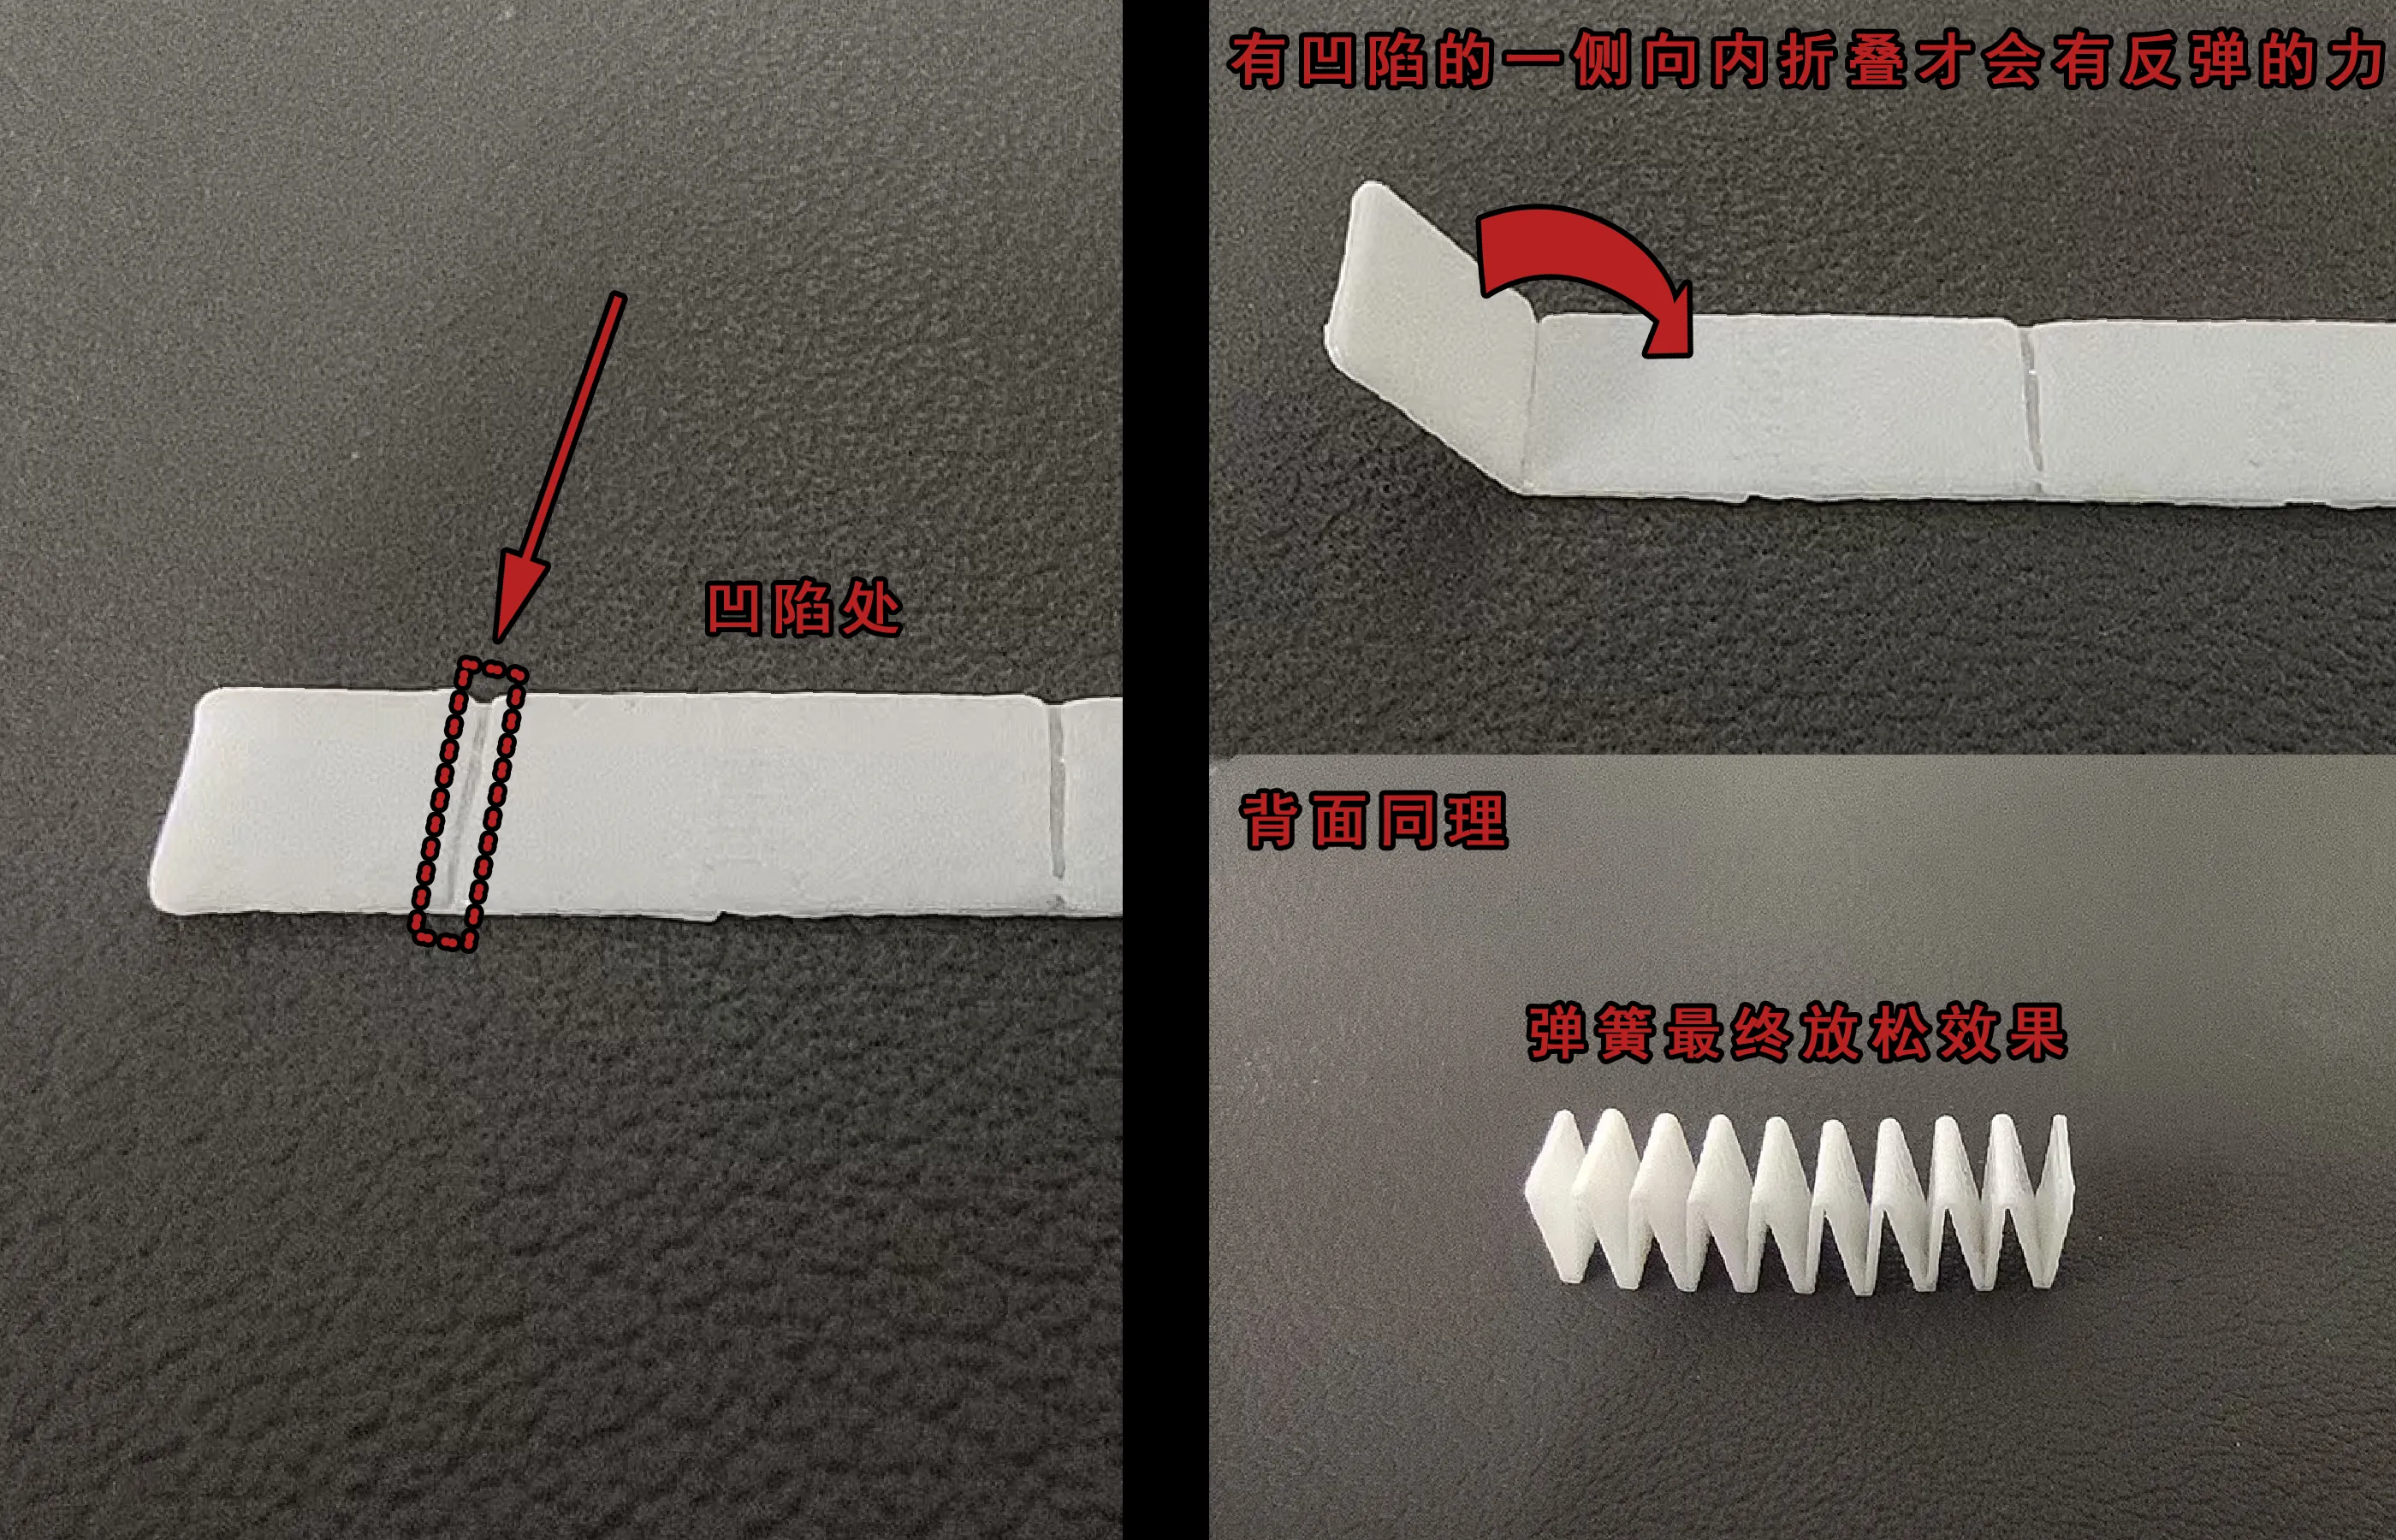
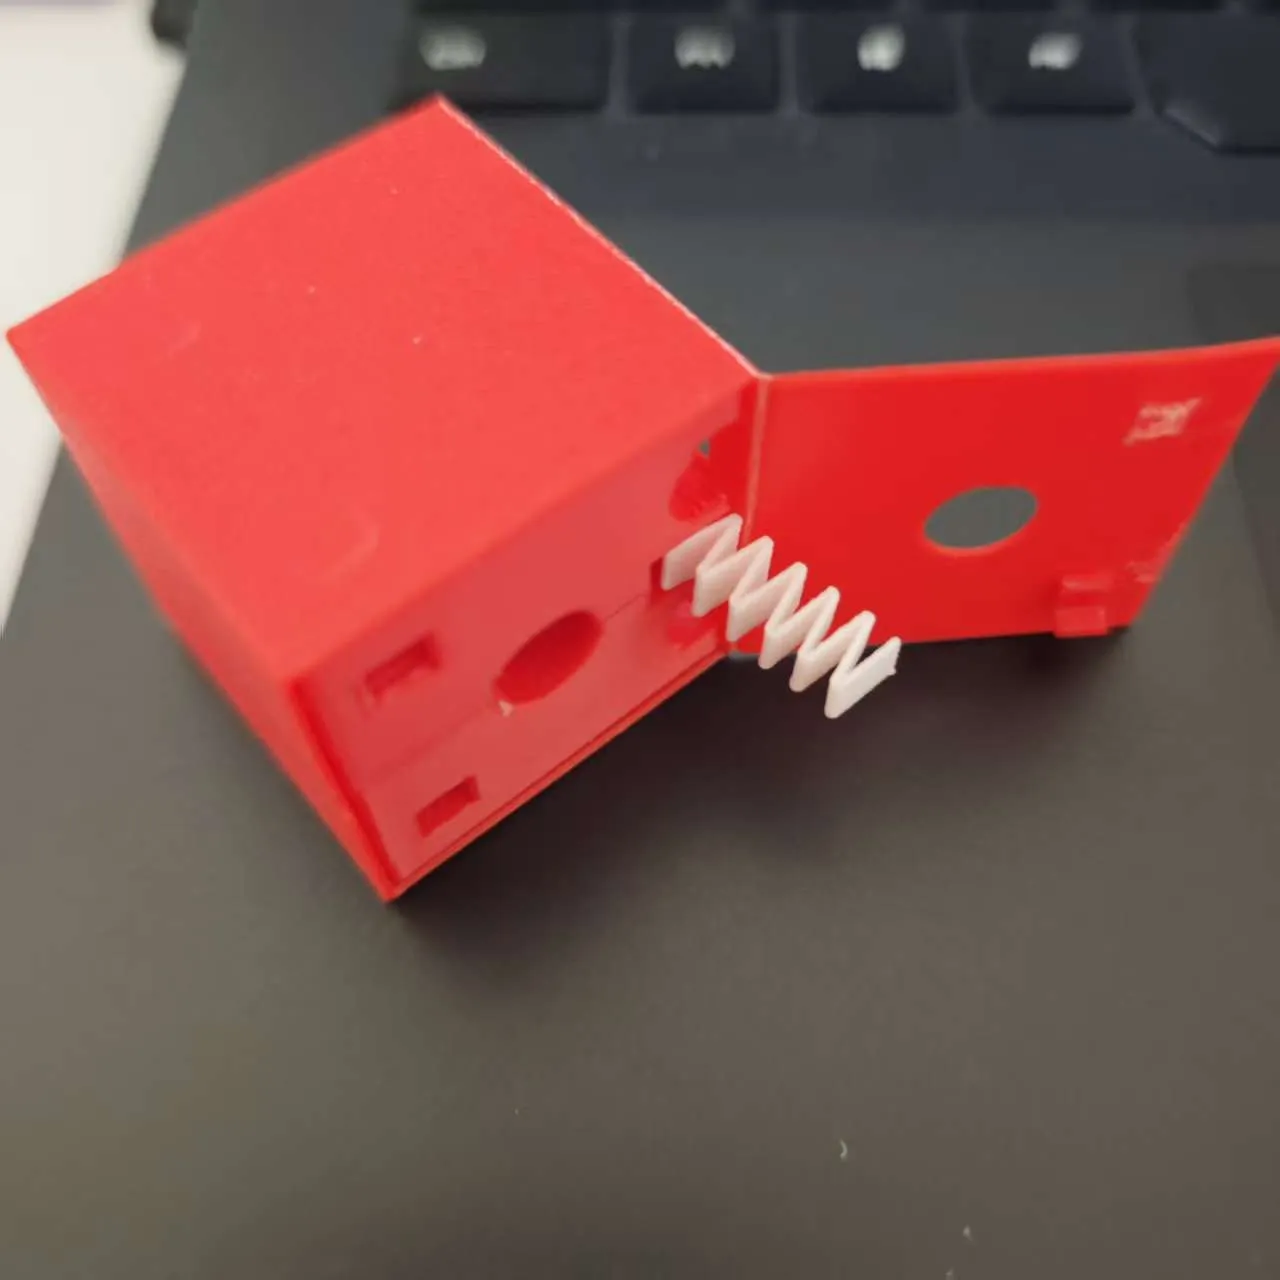
After testing, a conventionally printed spring cannot achieve an 8mm travel within the limited space inside the model. Therefore, a method similar to folding paper springs is used; simply repeatedly fold along the reserved folding grooves. Pay attention to the installation direction in figure two! This can reduce friction!
Although a hardware-free configuration has been added, it is inferior to the hardware version in terms of durability and feel. Therefore, the hardware version is still recommended! The hardware version is still recommended! The hardware version is still recommended!
Additional notes:
If you don't have a multi-color system, in addition to printing skin decals, you can also perform manual filament changes. Since there's only one layer, each color only needs to be processed once. Theoretically, you can infinitely change filament to print skins with more colors!
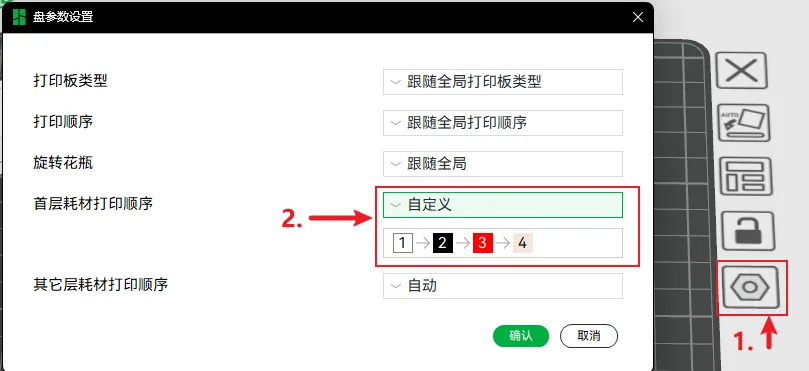
Specific operation: (Follow the order shown in the figure, manually pause each time the purge tower is printed, perform the filament change, then resume printing)
I. Model Introduction
Lever mechanism for increased travel!
Magnetic spring for a superb feel!
Six-sided foldable installation, excellent surface quality!
Multi-color single-layer printing, super material saving!
- Free DIY skin and eyes!
II. Hardware Accessories:
Note: The preset skin and second layer require glue!
Explanation of non-hardware and hardware versions:
In the non-hardware version, only the crucial spring function is retained; the magnetic eyes and magnetic holes on the back are removed. The resistance will also be slightly greater. The most important difference from the hardware version is the button feedback. In the hardware version, the reset mechanism uses three magnets; two are sufficient for the main spring, and the third magnet attracts the eyelid upwards! This is the main difference from the non-hardware version, which produces a clicking sound, and the reset is faster and more precise~ It also solves the problem of tilted eyelids!
You only need at least two specifications of magnets! The effect is the same!
Magnet set:
Essential Accessories
6 x 5*2mm magnets (head) + 4 x 5*2mm magnets (body)
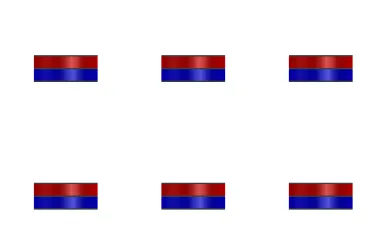
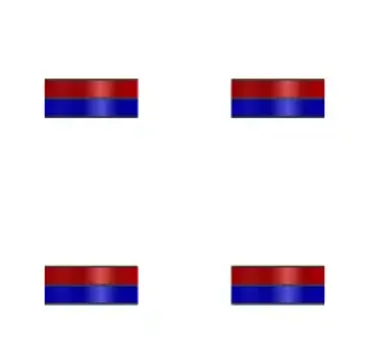
2/4 x 5*5mm magnets
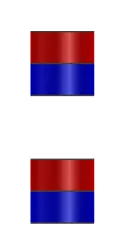
Optional accessories (due to cost issues overlooked during production, the following accessories are optional and will be marked in the assembly diagram!)
1 x 5*10mm magnet (Optional, use 2 x 5*5mm magnets instead for repulsive reset!)
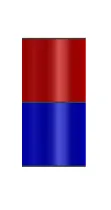
4 x 8*1.5mm magnets (Optional, back magnetic adsorption magnets,)
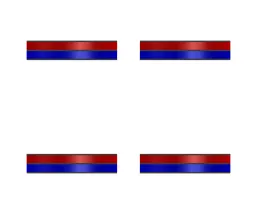
Drive components:
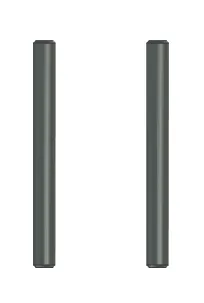
2 x 2*20mm stainless steel shafts (Optional, use filament instead, equally smooth)
Note:
If you want to hang it on a bag, a normal thin string keychain will suffice~ The head shell has reserved holes for a keychain (the holes are small, making installation a bit difficult, it is recommended to use a paperclip to push it out little by little!)
III. DIY and Assembly Tutorial: (with video)
I have uploaded 4 print profiles, you can freely choose stickers, DIY, or my configured presets, along with a video DIY tutorial and assembly drawings.
For the second layer assembly, simply refer to the reference diagram! Be careful not to get glue on the bottom surface!
Video Tutorial Link:
(This video is only a DIY tutorial for the head shell; DIY solutions for the second layer and body will be considered later!)
【Minecraft 3D Print】Movable Eye Head Mold! Single-layer glue-free installation? Hand-in-hand guide to bring your character to life!
Please omit the coloring in this video TwT
Assembly Drawings:
The assembly process for both the hardware-free and hardware versions is the same, except that the magnets are omitted in the former and replaced by printed springs!
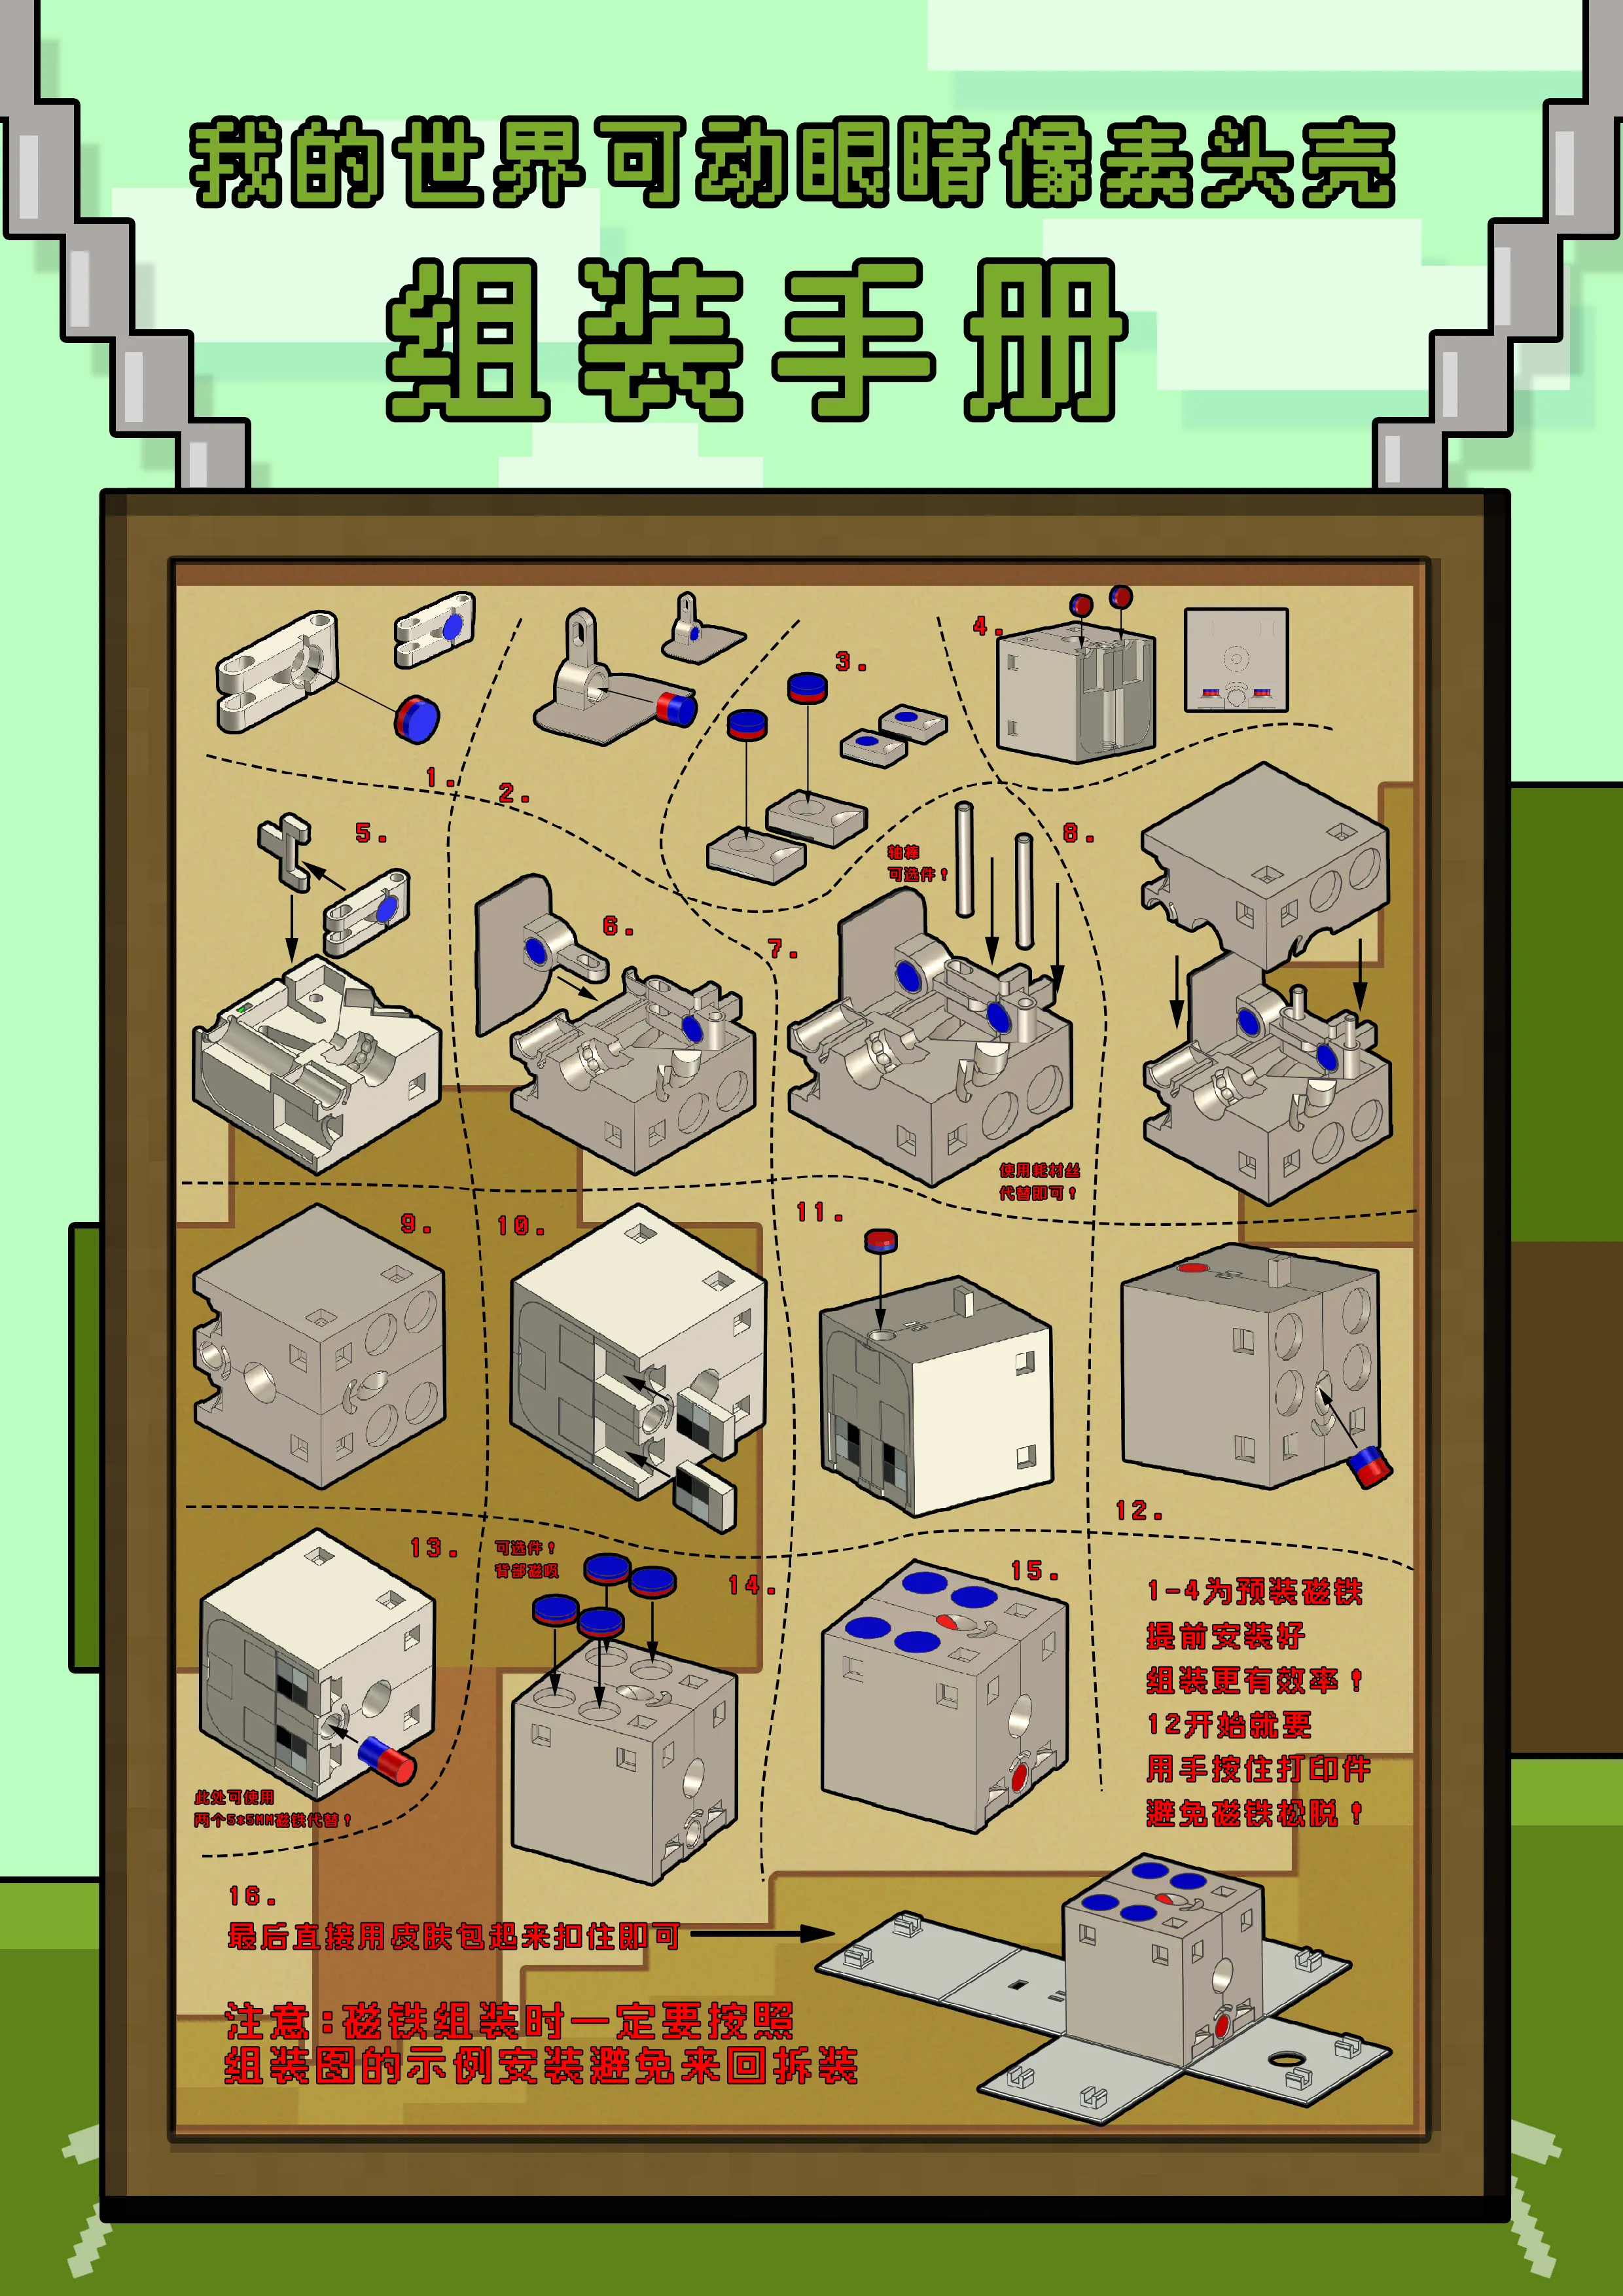
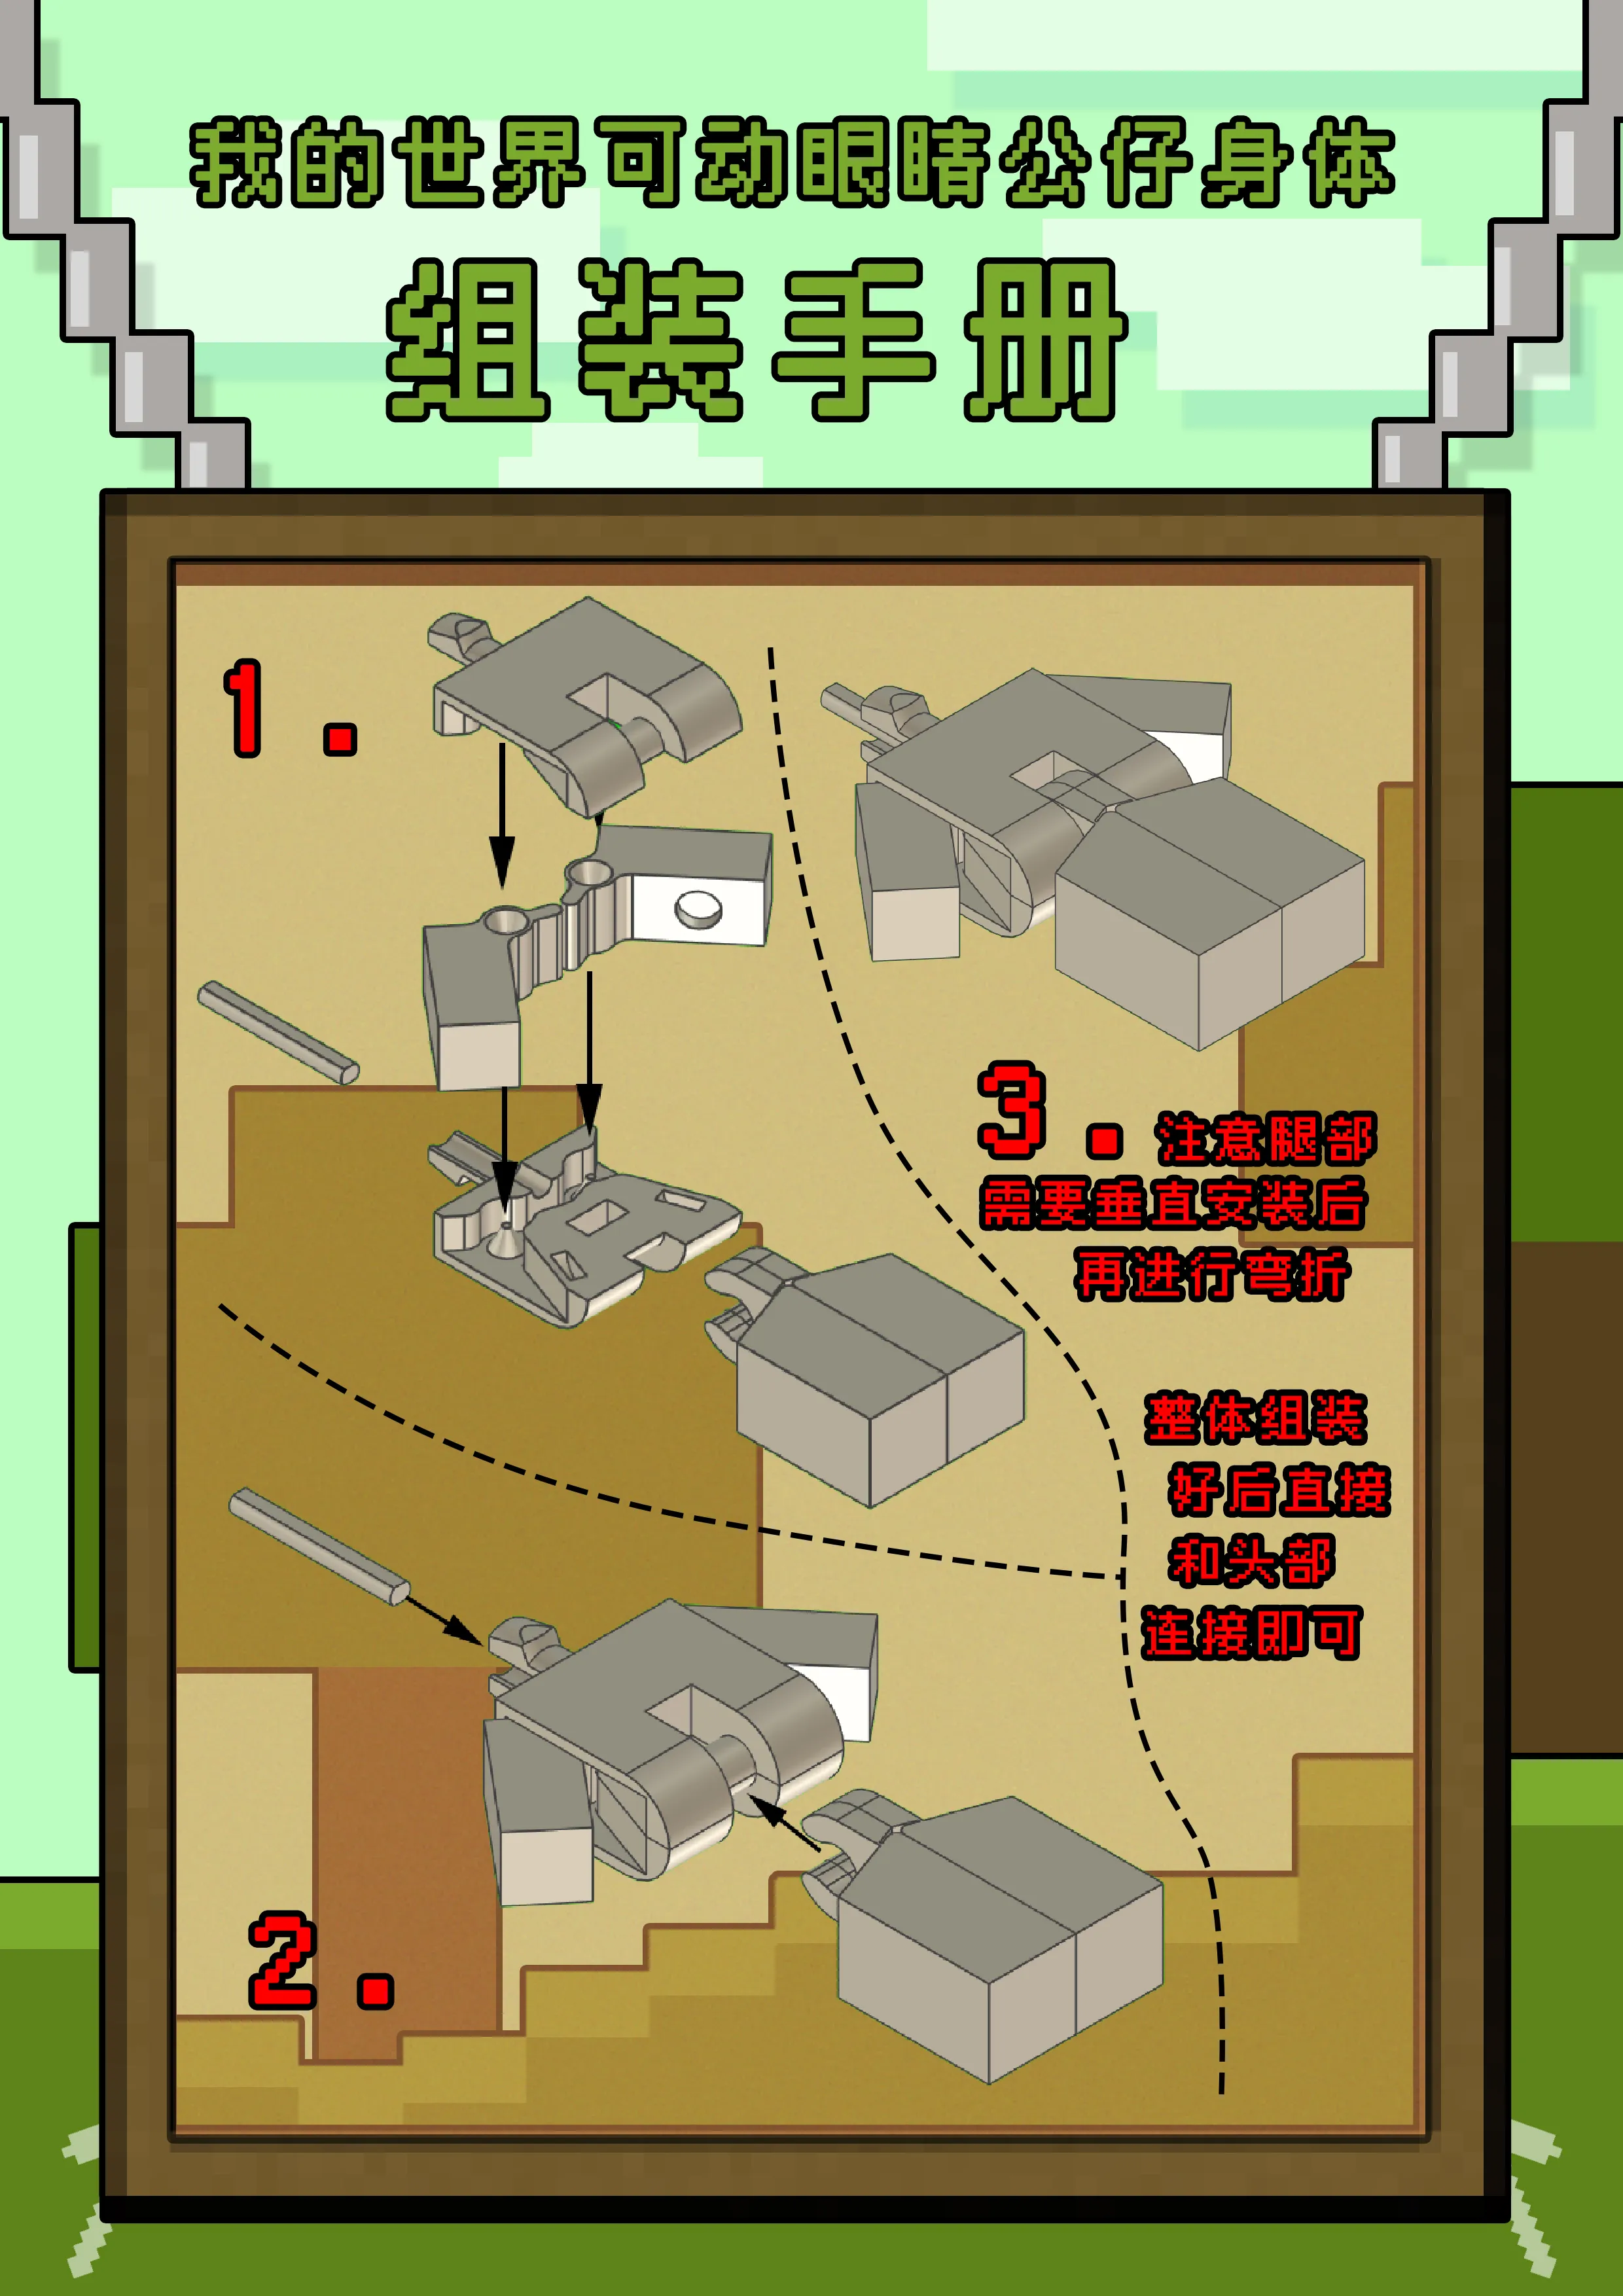
There are reserved 5*2 arm reset magnets in the body, but they would make the button a two-stage press, which I don't prefer, but they are still retained~
Documentation (1)
License

You shall not share, sub-license, sell, rent, host, transfer, or distribute in any way the digital or 3D printed versions of this object, nor any other derivative work of this object in its digital or physical format (including - but not limited to - remixes of this object, and hosting on other digital platforms). The objects may not be used without permission in any way whatsoever in which you charge money, or collect fees.


Comment & Rating (0)