Search models, users, collections, and posts
Poker Slider
IP Report


Print Profile(1)

0.2mm nozzle, 0.08mm layer, 4 walls, 30% infill
Designer
9.2 h
1 plate
Open in Bambu Studio
Boost
4
13
0
0
5
3
Released
Description
Content has been automatically translated.
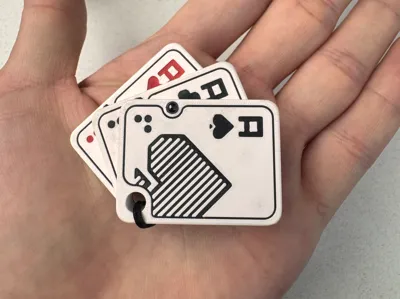
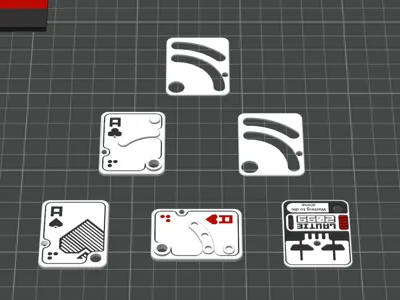
I needed an EDC that is both fun to fidget with and practical, so I recreated L's poker slider and embedded my access card coil chip into this project (a space for the access card coil is reserved; if the access card function is not needed, simply leave the coil support intact). After multiple modifications, this is version 4.0. It's best not to change the parameter settings, and supports are needed. I used AMS for this model
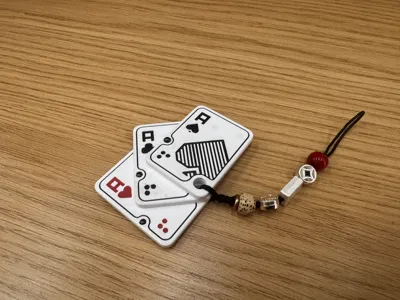
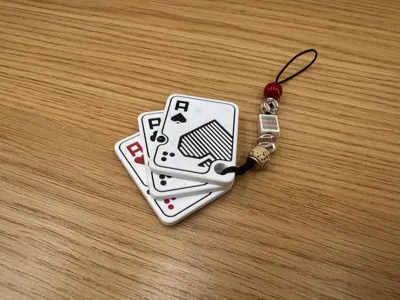
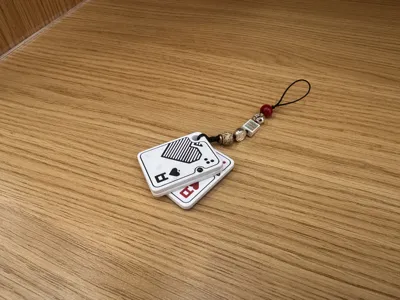
Assembled project dimensions: 40mm*30mm*9mm
accessories
24x 3mm*1mm magnets (they are inexpensive, so it's recommended to buy more; N52 standard, consistent with the magnets in chocolate sliders)
4x 3mm silicon nitride beads (optional, also inexpensive but adds more texture; consistent with the beads in chocolate sliders)
printing: I believe these types of EDC toys are quite delicate, so I used a 0.2mm nozzle. Please do not use a larger nozzle. Please apply glue to the build plate, otherwise, warping might occur
filament: Bambu Lab PETG HF Black, White, Red (be sure to dry before use, I only dried the white one haha)
Assembly: requires glue with a fine nozzle (502 or other), binder clips, high-grit sandpaper
1. Please carefully remove the supports and clean them thoroughly (this step is a bit delicate, please take your time)
2. (If not installing beads, skip to the next step) Please first sand the holes for the beads until the beads protrude only slightly from the front, otherwise, it will affect the smooth operation of the slider
3. Insert the magnets; gluing them in before embedding will make them more secure. In this step, please distinguish the polarity of the magnets yourself. For four locations in the middle layer (note the depth), two magnets are embedded consecutively. Please ensure that the magnets are level after embedding and do not protrude from the print surface
4. Attention!!! Be sure to use binder clips!!! Align and secure one or both sides of the two surfaces to be glued, then drip glue from the other side. Then clamp the side where glue was dripped, and drip glue on other sides and the inner edges. Allow the three main layers to dry completely
5. Assemble the three main layers and gently sand the merged edges on sandpaper
License
This user content is licensed under a Standard Digital File License.
You shall not share, sub-license, sell, rent, host, transfer, or distribute in any way the digital or 3D printed versions of this object, nor any other derivative work of this object in its digital or physical format (including - but not limited to - remixes of this object, and hosting on other digital platforms). The objects may not be used without permission in any way whatsoever in which you charge money, or collect fees.
Comment & Rating (0)