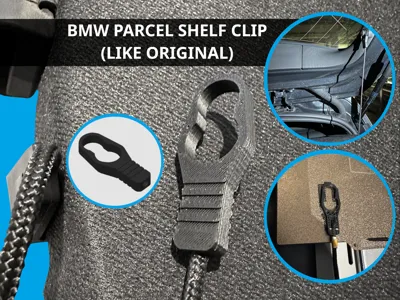
BMW F20 Parcel Shelf Hook Trunk Cover


Print Profile(1)

Description
English:
Created for BMW F20 – Replacement of the Parcel Shelf Hook
Two options:
a) Embed the cord directly during printing to enclose it securely
b) Insert the cord after printing
Recommendation: PETG or ASA. Since the clip sits close to the window and the interior heats up quickly, PLA is less suitable. I used PETG.
Important for everyone:
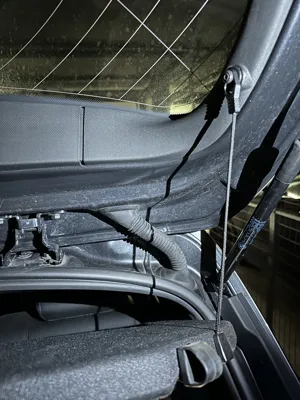
- Add a mark on the cord at the end of the clip. This is important because the length must not be changed. See my picture. Use, for example, tape that cannot be easily removed or shifted. Alternatively, you can measure the length using a second cord.
The cord must not be shortened. Do NOT cut the cord at the end of the clip, because we need the remaining length inside the clip. Use the sharp edge of pliers to cut through the clip. Cut carefully and not in the middle, so the cord is not shortened. With a bit of skill, the clip can be cut easily.
Option 1: Embedding the cord during printing
- Slightly melt the end of the cord with a lighter so it hardens.
- From the cord marking, insert a thin nail 4.5 mm upward and reduce it to a maximum of 7 mm in width using pliers (see picture).
- The 3MF file includes a pause halfway through the print. Apply a small drop of superglue so the cord does not shift, then place the cord with the metal piece inside and hold it steady. Continue the print until it is finished. Make sure the cord has enough clearance during printing and is not being pulled. Keep the parcel shelf as close to the printer as possible.
Option 2: Inserting the cord after printing
- Slightly melt the end of the cord with a lighter so it hardens.
- Print the model as usual: in the 3MF file, the mid-print pause can be removed.
- After printing: apply a strong adhesive into the opening and insert the cord up to the mark. Use a toothpick as a tool.
If you have any questions or tips, feel free to leave a comment.
License
You shall not share, sub-license, sell, rent, host, transfer, or distribute in any way the digital or 3D printed versions of this object, nor any other derivative work of this object in its digital or physical format (including - but not limited to - remixes of this object, and hosting on other digital platforms). The objects may not be used without permission in any way whatsoever in which you charge money, or collect fees.
Comment & Rating (0)