
Cycling Mileage Record
Print Profile(1)
Description
Boost Me (for free)
This is my first model upload, I hope some friends like it
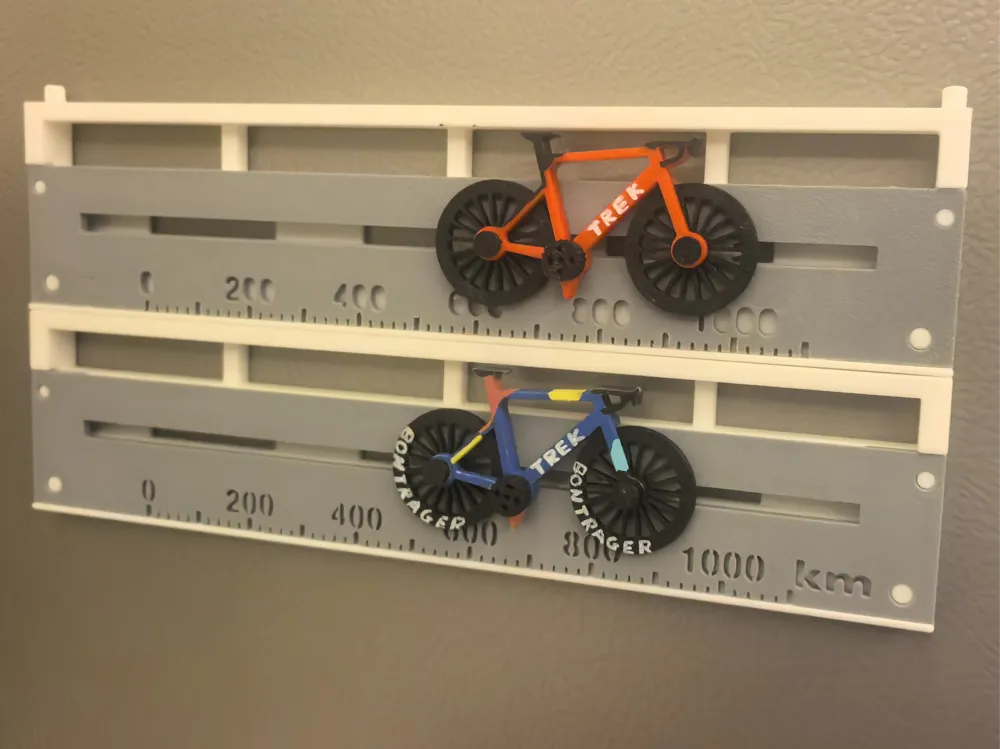

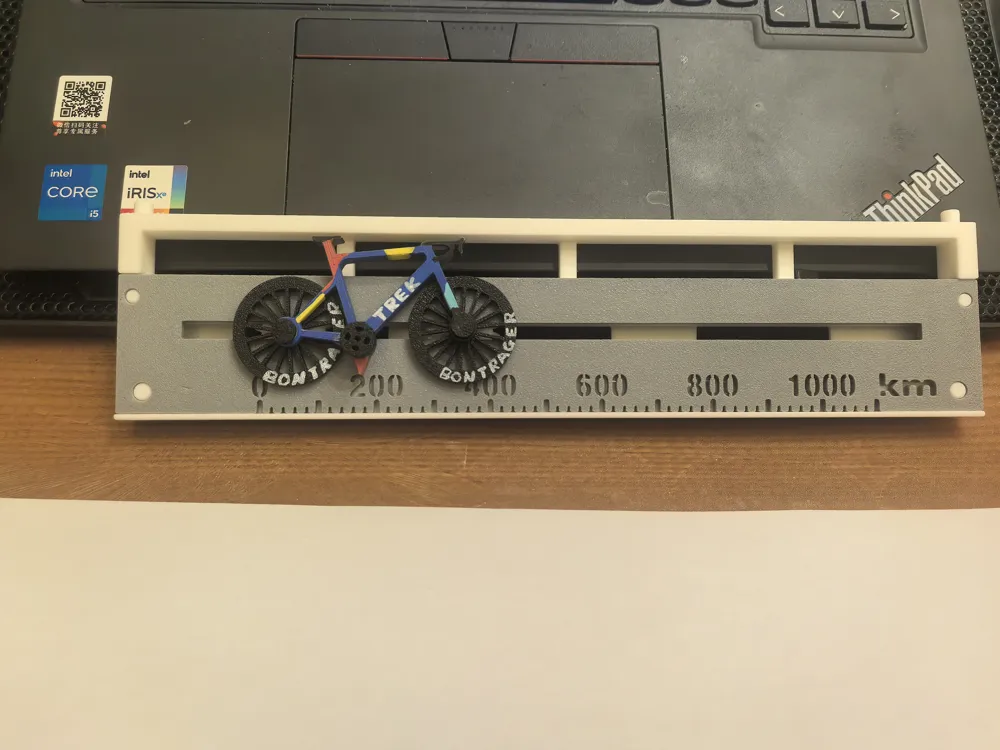
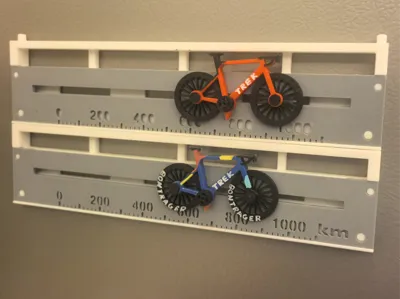
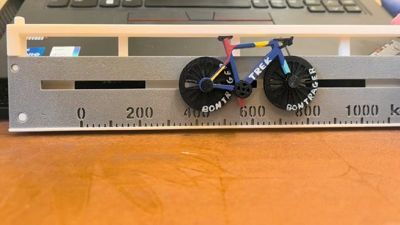
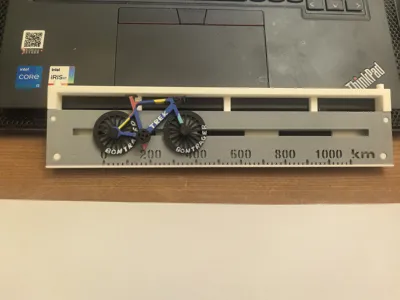
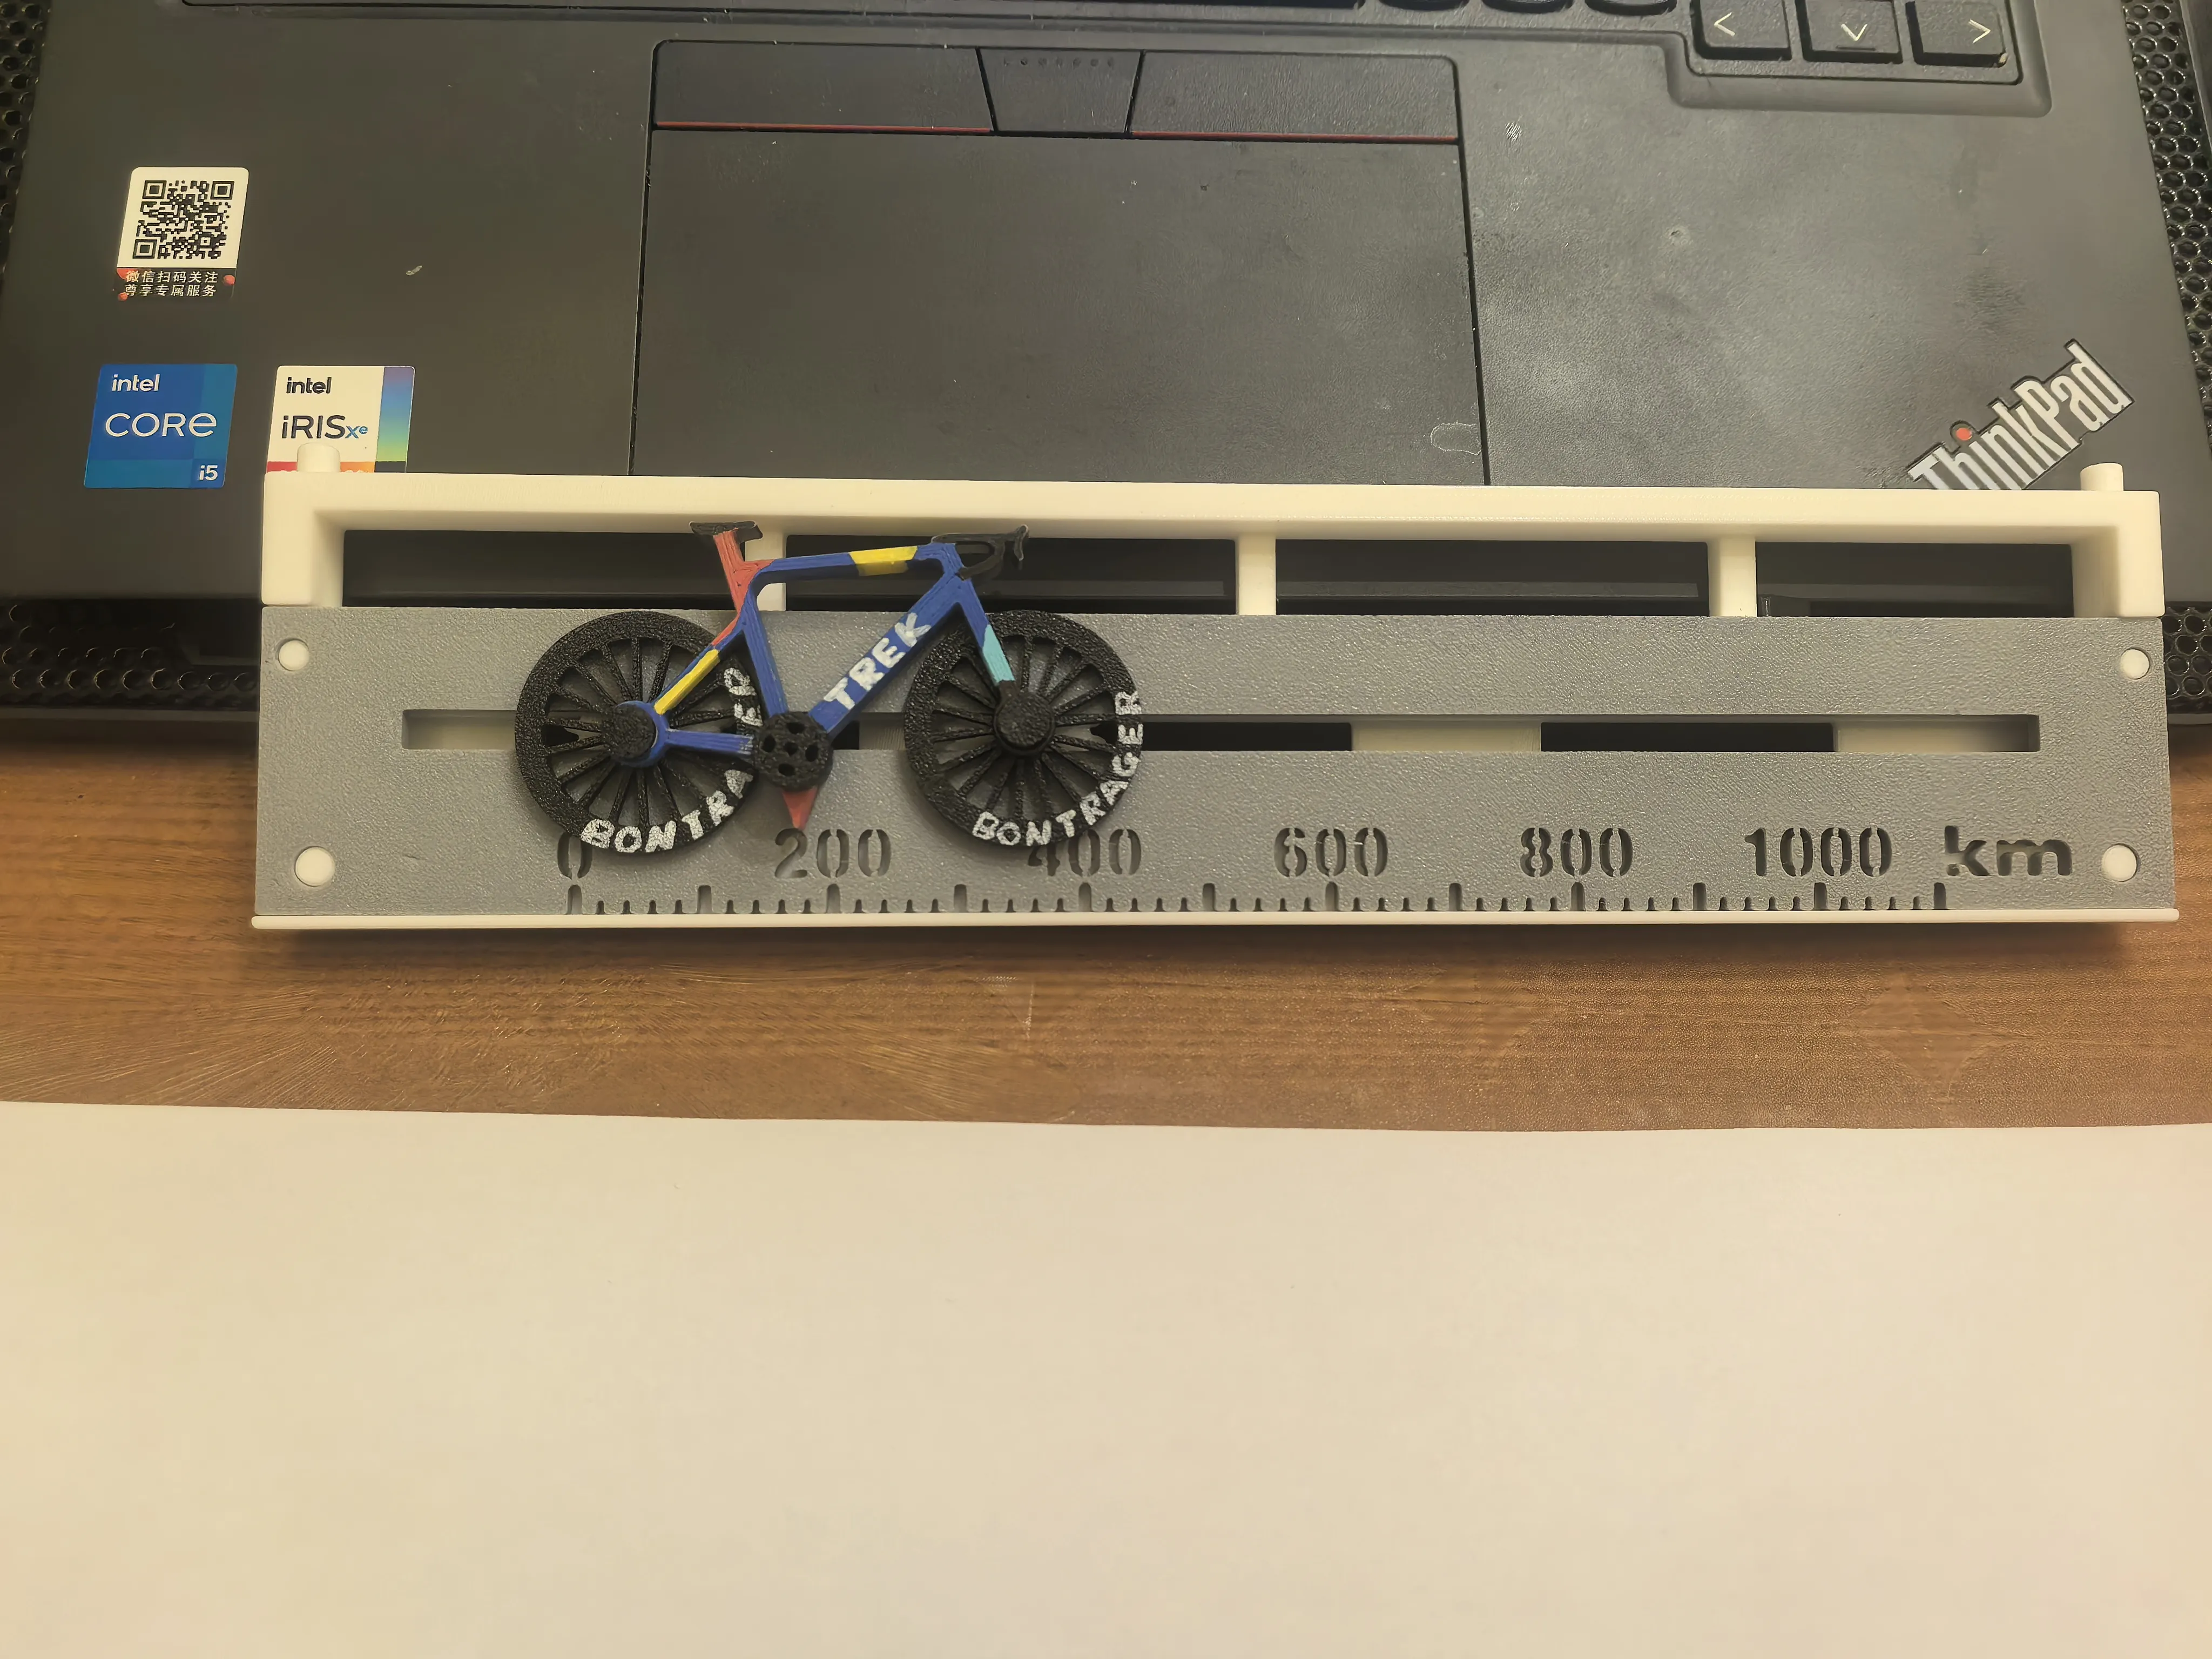
Cycling mileage record, using gear-rack cooperation, the wheel rotates as mileage increases
Mileage record for cycling: By means of the gear-rack cooperation, the wheel rotates as the mileage increases.
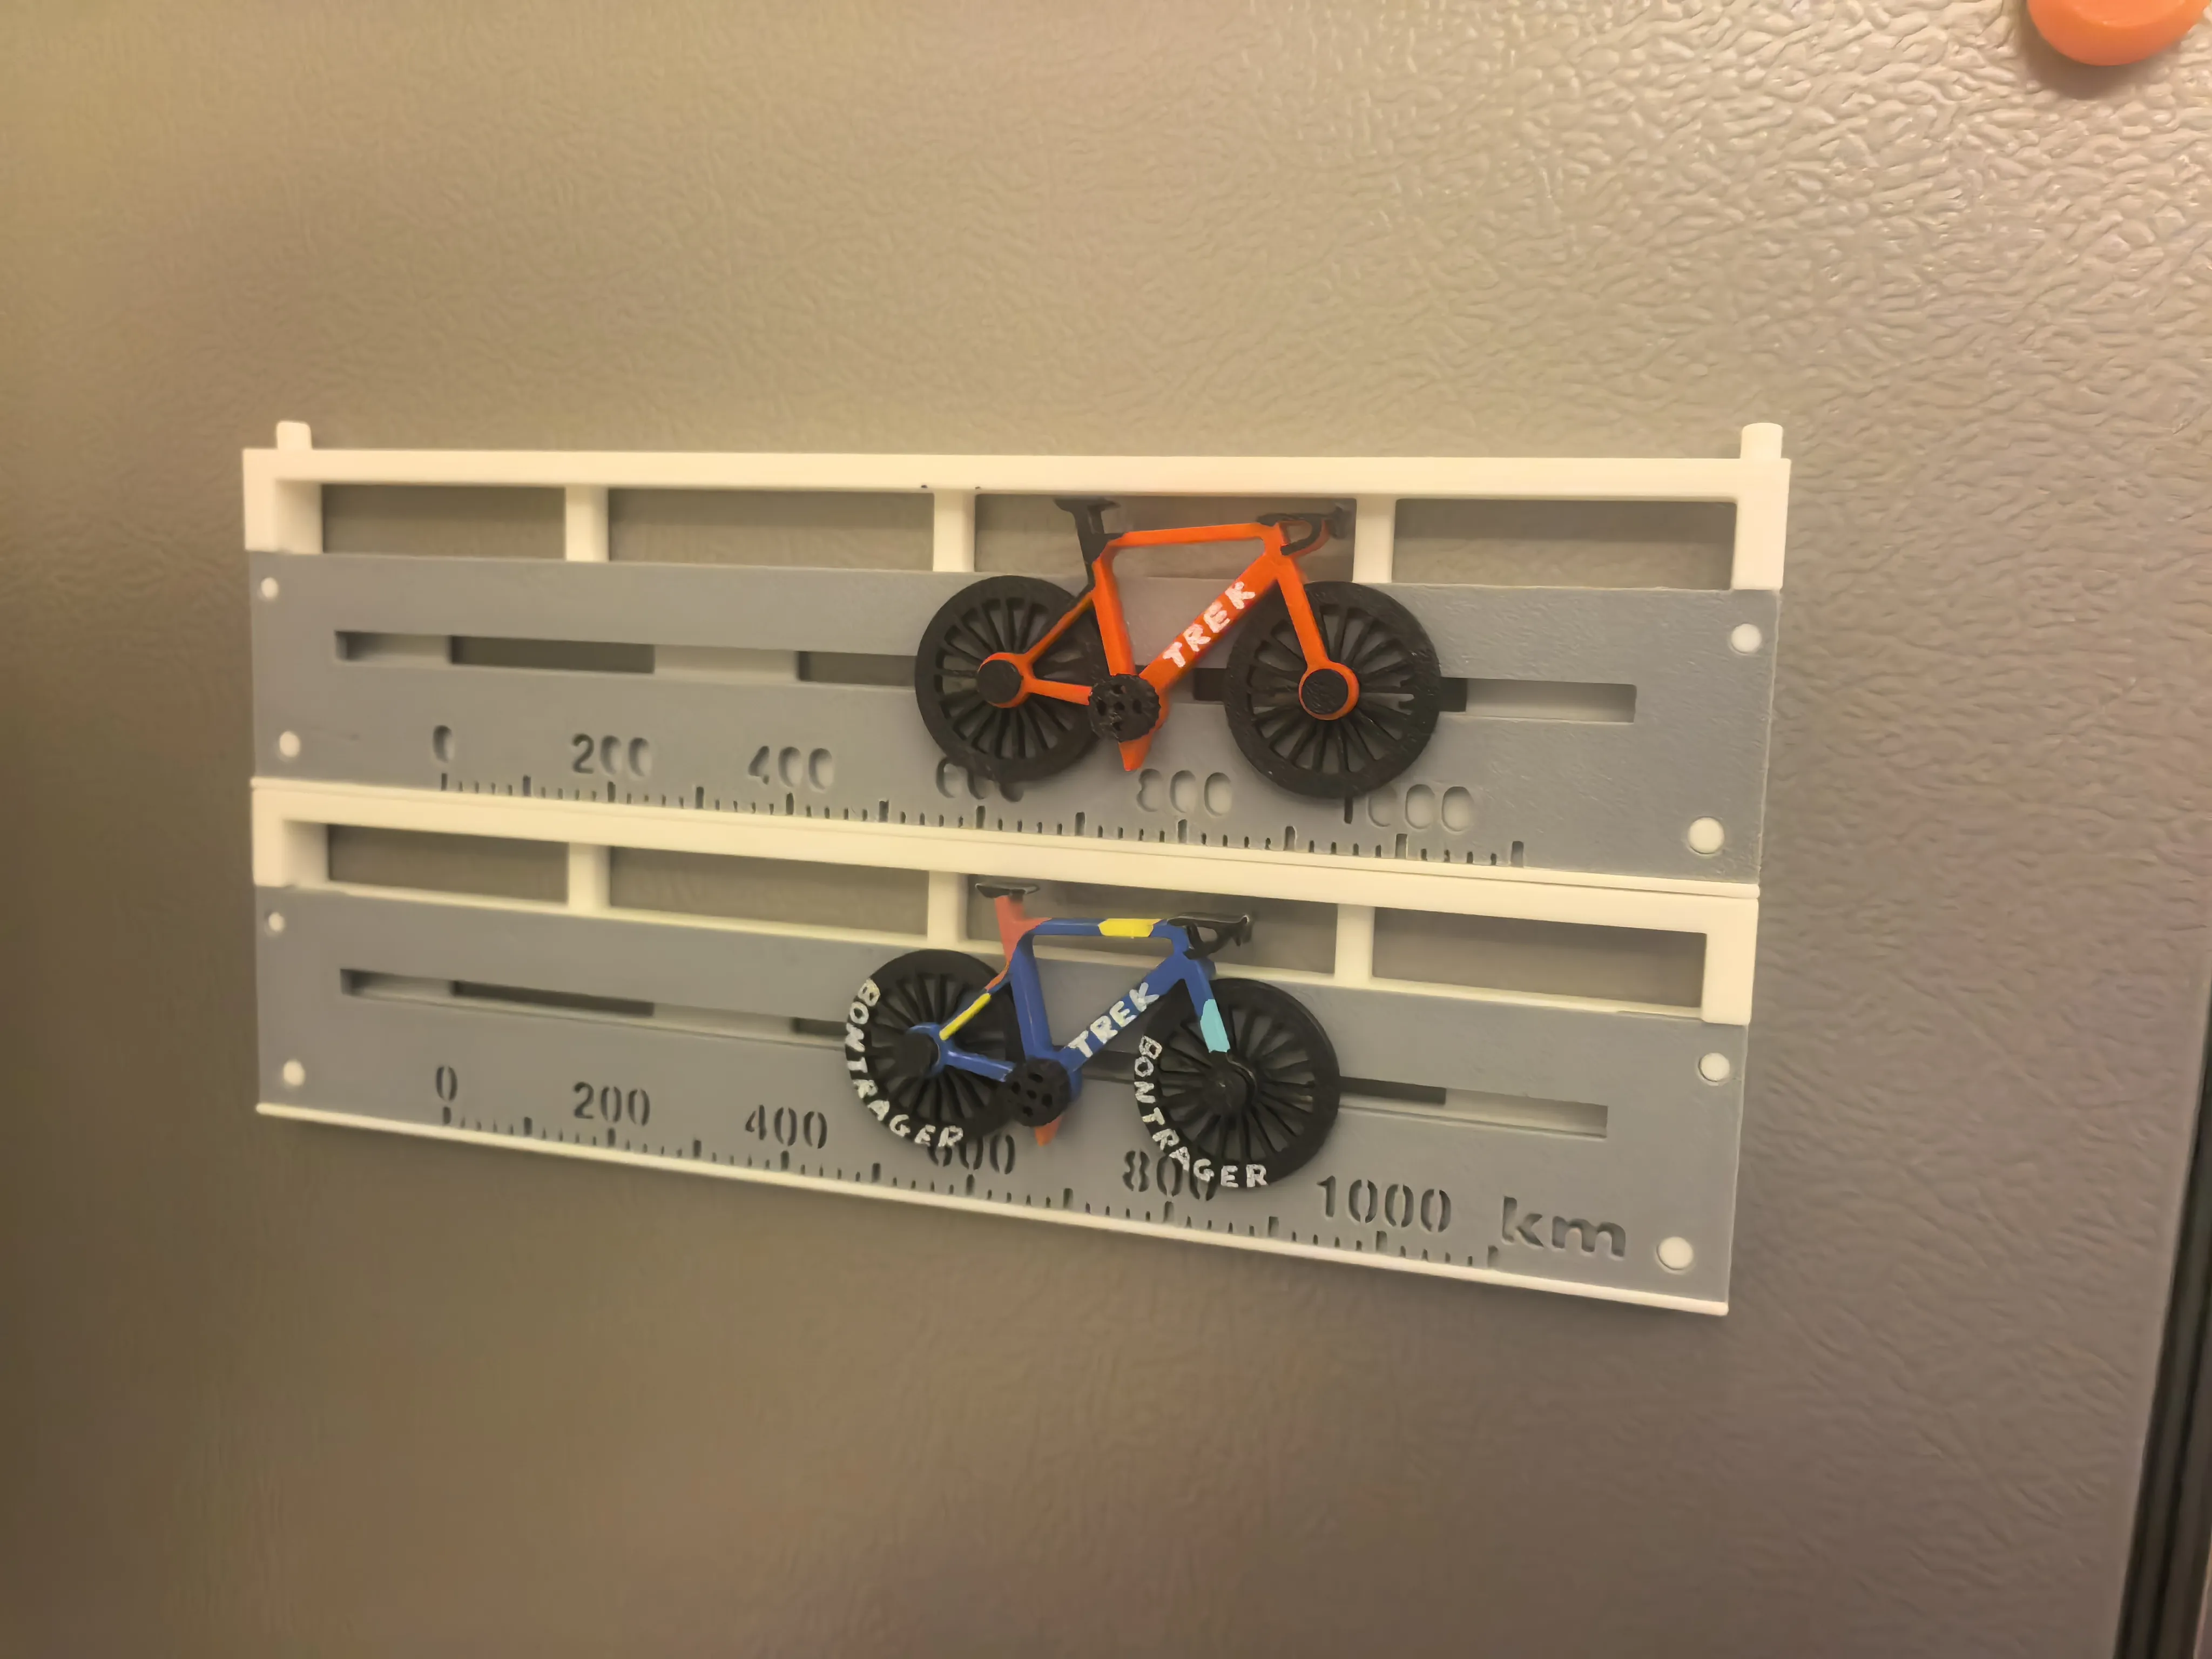
1. By having the wheel rotate as cycling mileage increases, it simulates a bicycle galloping on the road, adding fun to mileage recording
As the wheel rotates with the increase of cycling mileage, it simulates a bicycle galloping on the road, adding fun to the mileage recording process.
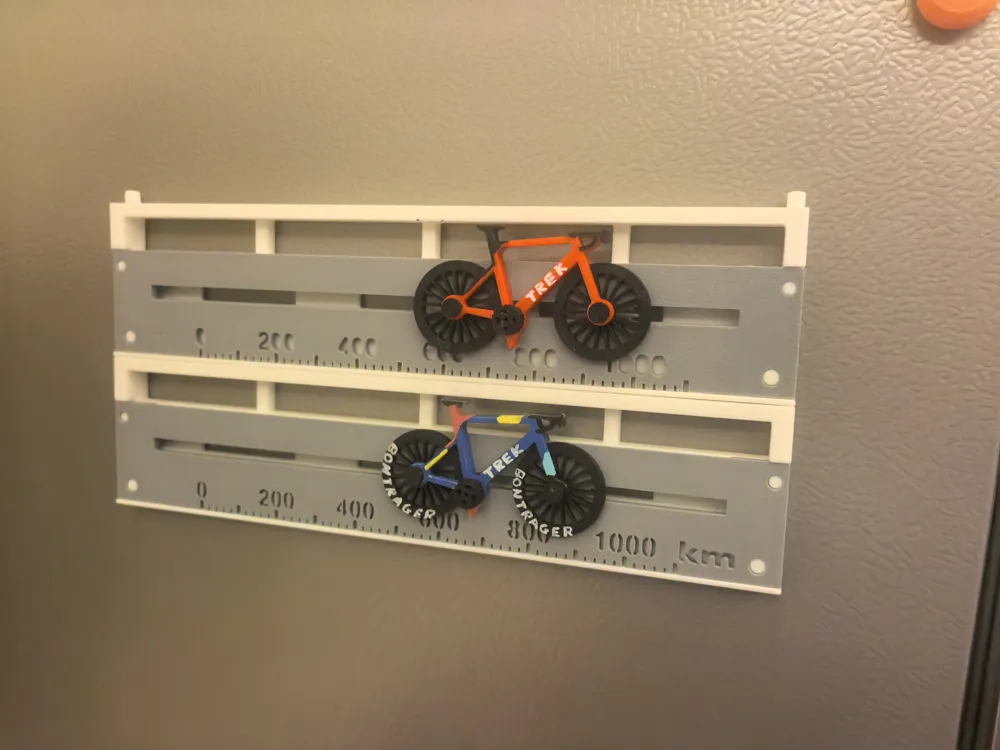
2. A magnet mounting position is reserved on the back, allowing the use of a φ10mm × 2mm magnet (note: fix it with adhesive). It can be magnetically attached to metal surfaces such as refrigerators
A magnet mounting position is reserved on the back, allowing the use of a φ10mm × 2mm magnet (note: fix it with adhesive). It can be magnetically attached to metal surfaces such as refrigerators.
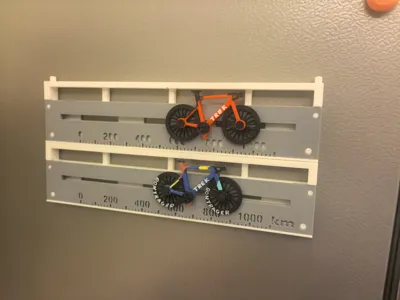
3. With a modular design, multiple components can be combined and installed. Compete with your friends now!
With a modular design, multiple components can be combined and installed. Compete with your friends now!
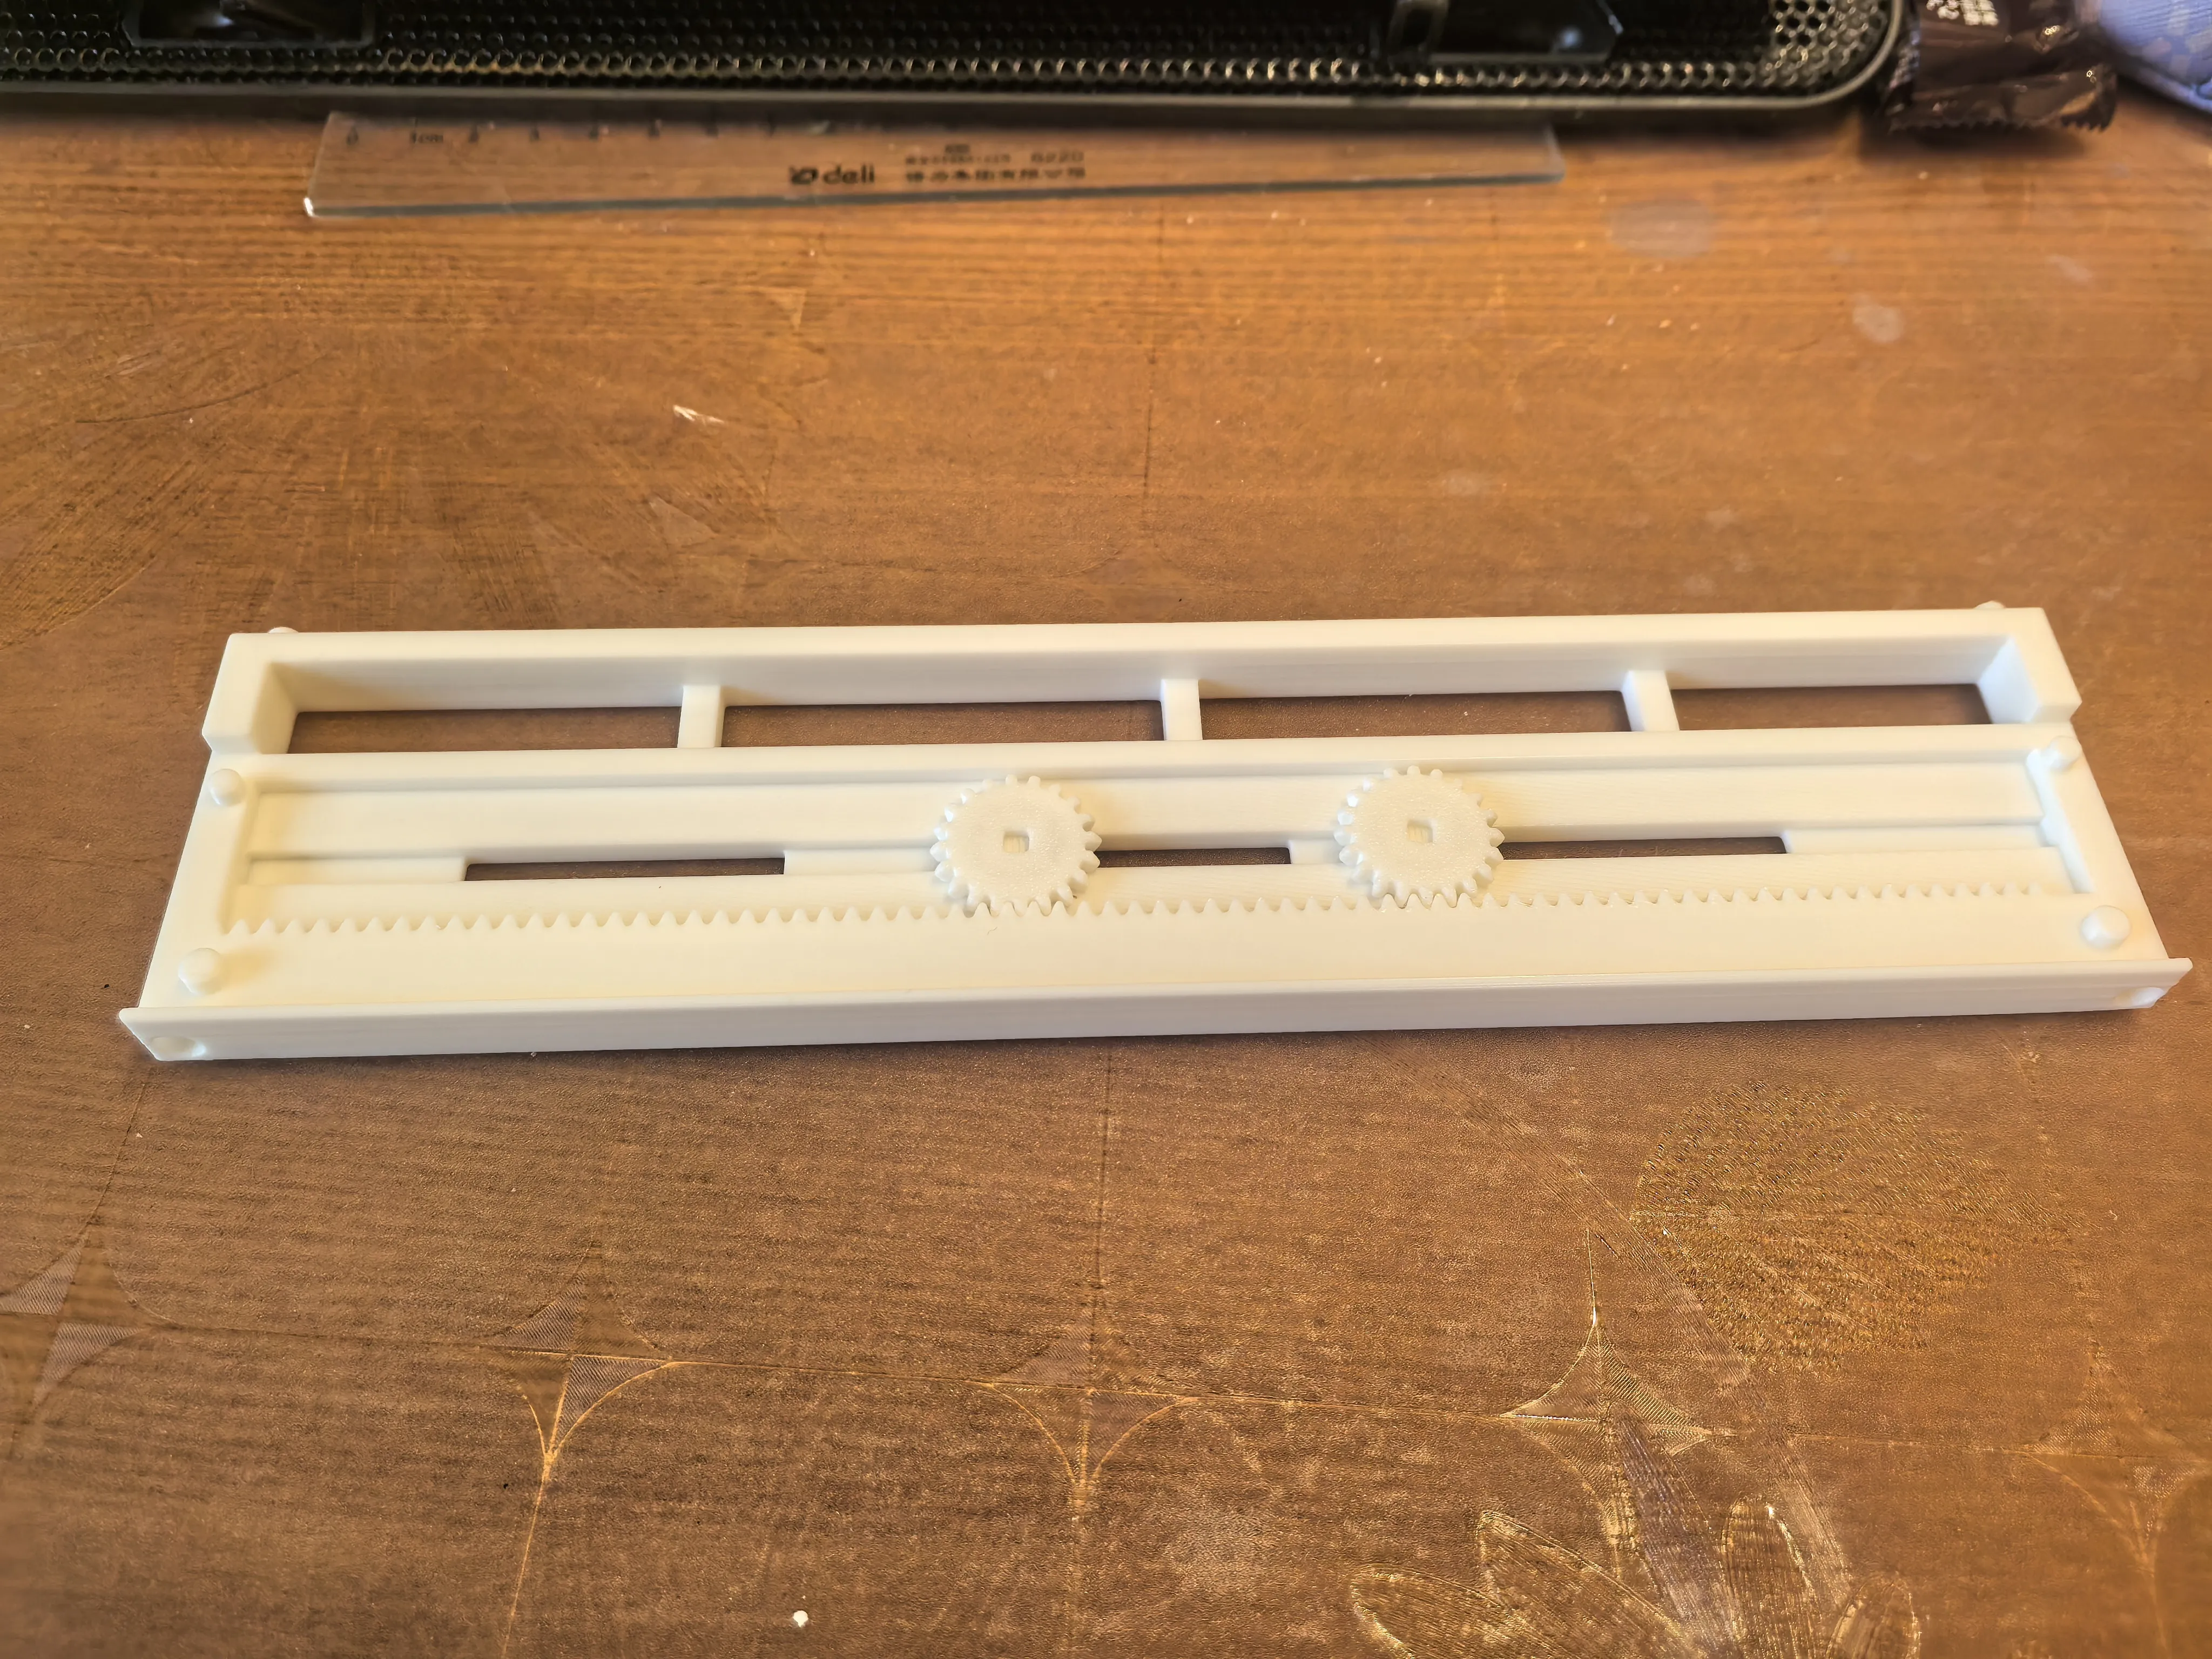
Printing notes: For plate 1, the base plate and frame require supports to be enabled; For plate 2, the scale cover plate requires thin wall detection to be enabled; For plate 3, there are no special requirements
For the first print job (base plate and frame), supports need to be enabled;
For the second print job (scale cover plate), thin wall detection needs to be enabled;
No special requirements for the third print job.
Assembly notes:
1. First, mount the gear on the rack of the base plate; there is no need to adjust the gear spacing for now
Assembly Notes:
First, mount the gear on the rack of the base plate; there is no need to adjust the gear spacing for the time being.
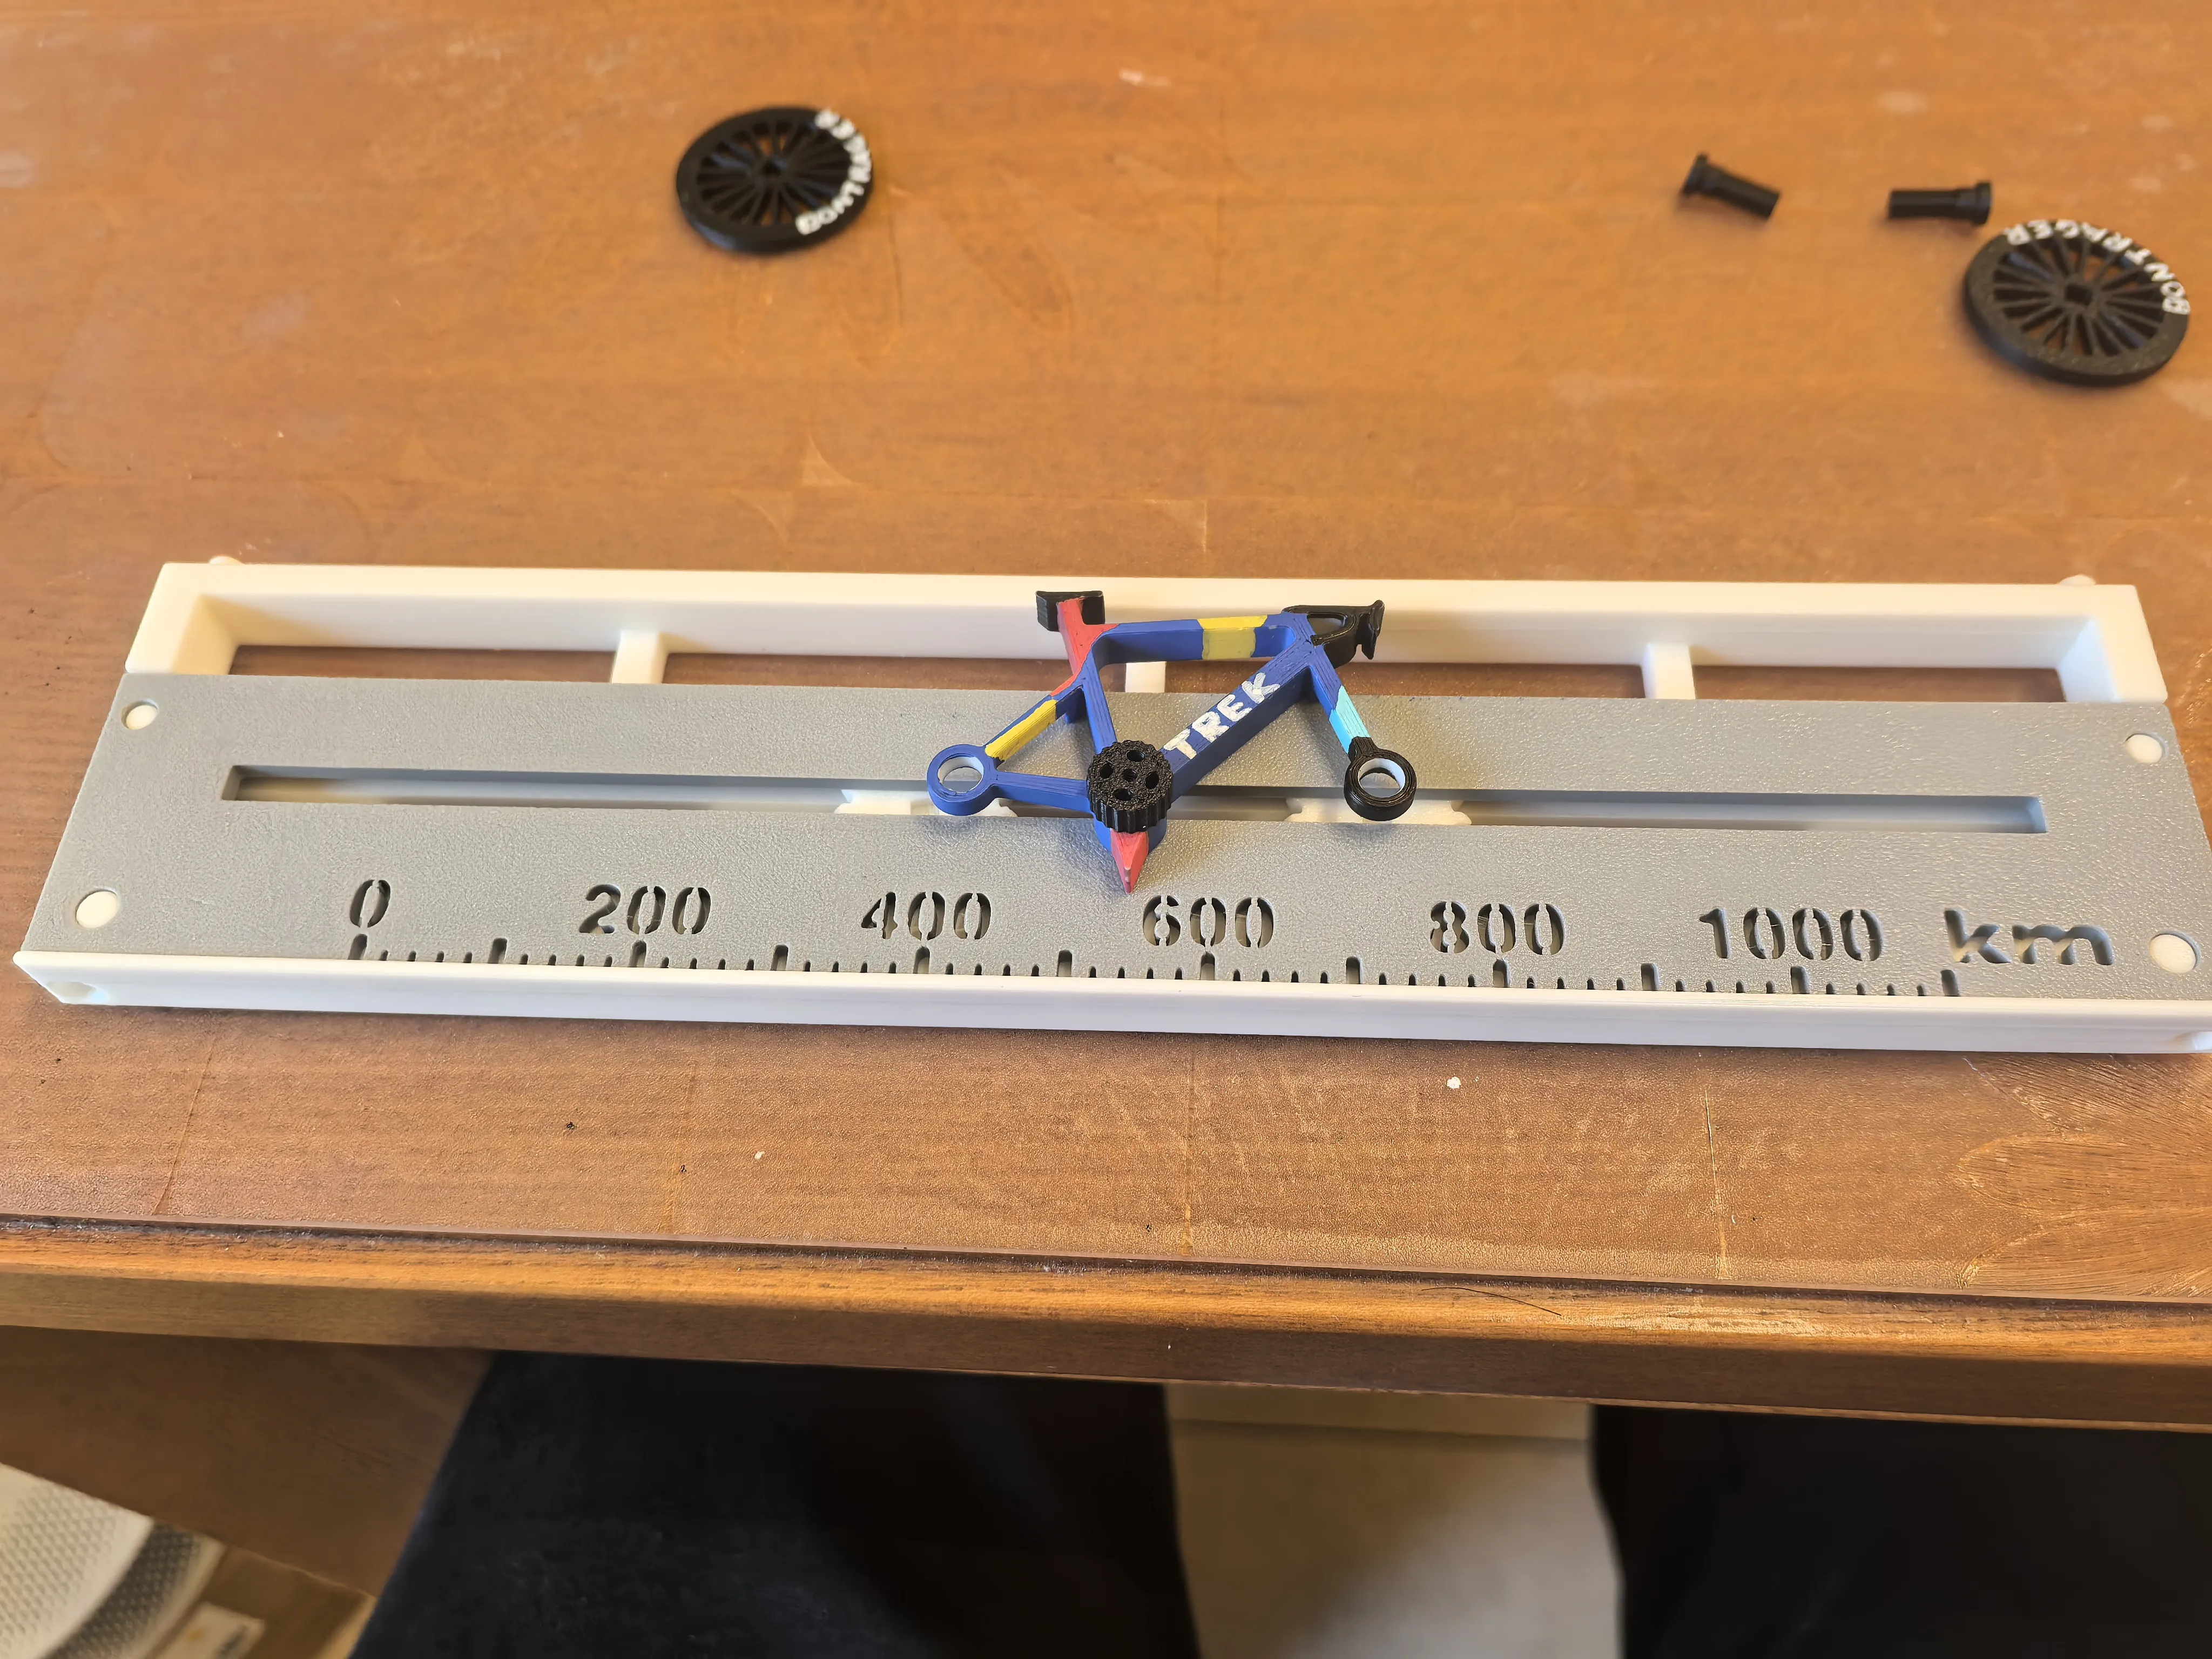
2. Cover with the scale cover plate, then install the frame (insert the crankset into the reserved hole of the frame in advance), and snap the rear part of the frame into the groove between the scale cover plate and the base plate
Second, place the scale cover plate in position, then install the frame (insert the crankset into the reserved hole of the frame in advance); snap the rear part of the frame into the groove between the scale cover plate and the base plate.
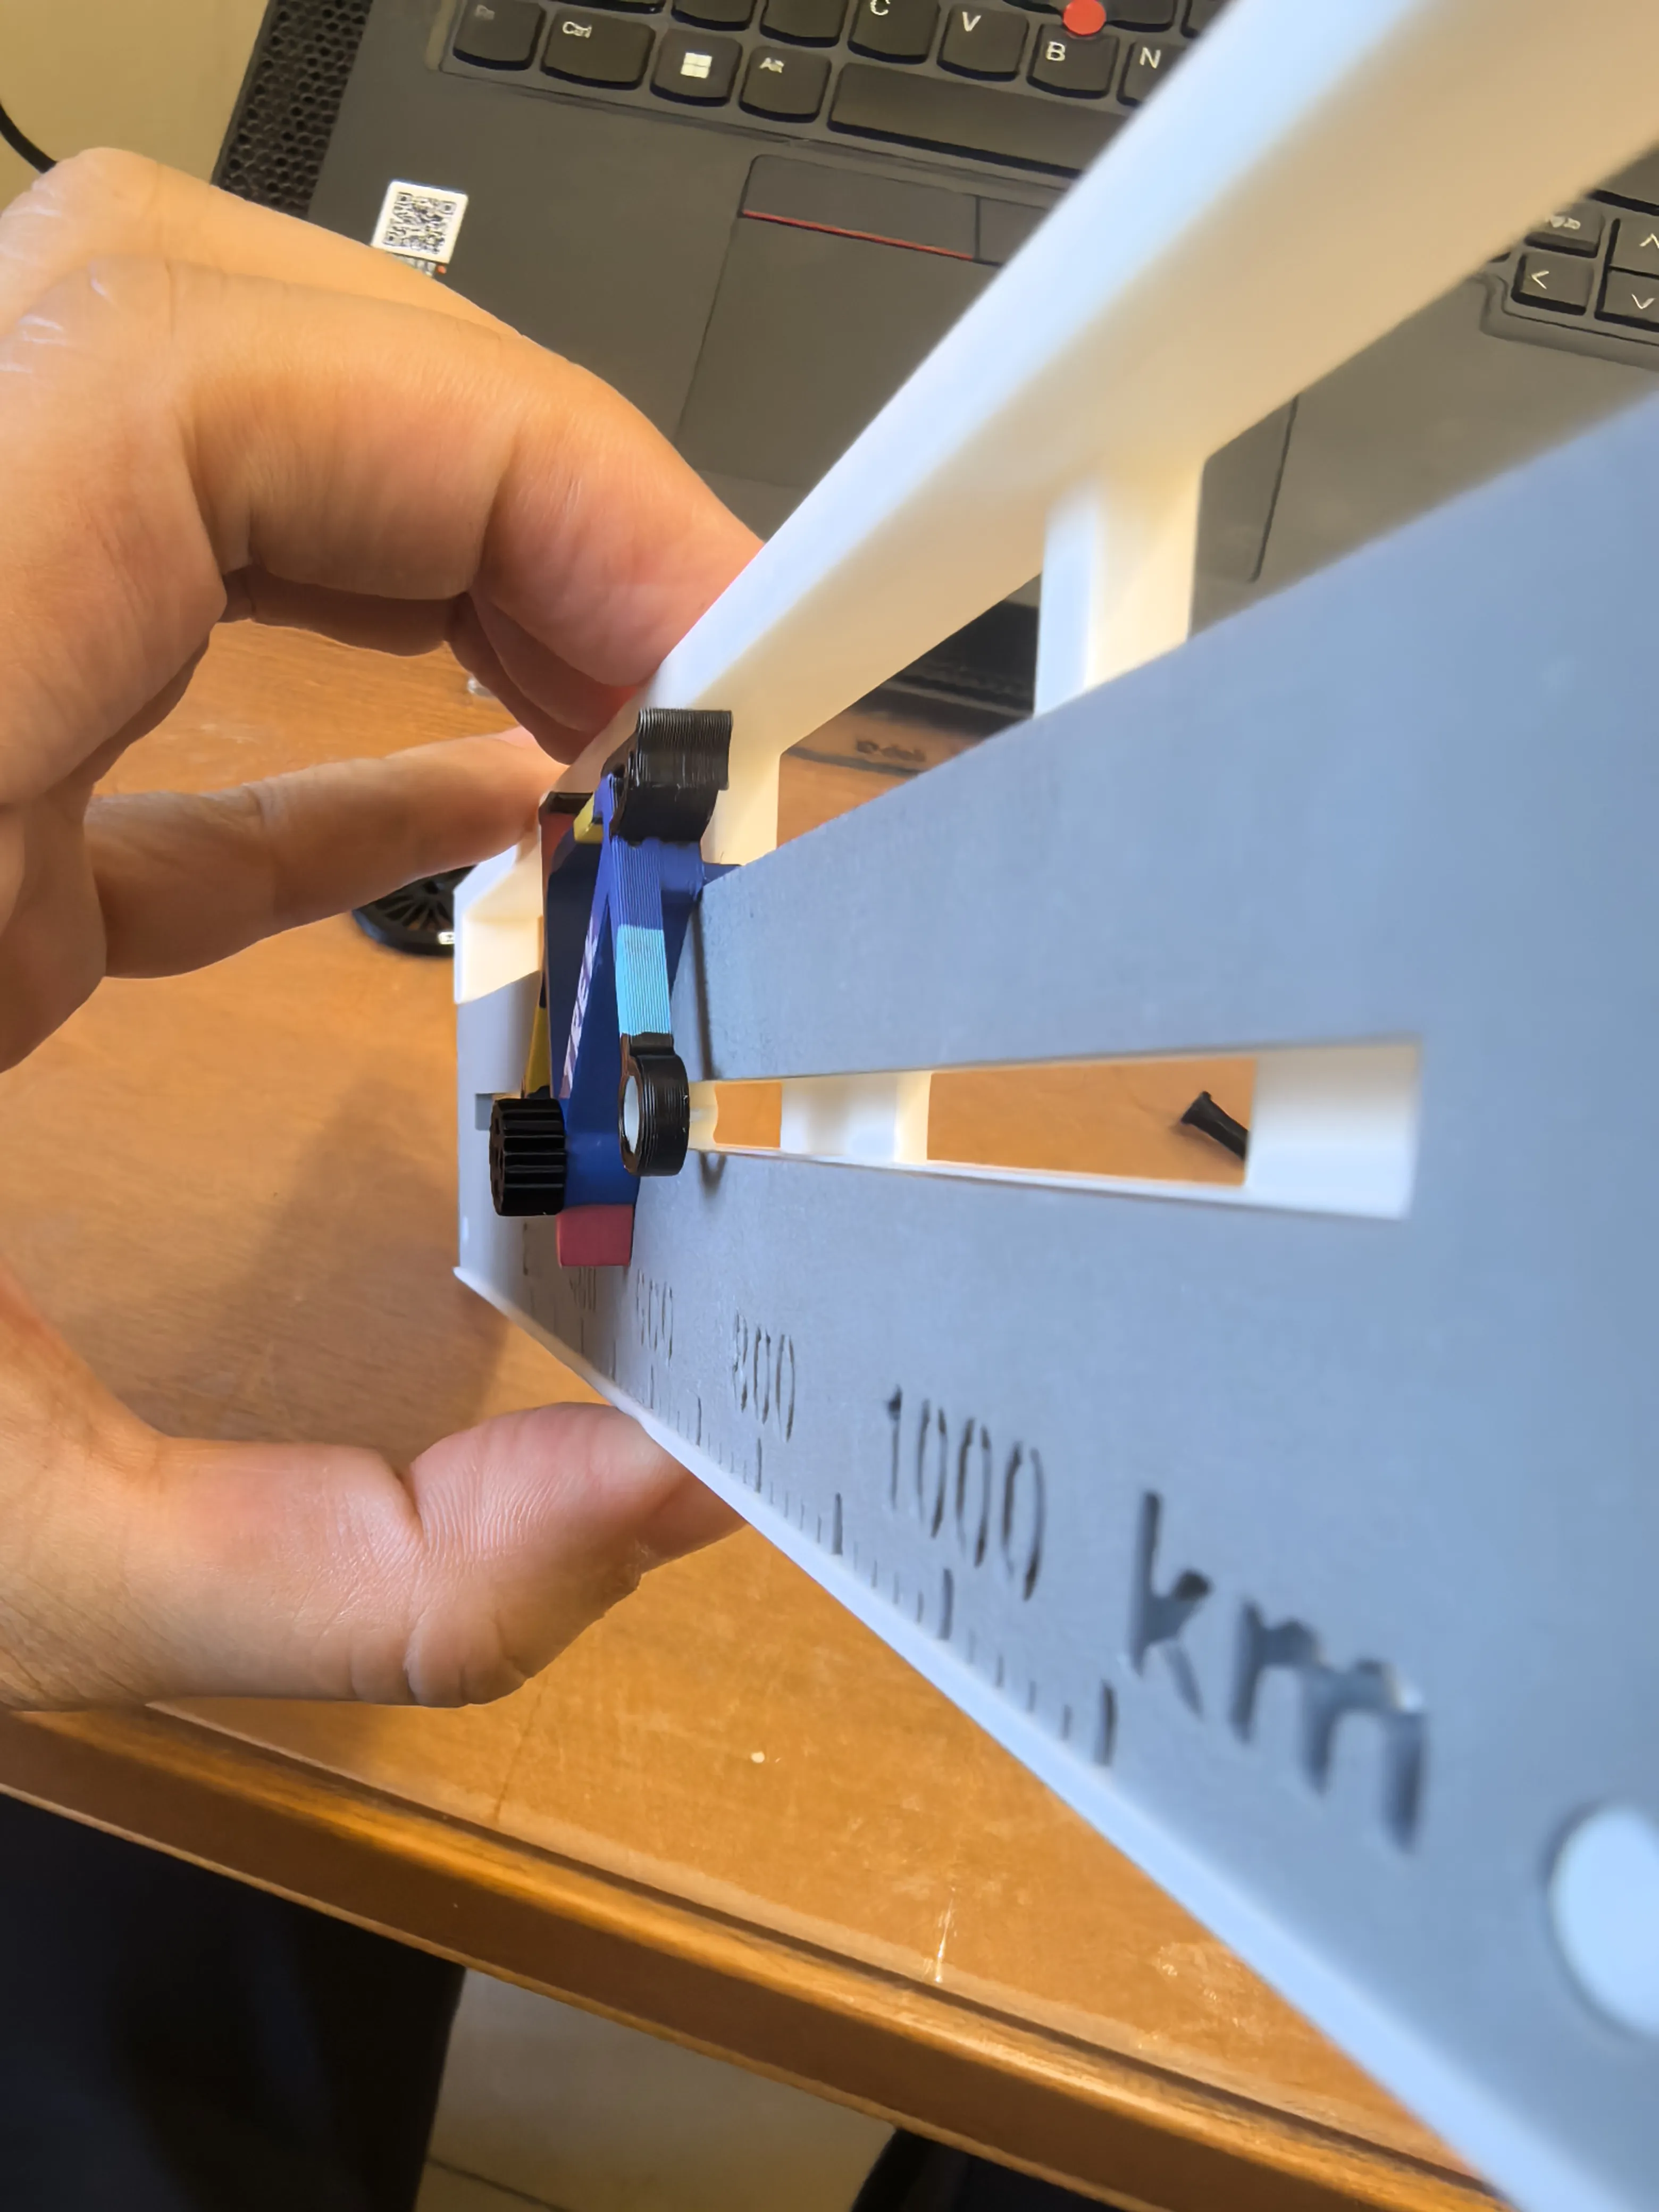
3. Insert the front and rear wheel sets between the frame and the cover plate, adjust the overall position, then pass the front and rear wheel axles down through the frame, wheel sets, and gears respectively from above. Note: adjust the position of the gear on one side with the frame first before installing the other side. The wheel axles and gears are designed to be an interference fit; it is recommended to tap them into place after alignment. After installation, grasp the crankset position and move the entire vehicle back and forth several times to make the movement smoother through friction
License



Comment & Rating (3)