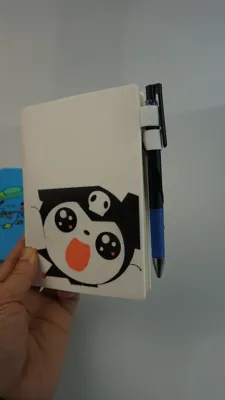
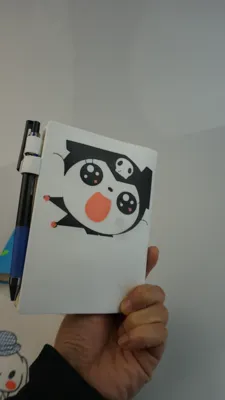
A6 notebook cover printed in TPU90A (for H2D and above models only)


Print Profile(4)


Description
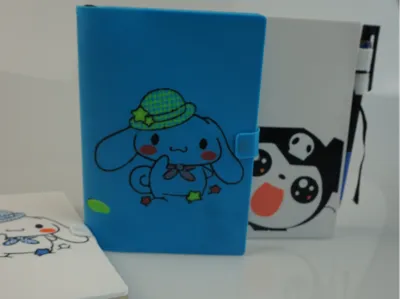
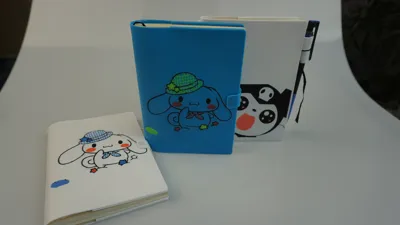
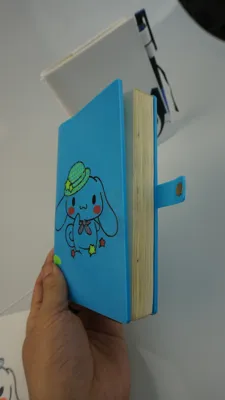
I used to love using paper planners to record bits and pieces of life and work, and preferred the design style of Japanese planner covers. This model is simple, designed for MD A6 notebook inserts that are 10mm thick

The main difficulty was with Bambu Lab's official 90A TPU printing parameters, and it took 2 months of repeated printing and testing to figure out the print profile
Note:
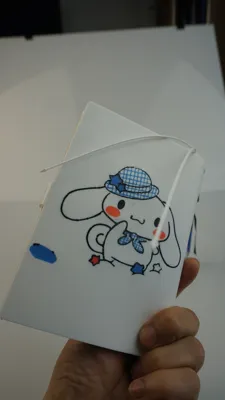
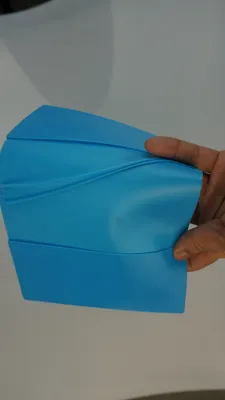
1. You must use 90A or 85A TPU for the best feel, it's even more comfortable than the HOBONICHI planner cover I have. 95A TPU is too hard. The printing method for 95A is simpler and has been tested to work with A1 printers, I will share it separately
2. The model is designed for H2D or higher models, requiring Matte PLA for support, and the support contact distance must be set to 0. This is the way to achieve a perfect contact surface. The only drawback is that the supports are difficult to remove
Be patient when removing supports. First break off the PLA supports inside the cover, then slowly peel off the connection point between the support and the TPU surface, and finally pull it out
Here is the video I recorded on removing supports:
【3D Printed TPU Planner Cover, Freely Add Your Favorite Patterns】 https://www.bilibili.com/video/BV1neUdB7EYA/?share_source=copy_web&vd_source=397041616f5eeec9dc0c7dfa5cc30f37
3. You can freely add your favorite patterns to the cover, which requires multi-color PETG filament for mixed printing. Tests show that PETG adheres well to TPU (I don't have an H2C, so I couldn't directly test the effect of multi-color TPU printing). To change patterns, use your favorite image to generate a 2D model in Bambu Lab's Maker Lab, then import the sliced file and combine it with the cover model for slicing (you need to adjust the pattern's adhesion thickness, usually below 0.5mm, and its height position), to get a PETG pattern file drawn on the TPU
4. Printing with 90A TPU still requires some experience. This cover takes a long time to print, so those without TPU printing experience should choose to print it carefully. It's best to cold pull before loading the filament and remove the H2D top cover for heat dissipation. During printing, check the quality of the first layer, as PETG for patterns is prone to nozzle clogging and stringing. If the first layer is not good, start over
5. Strongly recommend using a smooth build plate for printing and apply a layer of Bambu Lab glue stick. This will ensure the outer surface of the cover is flat and perfect
If you have any suggestions for improvement, please leave a comment. I spent time creating this model out of passion and am happy to share it with everyone, and I also hope to continue making even more perfect planner covers
Boost Me (for free)
If you like my work, please give it a boost
Comment & Rating (0)