Tool for embedding electrical boxes in the wall


Print Profile(1)

Description
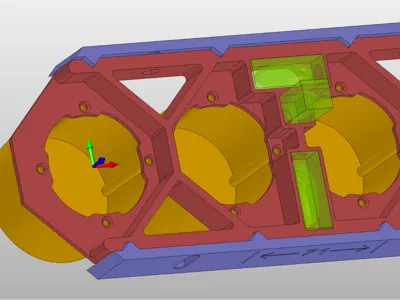
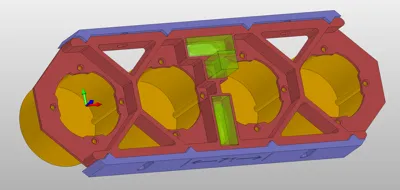
A construction tool for electricians, for embedding electrical boxes in the masonry (wall) before plastering.
When pre-embedding electrical boxes in a constructed wall (brick, masonry, etc.) (using plaster, other adhesive, or filler), there's a problem because the front of the box should protrude slightly from the wall, so that after plastering the entire wall, it's flush. However, it's difficult to embed multiple boxes (in a multiple configuration) so that they are perfectly spaced apart (the standard is 71mm between the box centers), each box is straight (not tilted up or down), and that they align horizontally (or vertically).

You adjust one, and the rest get skewed.
Almost all of them are correct … but the plaster has hardened and can no longer be adjusted...
ARGH!!! Horror!
Additionally, even if everything went straight, you'll discover during plastering that the boxes are sticking out of the wall (you have to mill the front, and plasterers are furious), or the boxes are too deep in the wall—the plaster covers them—and it will be difficult to screw in the hardware.
And here's the solution (or at least for two, three, or four outlets)!

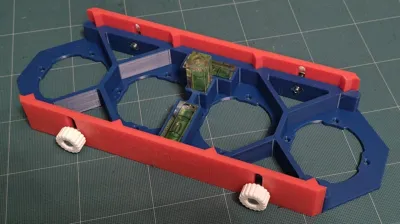
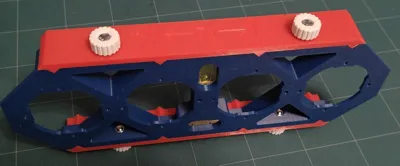
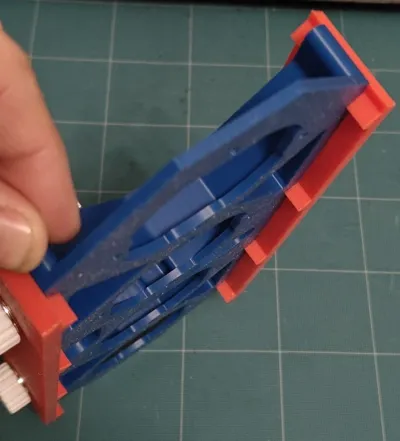
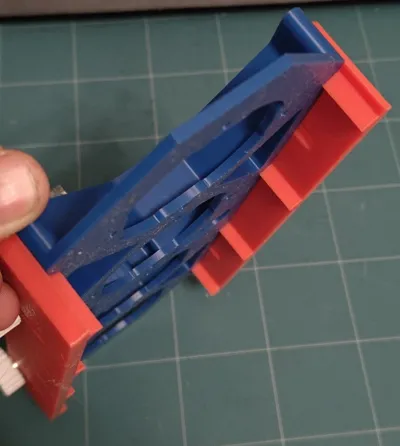
- Find out the target plaster thickness on the wall. Extend the side guides from the base of the tool to this thickness. This will ensure the front of the boxes is flush with the plaster.
- Pre-screw the orange plastic outlets to the bottom of the tool using the factory screws (there's room for four, but two screws will also be sufficient).
- Place the plaster or other filler into the hole in the wall, and perhaps a little on the back of the boxes.
- Insert the entire tool+box assembly into the wall, pressing firmly.
- By looking at the appropriate holes in the level, you can align the box set horizontally (or vertically) and adjust the front-to-back tilt (so that they are perpendicular to the wall, not bent upwards or downwards).
- Because the plaster sets very quickly, after a few seconds it holds itself, and after a few minutes you can unscrew the screws from the boxes and take the tool (frame) to another place - the boxes are held in the wall with plaster, you can work with next set.


I use here “Mini Spirit Square Bubble Level Protractor Precision Level Cylinder” from aliexpress - $2.88 for 10pcs, 15x15x40mm https://pl.aliexpress.com/item/1005008627352885.html

Comment & Rating (3)