
RaceHive - Modular Race Medal Display
Print Profile(2)


Bill of Materials

Description
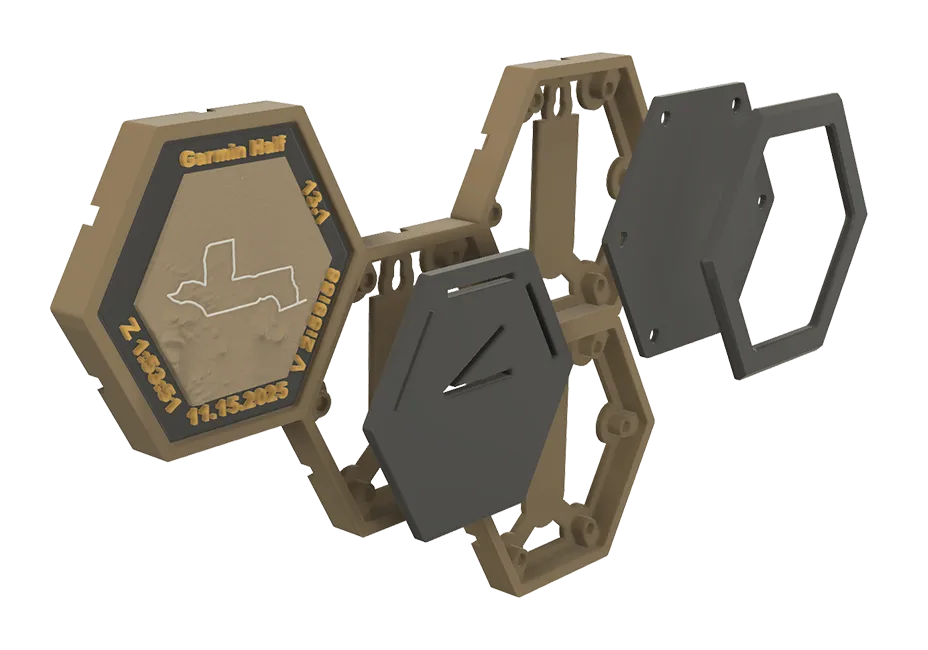
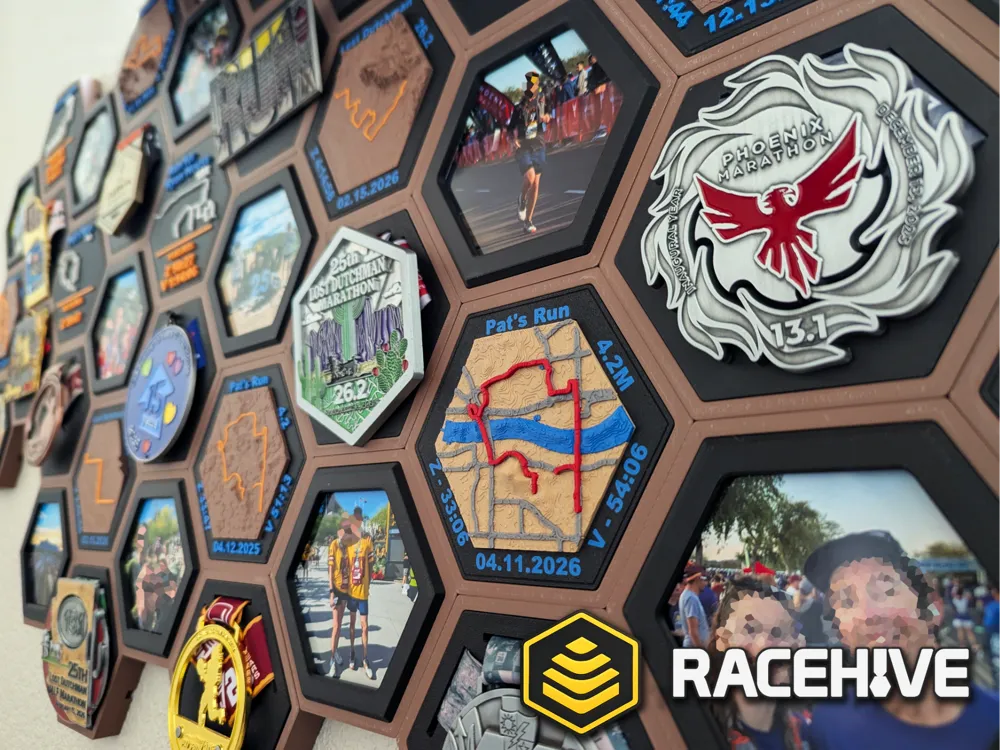
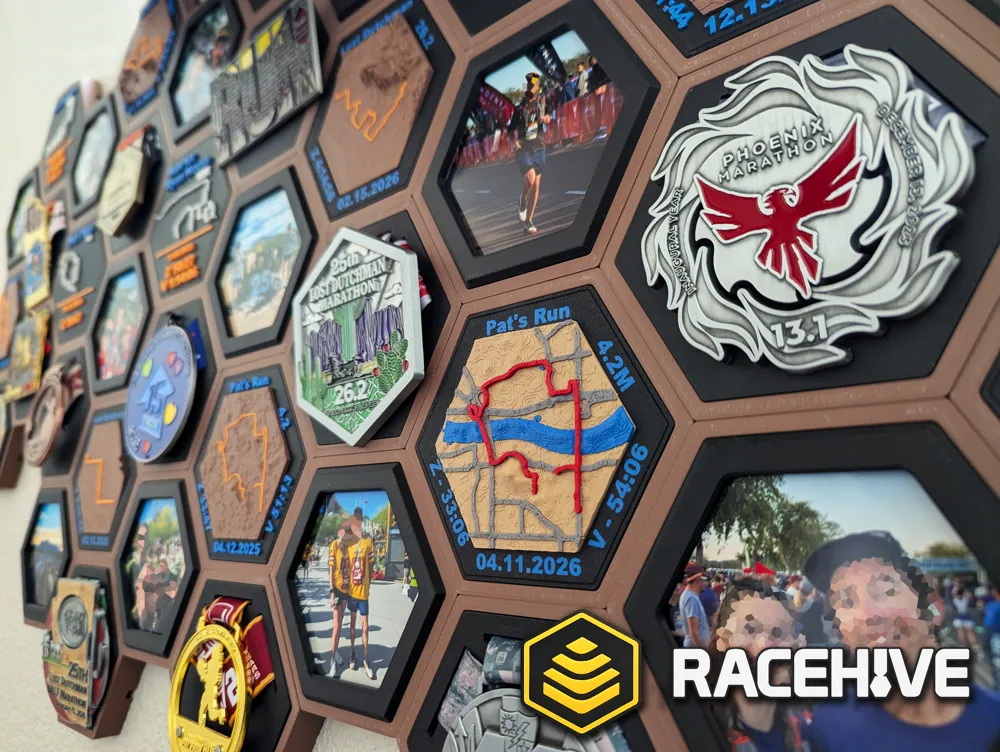
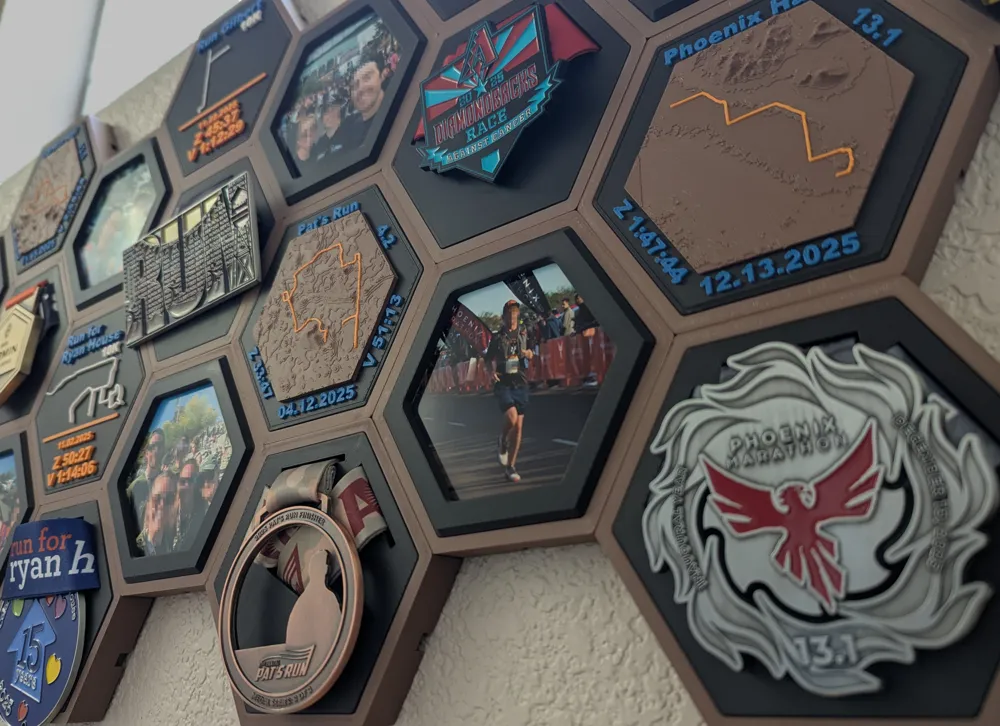
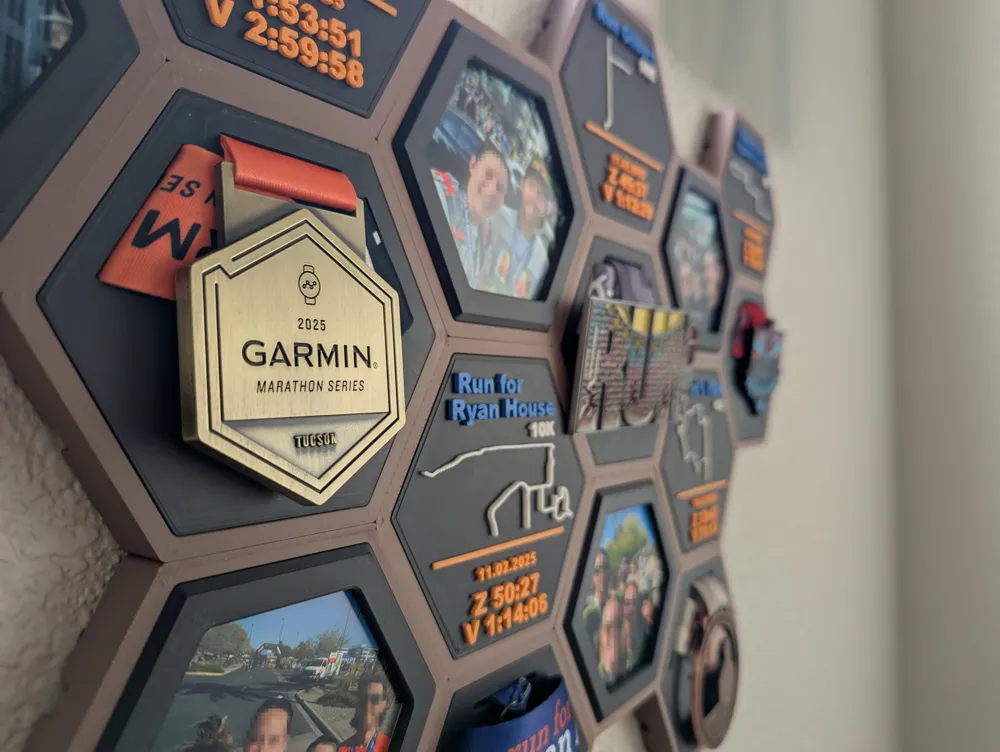
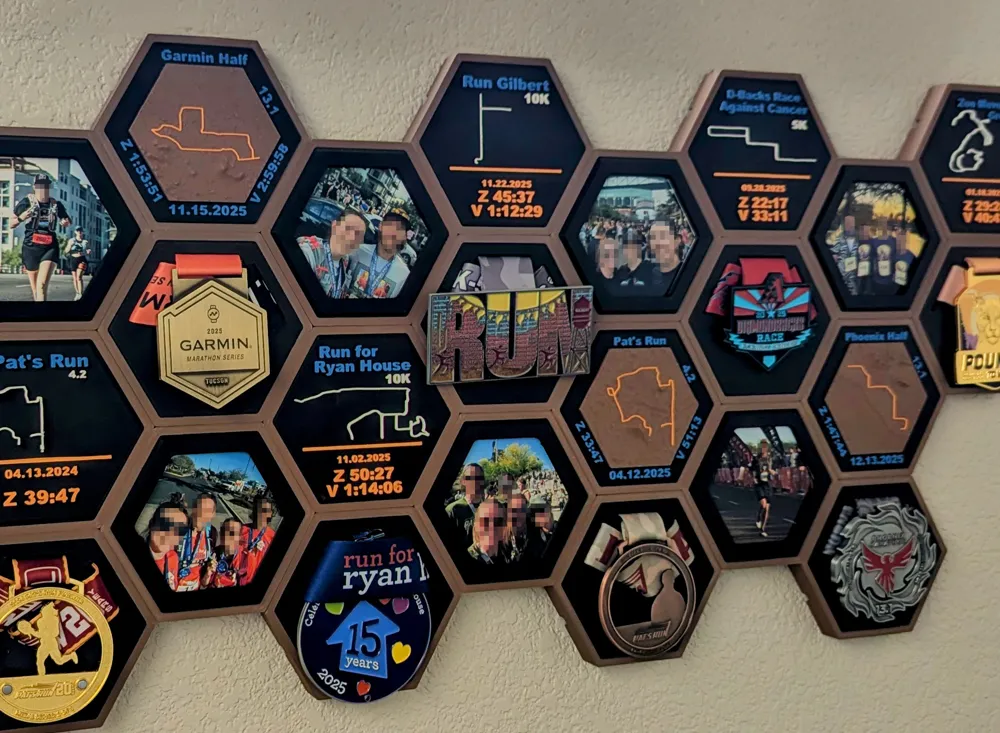
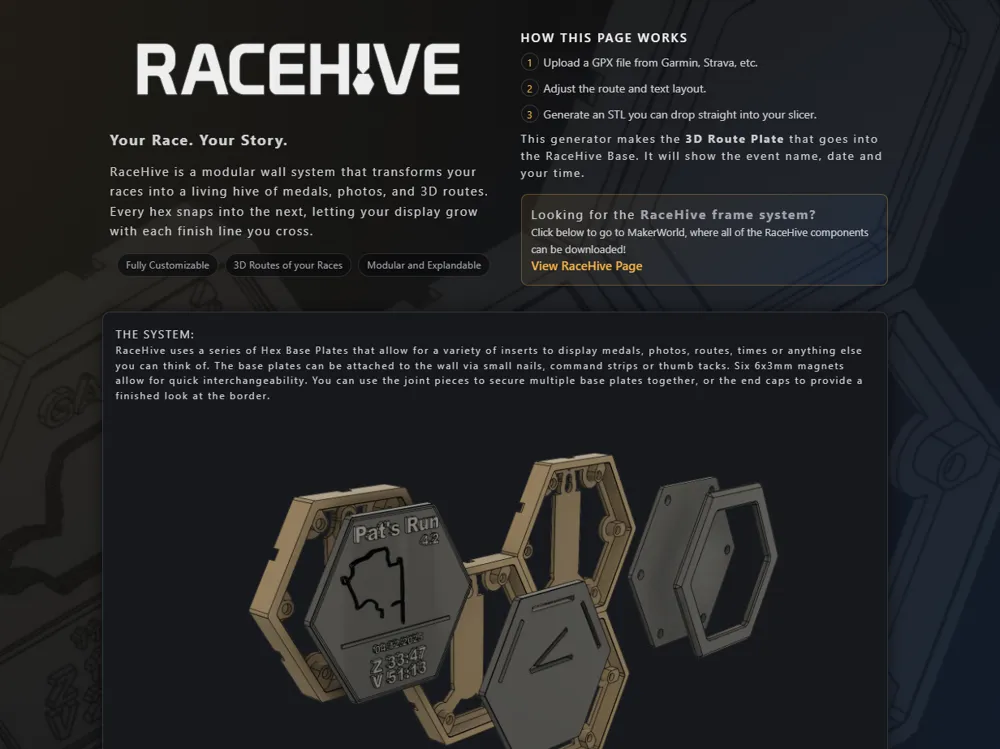
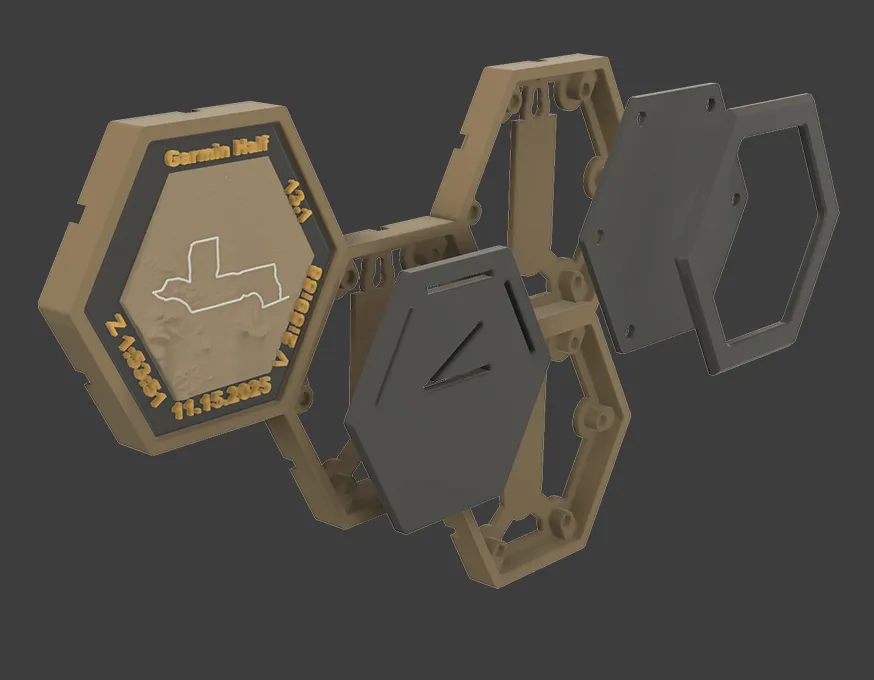
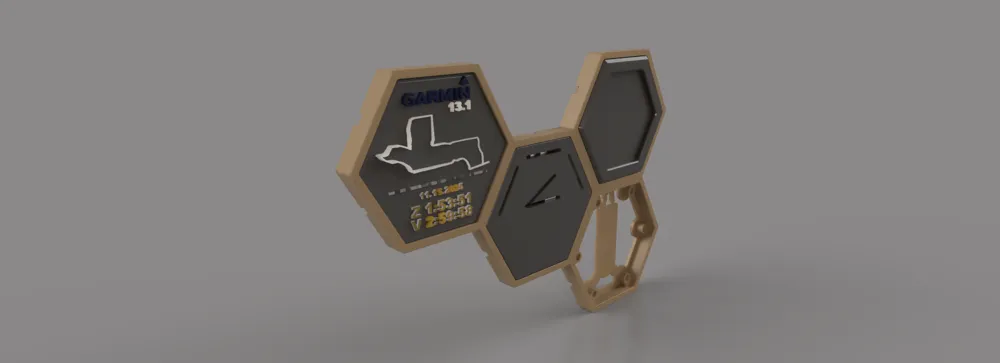
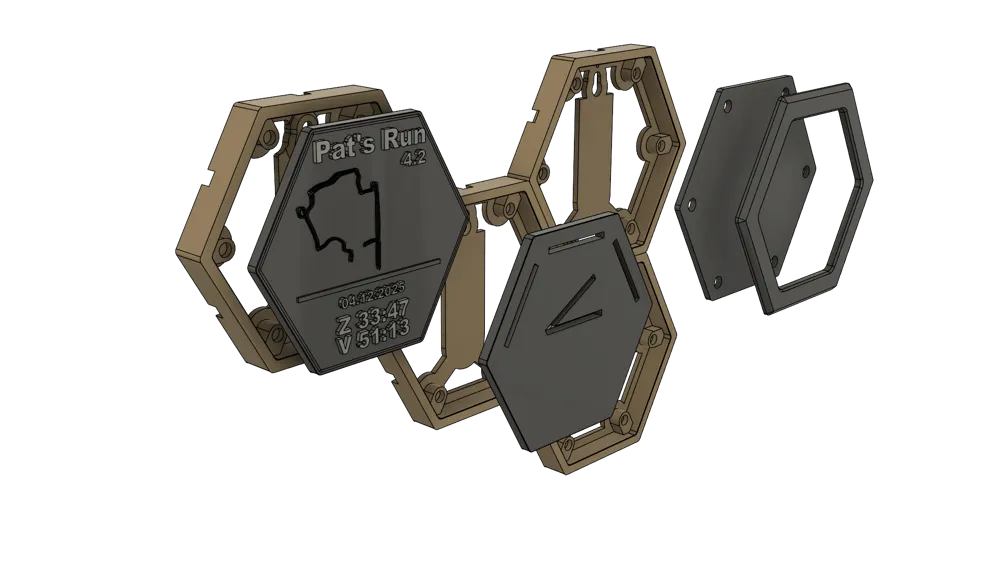
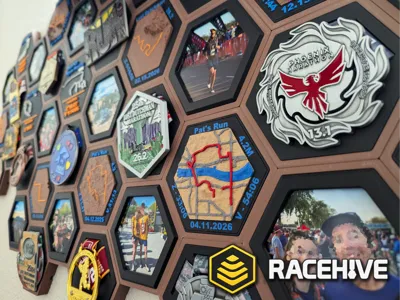
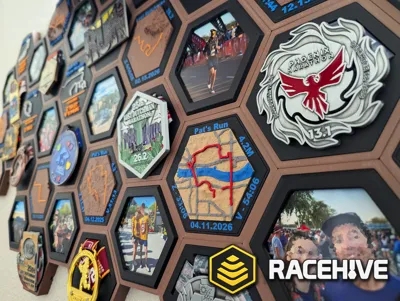
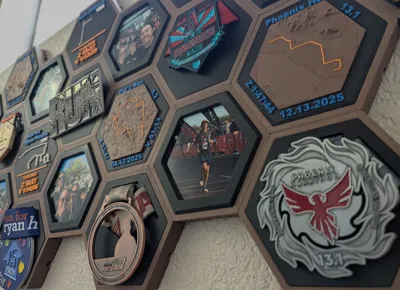
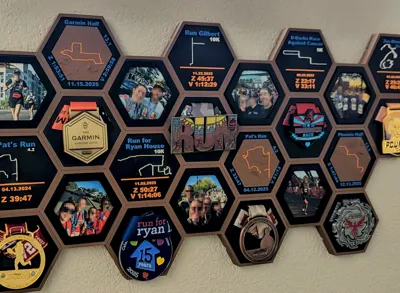
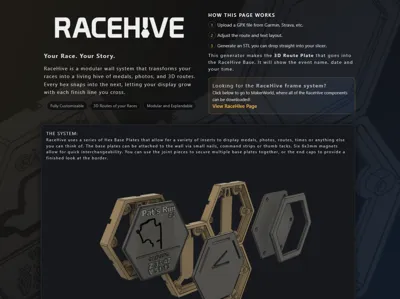
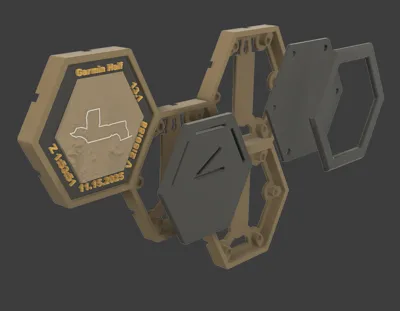
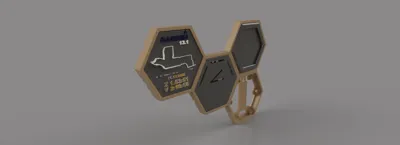
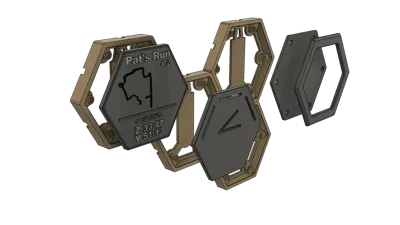
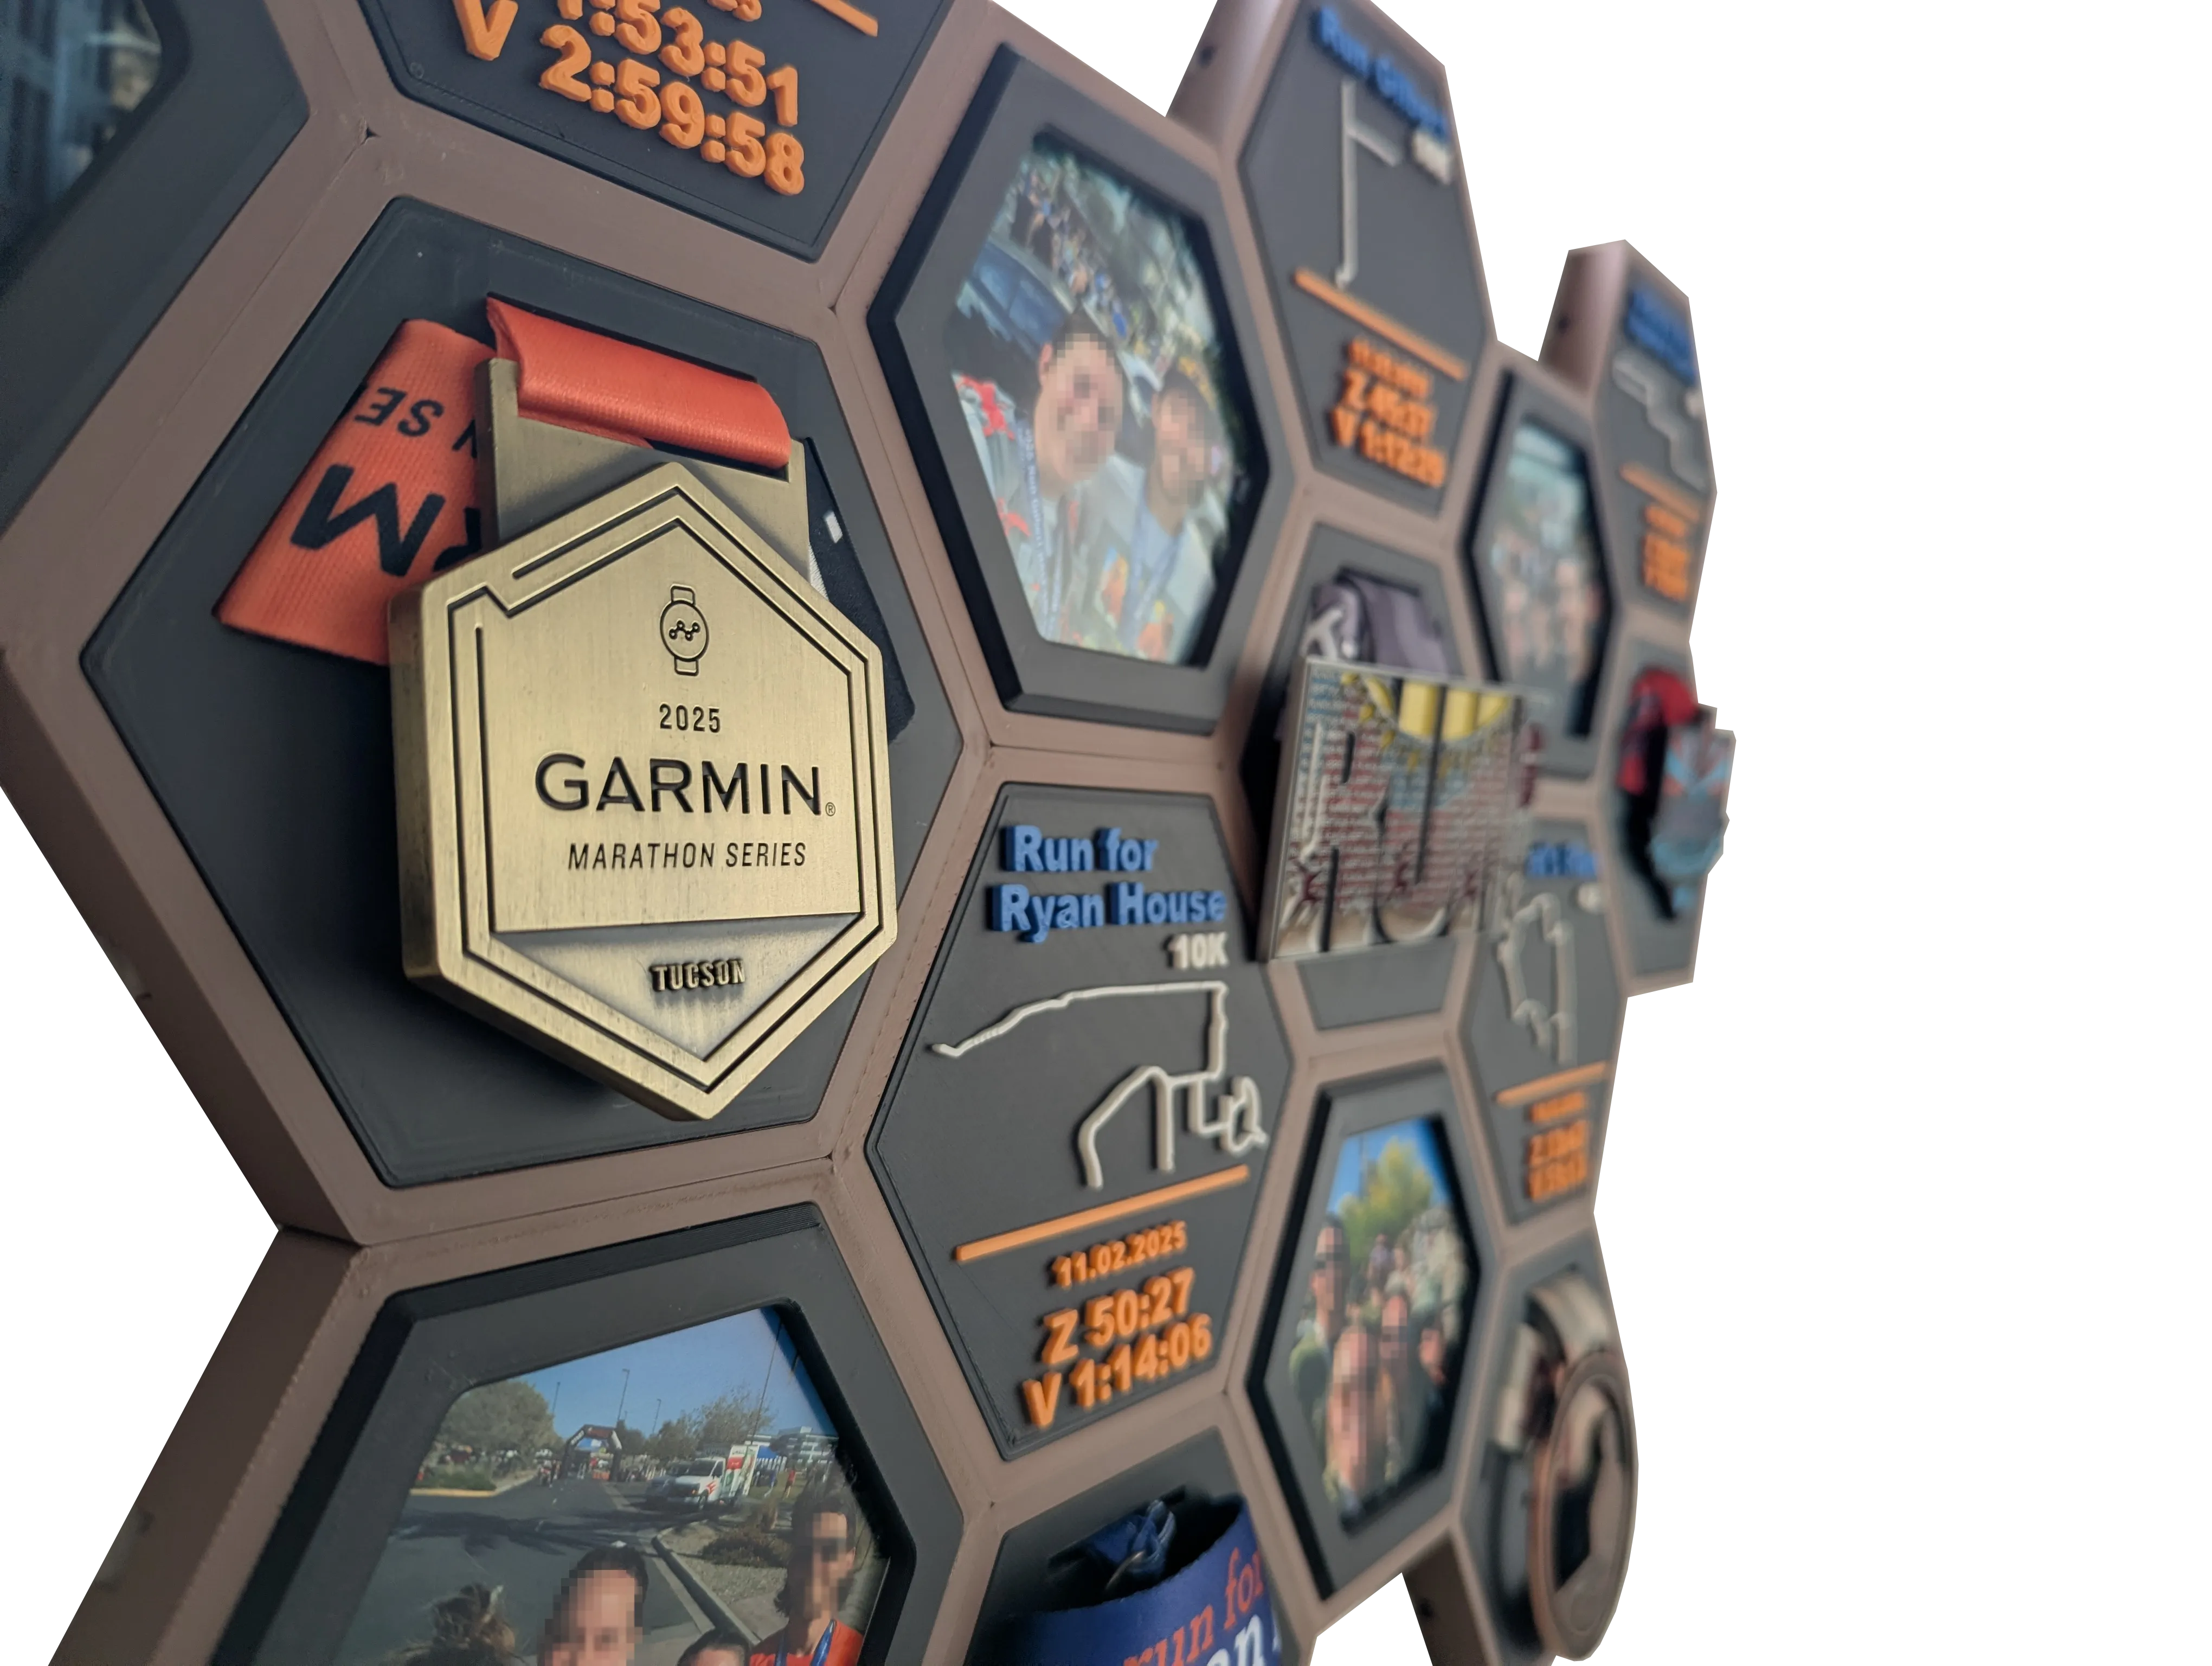
Your Race. Your Story.The modular hex display system for runners who want to celebrate every finish line. What Is RaceHive?RaceHive is a fully modular, ever-growing wall display designed specifically for runners.
Whether you’re tackling your first 5K or finishing your 12th marathon, RaceHive grows as you do.
|
Update!04.28.2026: The Terrain Tiles now have the ability to show roads and bodies of water. In order to reduce processing time and to help keep the tiles from being too cluttered, I've only included primary streets and higher, as well as lakes, reservoirs and rivers. These can each be turned off as well. 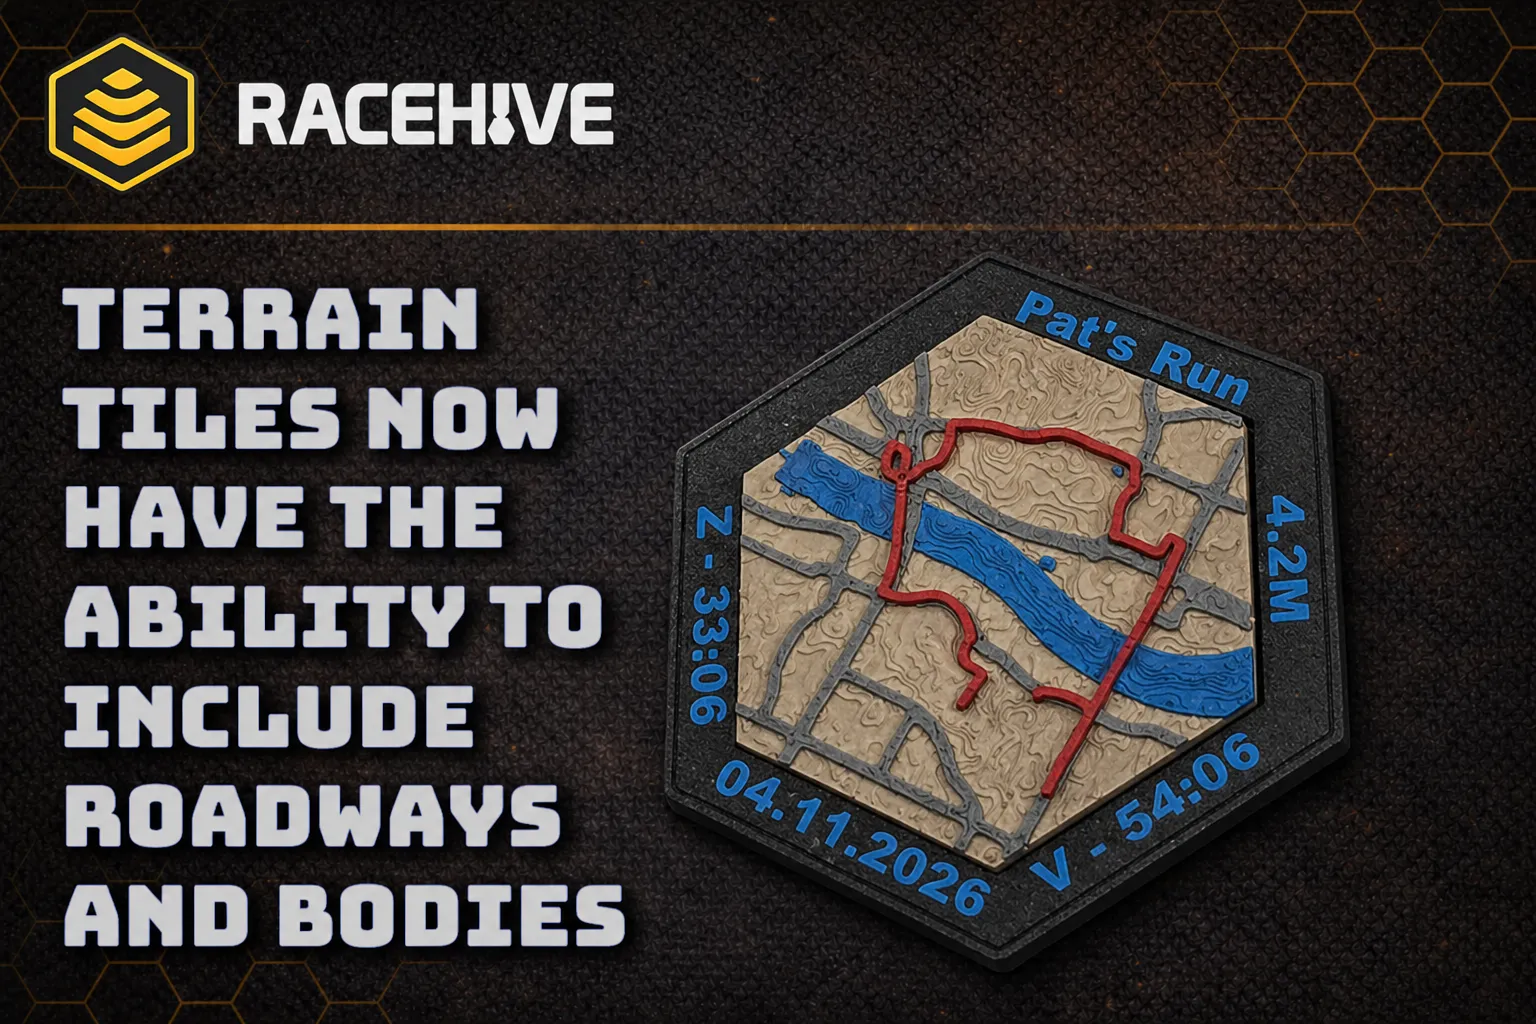
02.22.2026: We have integrated the Hex Photo Tool to allow you to easily format photos so they can be printed on a standard 4x6 photo, with easy to use safe-zones and a border to use when cutting out the photo. 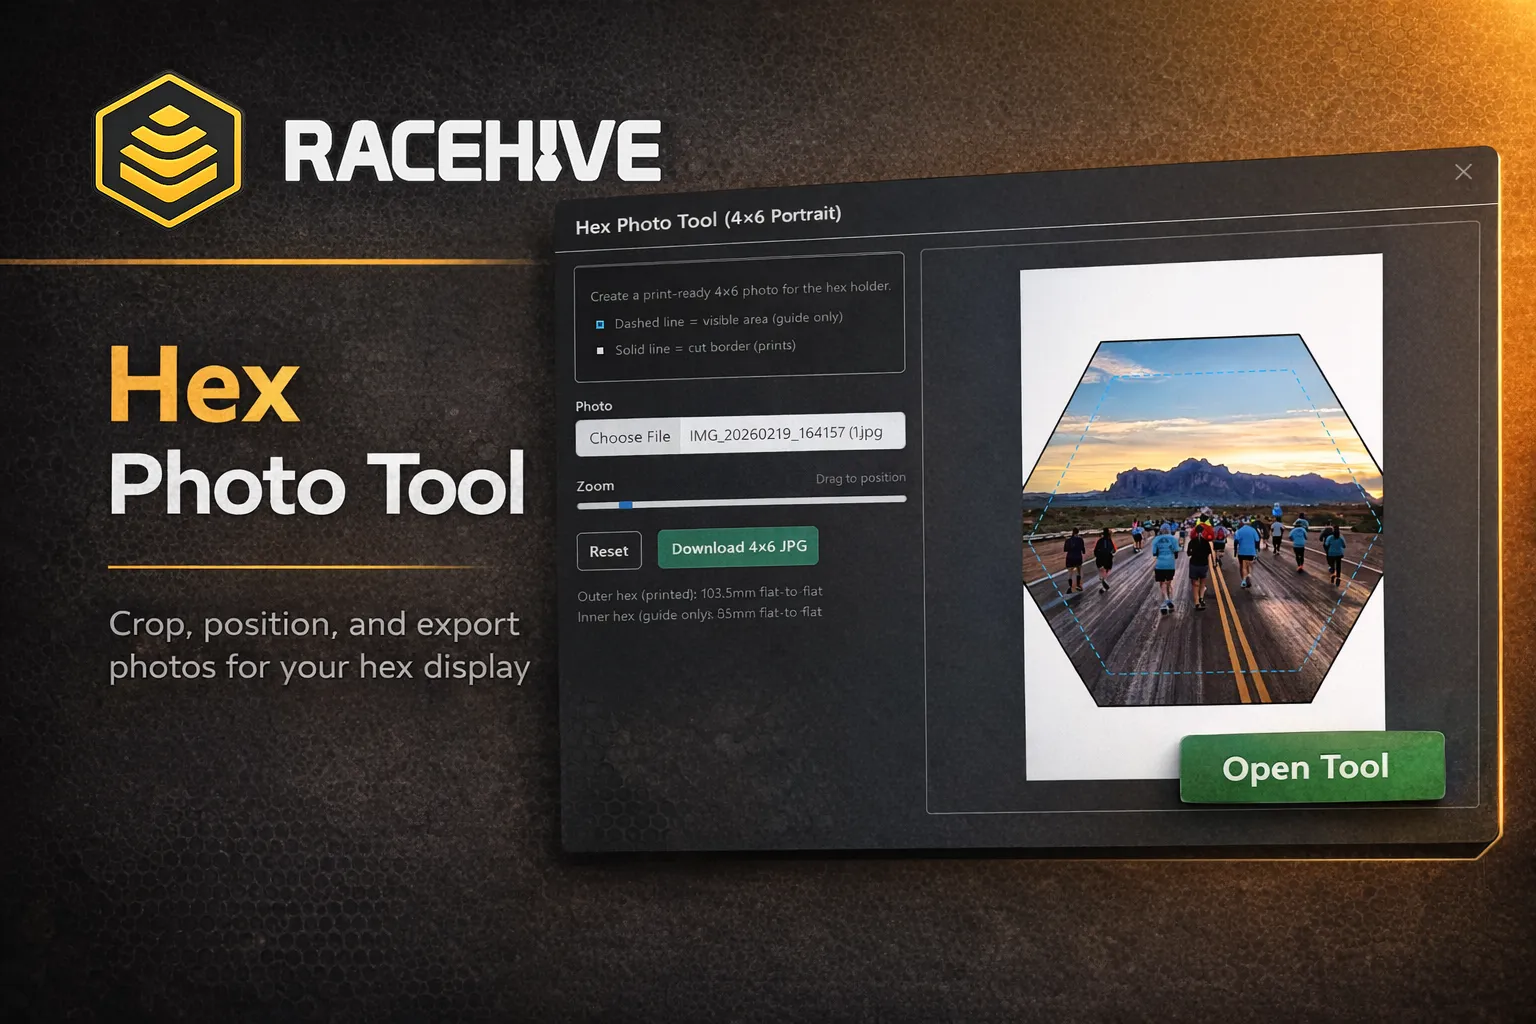
02.08.2026: You can now choose between generating a solid model that can be printed with an AMS unit, or a split model. When split model is selected, the text is forced flush with the top of the base plate and the terrain with the route is placed next to it. This allows the base plate to be printed upside down to capture the build plate texture. I find that depending on how dialed in your printer is, this can provide a better overall aesthetic than when printed right side up. 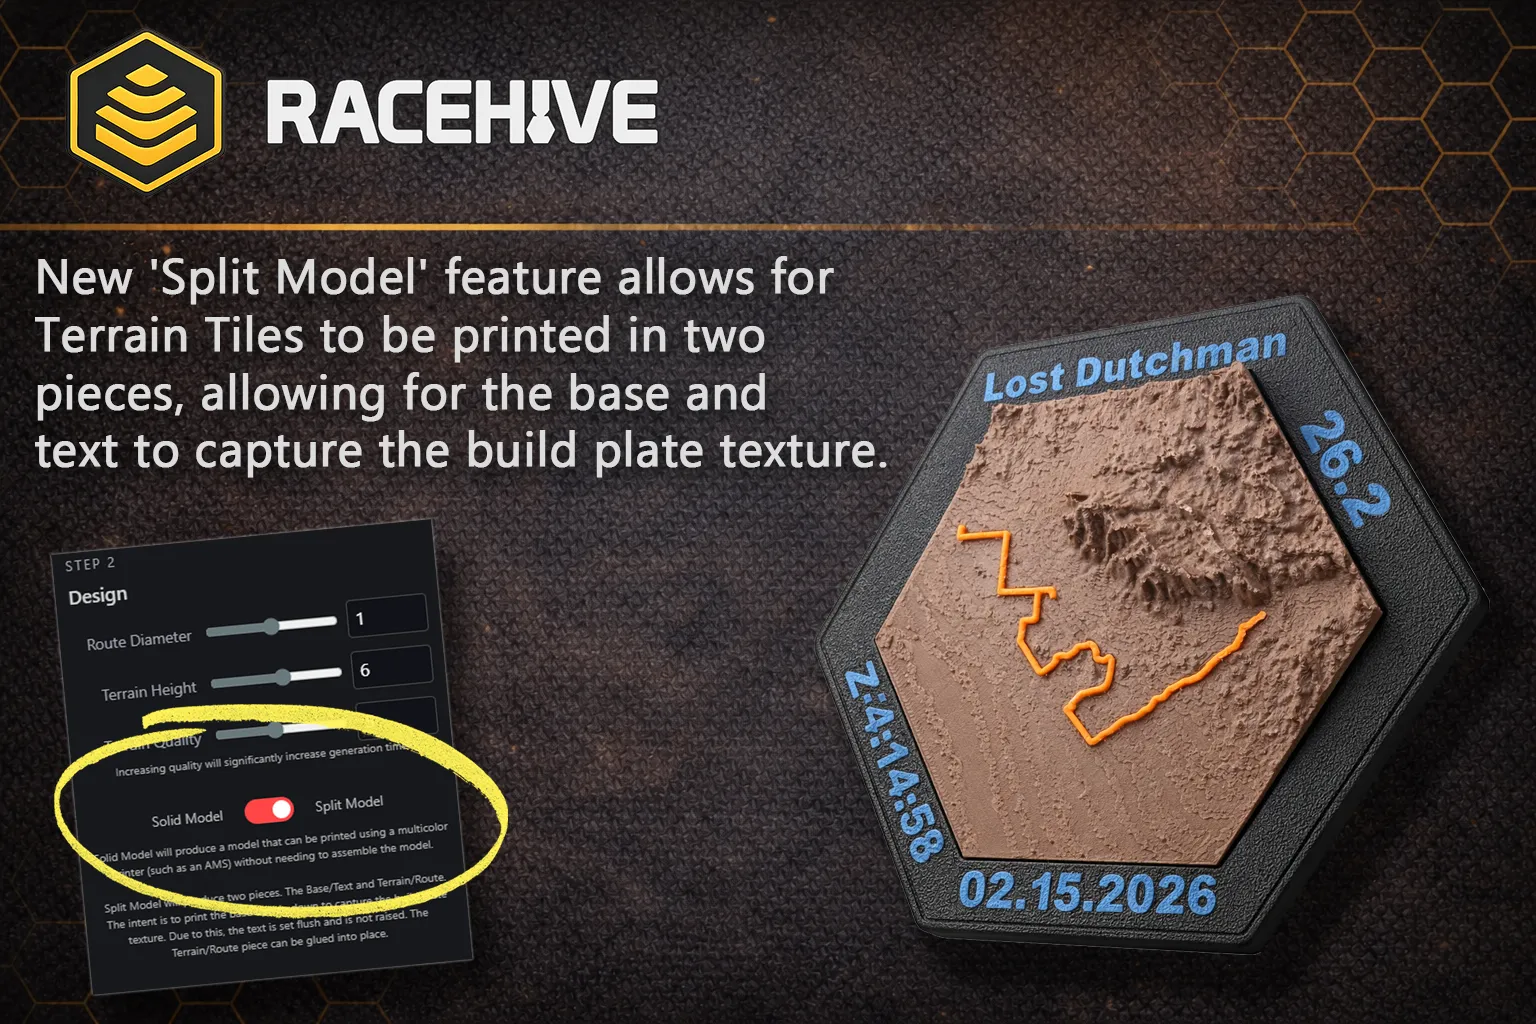
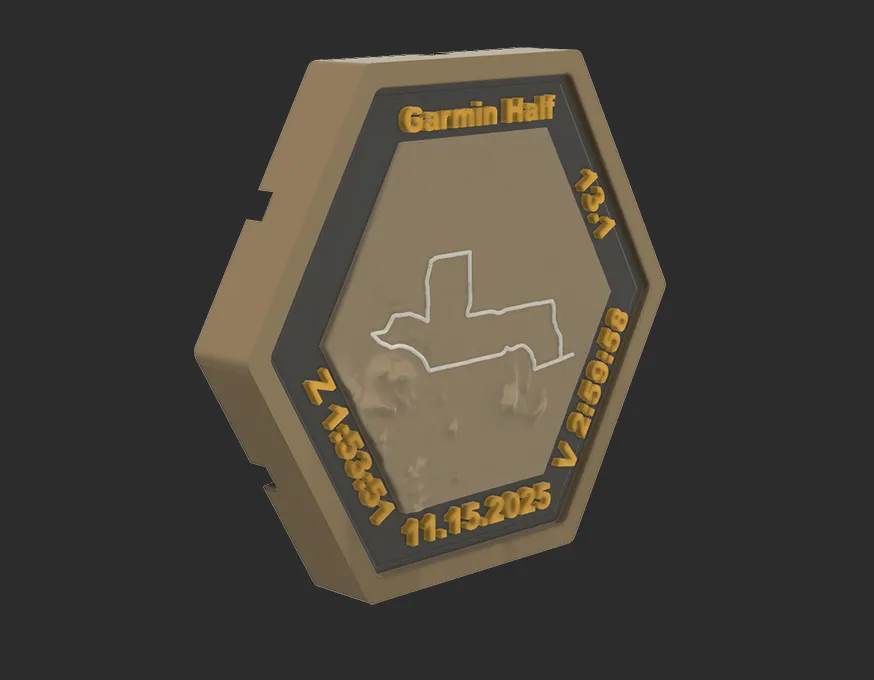
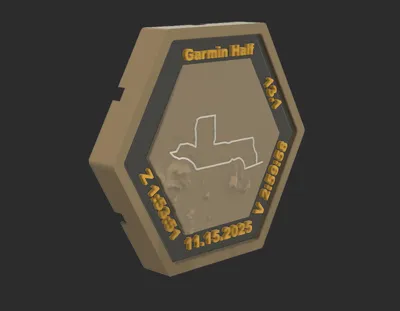
11.16.2025: I'm excited to release the next evolution of RaceHive, the Terrain Tiles. You can now upload the same GPX file and get a tile that shows the terrain surrounding your route. When visiting the RaceHive Site, you can now choose between the Legacy Tiles or the new Terrain Tiles.
You may find that if the route is within a small area (such as a 5K that does multiple laps), the terrain is pixelated. This is the downside to using free DEM services, which don't have the highest resolution. Creating these tiles also uses significantly more memory and CPU time. You'll find that once printed, the layer lines essentially eliminate any pixelation.
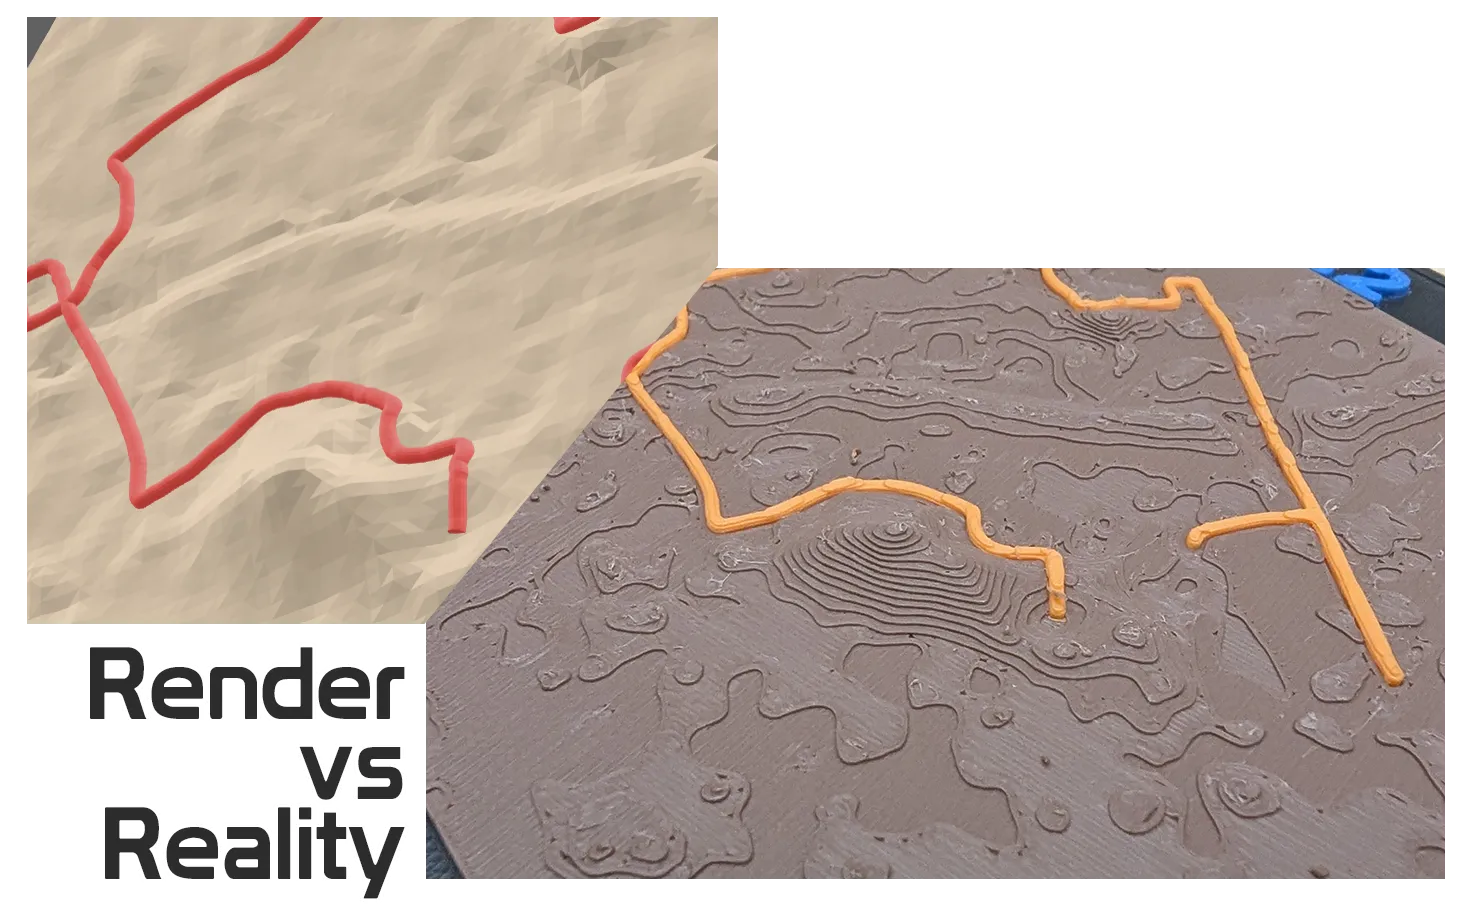
I would love to hear your feedback or ideas!
|
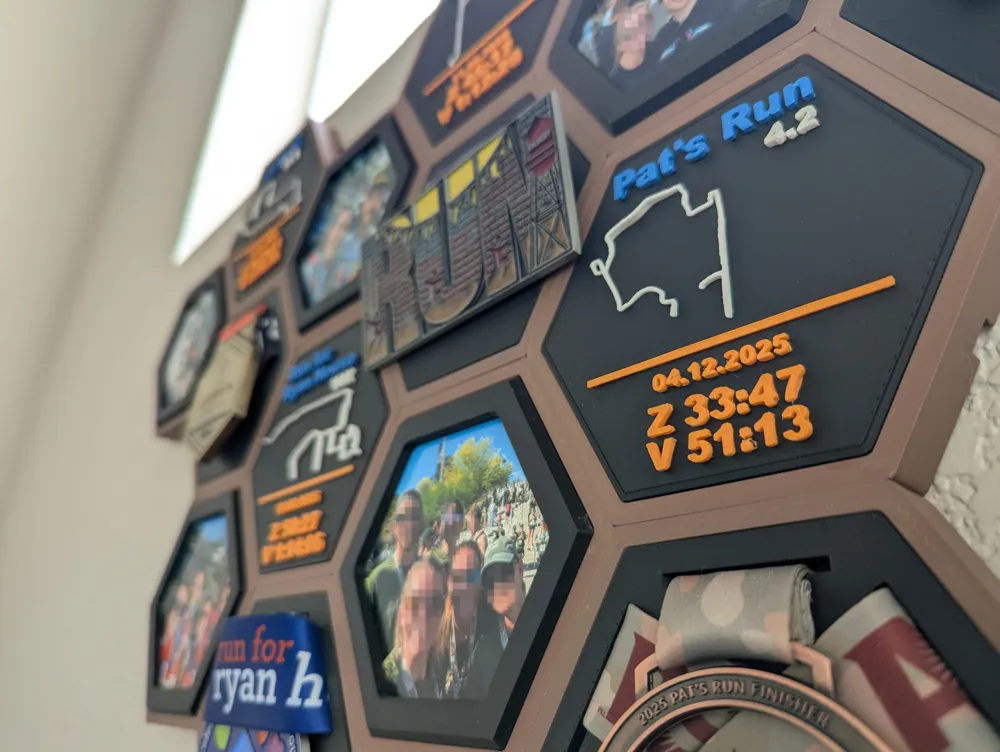
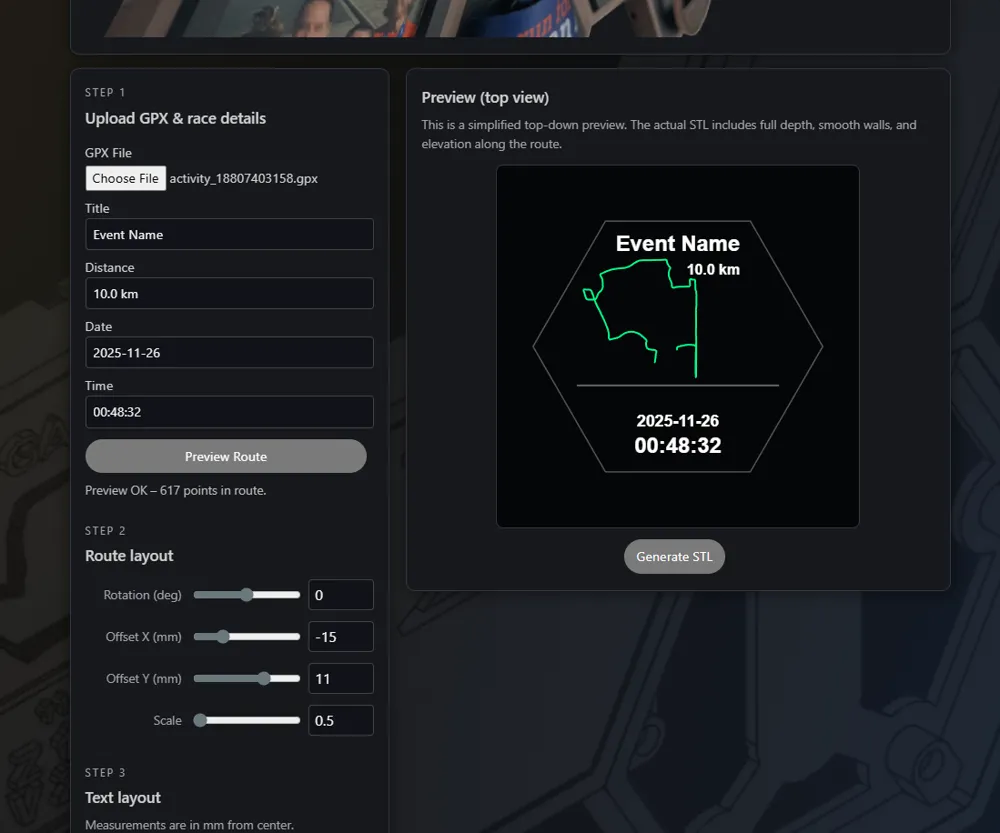
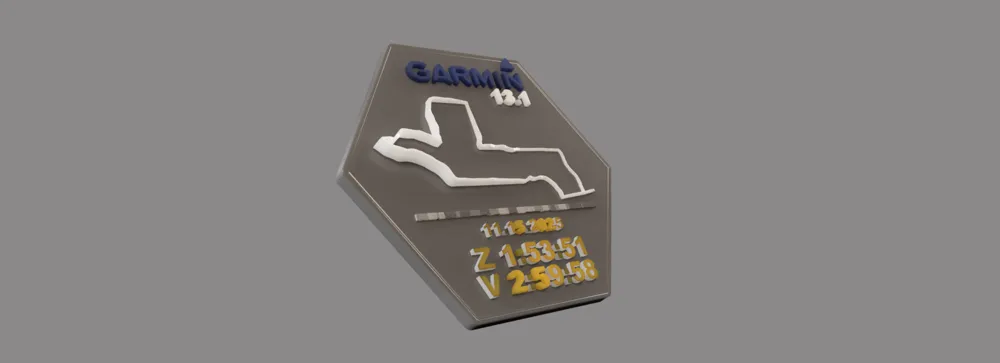
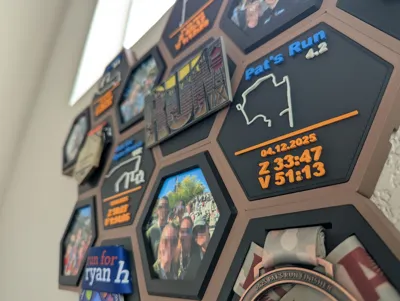
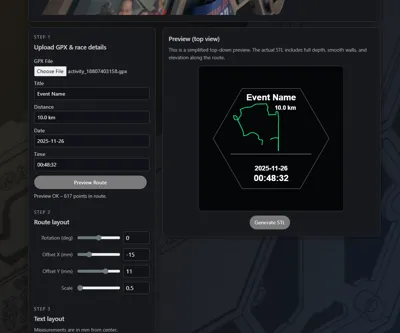
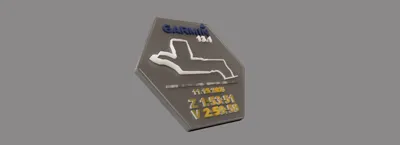
Your Custom Route PlateI built an online tool that will easily and quickly generate your Route Plate with a 3D route, event name, date and your finish time. All you need to do is export the GPX file from Garmin, Strava or another run tracking service and upload it our site. See the link below! Link to site: RaceHive.pro |
Boost Me (for free)
If you enjoyed my model, please consider leaving a boost, it goes a long way with helping to continue to develop.
Modular Hex SystemEach RaceHive module is designed to be:
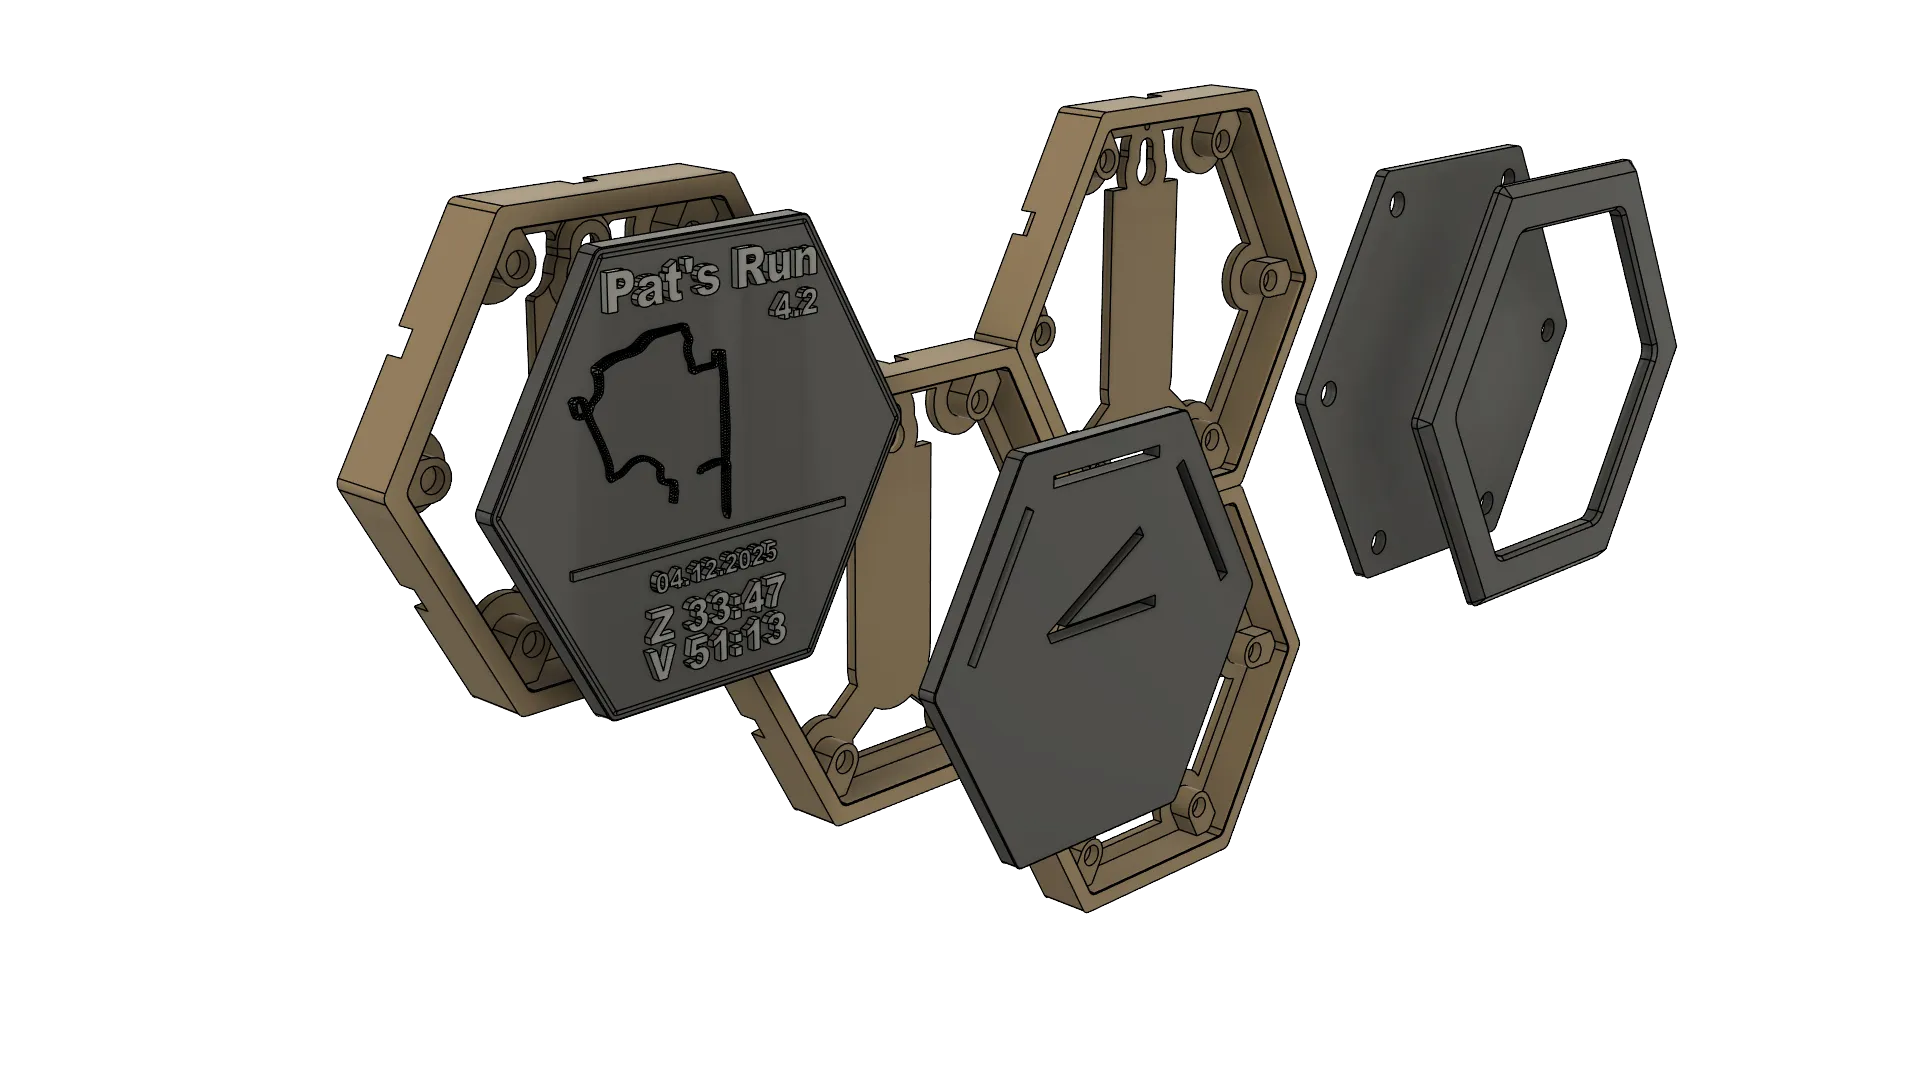 Photo PanelsA clean inset frame to display your favorite race moments.
Route Panels3D-printed GPS trace from your race — bold, clean, and highly visible.
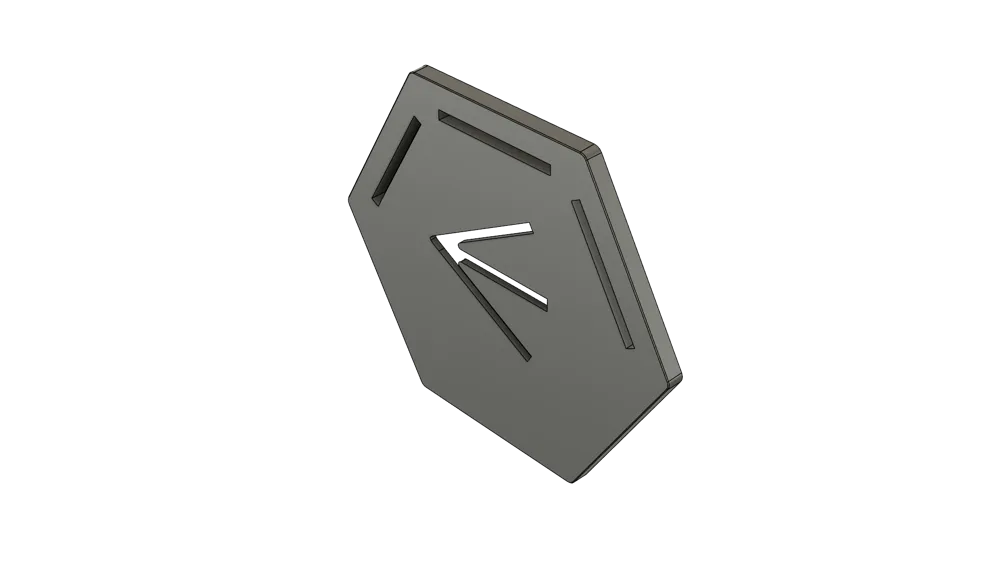
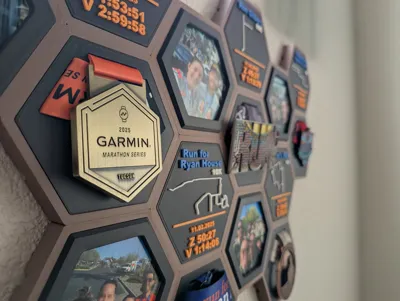
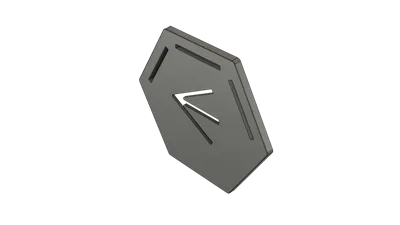
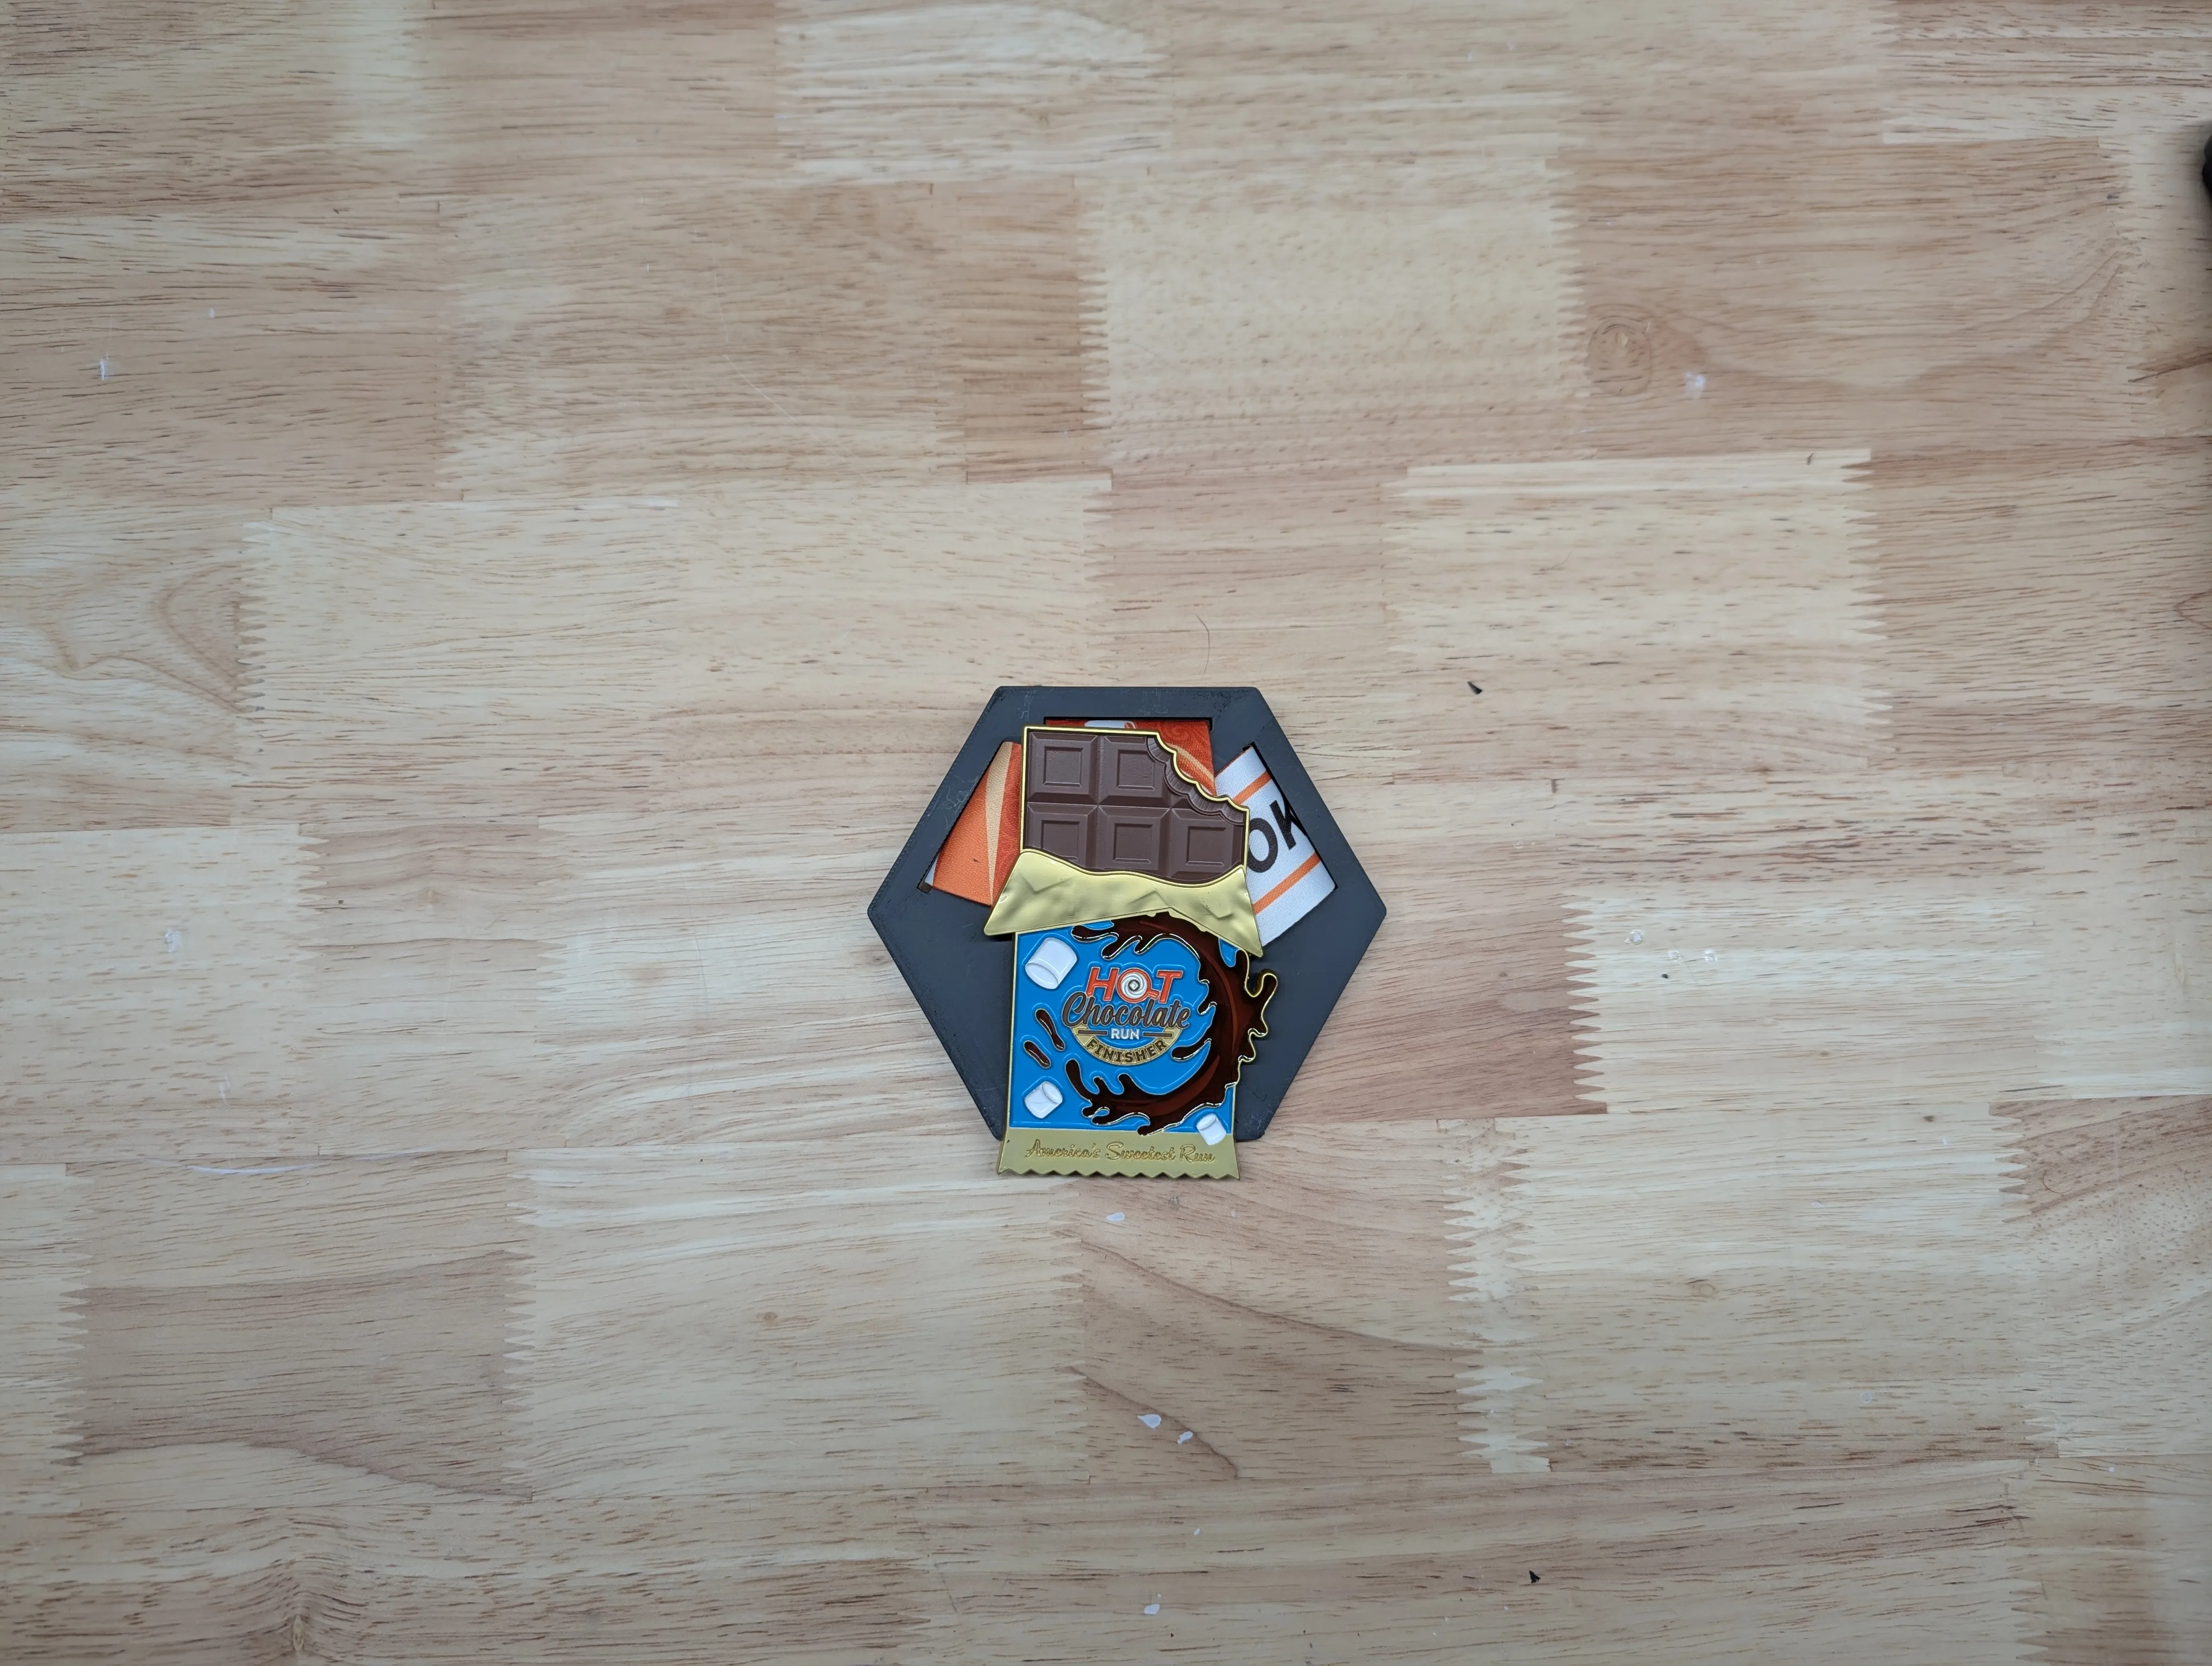
Medal PanelsSnap-in designs that securely hold small or large medals. Three styles to choose from, depending on the medal style.
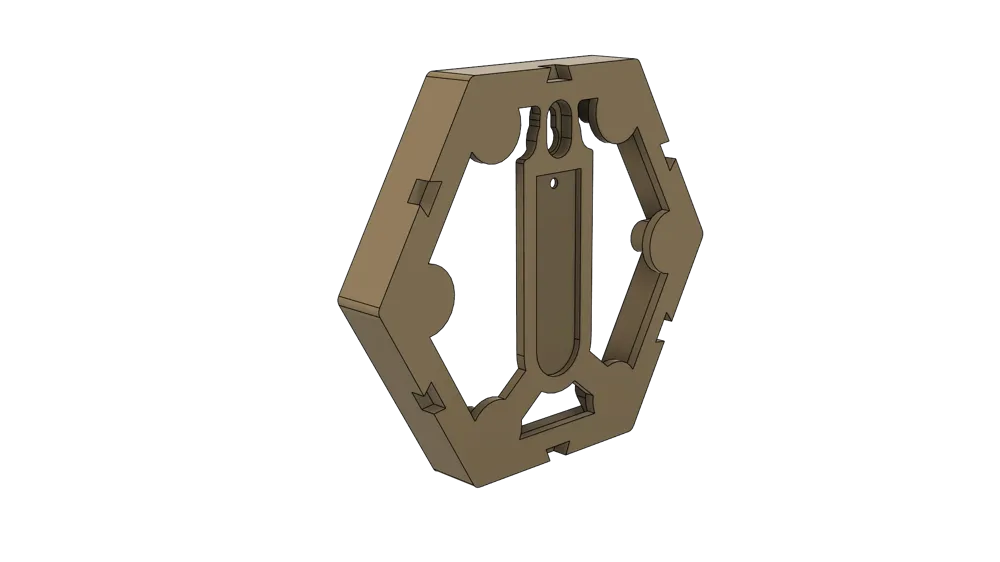
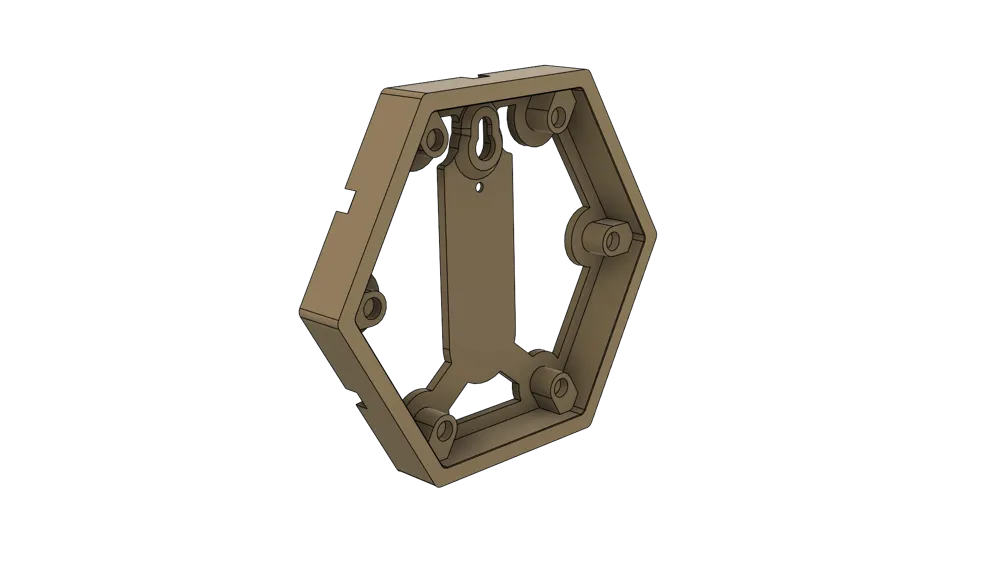
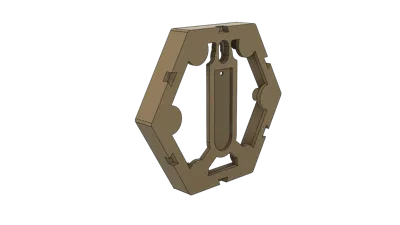
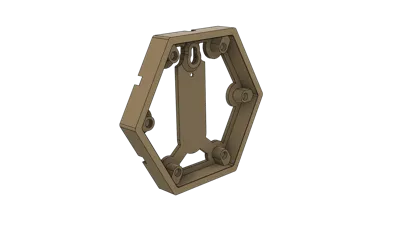
 I designed the inserts to be a snug fit within the base hex, but each base has room for up to six 6x3mm magnets. I left the fit on the looser side to help accommodate any small variances and I also noticed that with a slightly looser fit, the superglue can push to around the magnet, creating a better hold.
|
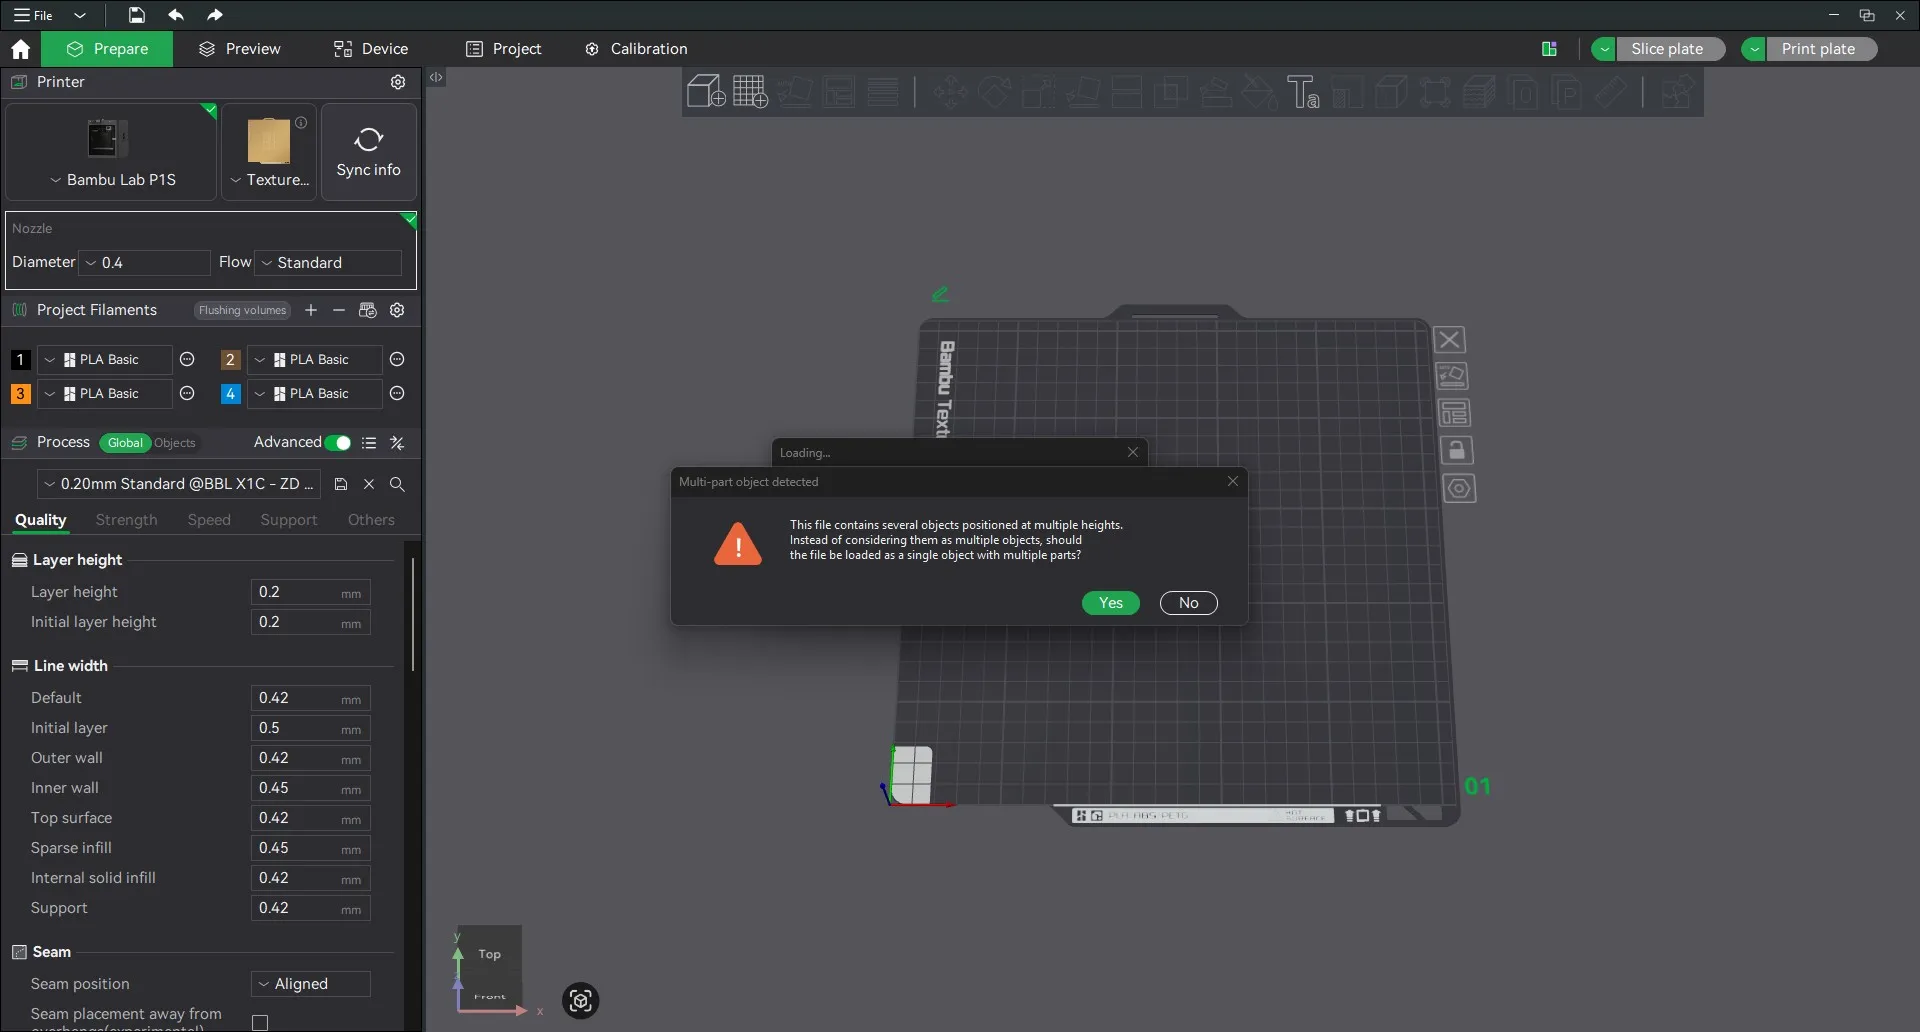
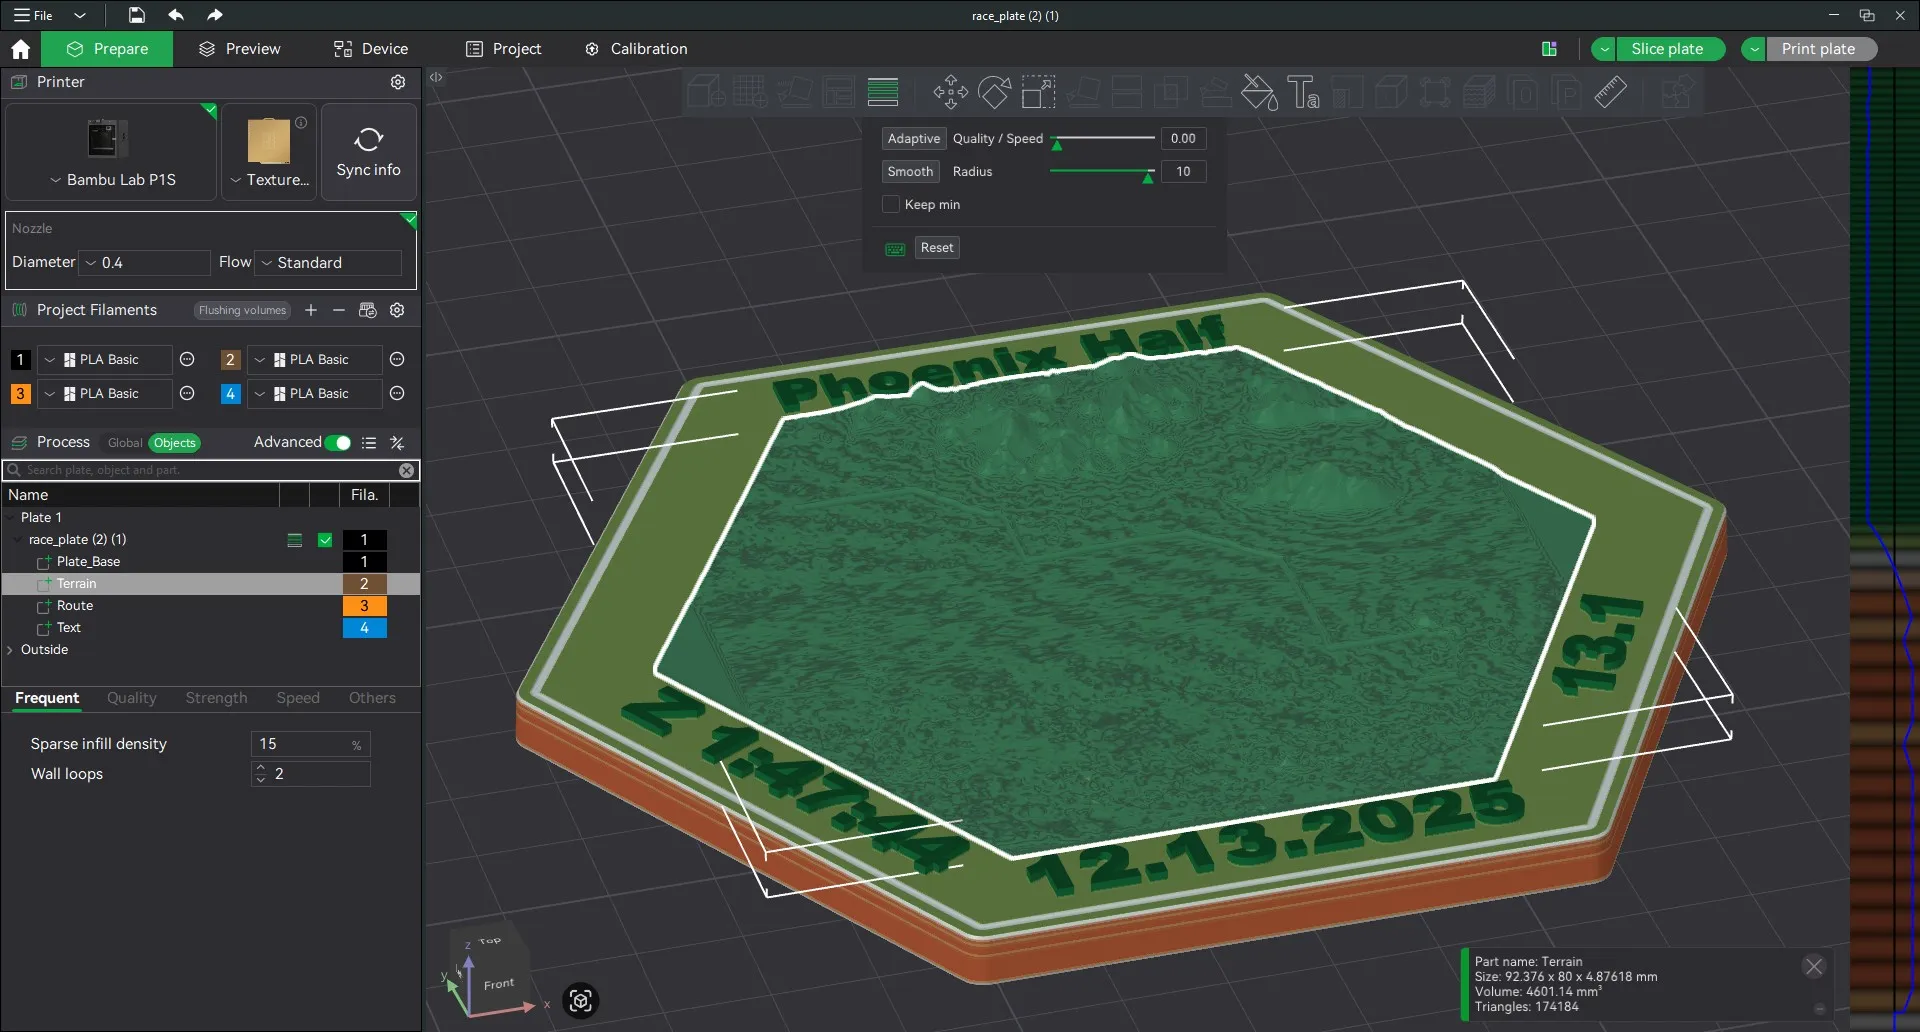
Coloring Terrain Tiles:1. Import the 3MF file that you downloaded from RaceHive. Click “Yes” to the pop-up asking if it should be imported as a single object with multiple parts.
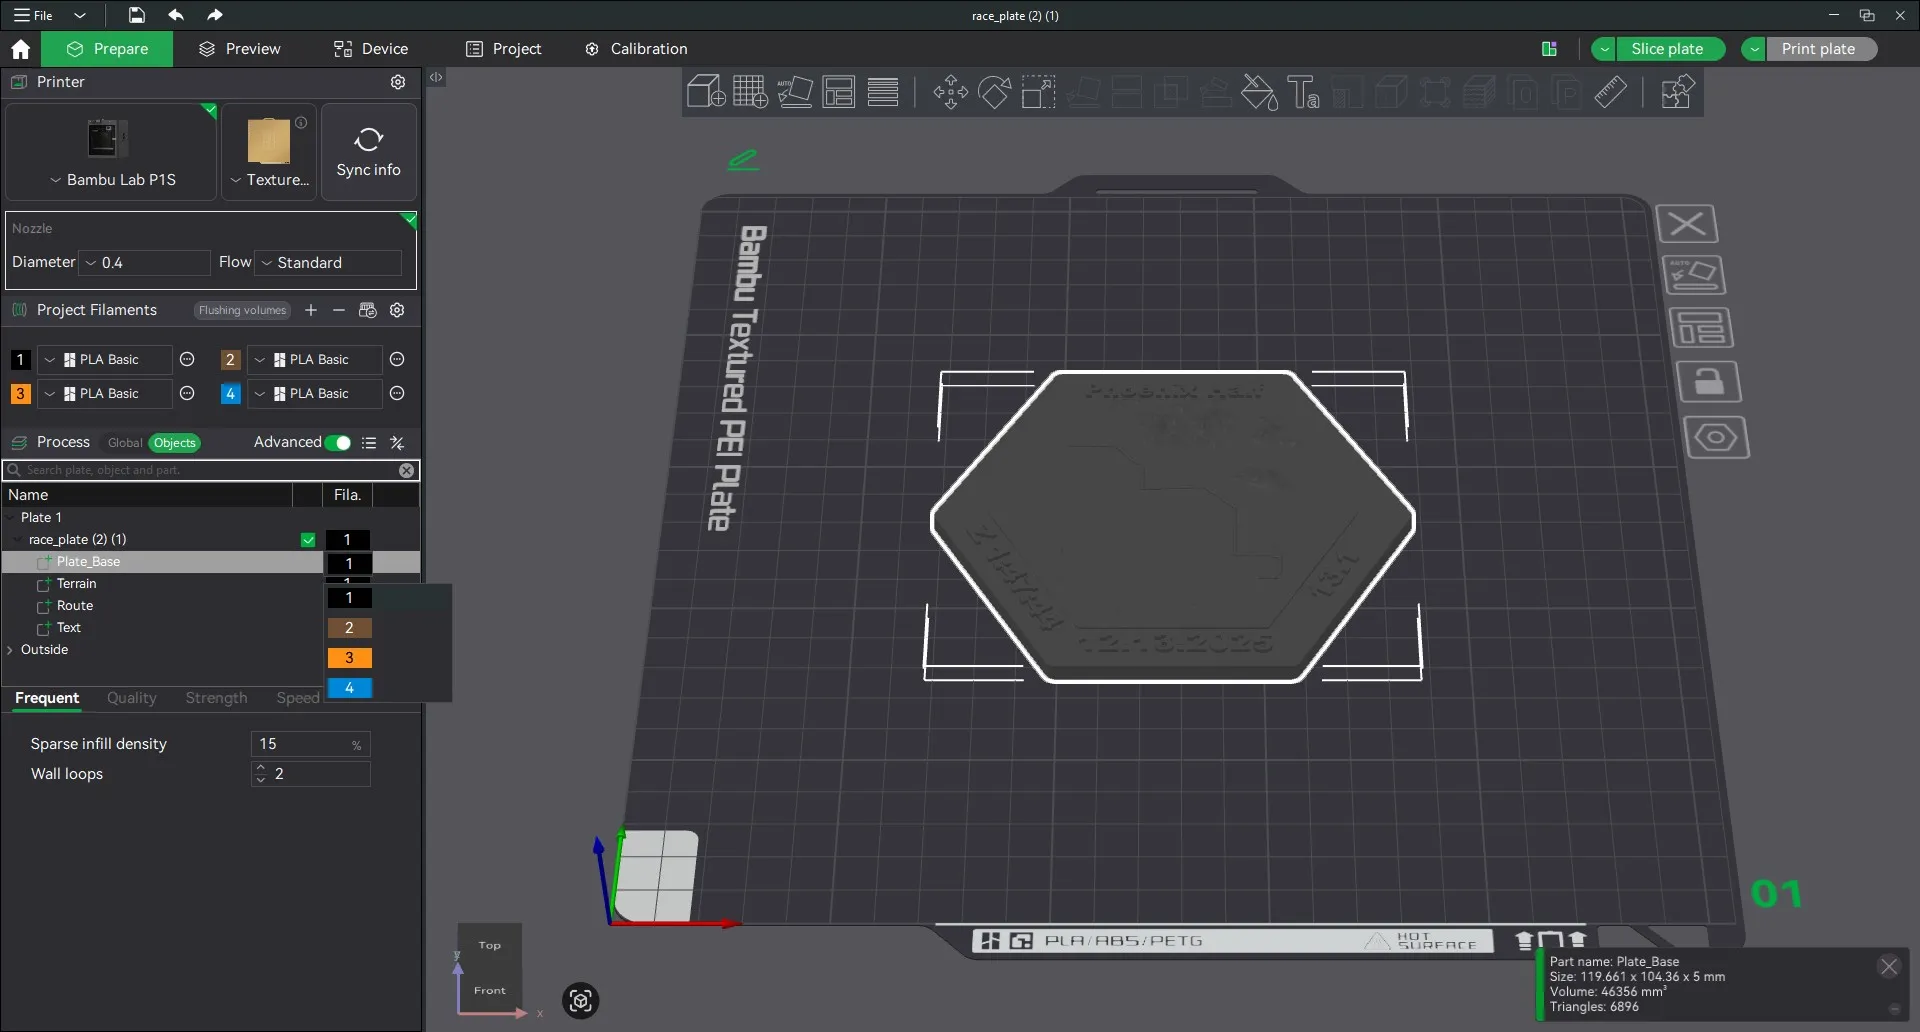
2. On the left-hand toolbar, switch from ‘Global’ to ‘Object’. You will then see the four components (Plate, Terrain, Route and Text). You can click on the filament associated to each of them and change it to your desired filament. This prevents you from having to try and paint the model.
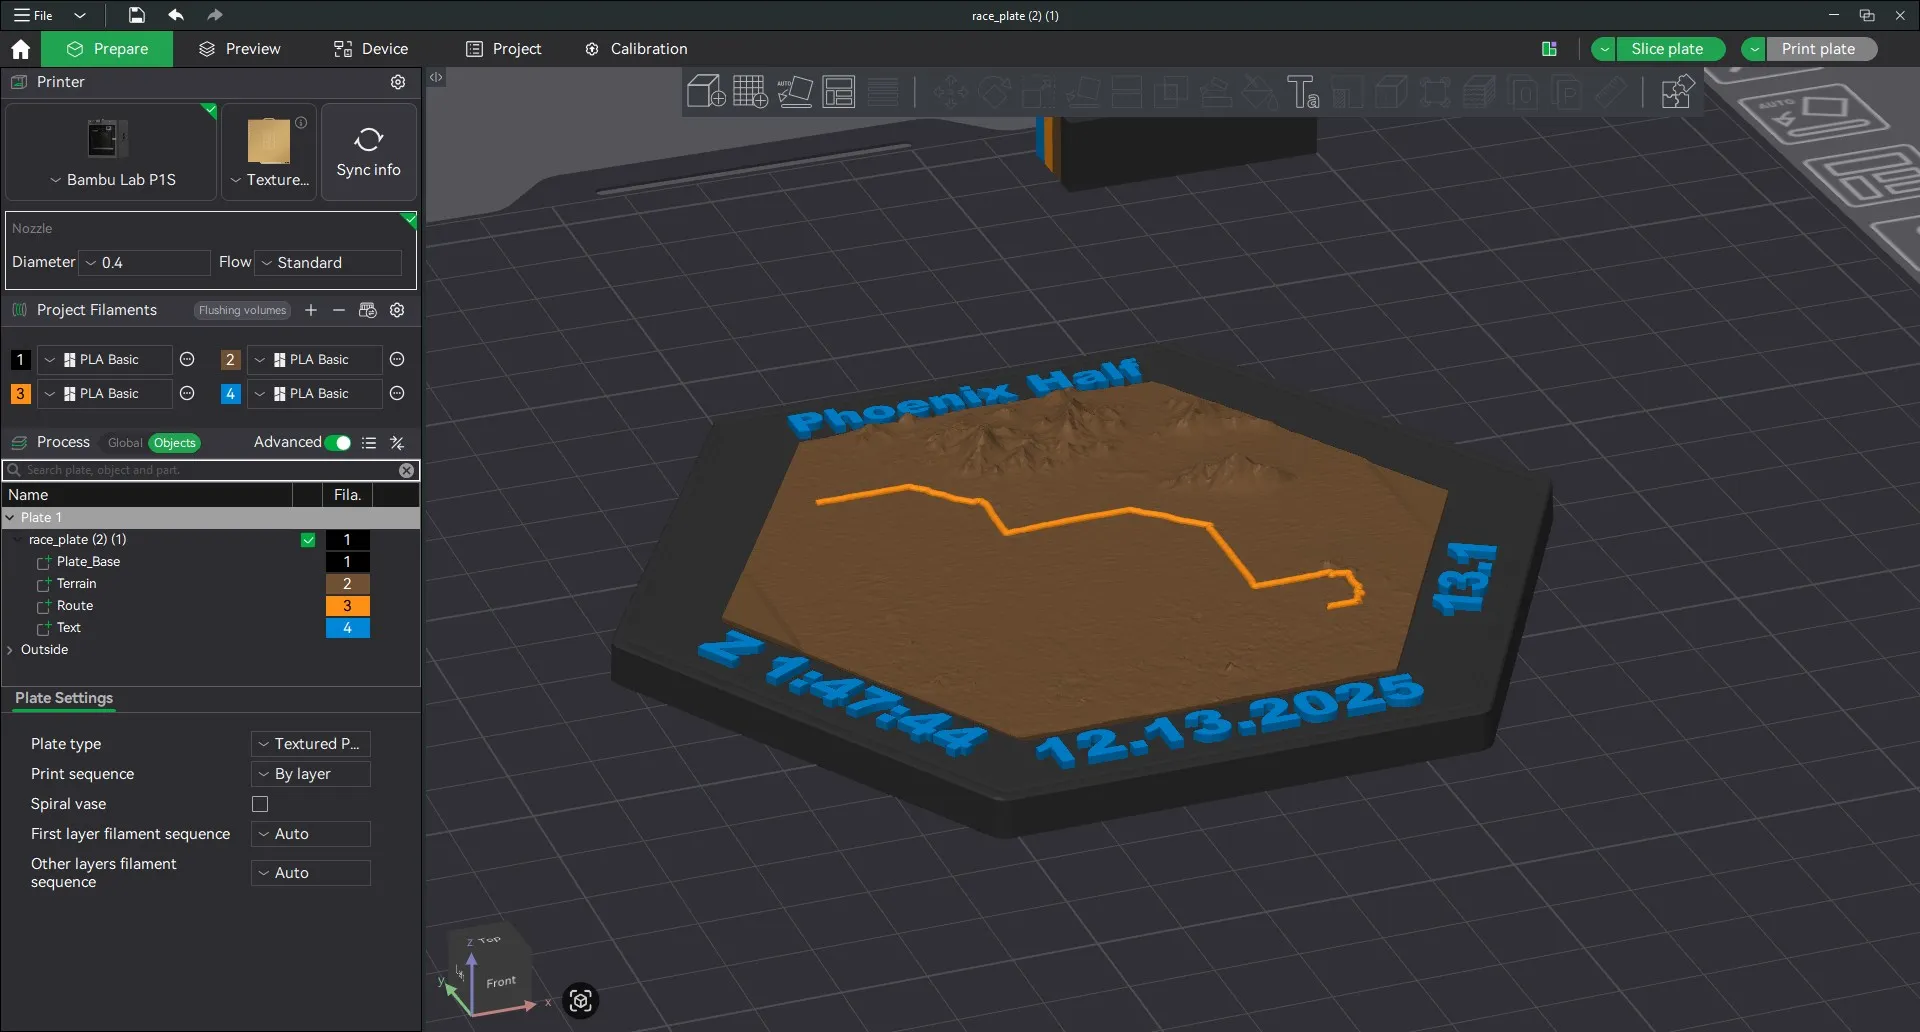
3. This is what it should look like after coloring.
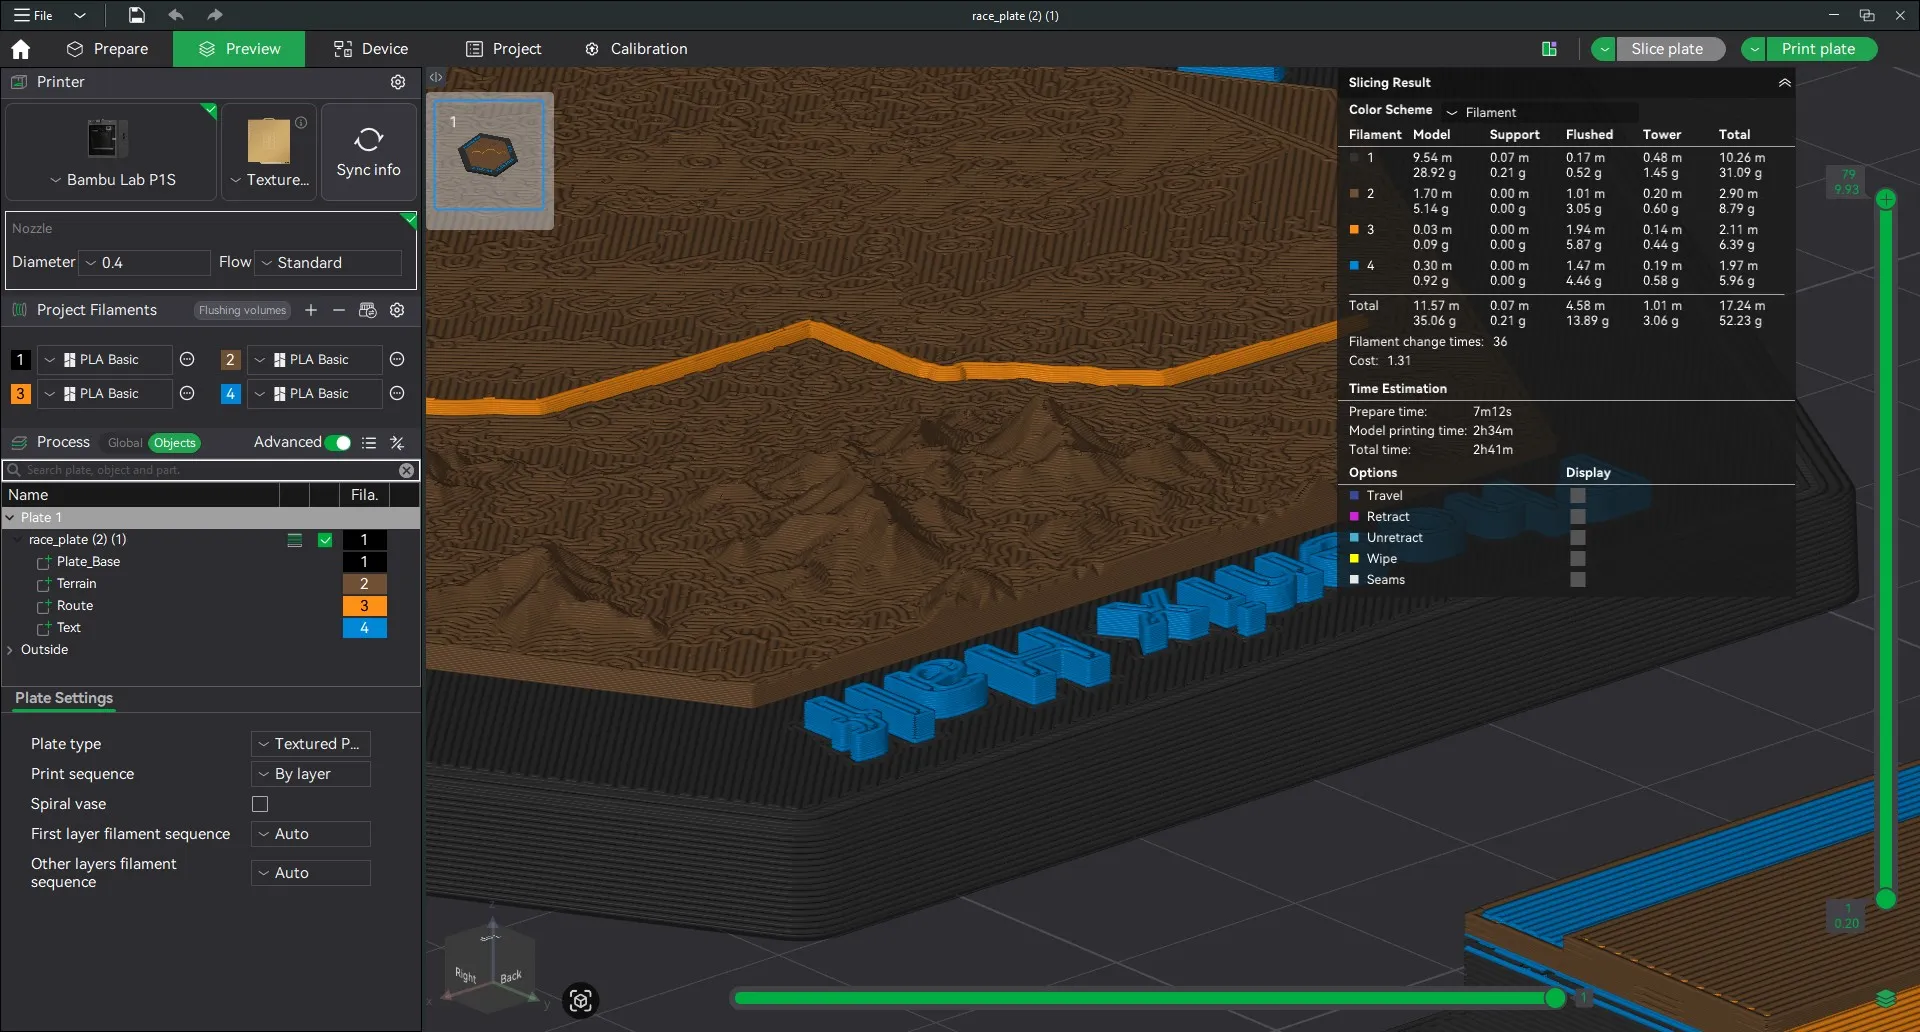
4. If you would like, you can click on the ‘Adaptive Layers’ button (5th from the left on top) and set the sliders as shown, then click ‘Adaptive’ from the drop down. This will make the base layers thicker to speed up printing, then reduce layer thickness when you get to the detail of the route and terrain.
5. This is after slicing with adaptive layers. You're now ready to print!
|
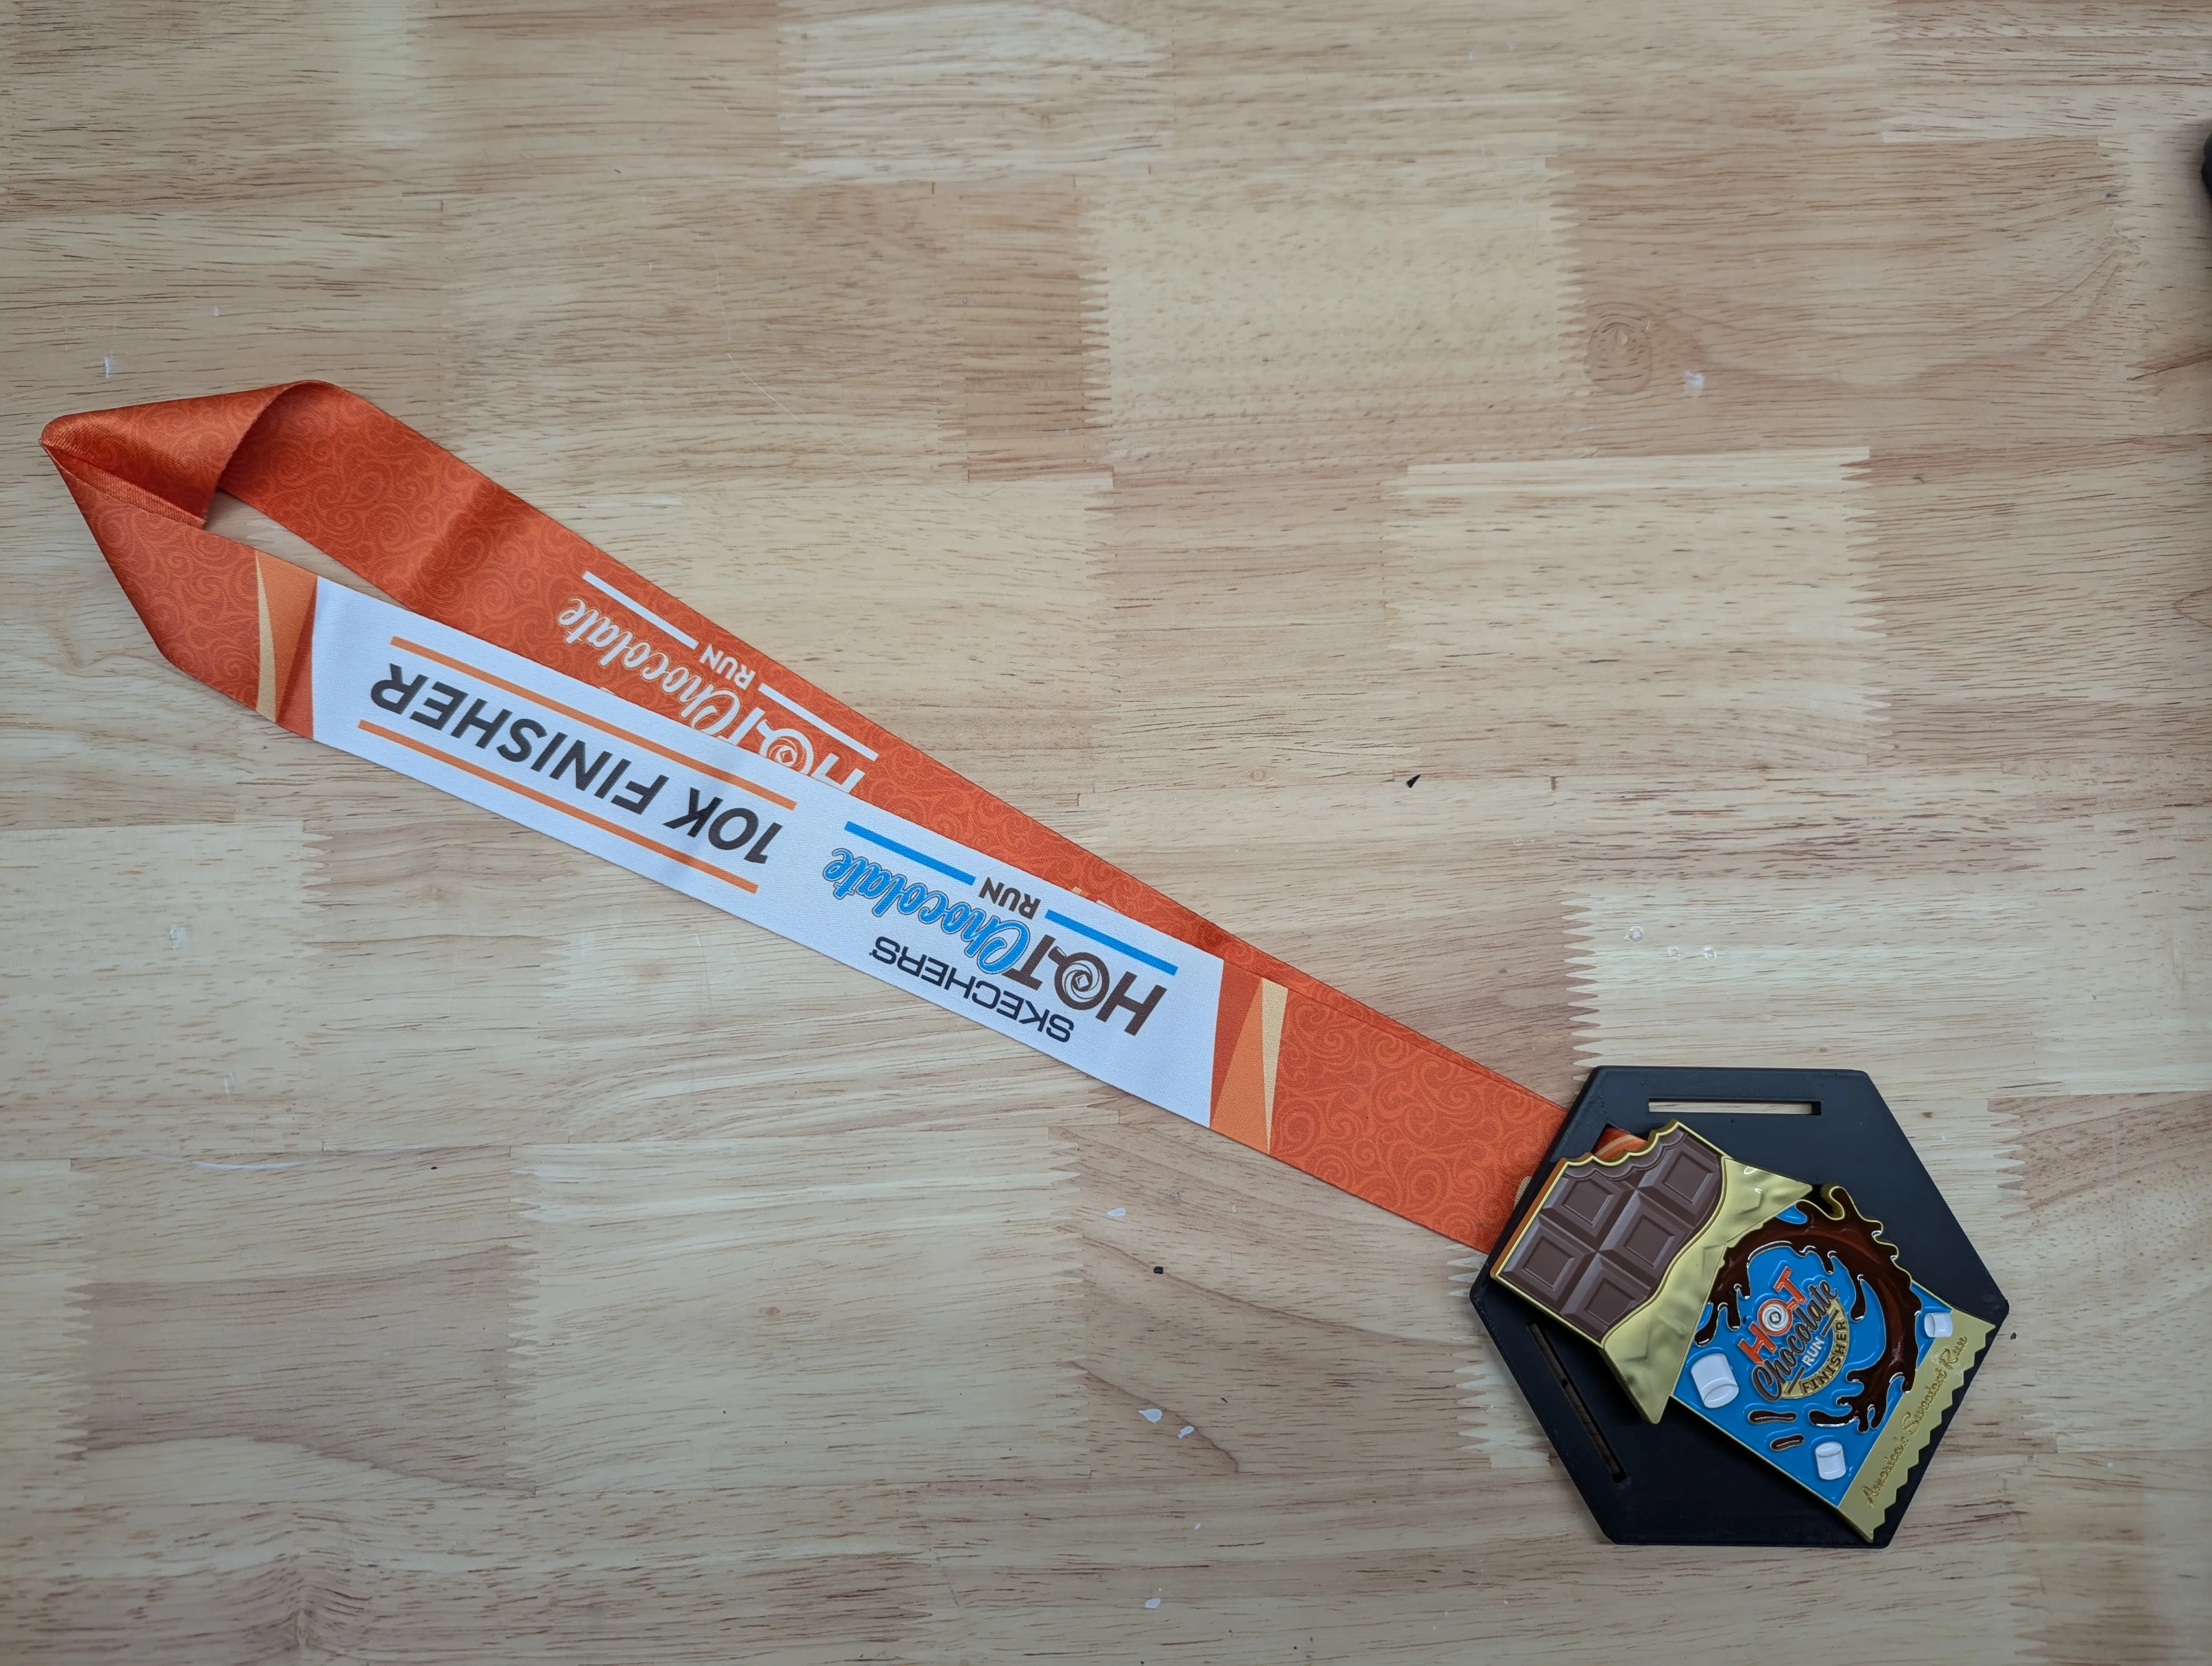
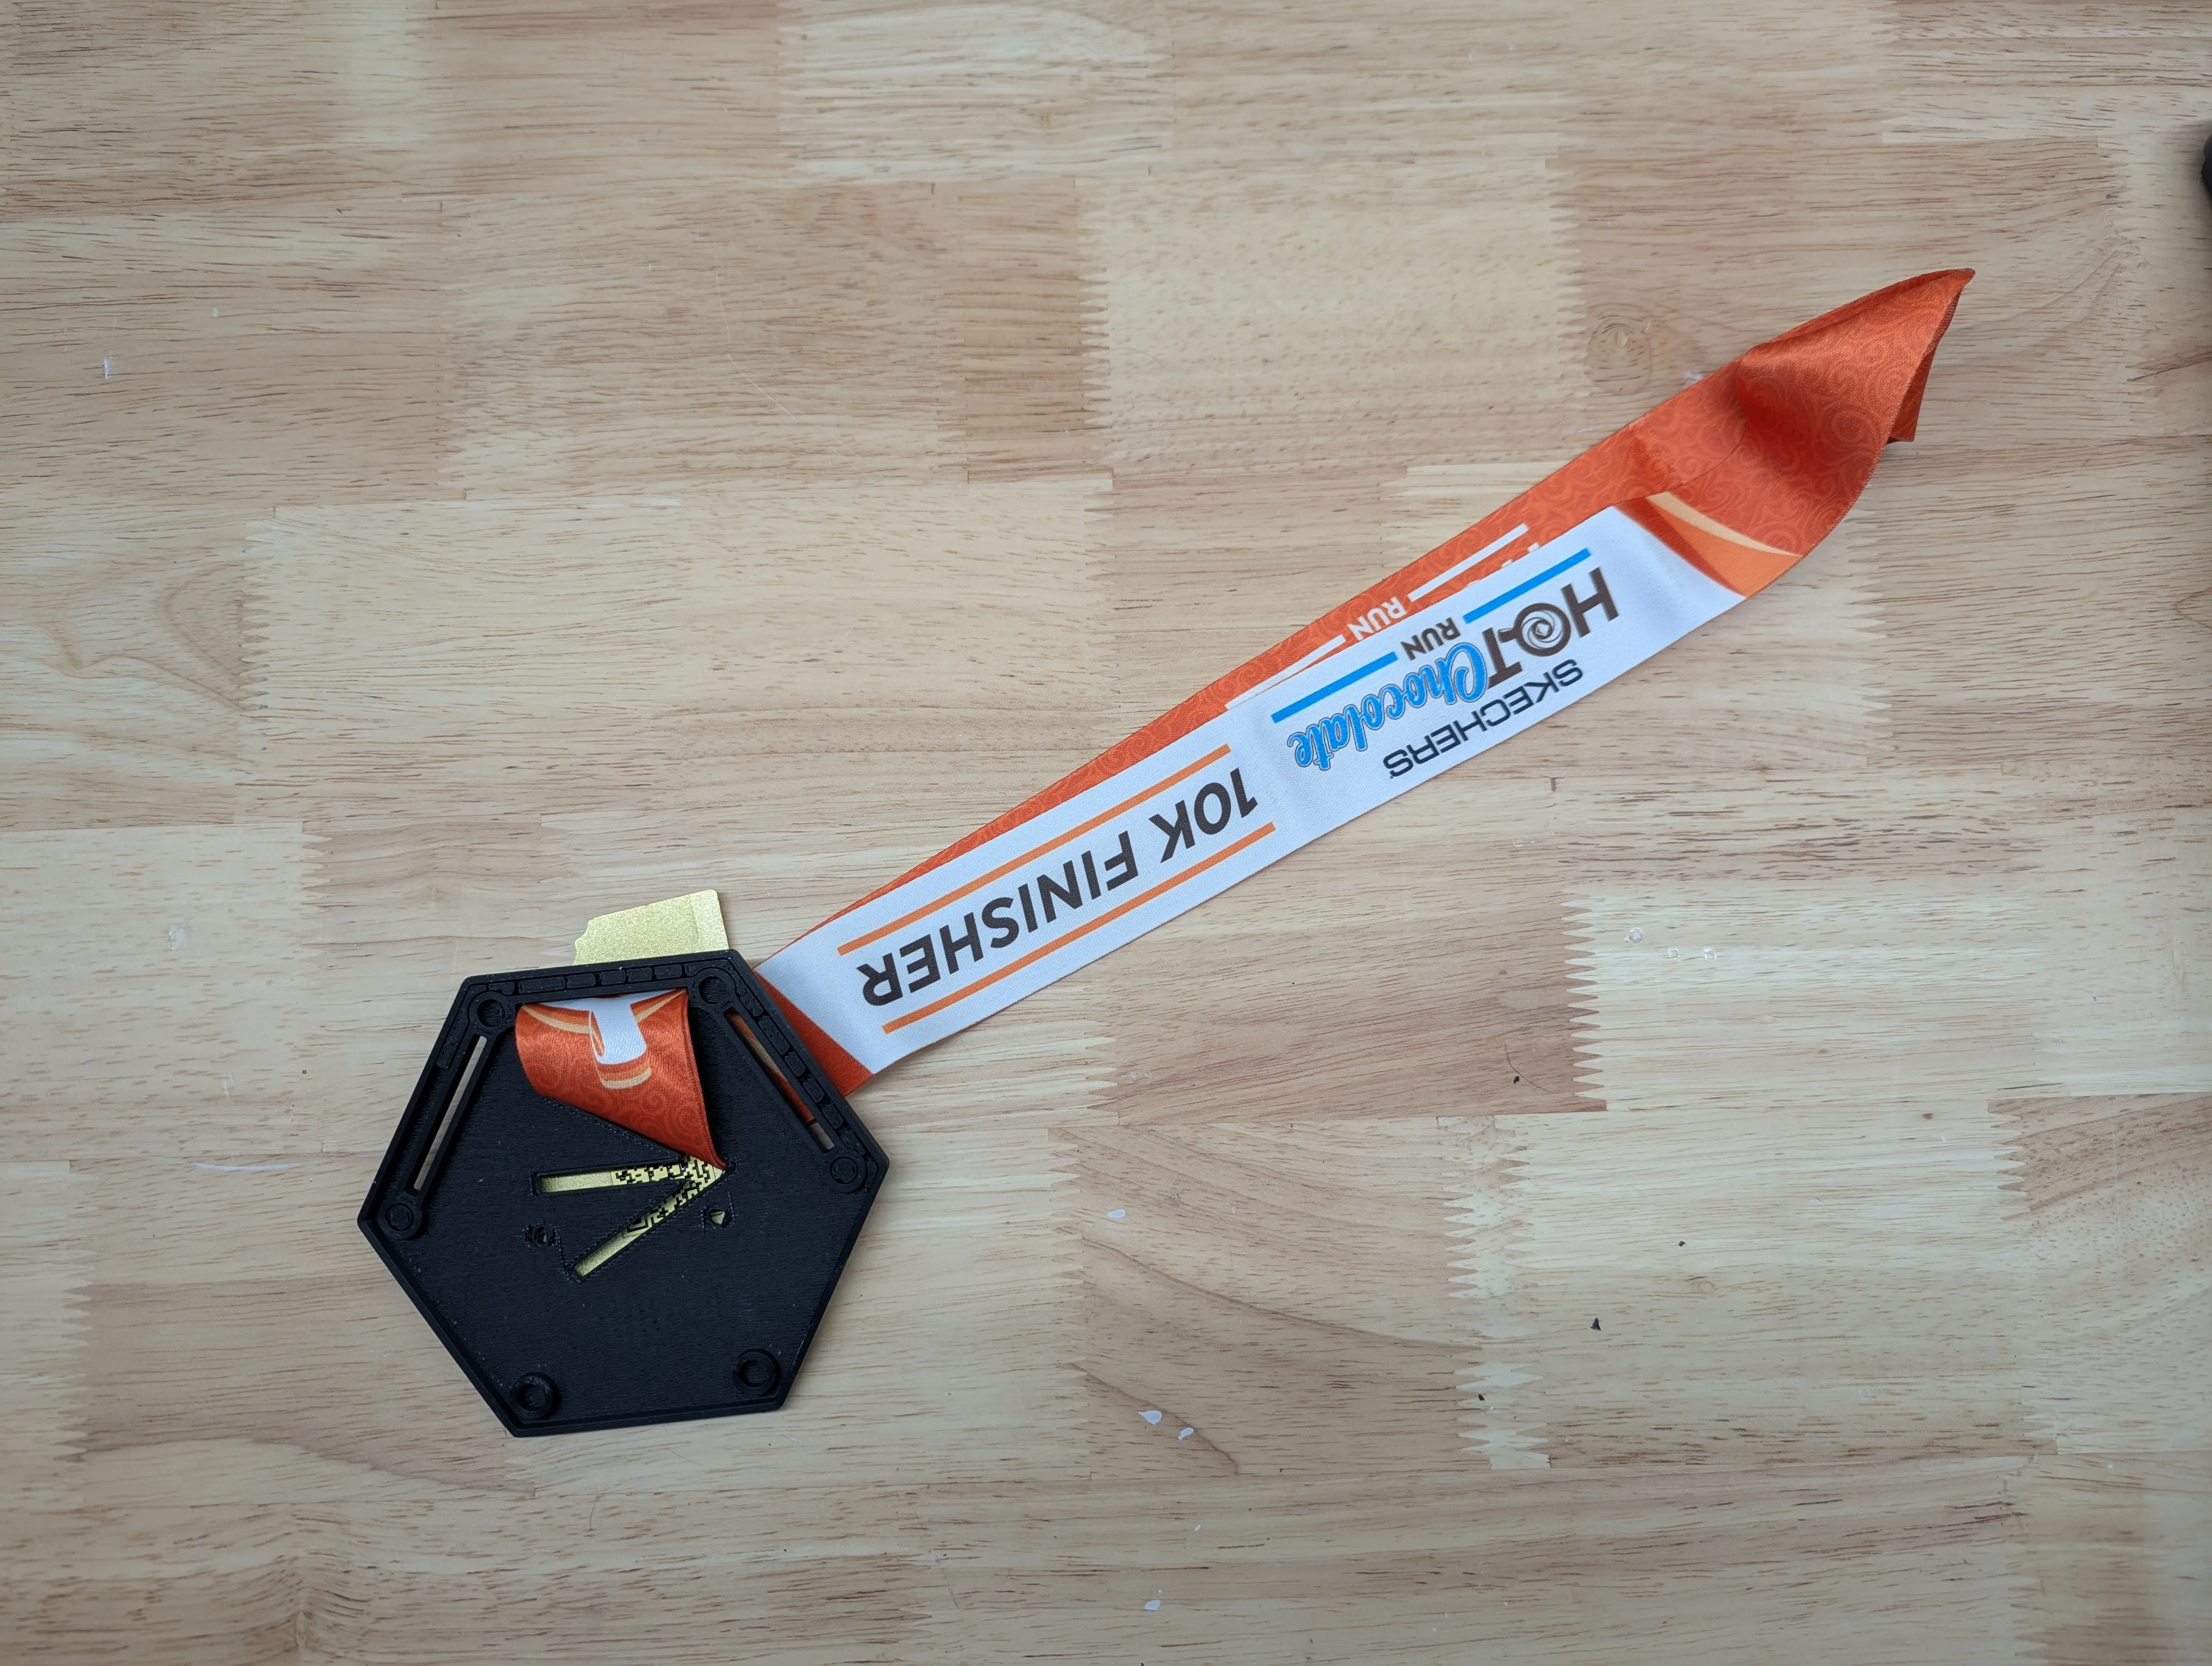
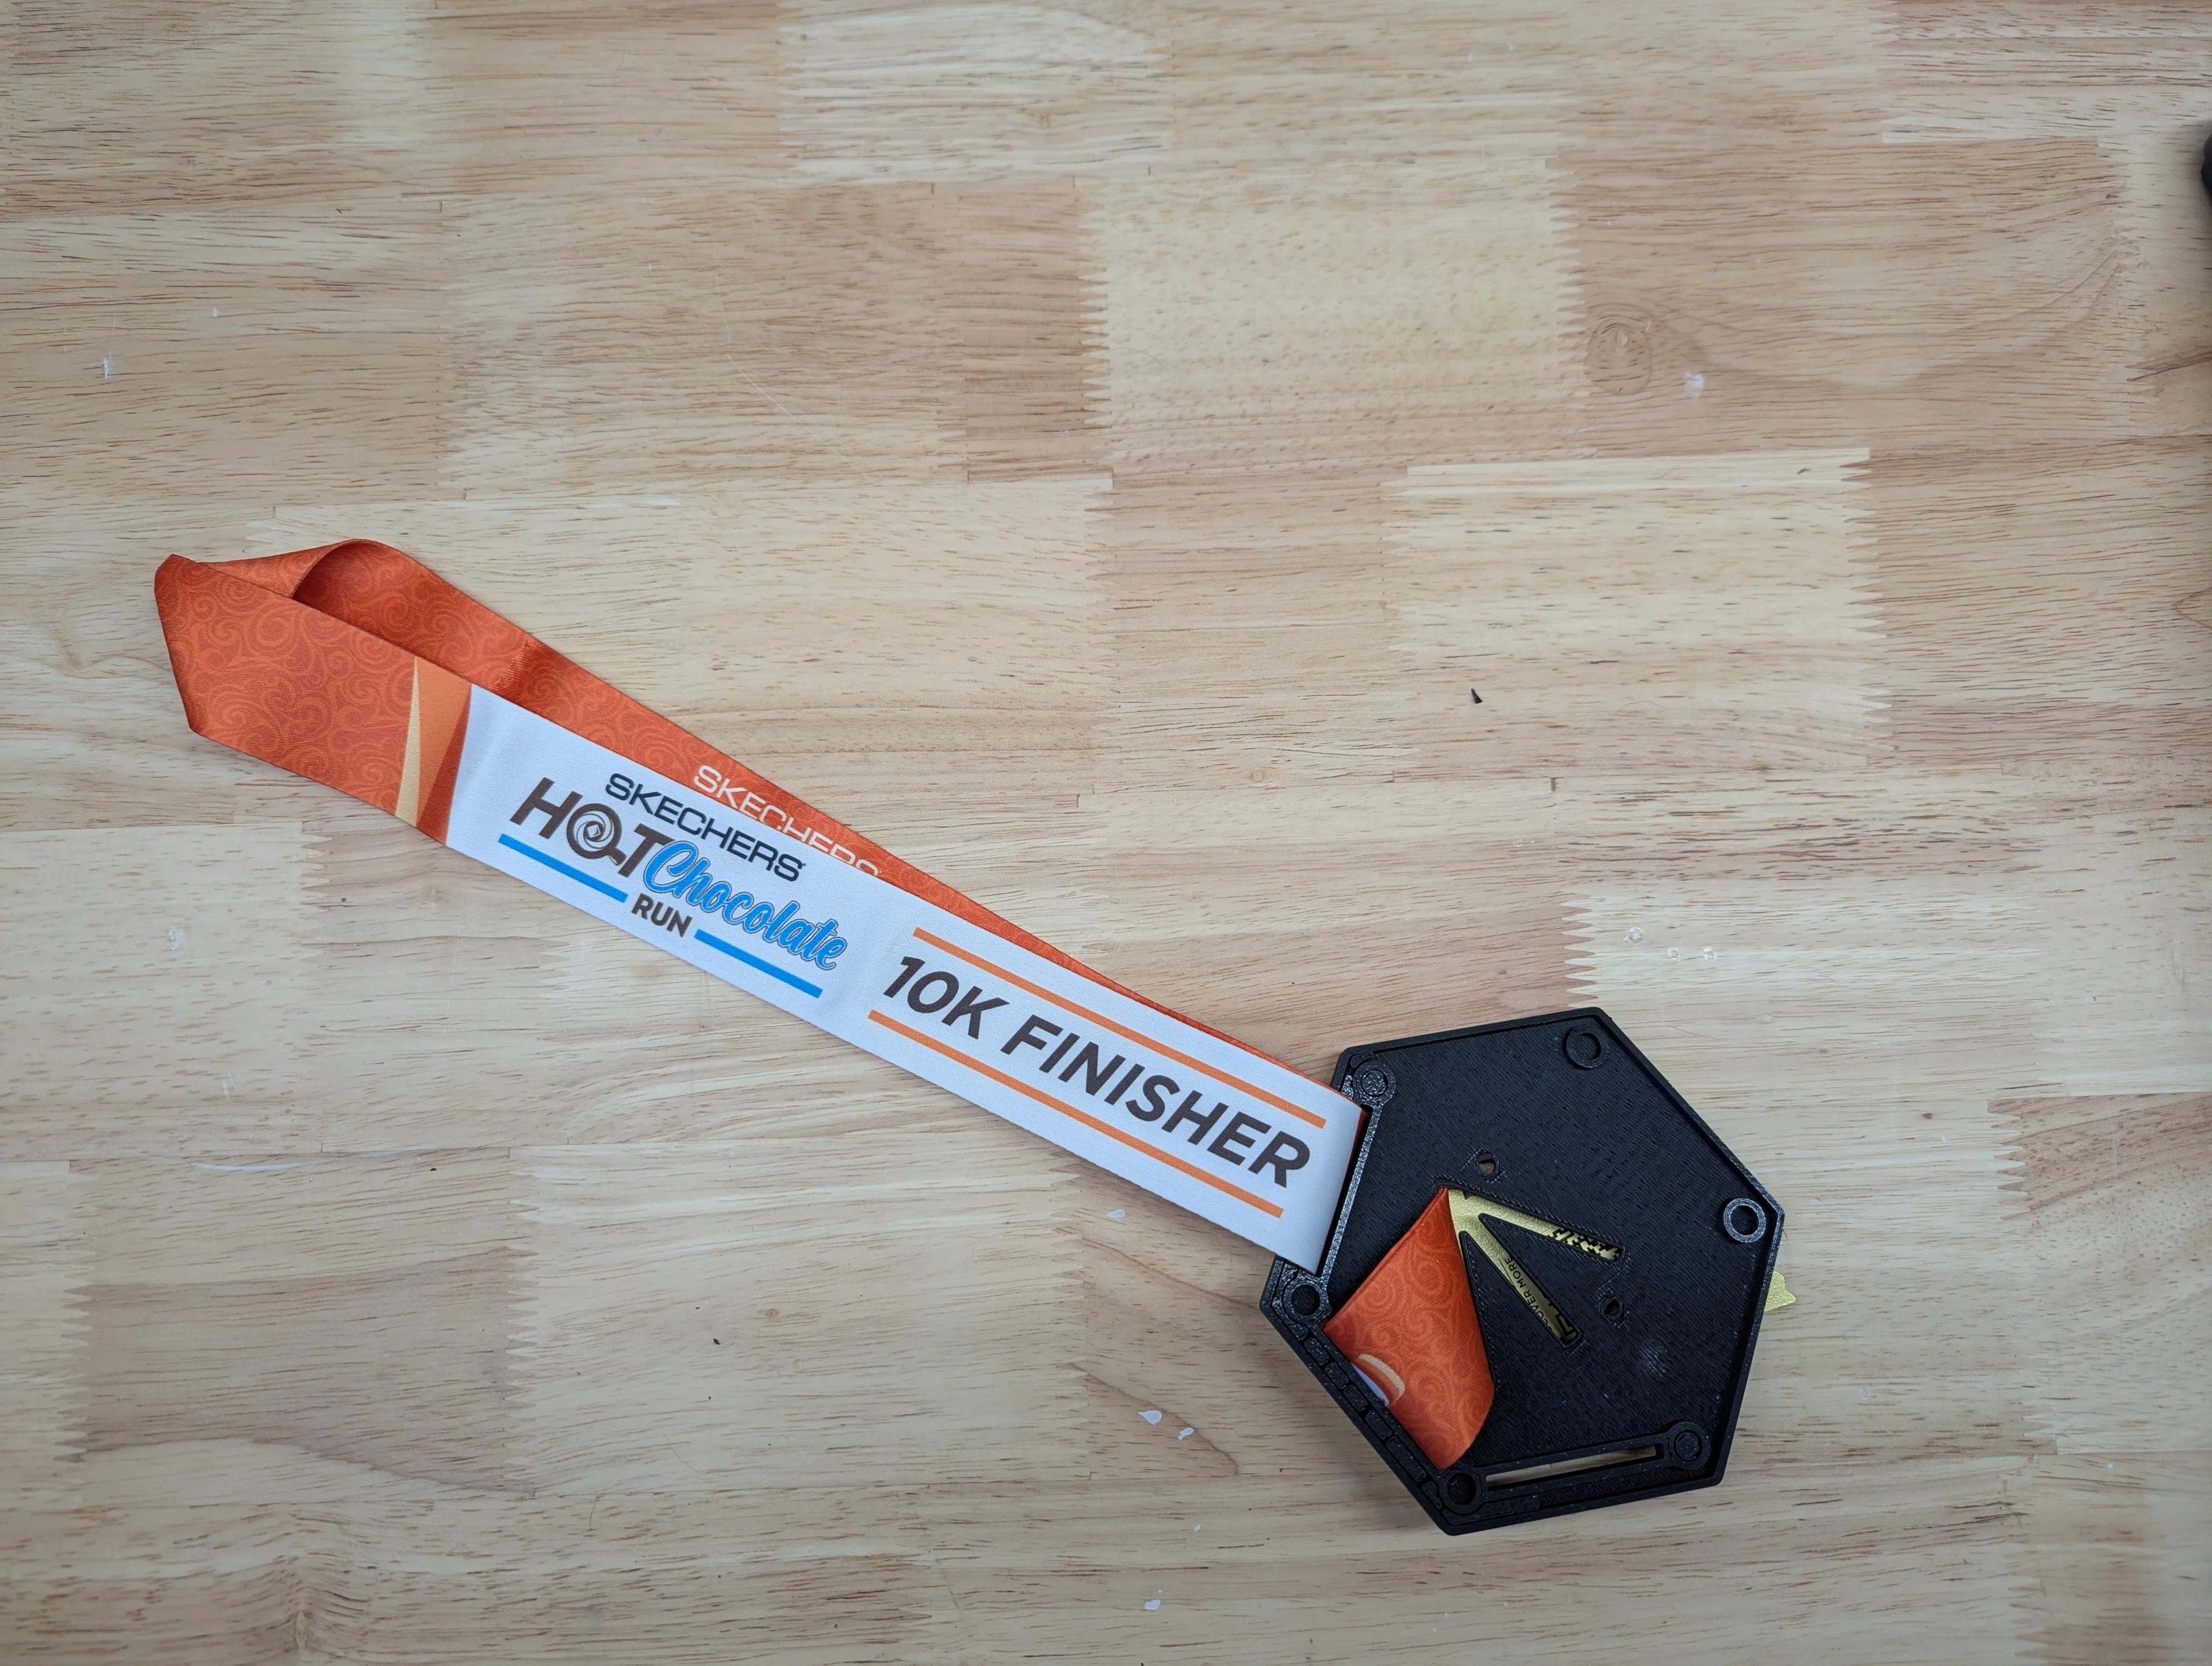
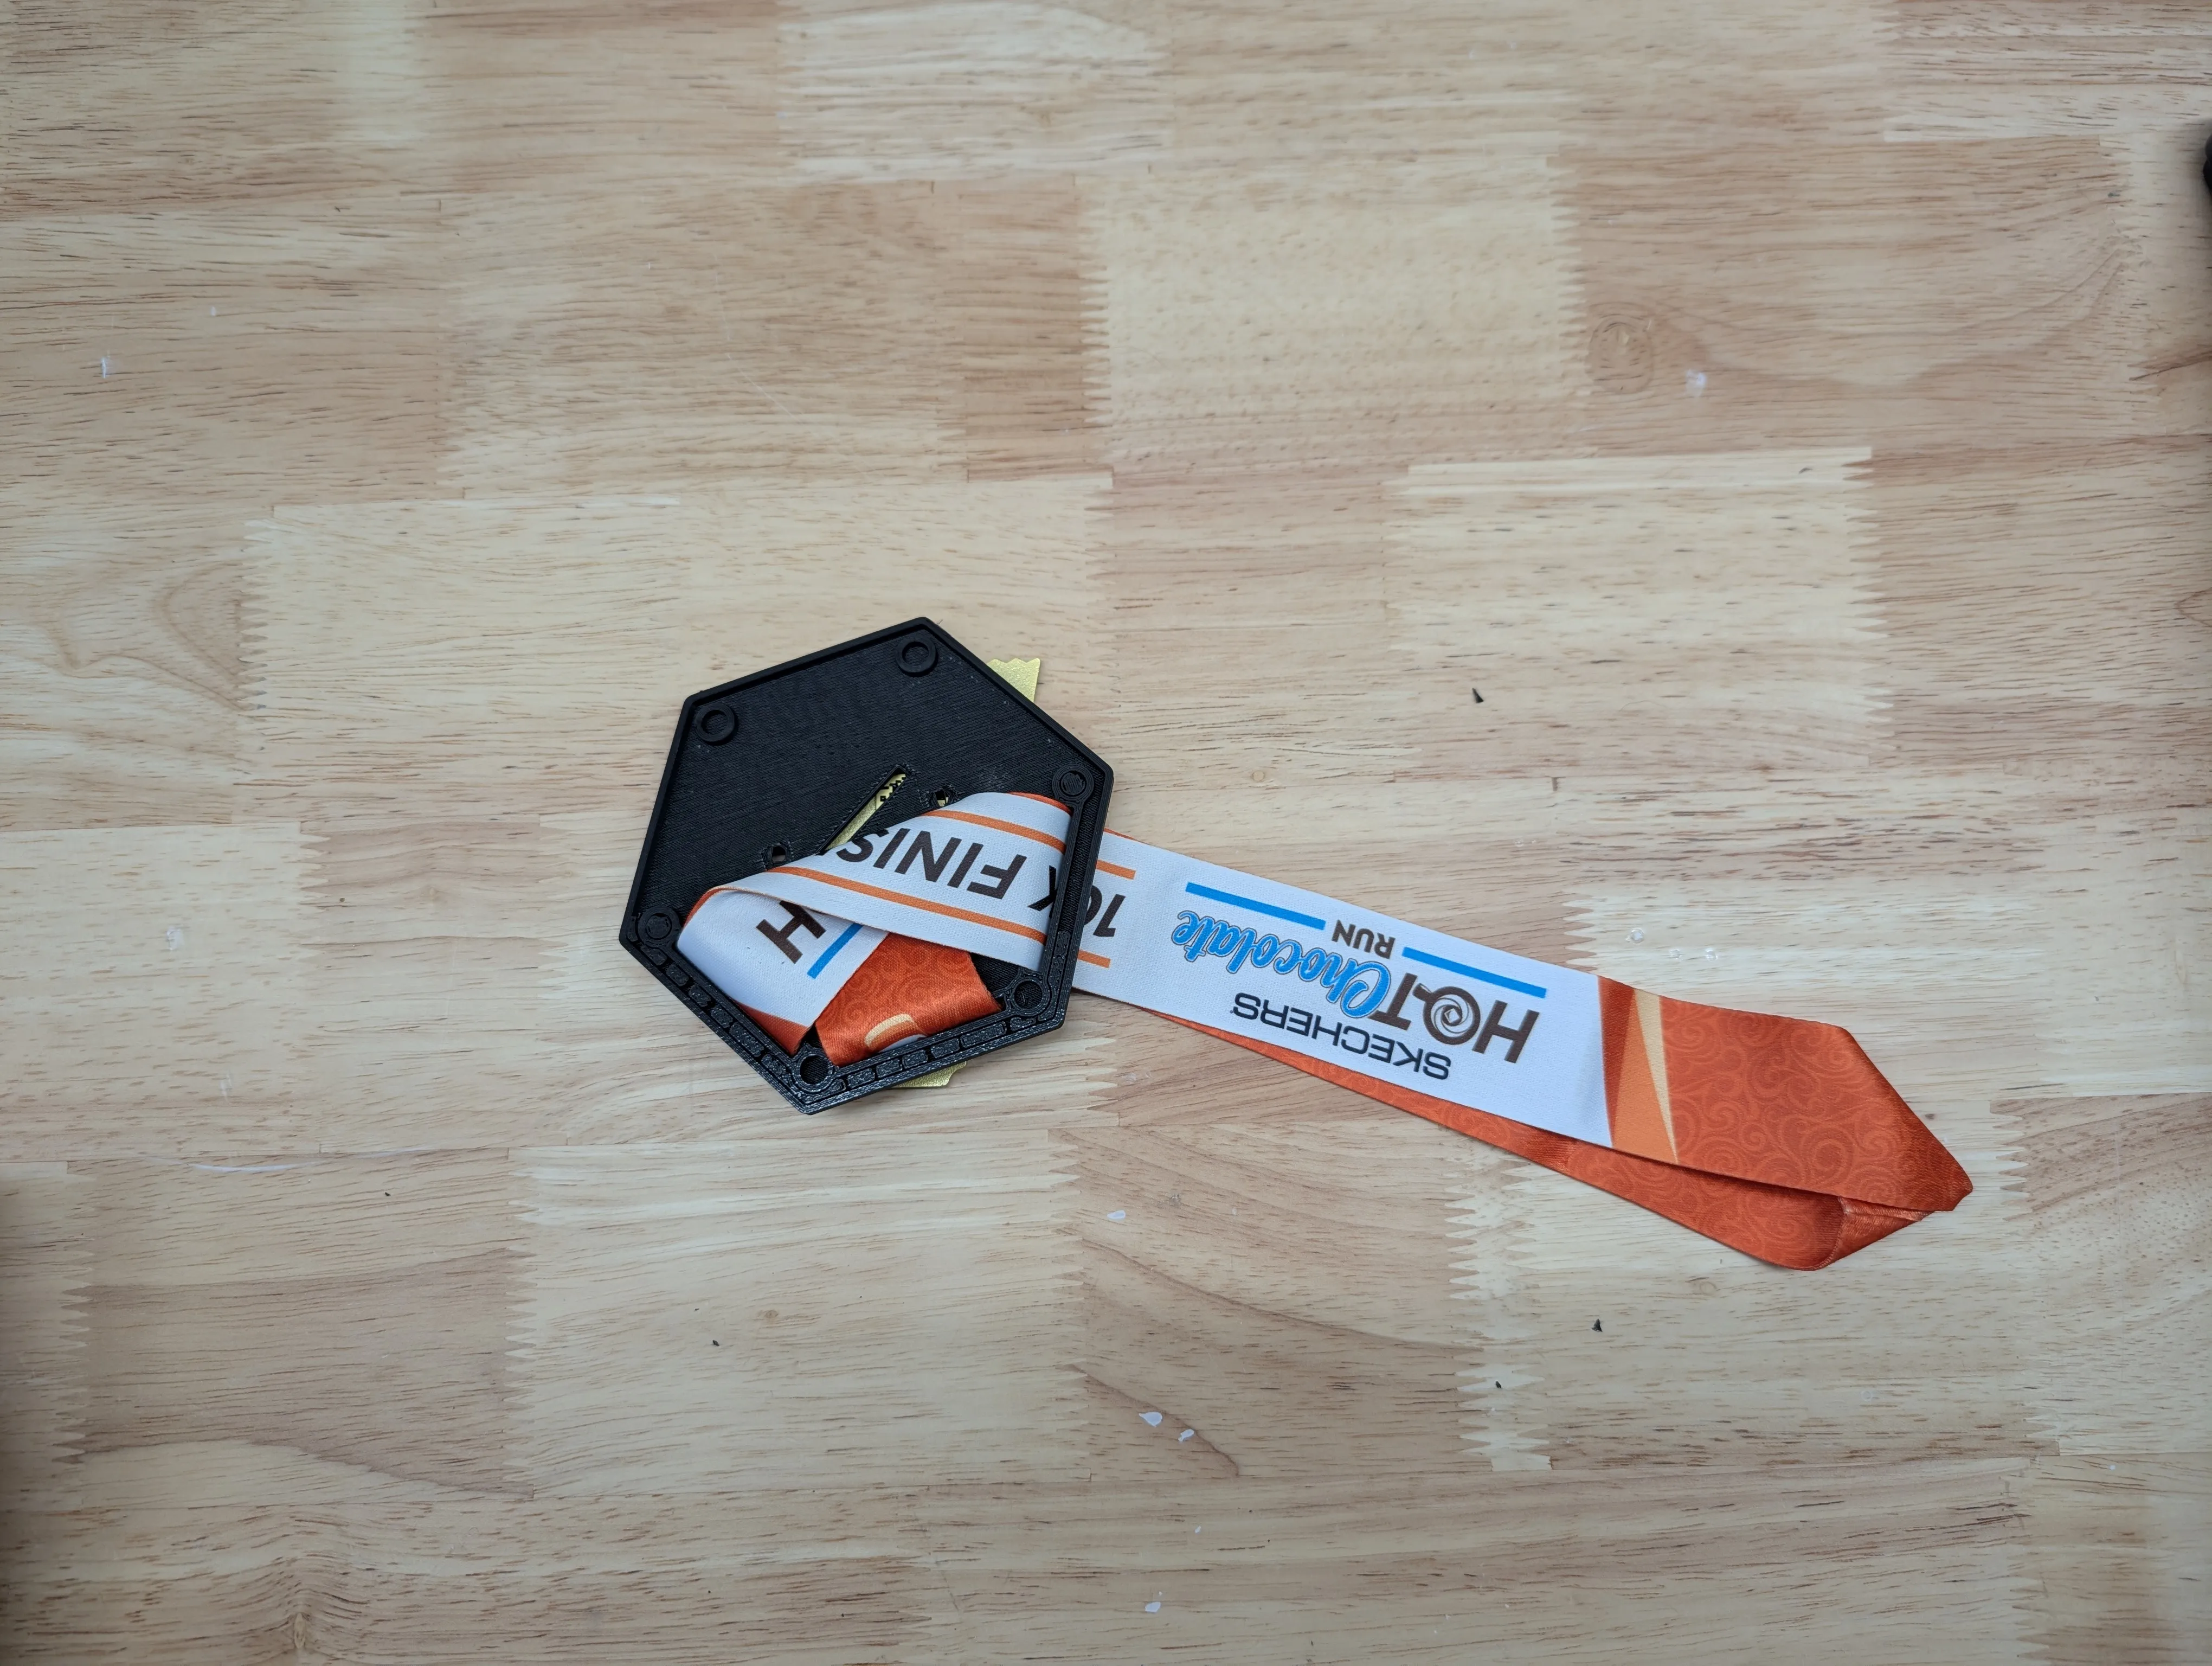
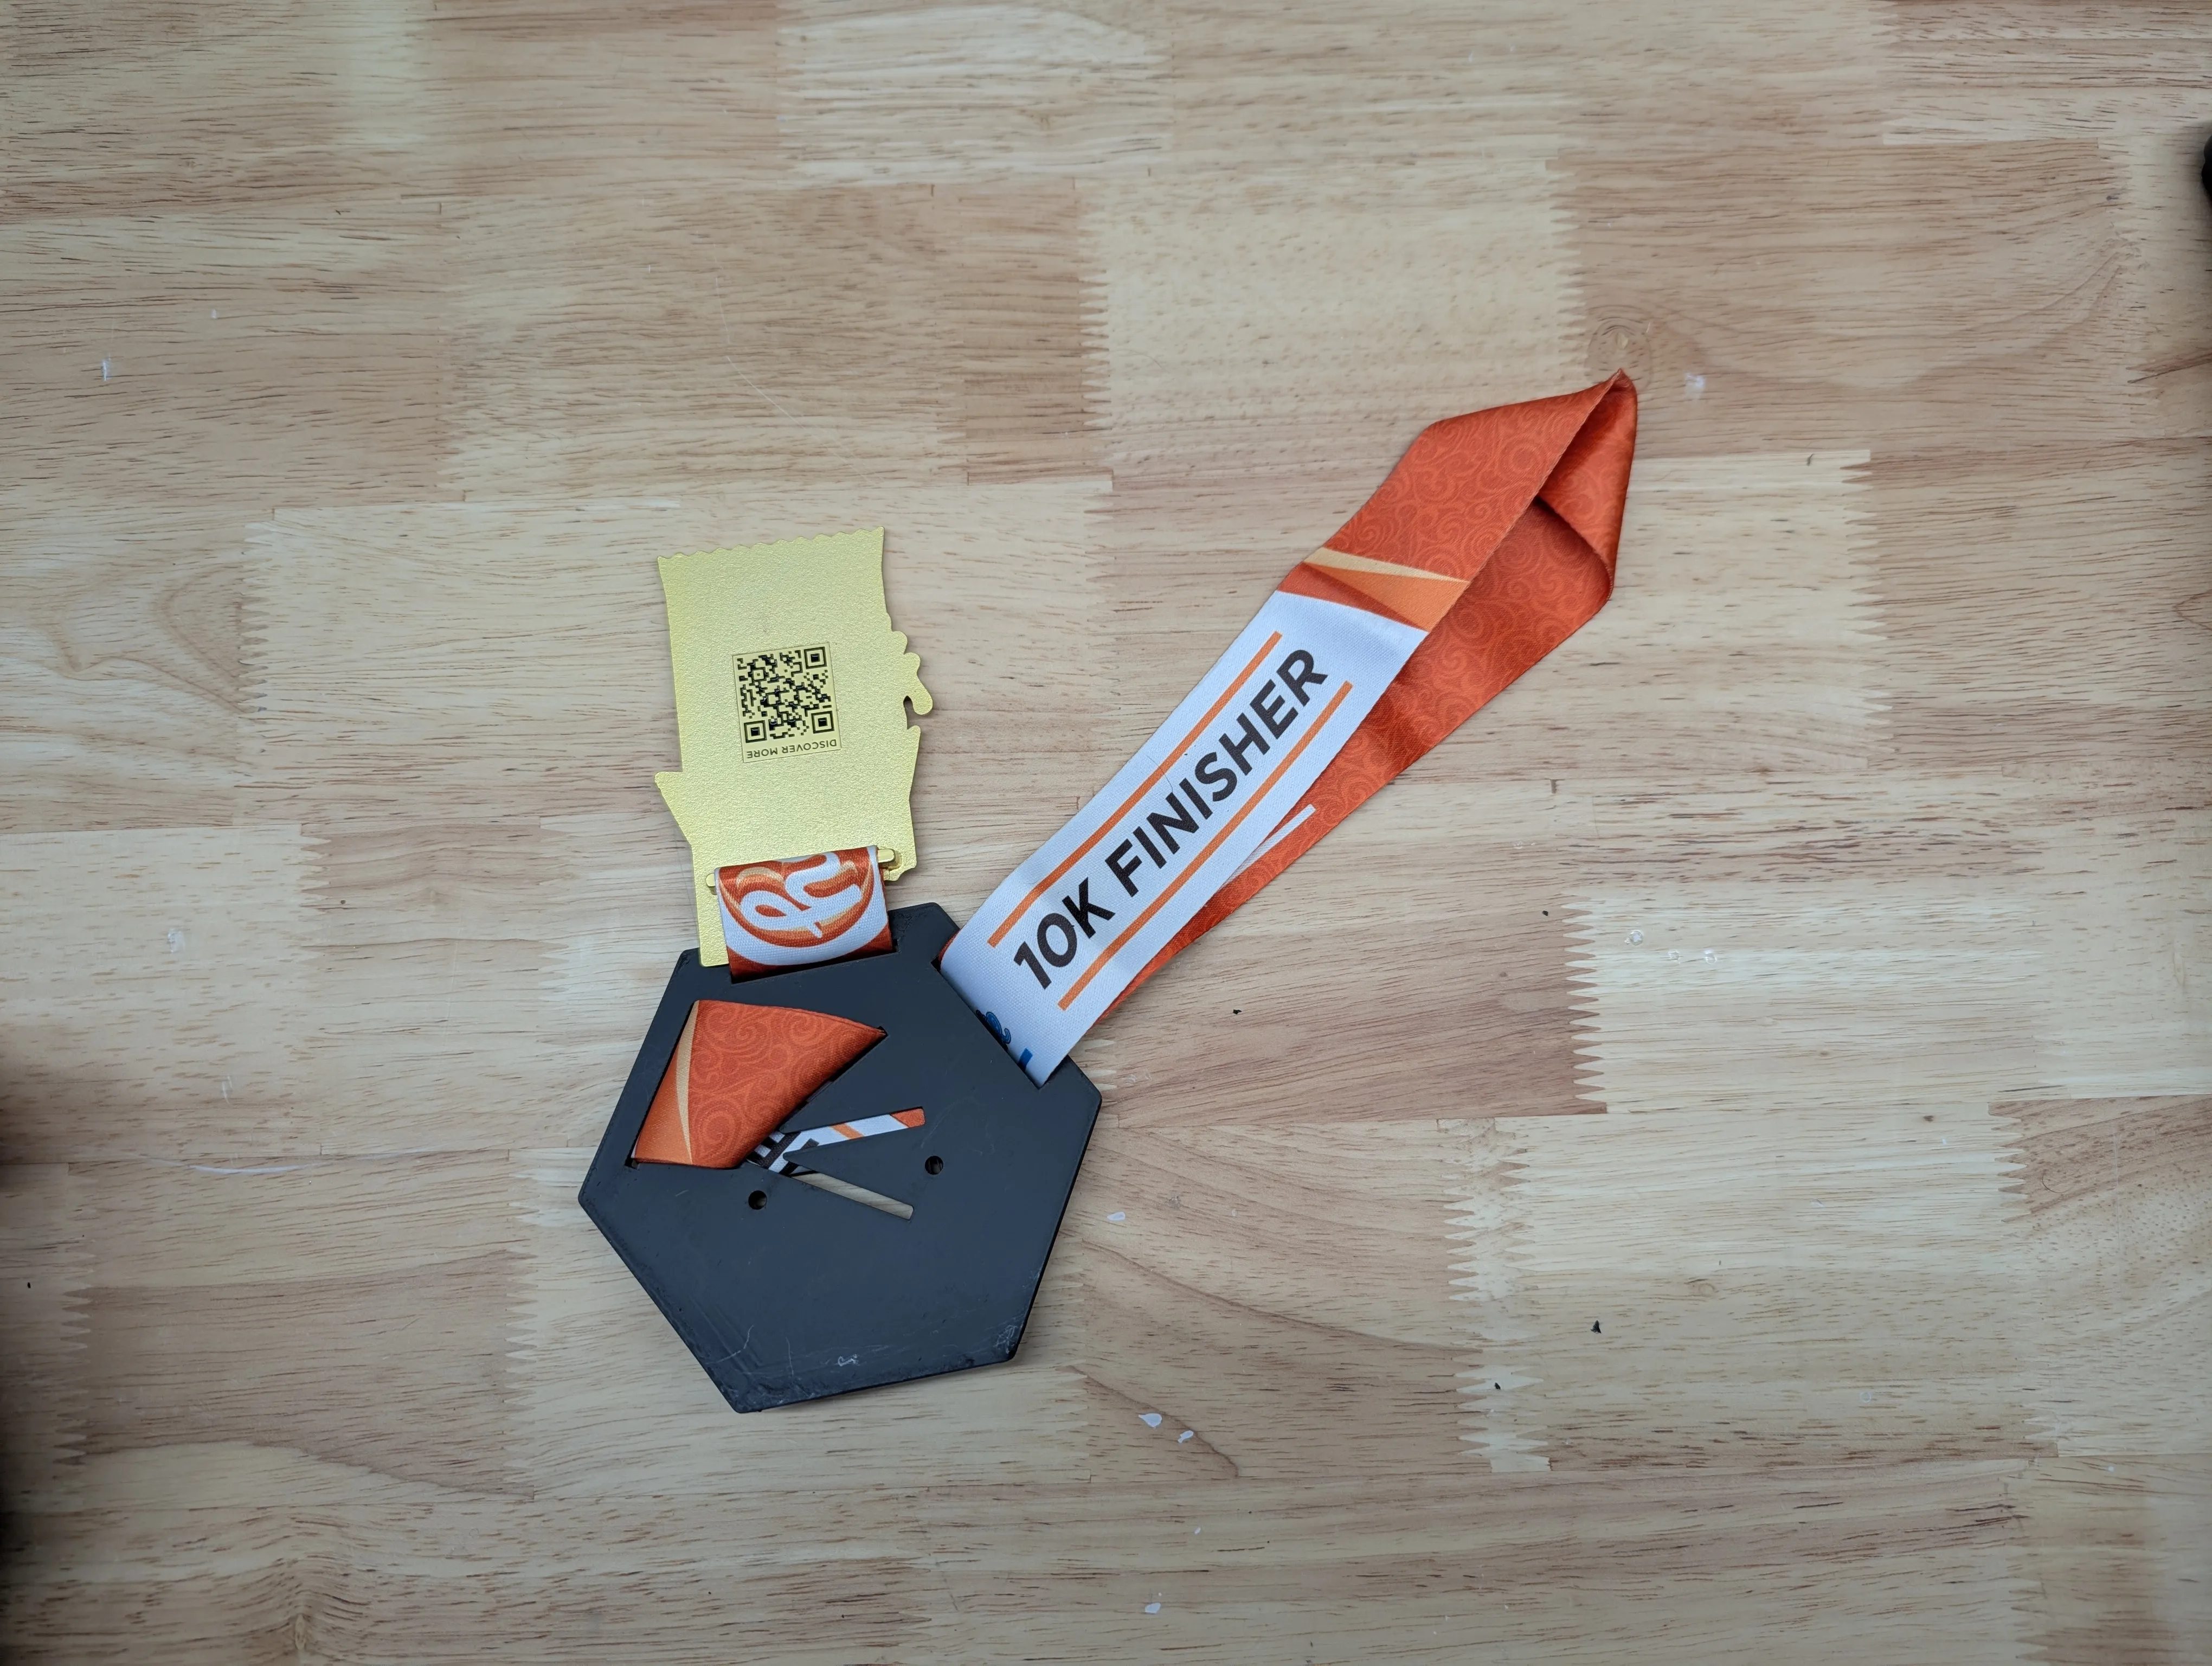
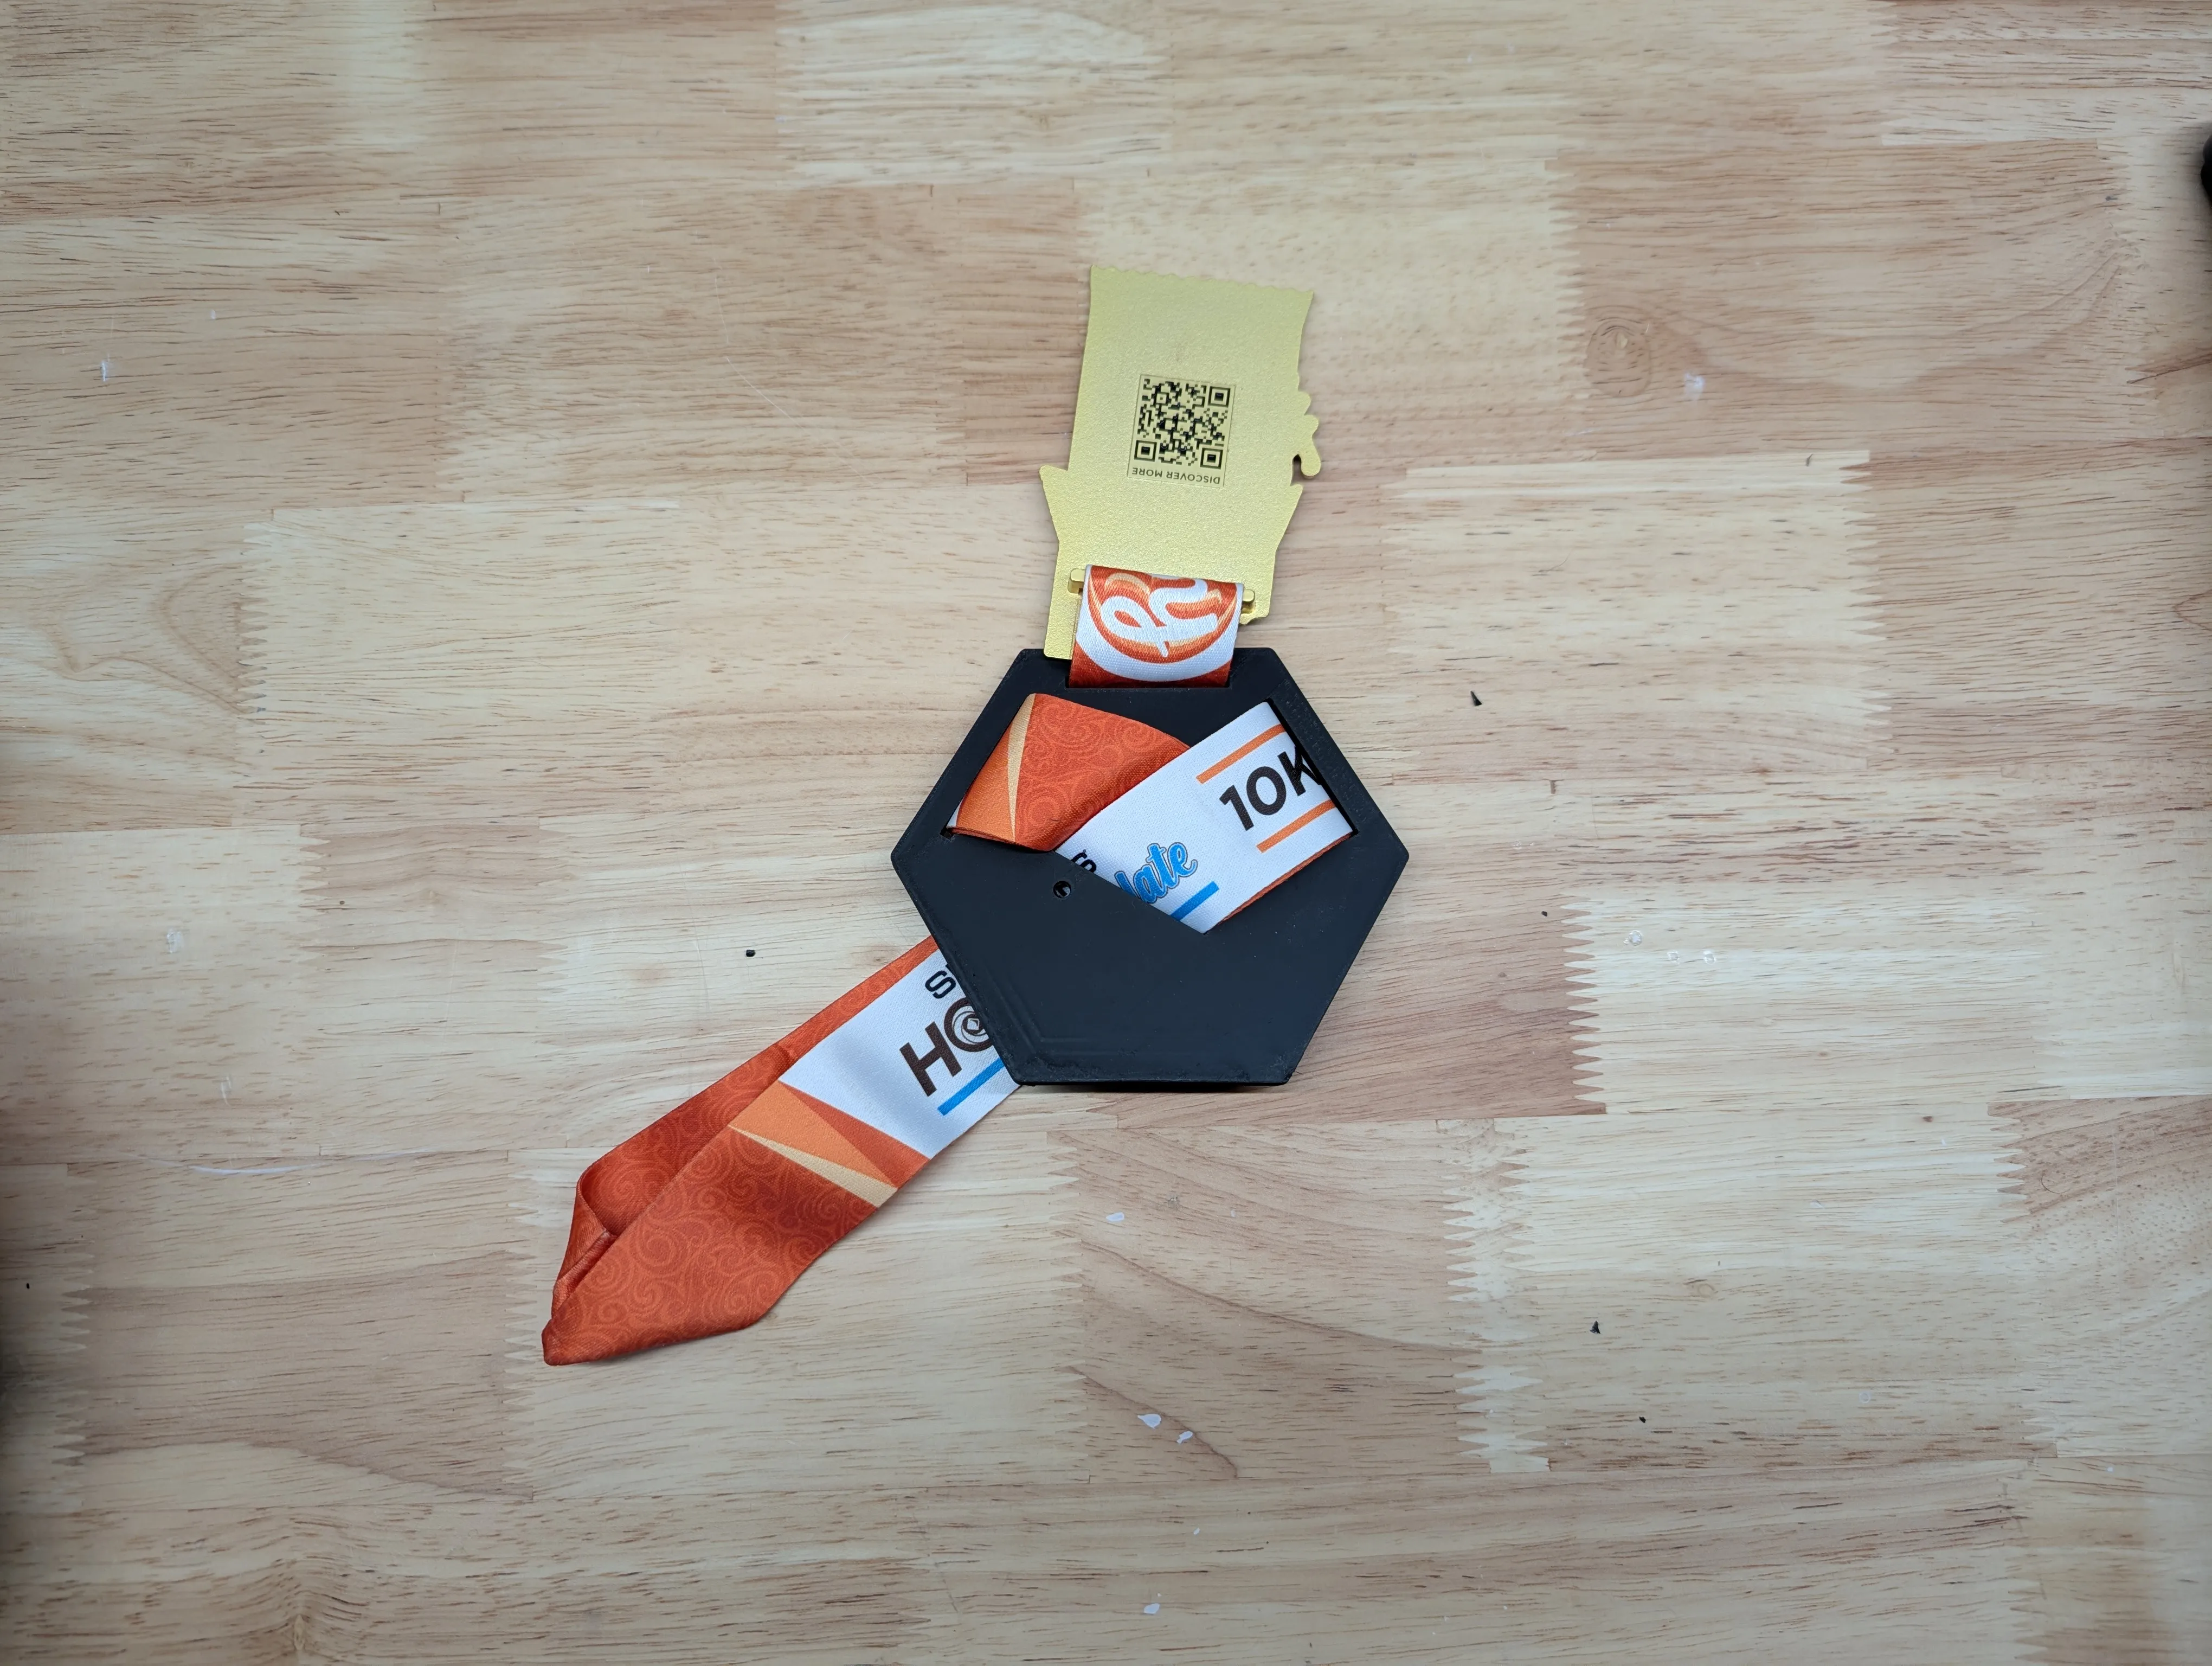
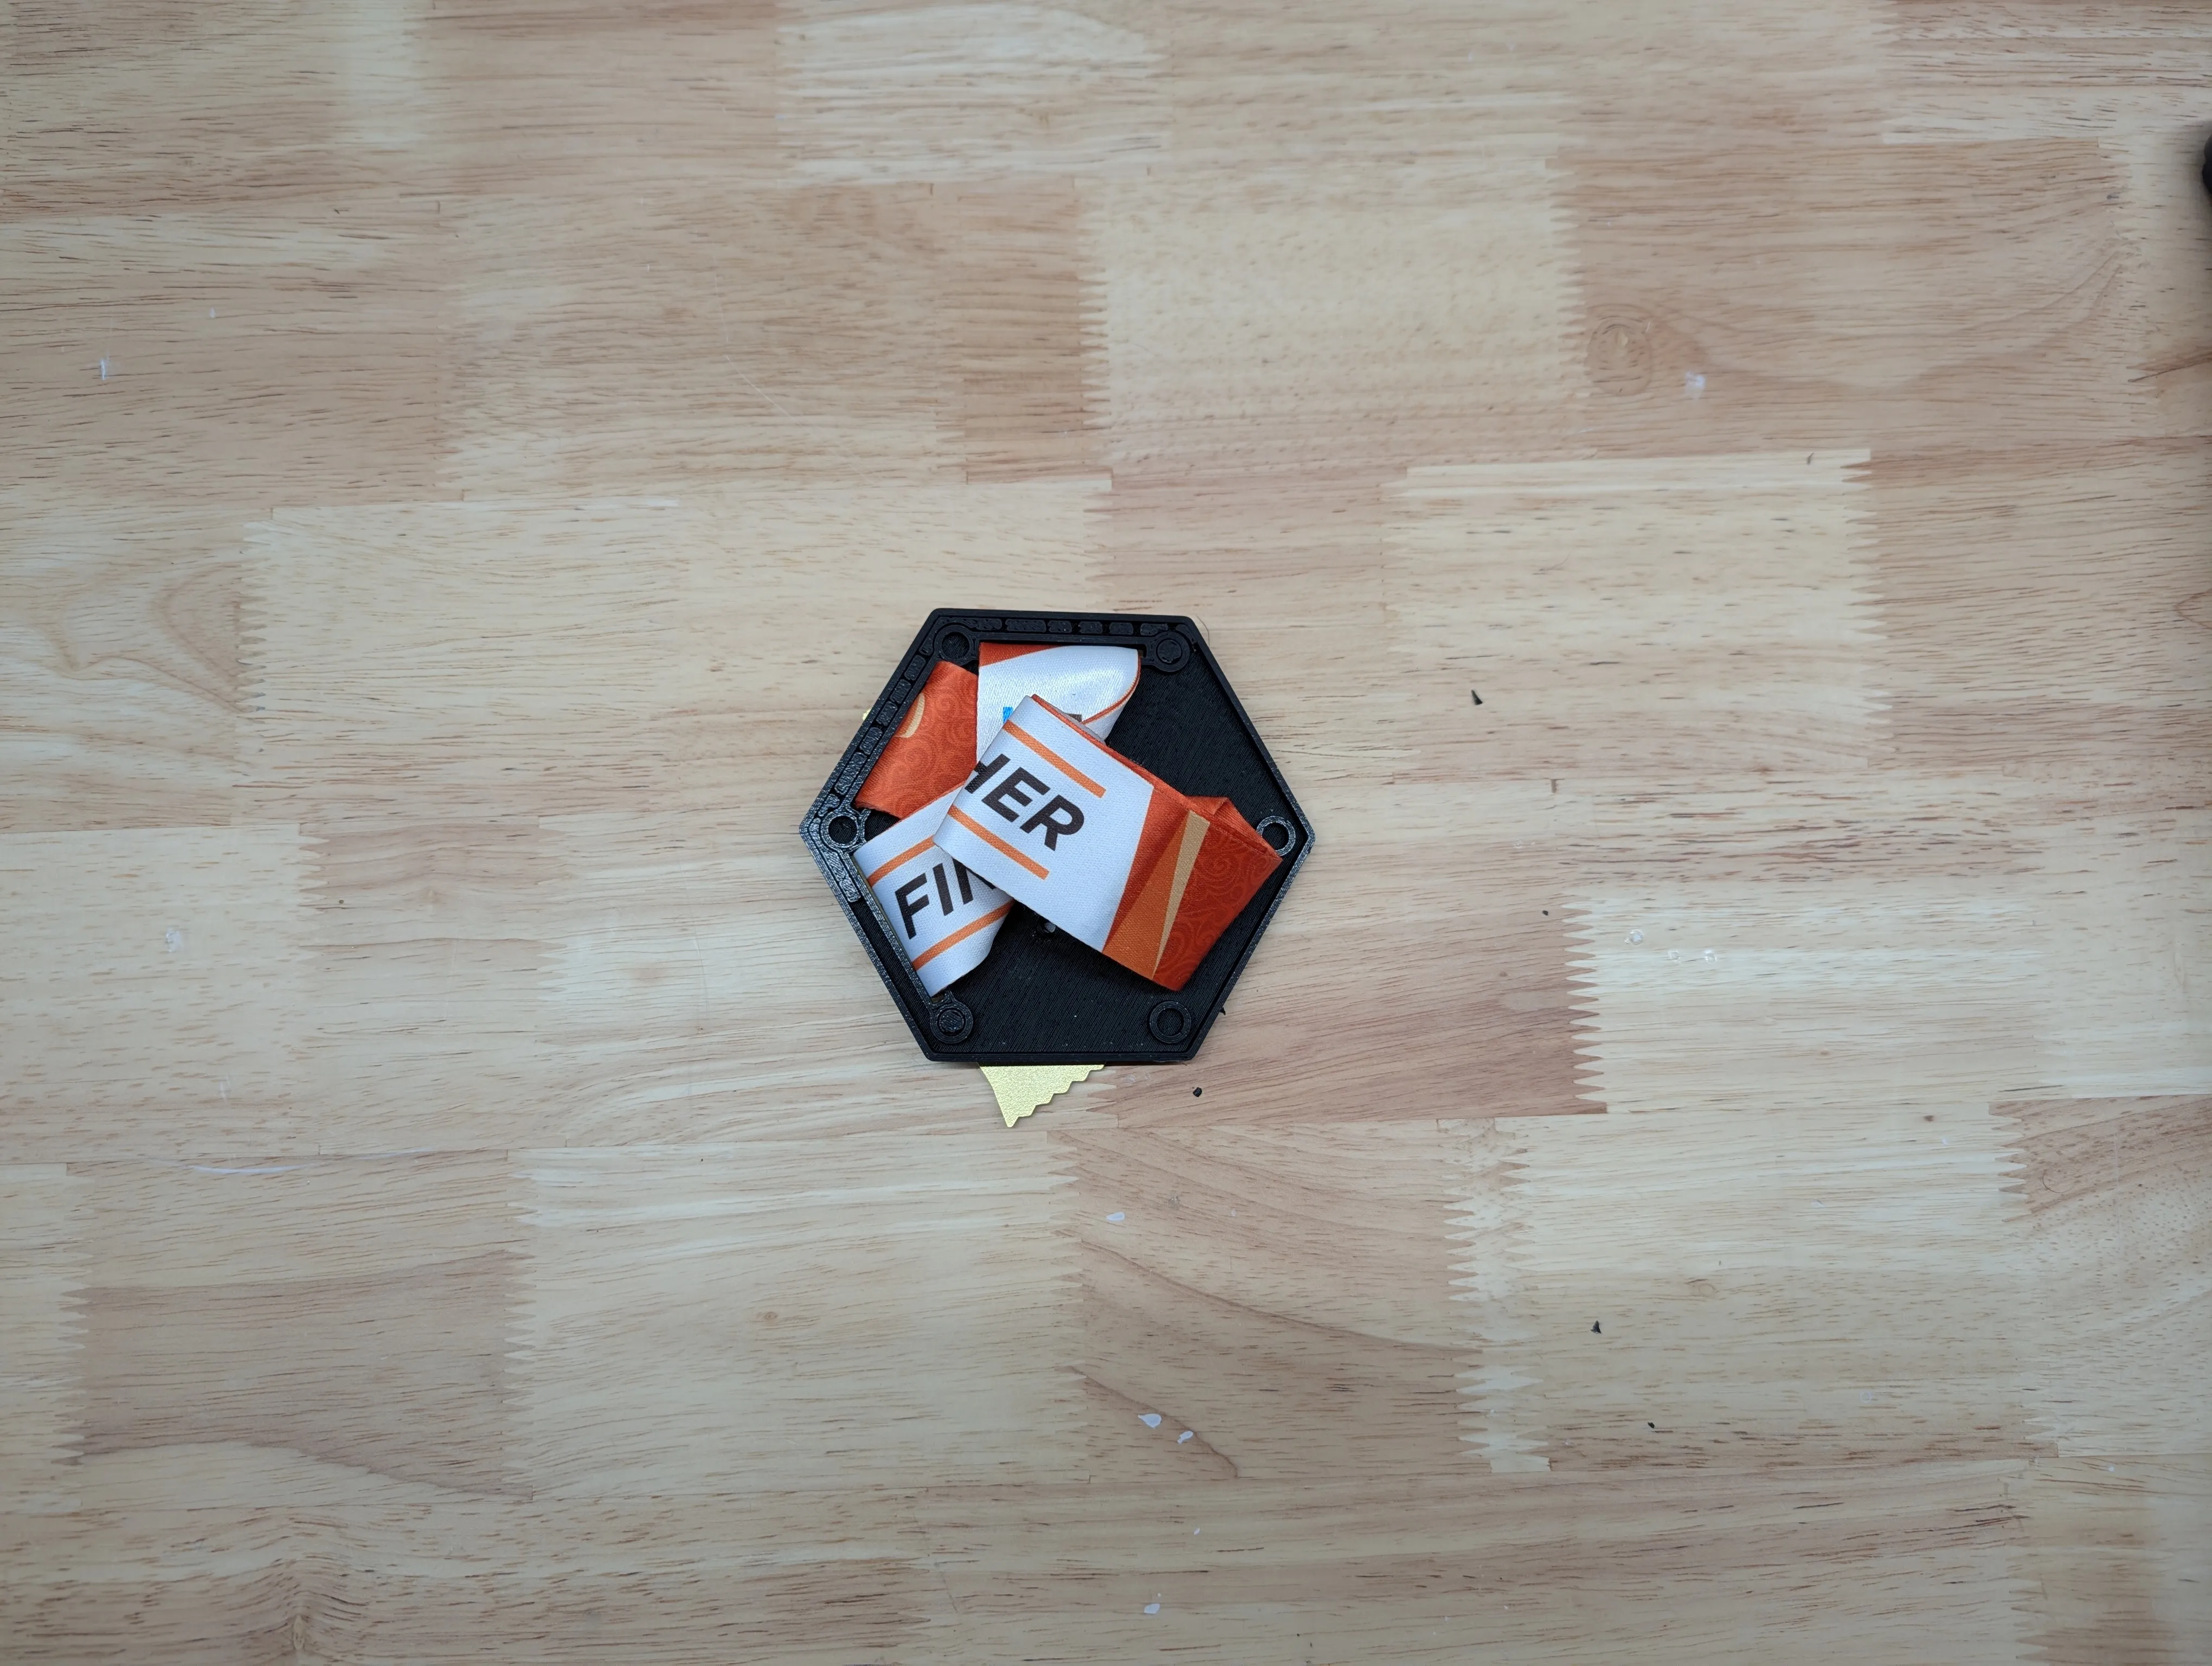
Medal - Wrapping the Ribbon:1. Pull the ribbon through the top middle section. The medal should be in the final position.
2. Flip the medal holder over and route the ribbon back through the top angled slot.
3. From the front side, route the ribbon through the left slot (looking at it from the front).
4. On the back of the medal holder, you can flip the ribbon over before passing through the other side. This will help keep any text on the front side from being upside down.
5. Flip the holder back over and flip the medal out of the way.
6. Route the ribbon to the back through the lower, angled slot in the center.
7. On the back side, you can fold any remining ribbon over itself.
8. And just like that, you are done. You can adjust as need. The ‘TieDown’ medal plate has two small holes that you can use as zip tie, twist tie or something similar to help secure the ribbon on the backside if needed.
|
License

You may create derivative works based on this object, provided that all such derivative works are published exclusively on the MakerWorld platform and include proper attribution to the original creator. You may not share, upload, host, distribute, or publish this object—or any derivative work of this object—on any other digital platform, marketplace, or distribution channel. Commercial use of this object and any derivative works is strictly prohibited. This includes, but is not limited to, selling, renting, sublicensing, or using the object in any context in which you receive monetary compensation or other financial benefits.


Comment & Rating (114)