Fully customizable Christmas Tree with Rocky base


Print Profile(1)

Bill of Materials


Description
Yet another Christmas tree
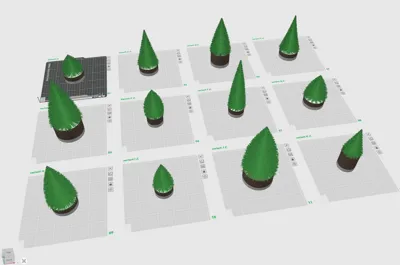
12 different variants with various sizes and shapes, and a randomized rock-like base
I wished more customization options regarding tree length, width and density of the tree, so I created my own model from scratch using OpenSCAD. I added an optional beautiful randomized rocky base and made it possible to create trees with more natural shapes. I made 12 different Christmas trees with various length en shapes.
You can also download the OpenSCAD file yourself or use MakerWorlds parametric modeler to generate your own design. However, to prevent creating an unprintable model, please use the included, pre-renderd .stl files or read the comments in the OpenSCAD file thoroughly. Some settings are important to get right, otherwise you 'll get a spaghetti-tree which is more suited for halloween ;). You can always ask for help in the commentary section on MakerWorld.
Inspired by the christmas tree models of gabriele_ristallo and others
Generation of rocky base inspired by the OpenSCAD Random Rock Generator by skitcher
PRINT TIPS
- The supplied BambuStudio .3mf file has all the variants and settings pre-set. Just map your filaments, change printer or plate settings if needed, slice and print!
- Turn off Ai spaghetti detection to prevent your printer triggering a print pause.
- Don't worry about needles curling up or down during printing
If you are using the included .stl files instead of the BambuStudio file project file:
- The larger ones a not suited for printers with a lower max print height (e.g the A1 mini)
- These trees are best printed slow (hence the 0.16mm High Quality profile is recommend). 7+ hours is not uncommon for the larger variants.
- Ignore the "floating cantilever" warning while slicing.
- Print using "0.16mm layer High Quality optimal" slicing profile.
- Set "wall generator" to Arachne (tab: Quality) and turn on "detect thin walls" (tab: Strength)
- Use right-click -> split to parts for easy coloring of the base, trunk and foliage.
- The ring splits into a lower and a upper part (spitted on the same z-height as the base-trunk transition). Be sure to print the lower part using the same filament as the base and the upper part using the same filament as the trunk to prevent unnecessary filament changes. There should be only 2 filament changes.
- When printing multiple trees on one plate: make sure filament changes are on the same layer height (e.g trunk_length has to be the same), to prevent unnecessary filament changes. Its recommended when printing a bunch of tree to put only identical variants on the same plate.
POST-PRINTING TIPS
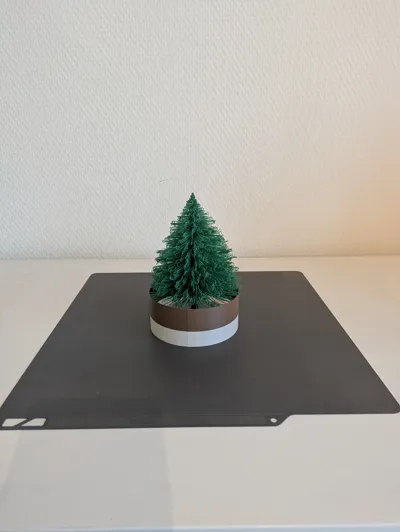
- Use a pair of scissors to cut the lowest row of needles free from the supporting ring and trim some of the sagging needles to your tase (see pictures).
- A few sprays of "snow spray" will make your tree look extra realistic and festive.
Boost Me (for free)
Please Boost Me if you like this model!
Comment & Rating (0)