
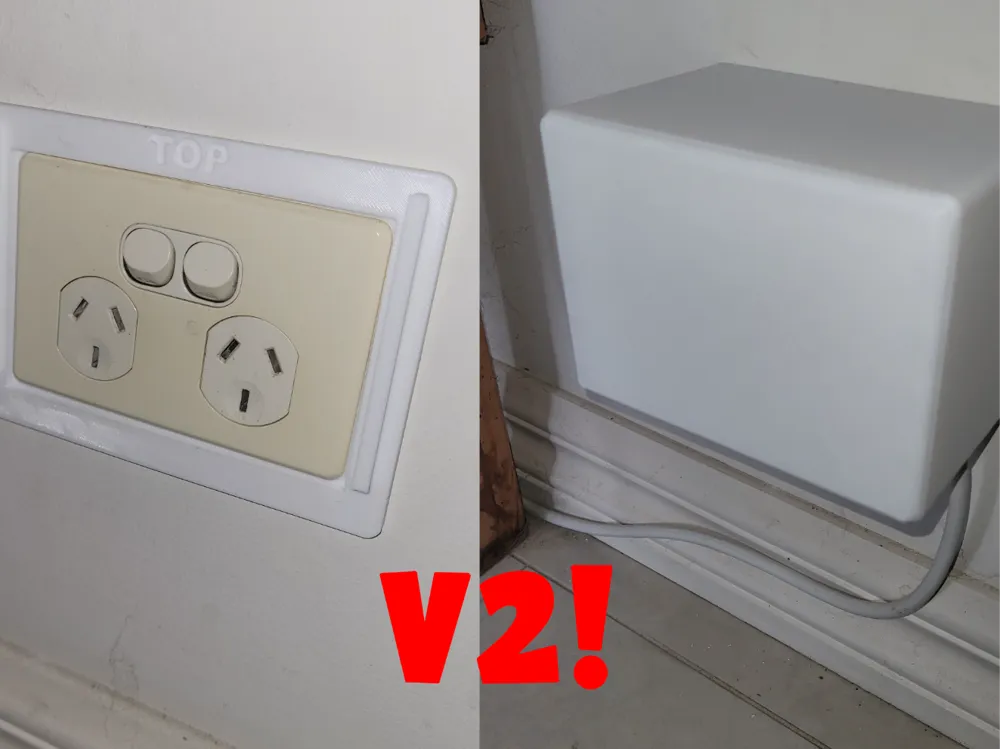
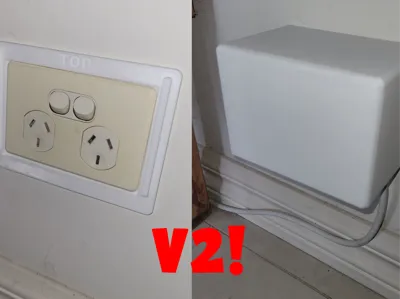
Cover for Australian Power Point/Wall Outlet - V2
Print Profile(4)
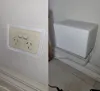
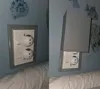

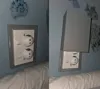
Description
************** INTRODUCING VERSION 2 **************
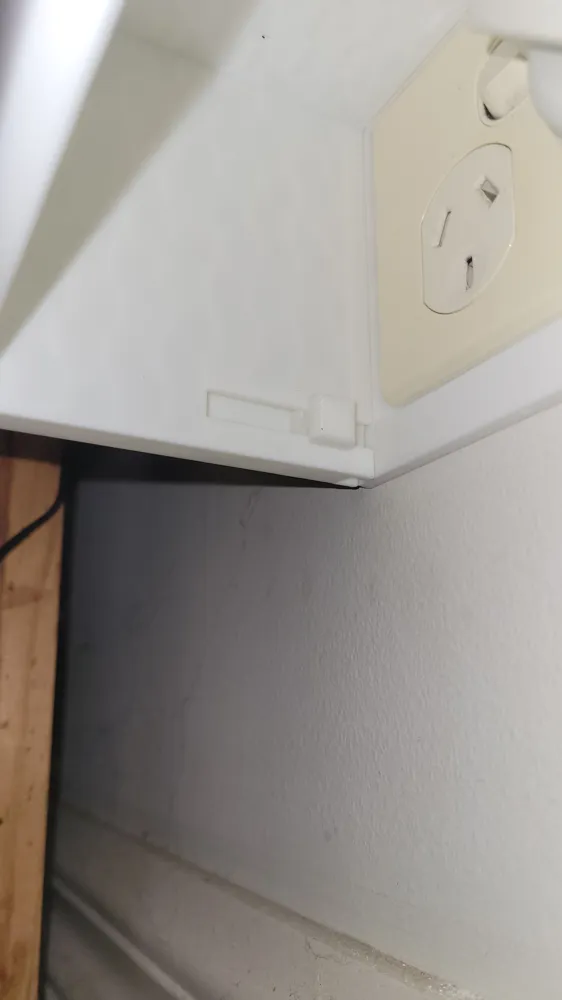
I have taken some time and included a new sliding lock mechanism to my model, so I figure this warrants a “v2” tag!
Original Description:
My 1 year old nephew loves unplugging and switching off various power points around the house, so I designed this inspired by some others I found online. I assume this would work on any outlet/power point in Australia (or other countries that use this style).
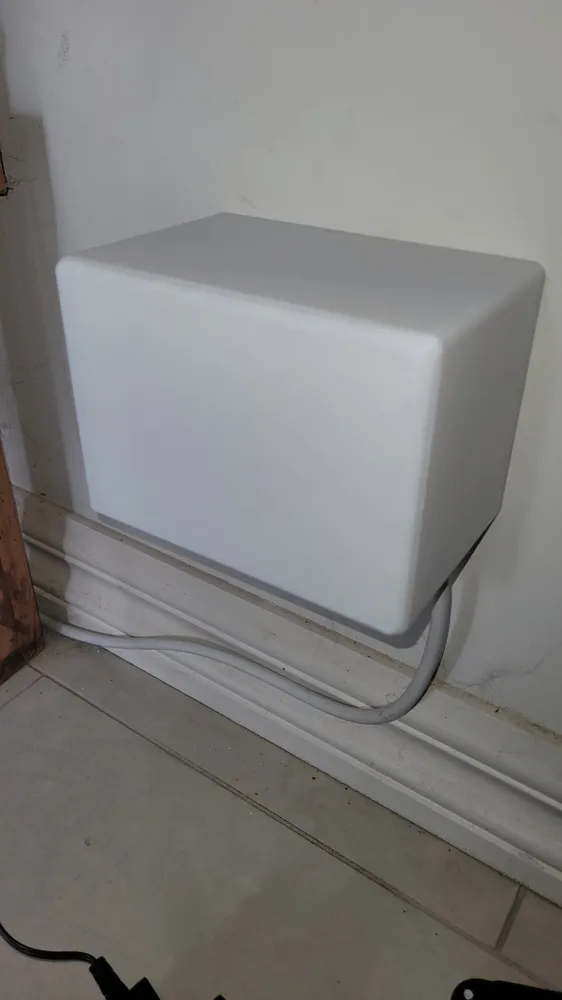
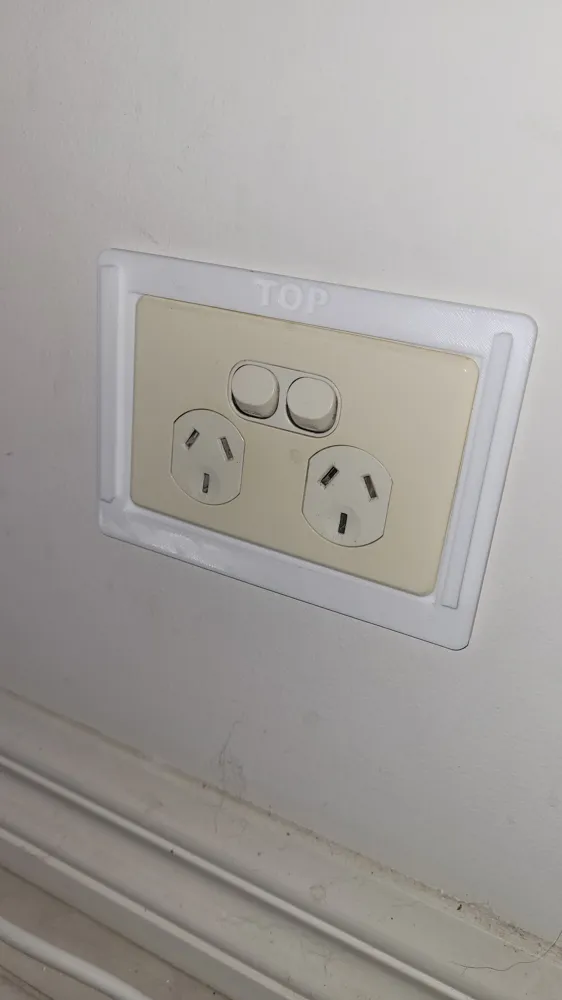
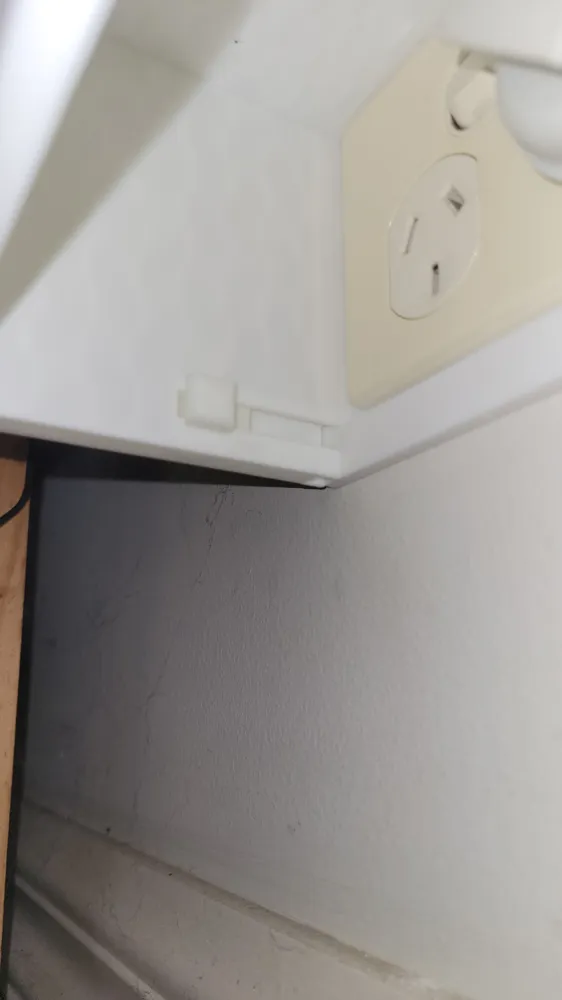
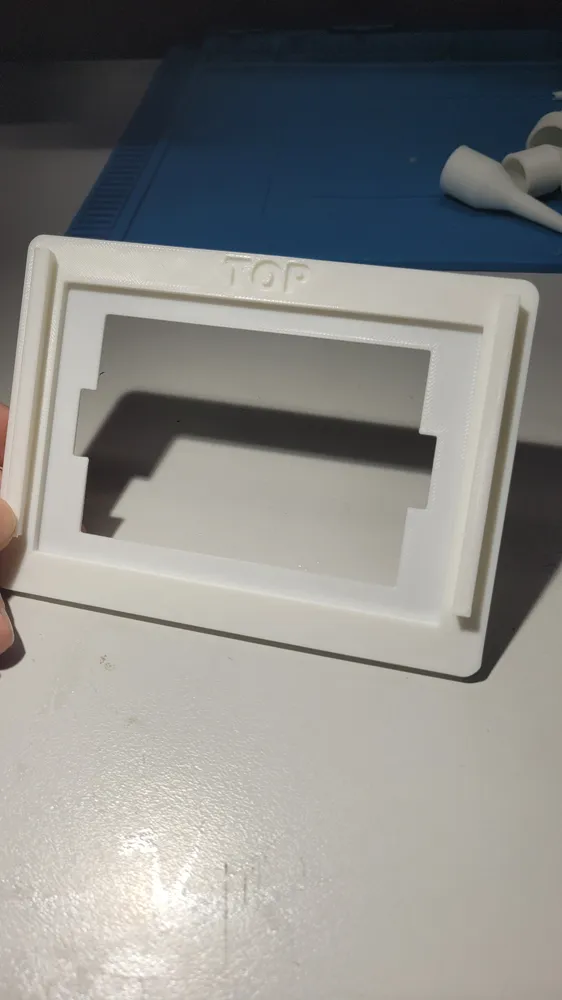
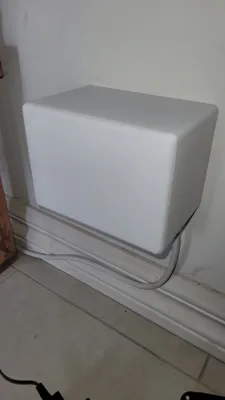
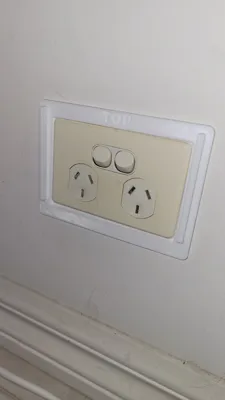
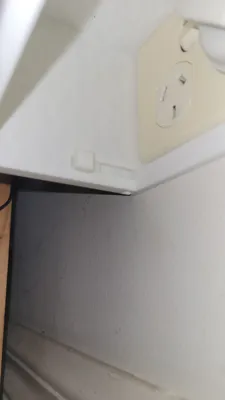
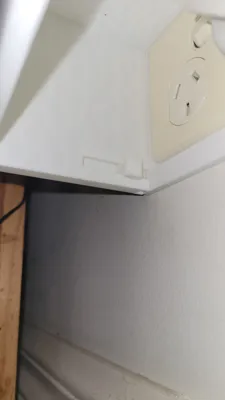
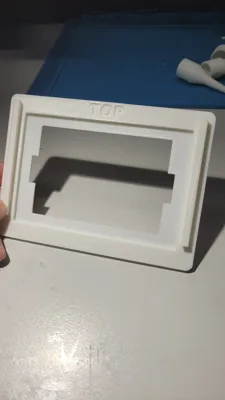
To install, the outlet needs to be unscrewed from the wall so that the backing plate can be hooked around it, then just screw the outlet back in to secure the plate. The box simply slides on the rails.
The overall design could probably be a bit more refined but so far it's doing the job I wanted it to.
After going through several iterations I finally landed on something that is easy to print, and very simple to install.
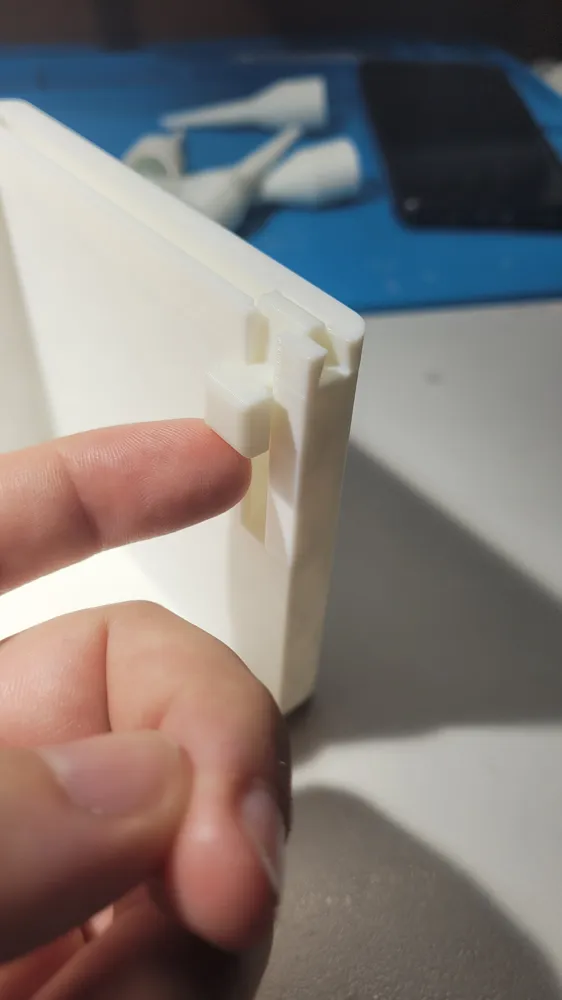
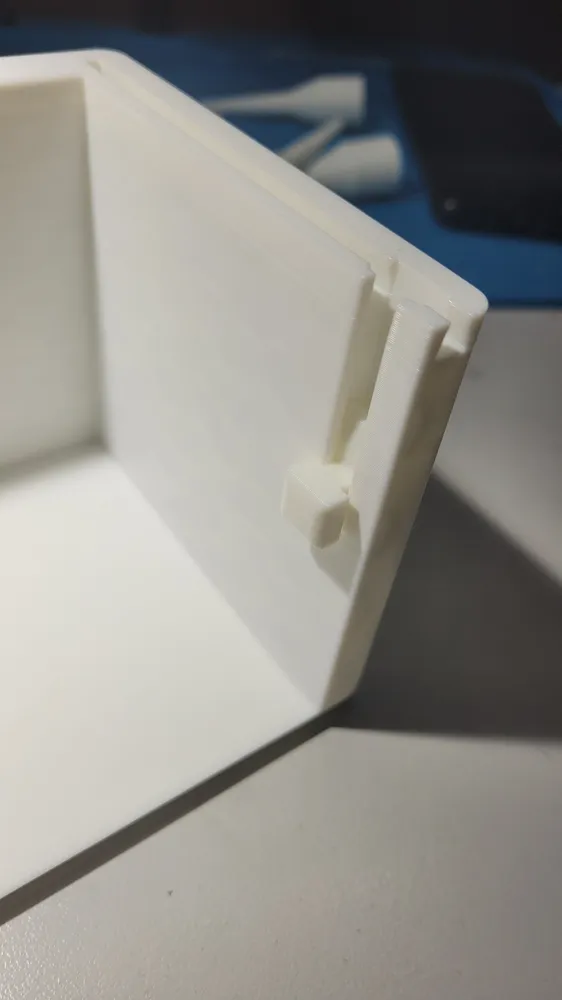
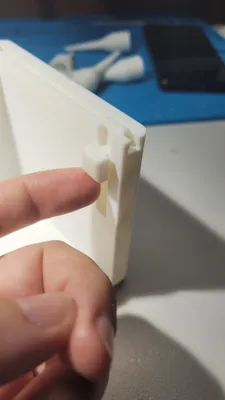
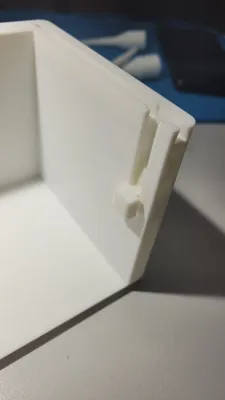
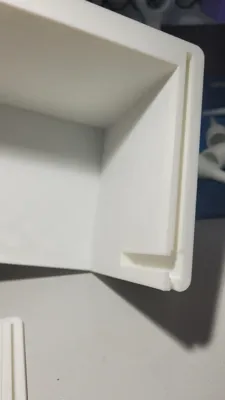
The lock is hidden! From the outside you wouldn't even know it had a lock mechanism - perfect to prevent curious little hands from possible unlocking it.
I have also just utilised the rounded edition from version 1, so that all models are a lot safer for wandering toddler hands.
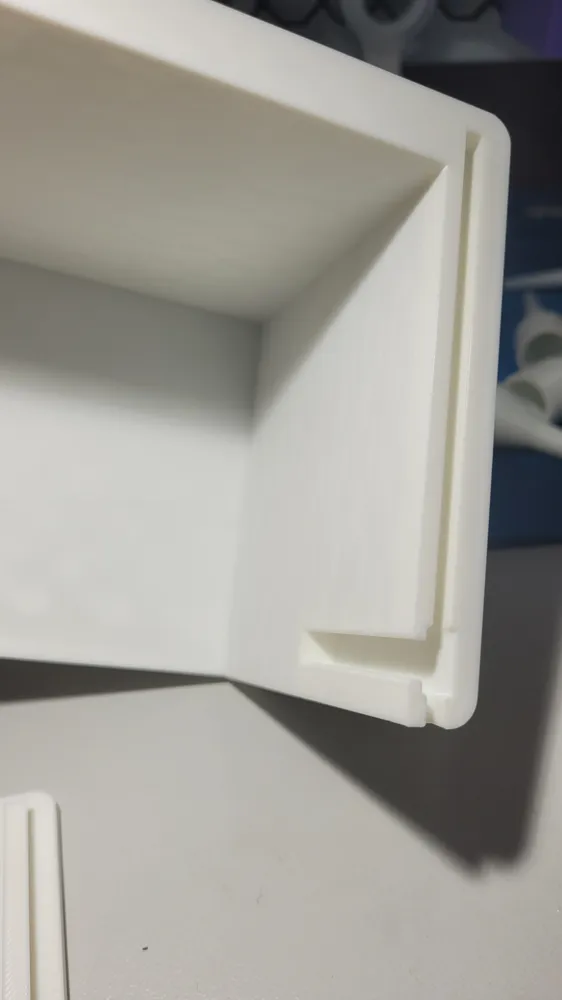
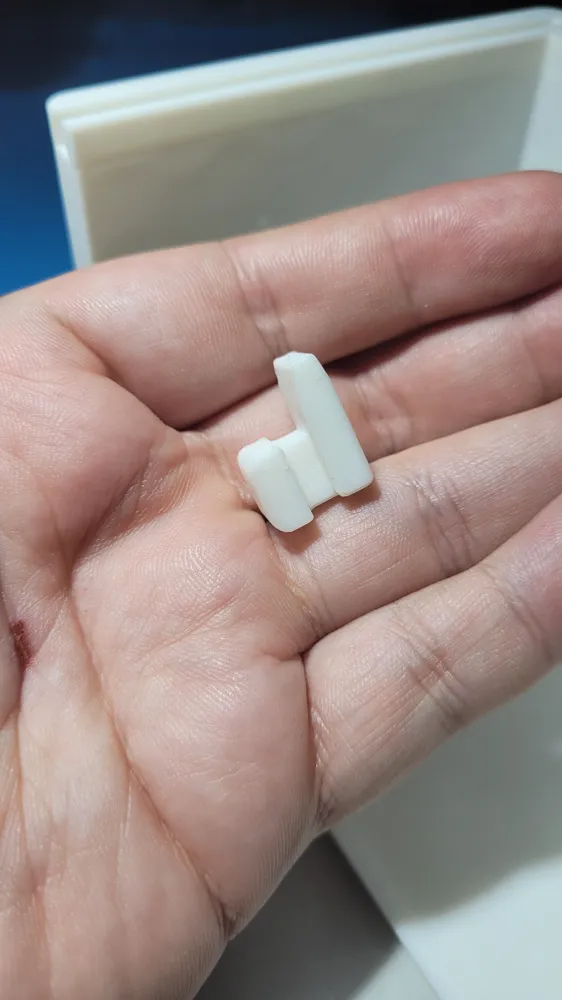
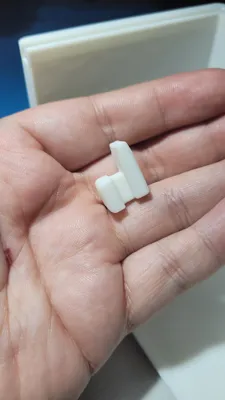

The lock slides towards the wall, underneath the now shortened rail, which prevents the cover sliding up the rails until the lock is pushed back again.
I have included 3 different lock versions:
Left Lock: Looking at the box on the wall, this lock is on the left side. Useful if your outlet has an angled plug, or large brick that would interfere with a lock on the other side.
Right Lock: Looking at the box on the wall, this lock is on the right side. Useful if your outlet has an angled plug, or large brick that would interfere with a lock on the other side.
Double Lock: The most secure, requires both locks to be open, prevents accidentally knocking one side loose and it just easily lifting up.
Effectively, use whichever lock versions allows your plugs to still fit inside the box.
Check out how the sliding lock works here:

The lock needs to be slid into the cavity prior to sliding the cover on the rail, which is very simple. However just in case, I have also put this animation together to hopefully explain it better!
FULL CHANGELOG FROM V1
- v1.1 - Large square box, protruding far enough allow for large brick type plug on wall to be covered.
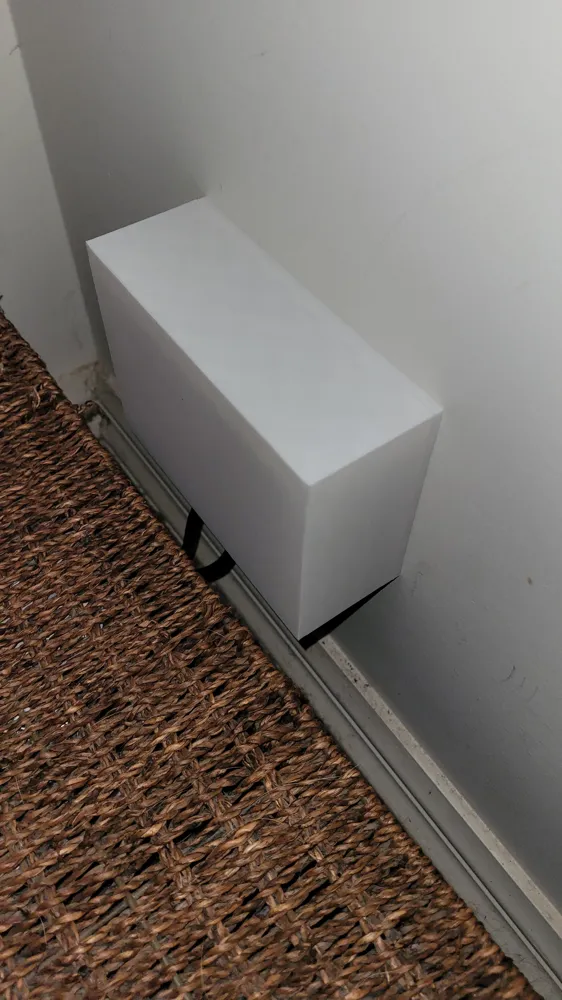
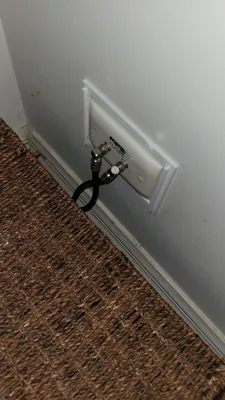
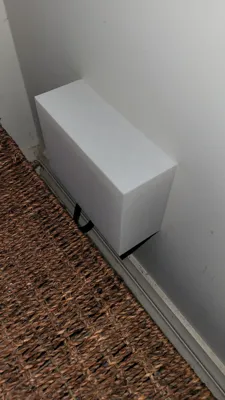
Wall plate that installs behind power point, creating a sturdy mounting point without damaging the wall. - v1.2 - Slightly thinner box added, suitable for regular plugs or perhaps RJ45 Jacks or Antenna connections.
- v1.3 - A second print profile was added that flips the railing system to allow for use on vertical outlets.
- v1.4 - An option for rounded edges was added to be a bit more child friendly. Added to both horizontal and vertical profiles.
VERSION 2 CHANGELOG
v2.1 - New lock system added. Full differences explained below:
- Rails on wall plate were shortened - this allows a sliding lock to push out below the rails, preventing the box sliding up the rails without unlocking.
- “TOP” text was embedded on the wall plate - the shortened rails now require the plate to be installed in a specific orientation.
- Pointy box versions were removed - profiles now only include the rounded versions.
- 3 different lock versions exist. Left, Right, and Double. Explained in detail in core description.
************** ORIGINAL LEGACY POST **************
** UPDATE 3 ** Both print profiles now also feature an option for rounded edges per a request I had.
** UPDATE 2 ** I have now added a second profile, that is used for vertical outlets (and possibly light switches I suppose?) due to a request. This new profile includes both the larger and thinner box.
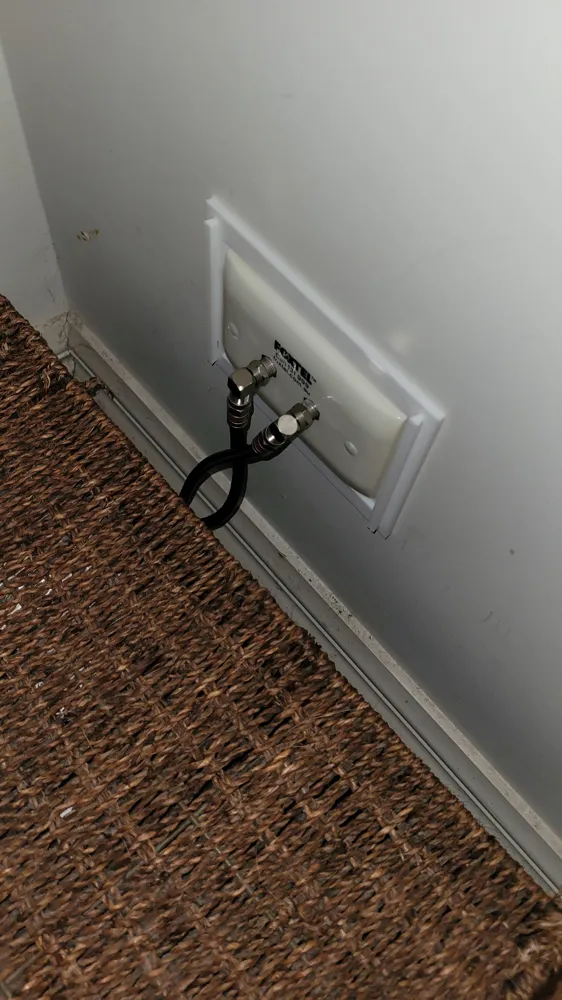
** UPDATE 1 ** I have added a second box that doesn't protrude as far - should be suitable for regular plugs. I have used mine to cover Foxtel Cables (new pics added)
My 1 year old nephew loves unplugging and switching off various power points around the house, so I designed this inspired by some others I found online. I assume this would work on any outlet/power point in Australia (or other countries that use this style).
To install, the outlet needs to be unscrewed from the wall so that the backing plate can be hooked around it, then just screw the outlet back in to secure the plate. The box simply slides on the rails.
The overall design could probably be a bit more refined but so far it's doing the job I wanted it to.
License

You may create derivative works based on this object, provided that all such derivative works are published exclusively on the MakerWorld platform and include proper attribution to the original creator. You may not share, upload, host, distribute, or publish this object—or any derivative work of this object—on any other digital platform, marketplace, or distribution channel. Commercial use of this object and any derivative works is strictly prohibited. This includes, but is not limited to, selling, renting, sublicensing, or using the object in any context in which you receive monetary compensation or other financial benefits.


Comment & Rating (34)