
SHOK.WAV
Print Profile(3)


Description
Boost Me (for free)
YOU CAN DO IT ! ! !
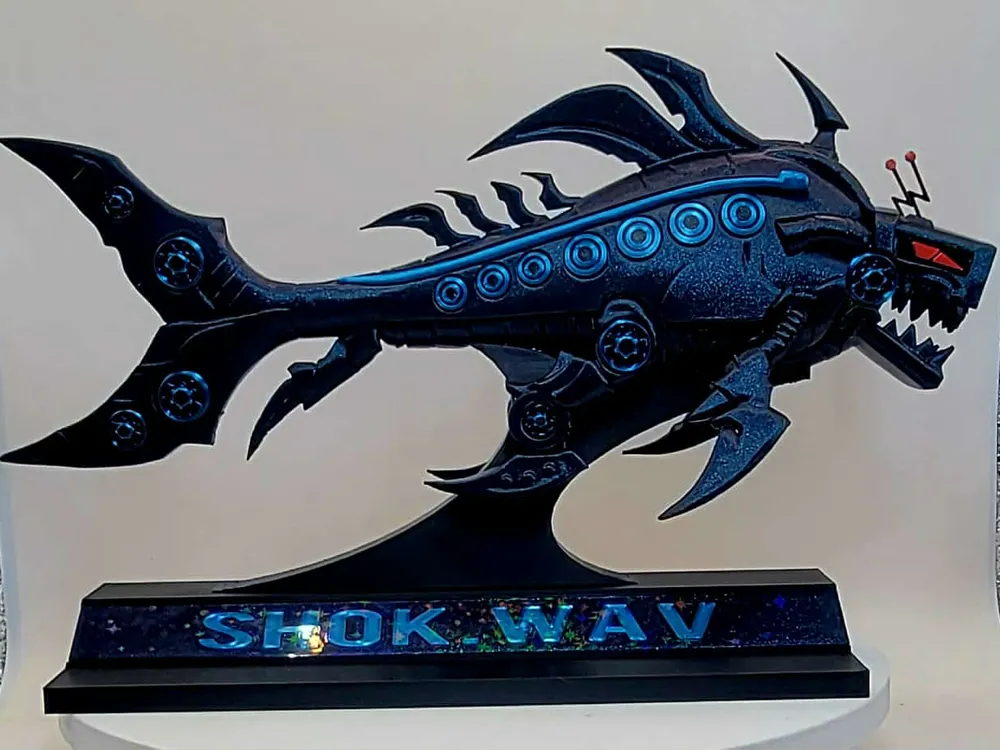
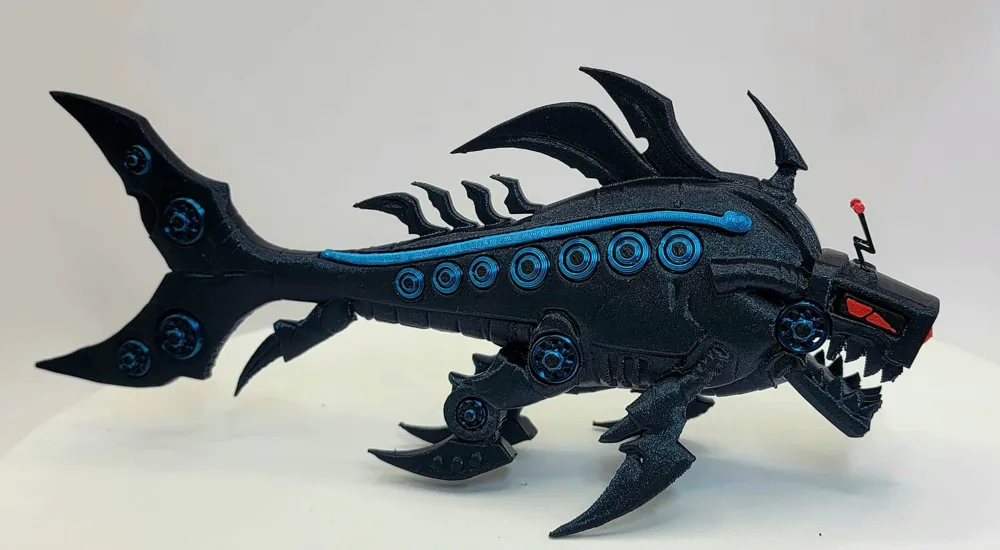
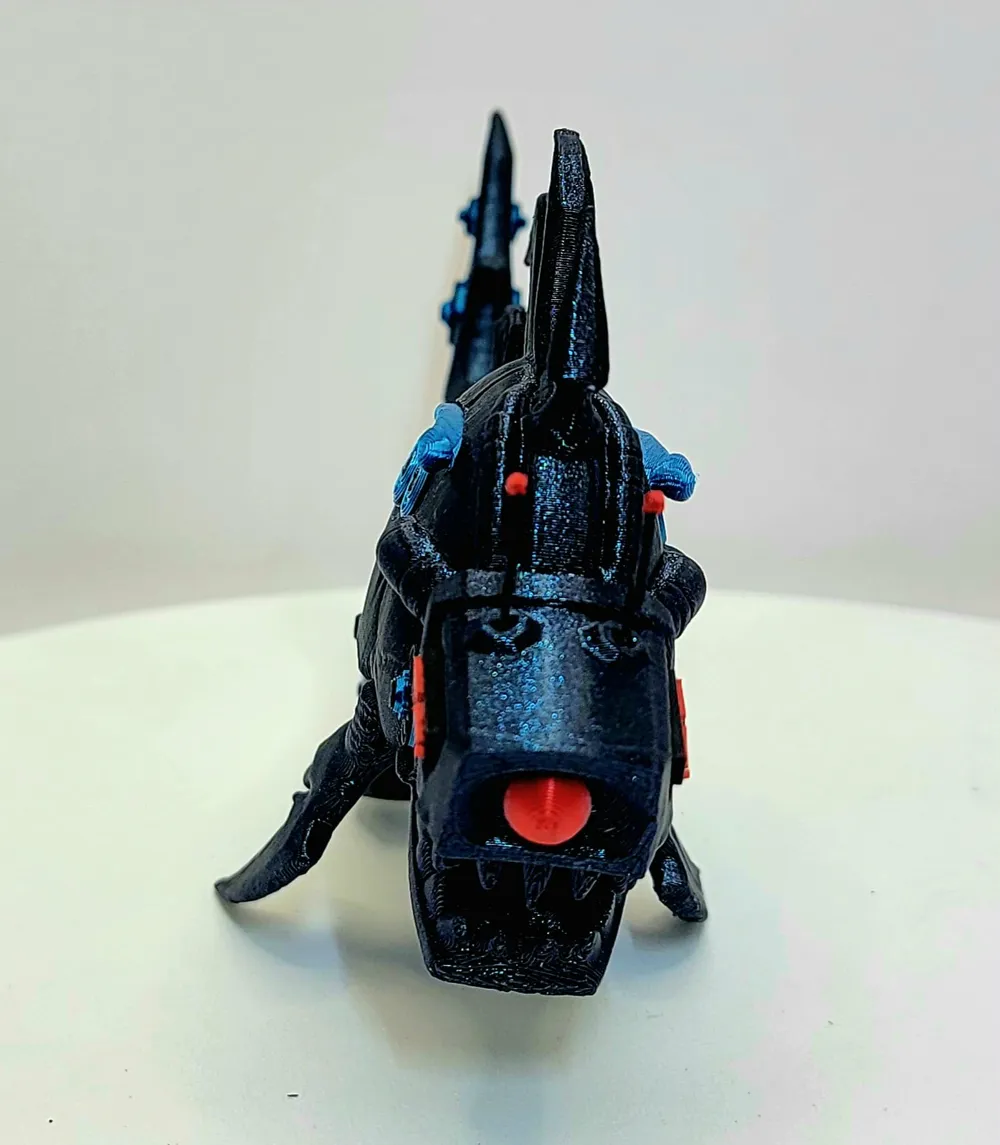
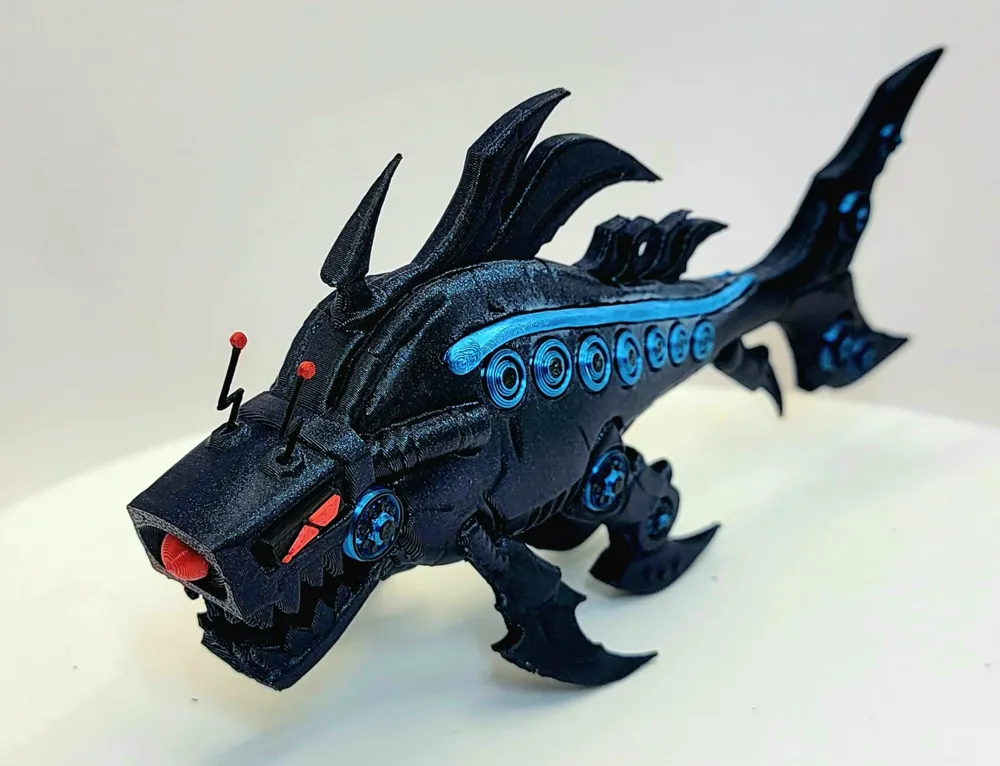
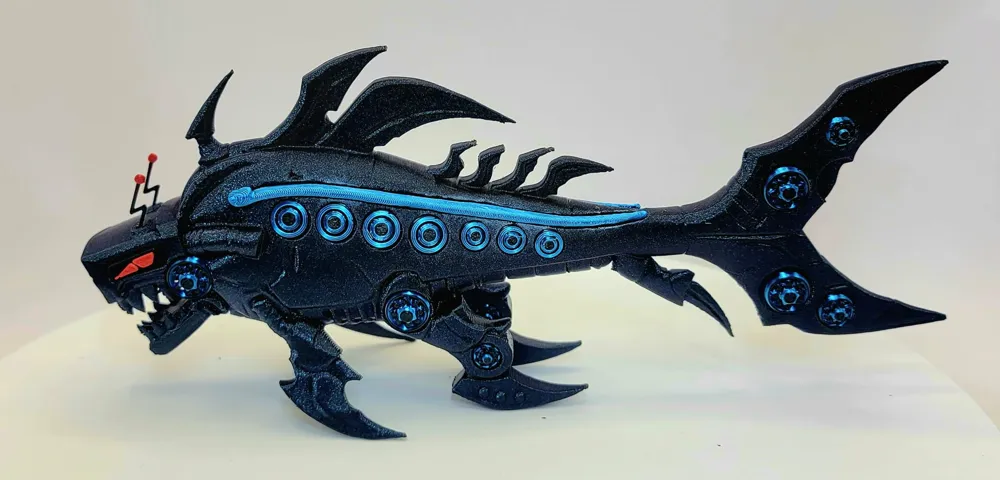
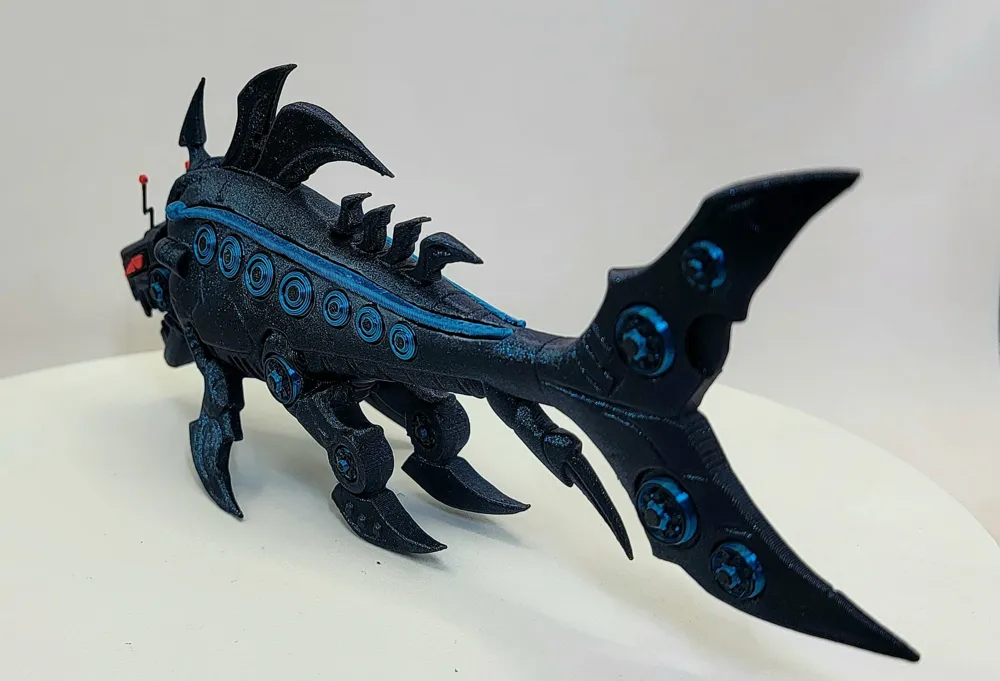
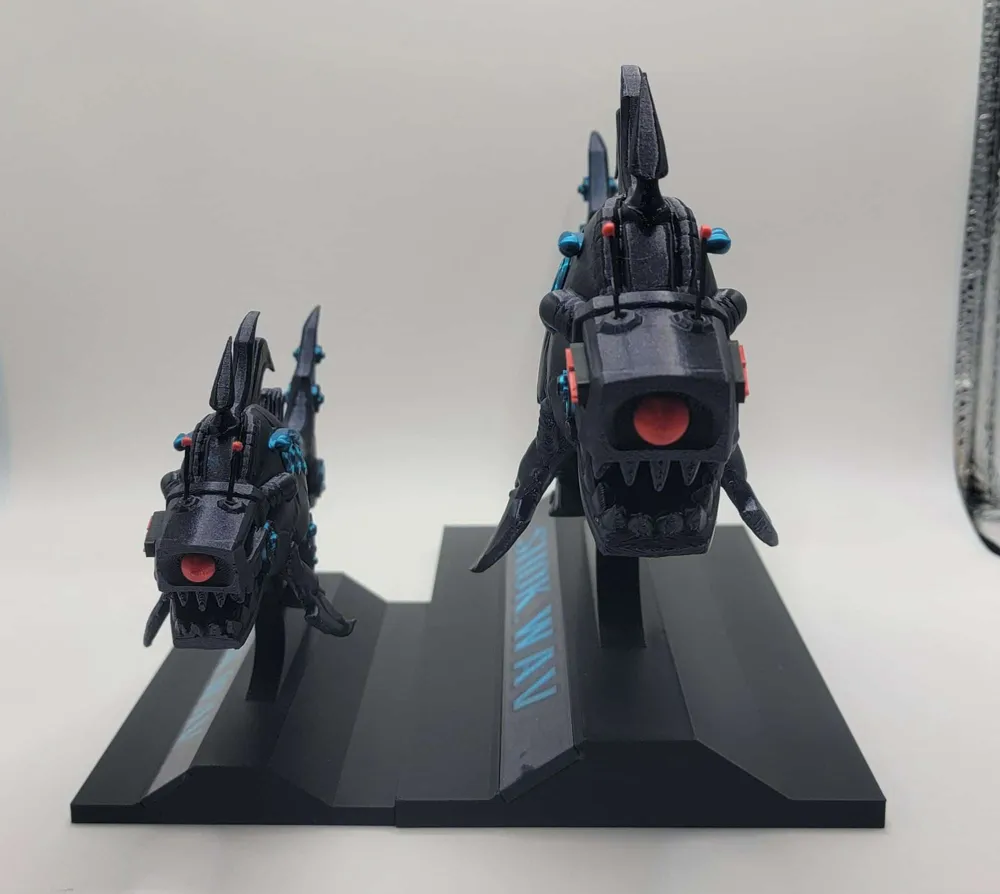
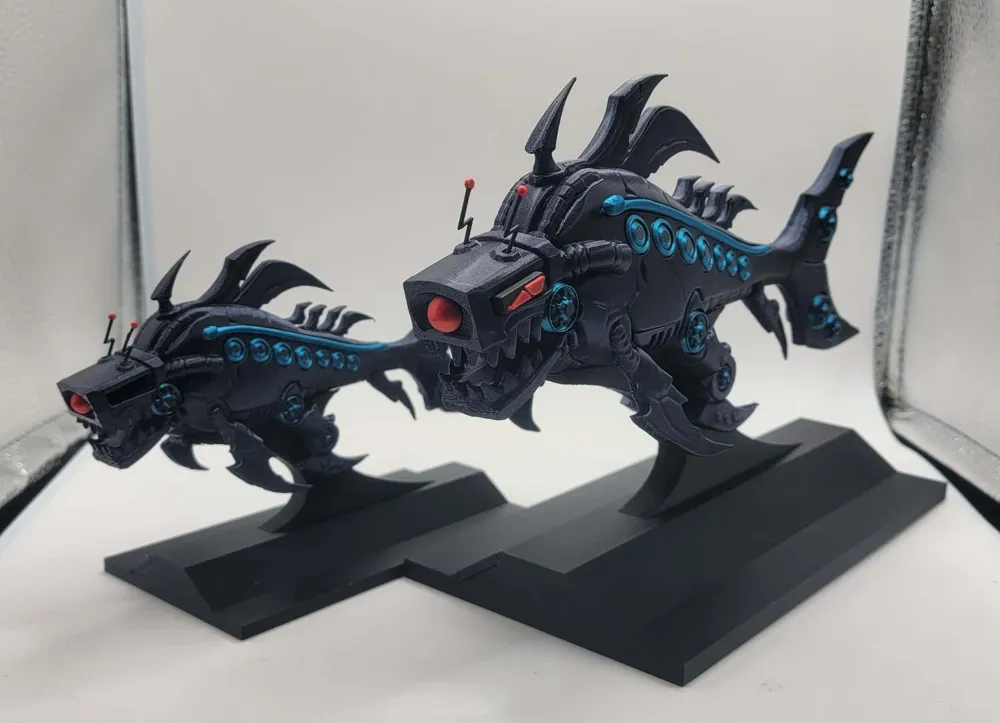
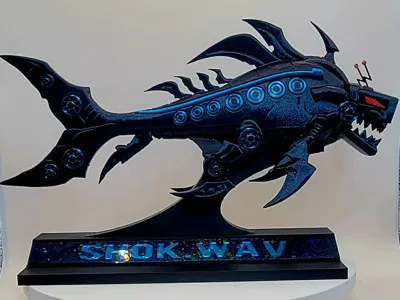
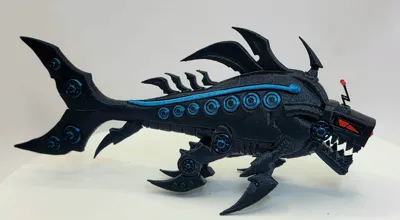
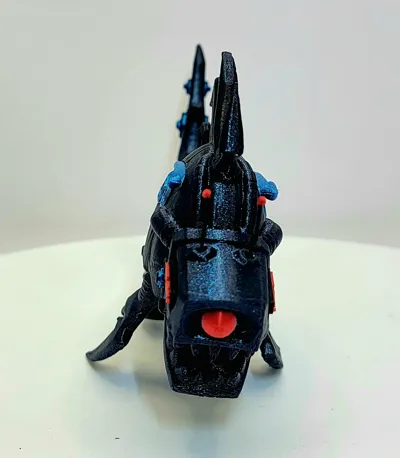
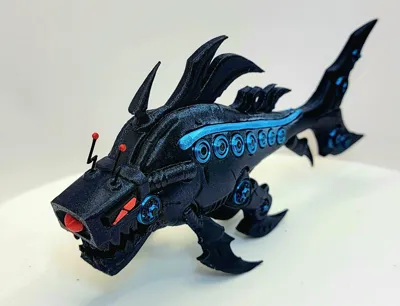
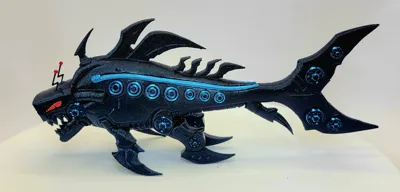
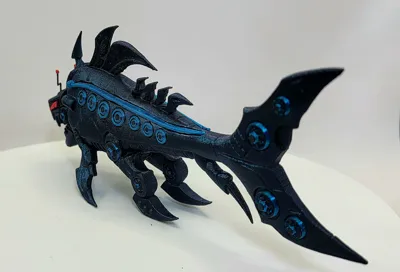
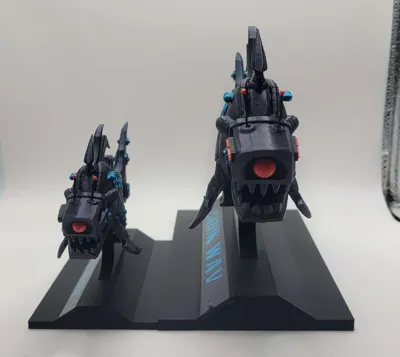
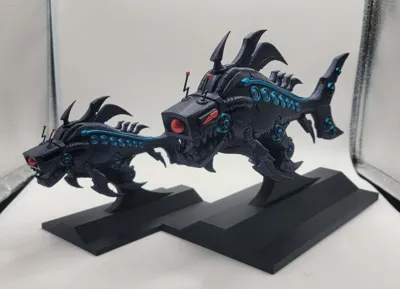
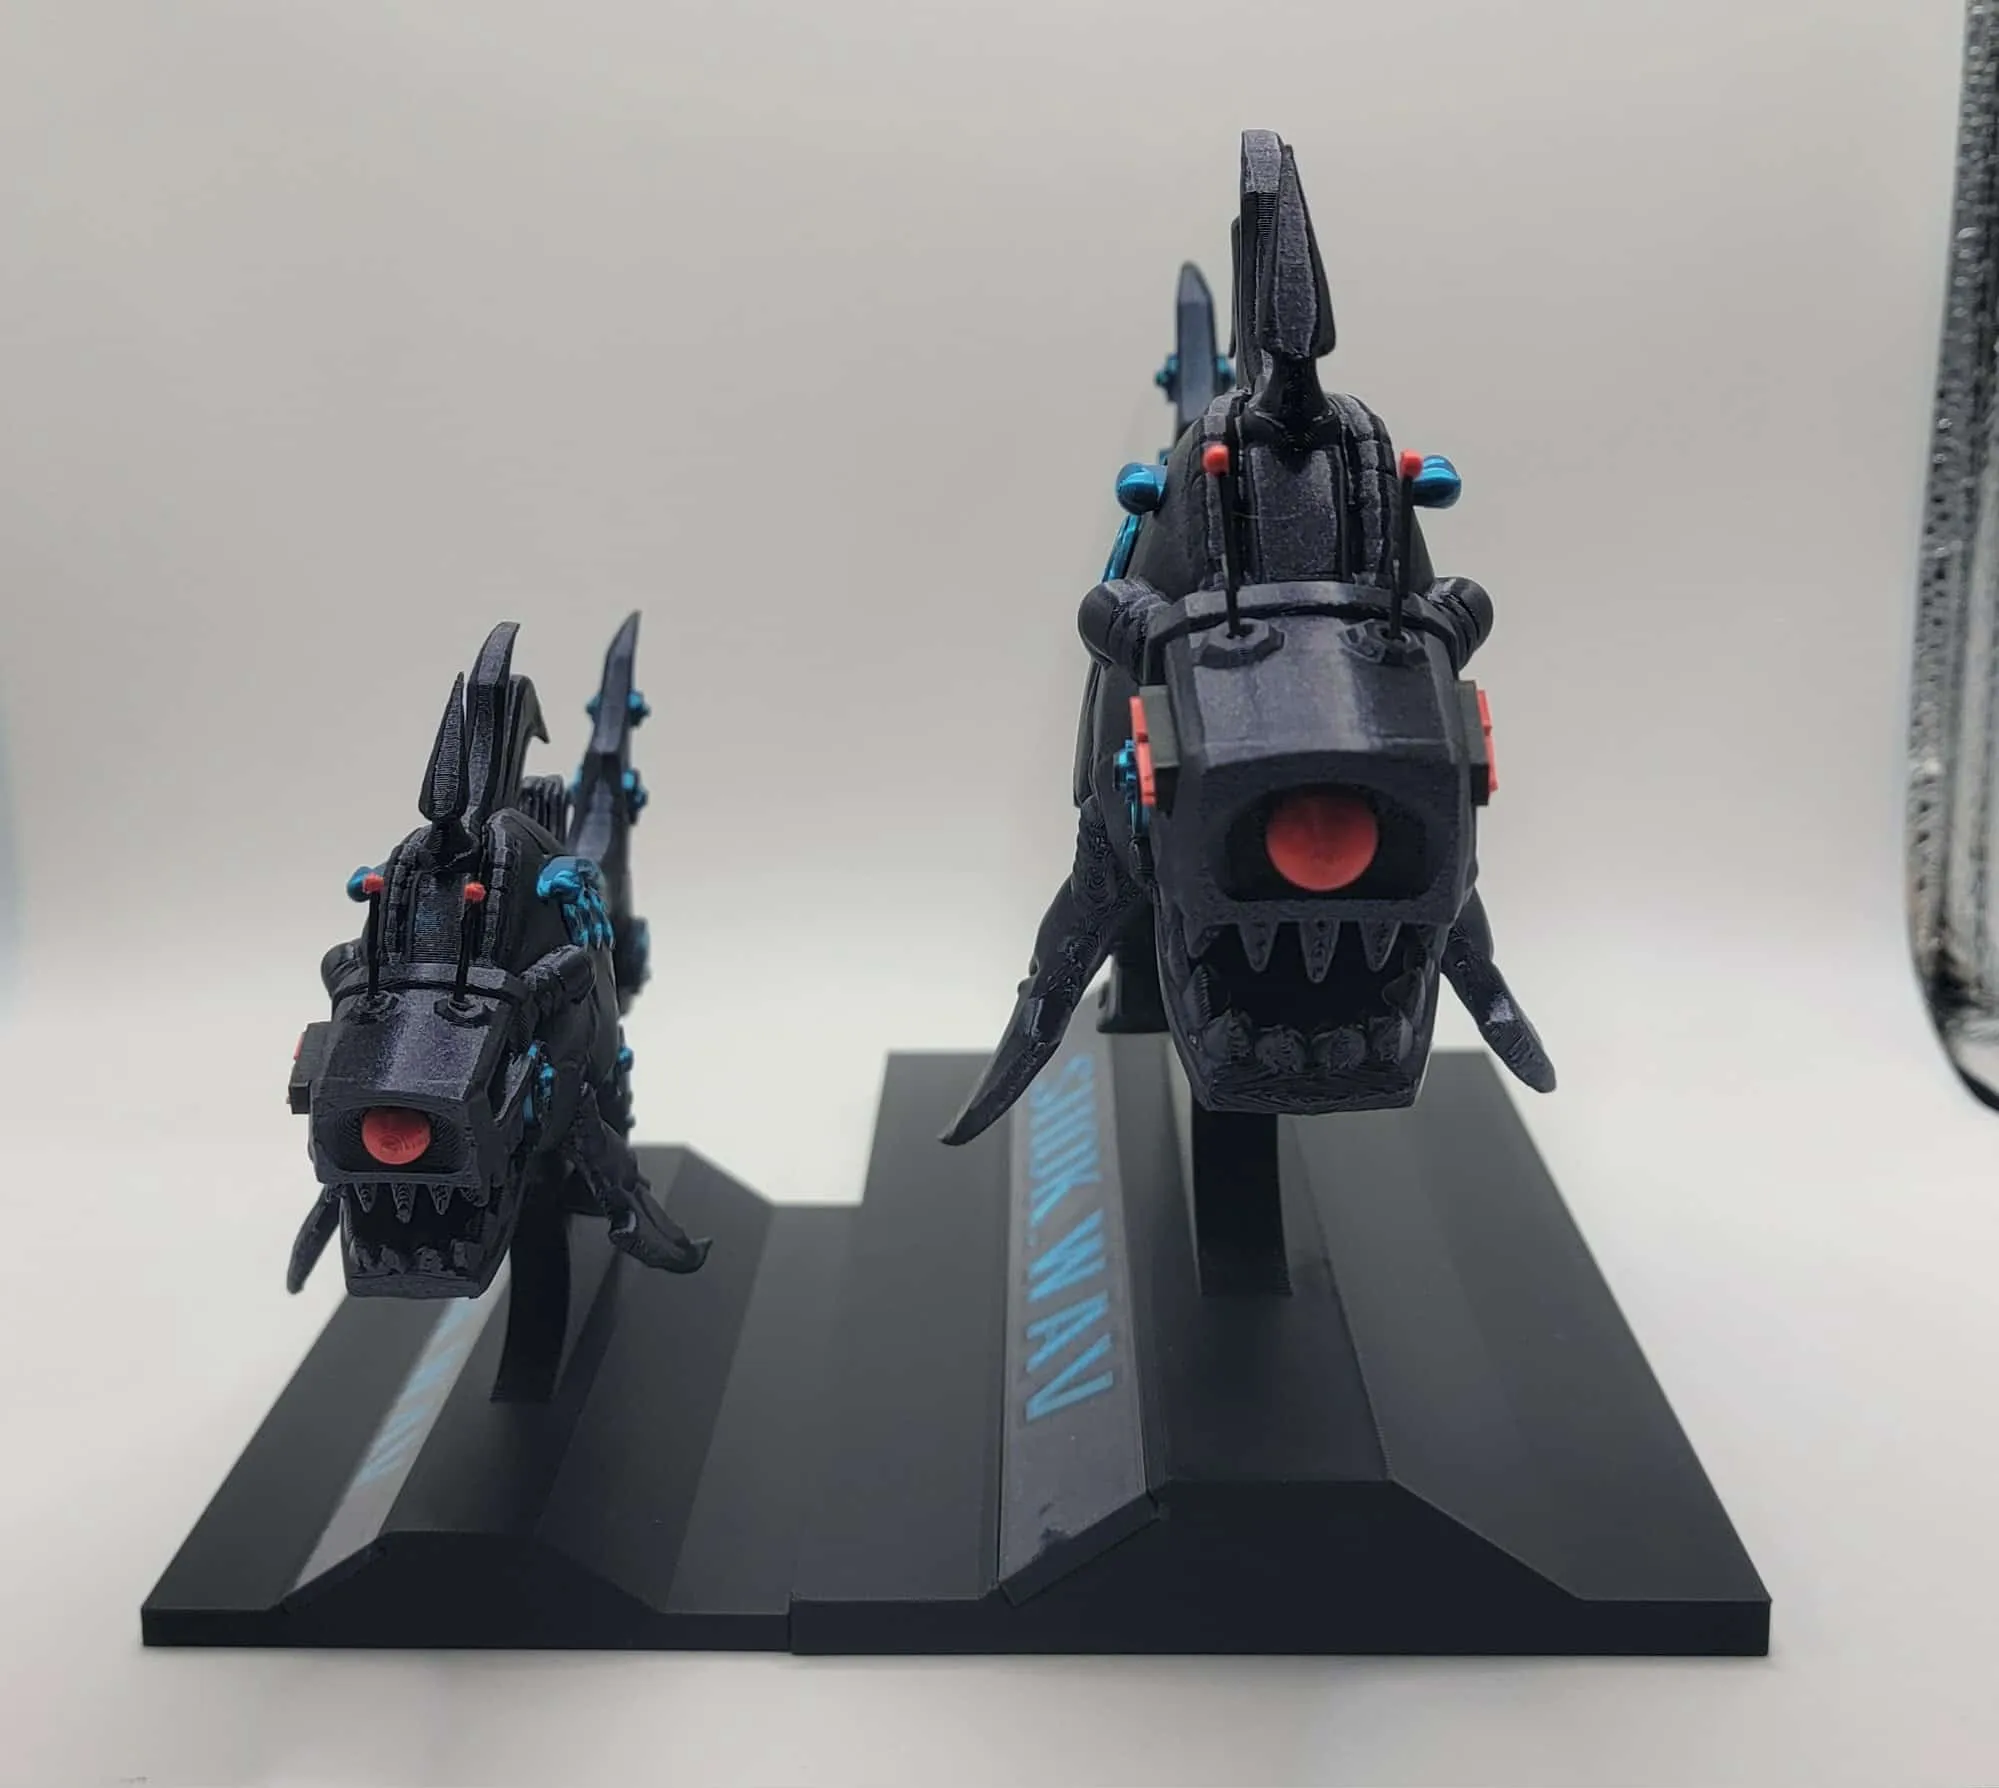
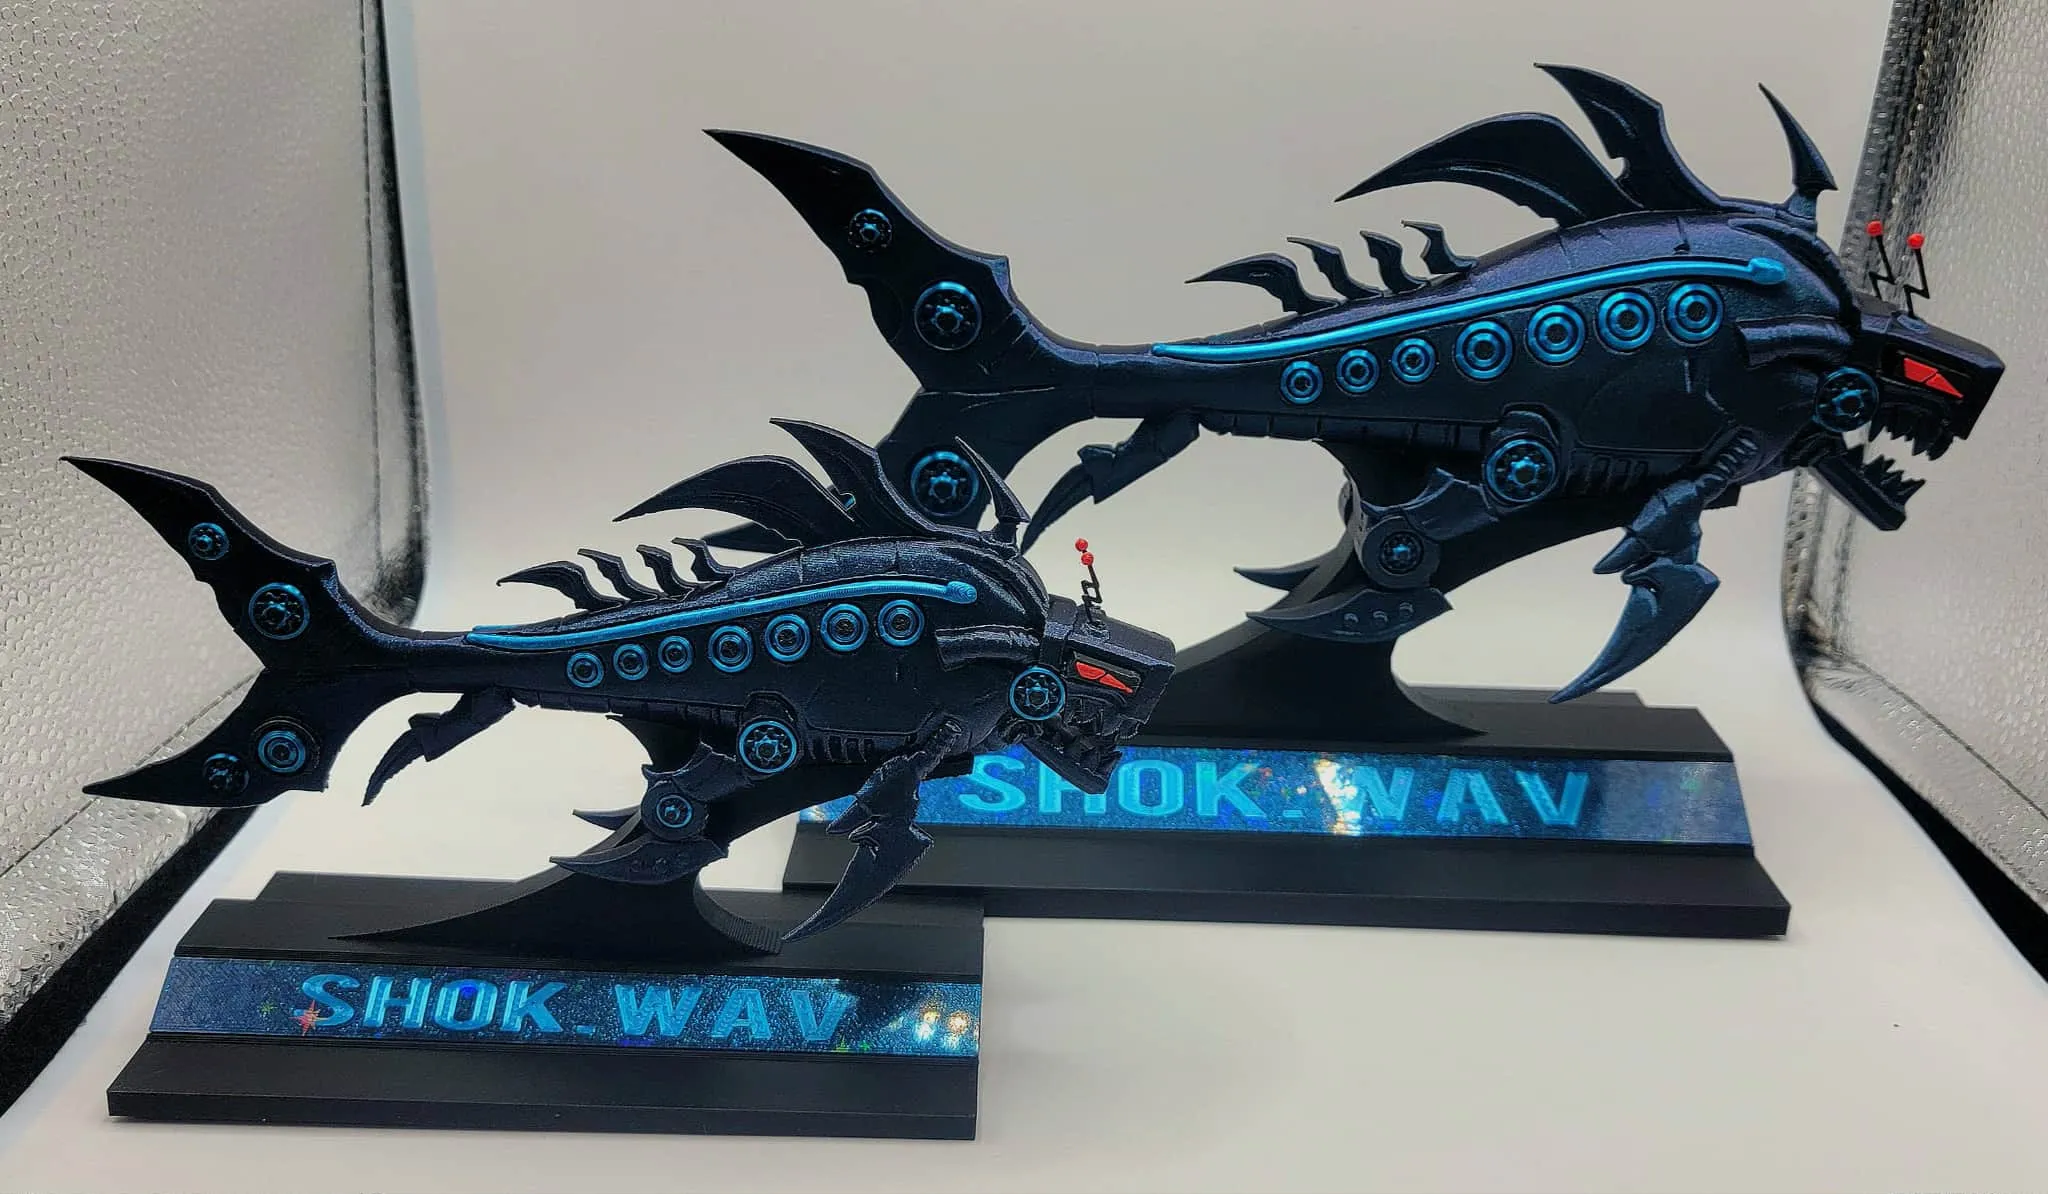
This is my interpretation of Shok.Wav. He is a fairly fast print since there is very little AMS usage (printable without AMS up to you).
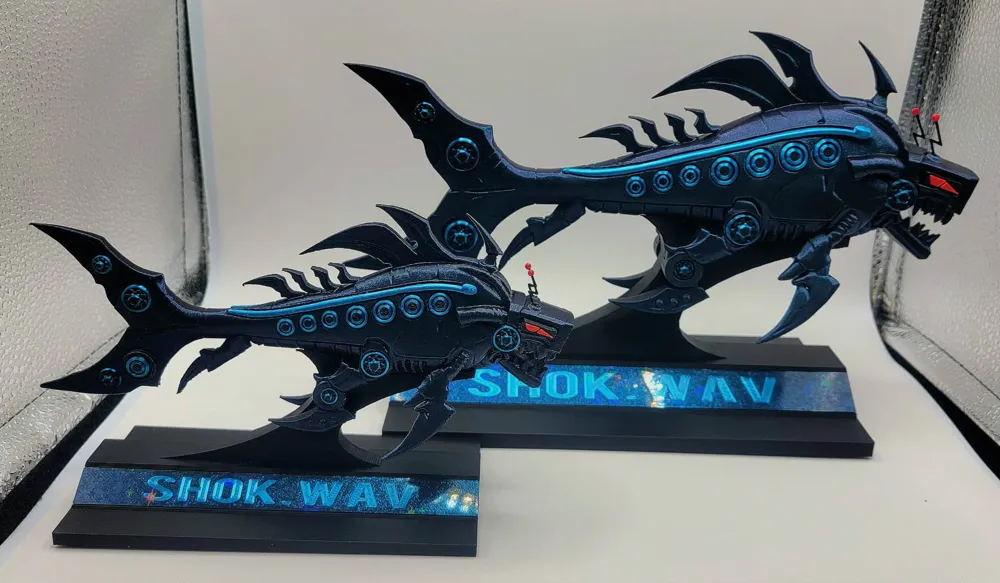
Standard size is approx. 200mm from head to tail
| 
|  |
Please keep in mind this print requires lots of gluing “gear and bearing, etc.”, each need to be glued in place. if your not comfortable gluing this may not be the print for you (please do not leave a low rating because you have lots to glue lol). tolerances were difficult to get correct on items such as eyes although i have printed him several times to insure everything prints correctly for you ( if there is any issues feel free to message be prior to feedback ill do my best to help solve them for you).
Glue in place items:
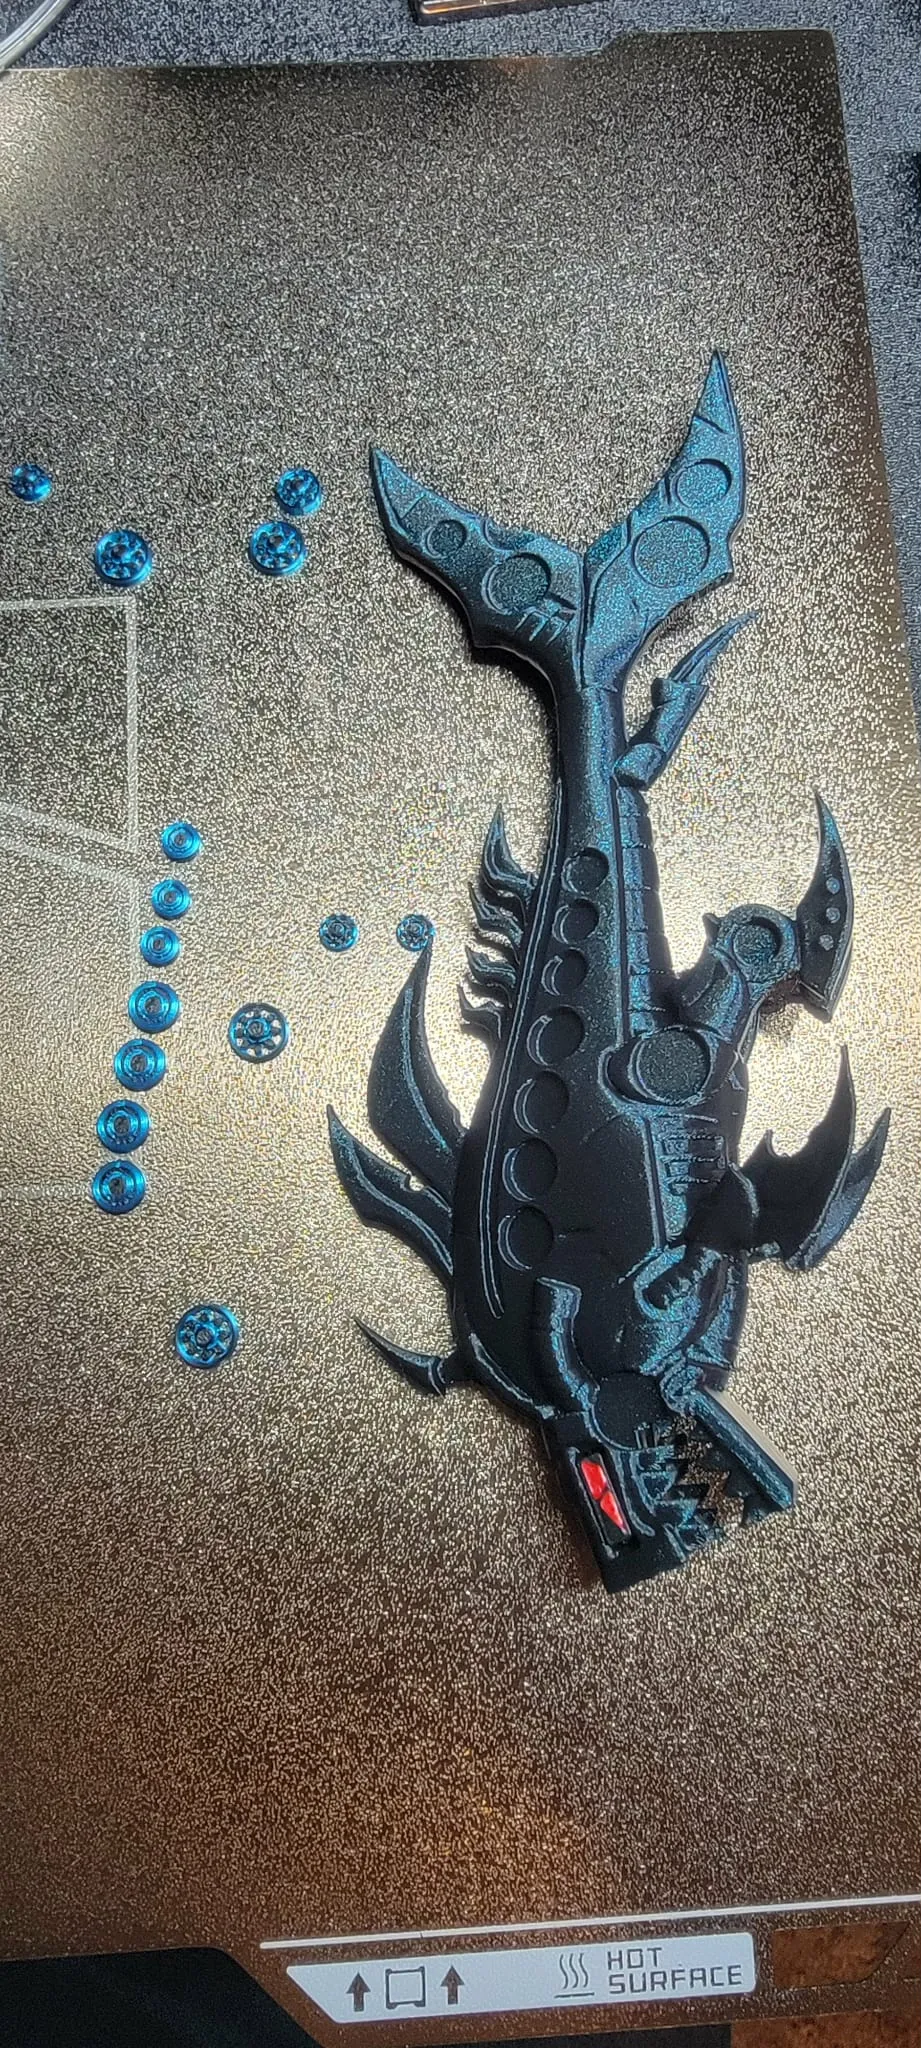
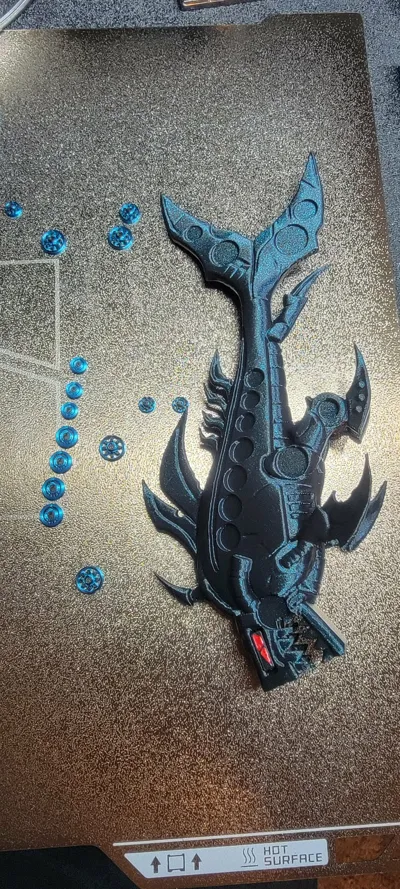
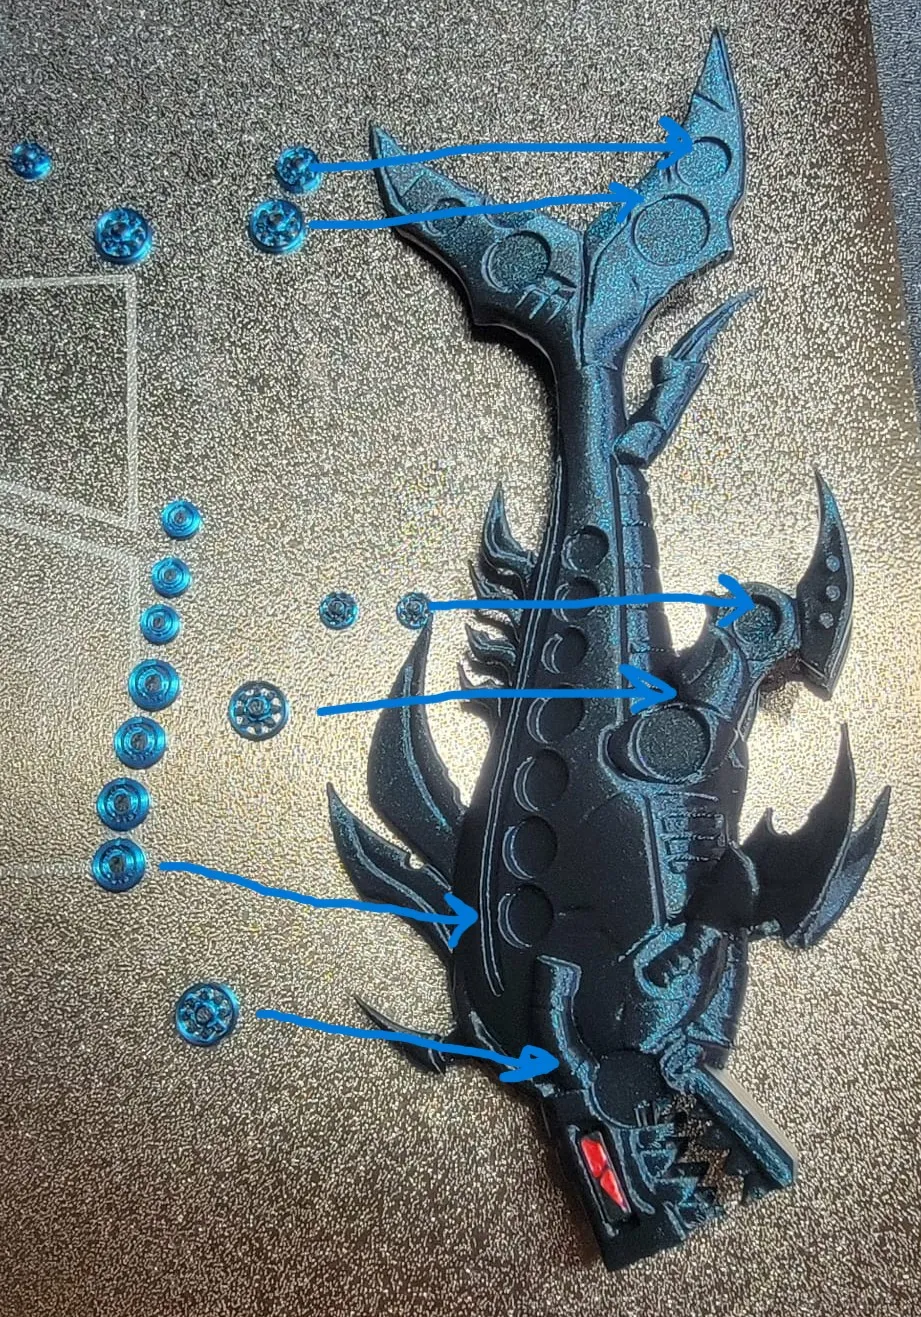
1. gears and bearings : there are a lot of them. I have positioned them on build plate so you know where they go after you print them, use the body of the shark as a reference (see pic).
| 
|
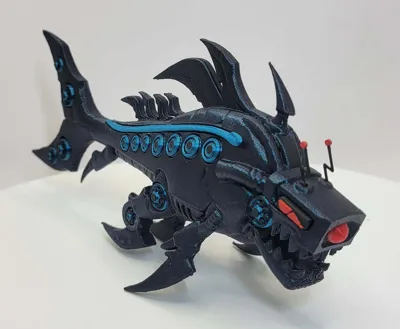
2. Eyes: on my prints they friction fit fine but you can glue in place if needed.
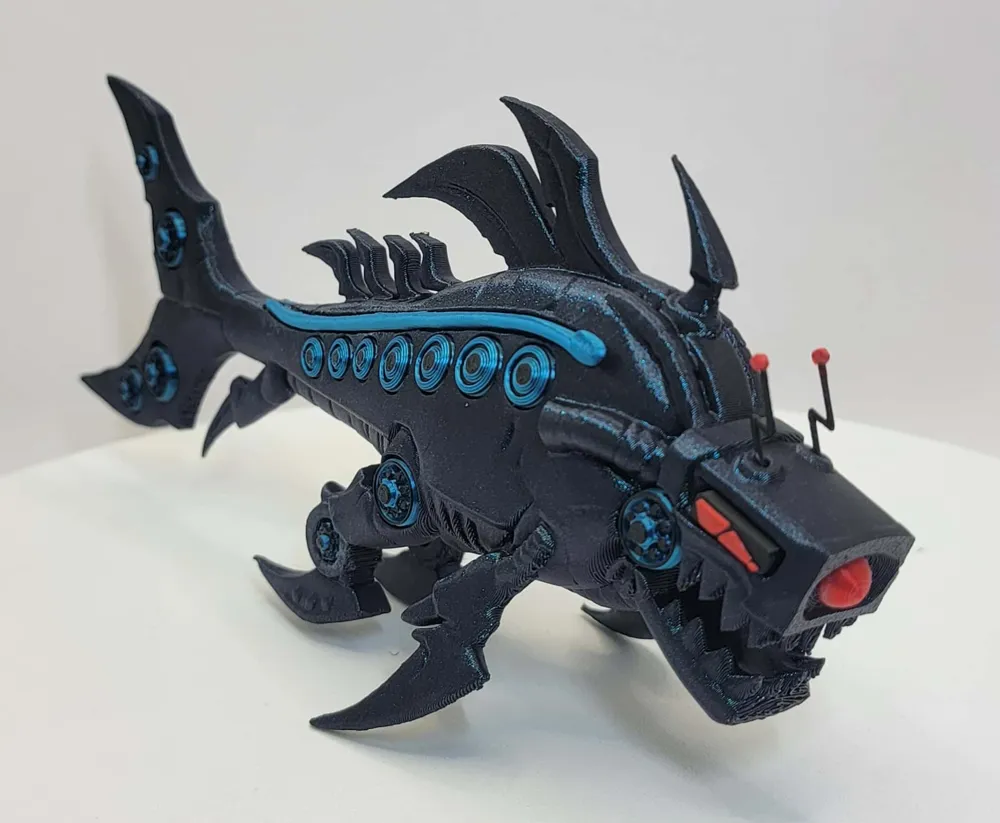
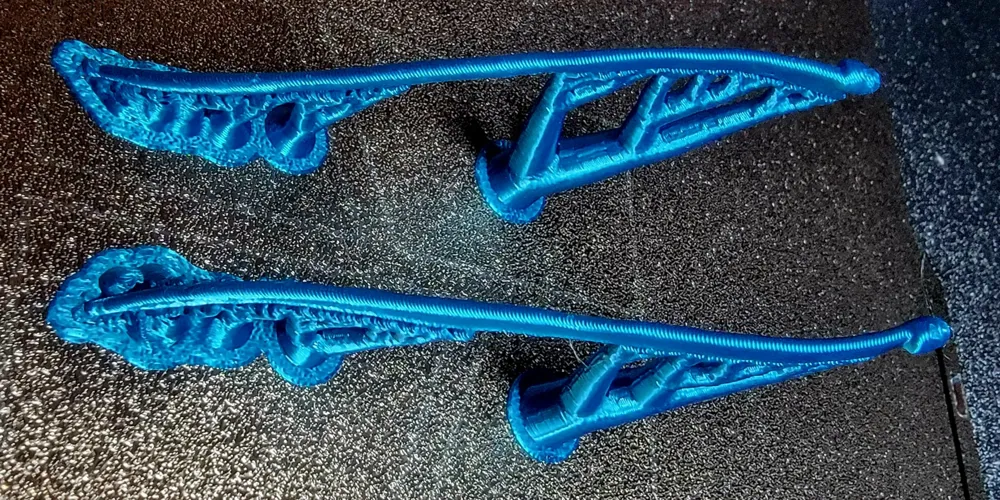
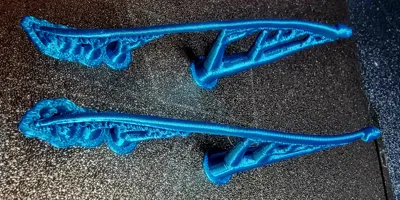
3. Side spears: Please take extra caution removing supports, I used my side cutters to assist in removal, take your time on these supports. They are slightly difficult to glue in. patiently hold in place until dry once lined up. Right and left will only go on the correct side, test fit prior.
4. Antennae: These are very loose fitting in holes ( intentional ) put a drop of glue at end of antennae position and hold in place until set. use pictures as reference.
5. Nose: glue in
DONE ! lol
This can be printed with or with out AMS up to you ( just remove colors on bearings, gears, etc. if you do not use ams).
OPTIONAL: I included 15.9mm bearing that can be used to replace gears if wanted. also the small gears can use the small bearings if you want to swap those out as well (find the correct dimensions and print extra of those).
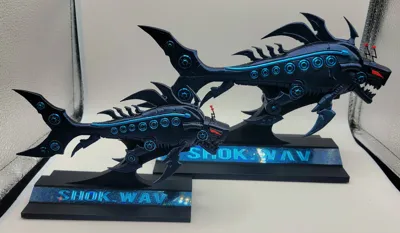
STAND: This is printed in 2 pieces the name plate is used with the AMS. (I will eventually upload a NON AMS for those who need or want it.)
If you have a larger format printer I included a 150% version but he should print fine if you want to play with percentages.
I had fun designing him show me your prints when your done :) .
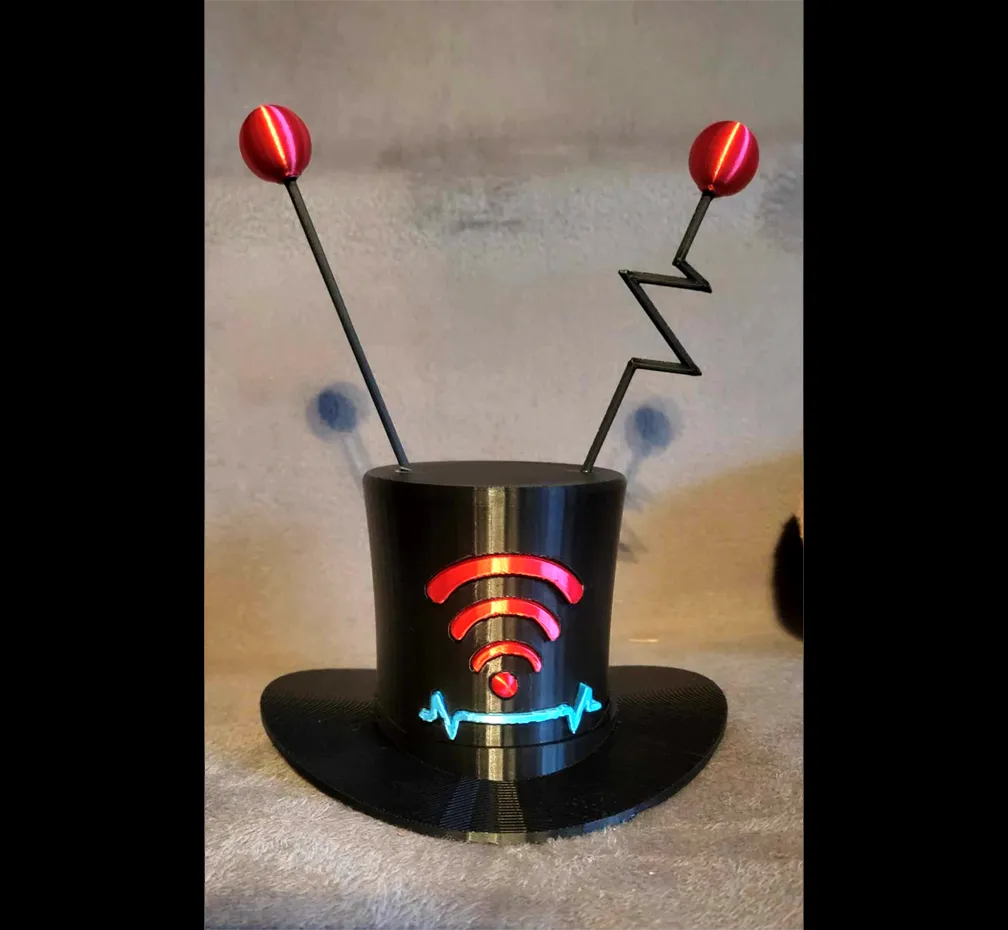
If you like this you might like my VOX hat
|  |
colors used on my print :
Burnt Titanium (Flashforge)
Cyan Blue silk (CC3D)
Red silk (Flashforge)
Black (Bambu basic)
License

You shall not share, sub-license, sell, rent, host, transfer, or distribute in any way the digital or 3D printed versions of this object, nor any other derivative work of this object in its digital or physical format (including - but not limited to - remixes of this object, and hosting on other digital platforms). The objects may not be used without permission in any way whatsoever in which you charge money, or collect fees.


Comment & Rating (50)