Scanner 3D & Turntable


Print Profile(6)


Description
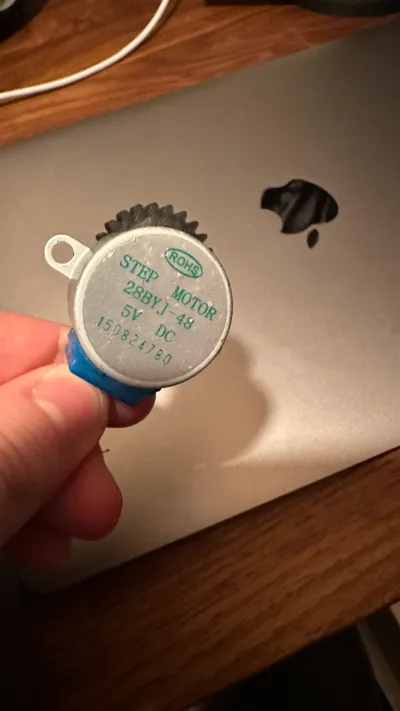
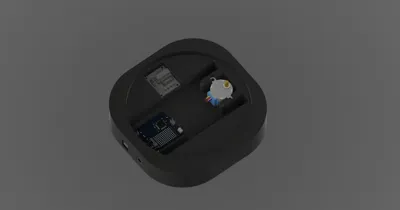
Immerse yourself in the world of 3D digitization with our DIY 3D Scanner, powered by the capabilities of Arduino Uno and the 28BYJ-48 stepper motor alongside the reliable ULN2003A control board.
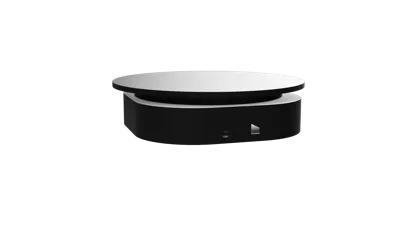
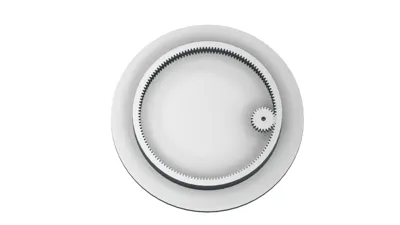
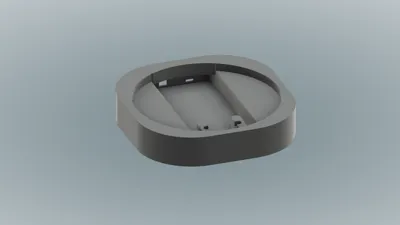
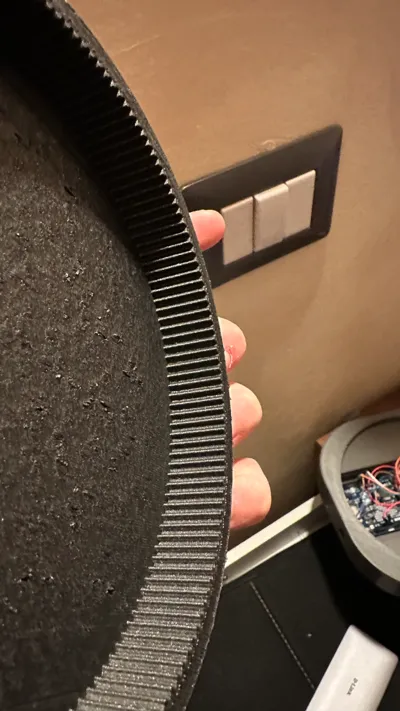
The design includes a 28BYJ-48 stepper motor controlled by the ULN2003A board via Arduino Uno. This configuration allows your 3D scanner to feature a turntable, thanks to its built-in gear, enabling precise scanning. Additionally, you can enhance your experience by incorporating a distance sensor to further improve scanning depth. The data captured by the scanner can be easily processed through photogrammetry software, enabling you to create detailed 3D models.
Update 25-11-2024:
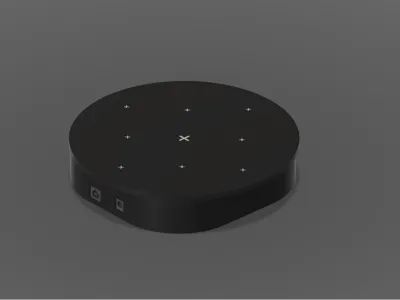
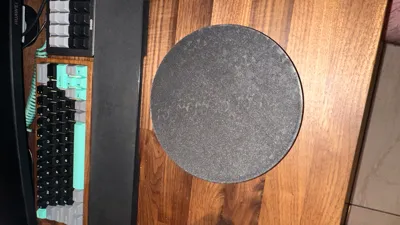
I added some small marks to the plate to allow immediate identification of the scanner's center, as well as marks that enable various scanners to correctly analyze the model to be scanned.
Update 13-08-2024:
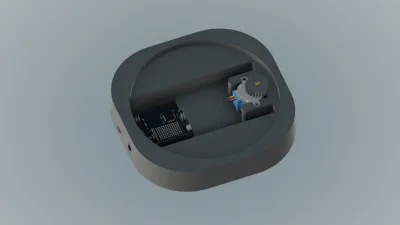
I’ve created a new print profile with several improvements. I’ve smoothed out some edges for a clearer finish, update the hole to accommodate a usb B 2.0 of arduino mega, and also added a slot for the board dedicated to the ULN2003A driver
Update 19-03-2024:
updated hole for usb-c connector with bigger one
Key Features:
- Precision and Control:
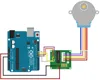
The 28BYJ-48 stepper motor provides precise step control, enabling detailed and accurate scanning of 3D objects. The ULN2003A control board simplifies the interfacing, ensuring smooth and reliable operation. - Ease of Use:
Utilizing Arduino Uno as the project's core makes the interface and programming accessible even for beginners. Our detailed guide will walk you through each step, from assembly to usage. - Modular Design:
The project is designed with a modular approach, allowing for customizations and future upgrades. Add sensors, hardware improvements, or implement new features to tailor the scanner to your specific needs. - Open-Source Software:
We release the source code of the software, which you can find attached. This code can be directly uploaded to Arduino by copying the content from the provided text file and pasting it into the dedicated IDE. Feel free to make any adjustments or let me know if there's anything else you'd like to add!
The design includes a 28BYJ-48 stepper motor controlled by the ULN2003A board via Arduino Uno. This configuration allows your 3D scanner to feature a turntable, thanks to its built-in gear, enabling precise scanning. Additionally, you can enhance your experience by incorporating a distance sensor to further improve scanning depth. The data captured by the scanner can be easily processed through photogrammetry software, enabling you to create detailed 3D models.
Boost Me (for free)
Enjoying this model? Support my work! 🎉
If this model has been helpful to you, consider giving me a boost to help me continue improving and updating it regularly. Your support means a lot and keeps the creativity flowing! Thank you!
Documentation (2)
License
You shall not share, sub-license, sell, rent, host, transfer, or distribute in any way the digital or 3D printed versions of this object, nor any other derivative work of this object in its digital or physical format (including - but not limited to - remixes of this object, and hosting on other digital platforms). The objects may not be used without permission in any way whatsoever in which you charge money, or collect fees.
Comment & Rating (89)