
USB Foot Switch
Print Profile(1)

Description
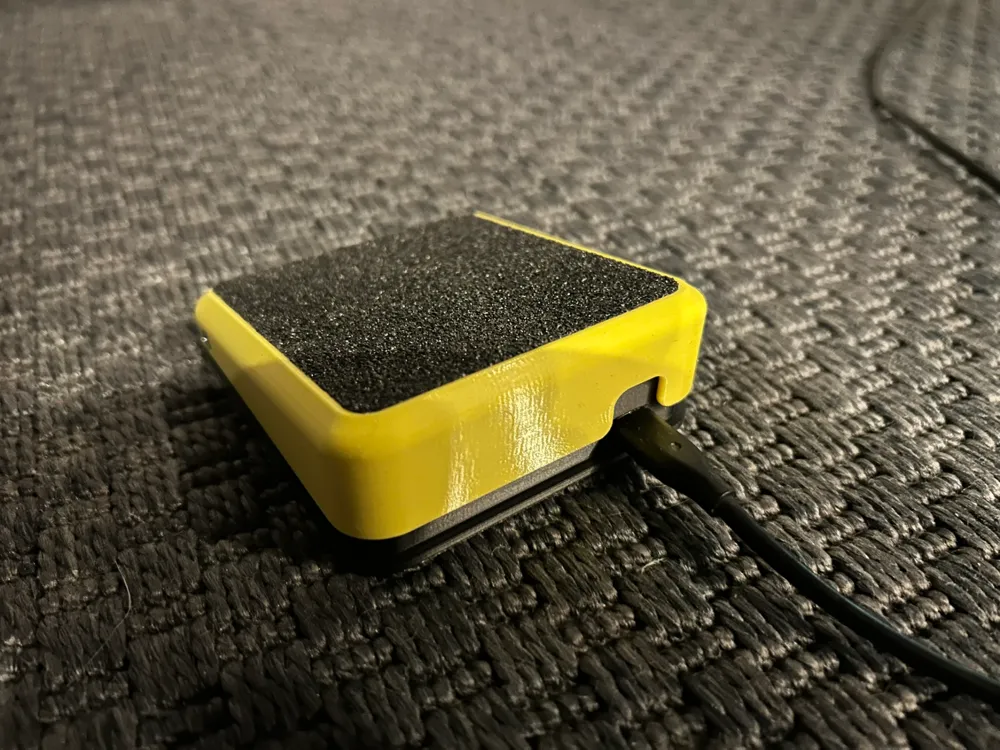
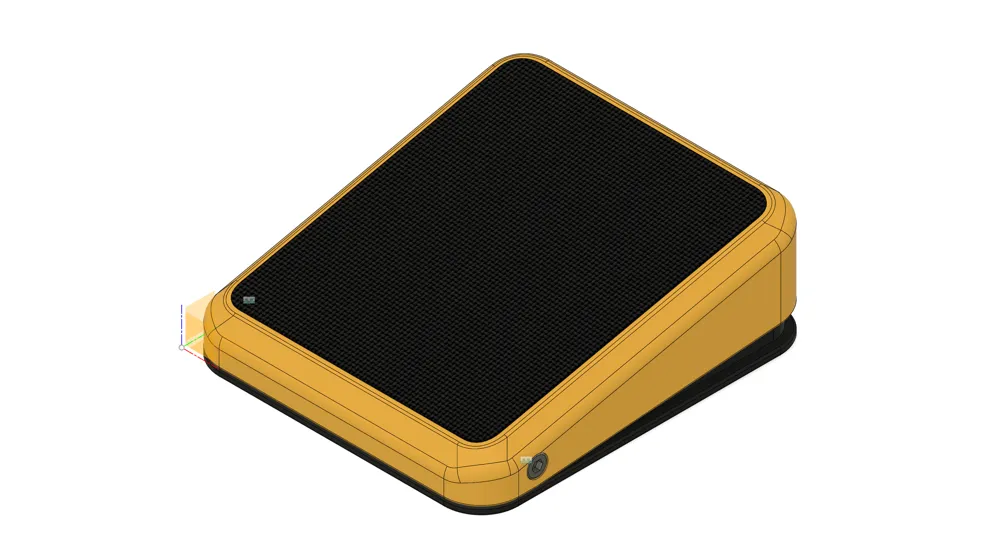
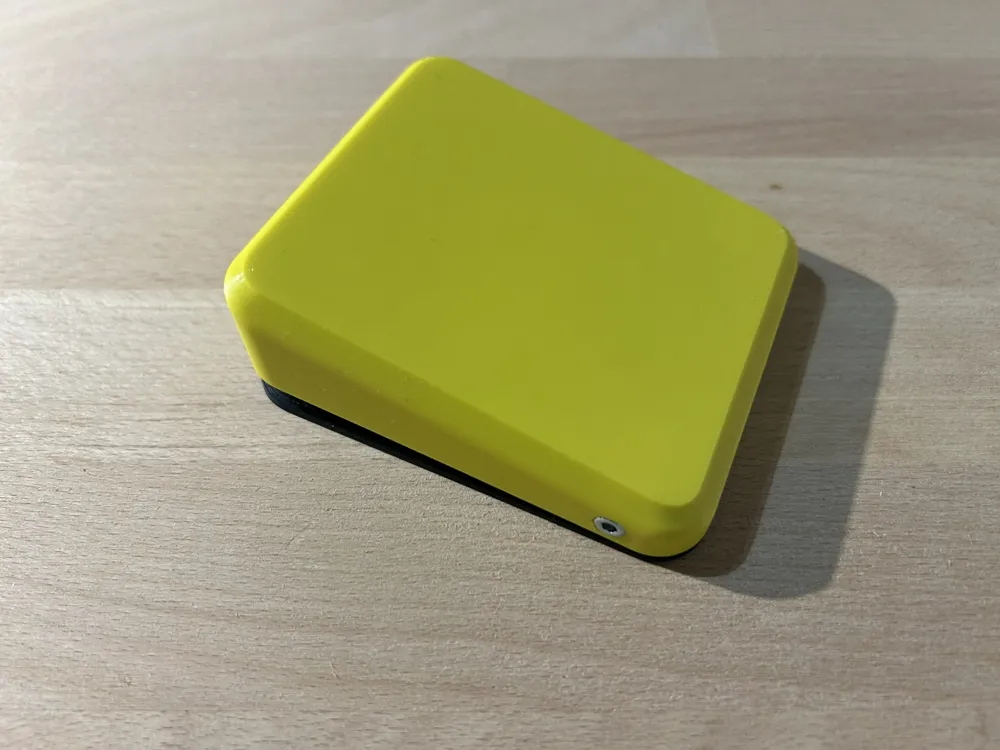
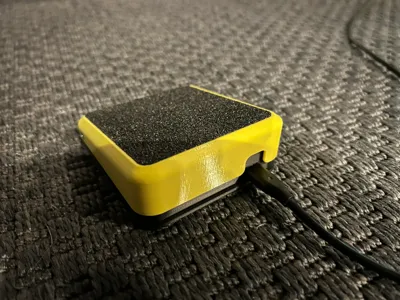
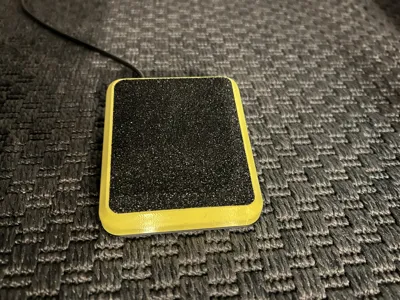
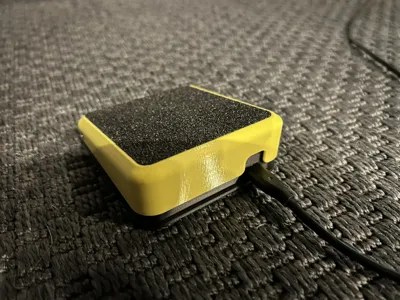
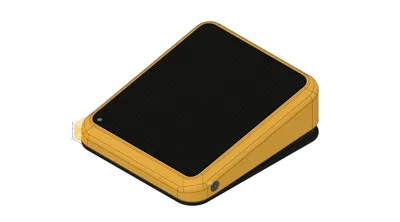
This simple foot switch simulates a USB input device via a Raspberry Pico 2. Depending on the programming, it can be used to send a single letter, an entire text, or change the volume, for example. The possibilities here are almost limitless.
For this project, I was satisfied with simulating a keystroke as on a keyboard (otherwise it would be cheating, unfortunately😅).
Assembly is relatively simple:
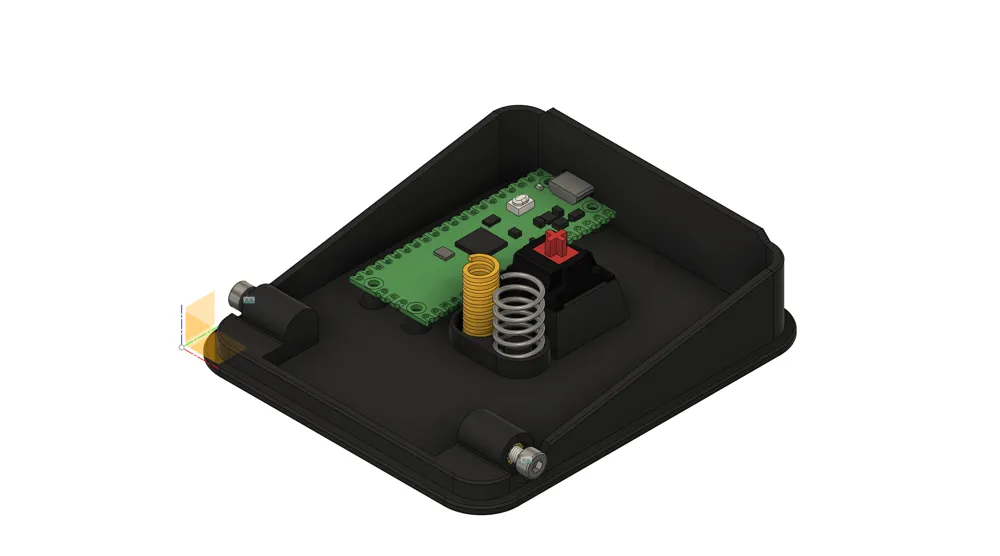
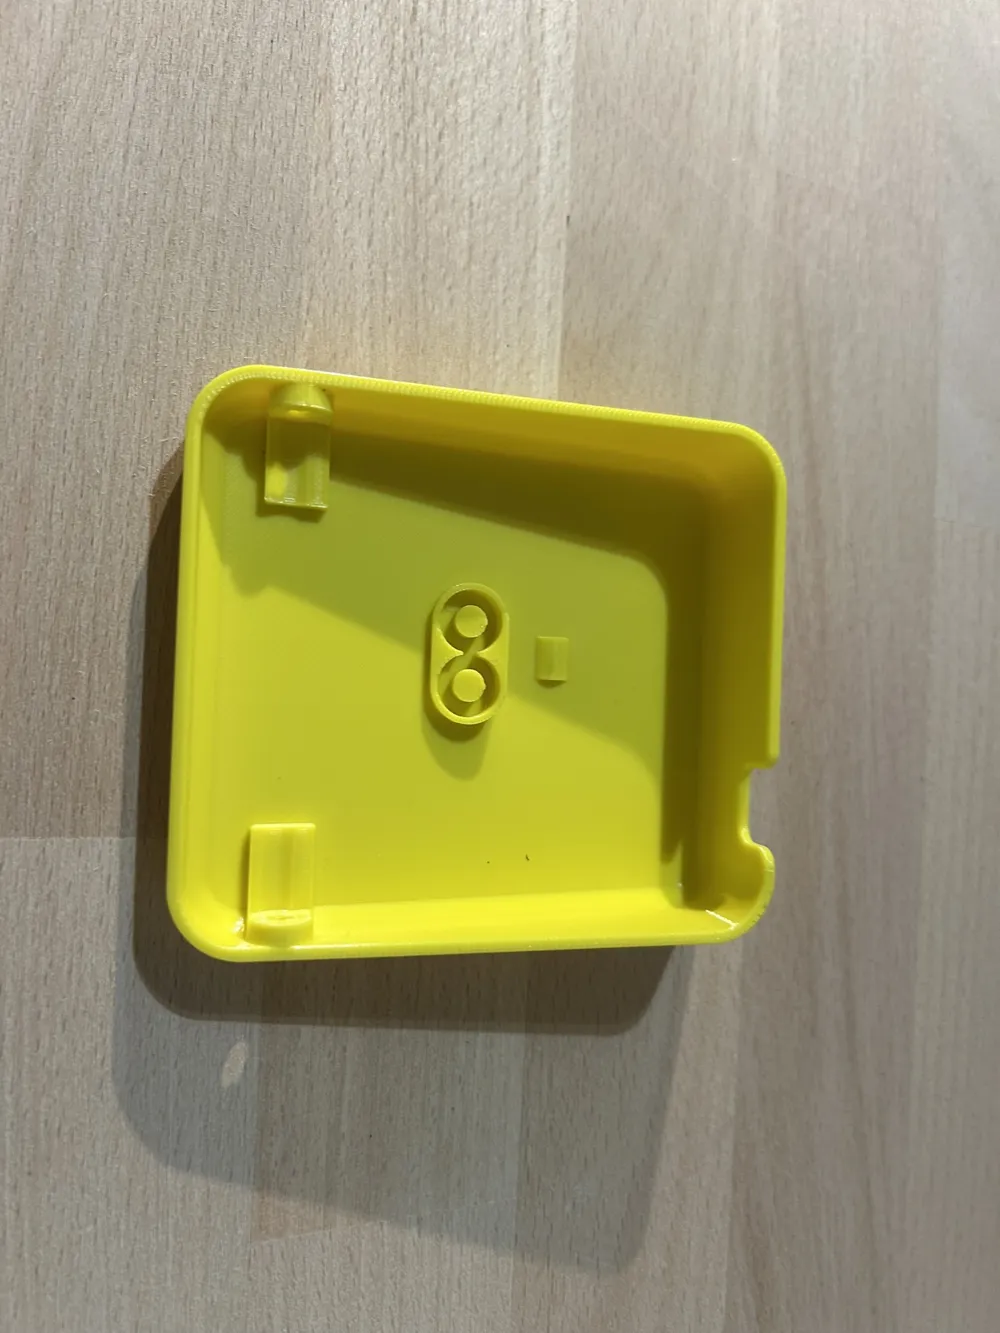
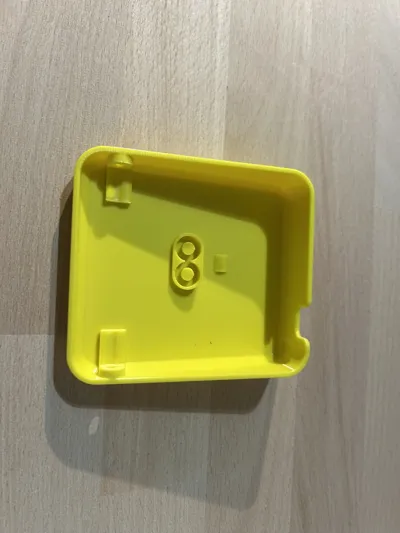
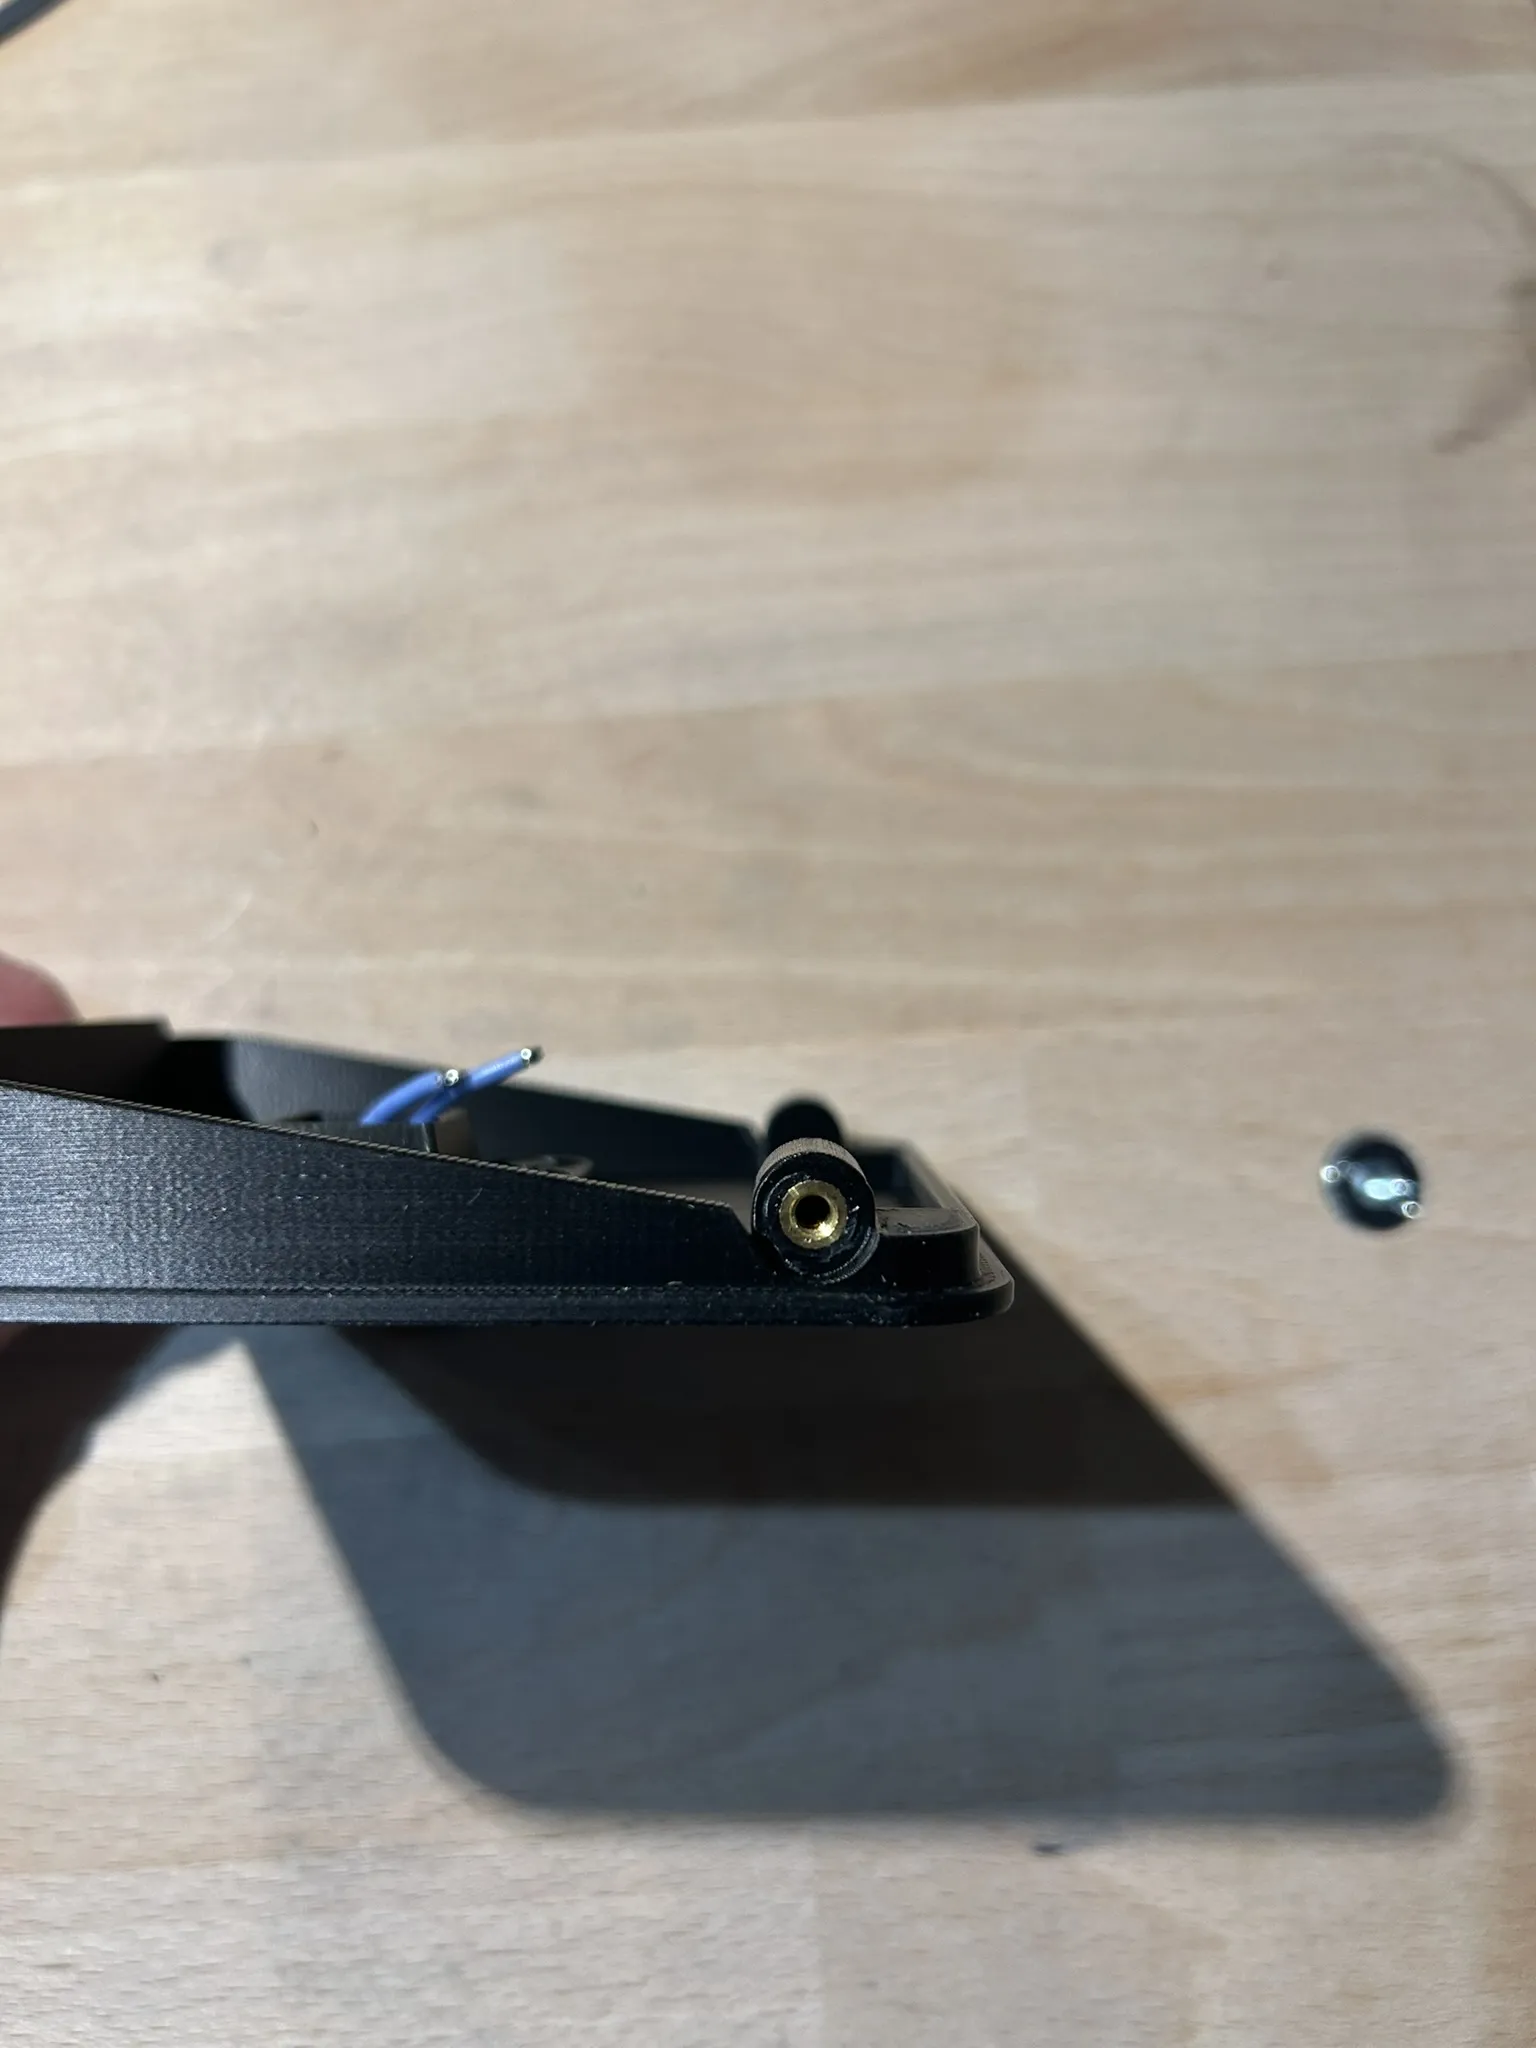
Insert the M3 threaded inserts on the side.
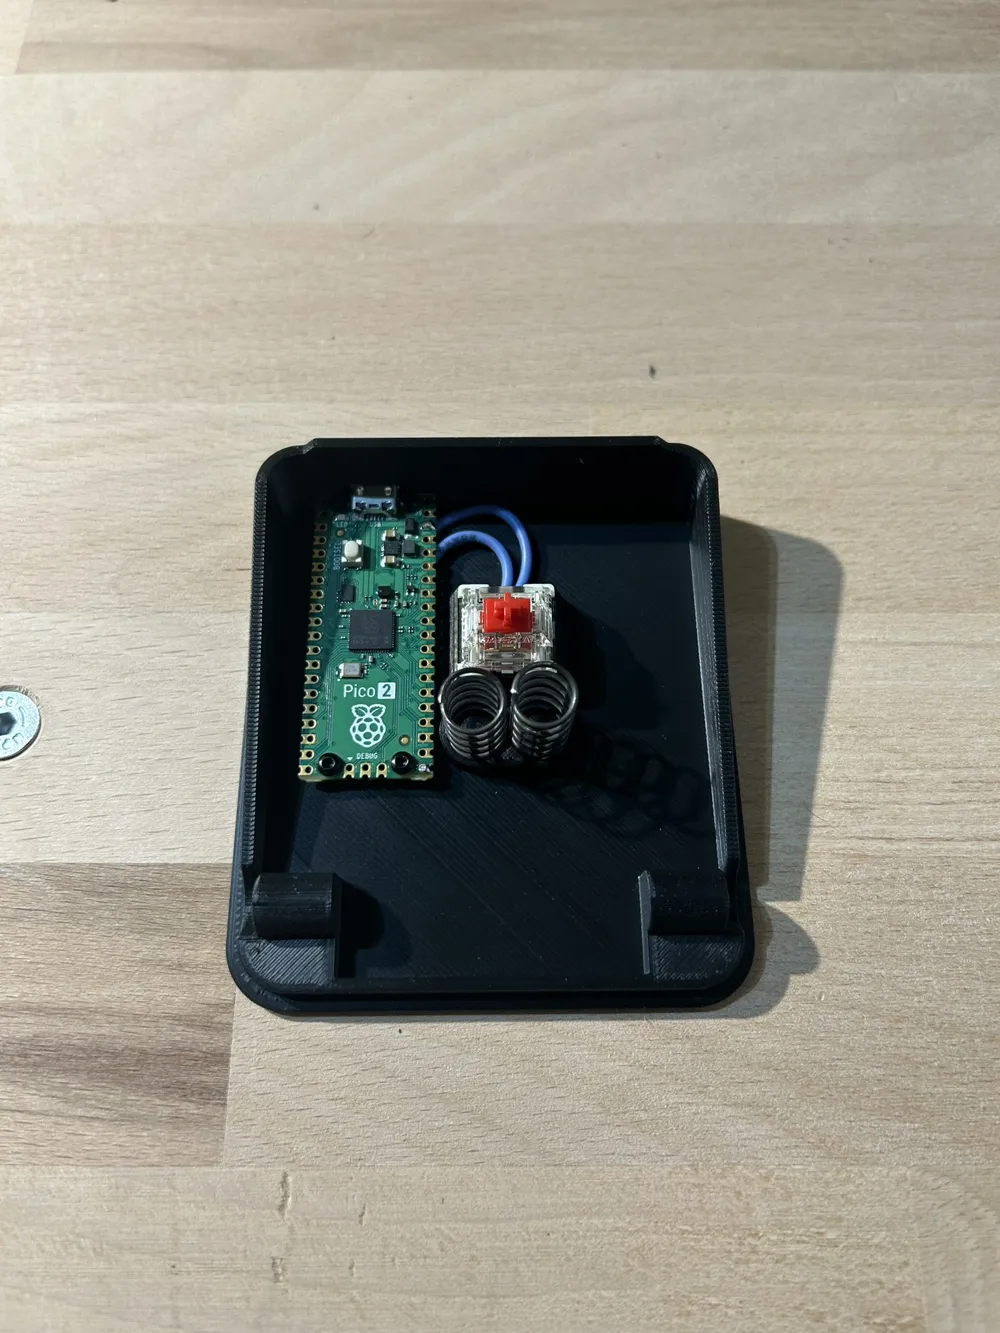
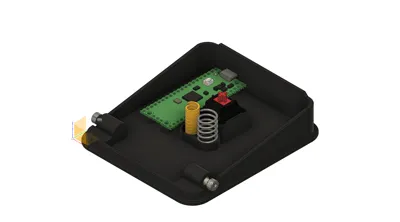
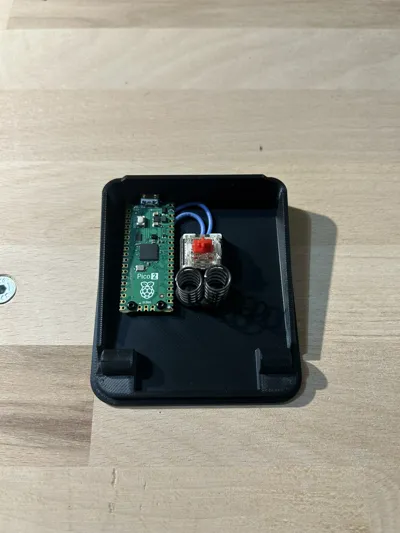
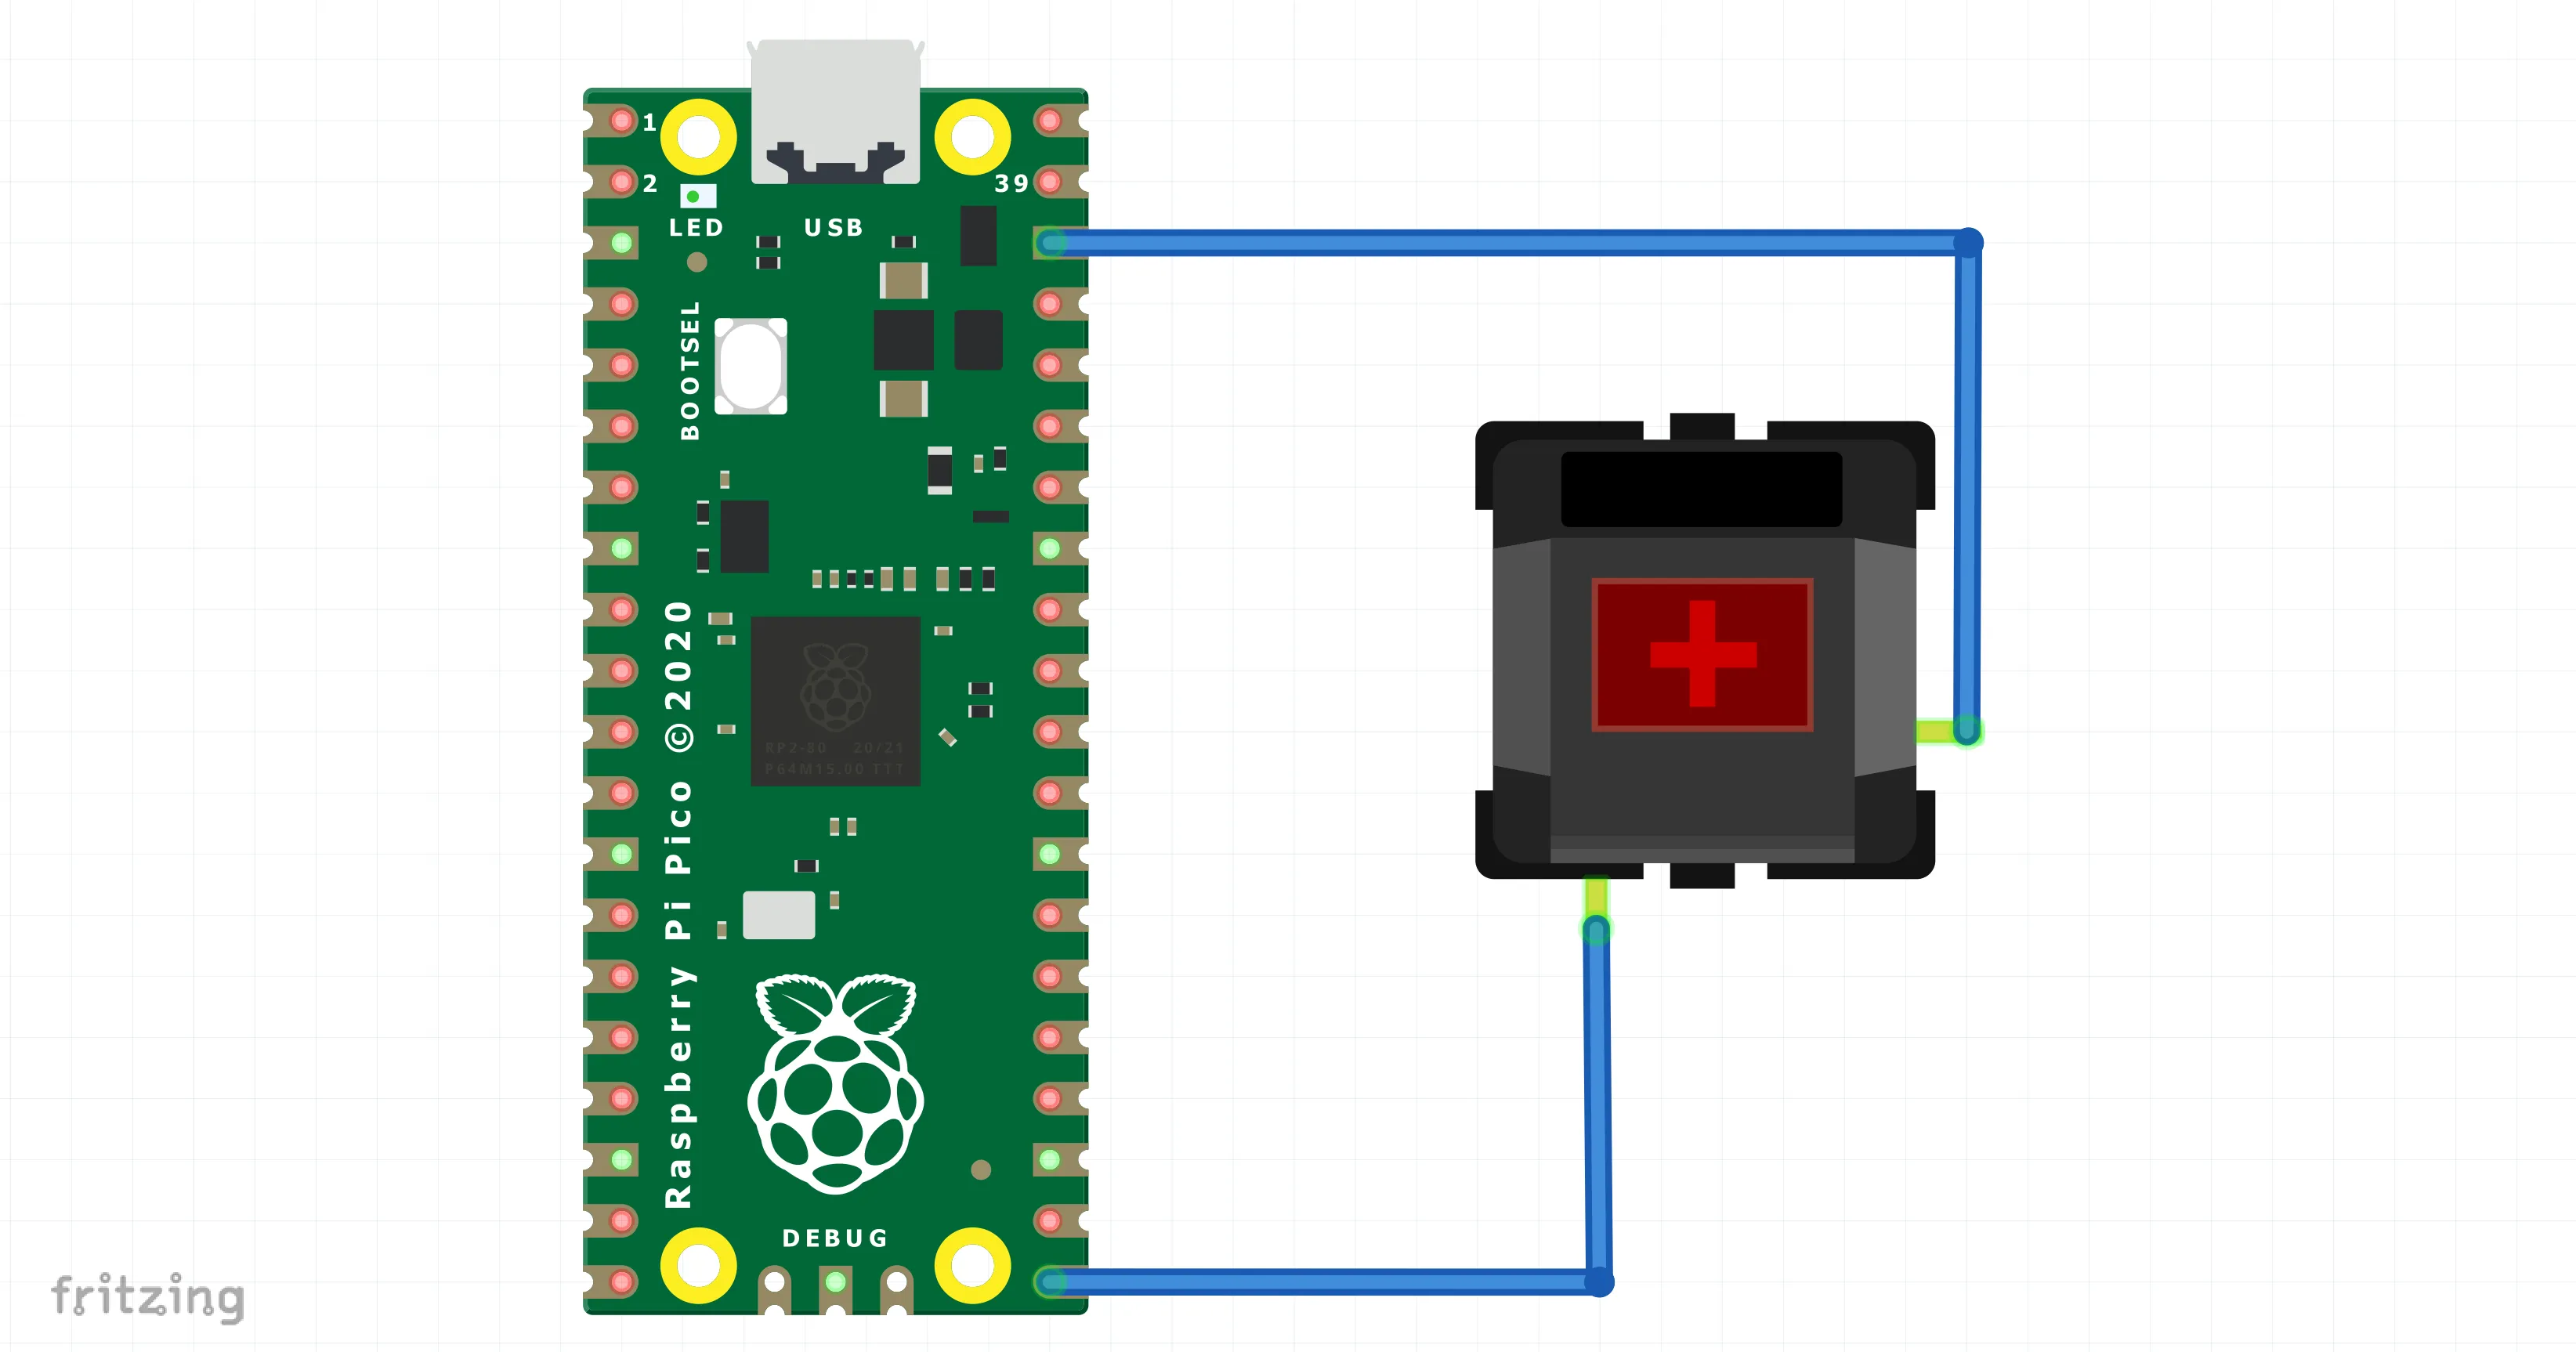
Solder the Raspberry Pico to a Cherry switch. Please lay the wires beforehand!
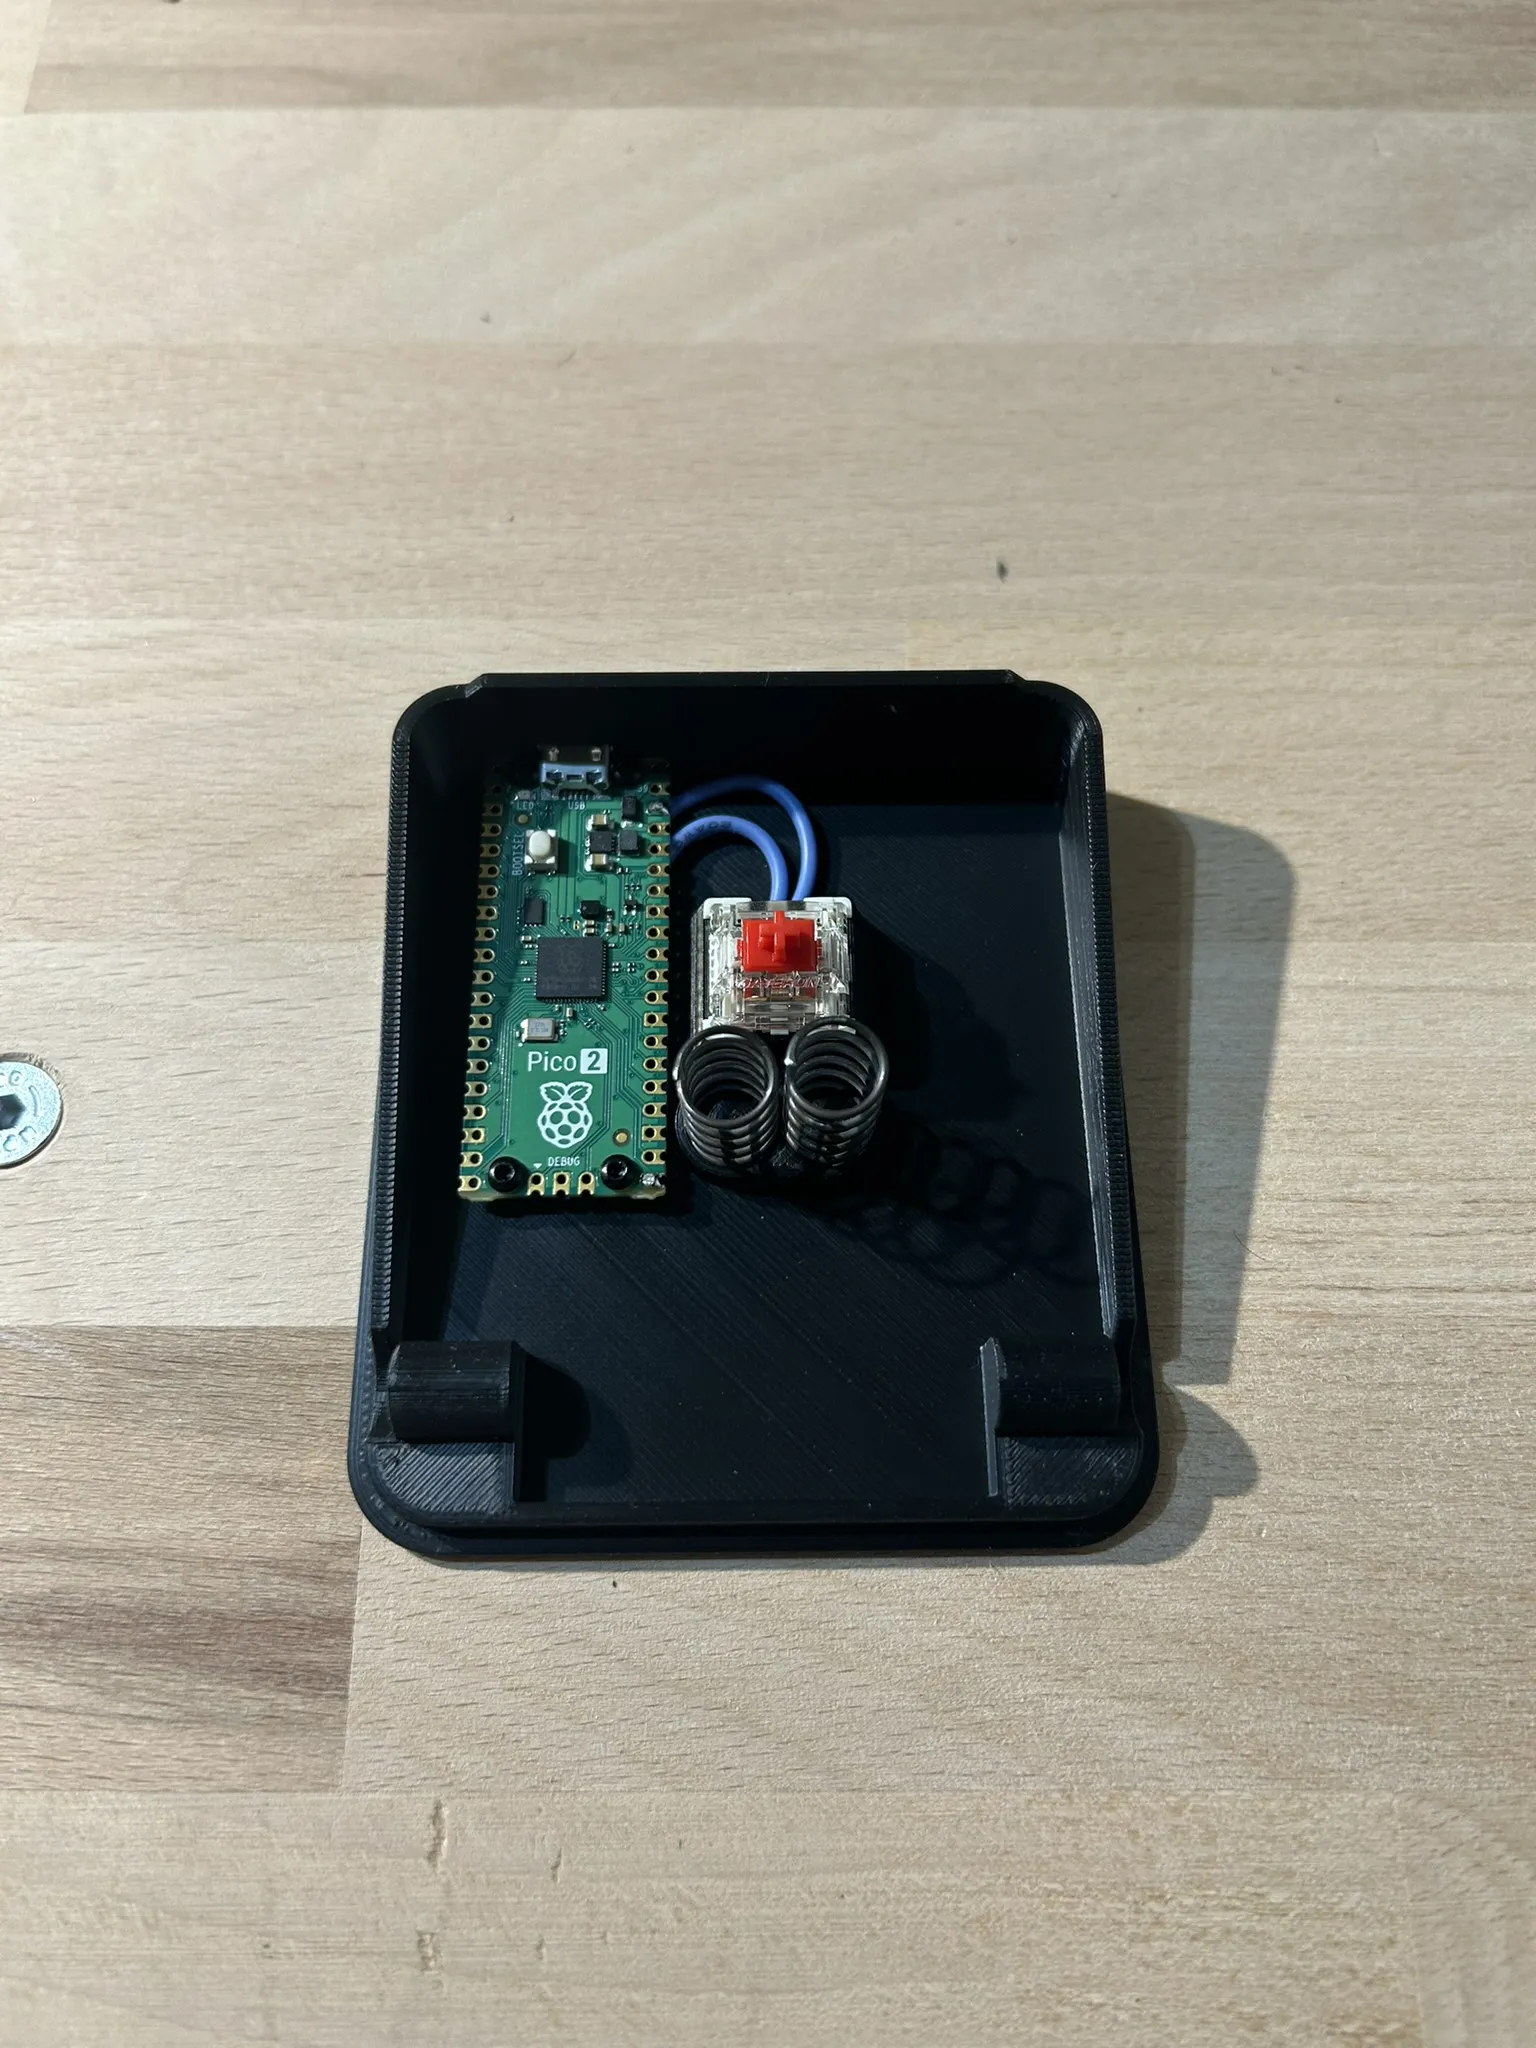
Secure the Raspberry with the four M2 screws in the lower part, then insert the Cherry switches and springs. Please note that 3D printing has its limitations!
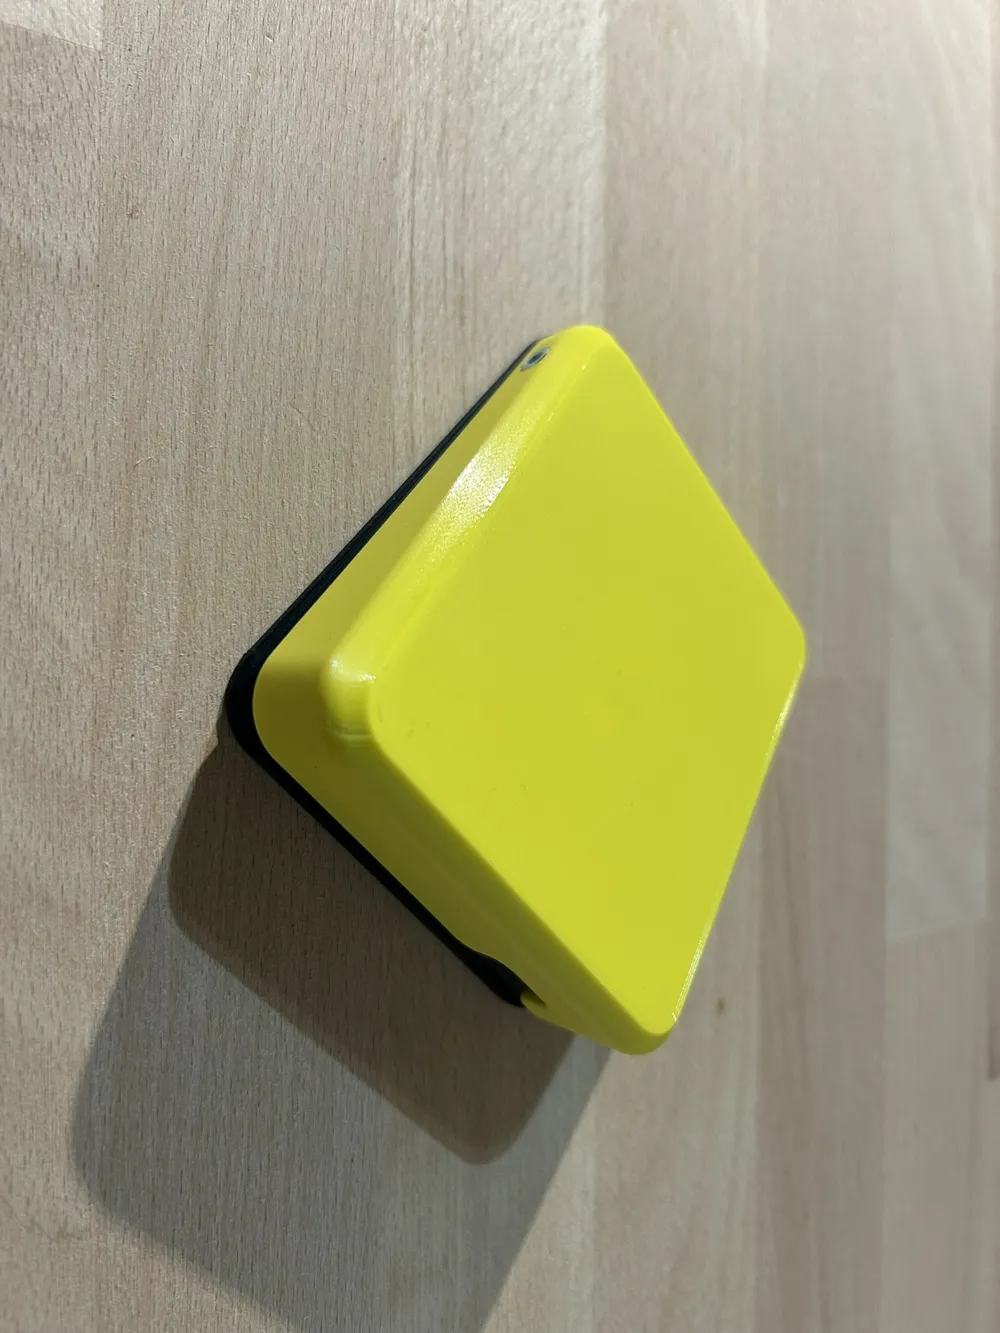
- Connect the upper and lower parts of the foot switch with the M3 screws.
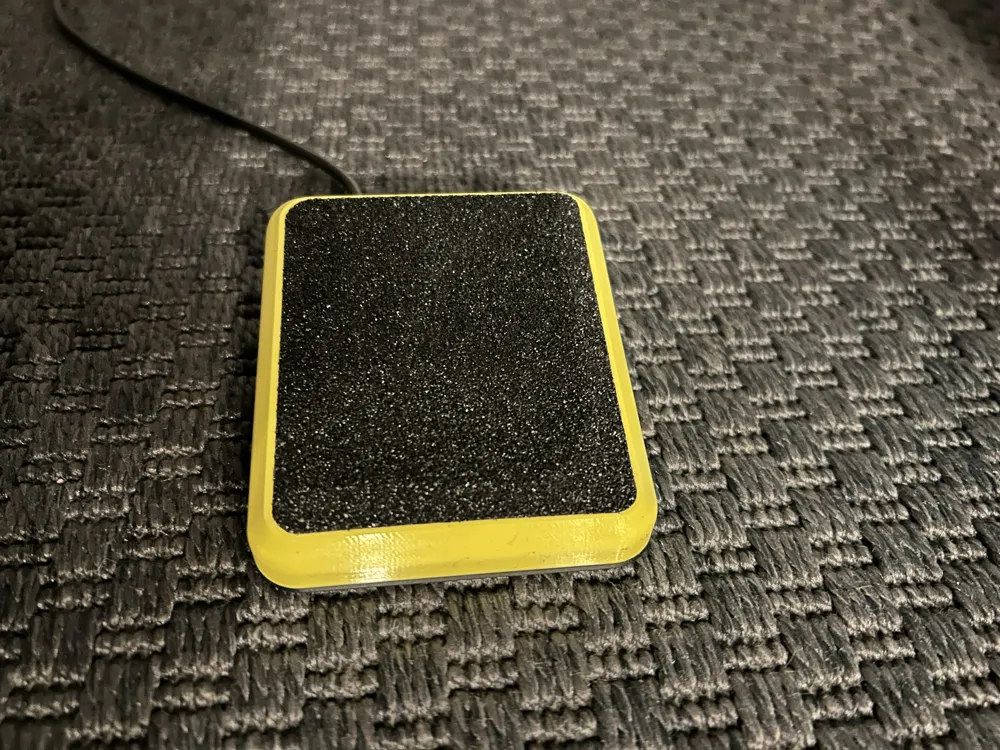
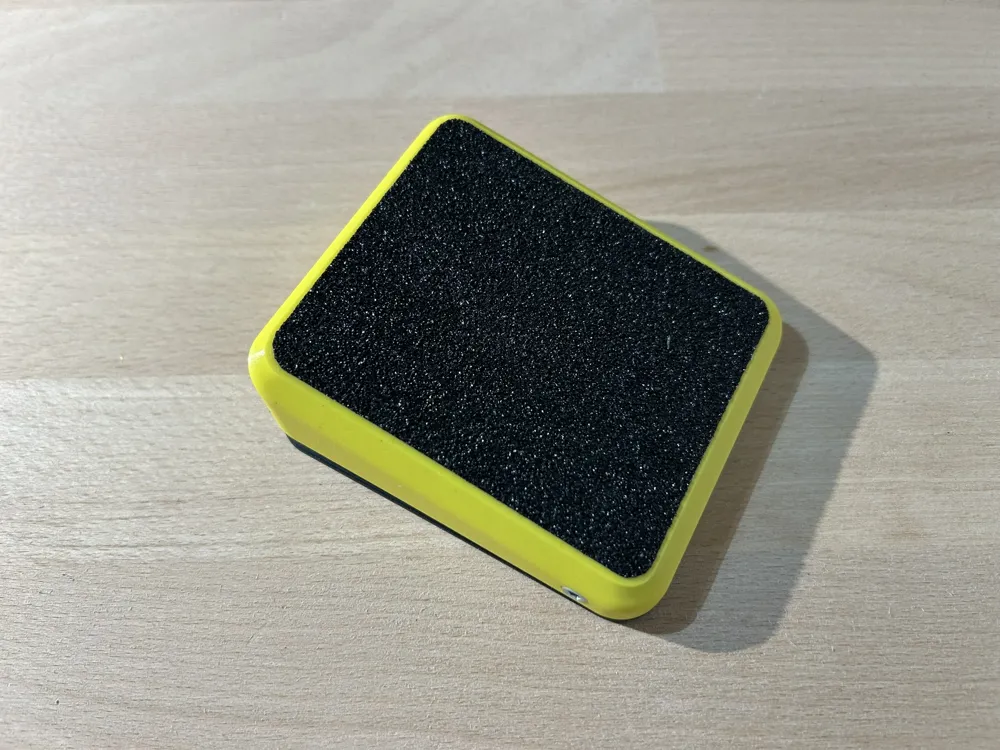
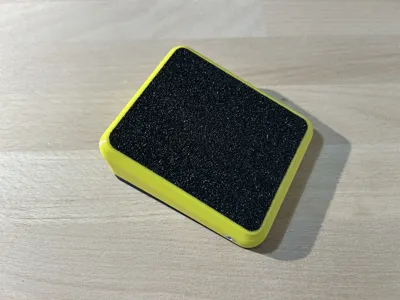
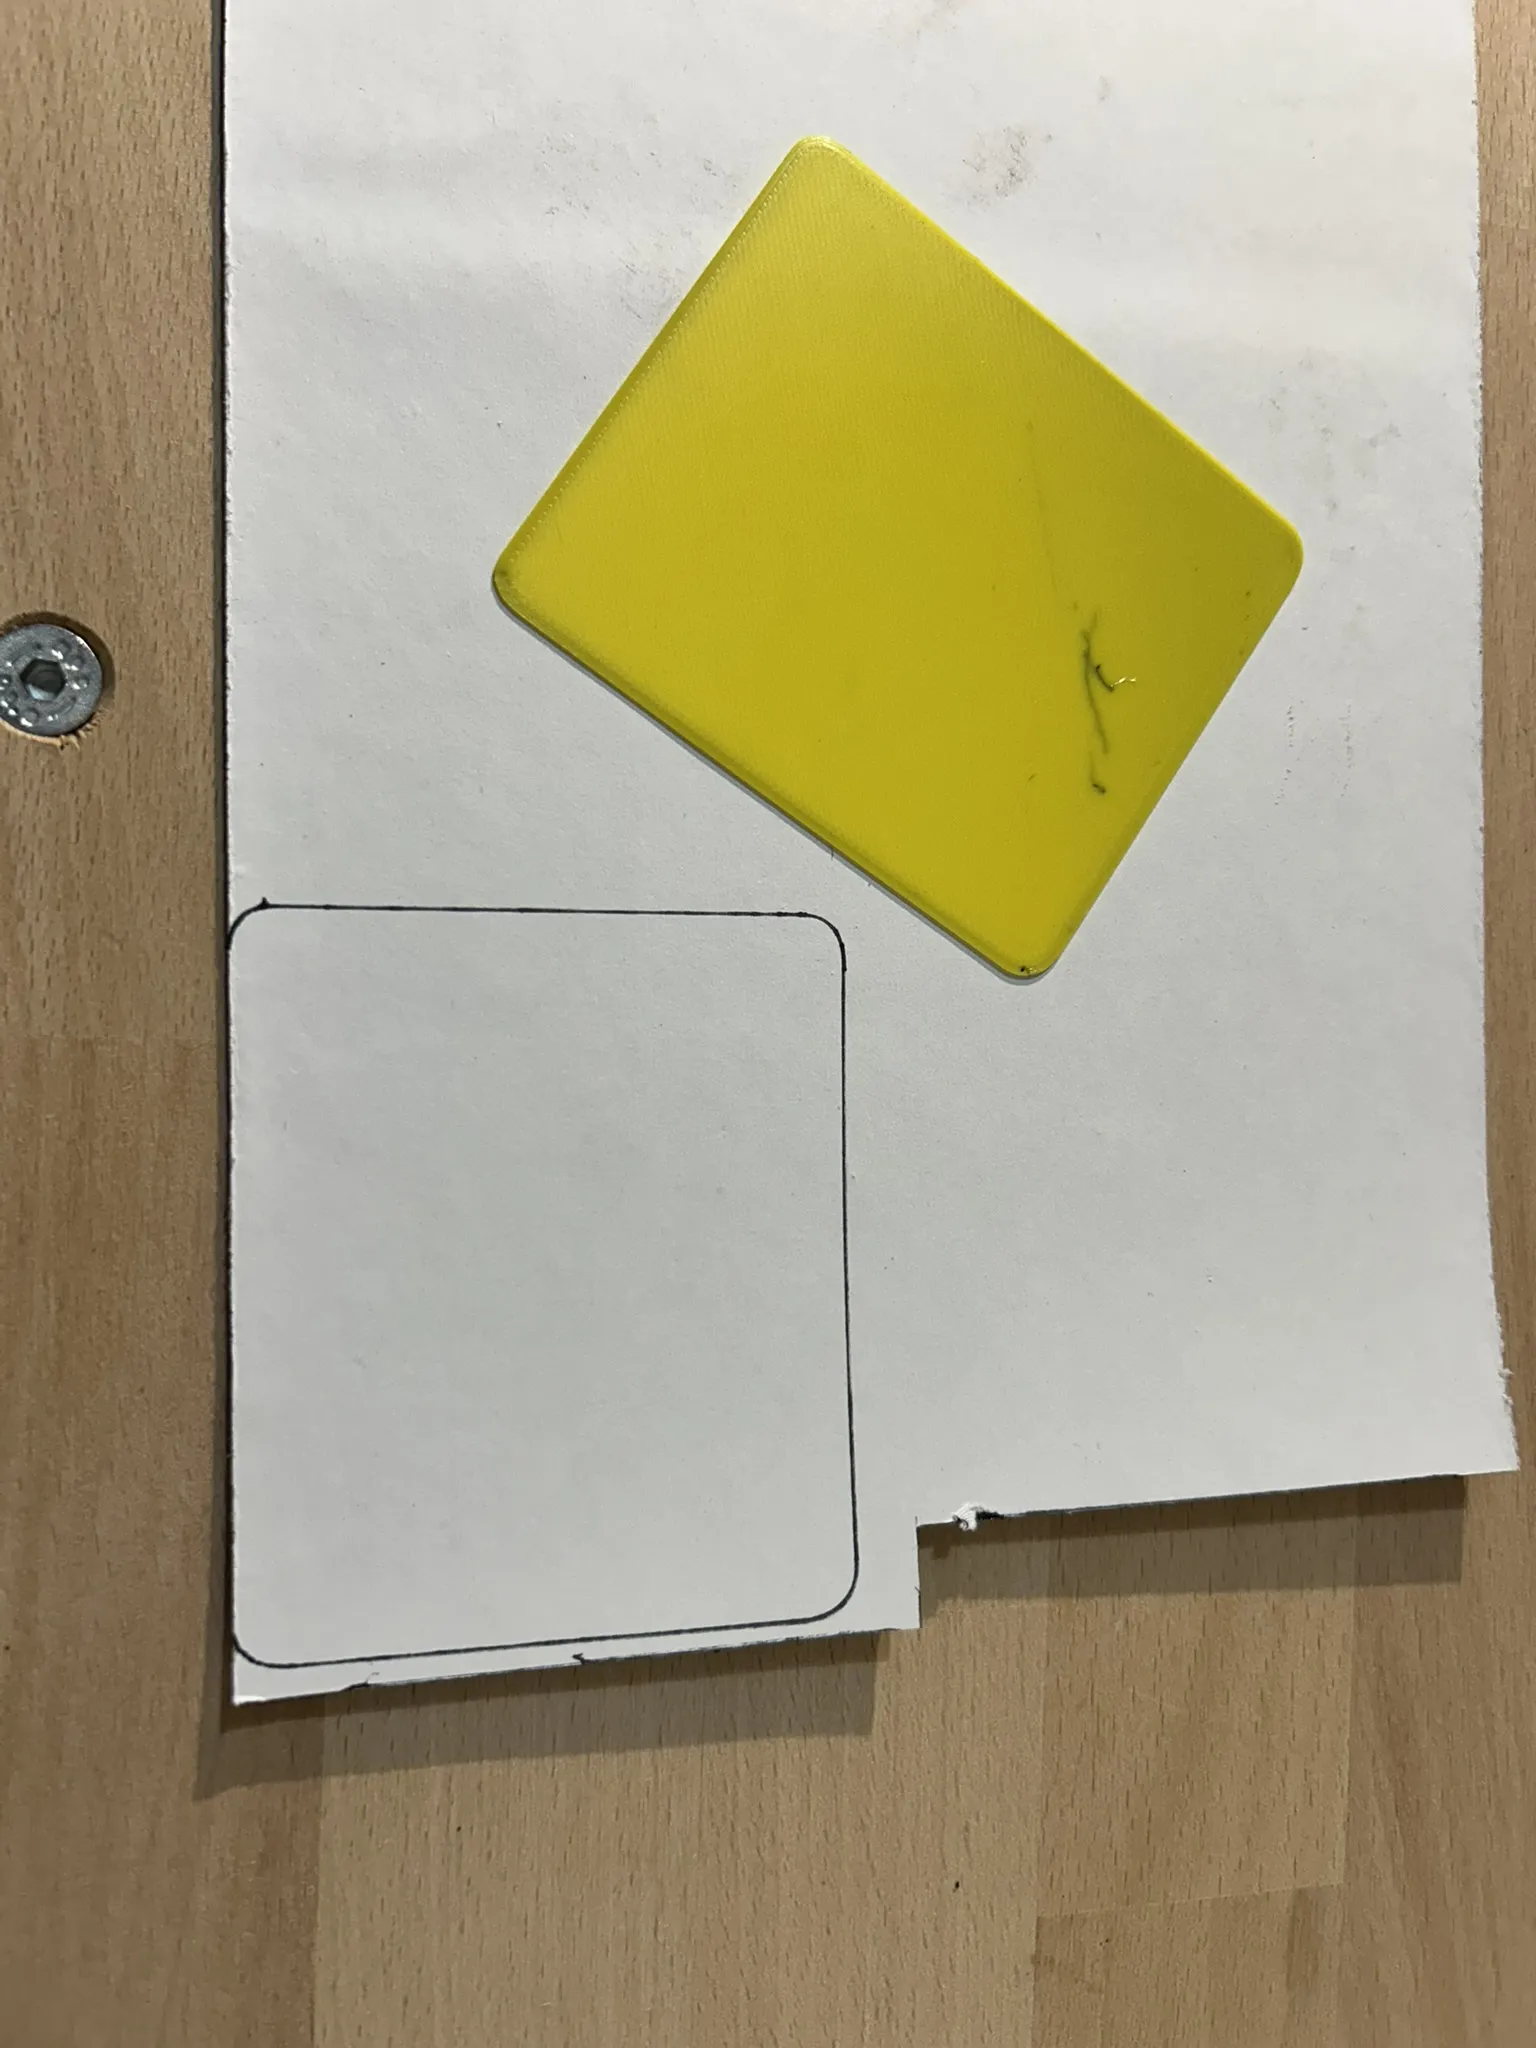
Use the cutting template (printing plate 3) to cut the griptape and stick it onto the upper part. Whether you need one at the bottom depends on the surface on which you will later use the switch.
Next, the Raspberry must be programmed:
➡️Open the official CircuitPython download page and download the UF2 file:
- Hold down the BOOTSEL button on the Pico to put it into boot mode. While holding it down, connect the Pico to your computer via USB. Then release the button and the Pico will appear as a new drive.
- Simply drag and drop the downloaded *.uf2 file onto the Pico drive. The Pico will then restart automatically.
Transfer the contents of the ZIP file to the Pico drive and overwrite the existing files.
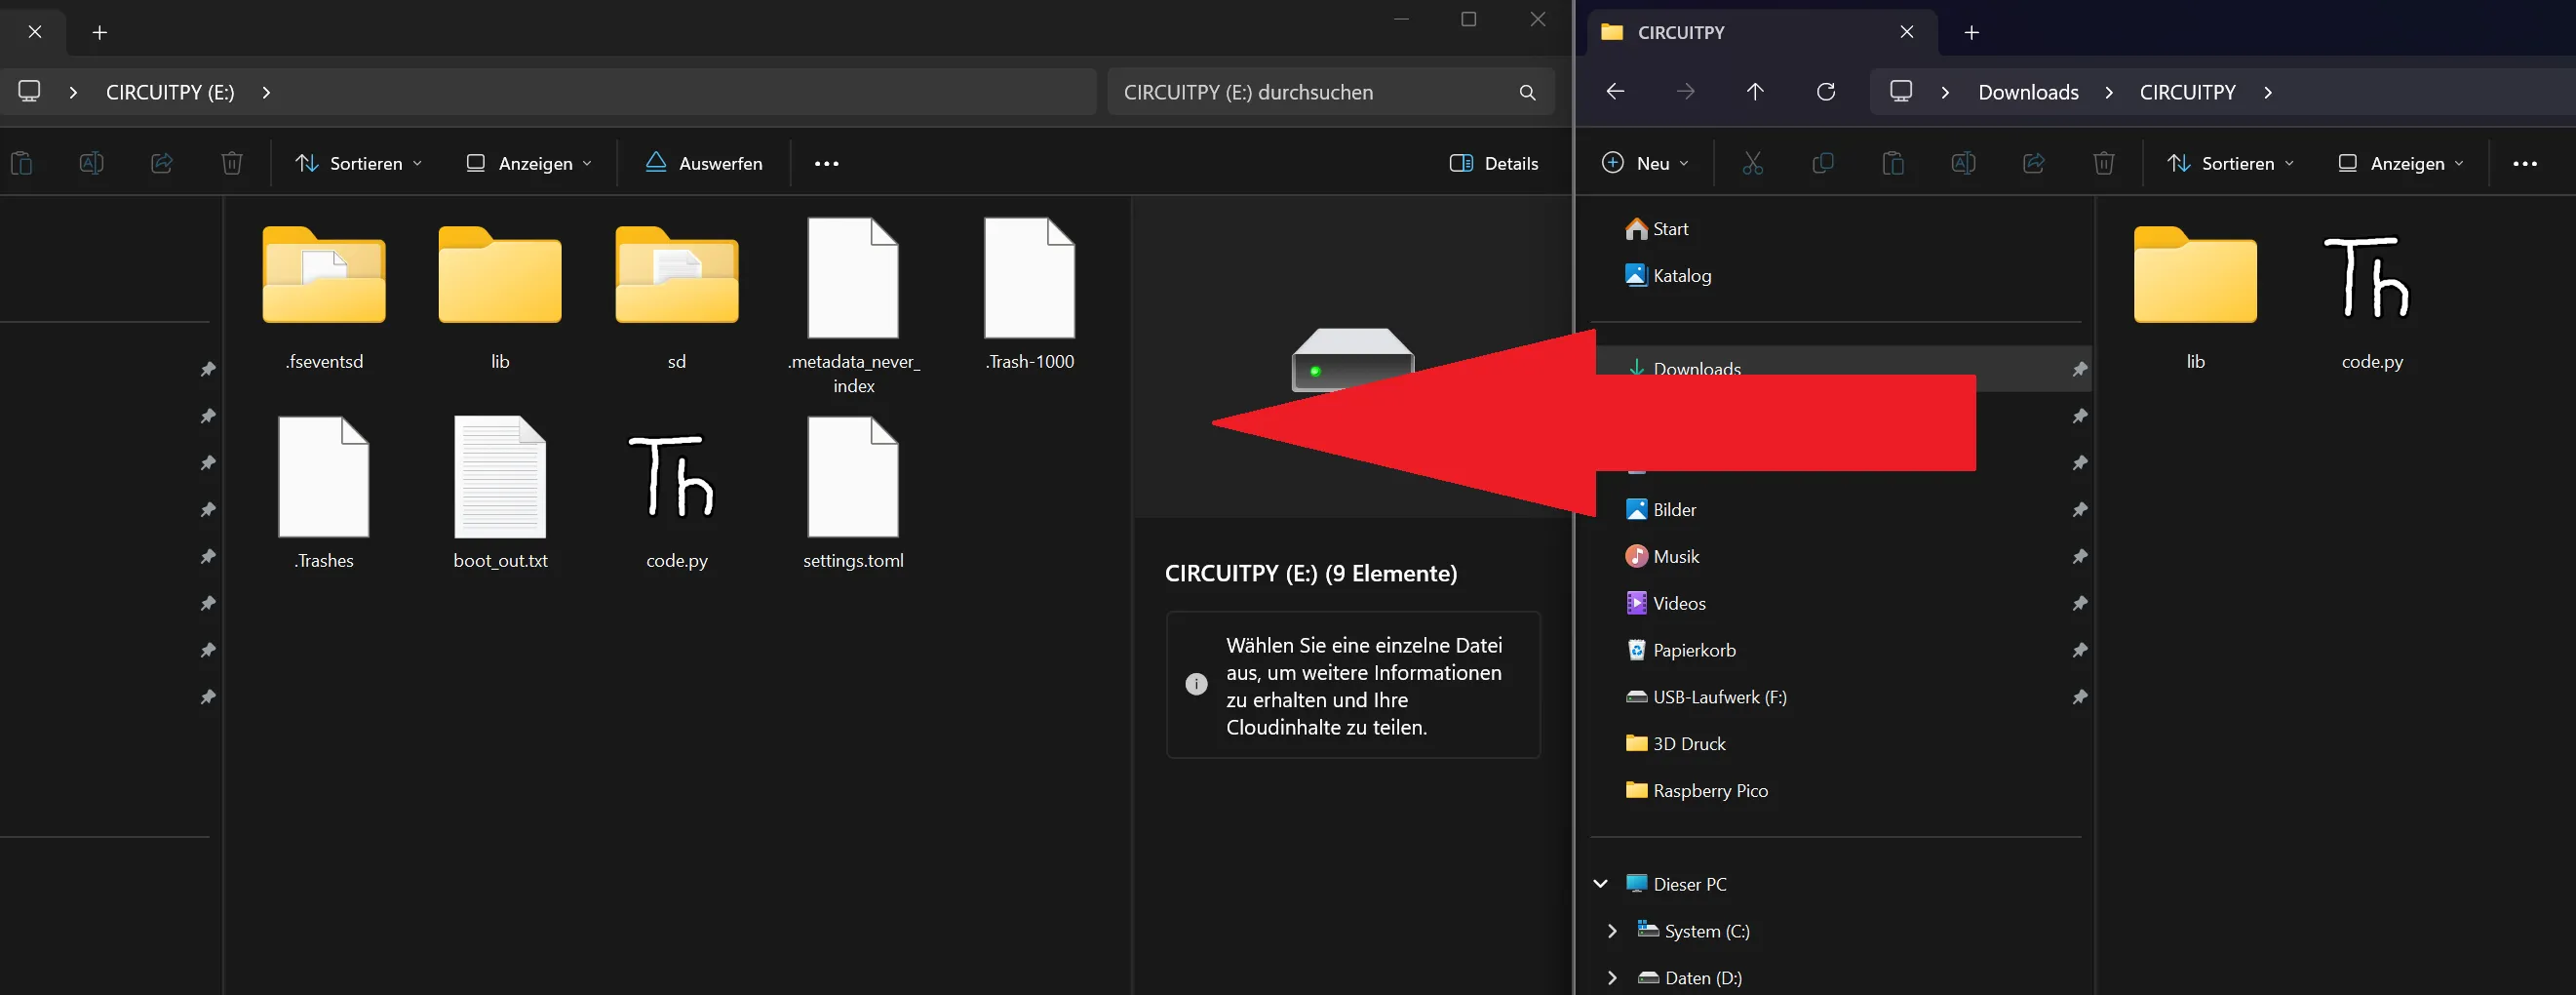
- Restart the Pico by simply disconnecting and reconnecting the USB cable.
Now, if everything has worked, the “t” key is triggered when the foot switch is pressed. If you don't want to go deeper into programming, you can easily change this key:
- Open the file “code.py” on the Pico drive with the editor.
Change the T in the following two lines to your desired letter:
keyboard.press(Keycode.T)
keyboard.release(Keycode.T)
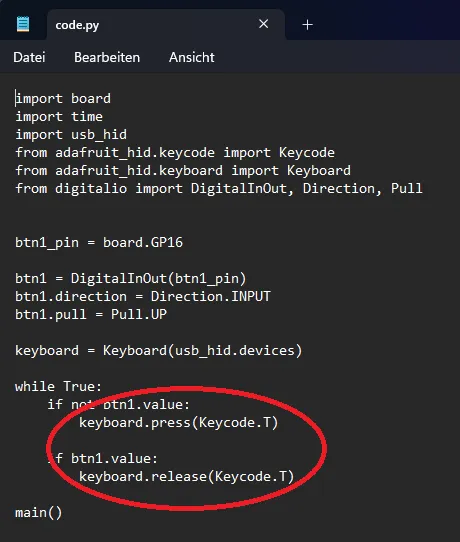
- Restart the Pico.
📃Part list:
- Raspberry Pico 2
- 1x Cherry MX Switch
- 2x M3 threaded inserts (M3x4.8x5.0 or M3Sx4.0)
- 2x M3 Socket Head Screws (M3x10)
- 4x M2 Srews (M2x4)
- 2x Spings (Max outer diameter 10mm, Min inner diameter 4mm, Lenght 20-25mm). You can use the springs from an old Ender, for example.
- Griptape
- AWG 24 Wire
Documentation (1)
License

You may create derivative works based on this object, provided that all such derivative works are published exclusively on the MakerWorld platform and include proper attribution to the original creator. You may not share, upload, host, distribute, or publish this object—or any derivative work of this object—on any other digital platform, marketplace, or distribution channel. Commercial use of this object and any derivative works is strictly prohibited. This includes, but is not limited to, selling, renting, sublicensing, or using the object in any context in which you receive monetary compensation or other financial benefits.


Comment & Rating (8)