
Modular System For A1, P1, & X1 Series.
Print Profile(3)


Description
My story as a designer: Creating from scratch
Sometimes you have an idea in your mind for so long that you don't even remember when it started. It comes back again and again, even without money, a workshop, or experience. It comes back because it's yours and it's a real dream.
My name is Falu Mendy Vergara, and this is the beginning of my journey as a designer. I grew up dreaming of inventing machines, but that dream existed only in my head until 3D printing appeared. Seeing it, I thought: “Finally, I can make my ideas real”. It allowed me to create without limits, but I soon understood that a machine doesn't make you an inventor; you need the courage to design what's missing.
That's where my obsession began: creating solutions so that anyone can materialize their ideas without needing resources or a professional workshop. One day it became clear to me: I only needed an idea and the courage to try.
This is my process:
- Design and redesign: Breaking parts, adjusting millimeters, and testing non-stop.
- Learning: Failing, succeeding, getting frustrated, and getting inspired in a constant loop.
- Pure creation: Shaping what I had been imagining for years without knowing how to explain it.
My goals
I design because I know what it's like to have ideas you can't build and to look at unattainable technology thinking: “If I had that, I would create so much…”. My projects are born to break that barrier; inventing shouldn't be a luxury. My goal is:
- Democratize creation: Put real solutions within everyone's reach.
- Be the bridge: Turn what you imagine into something you can touch.
- Inspire: Encourage anyone with this passion to awaken the inventor within them.
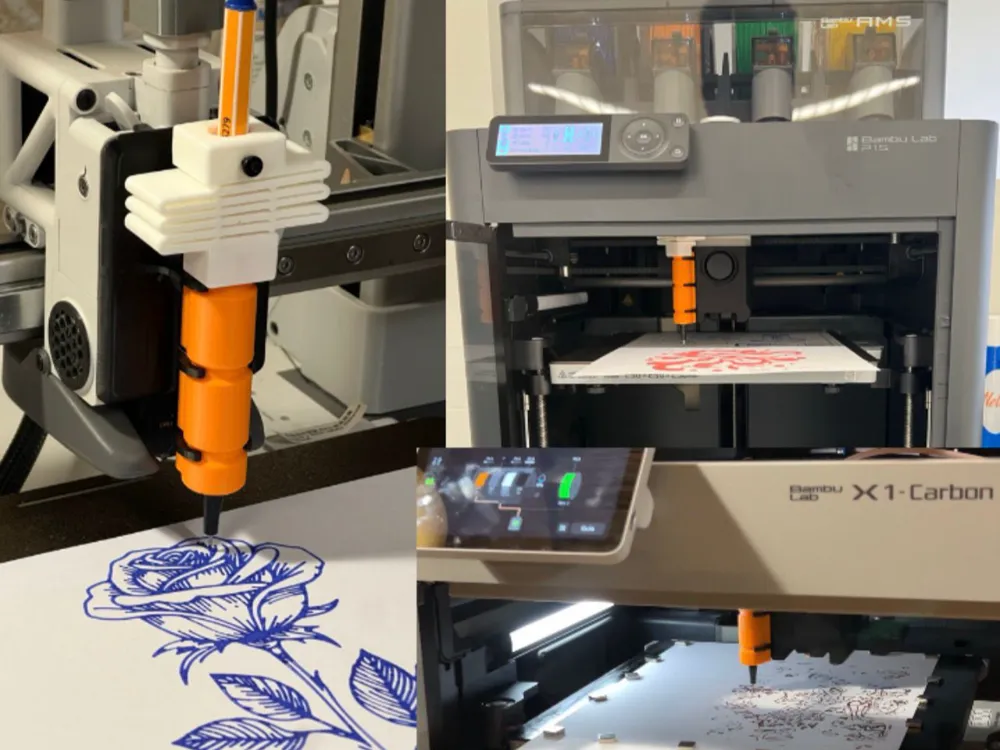
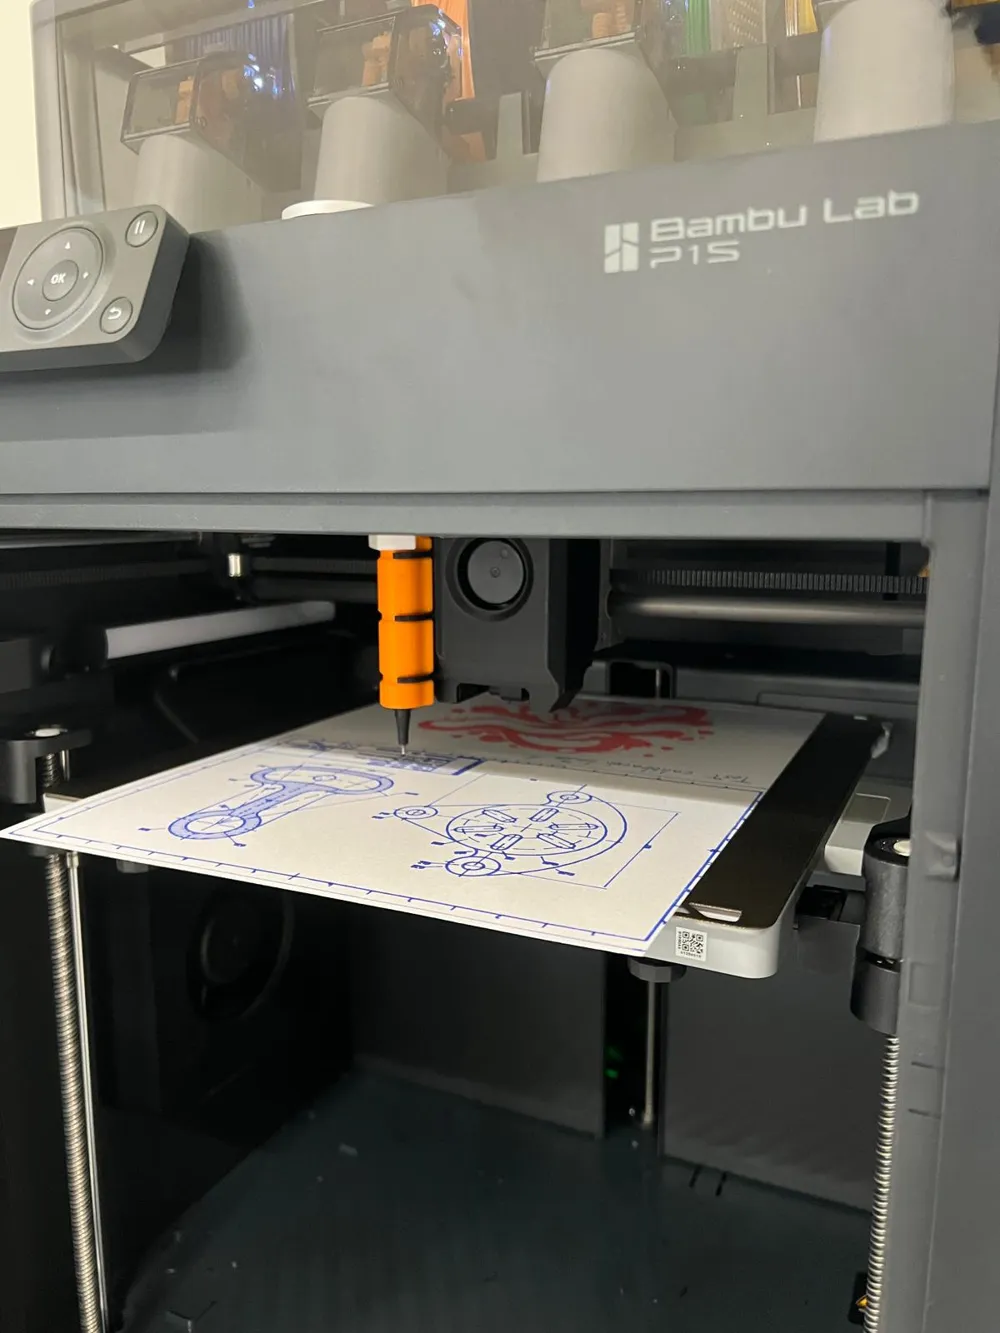
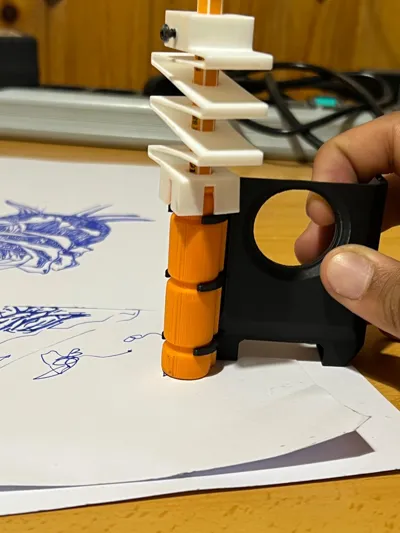
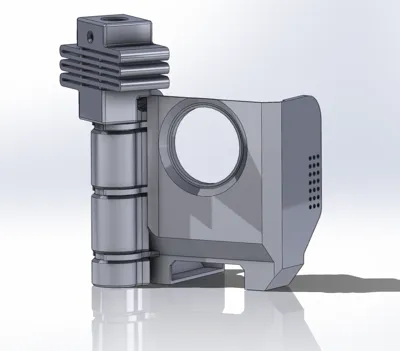
UMTS — Modular System for A1, P1, and X1 Series (WIP)
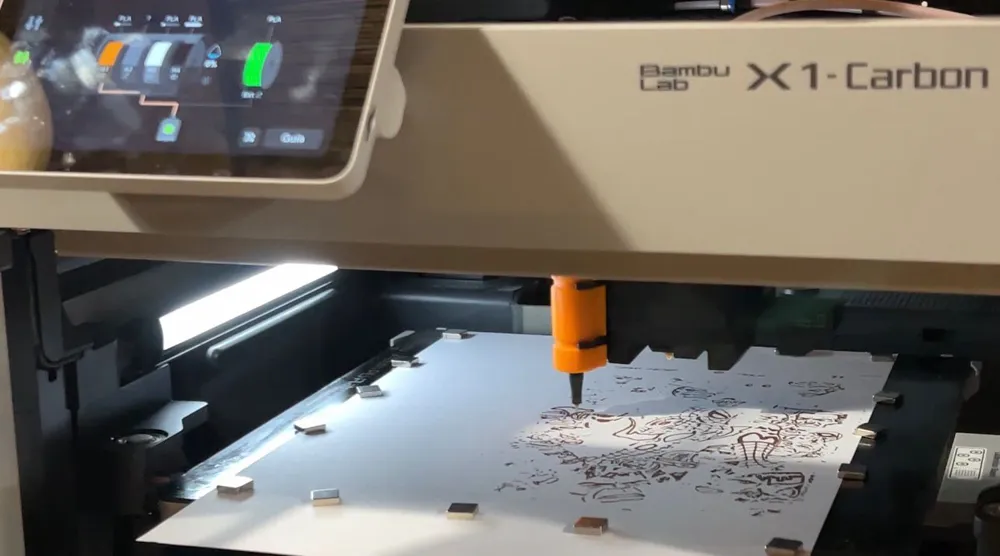
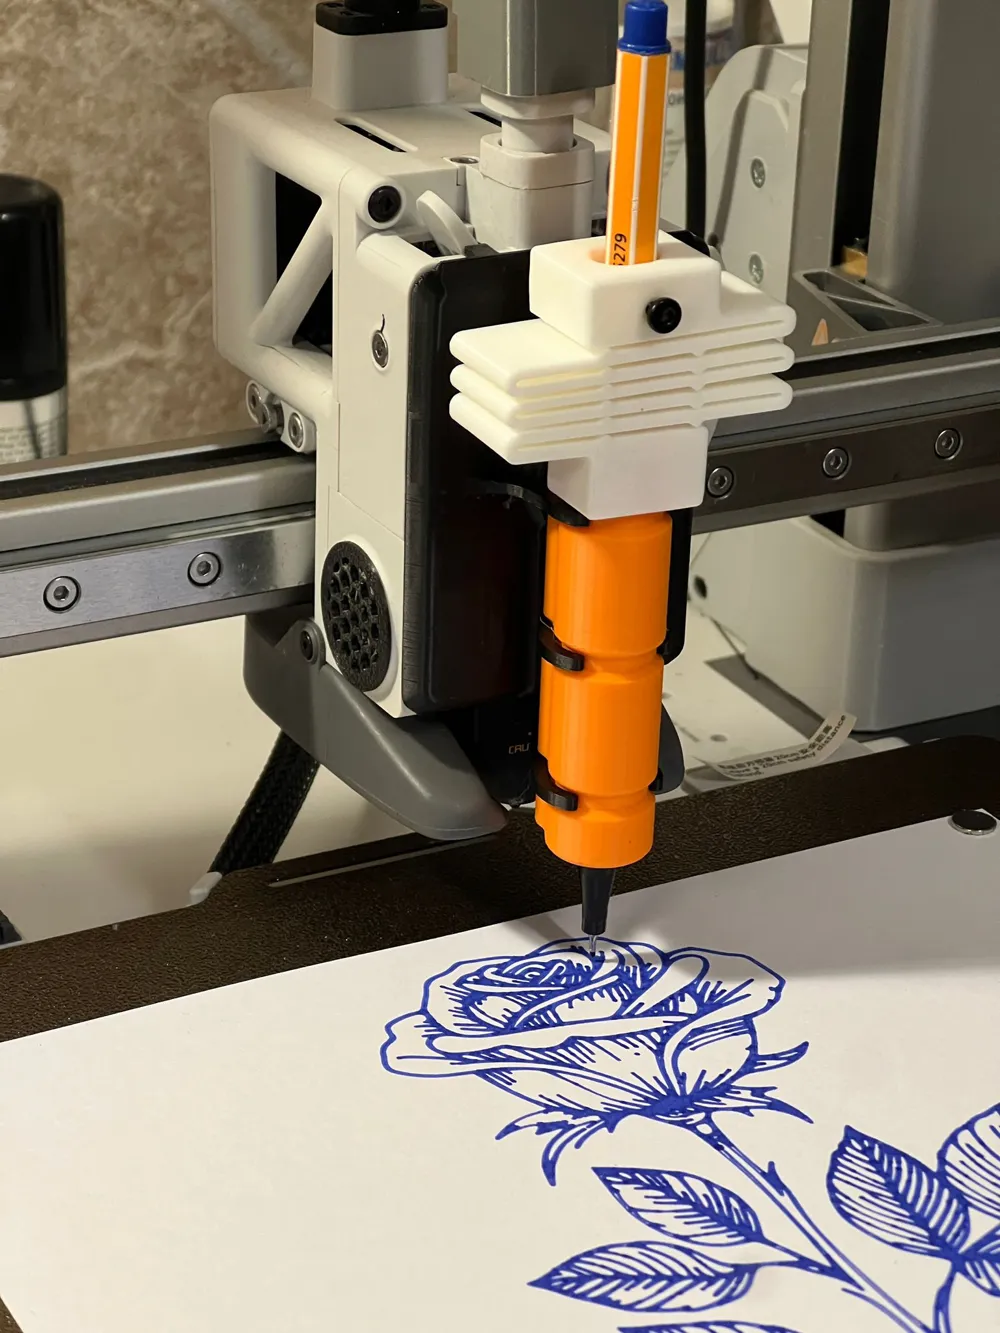
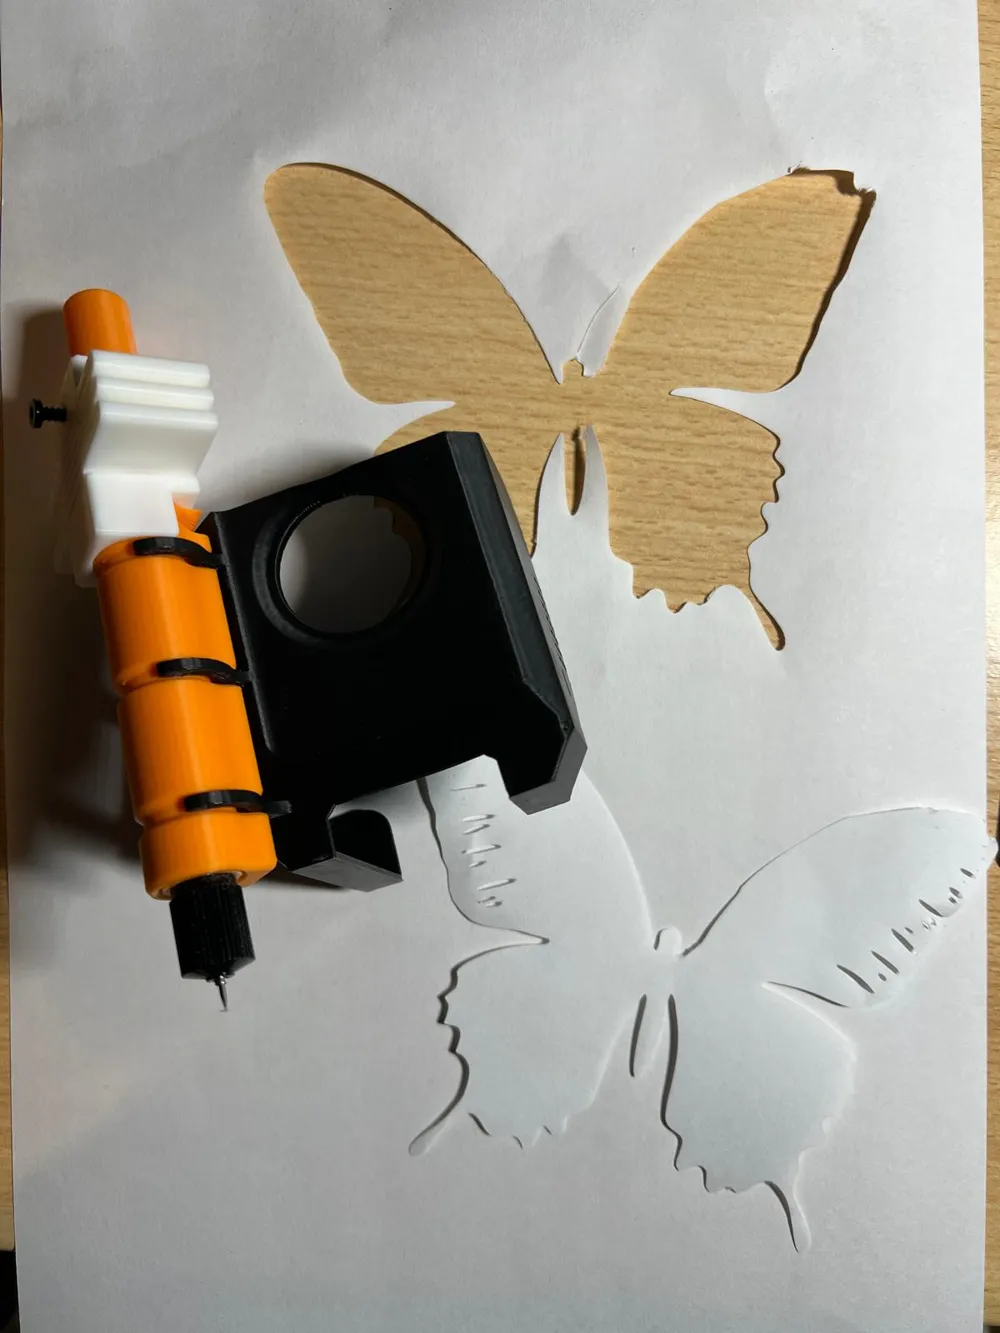
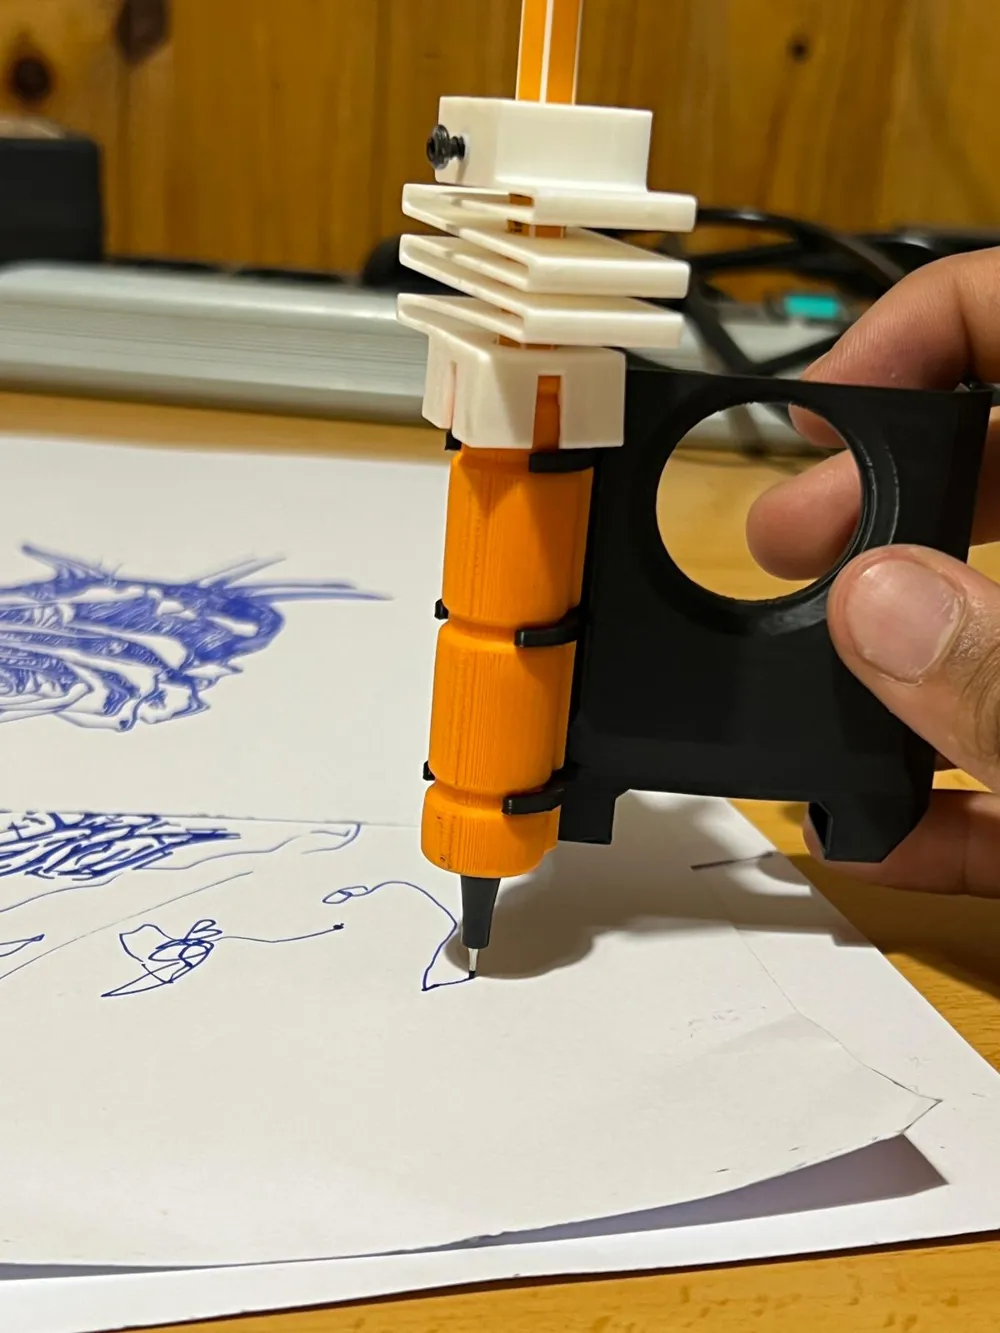
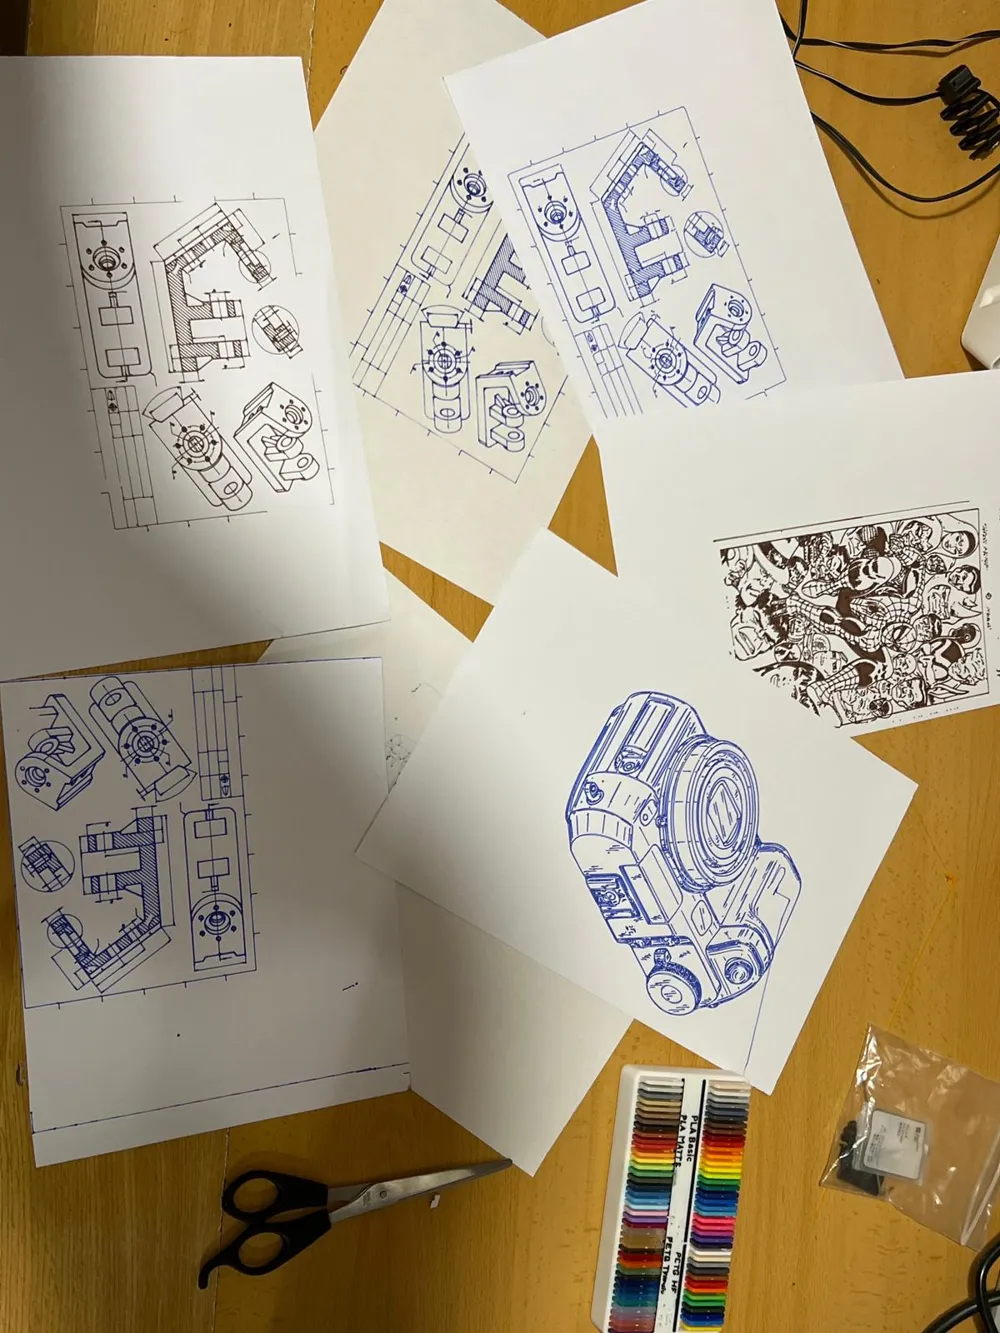
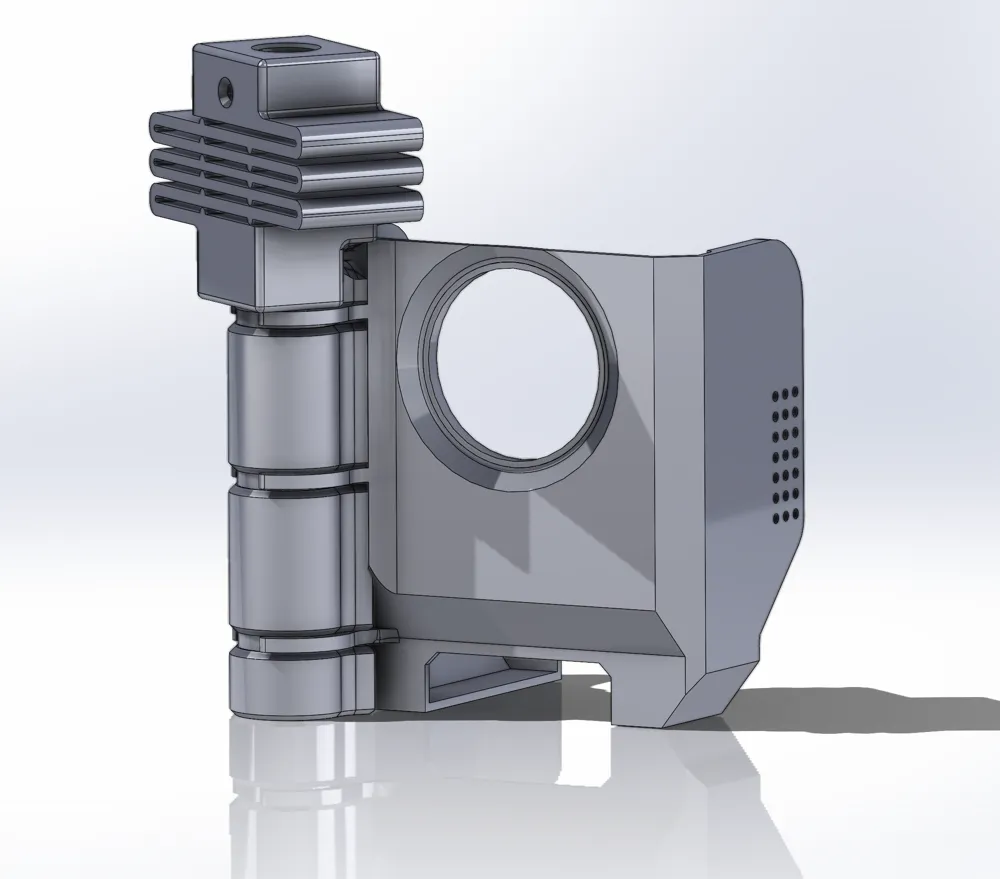
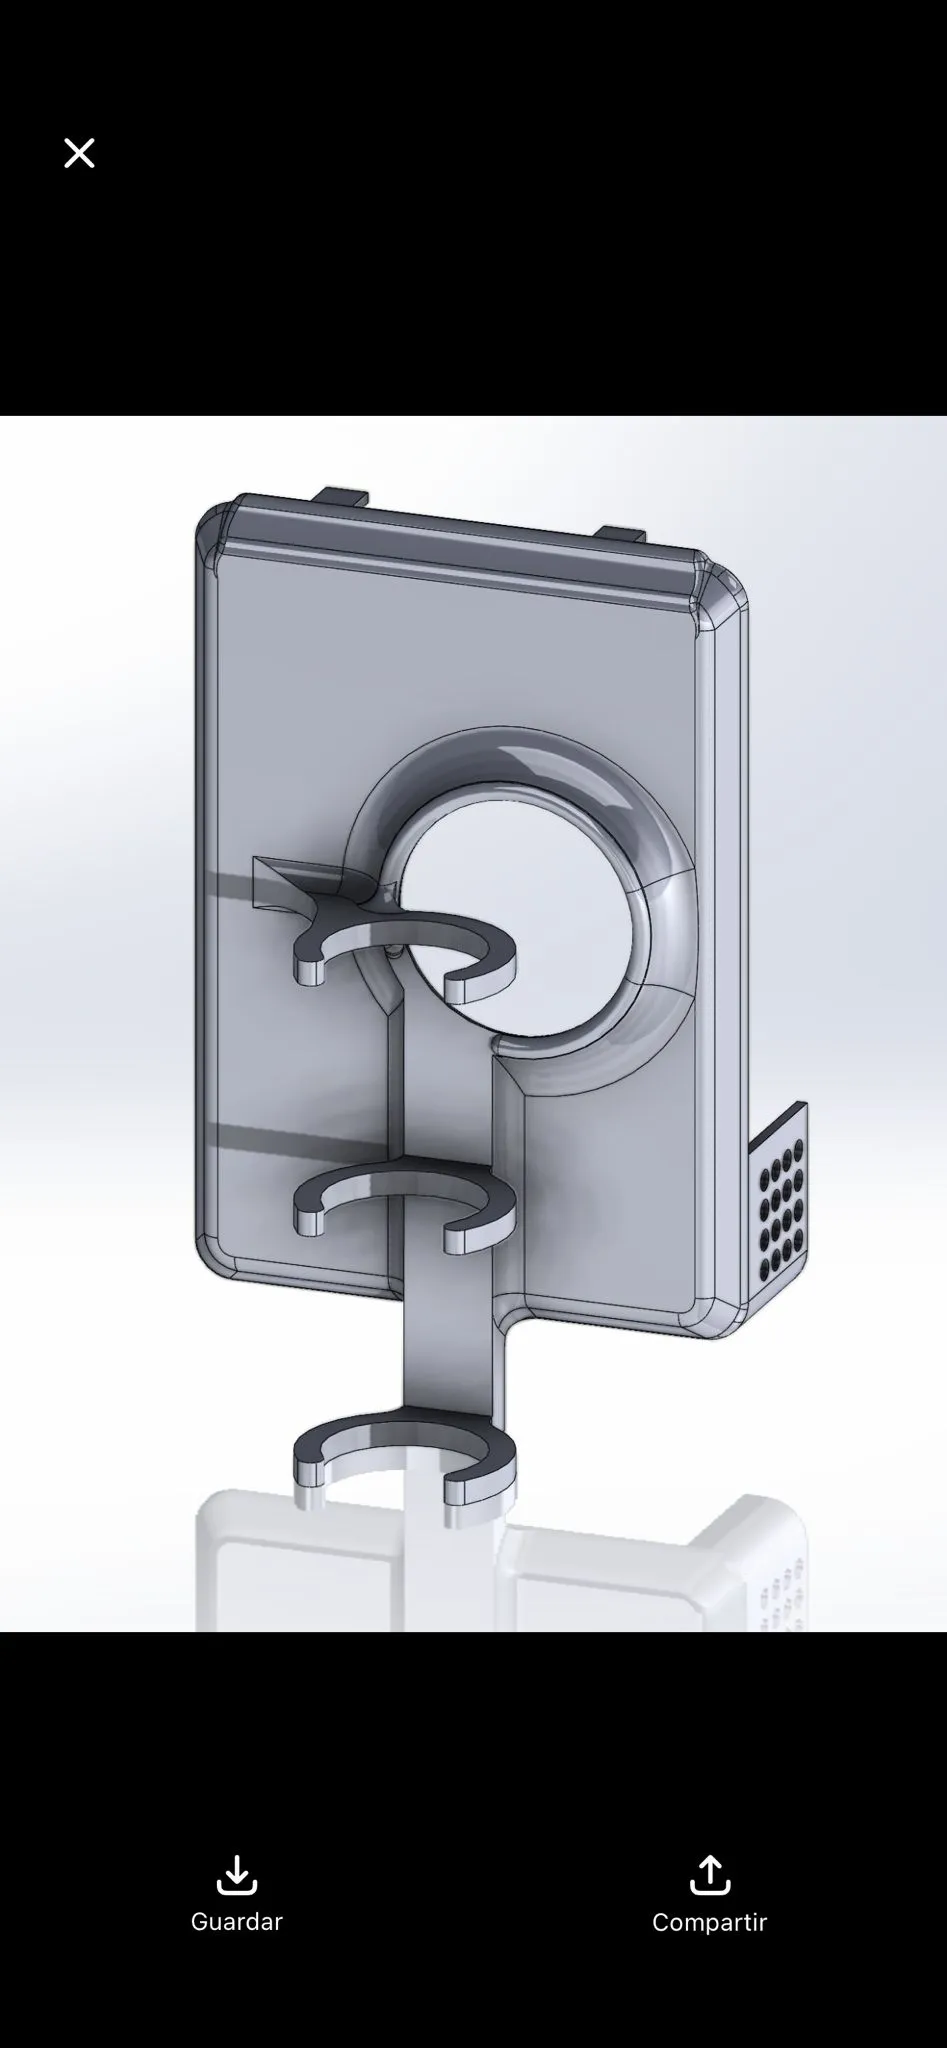
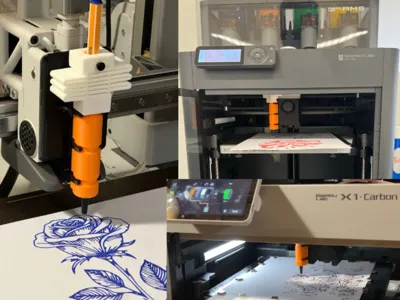
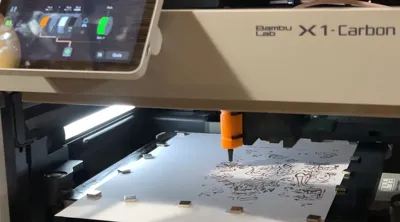
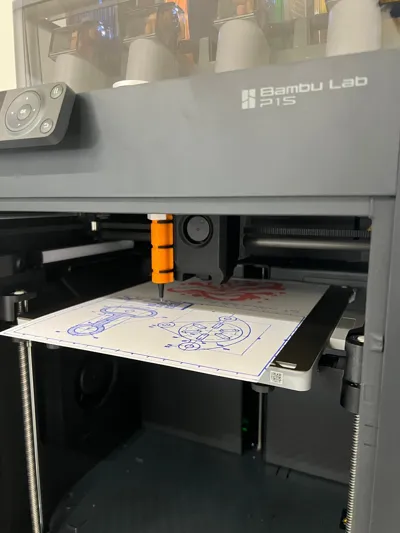
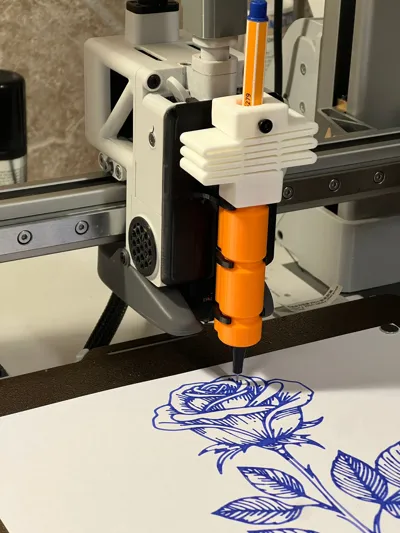
Modular Tool System for Plotting, Cutting & More
✅ Stabilo / POSCA / Cutting module…
⚡ Tool changes in seconds
🎯 Precision -/+0.1mm, very close to the nozzle's (when properly calibrated)
⚠️ VERY important safety warning (X1 / P1 Series)
This system adds a physical module inside a closed printer (X1C, P1P, P1S…).
This means that an incorrectly set offset or a poorly configured bed limit can cause collisions with:
- internal walls / frame
- front door / top glass
- fans / fairings
- print head
✅ The published profile is tested and functional.
Before touching anything:
Safety rules (mandatory)
- Understand X/Y/Z offsets before changing values. If you don't understand it, don't touch it.
- Always check the safe area before starting a job (use a template).
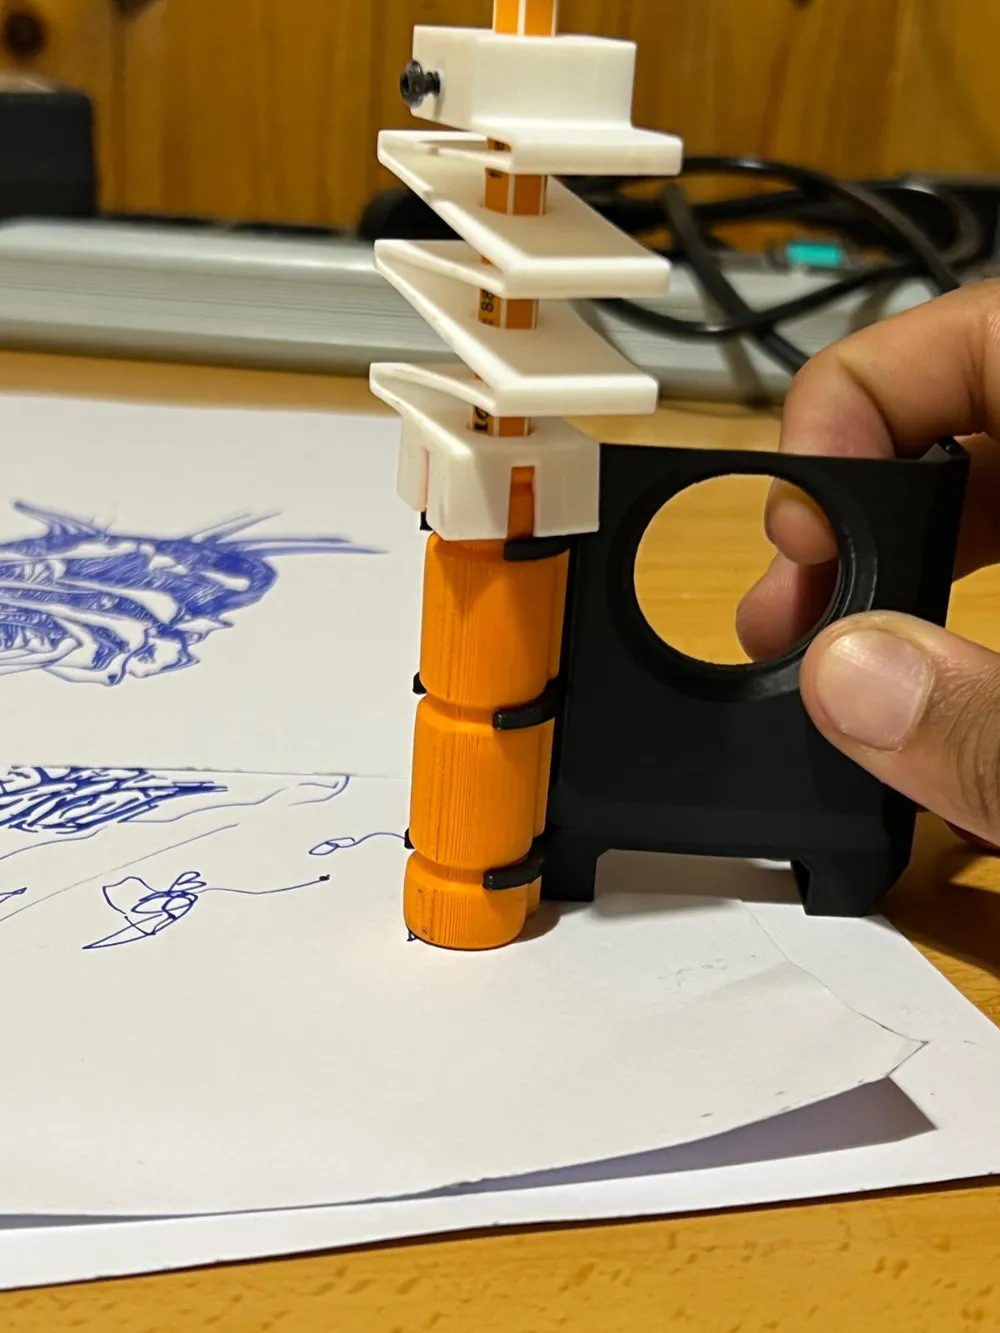
- Keep the module away from walls and especially the top glass.
If the glass limits the spring's travel, it can cause problems. I recommend removing it or using a riser to position it higher. - Do not blindly alter compensations, protected zones, or the excluded area.
- If you have doubts: ask me privately. I respond quickly.
- If you improve settings: share it so I can update the profile for everyone.
UMTS is WIP and evolving rapidly. With feedback, it will become more universal, safer, and more precise.
Using Orca Slicer in LAN ONLY mode
I have been testing outside of LAN ONLY mode and in Bambu Studio, but personally I still haven't been able to process the Z compensation in these two; if you have any information or know the solution, please don't hesitate to share it.
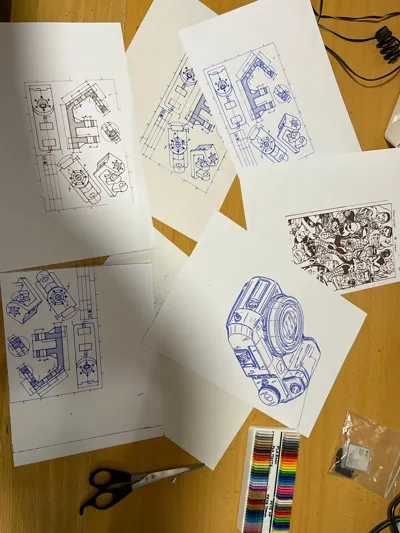
Convert images to SVG (recommendation)
To convert any drawing or photo to line-art, I recommend:
👉 Convertio → Export as SVG
Why SVG: the slicer interprets it directly and generates clean, precise geometry.
JPGs/PNGs usually produce “dirty” or overly heavy strokes.
Safe Area / Excluded Area (X1 / P1 Series)
Since the module occupies physical volume, there are bed areas where the print head can collide even if the nozzle “could” reach there.
Current excluded area (exact copy/paste)
( 0x0, 258x0, 258x55, 48x55, 48x258, 0x258 )
Do not modify these values unless you fully understand the actual limits of the module's movement within your specific printer.
Paper Position — Critical Margins (X1 / P1 Series)
Since the pen tip does not coincide with the nozzle, the paper must be placed with a fixed reference:
- X Margin from the right wall: 29 mm
- Y Margin from the rear wall: 41 mm
✅ These values ensure that the module:
- does not go outside the actual working plane
- does not enter areas where it can touch the structure
Very strong recommendation (for real repeatability)
Print an alignment guide with those margins:
- place guide on the bed
- align
- replace with a clean sheet
- perfect centering every time
A1 / A1 mini Series (easy to understand)
On A1/A1 mini it is much more straightforward because access is easy and there is no closed enclosure like on X/P:
- Position the nozzle touching the bed (actual contact).
- Separate in Z with manual control.
- The moment the tool touches the bed = your reference.
- That distance is your Z “functional offset” for that tool.
If you understand this, you can also adjust limits so that the tool does not go outside the usable plane without needing fixed margins. (It is also necessary to respect the stops to avoid direct collision with the bed).
Why the usable width exactly matches A4 (210 mm)
Technically the machine allows a few more mm, but I intentionally limited it to 210 mm so that:
- the user clicks on “Center” in the slicer
- the drawing is physically centered on A4
- without touching offsets
- without relying on “eyeballing” or measurements each time
This makes the workflow predictable before launching the automatic offset system.
Required printer settings (summary + explanation)
UMTS works because we force the printer to “behave” like a plotter without breaking its internal locks.
1) Z-Offset (X1 / P1 Series)
Printer Settings → Machine → Z-offset
- +17.0 mm (Stabilo)
- +20.0 mm (POSCA)
What it actually does: you are telling the machine “don't go down as much as you think”, because the pen hangs below the holder.
For the Bambulab A1 or A1 MINI. Z compensation is as simple as: positioning the nozzle in contact with the bed, separating along the Z-axis with the printer's manual control, and checking the amount of separation needed to achieve tool contact with the bed.
Pen configuration (mechanical)
Stabilo
The orange tip protrudes approx. 0.5 mm (barely visible).
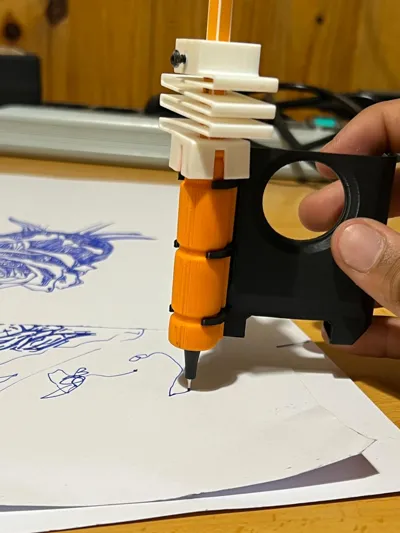
With UMTS, pressure is managed by the spring + pen depth adjustment + Z-offset.
POSCA
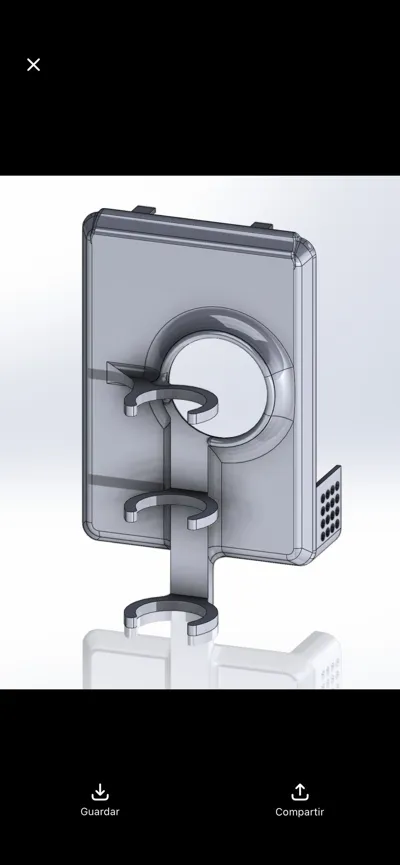
Flip the guide + upper spring assembly upside down and tighten screws, ensuring the back of the POSCA rests on the table.
Why: this gives you a constant physical reference.
Result: stable pressure and cleaner lines.
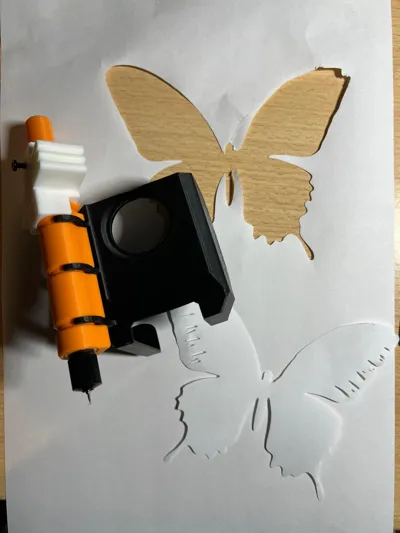
Cutting module (current status)
Calibrate personally to ensure precision.
For now you can use the Stabilo profile, but manually calibrate Z.
Product: https://amzn.eu/d/bY99FsU
I will soon publish a specific profile with everything relevant for cutting.
2) Ventilation (all OFF)
- Part cooling fan: 0%
- Aux fan: 0%
- Chamber fan: 0%
Why: fans generate vibrations and airflow that can:
- slightly move the paper
- cause micro-variations in pen pressure
- create wavy or inconsistent lines
3) Retraction + Z-hop (mandatory)
Disable everything except:
- Retraction: 0.01 mm (this unlocks Z-hop in Bambu/Orca)
Then:
- Z-hop: 3 mm
- Z-hop angle: 90° / Normal type
Why: without Z-hop, the pen drags ink during travel movements and draws ghost lines.
Filament profile (plotter mode) — MANDATORY
(Because the firmware does not allow completely disabling extrusion)
Solid recommendation (so it doesn't overheat and cause issues):
- Nozzle: 180 °C
- Bed: minimum possible (if it allows 1°C, perfect; if not, 25°C as a safe alternative)
- Chamber/standby/soften: 0°C if allowed, otherwise minimum
- Flow ratio: 0.01
- Max volumetric speed: 22 mm³/s
- Ventilation: all OFF
Important explanation:
- 180°C avoids the “cold extrusion prevention” error
- flow 0.01 prevents the extruder from attempting to push material, but keeps the system active
- minimum bed temperature prevents waste, expansion, and paper deformation
Print settings (drawing module)
Layer
- Height: 0.10 mm
- First layer: 0.10 mm
Line widths
- All to 0.40 mm (matches Stabilo)
- If you want more precision, it's as simple as changing the nozzle and the corresponding settings you create from this guide respectively.
Geometry / detail
- Closing radius: 0.001
- Resolution: 0.012
- XY Hole Compensation: −0.075
- XY Contour Compensation: +0.075
- Perimeters: 1
- Infill: Rectilinear aligned (only if you want infills)
Speed
- Stabilo: 300–400 mm/s
- POSCA: 30–40 mm/s
Start G-code (X/P Series)
;===== machine: X1 ====================
;===== date: 20240919 ==================
;===== start printer sound ================
M17
M400 S1
M1006 S1
M1006 A0 B10 L100 C37 D10 M60 E37 F10 N60
M1006 A0 B10 L100 C41 D10 M60 E41 F10 N60
M1006 A0 B10 L100 C44 D10 M60 E44 F10 N60
M1006 A0 B10 L100 C0 D10 M60 E0 F10 N60
M1006 A46 B10 L100 C43 D10 M70 E39 F10 N100
M1006 A0 B10 L100 C0 D10 M60 E0 F10 N100
M1006 A43 B10 L100 C0 D10 M60 E39 F10 N100
M1006 A0 B10 L100 C0 D10 M60 E0 F10 N100
M1006 A41 B10 L100 C0 D10 M100 E41 F10 N100
M1006 A44 B10 L100 C0 D10 M100 E44 F10 N100
M1006 A49 B10 L100 C0 D10 M100 E49 F10 N100
M1006 A0 B10 L100 C0 D10 M100 E0 F10 N100
M1006 A48 B10 L100 C44 D10 M60 E39 F10 N100
M1006 A0 B10 L100 C0 D10 M60 E0 F10 N100
M1006 A44 B10 L100 C0 D10 M90 E39 F10 N100
M1006 A0 B10 L100 C0 D10 M60 E0 F10 N100
M1006 A46 B10 L100 C43 D10 M60 E39 F10 N100
M1006 W
;===== reset machine status =================
M290 X40 Y40 Z2.6666666
G91
M17 Z0.4 ; lower the z-motor current
G380 S2 Z30 F300 ; G380 is same as G38; lower the hotbed , to prevent the nozzle is below the hotbed
G380 S2 Z-25 F300 ;
G1 Z5 F300;
G90
M17 X1.2 Y1.2 Z0.75 ; reset motor current to default
M960 S5 P1 ; turn on logo lamp
G90
M220 S100 ;Reset Feedrate
M221 S100 ;Reset Flowrate
M73.2 R1.0 ;Reset left time magnitude
M1002 set_gcode_claim_speed_level : 5
M221 X0 Y0 Z0 ; turn off soft endstop to prevent protential logic problem
G29.1 Z{+0.0} ; clear z-trim value first
M204 S10000 ; init ACC set to 10m/s^2
;===== wipe nozzle ===============================
M1002 gcode_claim_action : 14
M975 S1
M106 S255
G1 X65 Y230 F18000
G1 Y264 F6000
M109 S{nozzle_temperature_initial_layer[initial_no_support_extruder]-20}
G1 X100 F18000 ; first wipe mouth
G0 X135 Y253 F20000 ; move to exposed steel surface edge
G28 Z P0 T300; home z with low precision,permit 300deg temperature
G29.2 S0 ; turn off ABL
G0 Z5 F20000
G1 X60 Y265
G92 E0
G1 E-0.5 F300 ; retrack more
G1 X100 F5000; second wipe mouth
G1 X70 F15000
G1 X100 F5000
G1 X70 F15000
G1 X100 F5000
G1 X70 F15000
G1 X90 F5000
G0 X128 Y261 Z-1.5 F20000 ; move to exposed steel surface and stop the nozzle
M104 S140 ; set temp down to heatbed acceptable
M106 S255 ; turn on fan (G28 has turn off fan)
M221 S; push soft endstop status
M221 Z0 ;turn off Z axis endstop
G0 Z0.5 F20000
G0 X125 Y259.5 Z-1.01
G0 X131 F211
G0 X124
G0 Z0.5 F20000
G0 X125 Y262.5
G0 Z-1.01
G0 X131 F211
G0 X124
G0 Z0.5 F20000
G0 X125 Y260.0
G0 Z-1.01
G0 X131 F211
G0 X124
G0 Z0.5 F20000
G0 X125 Y262.0
G0 Z-1.01
G0 X131 F211
G0 X124
G0 Z0.5 F20000
G0 X125 Y260.5
G0 Z-1.01
G0 X131 F211
G0 X124
G0 Z0.5 F20000
G0 X125 Y261.5
G0 Z-1.01
G0 X131 F211
G0 X124
G0 X125 Y261.0
G0 Z-1.01
G0 X131 F211
G0 X124
G0 X128
G2 I0.5 J0 F300
G2 I0.5 J0 F300
G2 I0.5 J0 F300
G2 I0.5 J0 F300
M109 S140 ; wait nozzle temp down to heatbed acceptable
G2 I0.5 J0 F3000
G2 I0.5 J0 F3000
G2 I0.5 J0 F3000
G2 I0.5 J0 F3000
M221 R; pop softend status
G1 Z10 F1200
M400
G1 Z10
G1 F30000
G1 X128 Y128
G29.2 S1 ; turn on ABL
;G28 ; home again after hard wipe mouth
M106 S0 ; turn off fan , too noisy
;===== wipe nozzle end ================================
;===== bed leveling ==================================
M1002 judge_flag g29_before_print_flag
M622 J1
M1002 gcode_claim_action : 1
G29 A X{first_layer_print_min[0]} Y{first_layer_print_min[1]} I{first_layer_print_size[0]} J{first_layer_print_size[1]}
M400
M500 ; save cali data
M623
;===== bed leveling end ================================
;===== mech mode fast check============================
G1 X128 Y128 Z10 F20000
M400 P200
M970.3 Q1 A7 B30 C80 H15 K0
M974 Q1 S2 P0
G1 X128 Y128 Z10 F20000
M400 P200
M970.3 Q0 A7 B30 C90 Q0 H15 K0
M974 Q0 S2 P0
M975 S1
G1 F30000
G1 X230 Y15
G28 X ; re-home XY
;===== mech mode fast check============================
{if scan_first_layer}
;start heatbed scan====================================
M976 S2 P1
G90
G1 X128 Y128 F20000
M976 S3 P2 ;register void printing detection
{endif}
;========turn off light and wait extrude temperature =============
M1002 gcode_claim_action : 0
M973 S4 ; turn off scanner
M400 ; wait all motion done before implement the emprical L parameters
;M900 L500.0 ; Empirical parameters
M109 S[nozzle_temperature_initial_layer]
M960 S1 P0 ; turn off laser
M960 S2 P0 ; turn off laser
M106 S0 ; turn off fan
M106 P2 S0 ; turn off big fan
M106 P3 S0 ; turn off chamber fan
M975 S1 ; turn on mech mode supression
G90
M83
T1000os:
How to print (X/P Series) — Complete and safe process
This section is what prevents accidents. Read it completely the first time.
1) Prepare the file in the slicer
- Import the template/workpiece STL into Orca Slicer.
- Place it in the desired orientation.
- Ensure that it:
- is centered
- does not enter the excluded zone
- Verify tool ↔ correct profile (Stabilo / Posca / cutting).
2) Place paper in correct position
Use the margins:
- 29 mm from the right wall (X)
- 41 mm from the rear wall (Y)
This ensures:
- not going off the sheet
- not invading dangerous areas
3) Prepare “safe pause” to install the module (most important)
3.1 Mandatory technical configuration
- Configure the print to have 6–8 initial layers at 0.10 mm
- Add pauses at the end of all layers counting layer 0
3.2 What actually happens inside the printer
When you click continue at the first pause:
- the machine prints its first line at Z = 0 (nozzle on the bed)
- then automatically raises to your compensated height (Z-offset)
- from there it works stably and safely
➡️ Only after this point is it safe to install UMTS.
4) Install UMTS during safe pause
Two options:
Option A (more conservative):
let the layer finish → wait for automatic pause → install there
Option B (faster):
when you see it already working at compensated height → manual pause → install
5) How to install UMTS
- During pause, enter manual movement
- Move print head to an accessible area
- Place the UMTS module
- Verify:
- it is well mounted
- does not touch glass
- spring with free travel
- correct offsets
6) Remove UMTS at the end (critical)
At the next pause:
- Pause → move print head manually
- Carefully remove module
- Ensure everything is clear
- Stop print
NEVER let the printer finish the last layer with the module installed, as it will assume it has finished printing and will collide when trying to cut the filament.
Test phases (recommended, especially for the first time)
These phases reduce the risk to almost zero.
Phase 2 — start empty, mount base only
- Start print with empty print head
- pause → mount base
- resume → ghost drawing
- final pause → remove base
Phase 3 — complete assembly without pen
- start empty
- pause → mount base + spring + guide
- resume → check for collisions
- final pause → remove assembly
Phase 4 — live pen calibration
- paper fixed with margins
- start empty
- pause → mount complete assembly
- insert pen initially with higher position (less extended)
- resume and adjust live:
Loop:
- pause → lower 1–2 mm → resume
until it: - draws cleanly
- and lifts during travels
Z Calibration — 2 methods
Method 1: live adjustment (recommended for the first time)
Pros: immediate feedback, no trimming
Cons: requires manual adjustment if you change tool/pen
Method 2: adjust Z-offset in profile (for repeatability)
- presses too hard → increase offset (17.0 → 17.5)
- doesn't touch or too faint → reduce offset (17.0 → 16.5)
Save → trim → repeat
IN CASE OF COLLISION, TURN OFF IMMEDIATELY TO AVOID WORSENING THE SITUATION
Symptom Guide (quick diagnosis)
- Faint lines or no drawing → lack of contact → lower offset or insert pen
- Presses hard / ink smudge → too much pressure → raise offset or remove pen
- Drags ink during travels → insufficient or inactive Z-hop → Normal + 3–4mm
- More than 50 layers in SVG → unlock uniform scale + SVG Z to 0.1mm
- Pauses and continues on its own → missing M400 U1
- Ignores thin lines → Arachne + wall min 0.2mm approx.
Project status and upcoming updates
✅ Already working:
- Stabilo, POSCA, and cutting module
- consistent line quality
- high precision
- modular tool change (2–3 s)
🚧 In development:
- universal modules (technical pens, laser…)
- optimized POSCA speed profile
- compatibility with non-Bambu Lab printers
- improved cutting profile
Final notes
- Completely free system
- Frequent updates
- Enjoy it, try it, and feel free to help improve it
Collaborators
@rebelthor
Boost Me (for free)
🚀 BOOST ME: Energize the project Behind every model are hundreds of hours of design, failed prototypes, and filament invested. My goal is to make design my profession and main source of income; without your support, moving forward will be impossible. If you find what I do useful, giving me a Boost is the most direct way to tell me: "Falu, your work is worthwhile". Help me keep this workshop alive and continue creating for you!
Membership
🛠️ MEMBERSHIP: Support the inventor If you want to be the real engine of my designs, join my membership. Creating universal solutions requires resources and hundreds of hours that only your direct support can sustain. By joining, you finance the time of an independent inventor so they can make this their profession. In return, you will have access to [benefits, exclusive models, private design requests...] and you will make it possible for this workshop to continue bringing new ideas to life.
This is my story. I started from scratch, closing my eyes and imagining. Today, every design I share is my way of demonstrating that the most powerful tool of a creator is not a professional workshop, but the unwavering will to give soul to an idea.
License

You may create derivative works based on this object, provided that all such derivative works are published exclusively on the MakerWorld platform and include proper attribution to the original creator. You may not share, upload, host, distribute, or publish this object—or any derivative work of this object—on any other digital platform, marketplace, or distribution channel. Commercial use of this object and any derivative works is strictly prohibited. This includes, but is not limited to, selling, renting, sublicensing, or using the object in any context in which you receive monetary compensation or other financial benefits.


Comment & Rating (344)