
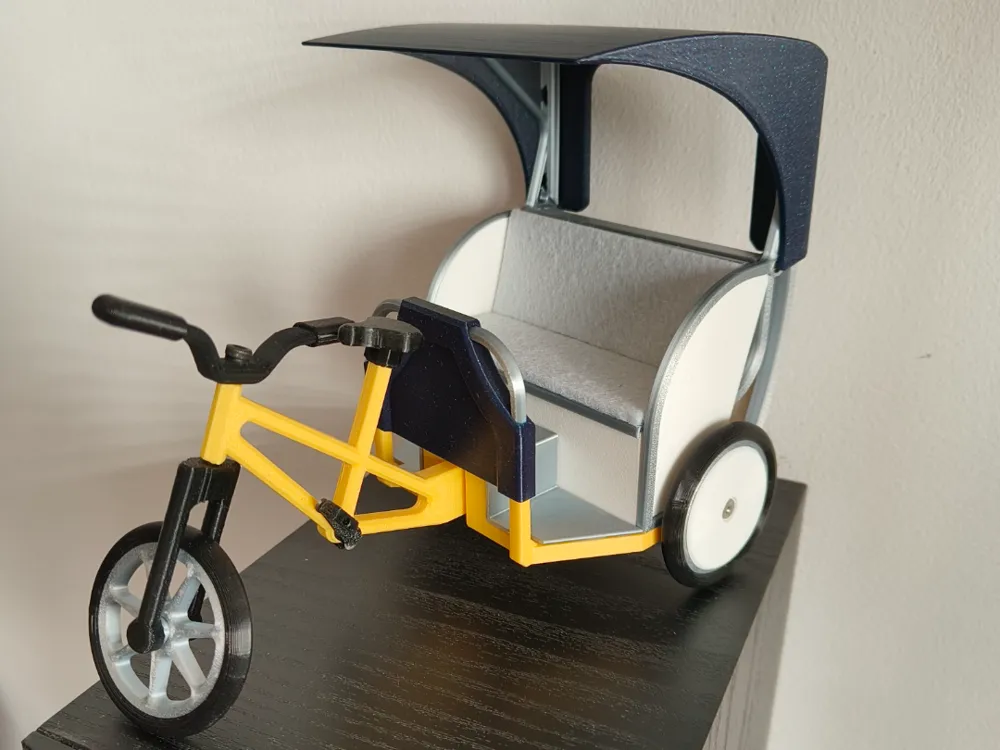
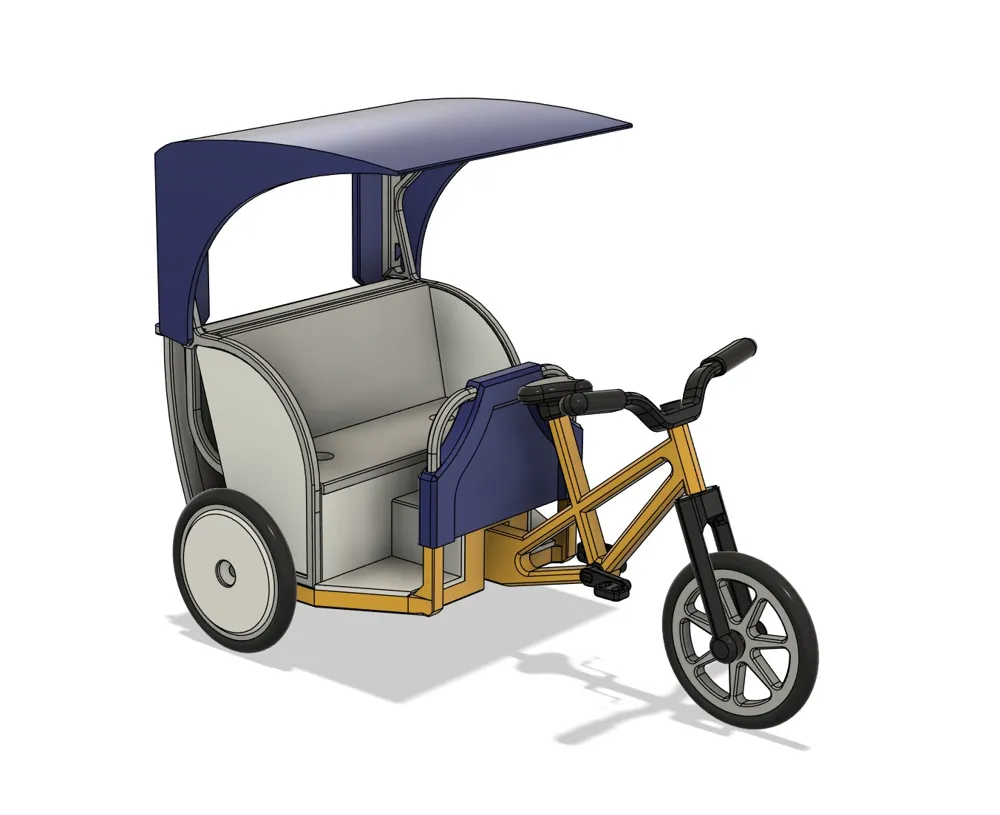
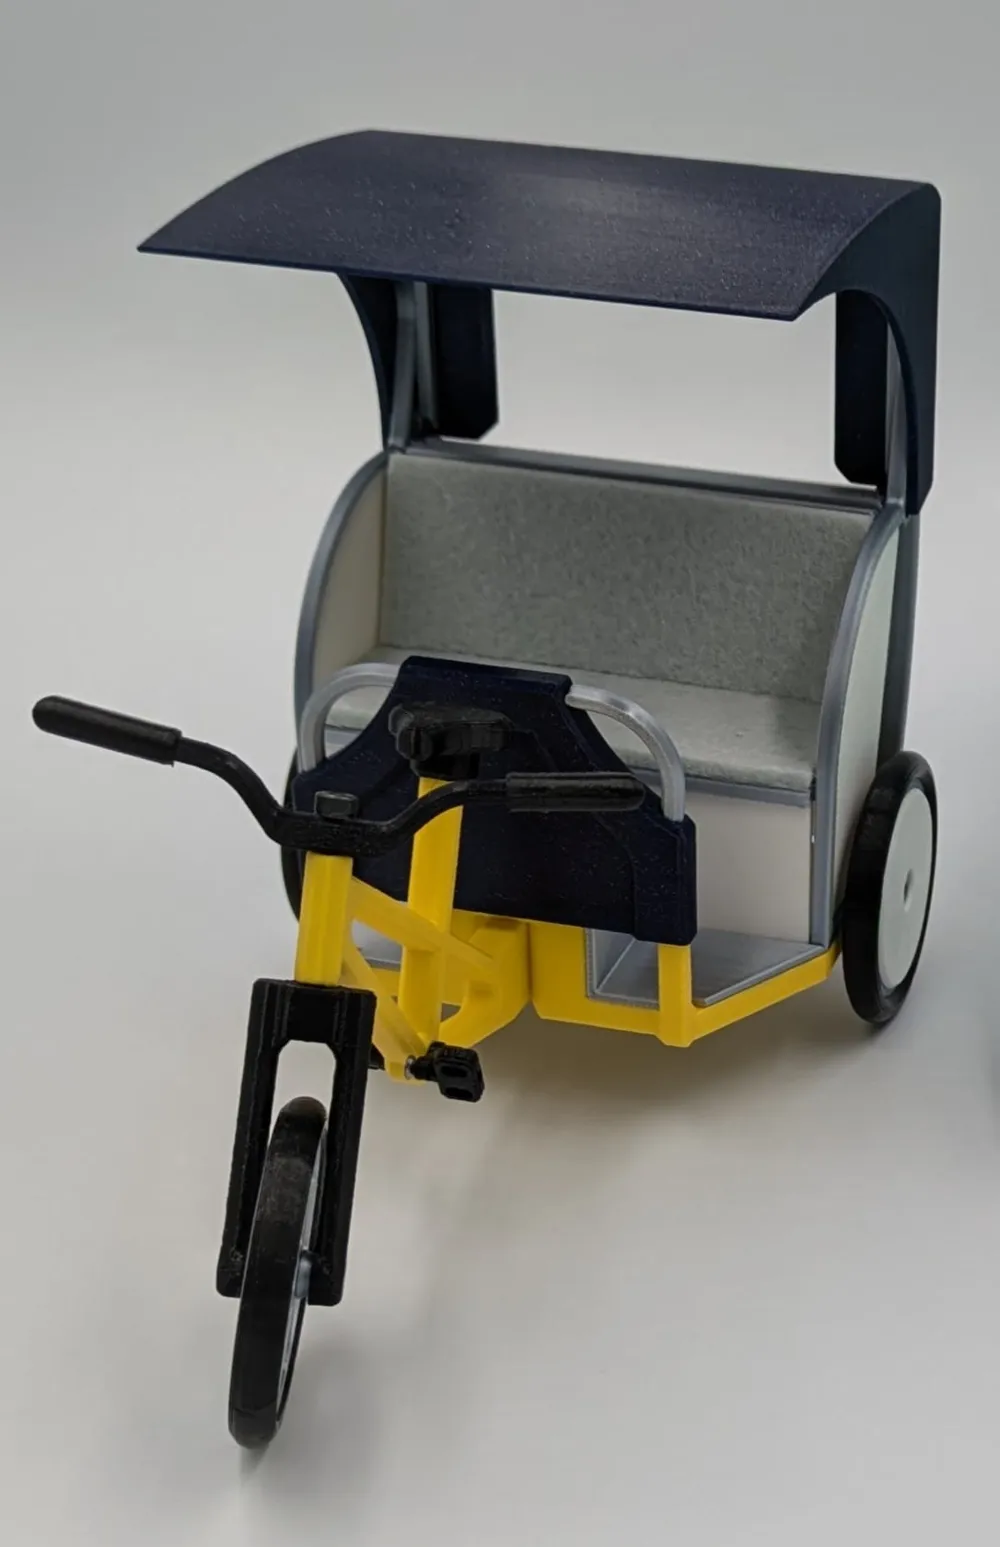
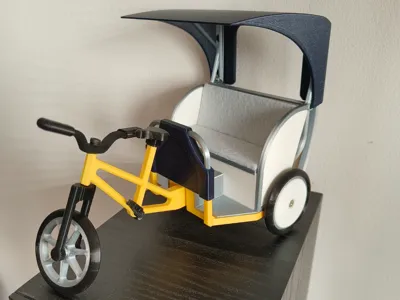
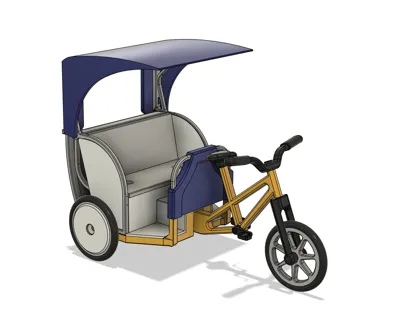
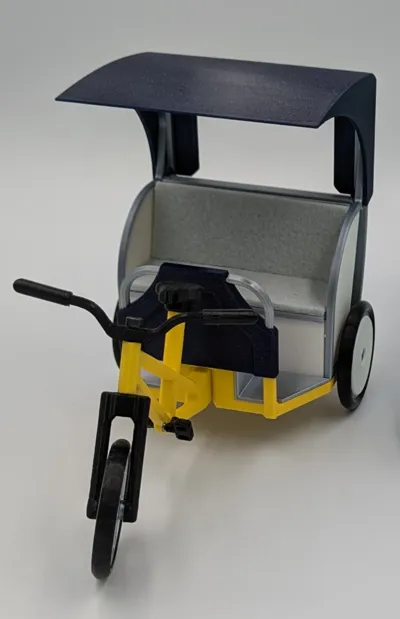
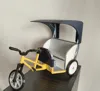
Rickshaw Pedicab tricycle accurate model
Print Profile(1)
Bill of Materials



- piece of soft fabric x 1:
- super glue x 1:
Description
Hello!
I am excited to present my highly detailed and 100% accurate 3D model of a Rickshaw Pedicab, designed for 3D printing and self-assembly!
This model is based on the original three-wheeled pedicab, widely used around the world—from India to Europe. Every part has been meticulously designed by me to ensure maximum realism and functionality.
What makes this model special?
✅ Realistic design – accurately scaled and proportioned to match a real rickshaw
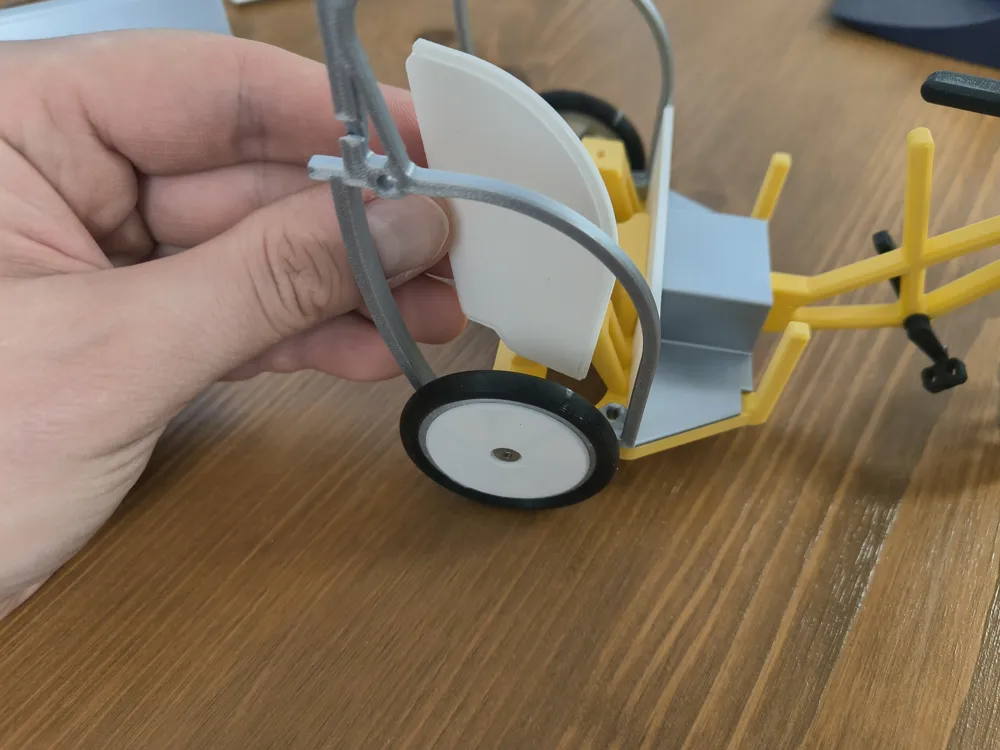
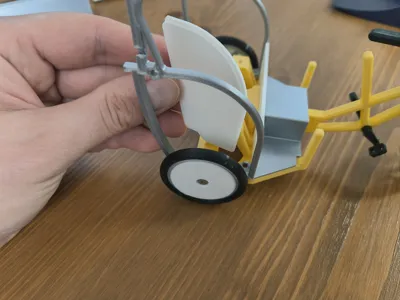
✅ Functional moving parts – fully rotatable wheels and pedals
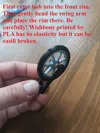
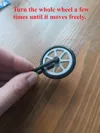
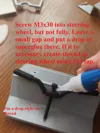
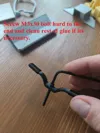
✅ Easy assembly – comes with a comprehensive instruction manual featuring step-by-step illustrations for a smooth and enjoyable building process
Materials & Recommendations
Most parts are designed to be printed in PLA filament, ensuring durability and ease of printing.
However, for the tires, handle grips, and seat, I strongly recommend using TPU filament to achieve the necessary flexibility and realistic texture.
For the roof and organizer, a sparkle filament is suggested for a more authentic look.
Required tools for assembly:
🔧 ISO Taps: M3 (optional)
🔩 Screws:
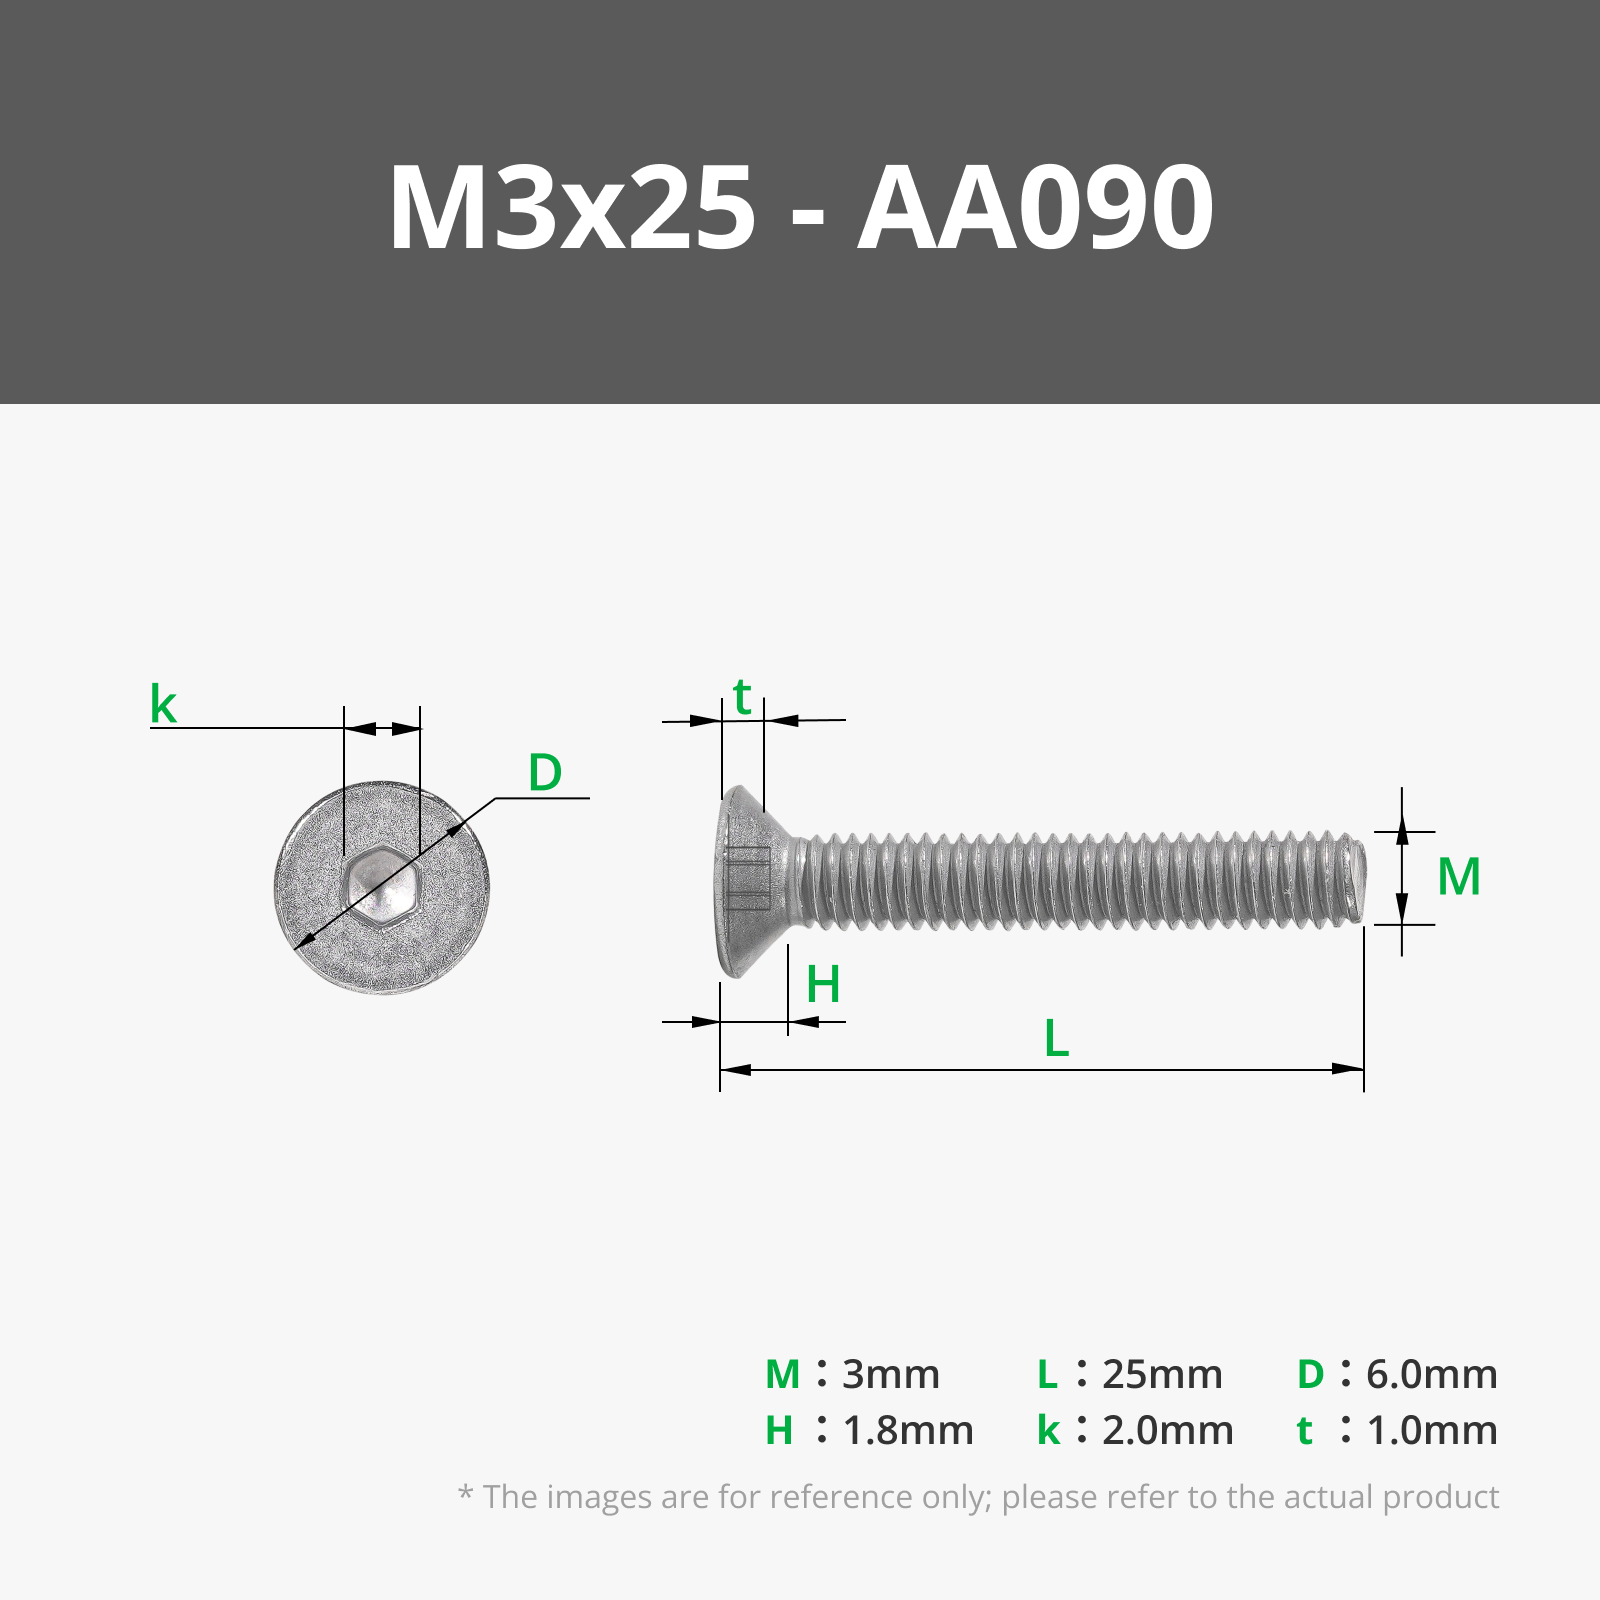
M3x30 full-thread hex screw
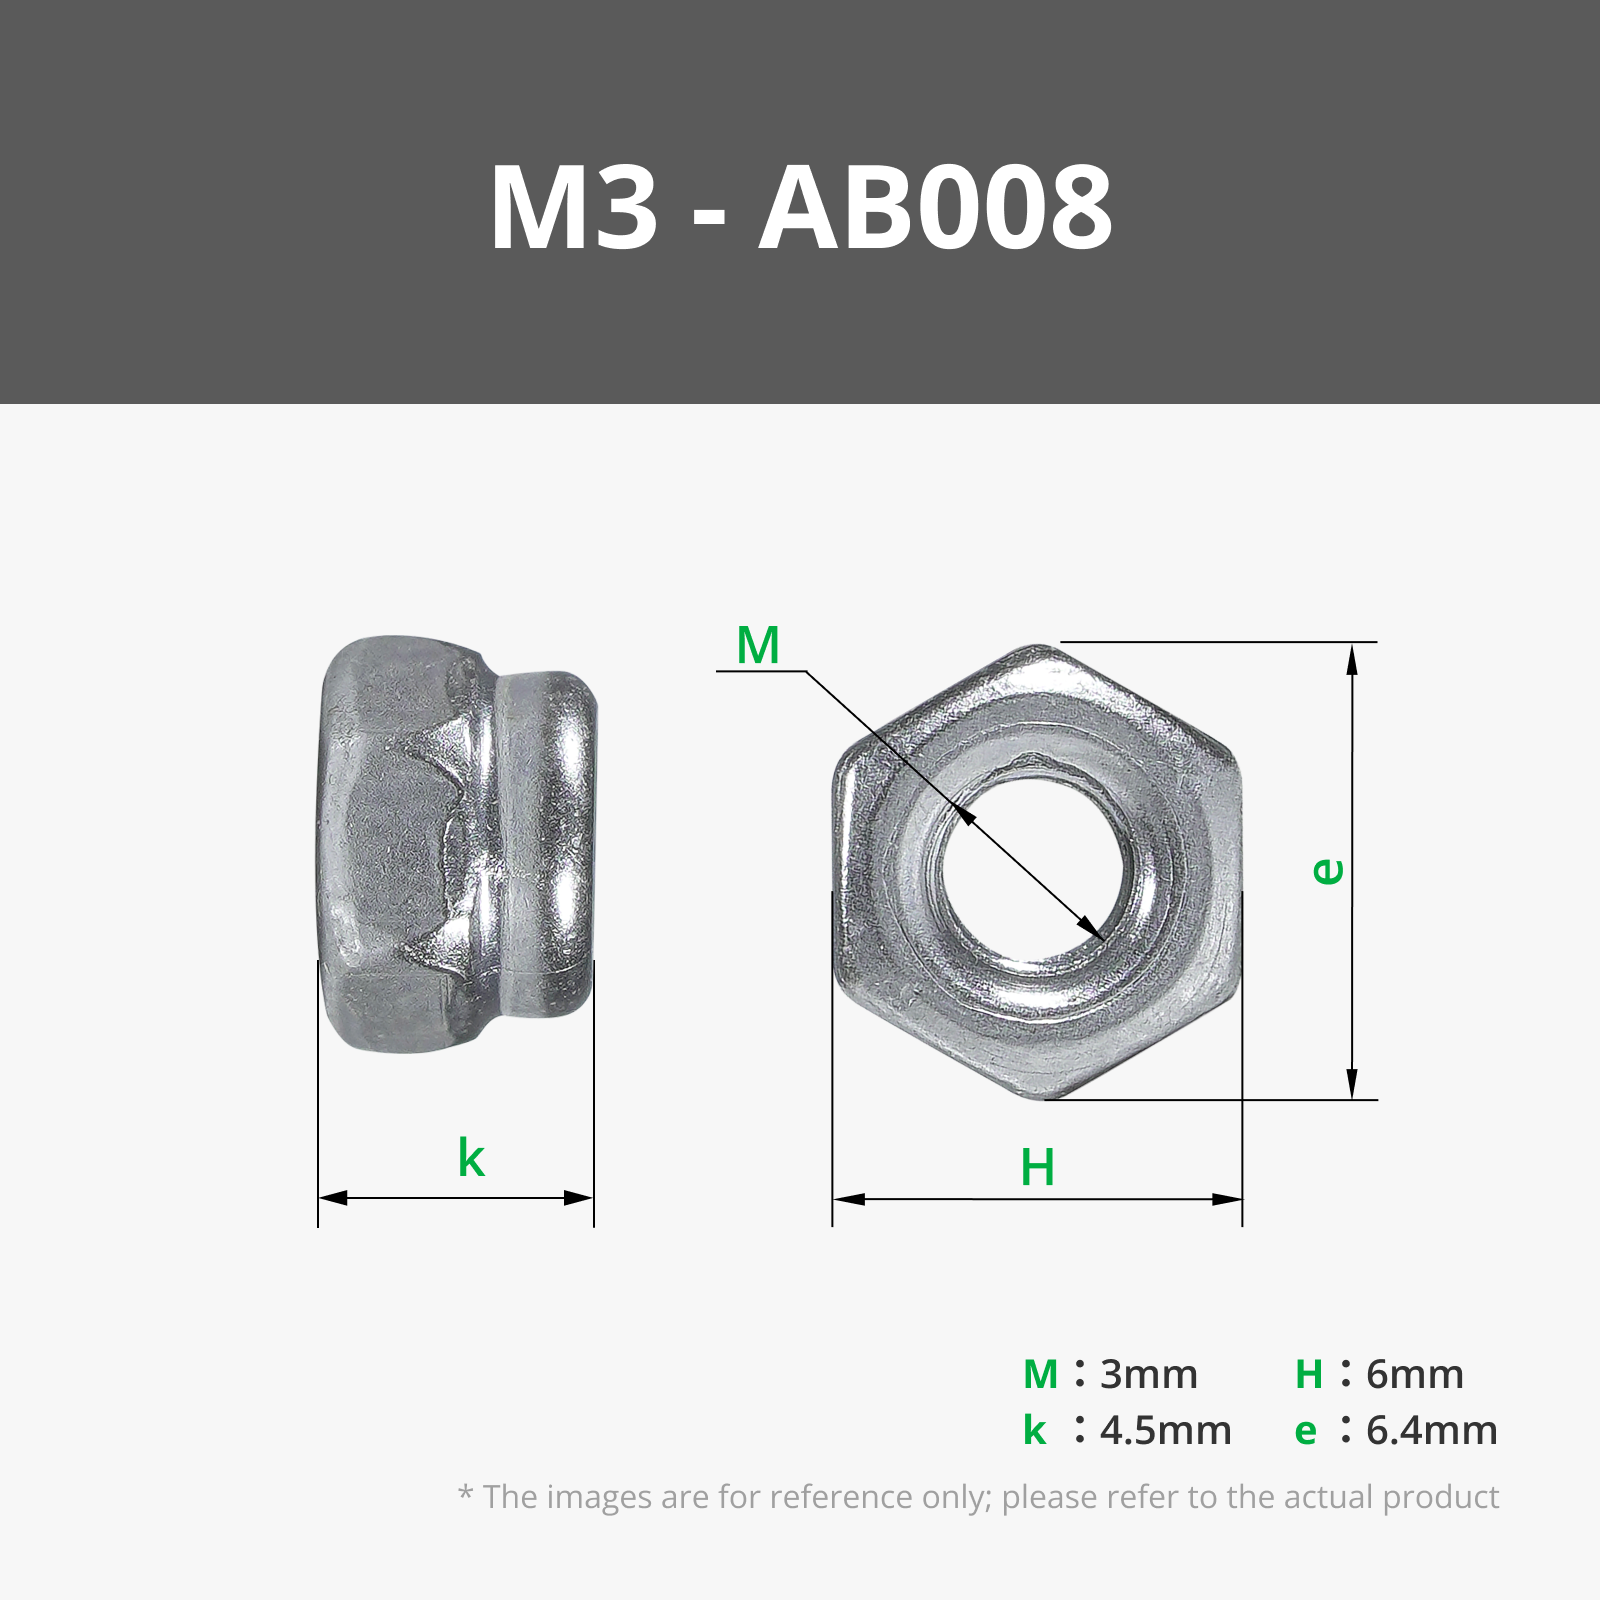
M3 nylon nut
M3 hex screws
M2 hex screw
🛠 Additional materials:
Fast-drying glue
A piece of soft fabric
Using these tools ensures that the final model is stable, durable, and visually appealing. All parts have been modeled and fine-tuned specifically for the Bambu X1 3D printer. If you need help using other 3D printer, because something not fit perfectly - feel free to write :)
The assembly process is straightforward and a lot of fun!
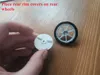
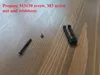
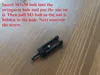
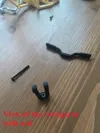
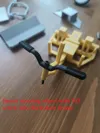
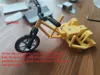
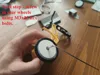
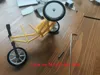
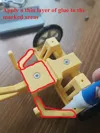
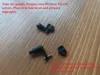
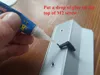
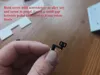
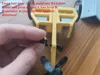
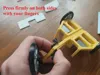
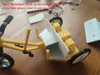
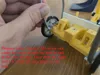
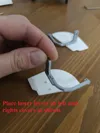
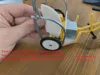
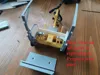
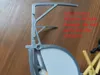
I have prepared a step-by-step instruction with photos on how to assemble a rickshaw from start to finish.
Don’t wait—print, assemble, and enjoy your own miniature version of this classic rickshaw! 🚲✨
Documentation (25)
License

You shall not share, sub-license, sell, rent, host, transfer, or distribute in any way the digital or 3D printed versions of this object, nor any other derivative work of this object in its digital or physical format (including - but not limited to - remixes of this object, and hosting on other digital platforms). The objects may not be used without permission in any way whatsoever in which you charge money, or collect fees.


Comment & Rating (3)