
P2S Chamber Heater


Print Profile(1)

Description
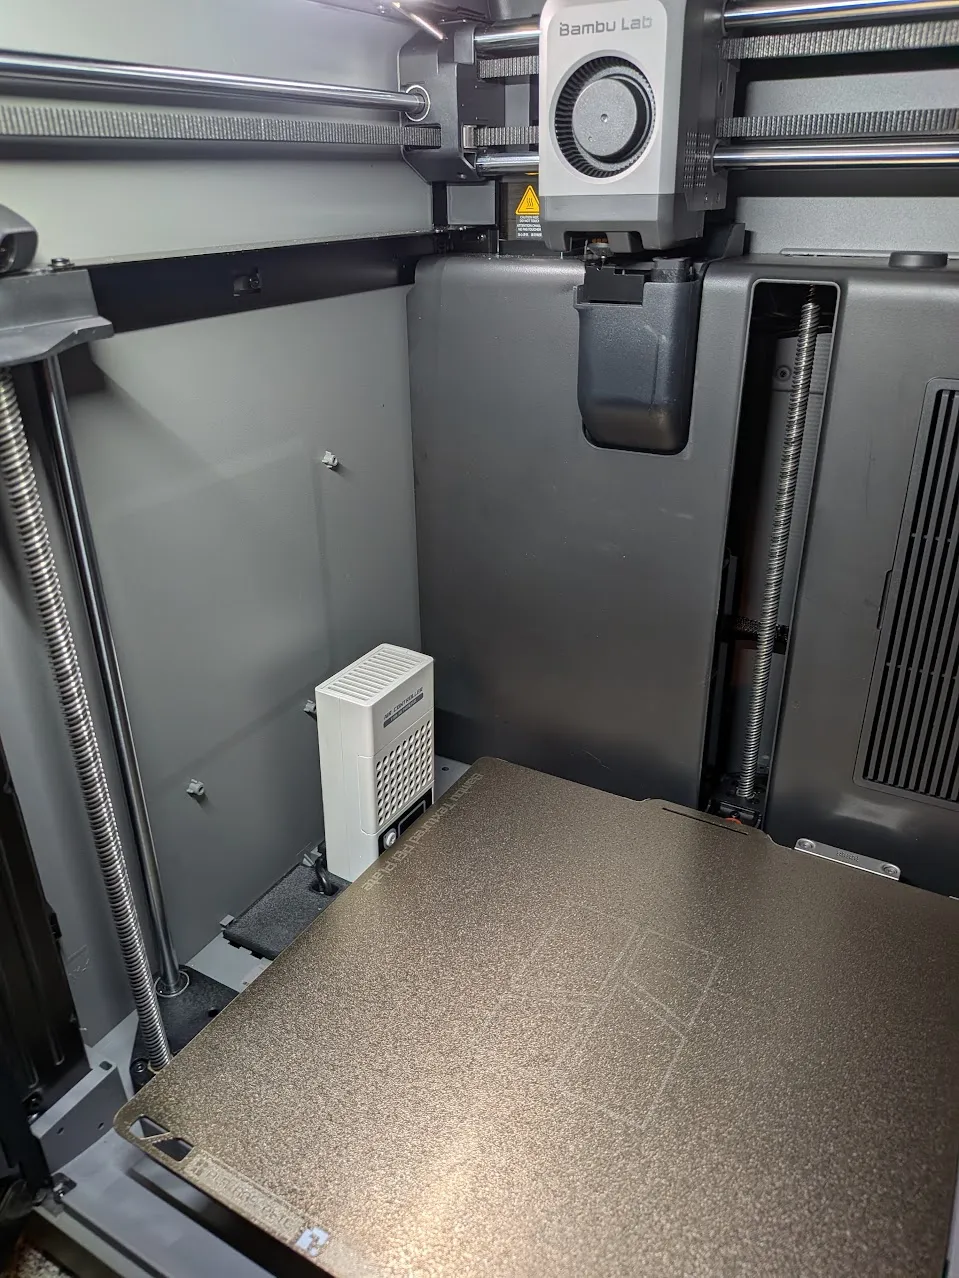
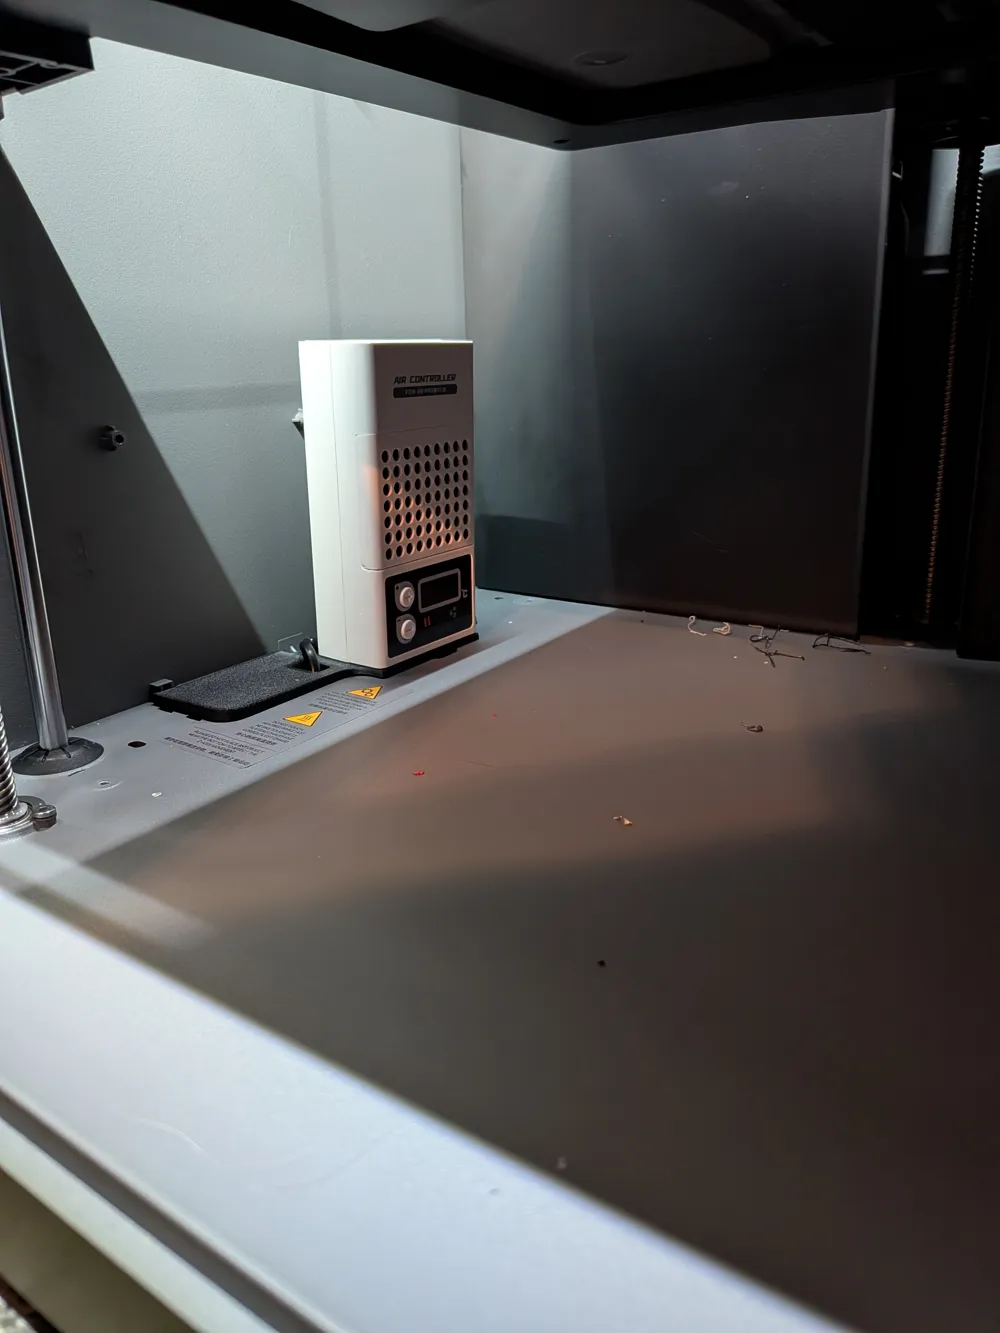
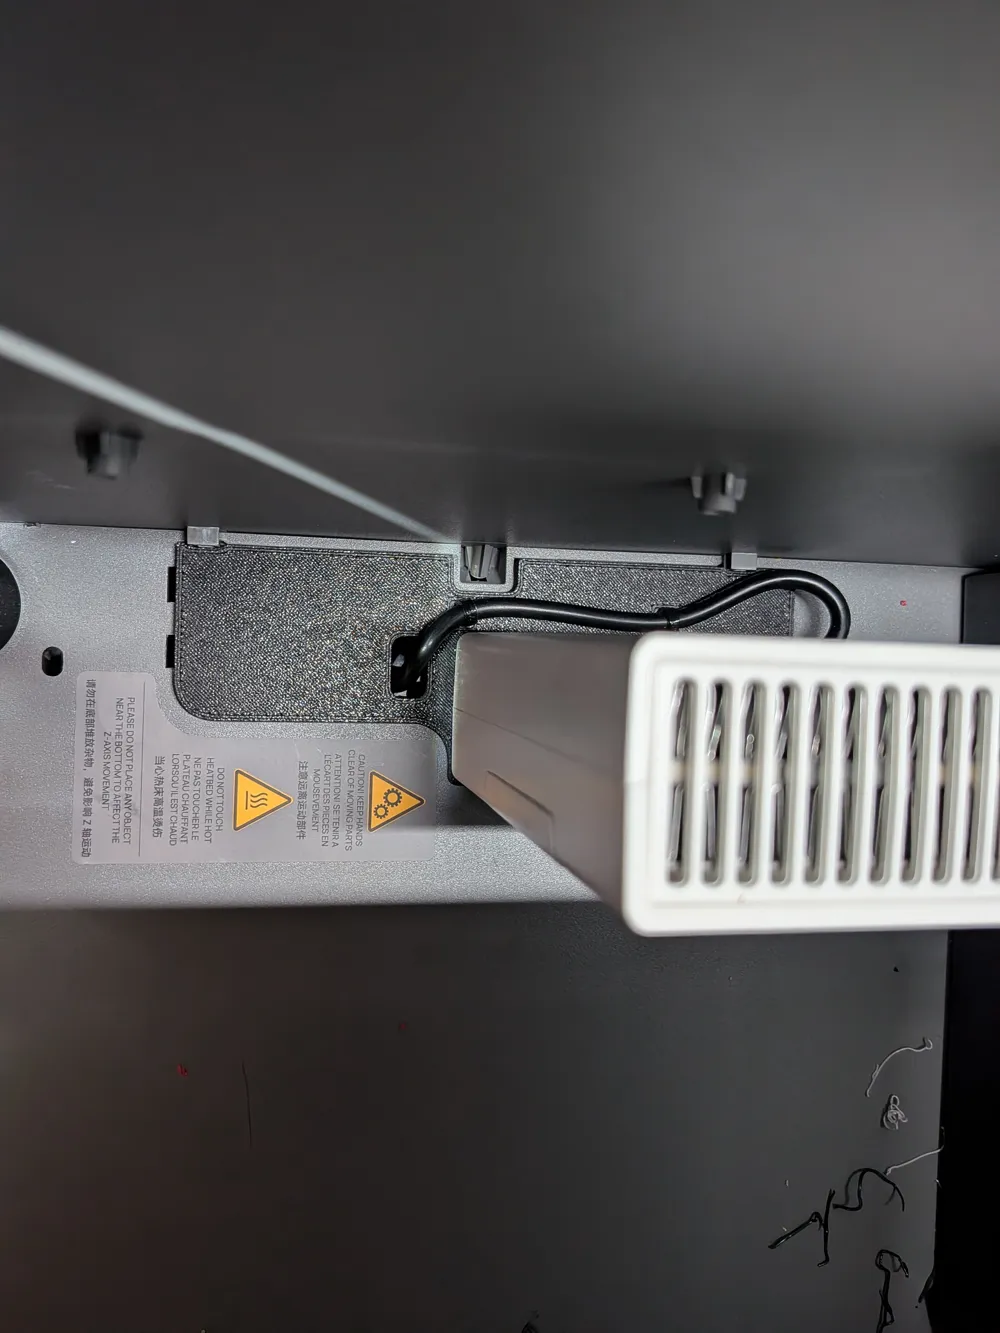
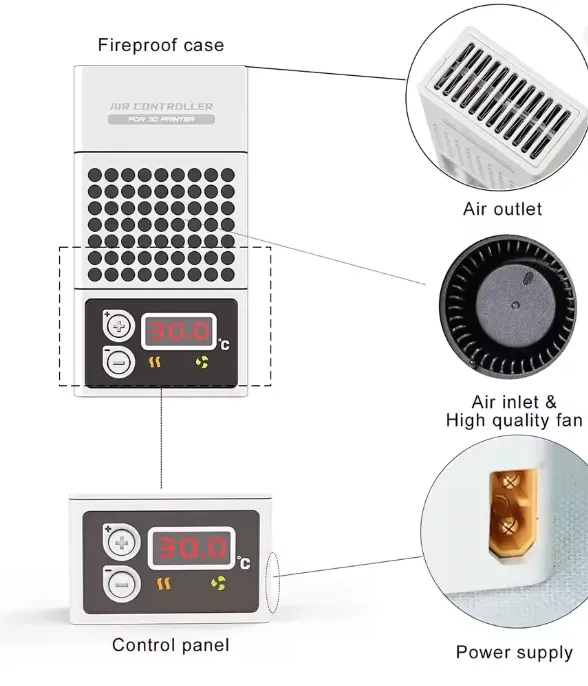
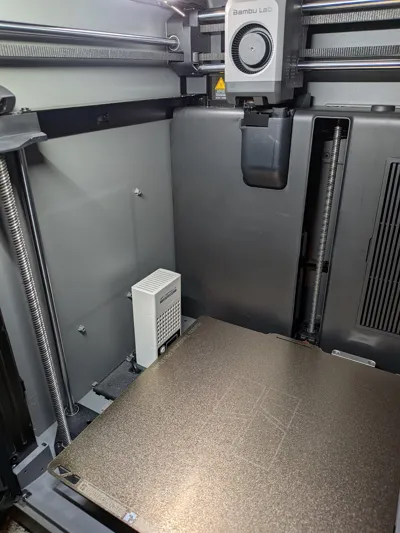
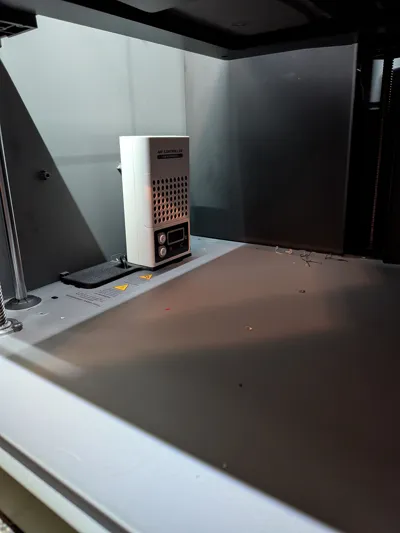
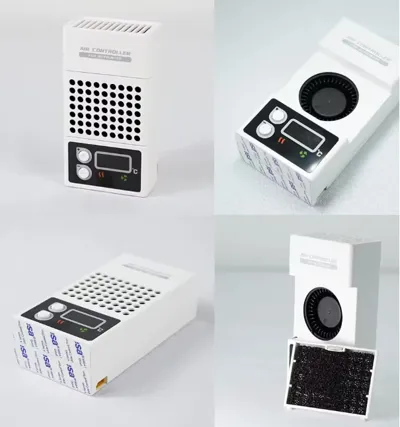
This print provides a power passthrough and a mount for the heater linked below.
In my setup, the heater was warming the printer’s side wall to an uncomfortable level, so I added a small plinth to move it away from the wall while keeping it a few millimetres from the build plate, the part also has slits for small cable ties to be fitted for cable management.
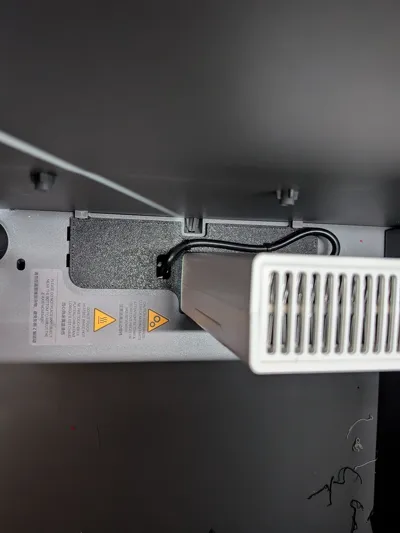
The original part will snap on the underside when removed, it should be able to be placed back into the slot with no visible damage - but be warned.
To allow the wire to pass through, you’ll need to enlarge the holes beneath the cover, either by cutting them away with diagonal cutters or opening them up with a drill bit 13 mm or larger. This area is completely hidden once assembled, so it doesn’t need to look perfect.
It’s also a bit of a chicken-and-egg situation, as you may need to use the heater to warm the chamber while printing this part. You’ll want to use something like ABS or ASA so the mount can tolerate higher chamber temperatures without deforming.
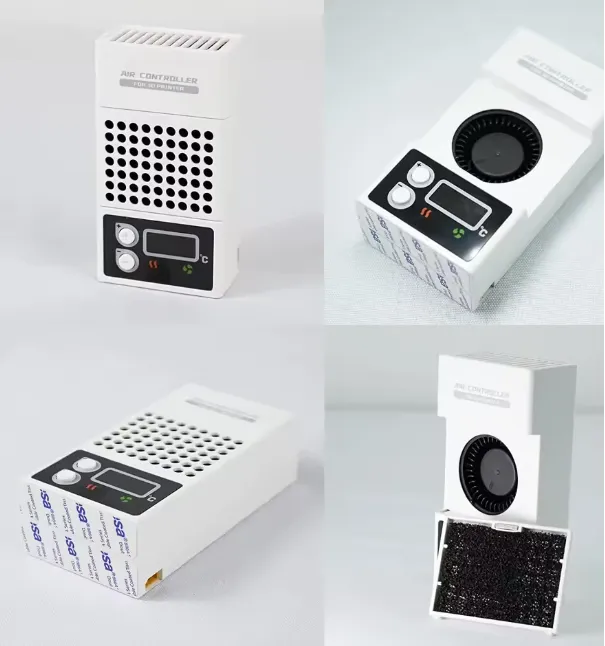
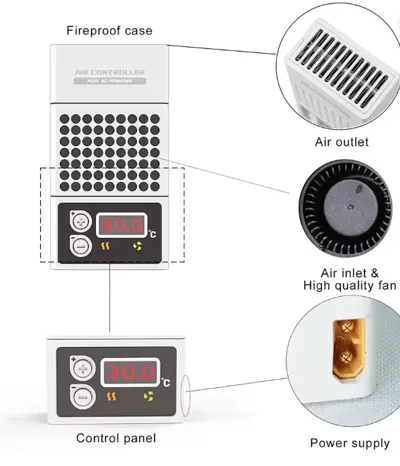
The heater is capable of 100w output and can be set from 0–50°C, which is ideal for ASA and ABS prints.
To preheat the chamber, I recommend turning this heater on, setting the hotbed to around 110°C and turn on the chamber fan in heating mode. This significantly speeds up warm-up time.
Product link:
https://www.aliexpress.com/item/1005006119451784.html
License



Comment & Rating (33)