
The Division Light Up Agent Beacon Cosplay Prop
Print Profile(3)


Description
Introduction:
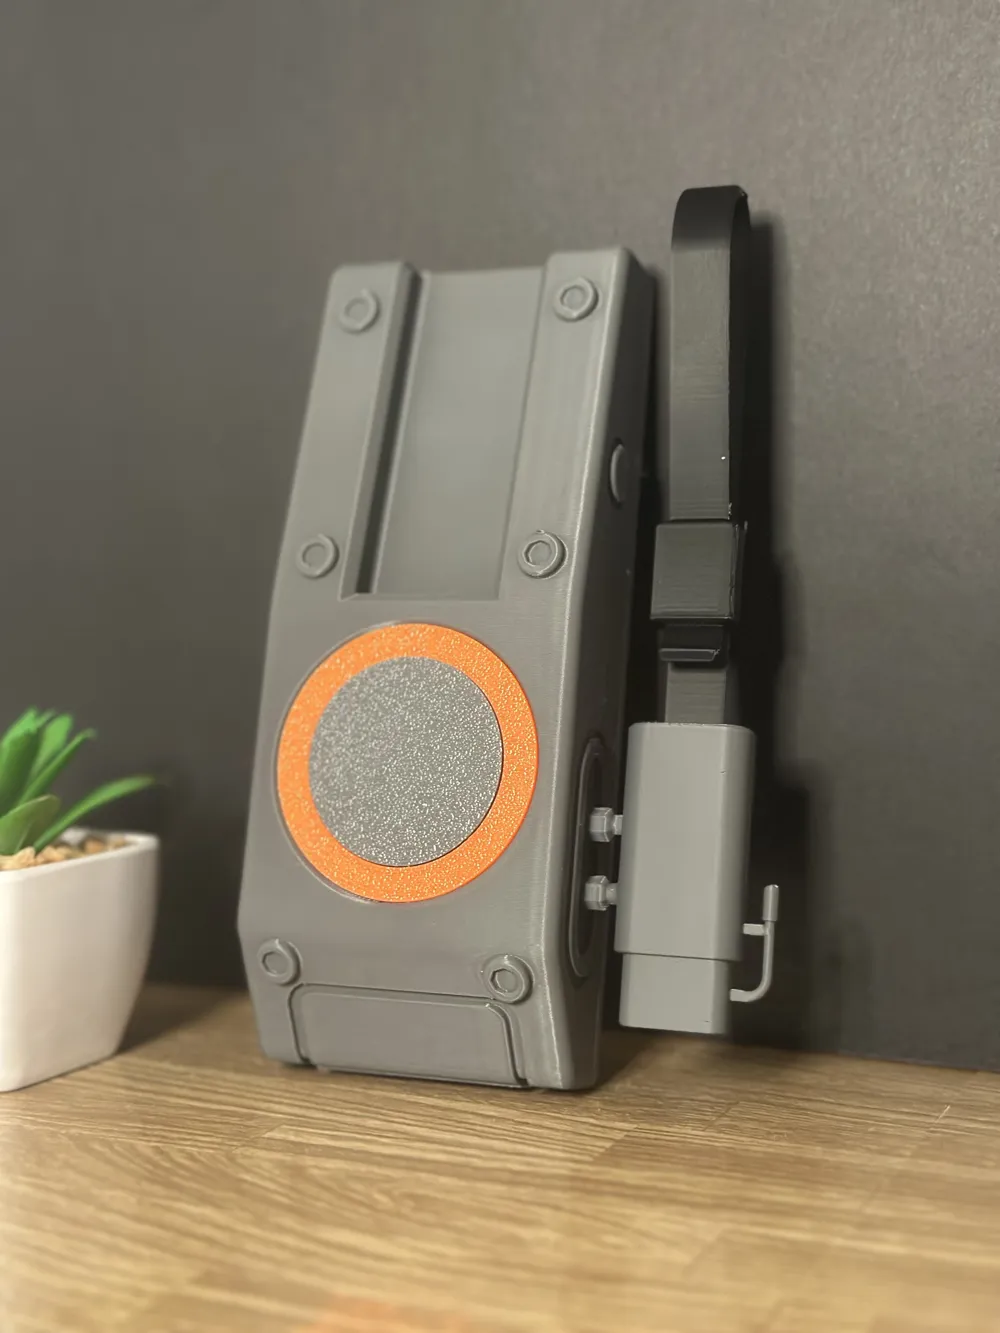
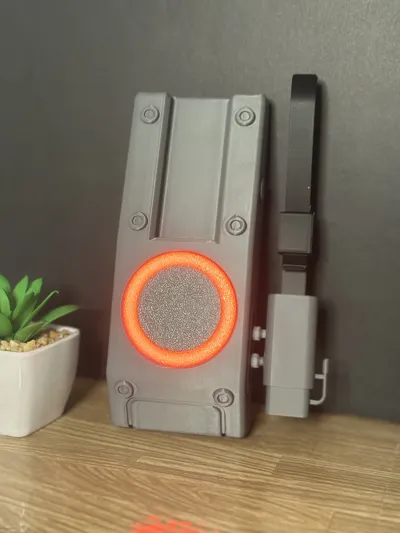
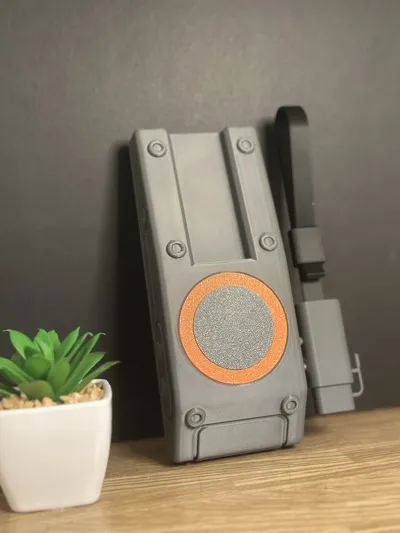
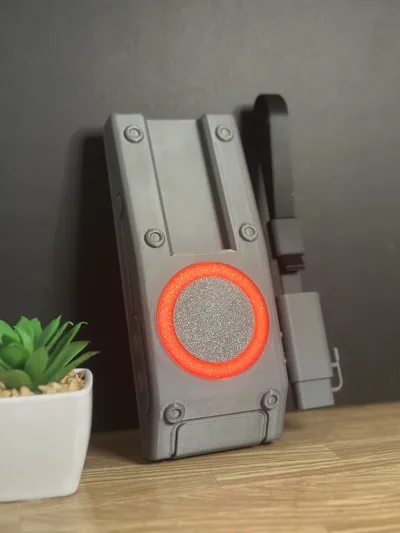
Hello everybody, I haven’t modelled anything in quite a while due to some health issues but now I’m starting to feel better I thought I would model an agent beacon from the popular video game the division by Ubisoft.
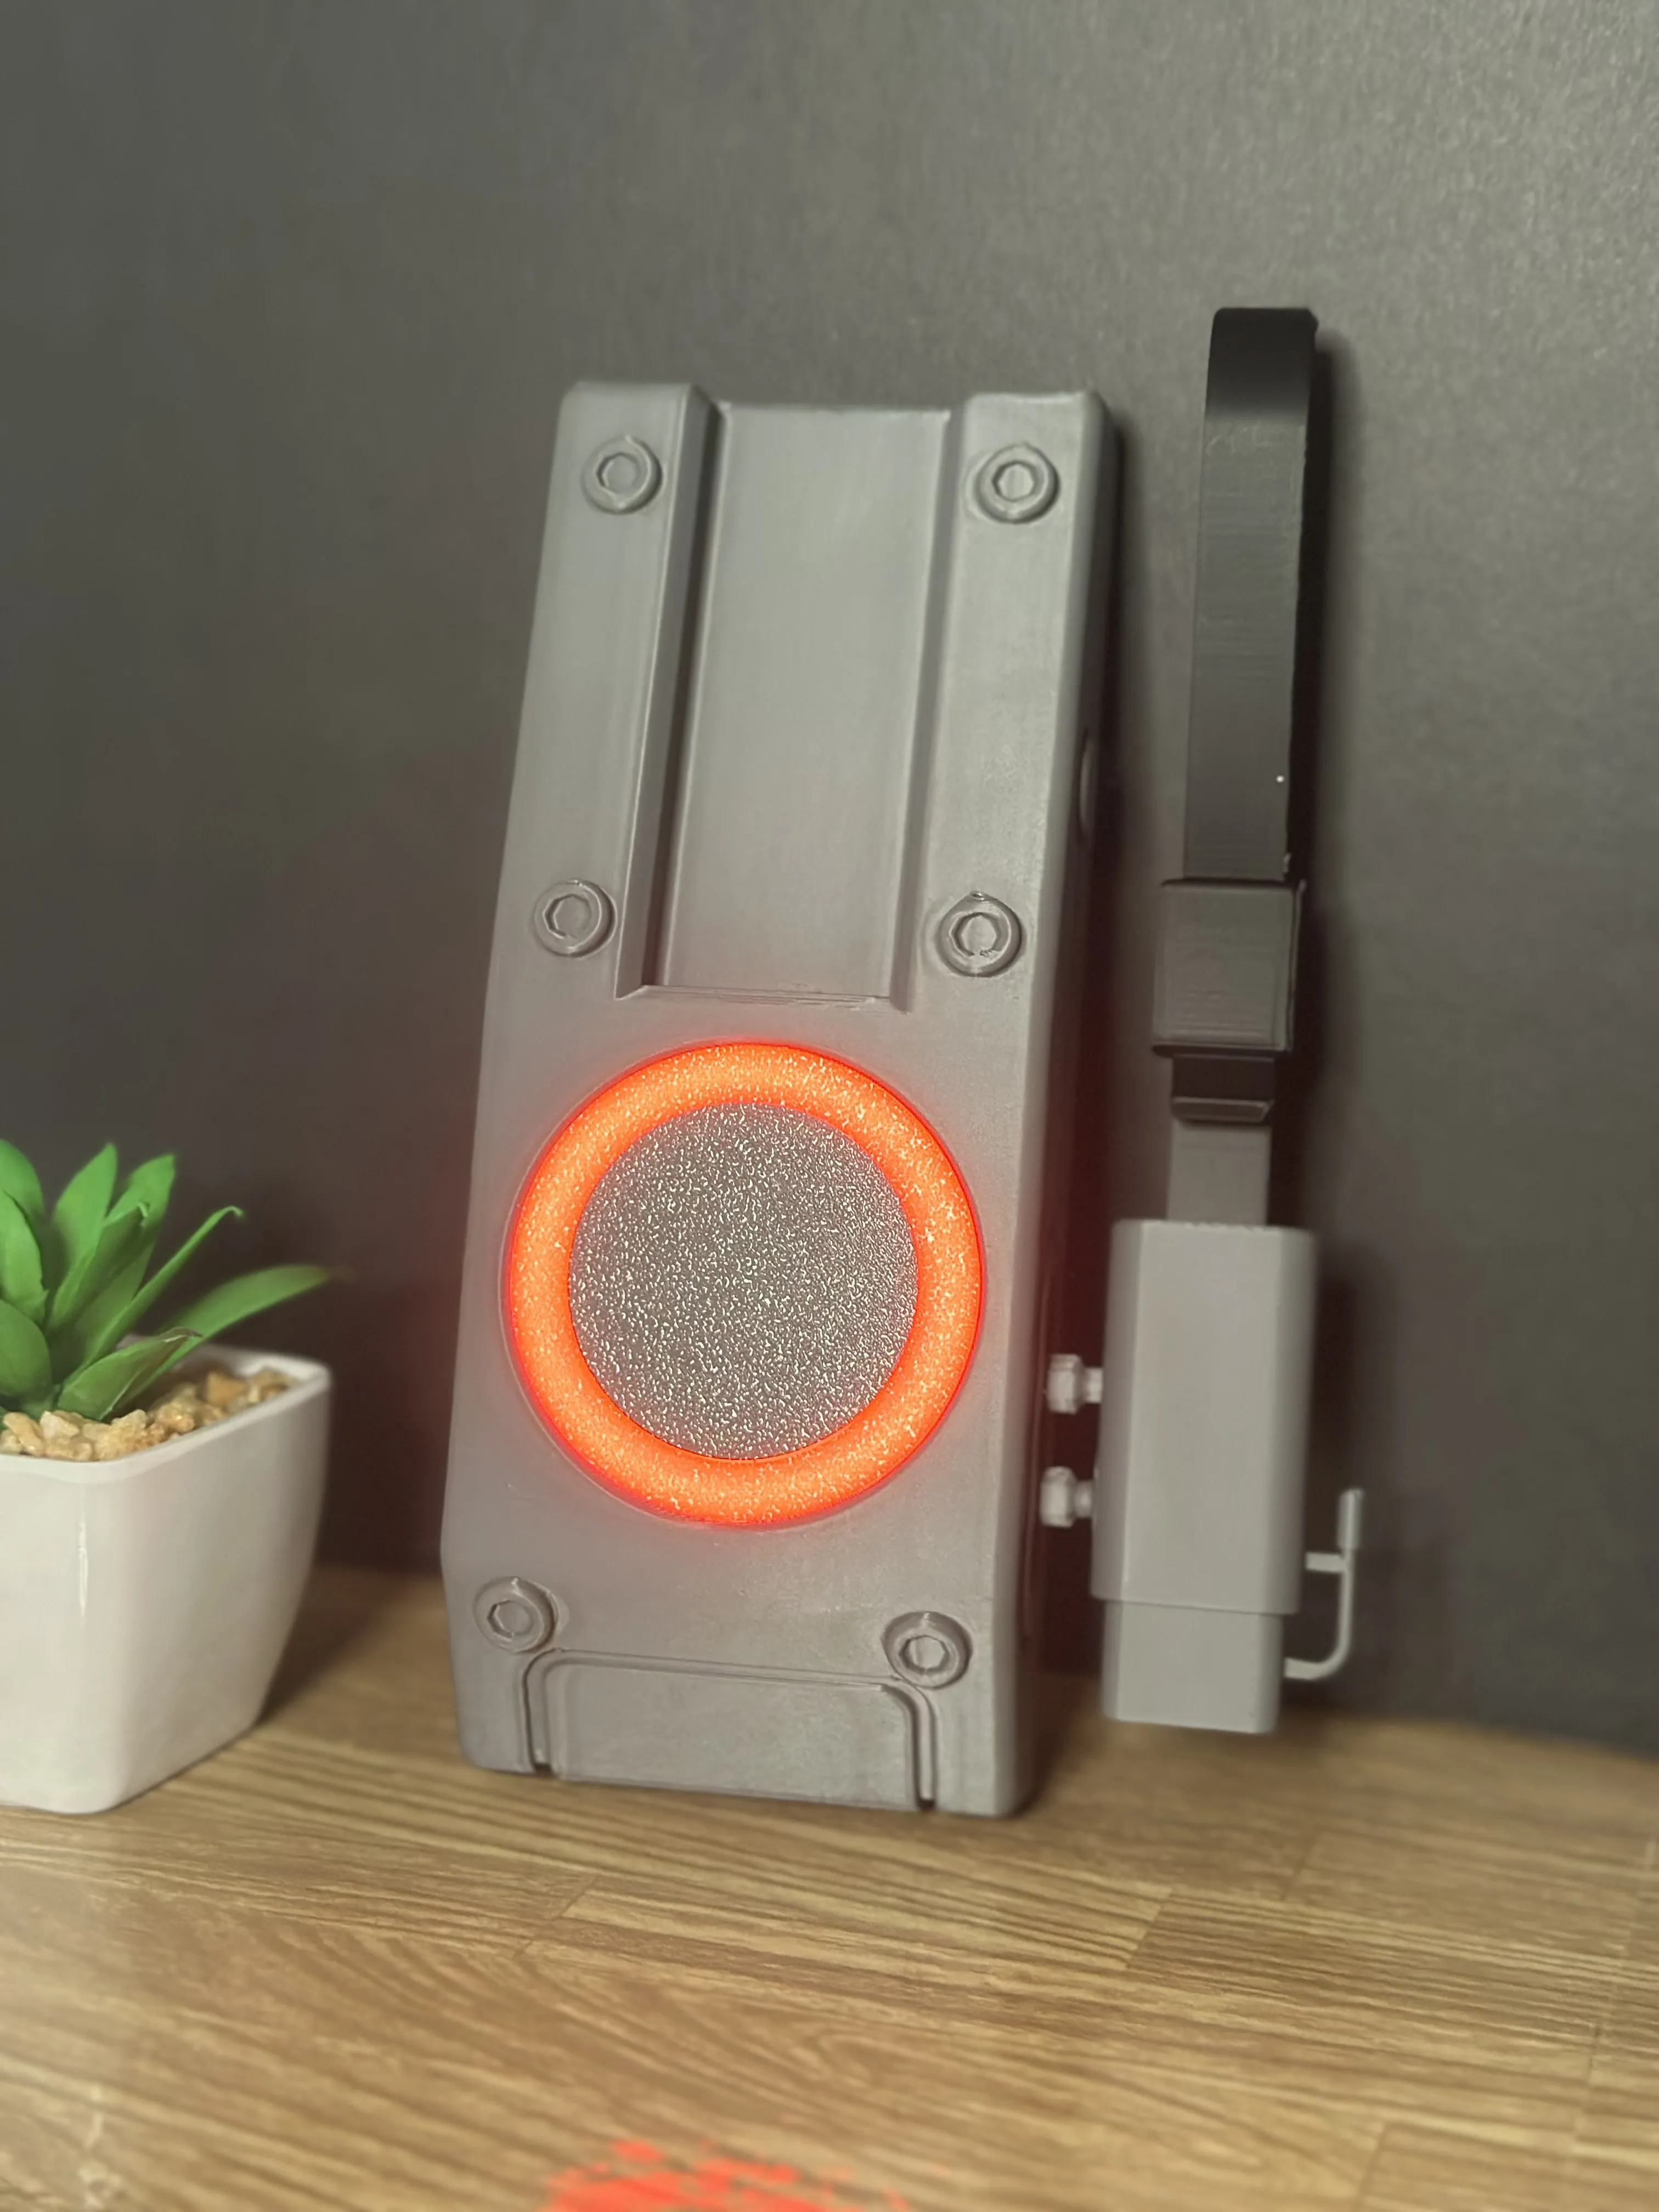
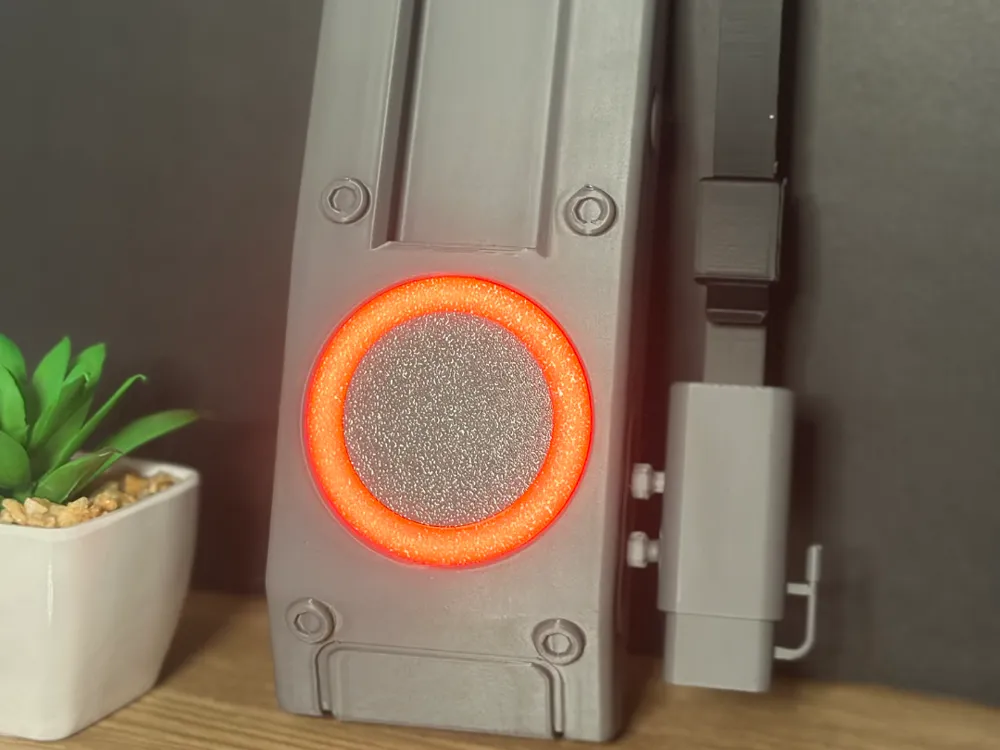
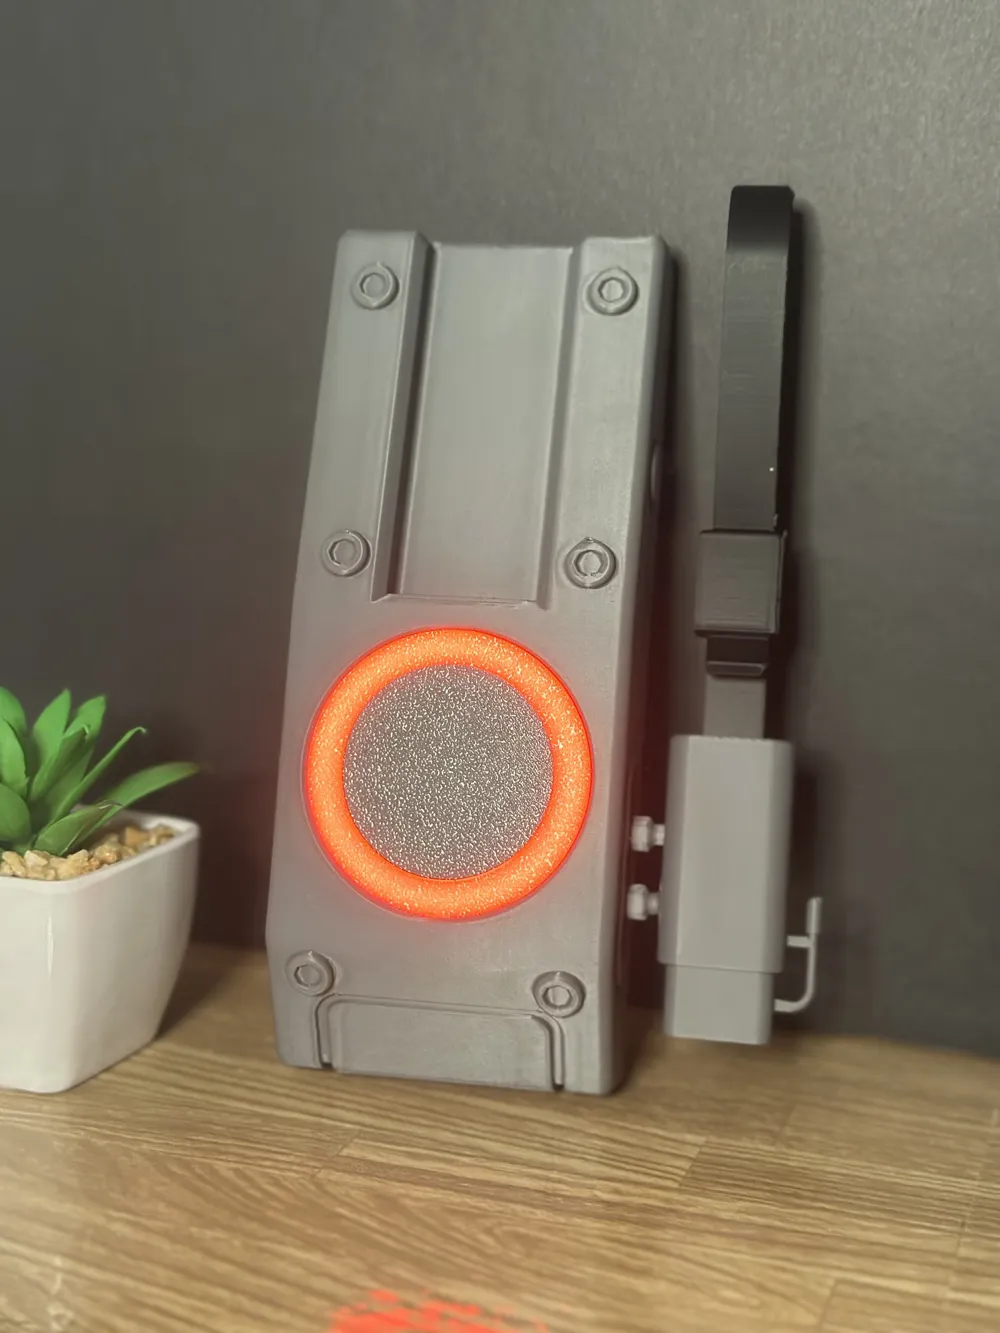
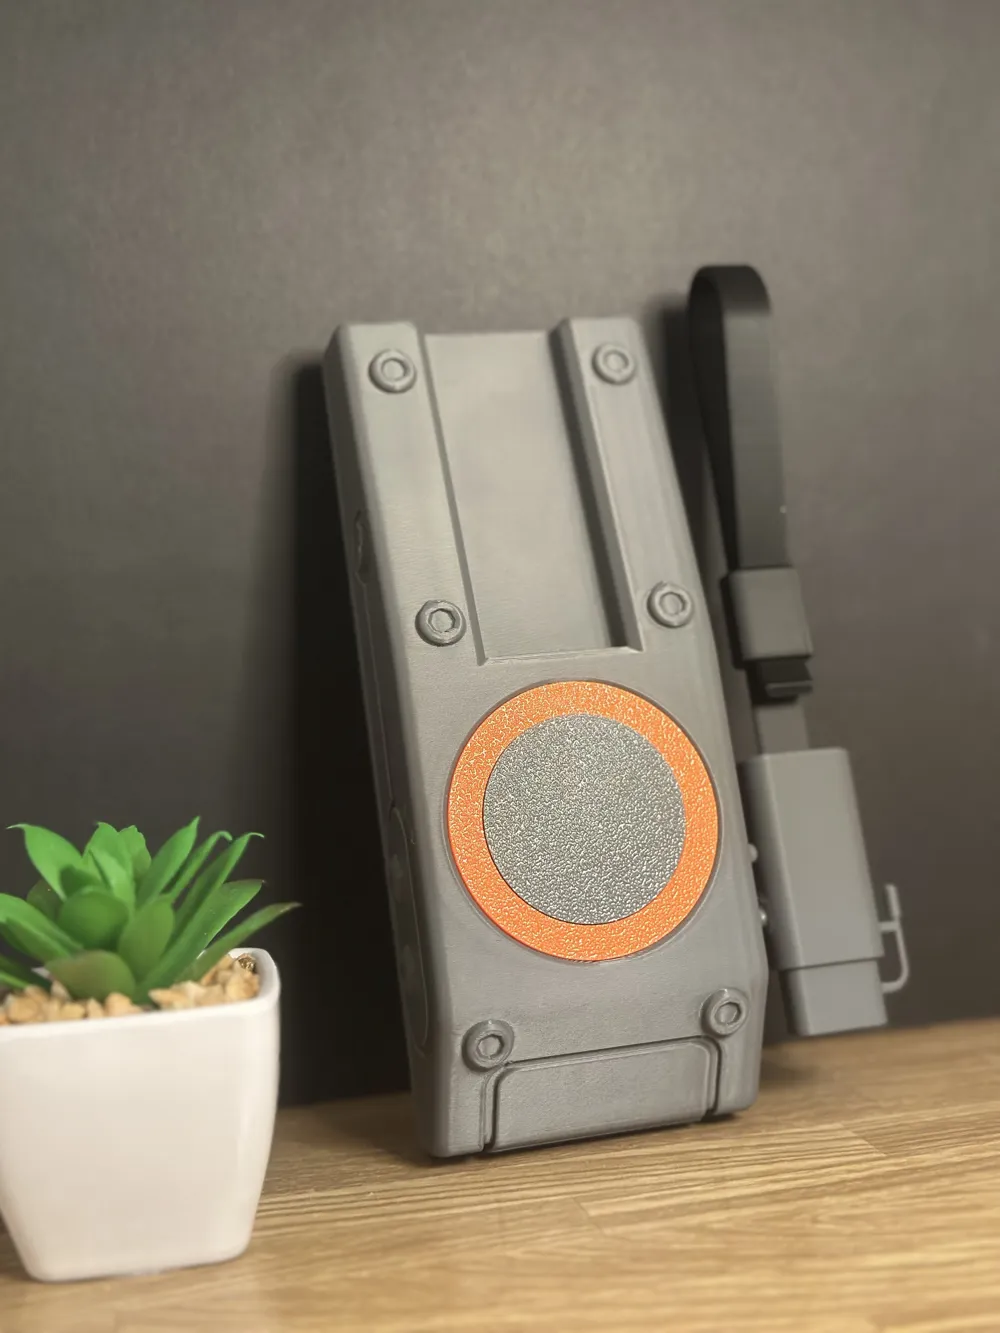
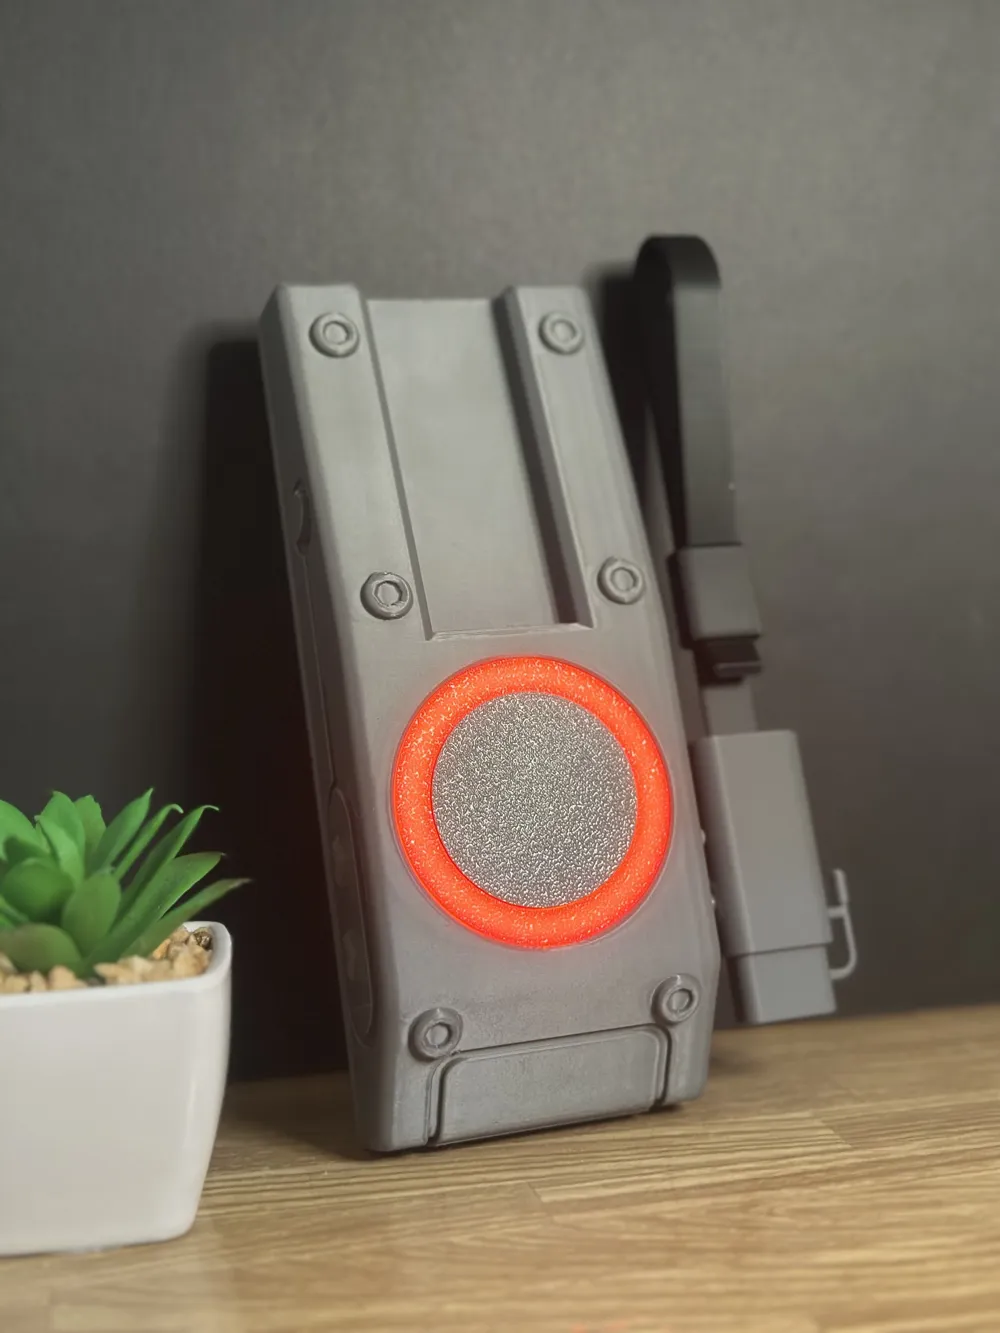
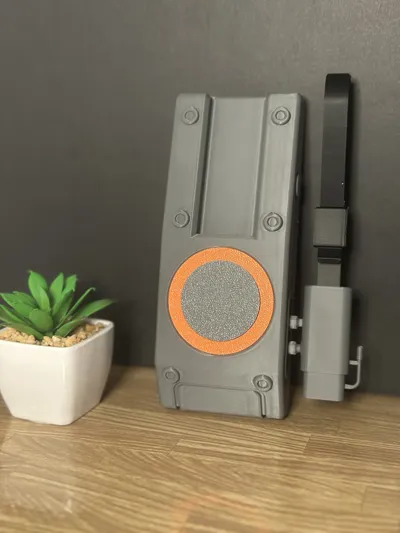
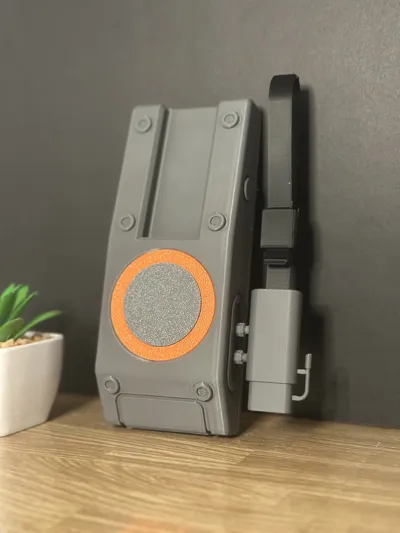
This one was a fun return project — a clean, hard-surface take on the SHD Agent Beacon, redesigned for easy printing, reliable assembly, and full LED integration.
If you’re building your own Division cosplay loadout or you just want a badass glowing prop for the shelf, this beacon will do the job.
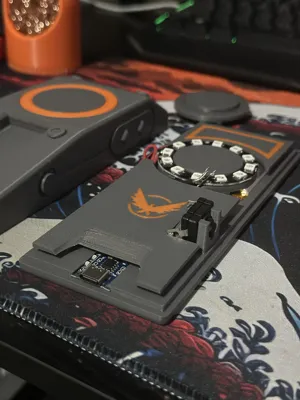
The model is split into friendly, print-sized pieces with channels for wiring, and a front diffuser ready to glow bright orange using WS2812B LEDs. With a 12-pixel ring or strip, a 3.7V LiPo, and a simple Arduino Nano setup, you get that iconic “pulse once then burn steady” agent light effect.
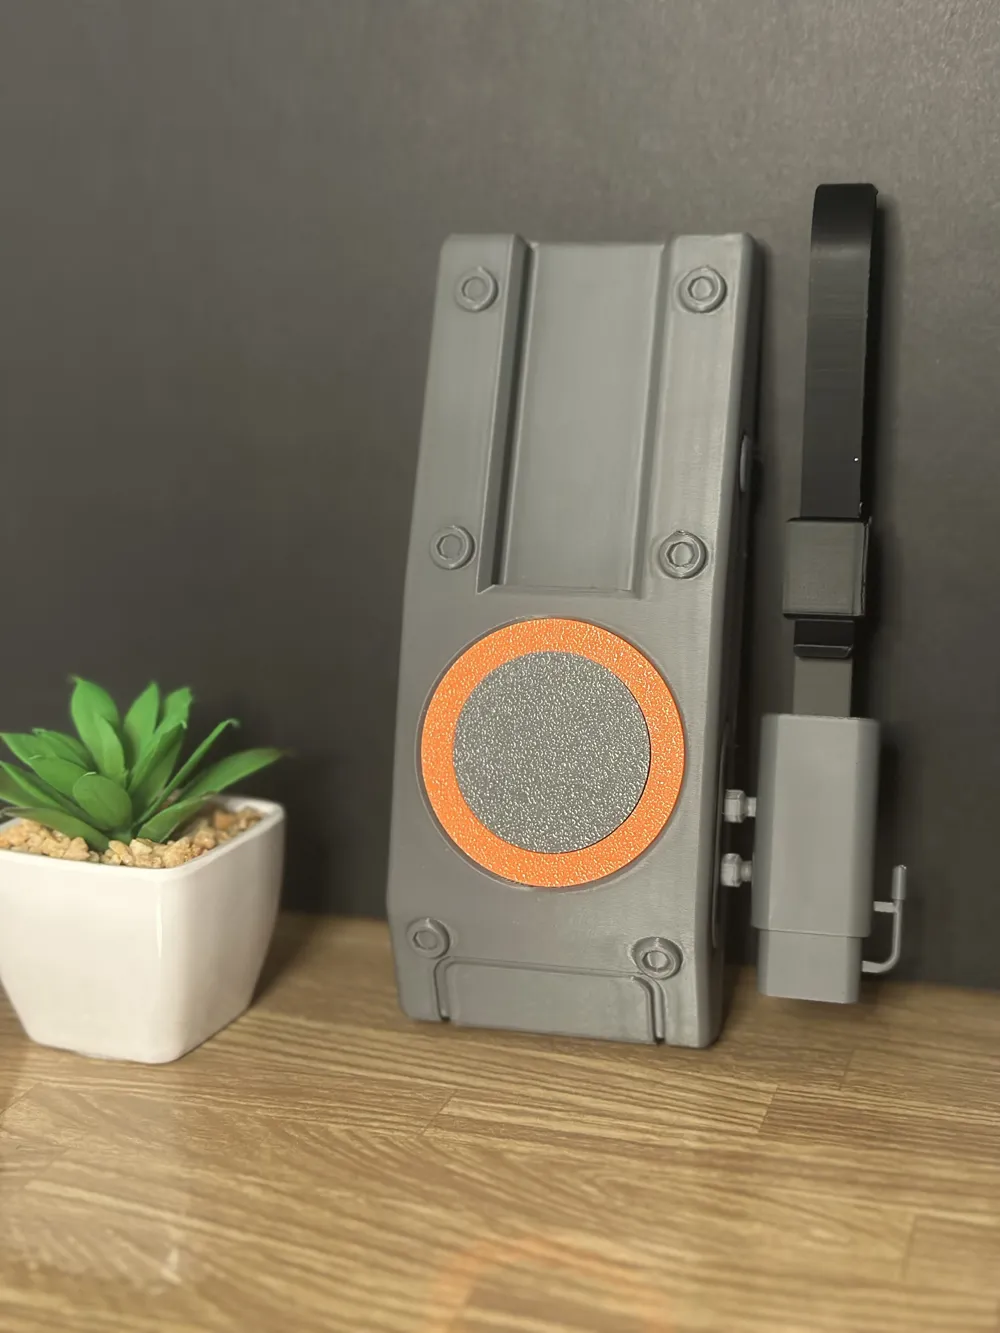
There are some alternate version for this such as a blank base plate for those that don't want to add the wire covers which is absolutely fine, then there is a option for the covers to be blank as well for those that have an AMS but the ones in the normal print profile are the emblem versions which in my personal opinion look so much better.
BOM
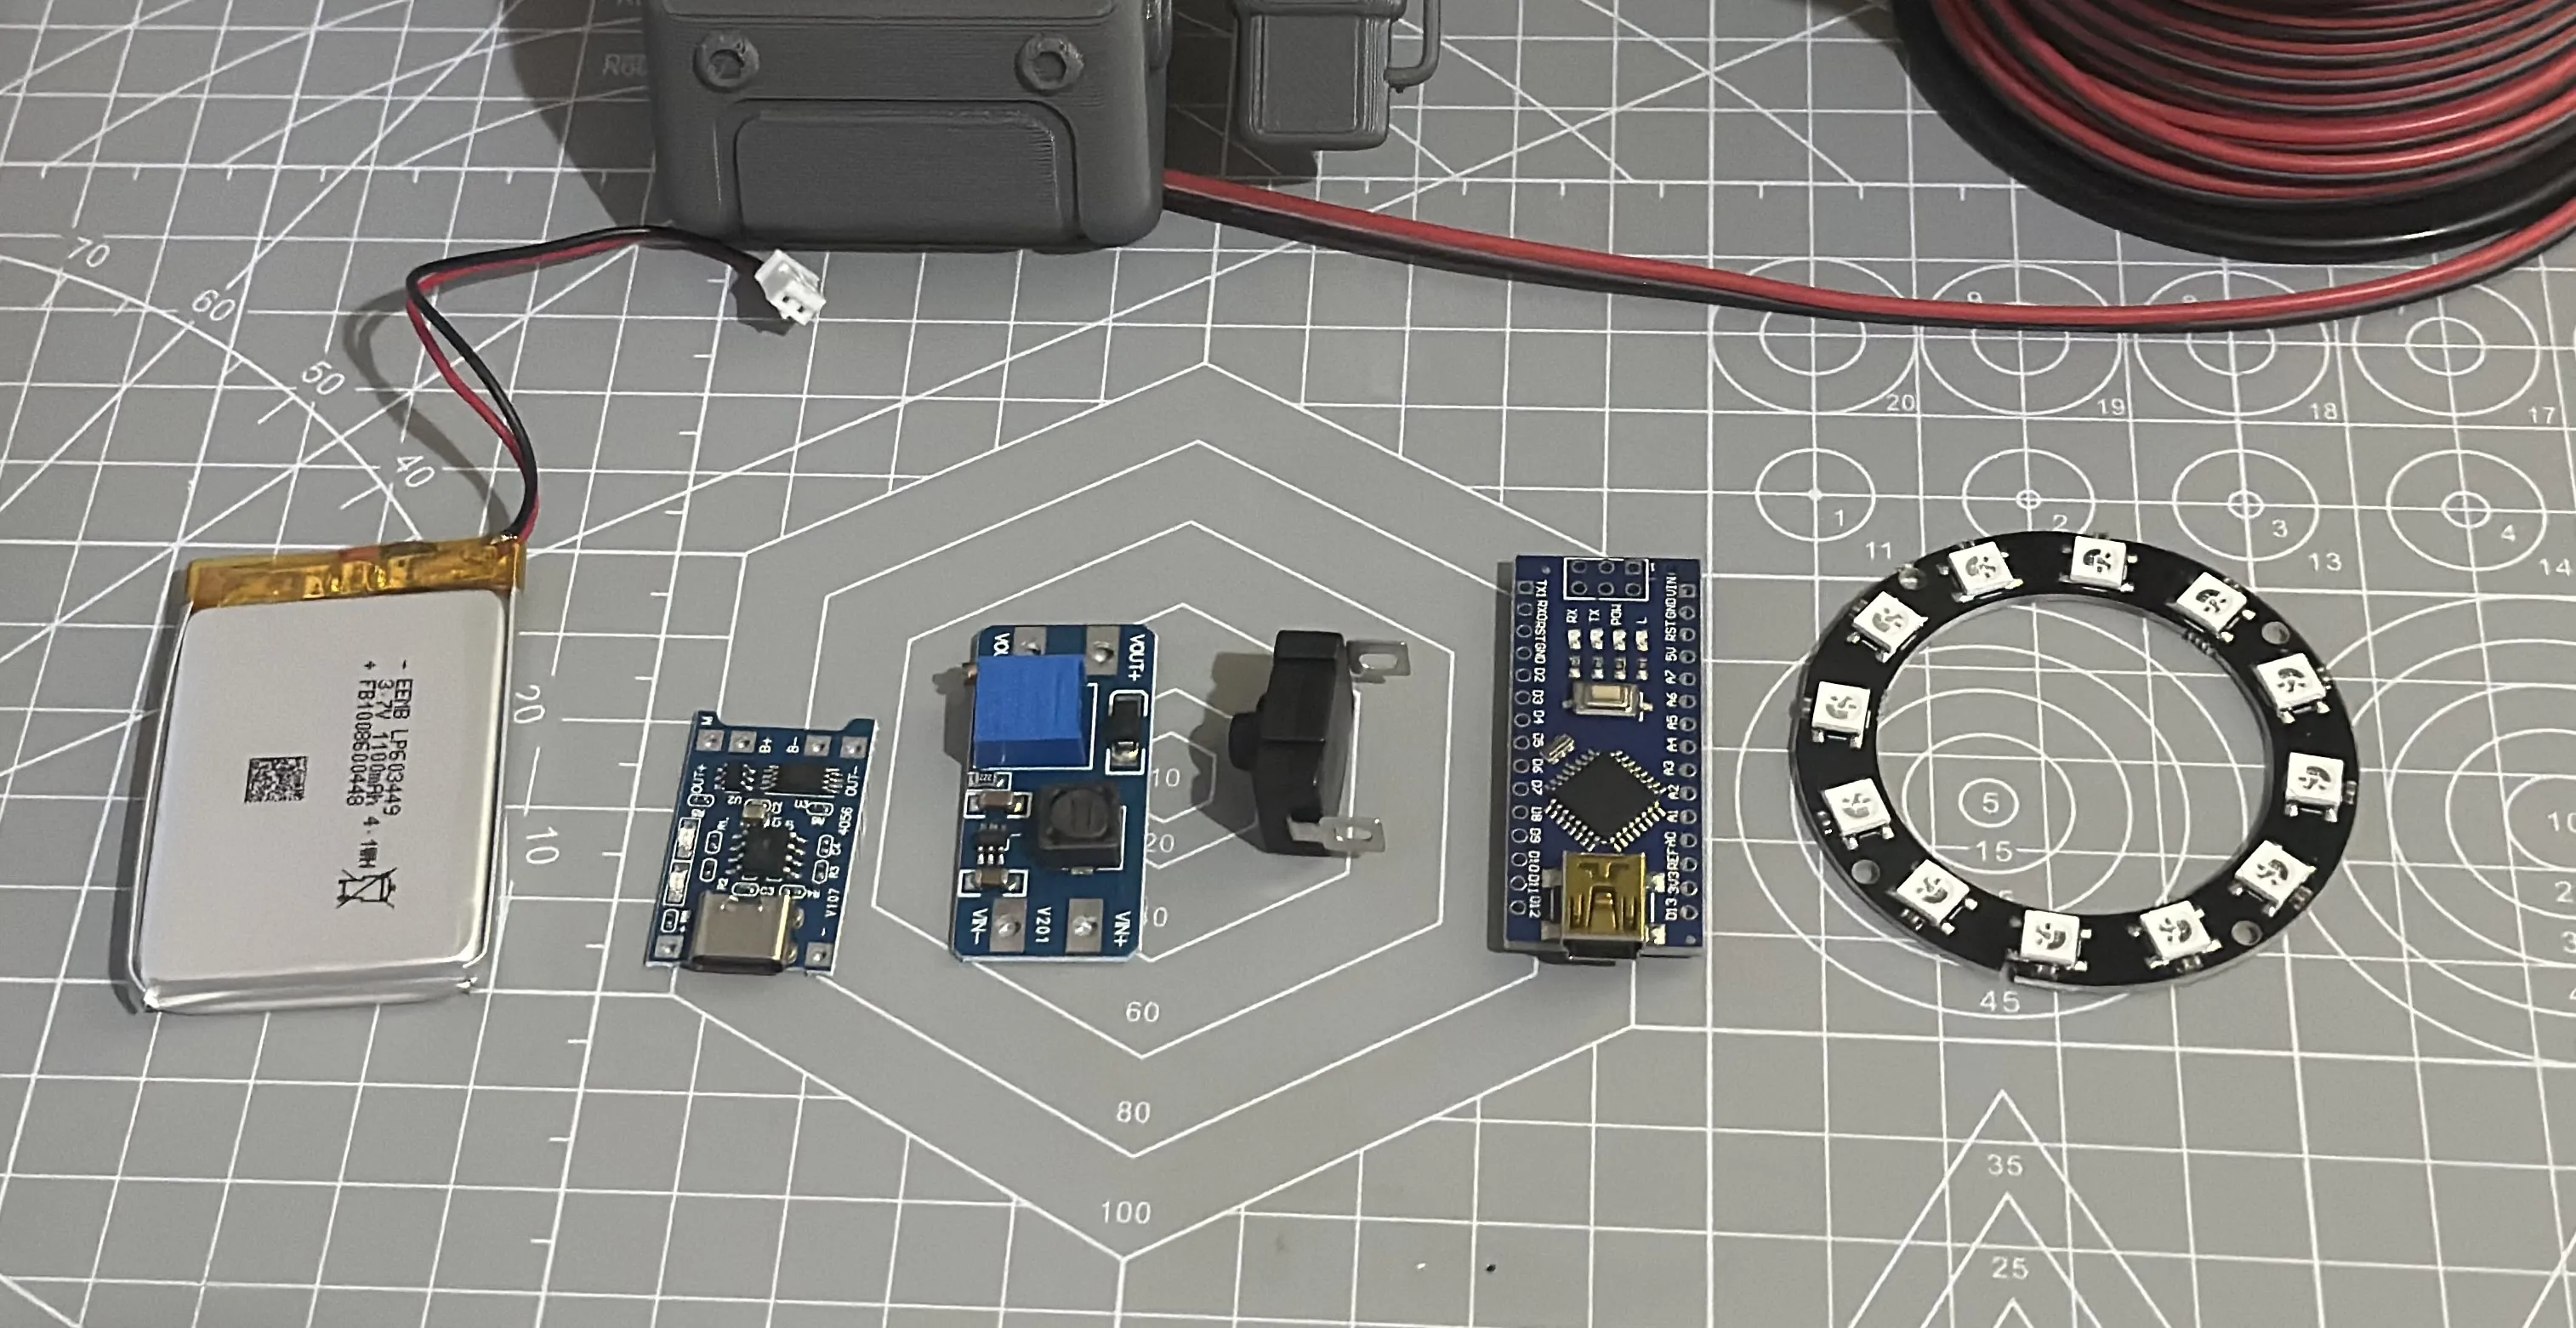
Here is what you are going to need.
1x pinless Arduino nano
1x Step up boost converter
1x 18650 charging module (USB-C)
1x WS2812 5050 RGB LED ring
1x 3.7v 1100mAh lipo battery
1x mini locking on/off switch
24awg Wire
Tools needed
Voltmeter
Soldering iron
Data cable
Computer
Software needed
Arduino IDE
FastLED add-on
Wiring Diagram
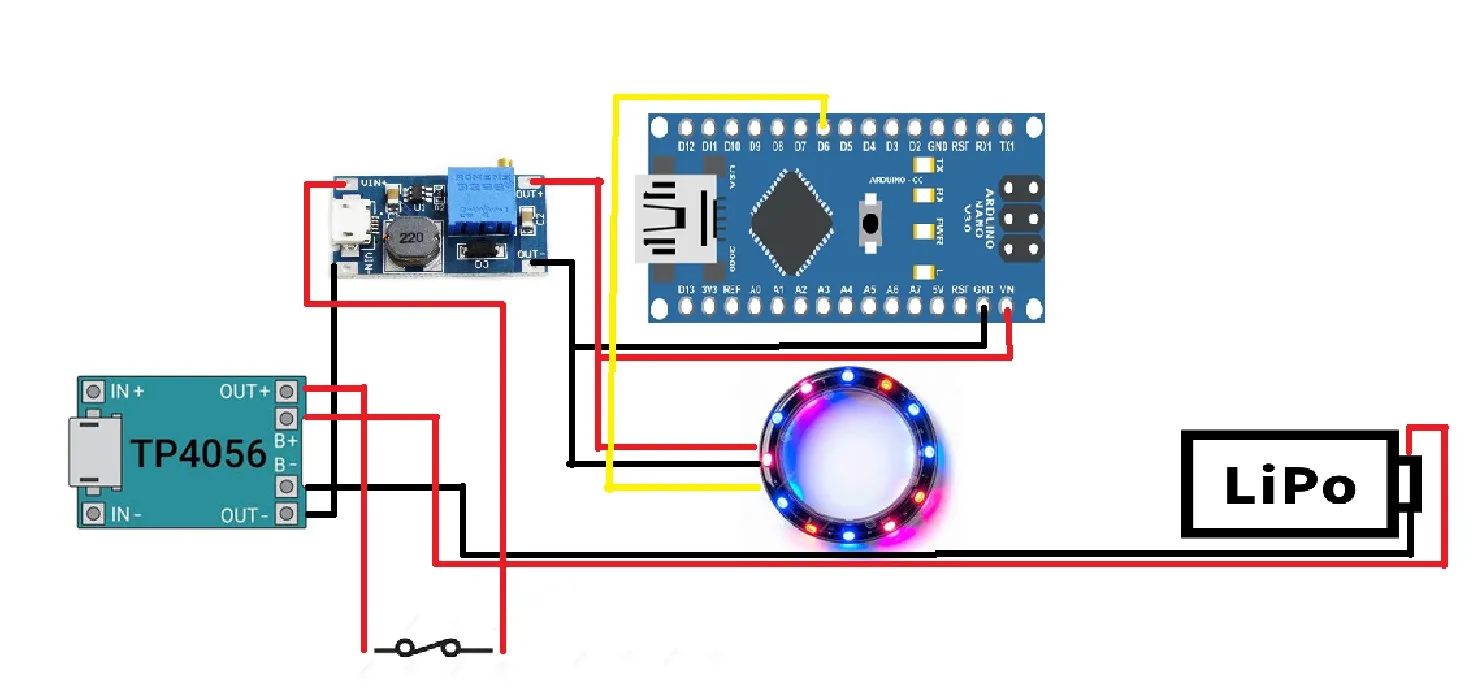
Don't let this scare you away from the project, it is extremely easy to do.
Battery + > TP4056 B+
Battery - > TP4056 B-
TP4056 Out + > On-Off Switch in
On/Off Switch out > DC/DC Booster in +
TP4056 Out - > DC/DC Booster in -
DC/DC Booster out + > Arduino Vin and LED Ring 5V
DC/DC Booster out - > Arduino GND and LED Ring GND
Now that is the whole power system set up.
Arduino pin D6 > LED Ring DI
And that is the data pin finished.
With the wiring done you now need to add the code to the Arduino. Start by downloading Arduino IDE on your computer if you haven't already. Once installed go to sketch>include library>Manage libraries and search for FastLED by Daniel Garcia and install it.
Bel0ow in the documentation section is the code you need to copy and paste into the sketch. Once added just verify it and upload it to your Arduino.
Assembly
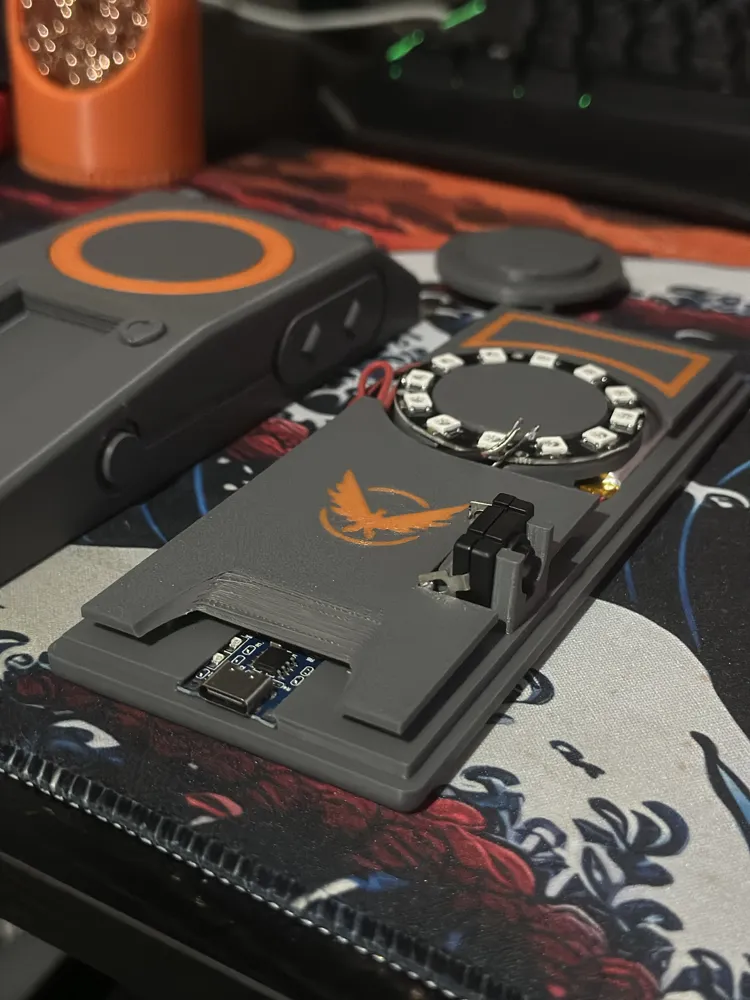
Make sure you put the charging module into the base first, you have to slide it in from the front as it is slightly lipped to hold it in place. After that slide the power button into place so it stays where it is. Then you can put all the other parts where they need to go. Save the LED ring until last so you can move the wires out of the way to seat the ring it sits on.
Put the orange diffuser into the top shell from the underside, it should just press fit in but if yours is loose you can glue it in. Now place the button into the opening on the side of the top shell with the wider section facing towards the front of the shell and the smaller part facing toward the opening. Now that is in place simply put the top shell on top the base plate but make sure you put the charging port into the hole first as it sits into it slightly for a more sturdy charging function.
Once it is together you can then test the circuit and if all has gone well glue the top shell onto the bottom plate and then you're ready to make your city safer as a SHD Agent.
Please consider boosting this as it took my a while to perfect and so much work went into it, thank you.
Boost Me (for free)
As with all of my designs, you are absolutely free to sell the printed product, no memberships or subscriptions are needed. make as many as you like and sell as many as you like. It is your printer, your filament and your time, not mine.
However, if you would like to contribute towards the designing of the files or feel like you want to give something for being given permission to sell physical prints of any file I design then all of these files are also available on Cults3D as open priced so you give as much or as little as you would like. Everything is extremely appreciated.
Documentation (1)
License

You shall not share, sub-license, sell, rent, host, transfer, or distribute in any way the digital or 3D printed versions of this object, nor any other derivative work of this object in its digital or physical format (including - but not limited to - remixes of this object, and hosting on other digital platforms). The objects may not be used without permission in any way whatsoever in which you charge money, or collect fees.


Comment & Rating (5)