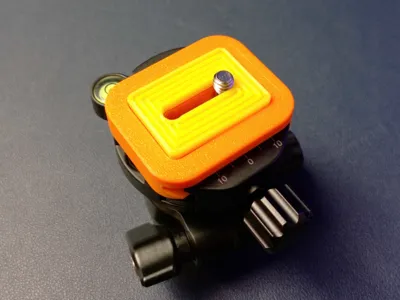
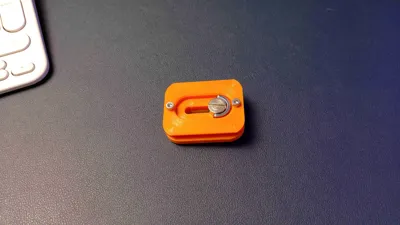
Arca Swiss Compatible Tripod Shoe Mount Plate


Print Profile(2)


Bill of Materials

Description
Strong Tripod Mount
Here's an Arca Swiss compatible tripod mount plate for those times you need a backup.
It is printed in 2 filaments by design to ensure strength and flexibility. TPU pad is designed to minimise slides and slips.
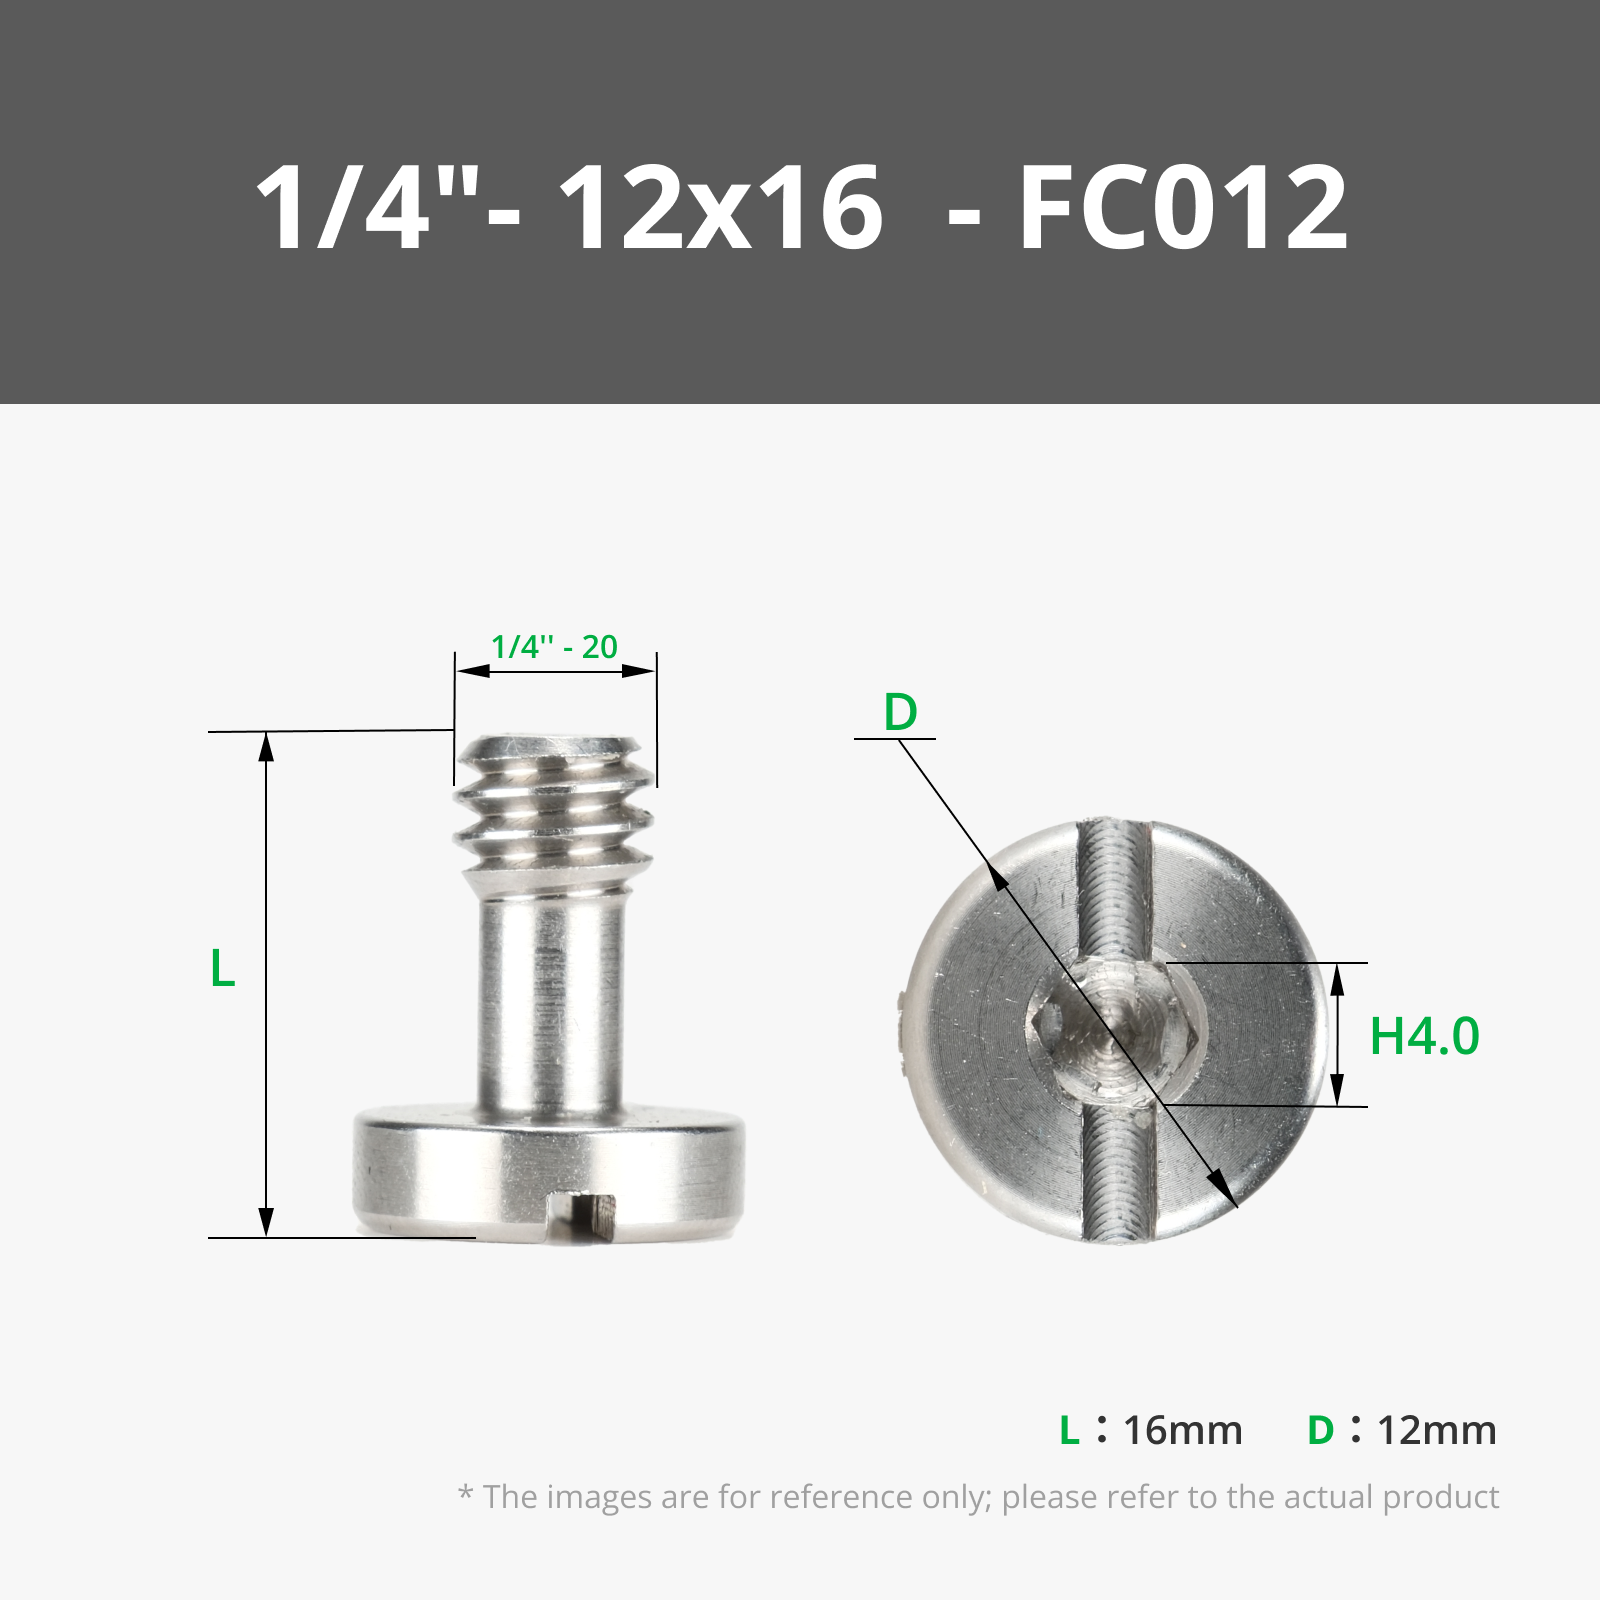
You don't need a lot of equipment but to make it work, you have to have a 16 mm ¼" screw. It can be adapted to smaller screw lenghts if necessary.
It's using a 16 mm ¼" screw you can find on Bambu Store, also link below the page. Additionally, I would strongly suggest to use 8 mm M3 screws to complete the functionality, as they will keep it in place much better.
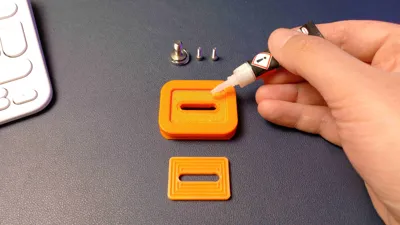
Assembly is easy, as the parts are designed to allow that. Please see the photos in the gallery, and if you have any questions, please let me know in the comments.
Print profiles and settings might feel excessive, however all the settings are dialled in to ensure strength, as this mount is intended to carry expensive equipment.
The steps to assemble:
- Remove the support. It should be relatively easier. No need to clean up, it will be invisible.
- Place base on a flat surface with the bigger opening looking up.
- Carefully super glue the flat side of the pad, or apply double sided tape. I recommend glue.
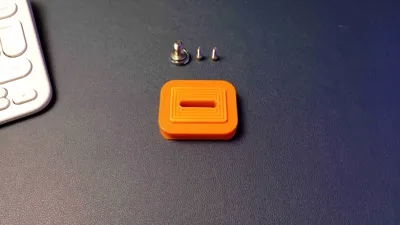
- Place the flat side of the pad to the opening of the base, and apply pressure.
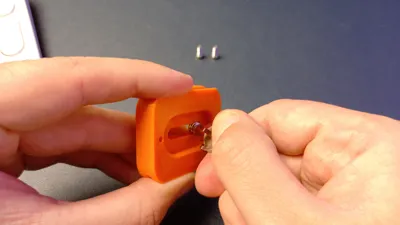
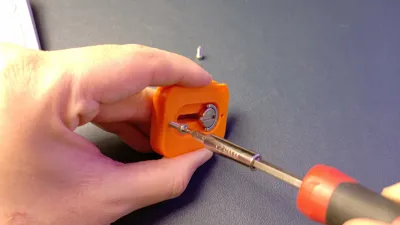
- Gently insert the ¼ screw from the bottom of the base, using the wider end of the rail. You will need to rotate a little.
- Screw 2 M3 screws into the holes on the bottom of the base. If the screw holes turned loose because of tolerance differences, use a drop of super glue before screwing them in.
Important
- Parts are 2 different filaments. Base can be PLA, but I would strongly suggest to use at least PETG, to have a little more piece of mind. Pad must be TPU 95A or equivalent, and it will not work with any filament that is not flexible.
- There is no way to know how the adhesion is, so make sure your filament is dried, good quality, and when possible, calibrated.
- It is strong, but nothing is indestructible. I would take caution using it with a front heavy camera setup.
- It will wear faster than aluminium.
- It is mostly made of plastic.
- If the pad doesn't squeeze well, it will not let the screw in all the way. In that case, you can scale down the pad 30-50% on Z axis.
Note:
It is not mandatory, but if you insert the M3 screws as the first step before the part fully cools down and shrinks, it will be much easier to insert.
Boost Me (for free)
If you find it useful, please consider a rating, like or a boost to support my craft.
License
You shall not share, sub-license, sell, rent, host, transfer, or distribute in any way the digital or 3D printed versions of this object, nor any other derivative work of this object in its digital or physical format (including - but not limited to - remixes of this object, and hosting on other digital platforms). The objects may not be used without permission in any way whatsoever in which you charge money, or collect fees.
Comment & Rating (0)