Surprise Money / Gift Card Present Box


Print Profile(3)


Description
Surprise Money Present!
Ever feel guilty about giving someone money for Christmas? Well now you don't have too! The perfect present that says “I have no idea what to buy you but that doesn't mean that I don't care!"
UPDATE: Gift Card version now live! Three print profiles available - Cash, Card and Empty!


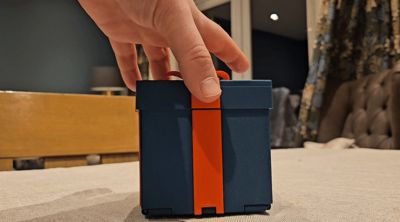
This self-opening box comes tricked out with a lovely festive theme and can hold and near infinite amount of money inside.*
*Via Cheque only, I have no idea how much actual cash will fit, probably somewhere around £200 in £50 notes if rolled real well.
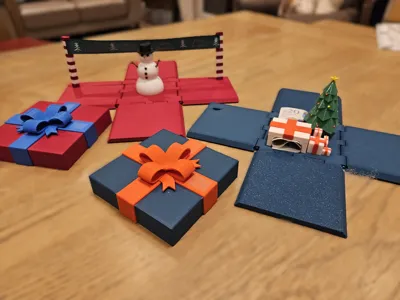
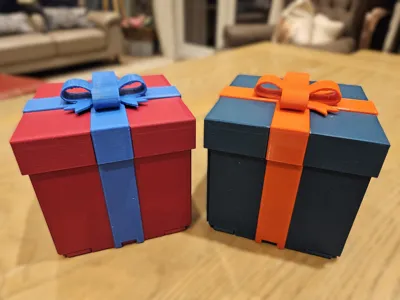
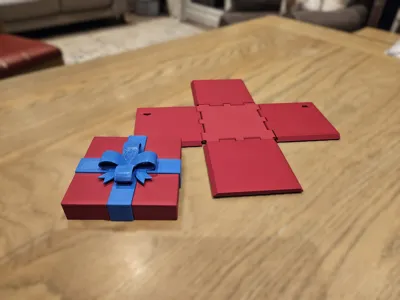
2 Versions available at this time, a plain box that flops open when the lid is taken off and the mighty money box in all its glory. Work underway to finish the gift card version.
Most parts are snap fit with the exception of the banner and bow, these will require glue. If you want insurance against rough treatment, then just glue everything like I did.
For the banner, I have used generic 20mm wide Christmas ribbon purchased from Amazon for a couple of quid, 20mm will fit the slots in the supports perfectly but anything smaller will probably work just as well.
Boost Me (for free)
If you like my models, support me with a boost! 🚀 Thank you very much!
Assembly instructions.
Print all the bits - These can be printed in parts and require no AMS, but some painting (or not, you do you.). Or full colour, this is a very material intensive print so be prepared to spend more on filament than you are gifting.
Fit the sides to the base plate with x4 85mm (3.34" for those using freedom units) lengths of filament. Note the orientation of the side plates if printing the full version.

pop your parts into the corresponding impression on the base plate, don't be afraid to use a bit of force if needed!

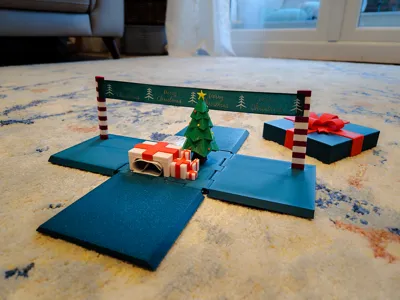
Cut your preferred ribbon to a length of 230mm (9" FU) a glue each end into the banner supports. before gluing make sure the ribbon will end up the right way around. This advice comes from unfortunate experience.

Add a pop of colour to the lid and sides, glue if required.
Line up the bow centrally on the lid and glue it in place.

- Add money (optional) and love (even more optional).

- Close up the box ensuring the ribbon does not cross in front of the tree. This will allow the box to open properly when the lid is removed.

Optional
The full print profile has an additional plate with x2 extra sides with no banner support holes, this is to allow the full model to be made without the banner only but still have the presents and tree. Pick which one you want but you do not need to print all 6 sides.
All the sides are orientated with the “outside” face down, this requires additional supports but was better for me to ensure dimensional accuracy for the supports. for a more outwardly aesthetically pleasing look if using a textured plate (I have used a smooth plate for the sides and base in the above pictures and a textured plate for the top and bottom) , the sides will print perfectly with the “inside” face down.
Merry Christmas!
License
You may create derivative works based on this object, provided that all such derivative works are published exclusively on the MakerWorld platform and include proper attribution to the original creator. You may not share, upload, host, distribute, or publish this object—or any derivative work of this object—on any other digital platform, marketplace, or distribution channel. Commercial use of this object and any derivative works is strictly prohibited. This includes, but is not limited to, selling, renting, sublicensing, or using the object in any context in which you receive monetary compensation or other financial benefits.
Comment & Rating (46)