
freely customizable, ultra-fine mesh/grid
Print Profile(4)


Description
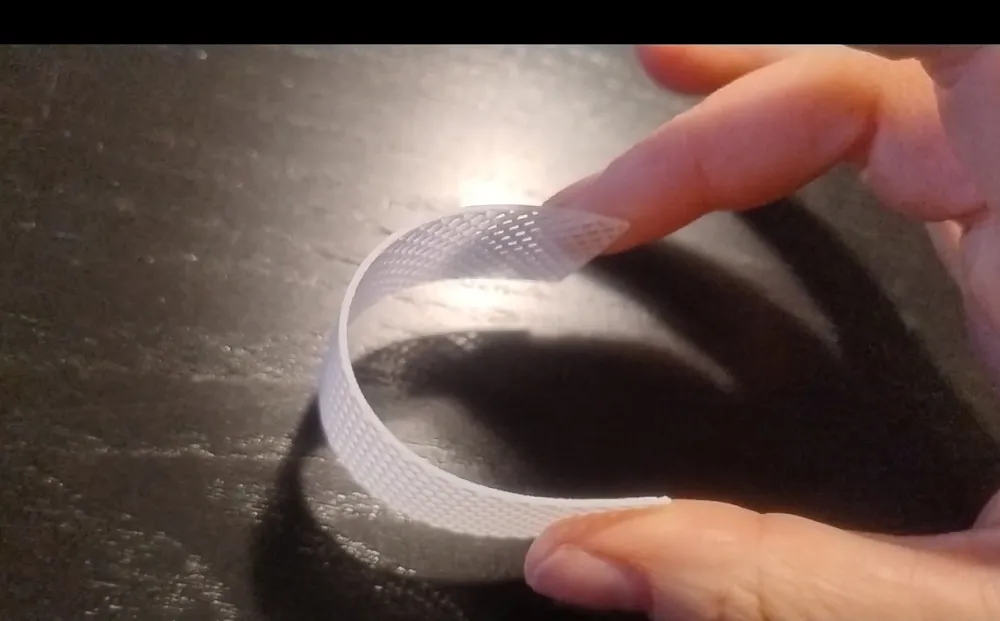
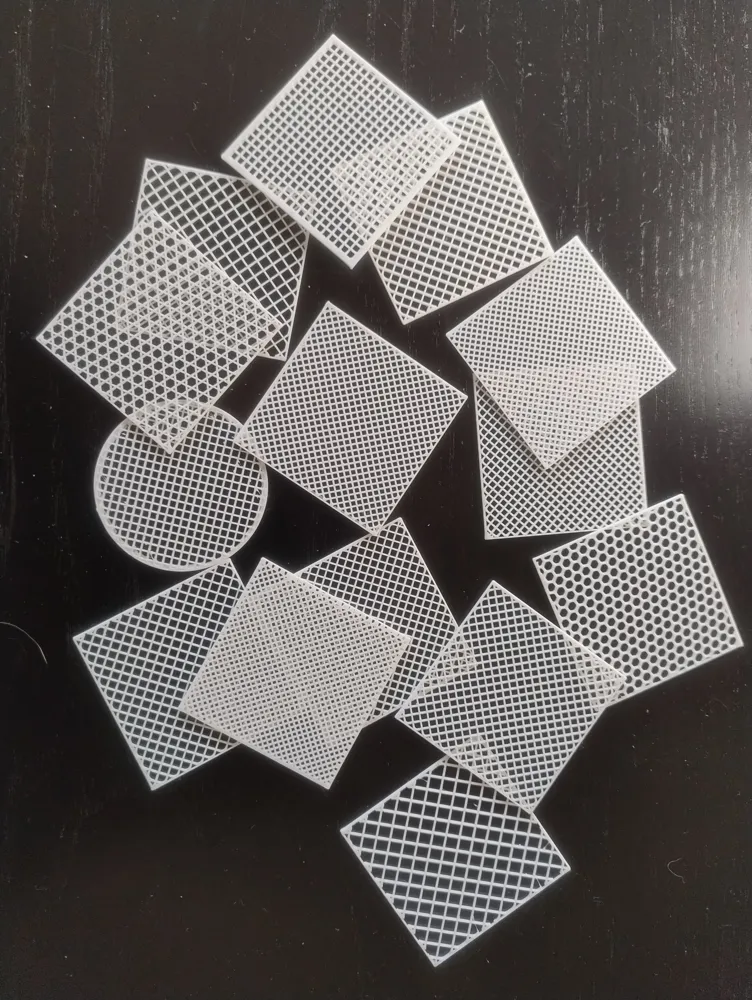
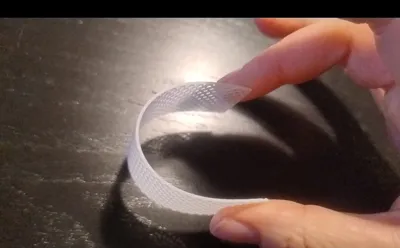
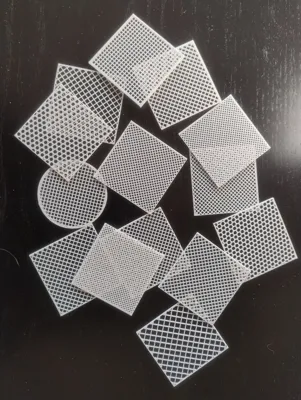
This project is a combination of a model and instructions and is intended for everyone who uses Bambu Studio on PC and doesn't yet know how to print an ultra-fine mesh using special settings in Bambu Studio. You can individually adjust the shape, size, density, grid type, border, and height. For example, you can make fly screens, very fine sieves, or coarse honeycomb grids. The meshes can be flexible and pliable or firm and rigid.
Up to 2 mm thick, the meshes can also be easily cut with scissors.
If you already know how to do this, you don't need the instructions. But you might find my print profile with the patterns helpful 😉.
And if you need a coarser grid/mesh (from 2mm mesh size), you should check out my Parametric Grid Creator. It's generally more comfortable and allows better adjustment of the border and grid details, but very fine meshes are not possible with it.
Those who only have the Bambu Handy app and find the ready-made mesh print profiles insufficient can write me a comment. There is a way to create meshes of different sizes/thicknesses even with the Bambu Handy app. I can then gladly include that in the description.
Attention! For all print profiles: The mesh is only visible after slicing!!
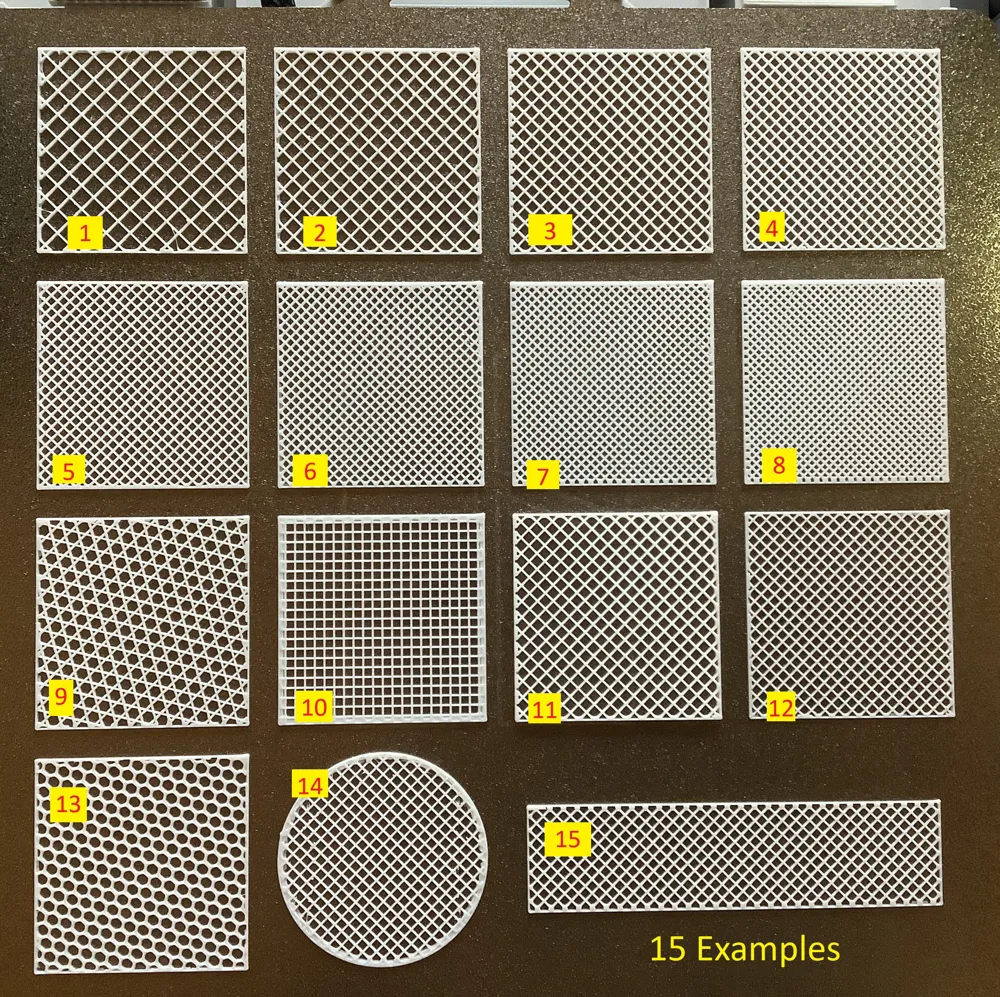
Pattern collection with 15 examples (15 Examples)
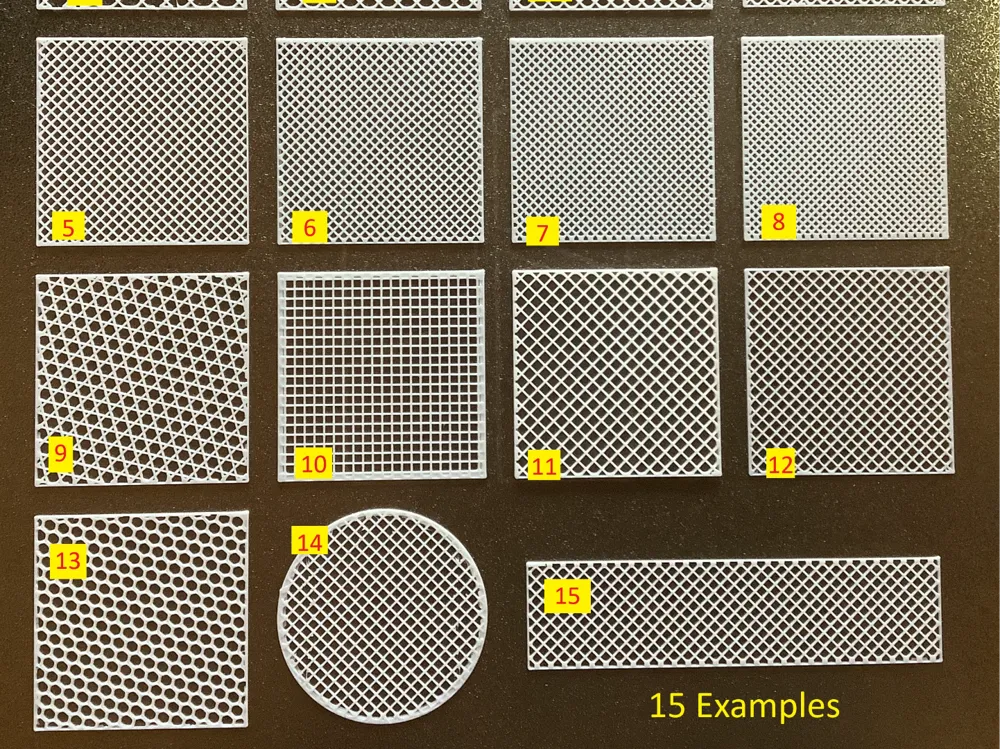
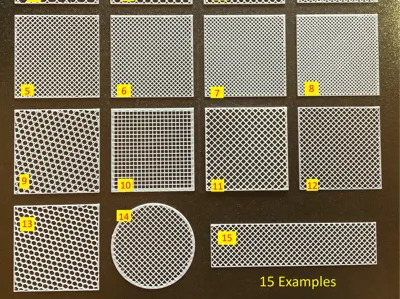
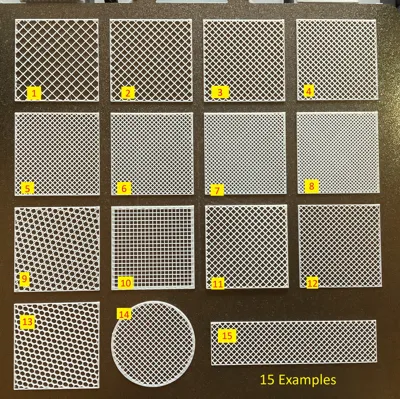
The first print profile contains a collection of 15 examples of different meshes, most in 50x50 mm size. It's best to print it once so you can always choose the right grid type later. In the image, you'll see numbers next to each mesh example. This way, you can look up in the table how each example was generated.
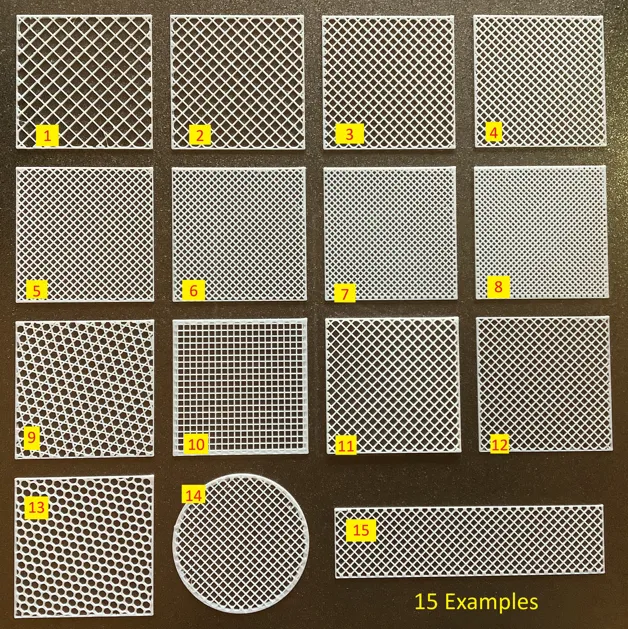
| Example | infill density | height | infill pattern | infill direction | shape |
|---|---|---|---|---|---|
| 1 | 20% | 0.8 | grid | 45 | Square |
| 2 | 25% | 0.8 | grid | 45 | Square |
| 3 | 30% | 0.8 | grid | 45 | Square |
| 4 | 35% | 0.8 | grid | 45 | Square |
| 5 | 40% | 0.8 | grid | 45 | Square |
| 6 | 45% | 0.8 | grid | 45 | Square |
| 7 | 50% | 0.8 | grid | 45 | Square |
| 8 | 55% | 0.8 | grid | 45 | Square |
| 9 | 40% | 0.8 | Tri-Hexagonal | 45 | Square |
| 10 | 35% | 0.8 | grid | 0 | Square |
| 11 | 30% | 2 | grid | 45 | Square |
| 12 | 35% | 0.6 | grid | 45 | Square |
| 13 | 25% | 0.8 | Honeycomb | 45 | Square |
| 14 | 35% | 0.8 | grid | 45 | Circle |
| 15 | 35% | 0.8 | grid | 45 | Rectangle |
💡There is also a print profile variant for the A1 mini, where the patterns are simply a bit smaller.
Print profiles for each mesh in 180x180
There are two more print profiles that contain ready-to-print meshes.
- One profile (Rectangle) contains squares of 180x180 size on 13 build plates. The numbers of the build plates correspond again to the examples from the pattern collection.
- The second profile contains circles with a diameter of 180 mm, also in the 13 variants.
If you want it quickly, you can simply download and use these ready-made meshes.
Instructions for individual meshes with Bambu Studio
With Bambu Studio, it is very easy to adjust the size of the meshes or create individual mesh types.
If you want to make a rectangular mesh, open the Rectangle print profile in Bambu Studio, and if you want to print a mesh in the shape of a circle or an ellipse, open the Circle profile.
Select the build plate with the example that best matches your preference. I use “Sample 3”.
Adjust dimensions
Initially, the model has dimensions of 180x180 and a height of 0.8.
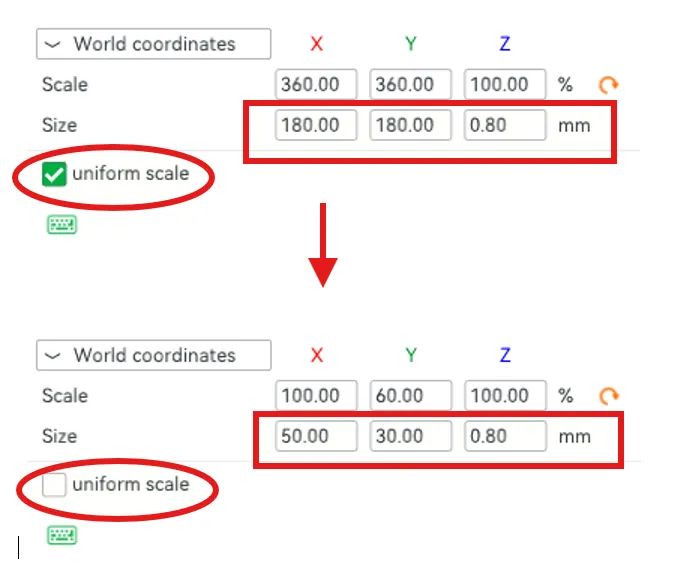
You can adjust these dimensions in Bambu Studio. Click the model and then press the “s” key on the keyboard or click the Scale icon at the top:

- Important: remove the checkmark next to “uniform scale", otherwise the height will also change when resizing.
Then change the specified values under “Size” to the desired dimensions.
Initially, you will only see a rectangle or a circle in the desired size, but no mesh.
If you click on Slice plate, you will also see the mesh:
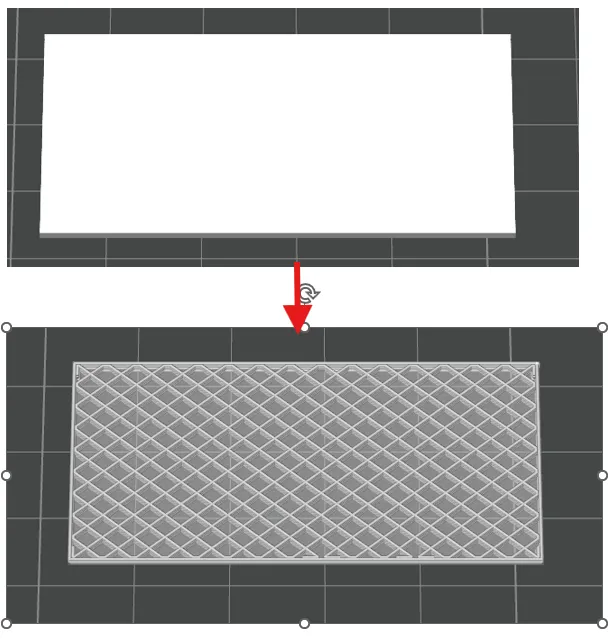
The mesh can now be simply printed, or you can further adjust the mesh settings:
Customize the mesh
The trick is to print the part without top and bottom layers. This way, only the infill is printed, and by default, that's a grid. This is, of course, only visible after slicing.
The print profiles are set accordingly. You can now change the following values to modify the appearance of the mesh.
Density

This is the most important setting. If you increase this value, the mesh will become denser. The default in this model is 30%. You can view the different densities in the sample print profile. With 55% you get a very dense mesh and with 20% a rather wide mesh.
Infill Pattern

This changes the appearance of the mesh. In the examples, you will find the types Grid, Honeycomb, and Tri-Hexagonal.
Infill Pattern Orientation

This setting is important for printing non-diagonal grids, as in example 12. For this, you need to set 0°. If you don't see the parameter, you need to set “Advanced” in the settings above:  , then all parameters will be visible.
Frame Width

This allows you to adjust the width of the border. One means one nozzle width. That is 0.4 mm.
Thickness of the Mesh Lines
You can also change the thickness of the individual mesh struts. If you want thicker lines ≥ 2mm, I recommend my Parametric Grid Creator, which was made for exactly that and is a bit more convenient.

Print
That's it. You can slice and print the model.
In my experience, the meshes print very quickly. The rectangle with 30% infill and 180x180 size has a print time of less than 15 minutes.
Other shapes besides circles, ellipses, and rectangles are, of course, also possible. If you only want to work with Bambu Studio, it's best to use the Primitives for this.
Finished. Now I'm very curious what you need the meshes for, which variants you print, and I look forward to comments, suggestions, and pictures!!
Boost Me (for free)
Do you like the model? Then feel free to give it a Boost! It costs you nothing – but it makes me happy. 😊
License

You shall not share, sub-license, sell, rent, host, transfer, or distribute in any way the digital or 3D printed versions of this object, nor any other derivative work of this object in its digital or physical format (including - but not limited to - remixes of this object, and hosting on other digital platforms). The objects may not be used without permission in any way whatsoever in which you charge money, or collect fees.


Comment & Rating (155)