Subaru Forester 2025 (6th Gen) Mud flaps


Print Profile(1)
Description
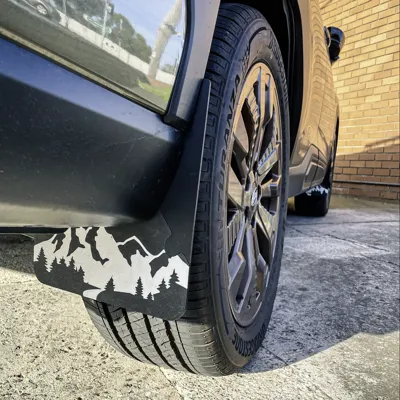
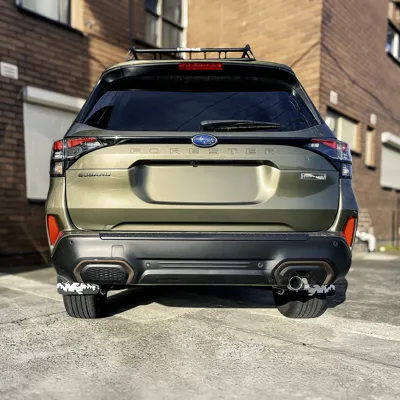
Subaru Forester 2025 (6th Gen) Mudflaps – Wilderness Design
These custom mud flaps are designed specifically for the 2025 Subaru Forester (6th generation).
They feature a layered mountain silhouette and a two-piece assembly that gives the mud flaps extra rigidity and style.
I’ve been running mine in PLA for about a month with no problems, but for long-term durability and full weather resistance, ASA is strongly recommended.
Assembly Instructions
Assembly the Mud flaps
- Use superglue along the internal seam.
- Hold in place until fully bonded.

Front Mud flaps (Left & Right)

- These require the included mounting bracket.
- Attach the bracket to the flap using the reverse-thread screw
(Tightens counter-clockwise — a quirk from an early modelling mistake!)
- After attaching the bracket, install the assembled flap onto the vehicle.
Rear Mud flaps (Left & Right)
- Simply glue the three rear pieces together (no bracket needed).
- Once glued, they install directly onto the vehicle.
Vehicle Installation
Using Existing Trim Clips
Where possible, install the mud flaps using the factory body trim clip locations on the Subaru Forester.
In most cases, the mud flaps will align with the OEM clip holes, allowing a clean, no-drill setup.
If Additional Clips Are Needed
If your Forester doesn’t have usable factory clips in those positions—or if you want a more secure fit—you can use the 8 mm push clips included in the files.
- The 8 mm clip model is originally from dayneorders — shout-out and thanks for the great base model!
- These clips can be printed and used to secure the mud flaps in the OEM-style holes.
Recommended Print Settings
- Material: ASA
- Layer Height: 0.2–0.28 mm
- Infill: 20–30%
- Walls: 3–4 perimeters
- Supports: Not required
- Bed Size: Compatible with standard printers
Included Files
- Front Left (2 pieces)
- Front Right (2 pieces)
- Rear Left (3 pieces)
- Rear Right (3 pieces)
- Mounting bracket (2 pieces)
- 8 mm body clip (credit: dayneorders)
Comment & Rating (1)