
Kylo Ren's Lightsaber
Print Profile(4)









Description
Boost Me (for free)
If you like my models, please consider dropping me a boost, comment and rate the profile! Any of these things keeps me motivated to Keep going! Thank you!
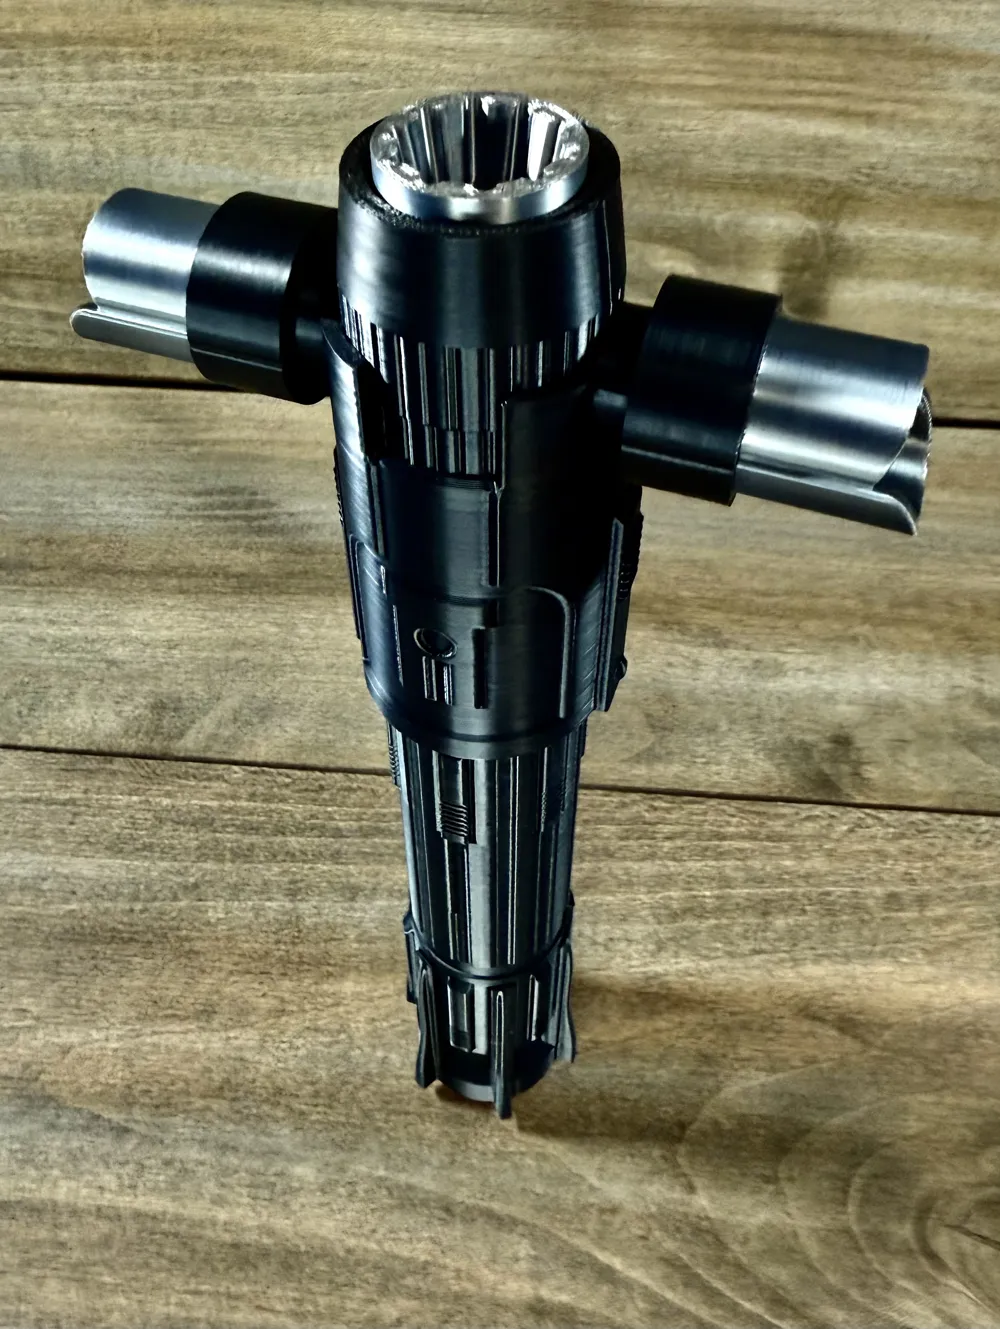
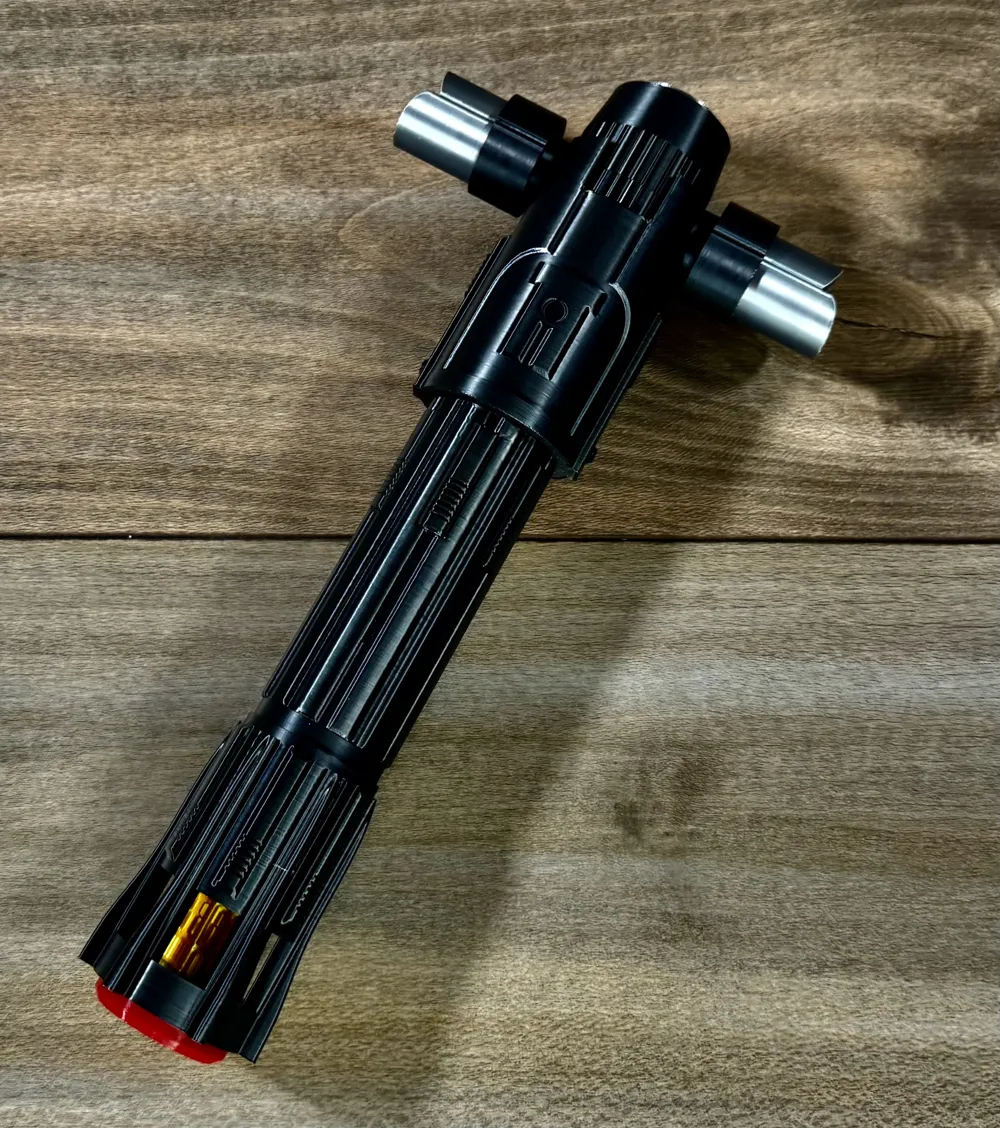
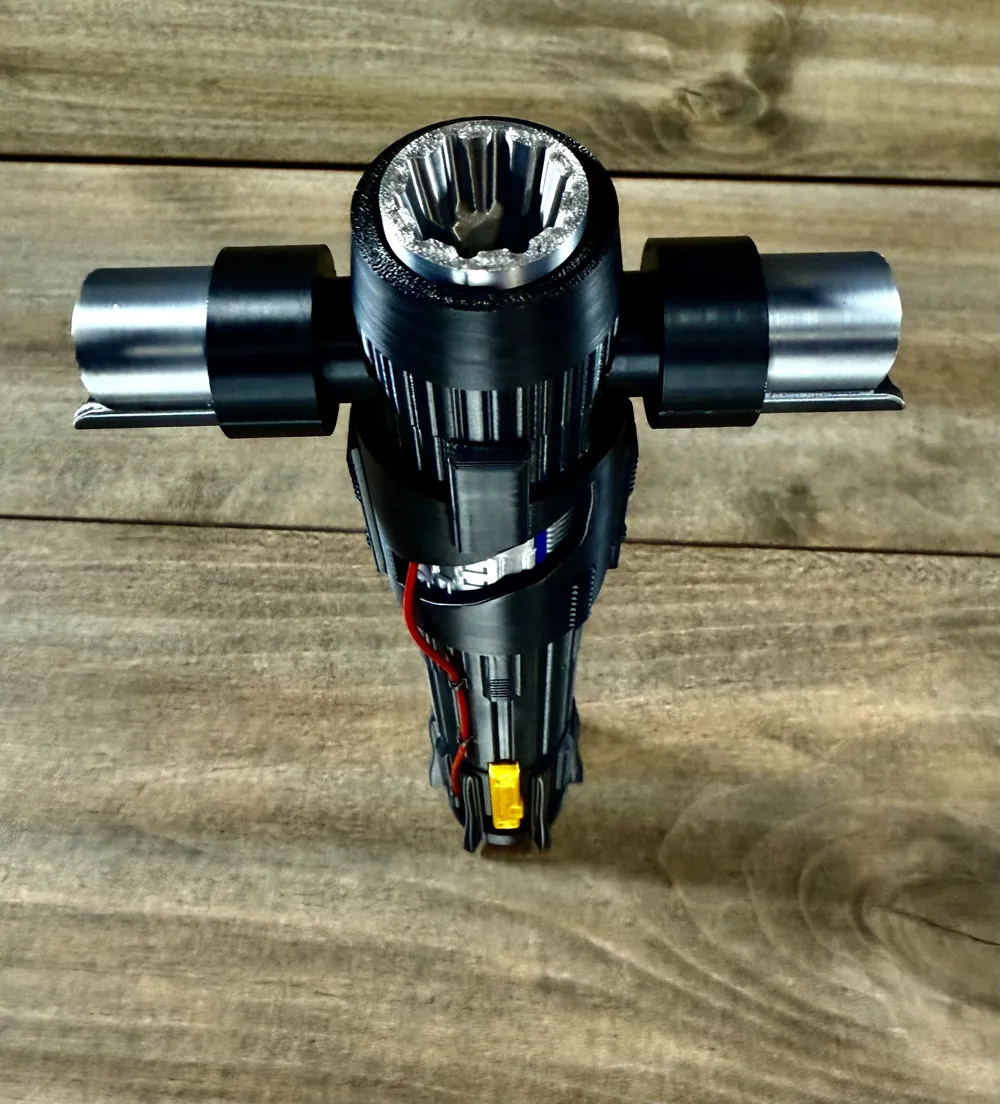
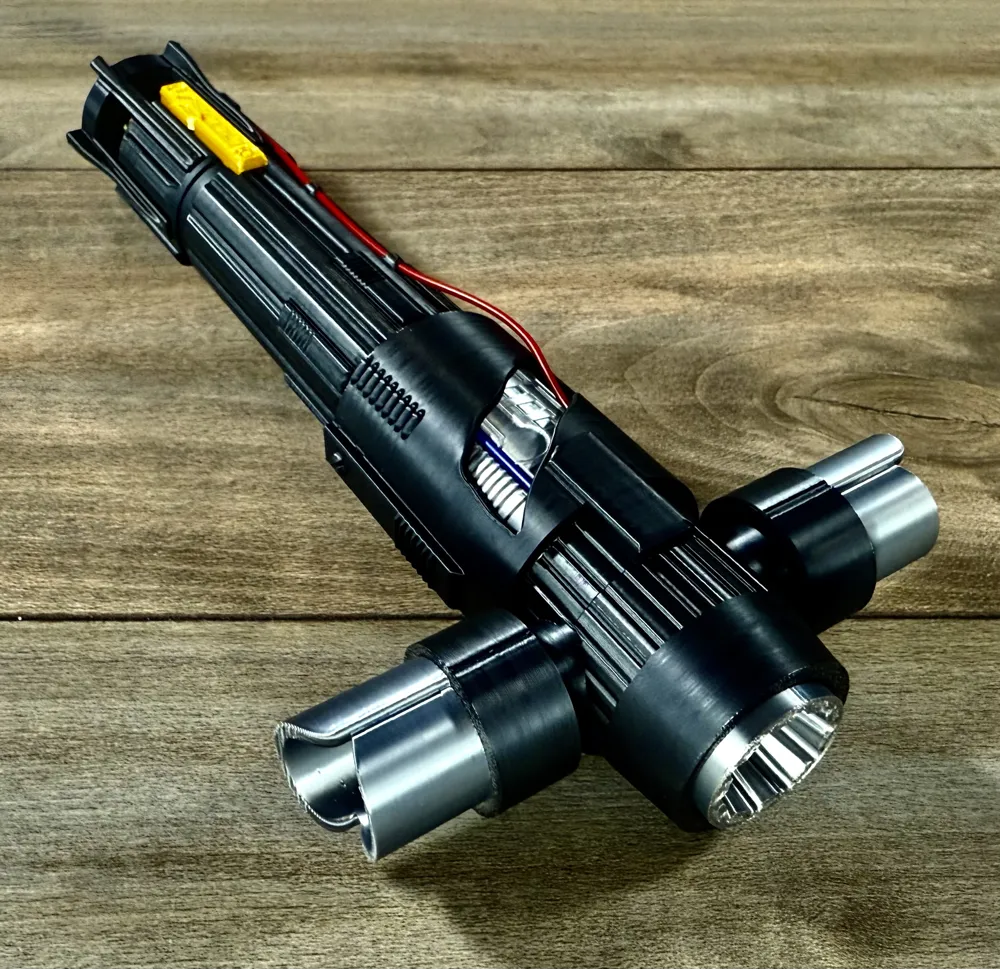
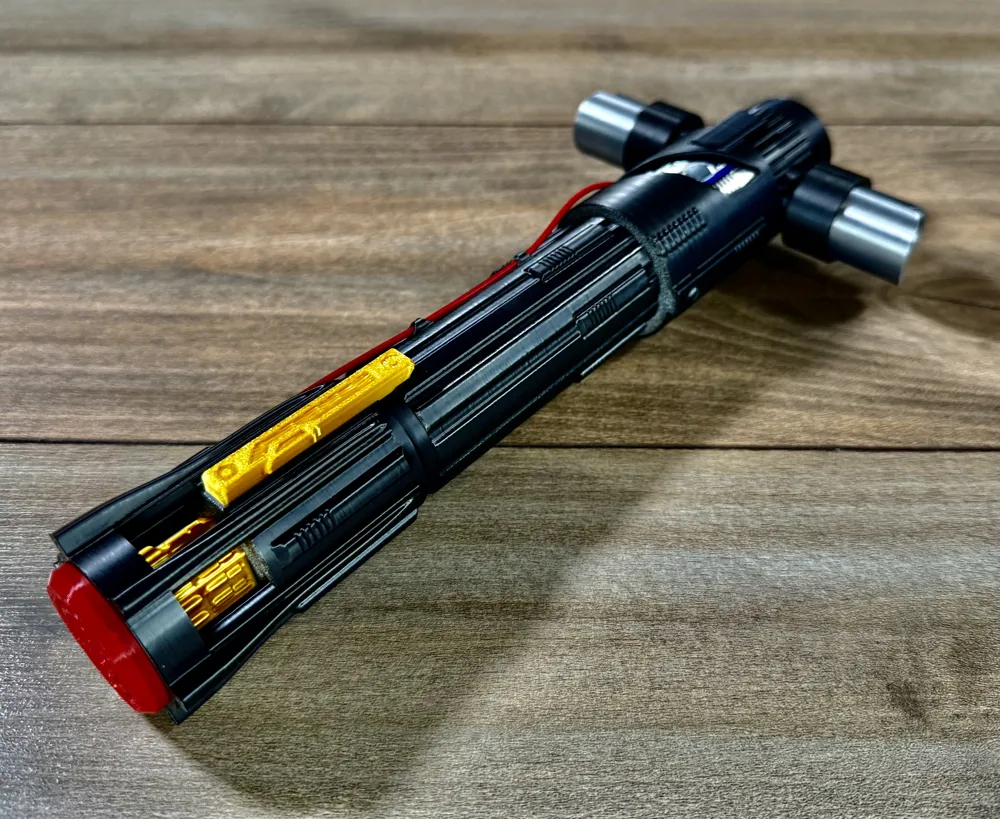
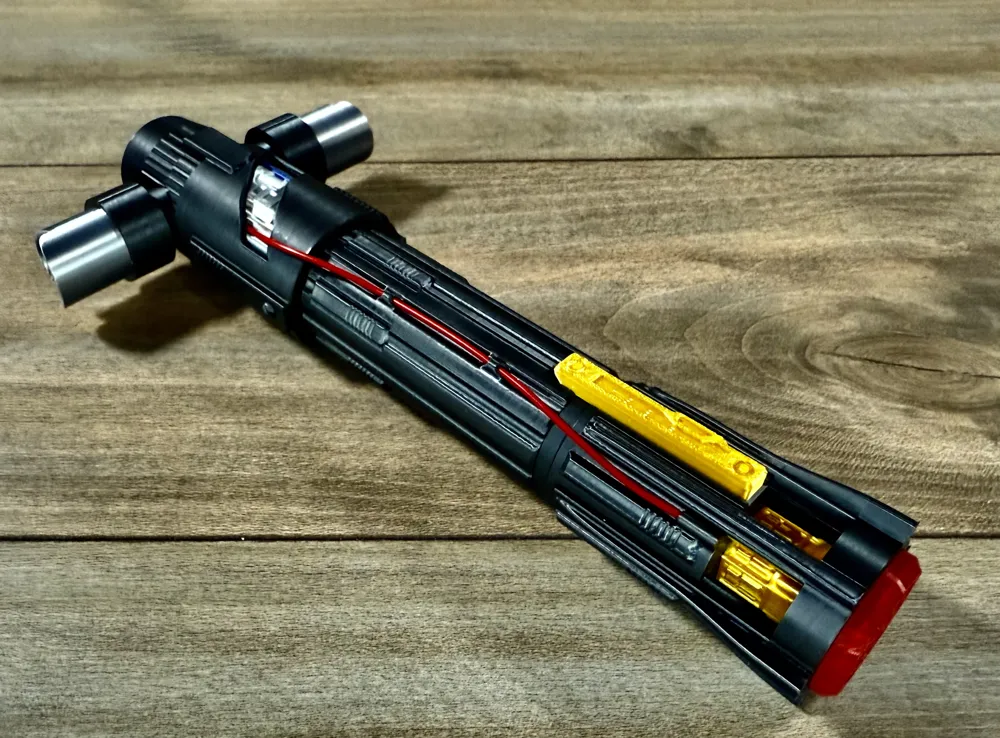
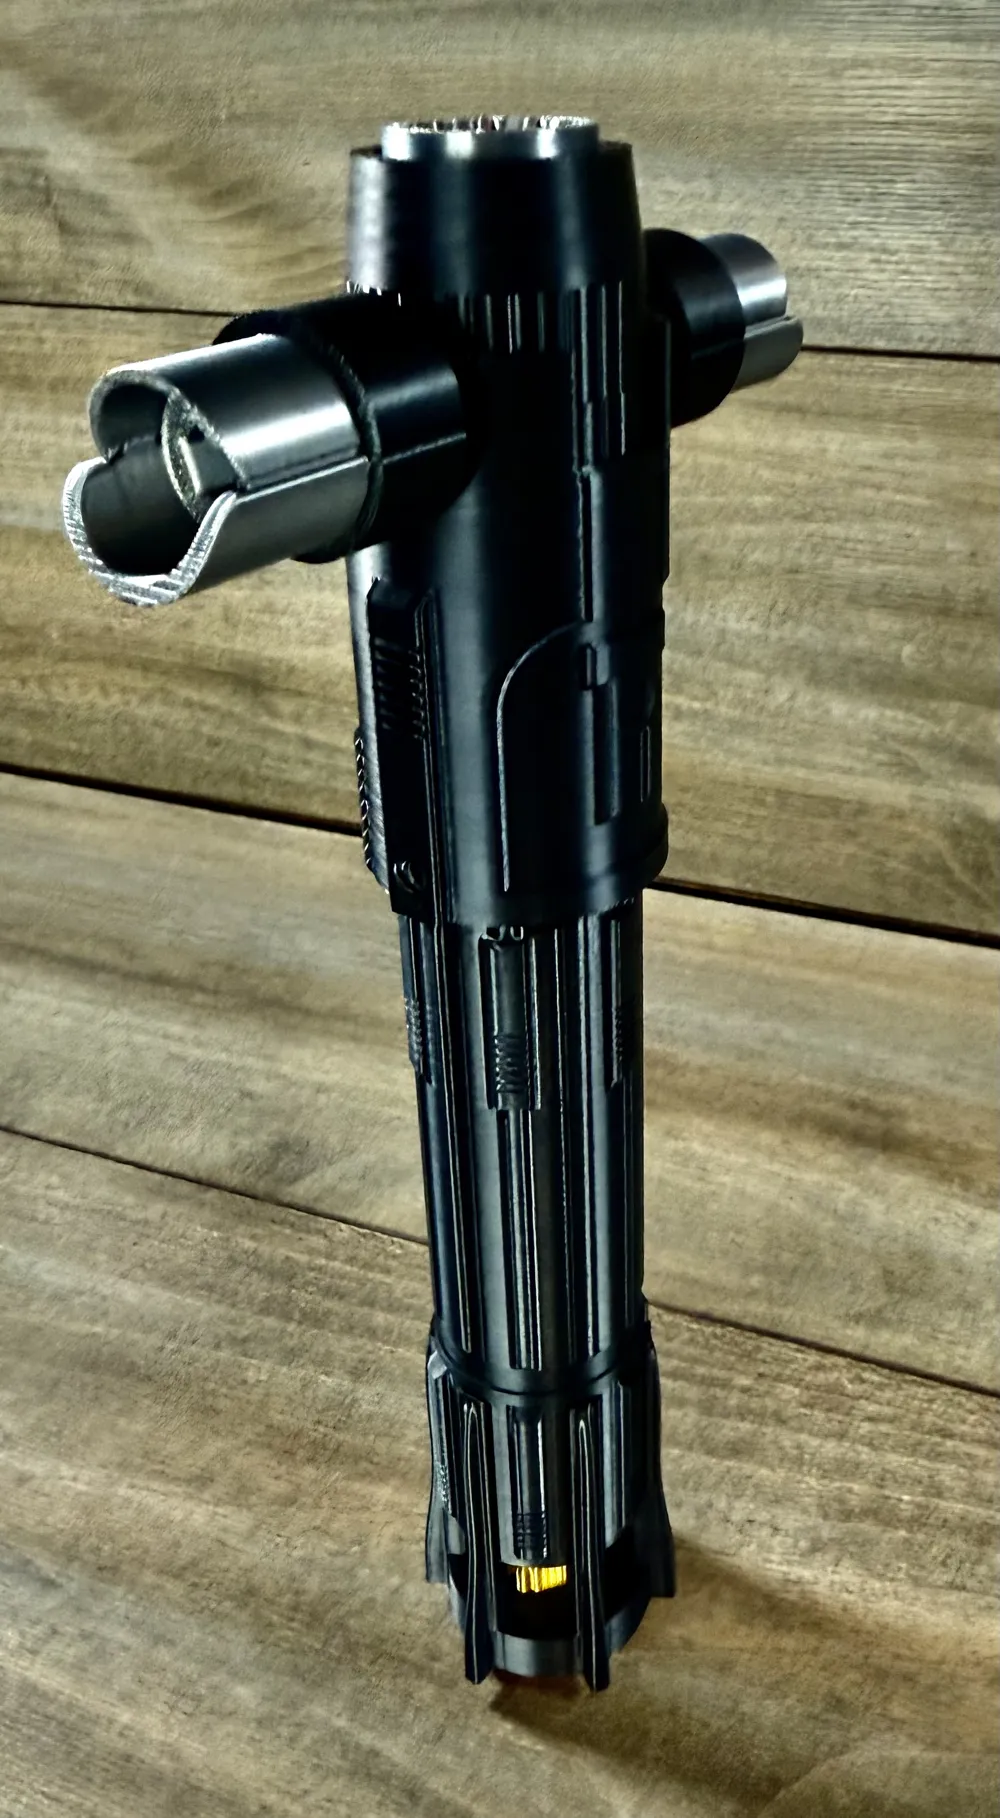
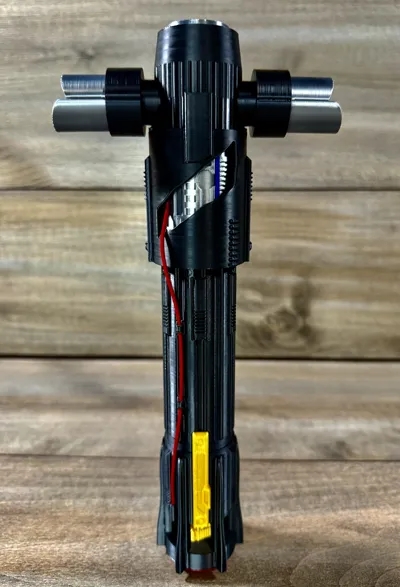
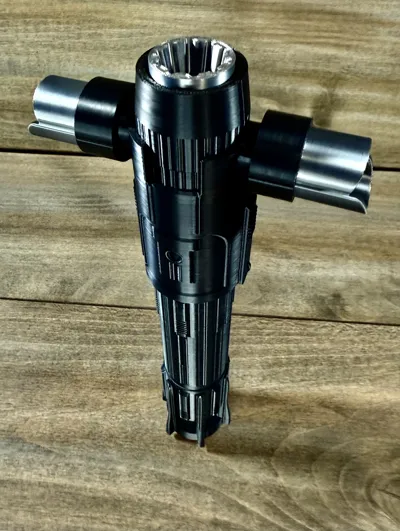
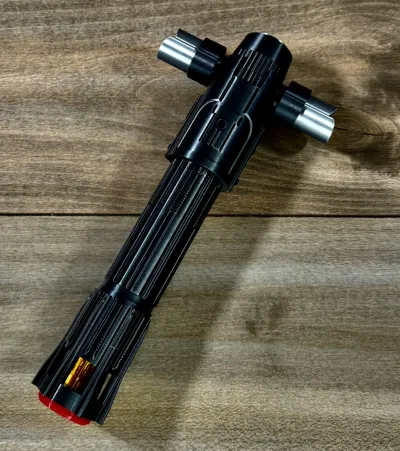
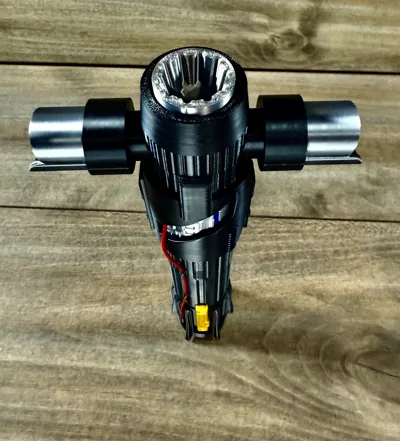
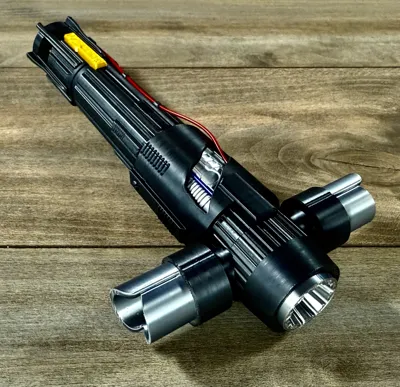
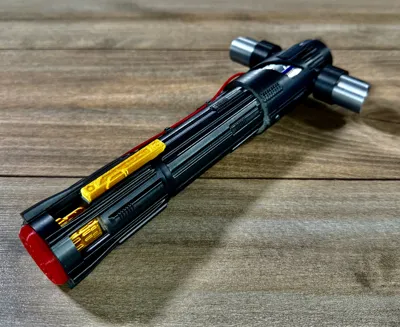
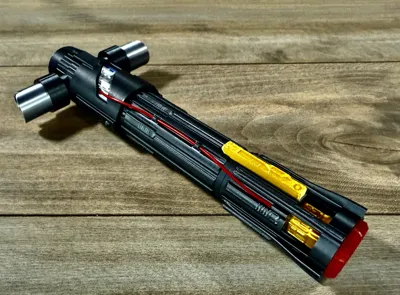
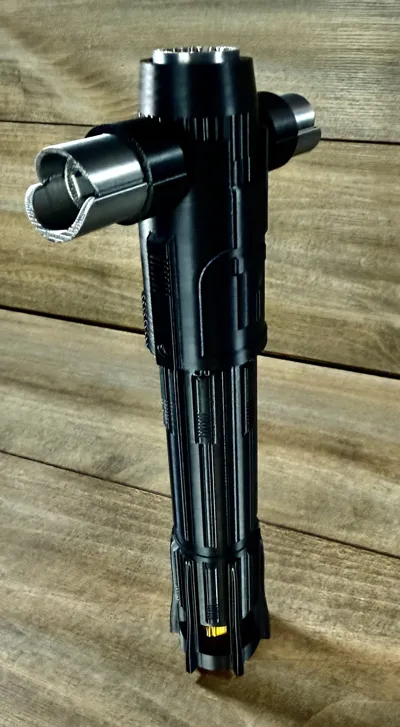
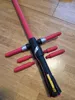
The lightsaber of Kylo Ren!
This saber is iconic with its vents acting as a cross guard and its damaged hilt.
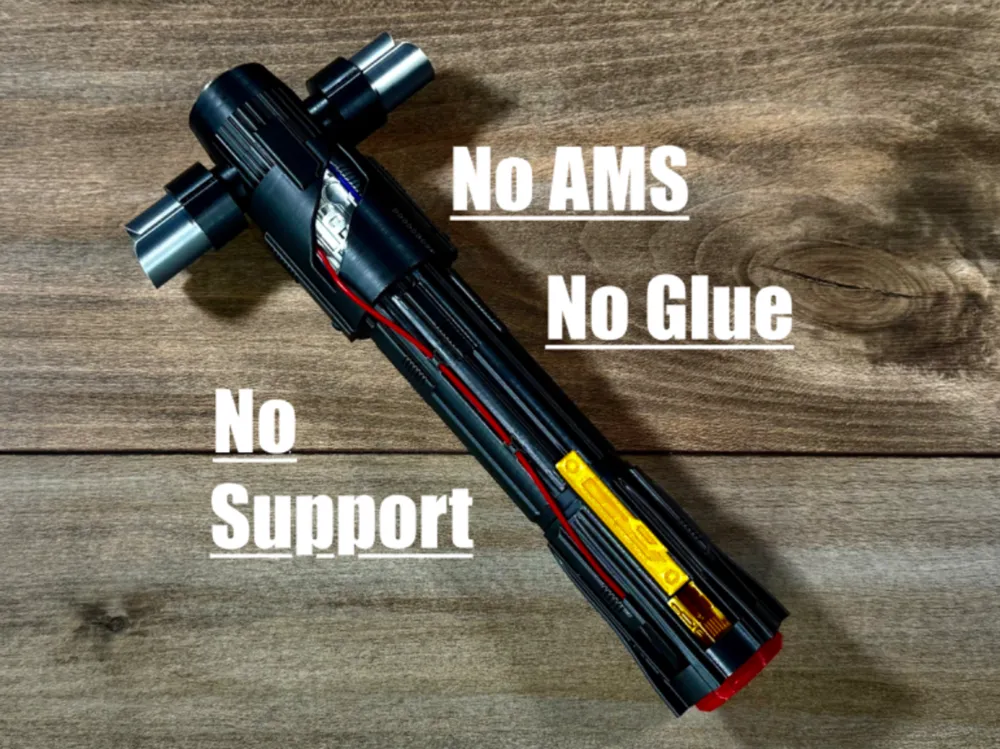
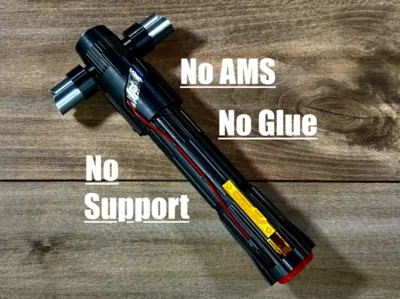
As usual this saber prints without the need for AMS or supports and
assembles without the need for glue! You will also need around 200mm
of red filament and 50mm of blue cut off the spool. The saber comes in at
275mm (11 inches) long.
Get the display blade here
https://makerworld.com/en/models/2279067-lightsaber-blade-screw-on-sections#profileId-2485136
Filaments used
Sunlu silk grey, Sunlu silk gold, basic black red and blue
Check out my lightsaber collection and other great no AMS no support models!
https://makerworld.com/en/collections/14478910-lightsabers
To assemble
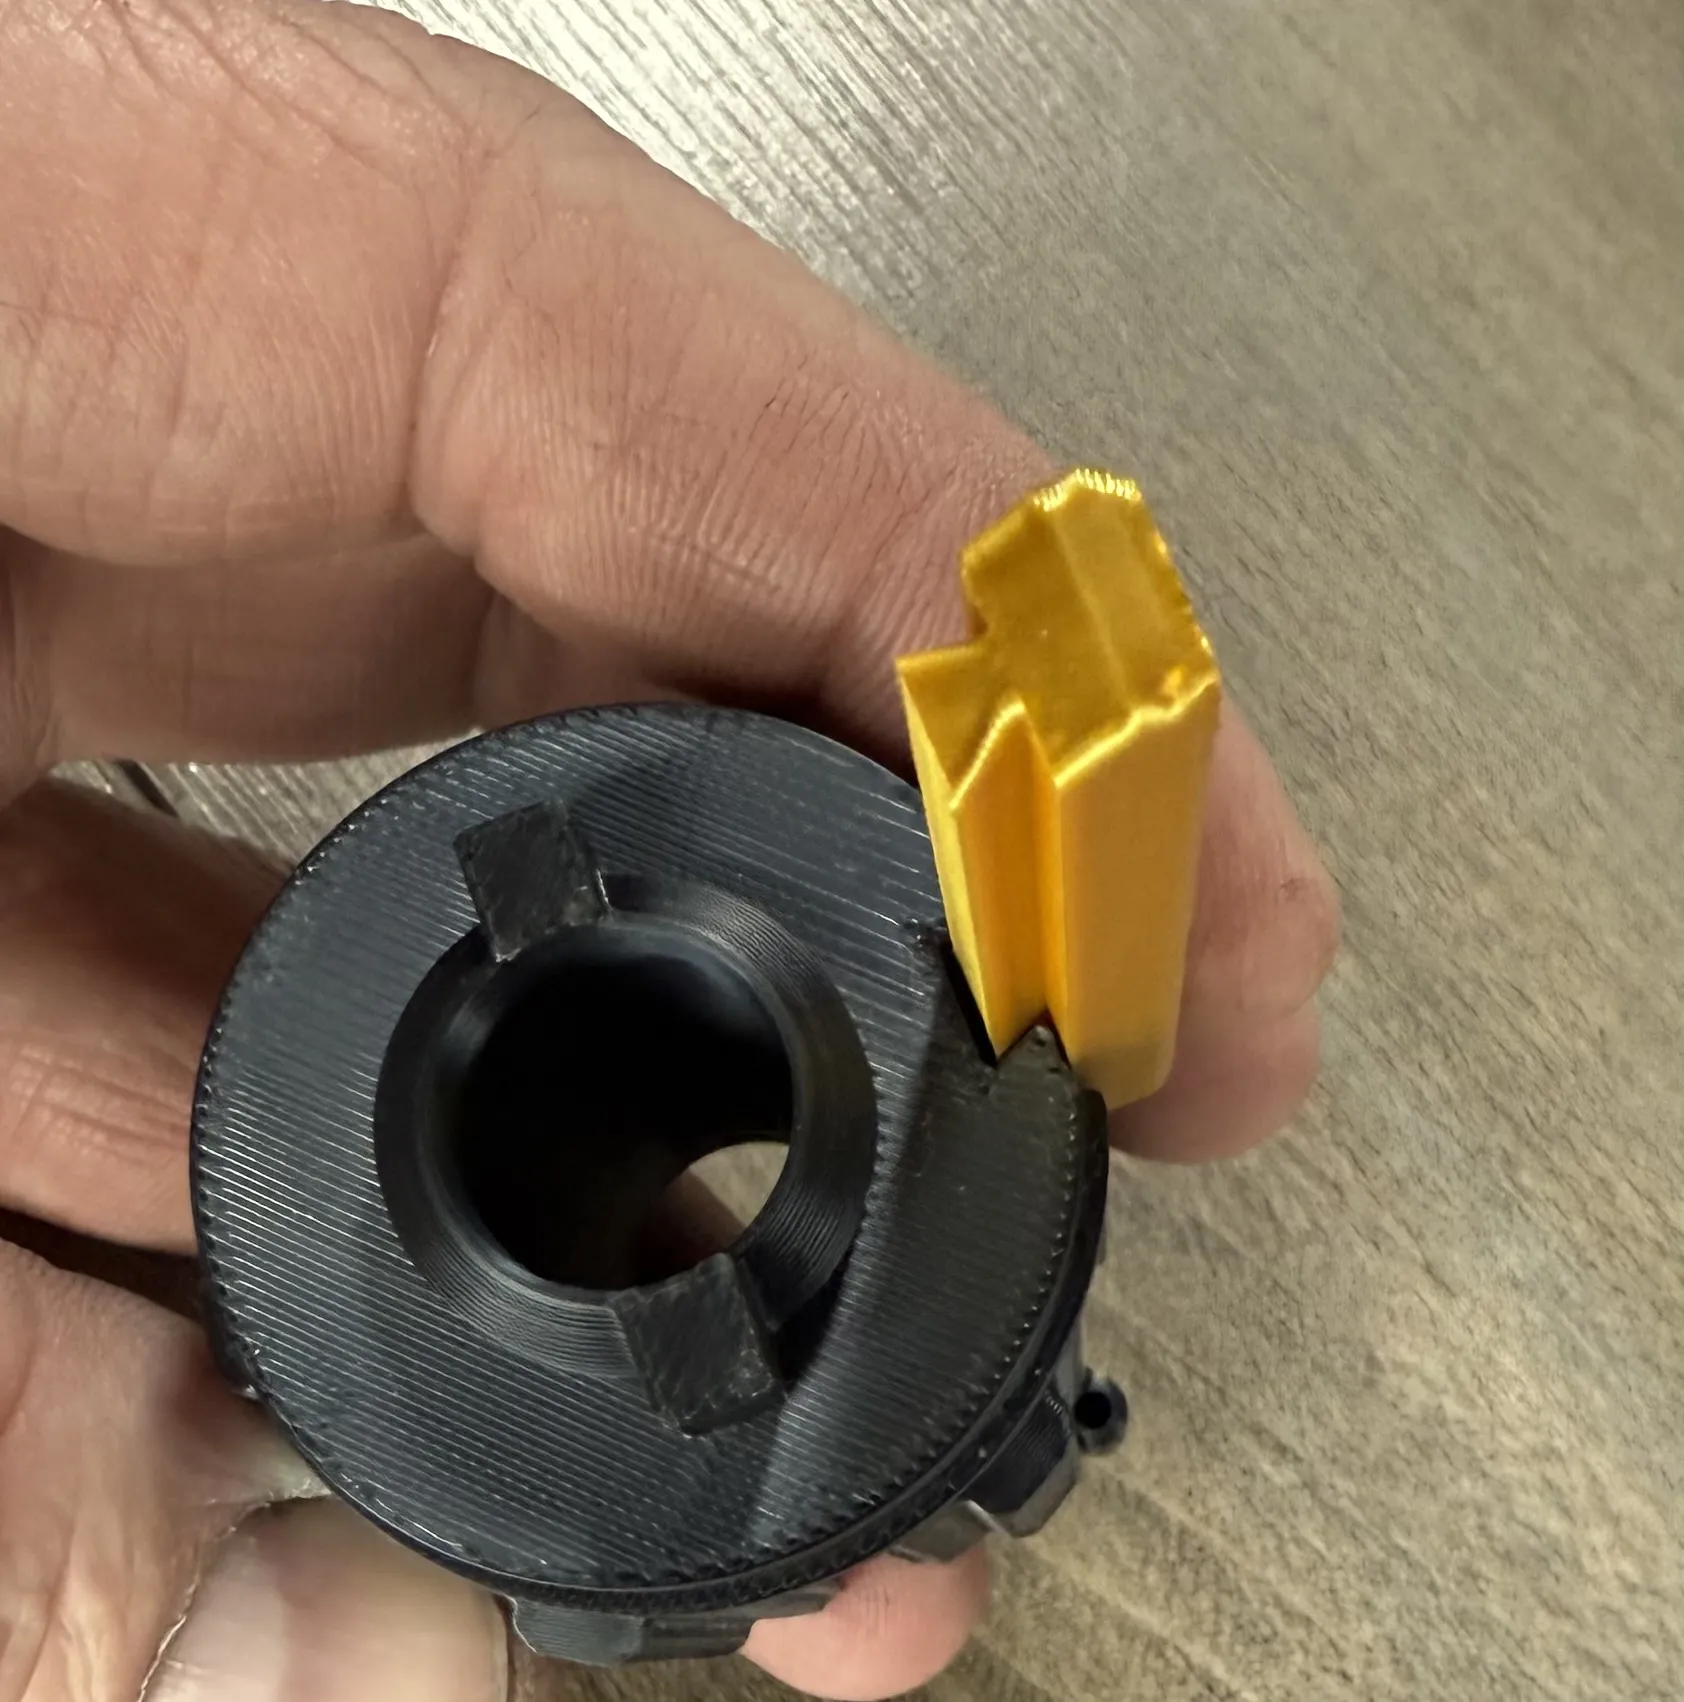
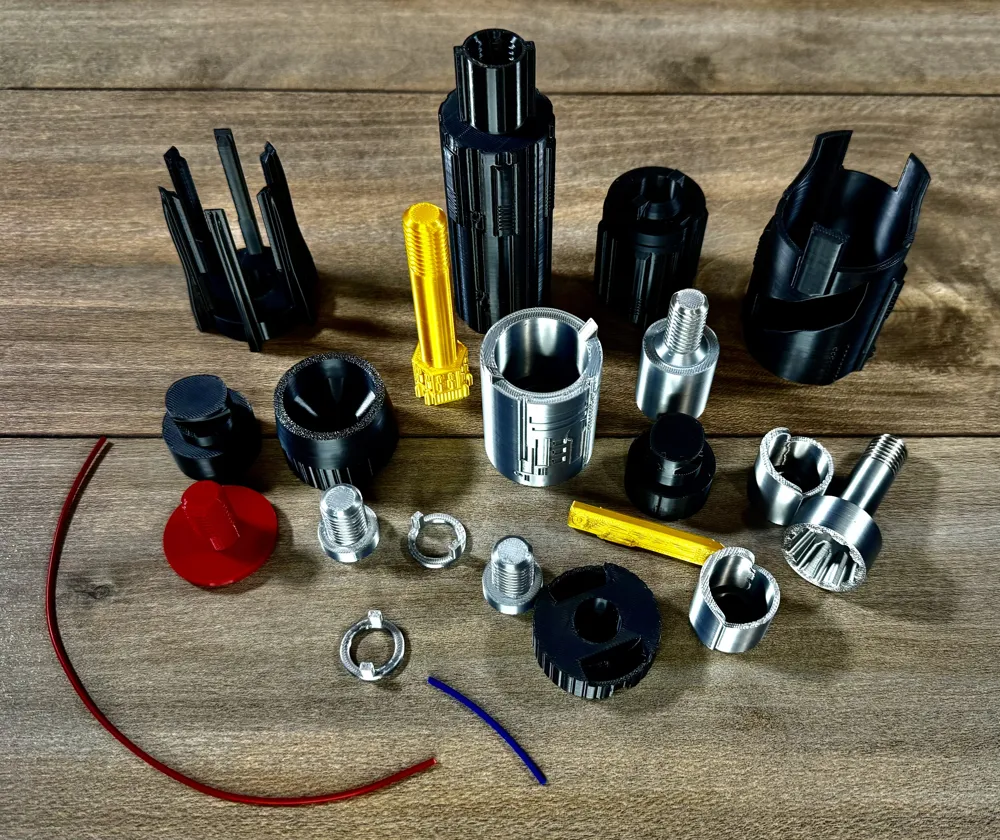
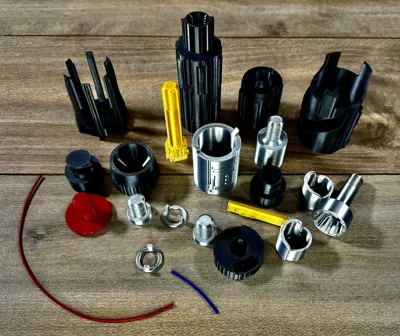
Start by sliding the switch into the dovetail on the short round handle piece.
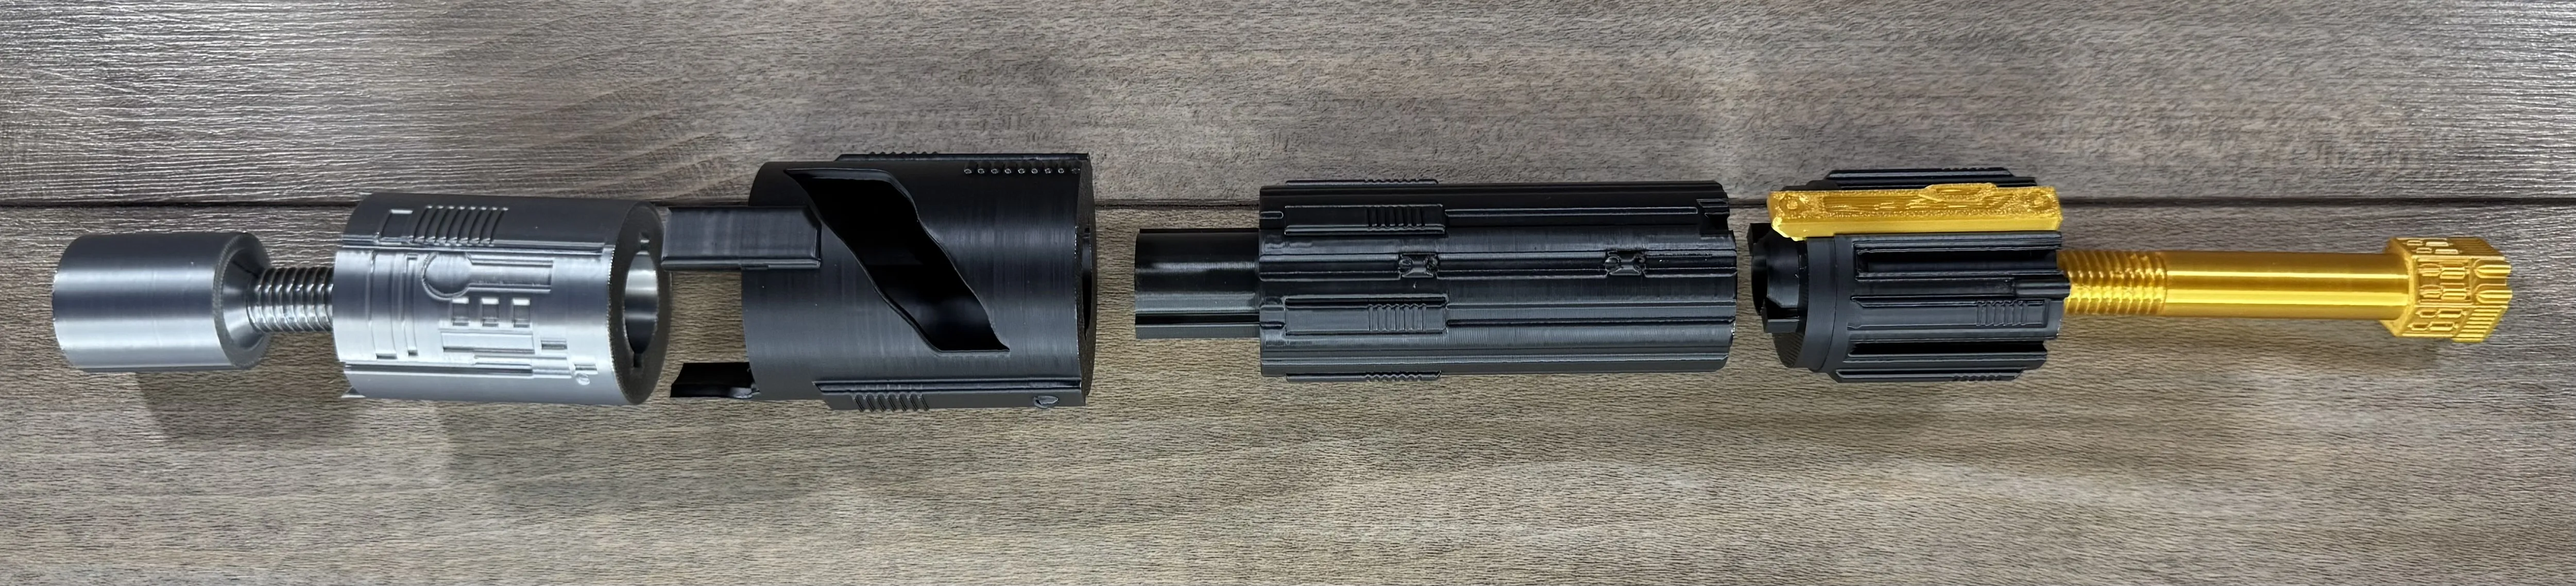
Then stack the short handle with the long handle, then the upper body and silver inner body together,
use the two bolts to hold it all together.
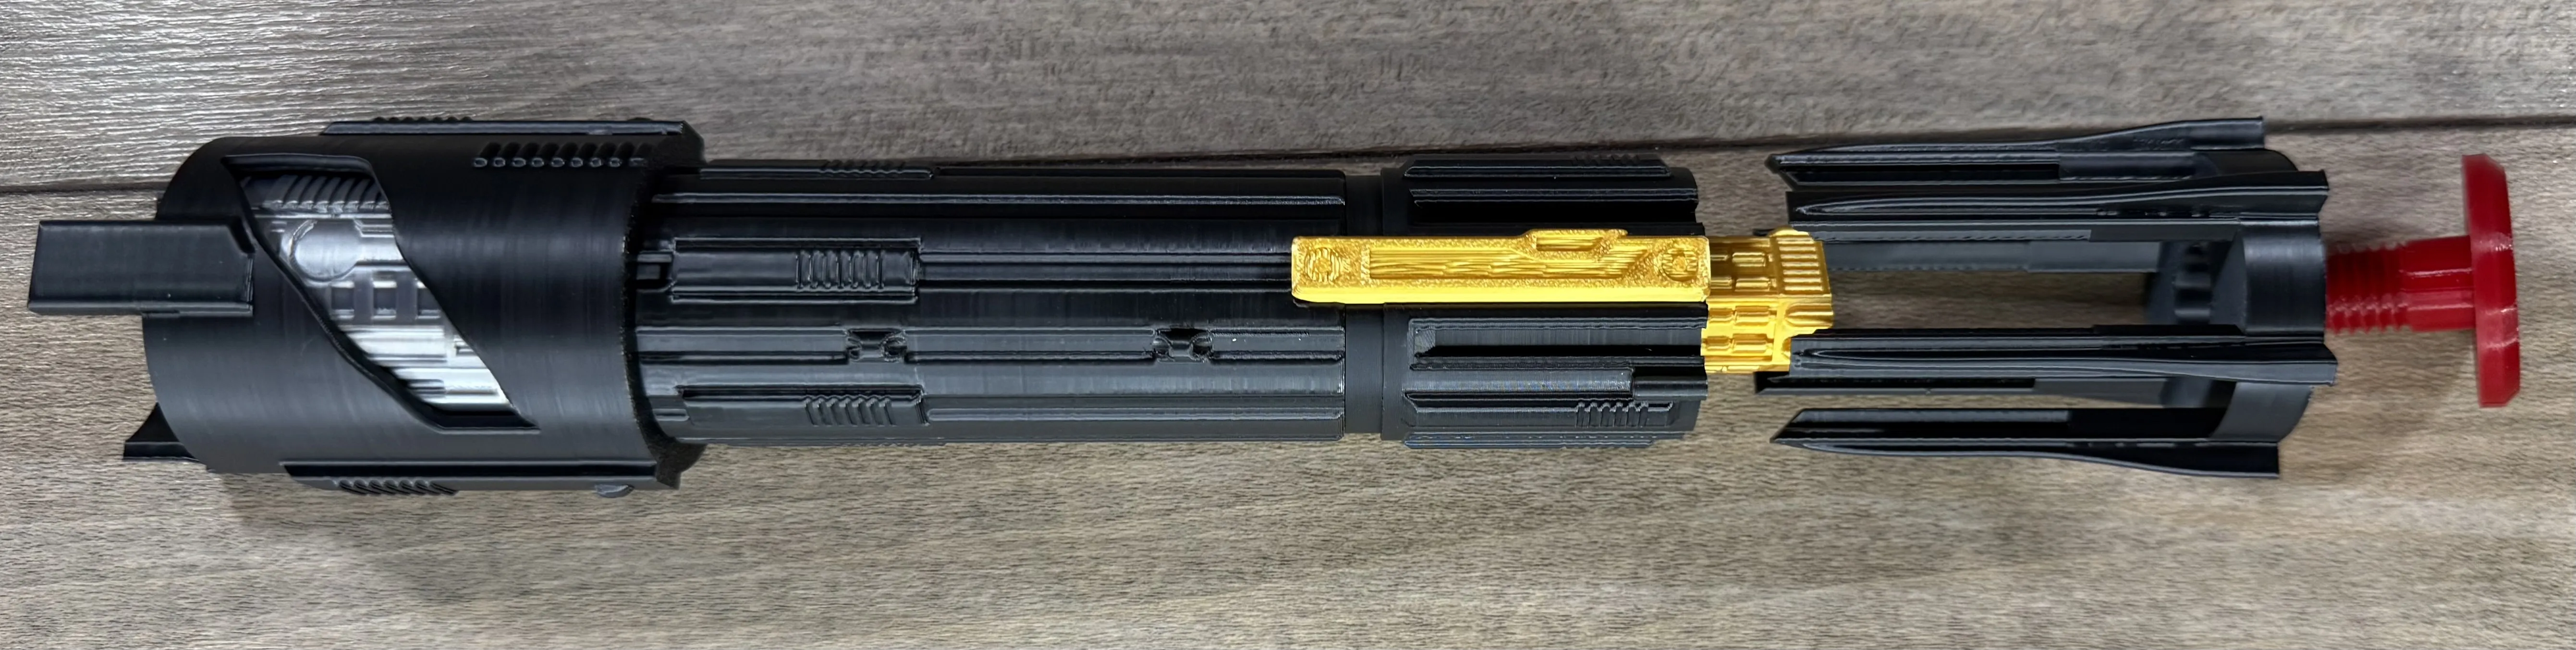
Next slide the spikes onto the assembly and screw the red pommel on.
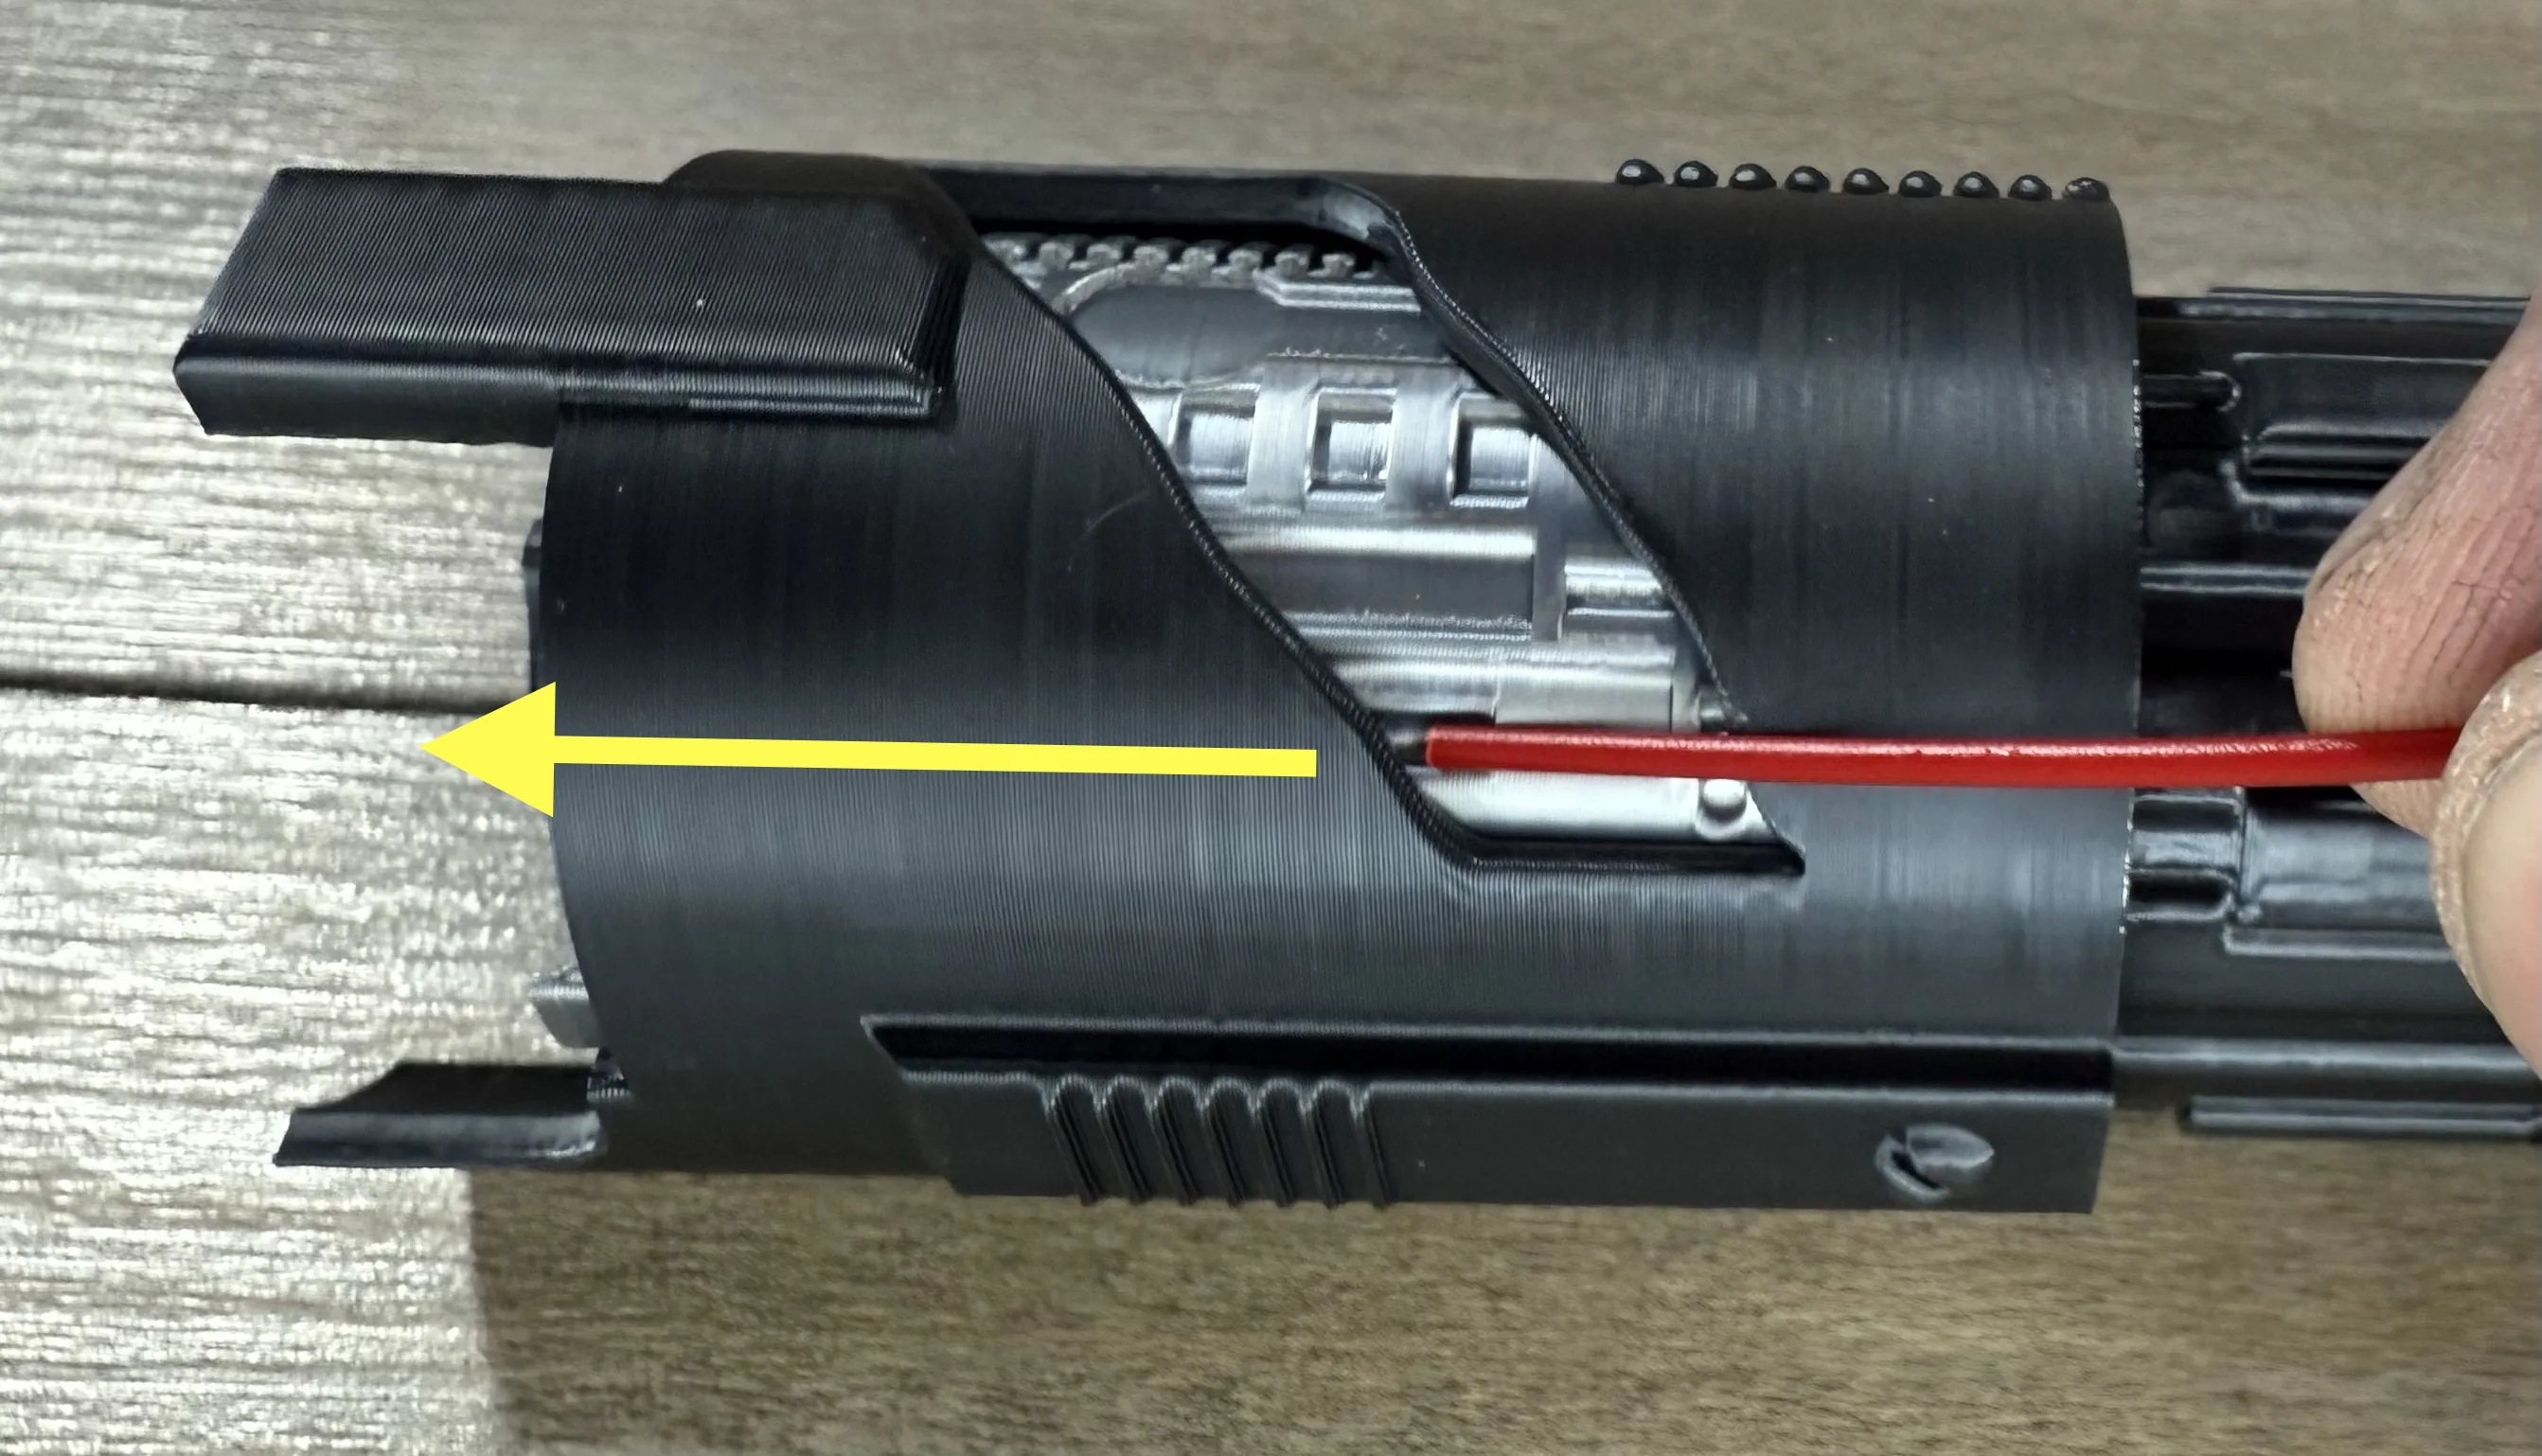
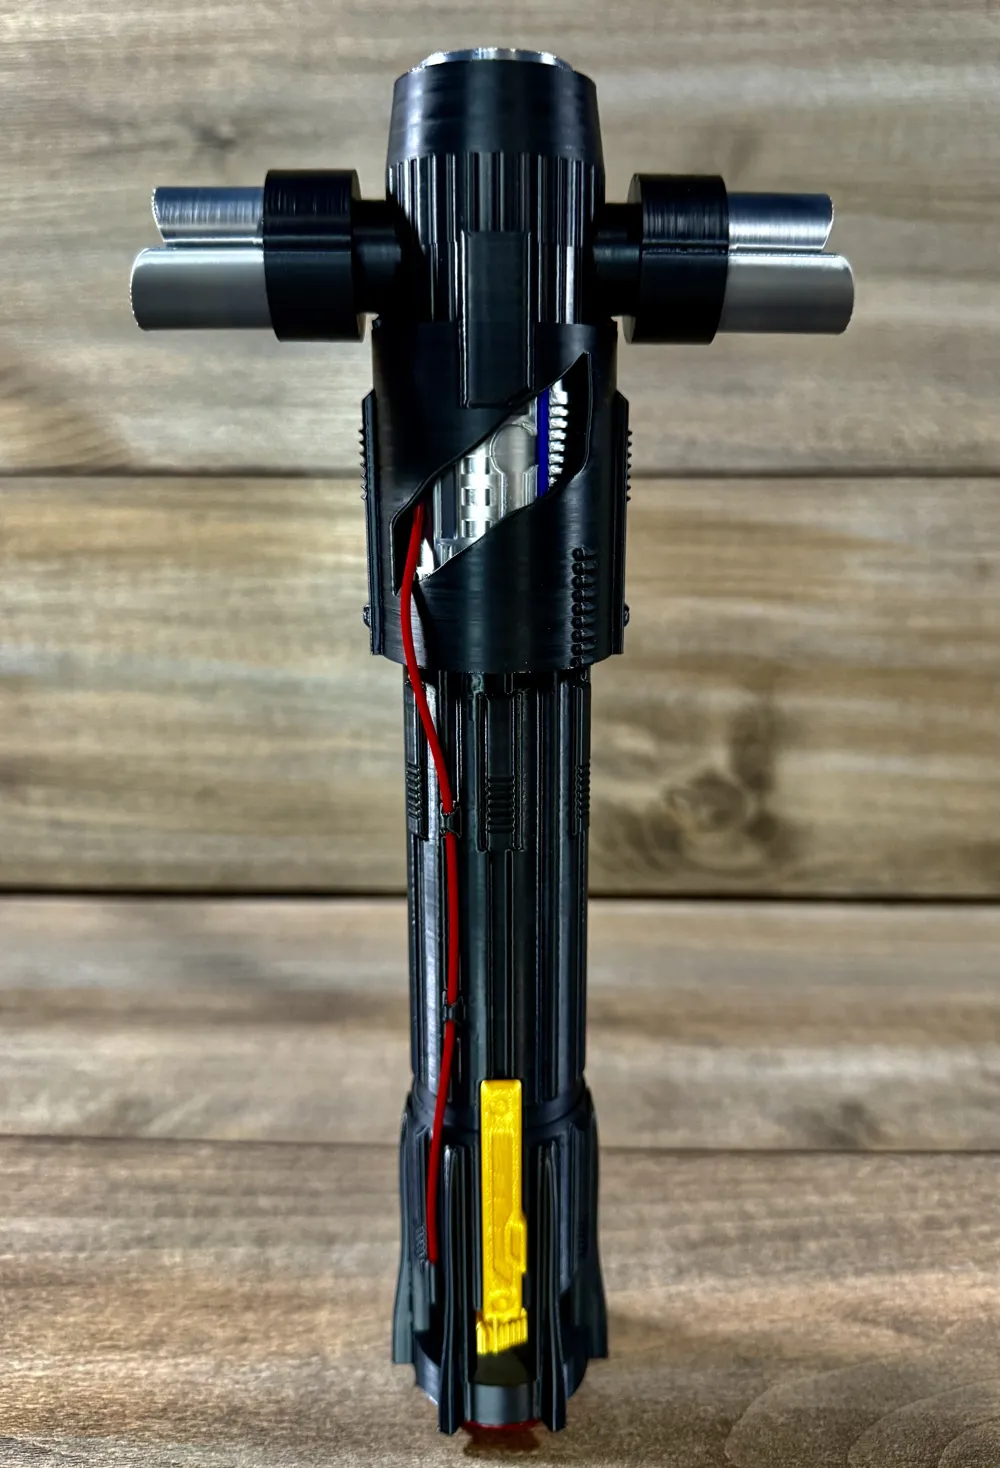
Take your cut red filament and slide it into the slot from the window in the front of the saber
pulling the bulk of it through the top.
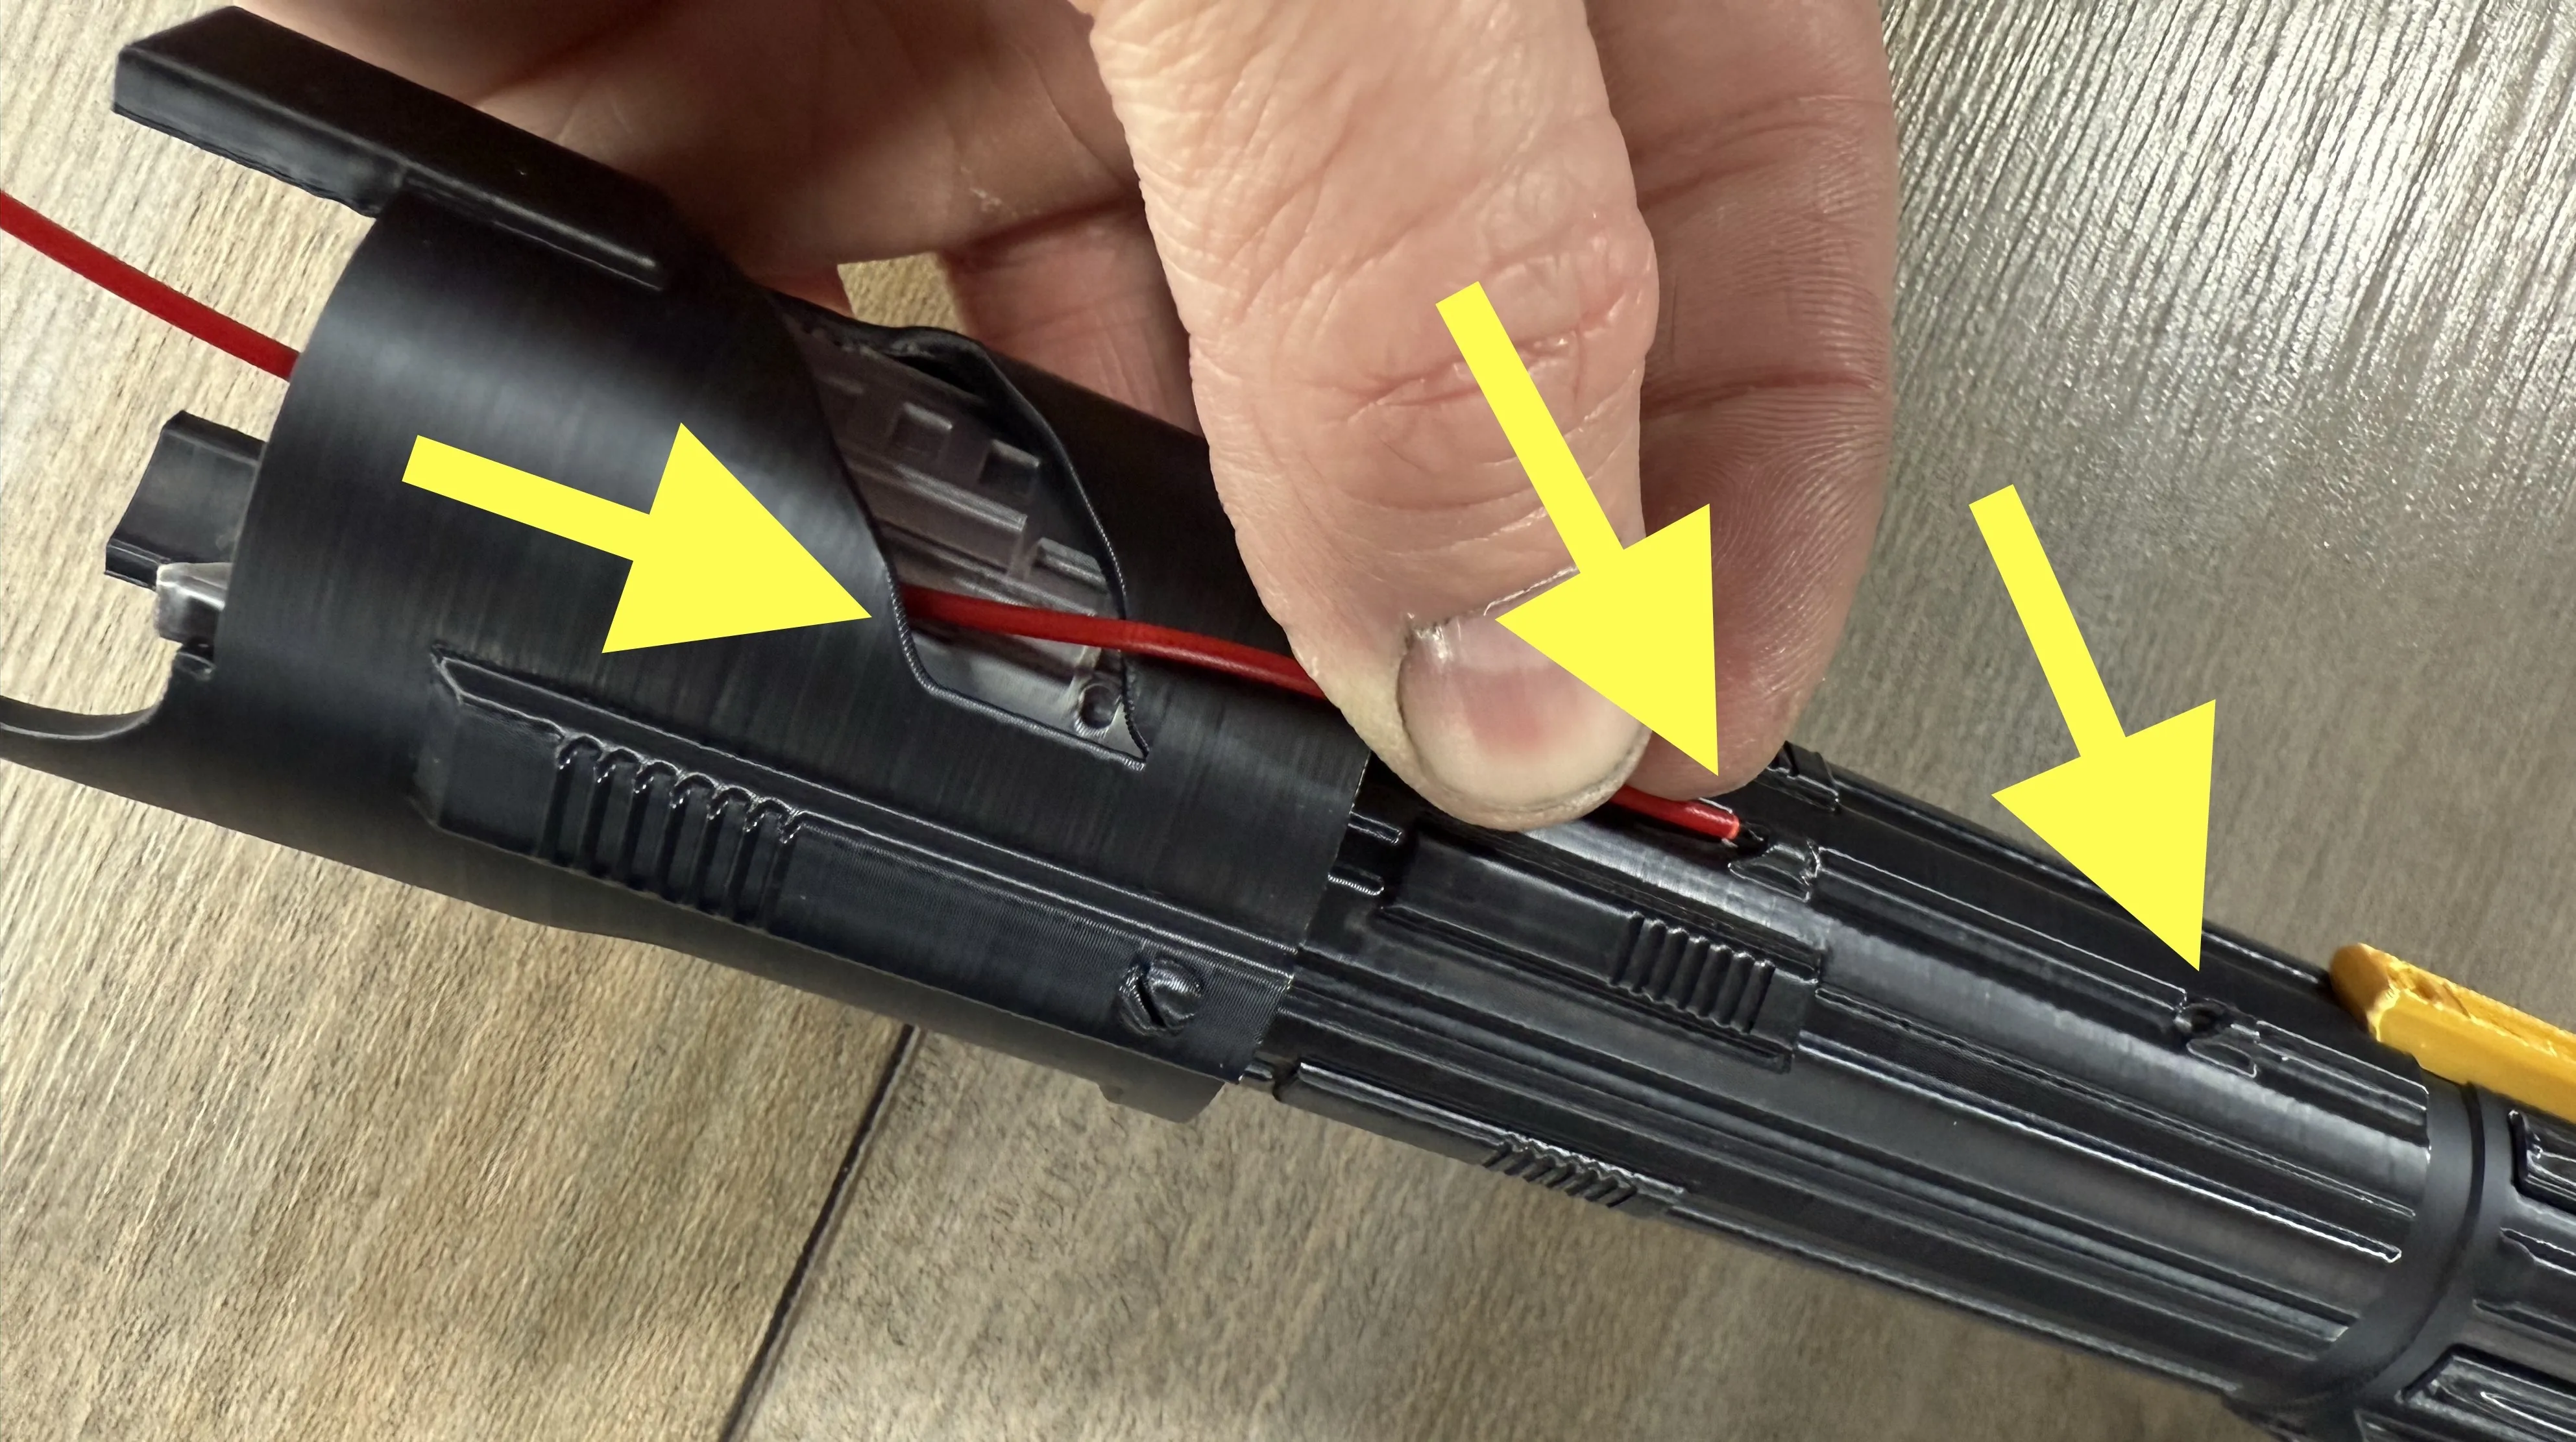
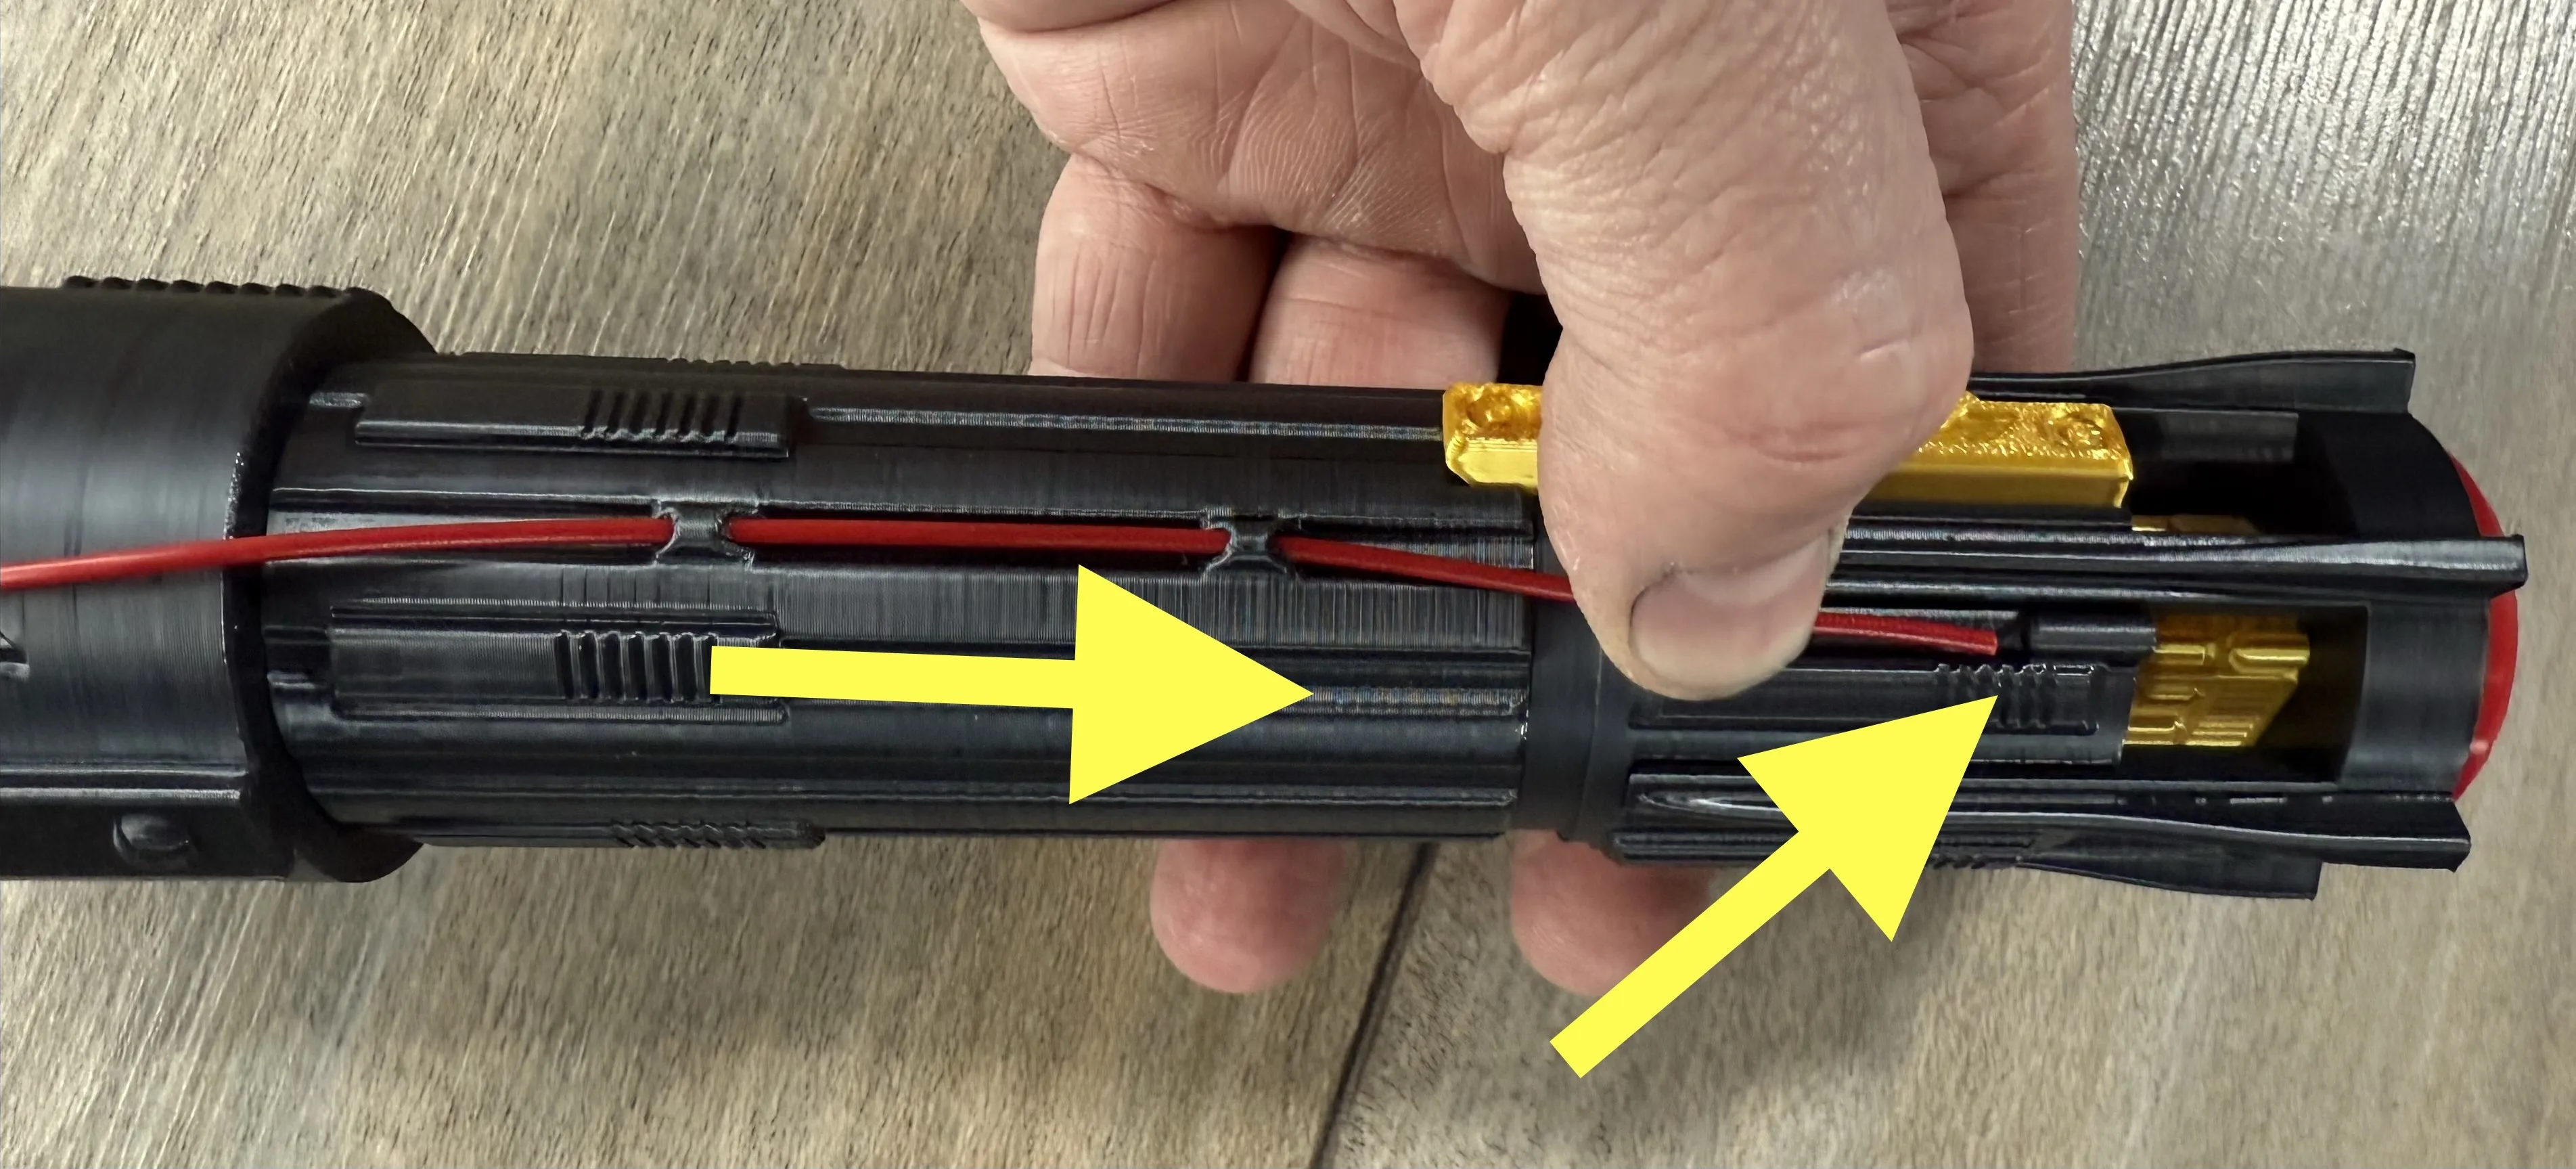
Then start to pull it back down and through the eyelets in the side of the saber and stopping
in the one at the bottom of the hilt.
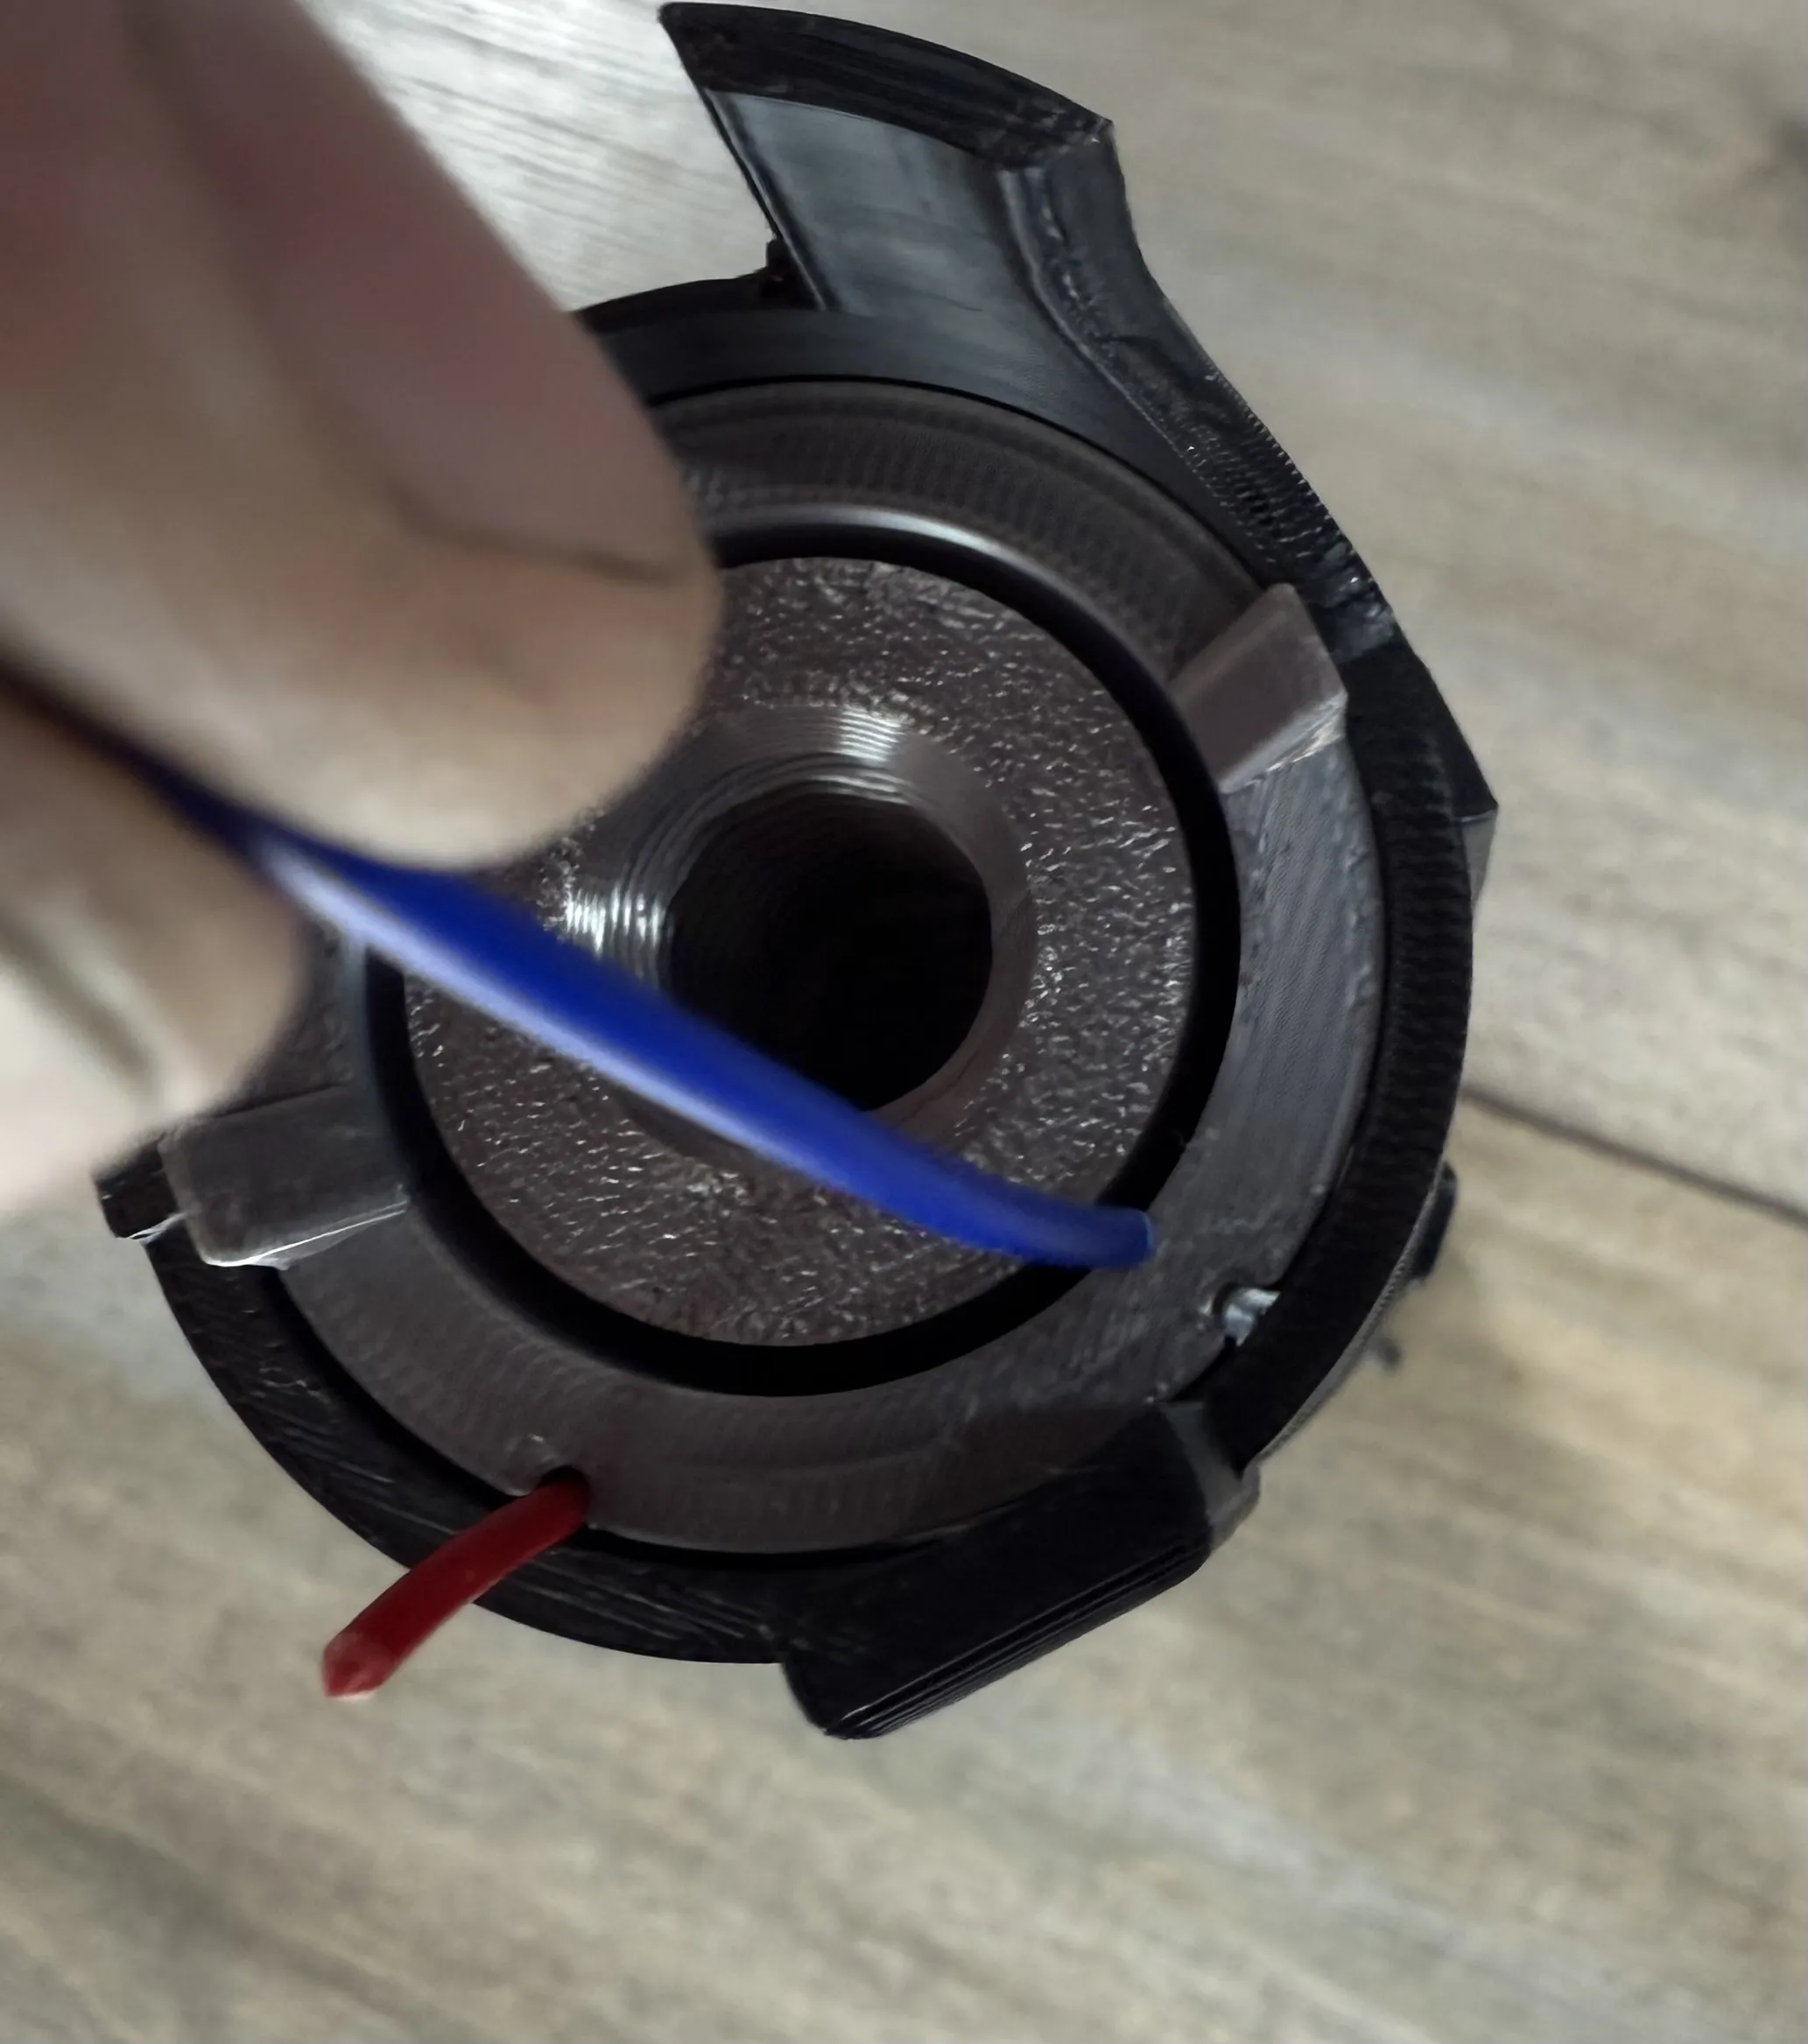
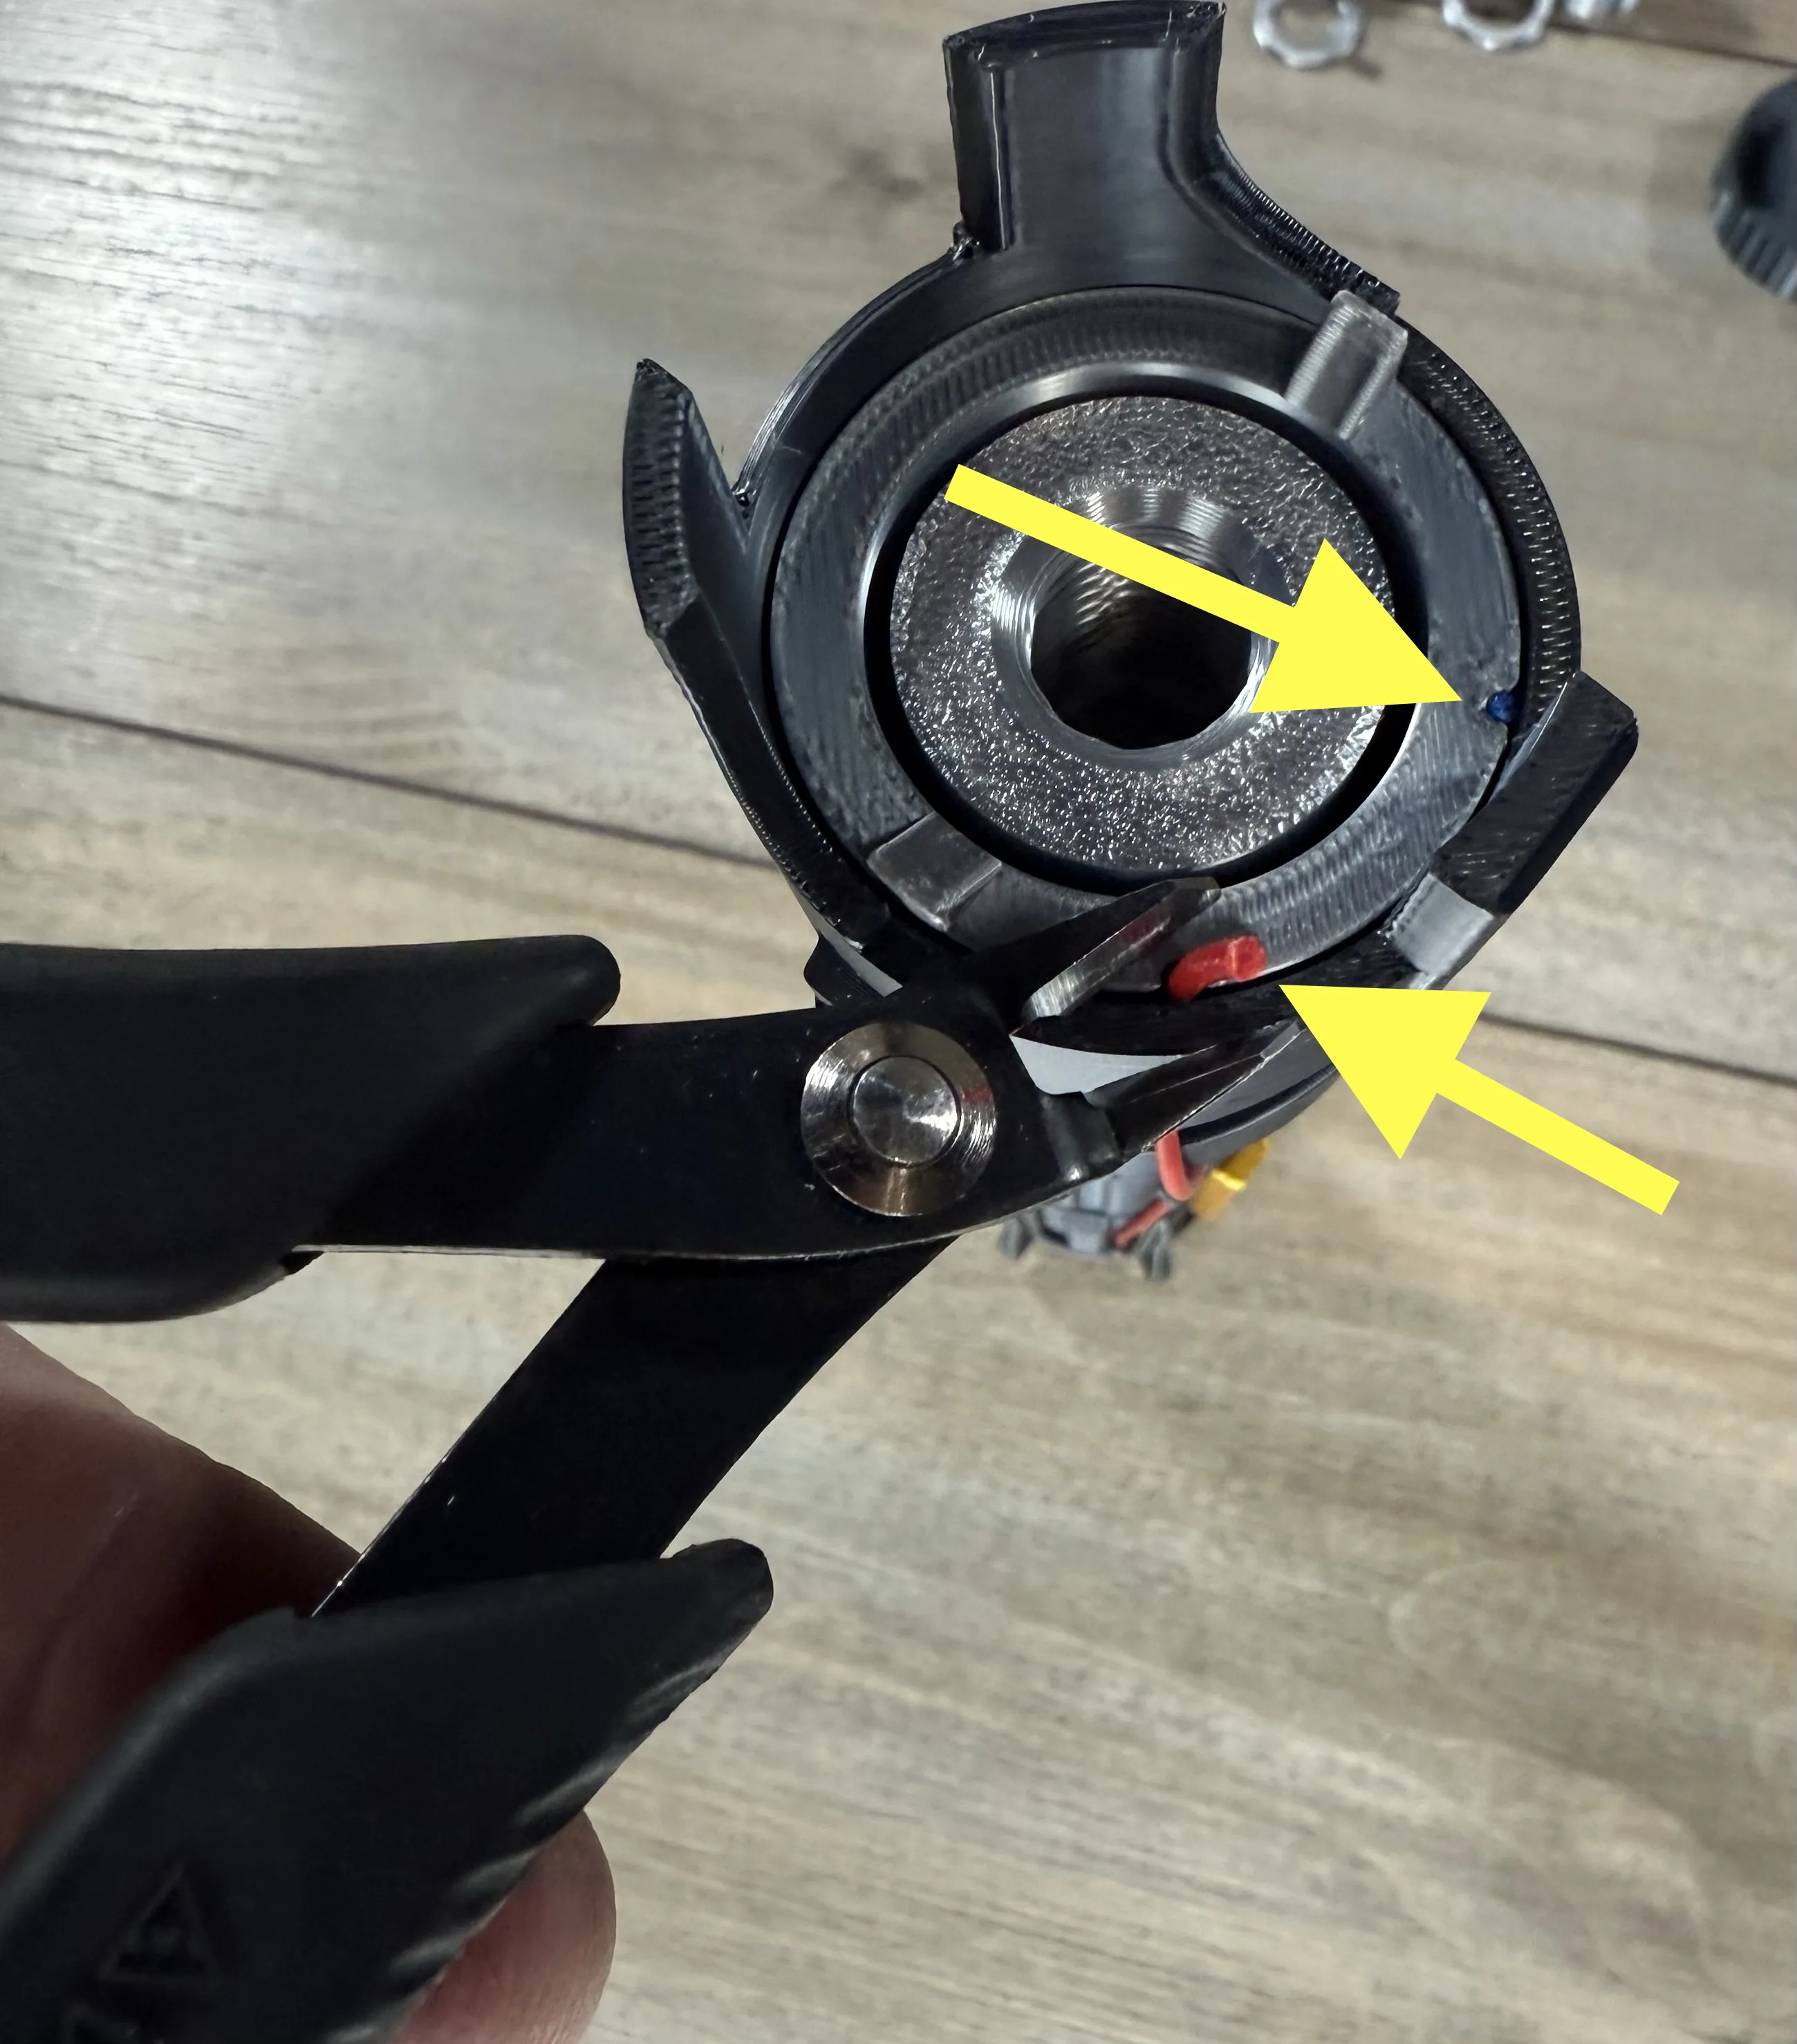
Slide the blue cut filament in from the top and then cut both flush with the top.
You can pull them up a little and cut them short if you don't have flush cutters.
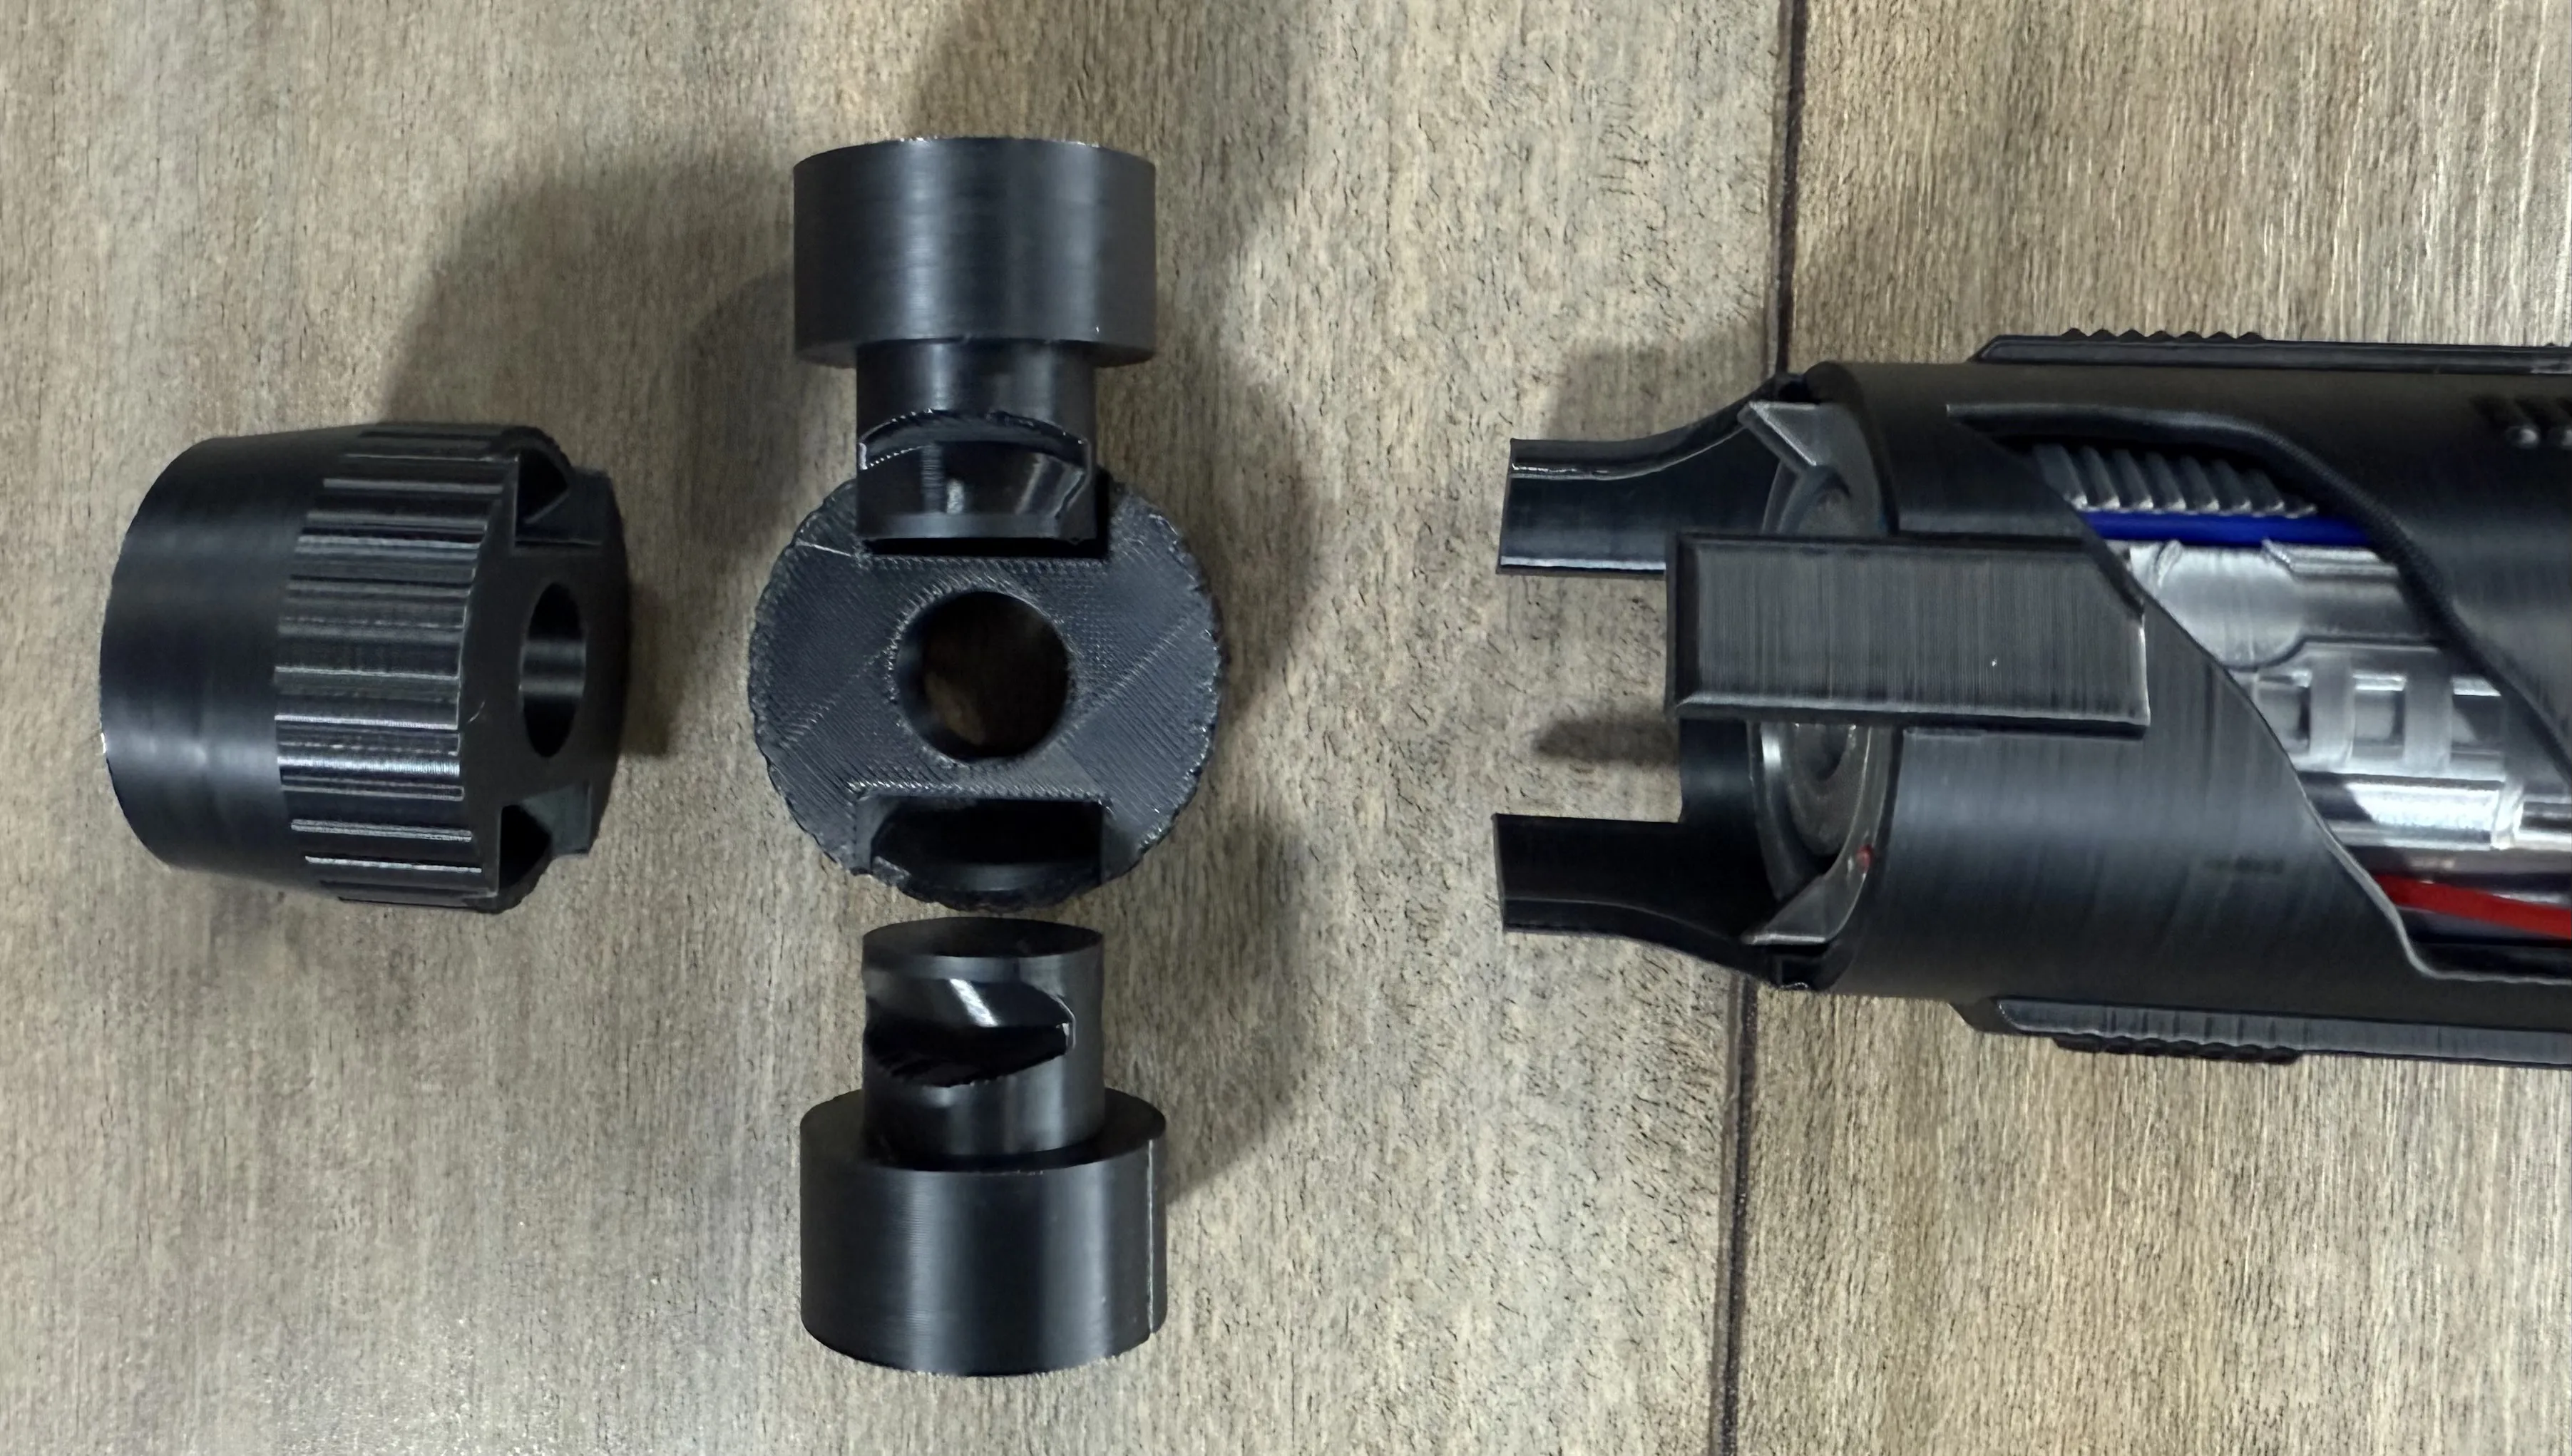
Align the cross guard parts into the slots of the emitter shroud as shown and
place on the top of the saber assembly lining up the tabs.
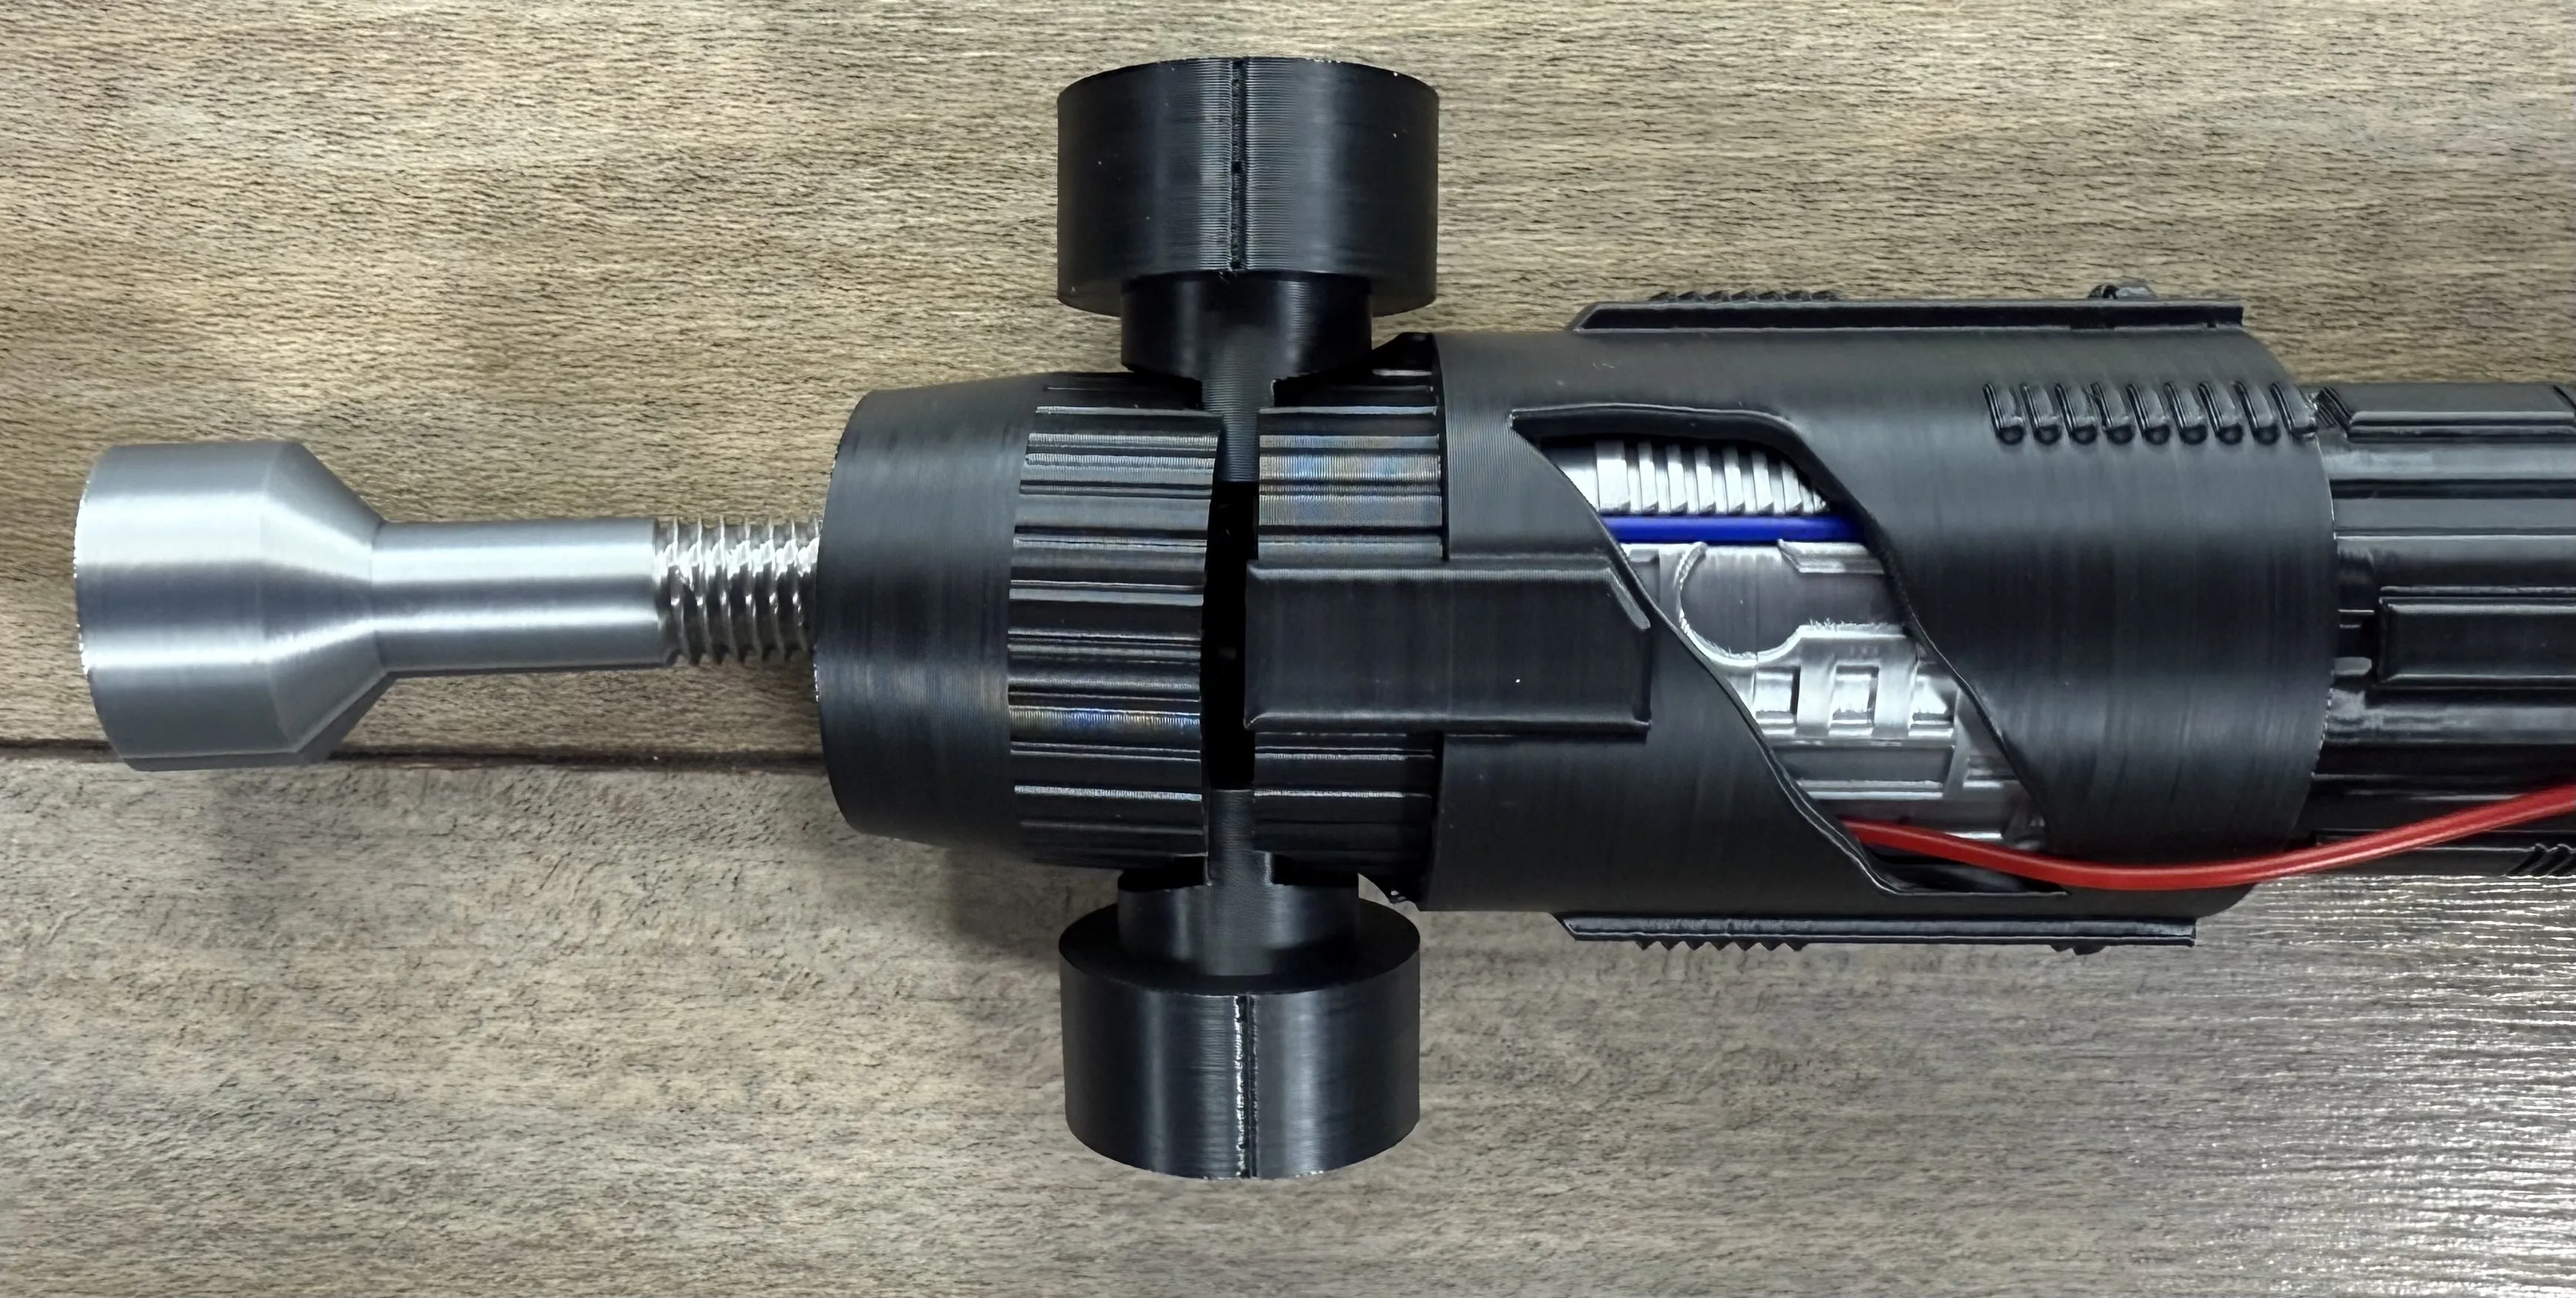
Use the bolt to hold it together.
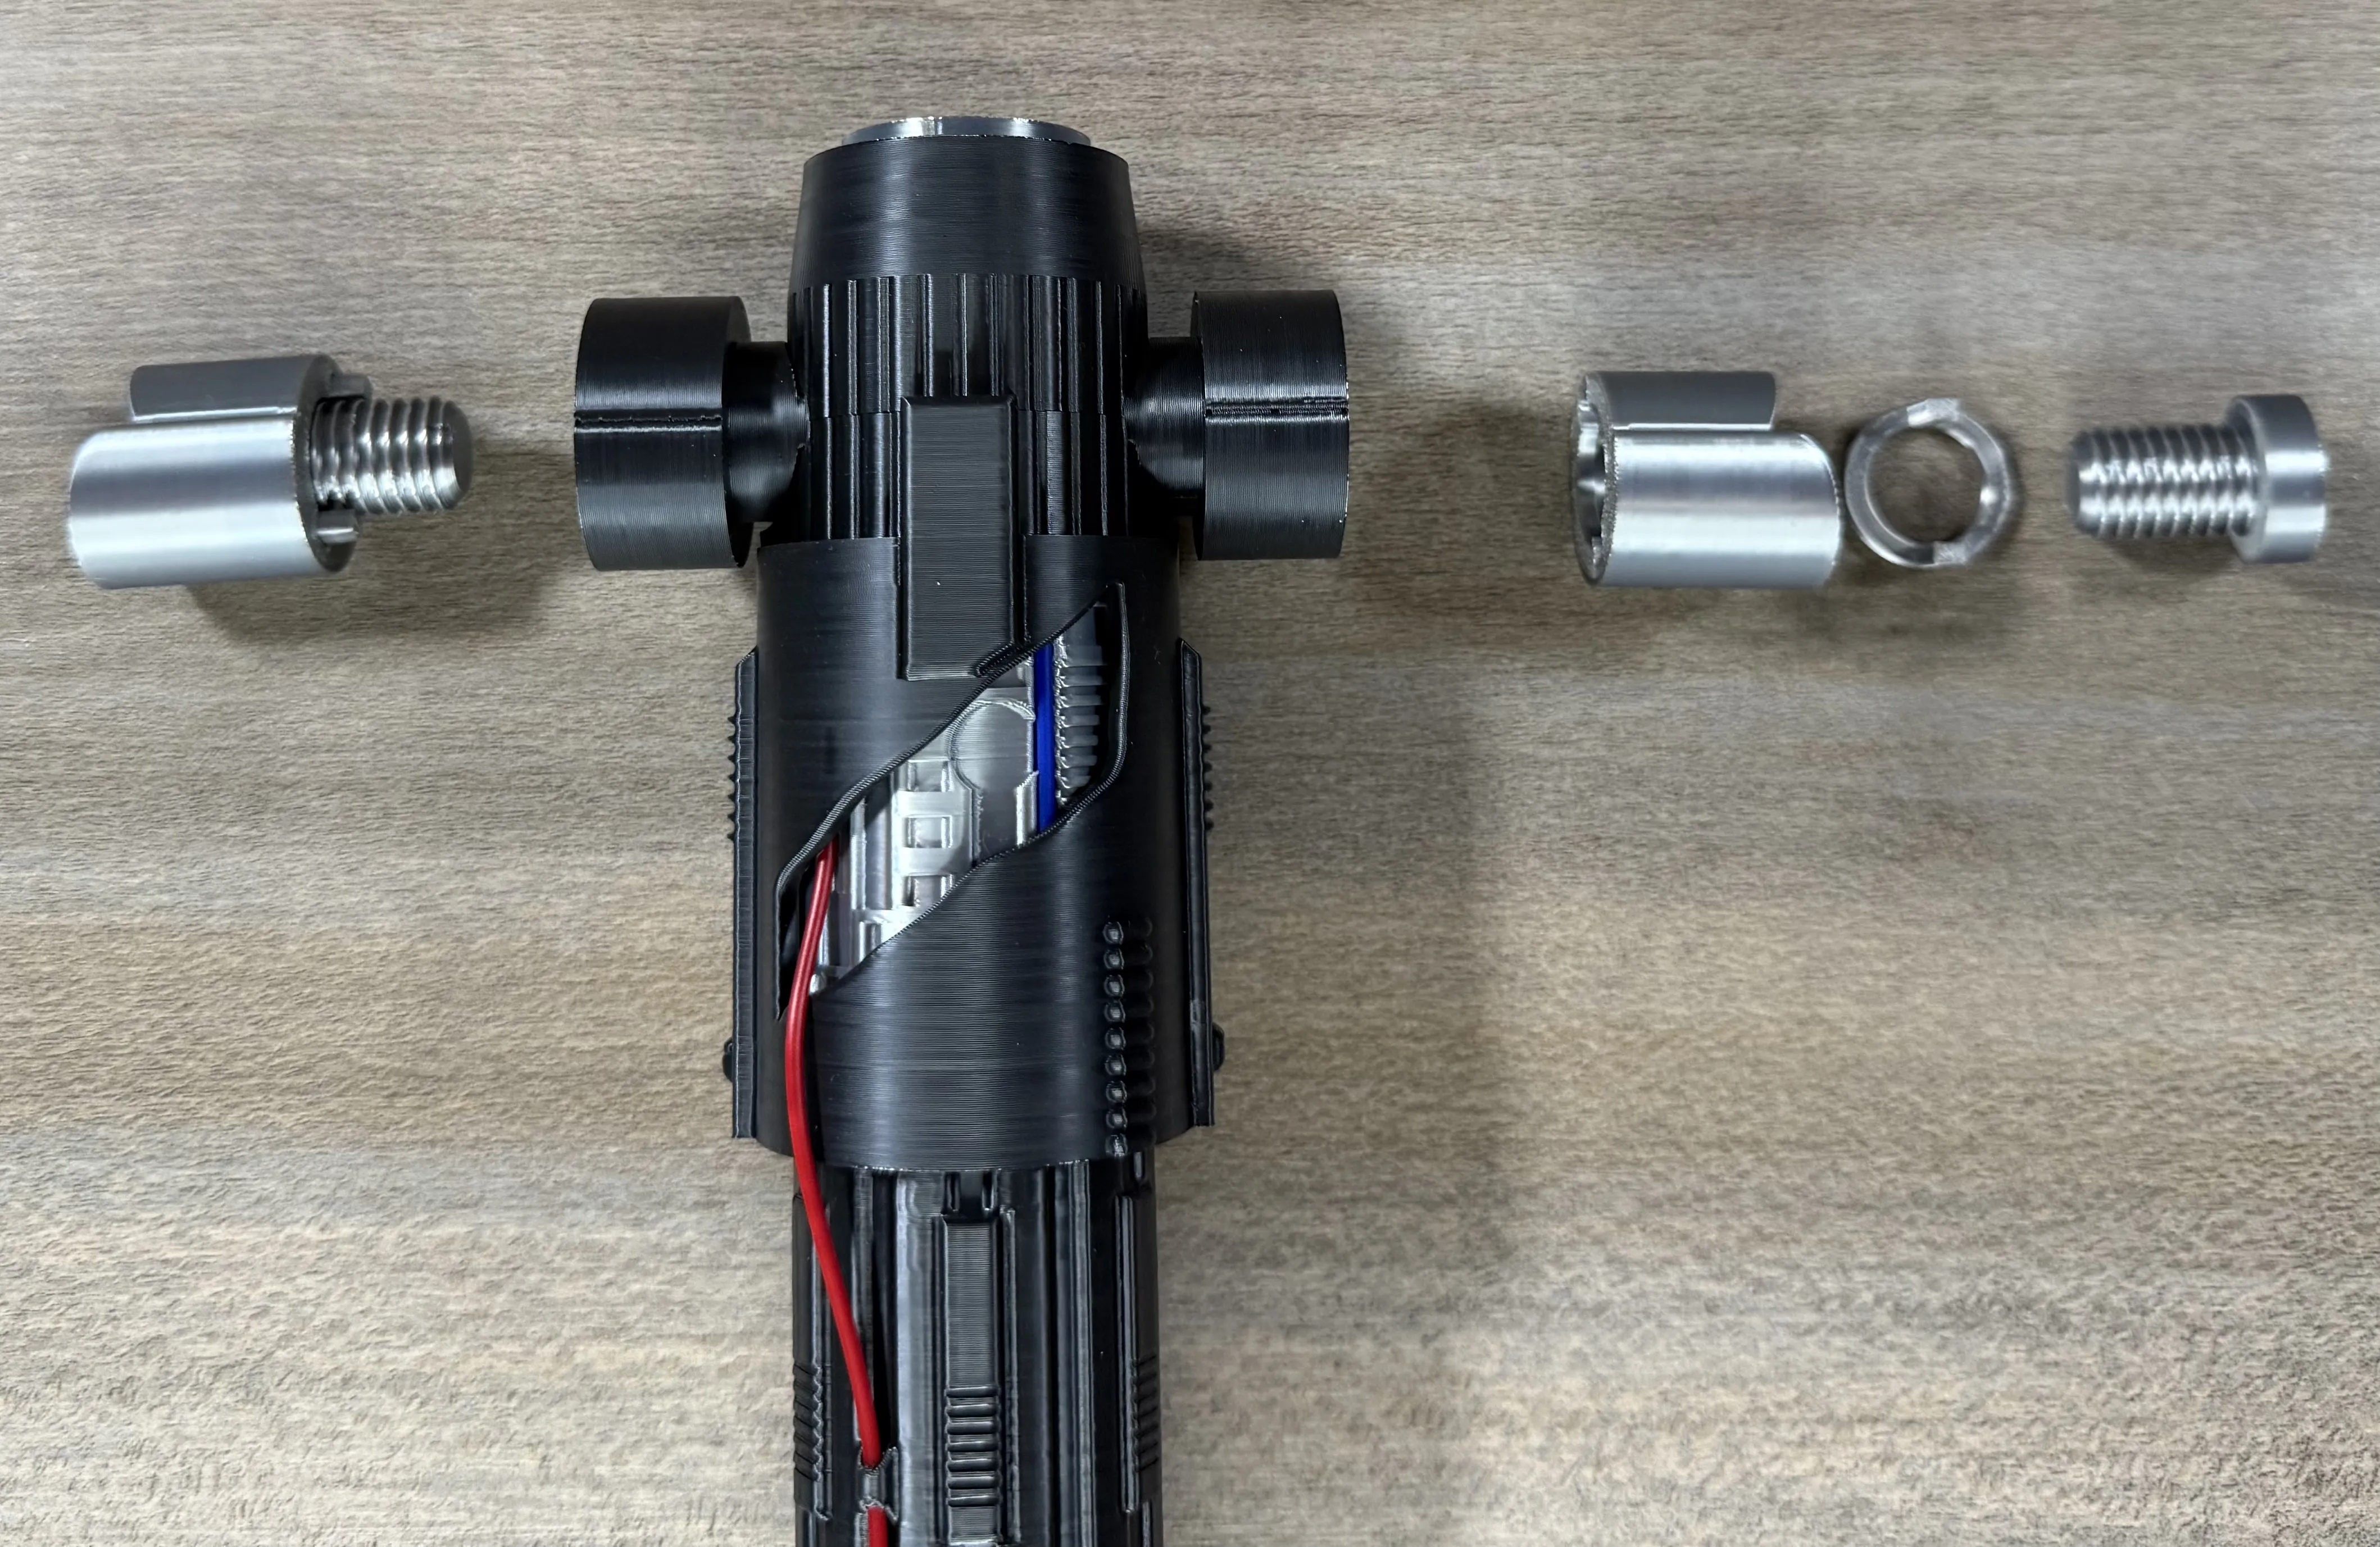
Lastly, insert the alignment tabs into the vent shrouds and use the bolts to hold them together and enjoy your saber!
Membership
Thank you for checking out my models. If you enjoy them or want to sell prints, please consider joining. Everything helps to continue to create new models!
Documentation (1)
License

You shall not share, sub-license, sell, rent, host, transfer, or distribute in any way the digital or 3D printed versions of this object, nor any other derivative work of this object in its digital or physical format (including - but not limited to - remixes of this object, and hosting on other digital platforms). The objects may not be used without permission in any way whatsoever in which you charge money, or collect fees.


Comment & Rating (286)