

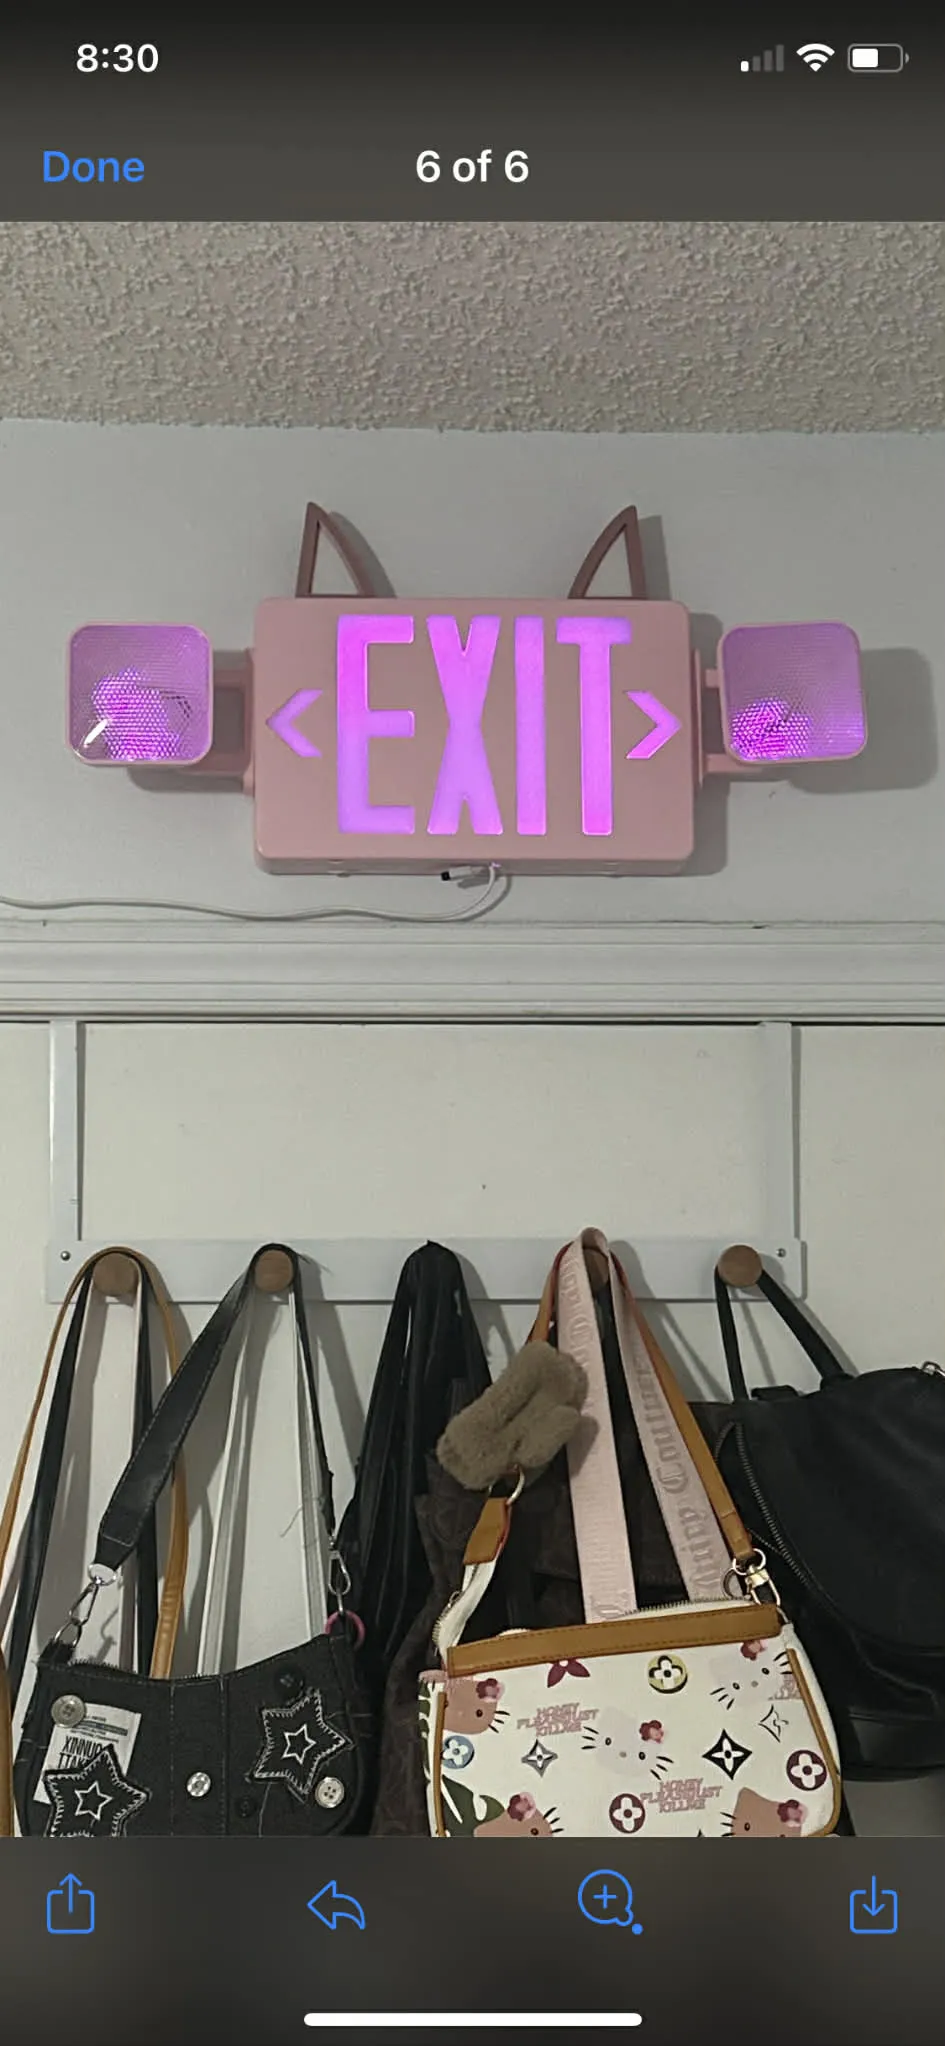
Exit Sign Wall Art
Print Profile(1)

Bill of Materials



Description
do not sell. This is just the files for the EXIT letter diffusers
DO NOT DO THIS FOR A REAL-USE EXIT SIGN. DOING THIS WILL RENDER IT FOR NON-COMMERCIAL USE.
*they are for non-emergency use like in a bedroom or office that does not normally require an exit sign. Modifying an exit sign can remove its ability to turn-on doing a power outage.
The CAT EARS- On my MakerWorld in other designs - https://makerworld.com/en/models/596520-cat-ears#profileId-639274
The LEDS I usually use- https://s.click.aliexpress.com/e/_c4SZoVsz
or you can get the Bambulab LED strip
EXIT Sign Used- https://www.amazon.com/Emergency-LED-Adjustable-Battery-Resistant/dp/B09Q5BRTPJ?th=1
Brief Instructions-
1.Print Exit Sign pieces
Clear or white filament. PETG Translucent with gyroid infill is my favorite pick for this. Please comment/message asap if these do not fit. I may have scaled it x/y or added horizontal expansion.
2.Disassemble Exit sign.
Unscrew and bolts and pop off the plastics pieces.
Remove Red film and make sure Diffusers Letters and arrows fit correctly
Remove all the electronic and lights. OPTIONALLY- the original EXIT lights are 12v and the LEDs are 5v. So, you can run a 12v power supply and still use the stock lights if you run a buck converter for the 5v. Great if you want a cool LED Art that also has a very bright spotlight on the sides. The originally red LEDs will be useless. remove them either way.
3. Paint pieces
Taking apart the exit sign is easy and the surfaces of these EXIT signs are very easy to paint. So you might as well grab a spray can and paint it however you want. I encourage customizing them as much as possible!
5. Assemble
Once paint is fully dried, hot glue the 3d printed exit sign diffusers into place.
Click the middle part of the frame onto the back piece (flat piece facing the wall)
Add the LED strip around the inside perimeter of the sign. OPTIONAL- You can snip some piece of LED and glue them into the Side light pieces. Then wires run through the side joints like the original ones. This takes some soldering and wire rigging, It is not beginner friendly.
Glue the controller flat onto the inside of the back piece and plug it into the LEDs.
Power Controller using 5v USB. or by adding some sort of 5 volt power supply to the controller.
Snap and screw all the pieces together
Mount to wall and power by outlet or portable battery pack- it's pretty easy to pop it open and stuff one in there.
License

You shall not share, sub-license, sell, rent, host, transfer, or distribute in any way the digital or 3D printed versions of this object, nor any other derivative work of this object in its digital or physical format (including - but not limited to - remixes of this object, and hosting on other digital platforms). The objects may not be used without permission in any way whatsoever in which you charge money, or collect fees.


Comment & Rating (0)