mITX OpenAir Frame


Print Profile(4)


Description
Boost Me (for free)
Support me in developing new, interesting projects.
Membership
Become a commercial member and sell physical prints.
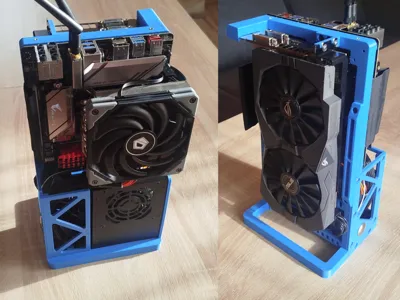
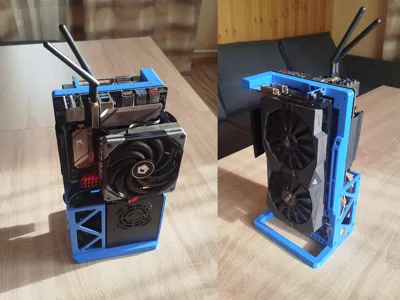
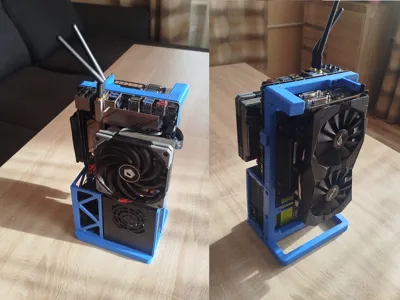
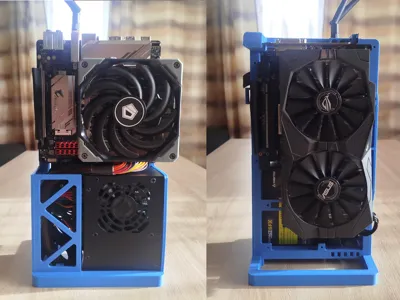
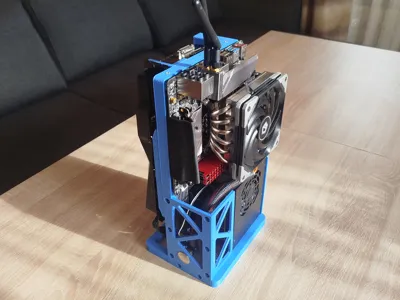
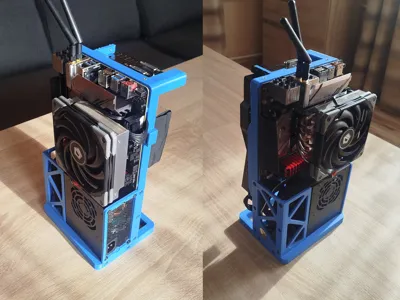
Small, very simple open frame for mini-ITX computers. It allows for mounting a standard graphics card up to 290mm length. It can be an alternative to small, budget cases. Its open structure ensures excellent cooling and an attractive design.
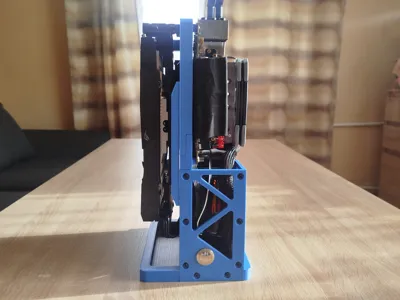
It's as simple and compact as possible. Its vertical structure takes up minimal desk space.
3D Print:
Material: ABS/ASA also PET-G. PLA is not recommended.
Parameters: walls x3, top layers x5, infill 25%.
Compatybility
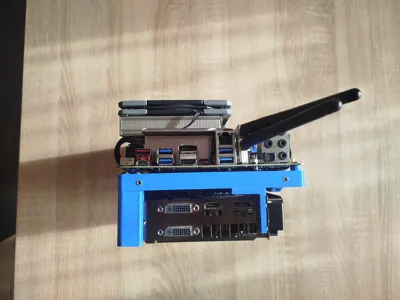
Motherboard: Mini ITX only;
PSU: SFX/SFX-L*;
SSD/HDD: 2,5" SSD/HDD two slots;
**CPU Cooling: Air Cooling mounted on motherboard, BOX coolers and low profile coolers recommended,
GPU: One slot and two slots, GPU length up to 290mm
* SFX-L supported with Cale Cover SFX-L
** Not recommend you to use big and heavy tower coolers, it could bend the frame.
3D Printed parts overview

Assembly guide
Step #1 - Inserts
Add threaded Inserts (M3 l=4mm d=4,2mm) in places marked yellow dots.

#1.1 Base 1 - Add x6 threaded inserts.

#1.2 Base 2 - Add x12 threaded inserts.

#1.3 Base 3 - Add x12 threaded inserts.

#1.4 GPU Bracket 1, GPU Bracker 2 and PCI-E Bracket - Add x6 threaded inserts.

#1.5 Cable Cover SFX or Cable Cover SFX-L - Add x4 threaded inserts.

Step #2 - Frame
Screw 3D printed parts in places marked red dots.
#2.1 Connect base 1 and base 2 with two M3x12mm screws.

#2.2 Connect SFX Bracket and Button Bracket to the frame with ten M3x8mm screws.

#2.3 Connect Base 3 to the frame with four M3x12mm screws.

#2.4 Connect GPU Bracket 1 and Reinforcement to the frame with four M3x8mm screws.

#2.5 Connect GPU Bracket 2 to the frame with two M3x20mm screws.

Step #3 - Hardware
Mount hardware parts and cable cover. Button and PCI-E Riser listed in bills of materials
#3.1 Mount the button to the Button Bracket using the locknut.

#3.2 Mount 2,5" drives(if you are using) by M3x8mm screws.

#3.3 Connect PCI-E Riser to the PCI-E Bracket using two screws M3x12mm than connect bracket to the frame by nex two M3x12mm screws.

#3.4 Mount Power Supply Unit to the SFX Bracket by standard PSU screws.
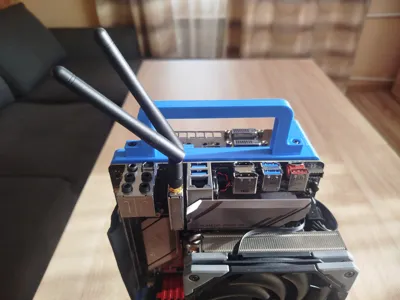
#3.5 Mount motherboard to the frame by four M3x8mm screws. If you are using flat cable for CPU you can put it between frame and motherboard. If you using thick cables put it behind the frame.
#3.6 The graphics card is mounted in three places. Slide the card into the PCI-E riser and GPU Bracket 2, then secure it to GPU Bracket 1 using two M3x8mm screws.

#3.7 Last step is put Cable Cover(x4 M3x8mm). Use SFX or SFX-L version depending on PSU type.

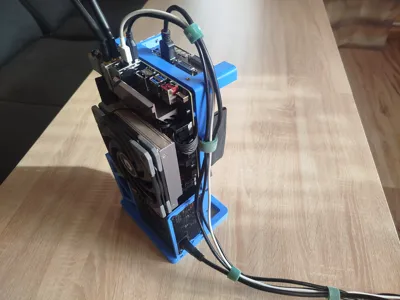
Cable management
You can use cable ties to manage wiring. Holes have been prepared in the frame

Additional accessories
To find them, check the print profiles.
# Top Holder - could be mounted on top by two M3x12mm screws. it's not impressive, but practical if you want to move the device from one place to another.

# Feets - Mount by x4 M3x8mm screws

# Cable Cover SFX-L - Use it instead of Cable Coves SFX if you are using SFX-L power supply. Add threaded inserts and mount in similar way to the SFX version.

Bills of Materials(example links to buy)
# Threaded insert M3 l=4mm d=4,2mm x40: https://tiny.pl/914zgn4v
# Screw M3 l=8mm x31: https://tiny.pl/8bh2vdf0
# Screw M3 l=12mm x12: https://tiny.pl/8bh2vdf0
# Screw M3 l=20mm x2: https://tiny.pl/8bh2vdf0
# PSU Screw x4: https://tiny.pl/3_1tff8t
# Power button M19 - any button with an M19 thread can be used. For example: https://tiny.pl/hdn3pv4k
# PCIE Riser* - in my case it was cheepest one riser 30cm x16 3.0: https://tiny.pl/cxs6dp35
* I am not sure if other risers have the same mounting points.
License
You shall not share, sub-license, sell, rent, host, transfer, or distribute in any way the digital or 3D printed versions of this object, nor any other derivative work of this object in its digital or physical format (including - but not limited to - remixes of this object, and hosting on other digital platforms). The objects may not be used without permission in any way whatsoever in which you charge money, or collect fees.
Comment & Rating (5)