Namazu


Print Profile(1)


Description
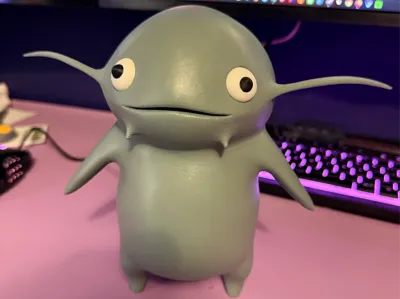
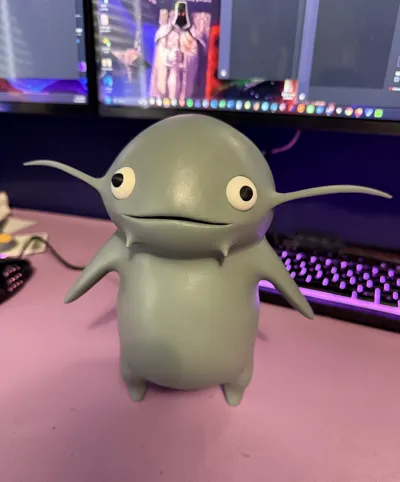
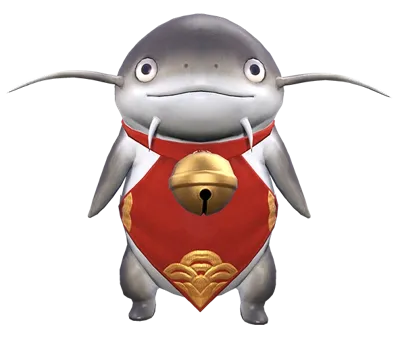
7.5 inch tall naked namazu with included PDF of an apron if you want to sew one.
Assembly:
General assembly:
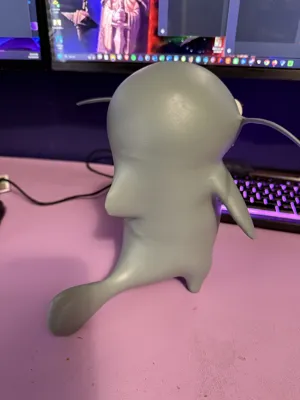
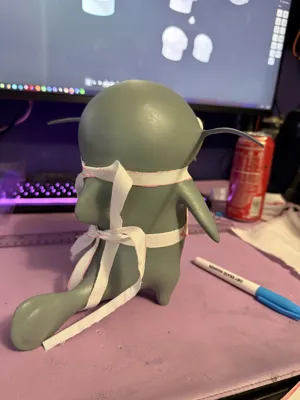
I sand the flat sides slightly to improve adhesion. I glue the tail to the bottom first, and ensure it stands flat on the ground. After the glue is dry, I glue on the torso and head (without the whiskers). Once it is all dry, I fill any seams with wood filler and put a thin layer of watered down wood filler over the whole body to make him smooth like fish. When it dries, add any touch up filler needed before I sand the whole body (from 220-800 grit). This process is much easier if you do NOT have the whiskers attached.
Whiskers:
Once I am happy with the body, I attach the whiskers. The whiskers are labeled as A1/A2 and B1/B2. A1 and A2 need to be glued together. B1 and B2 need to be glued together. Each whisker has a round flat base that will be attached to the face. Once they are dry, attach them to the head. Make sure you are attaching the correct whisker to each side. The curve should aim DOWNWARDS as in the photos. I added a bit of wood filler around the whiskers to hide any seams. Sand lightly to blend.
At this point, I painted him gray because I didn't have gray filament and he was printed orange. If you print in gray filament, you'll probably only need a light coat of paint to give him the smooth look.
Eyes:
The eyes are interchangeable. I angle them slightly to get them into the hole, then rotate them until they are in. I wanted this namazu to have a more derpy look, so I angled the eyes slightly off center, but you can position them straight on as well. After I decide how I want the eyes, I take them out, put glue in the eye holes, then put the eyes back in and set them. You could add the glue during the initial step if you're feeling confident.
Apron:
The PDF is a final version of the apron seen in the photos. Make sure you are extending the straps out 4/6 inches past the pattern as noted (4 for top straps, 6 for bottom straps). On the final version, I cut down the straps to have short tails once a bow is tied. I would suggest cutting the straps longer than the pattern, then trimming them down to the length and cut you want. Alternatively, you could cut the sides of the apron to the drawn in points and attach the straps separately.
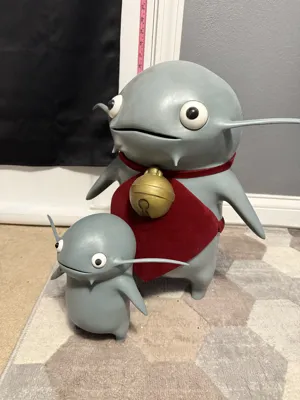
I also drew in the collar if you want to cut and attach that piece separately and included a rough drawing of where I would place a bell and the recommended size (1.5 inch diameter).
I plan on making other clothes for him eventually because I think he would look quite dapper.
Note: This is not the same model as the 15 inch namazu. The torso in the larger model is designed to fit the 3d printed collar. This model is designed to have the torso and head fit together.
If you're interested in printing the 15 inch model (with apron), here is the link: https://makerworld.com/en/models/1998197-giant-namazu-with-apron#profileId-2151149
NGL, when the 2 namazus are next to each other, it's giving ‘stay away from my son’ vibes and that makes me laugh.
Documentation (1)
License
You shall not share, sub-license, sell, rent, host, transfer, or distribute in any way the digital or 3D printed versions of this object, nor any other derivative work of this object in its digital or physical format (including - but not limited to - remixes of this object, and hosting on other digital platforms). The objects may not be used without permission in any way whatsoever in which you charge money, or collect fees.
Comment & Rating (1)