
Print Profile(3)


Description
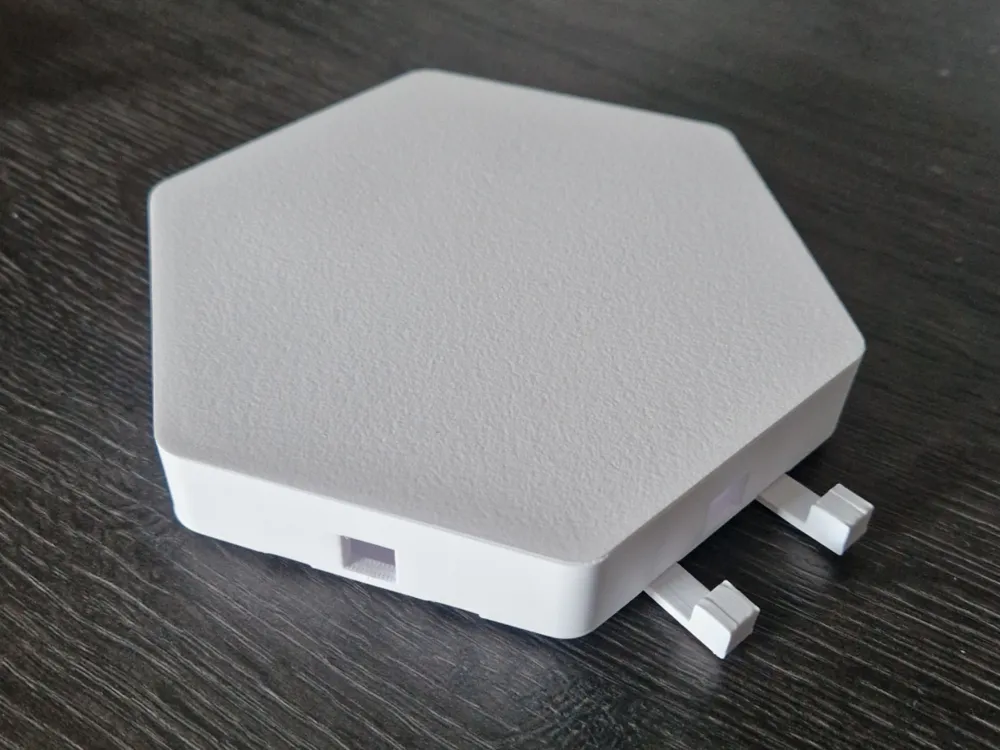
I had wanted to build my own hexagon panels with adjustable RGBs for a long time. Now I finally got around to it and developed this design over the past few weeks. If you like the project, feel free to leave me a boost
Boost Me (for free)
You can boost me for free here
General Information
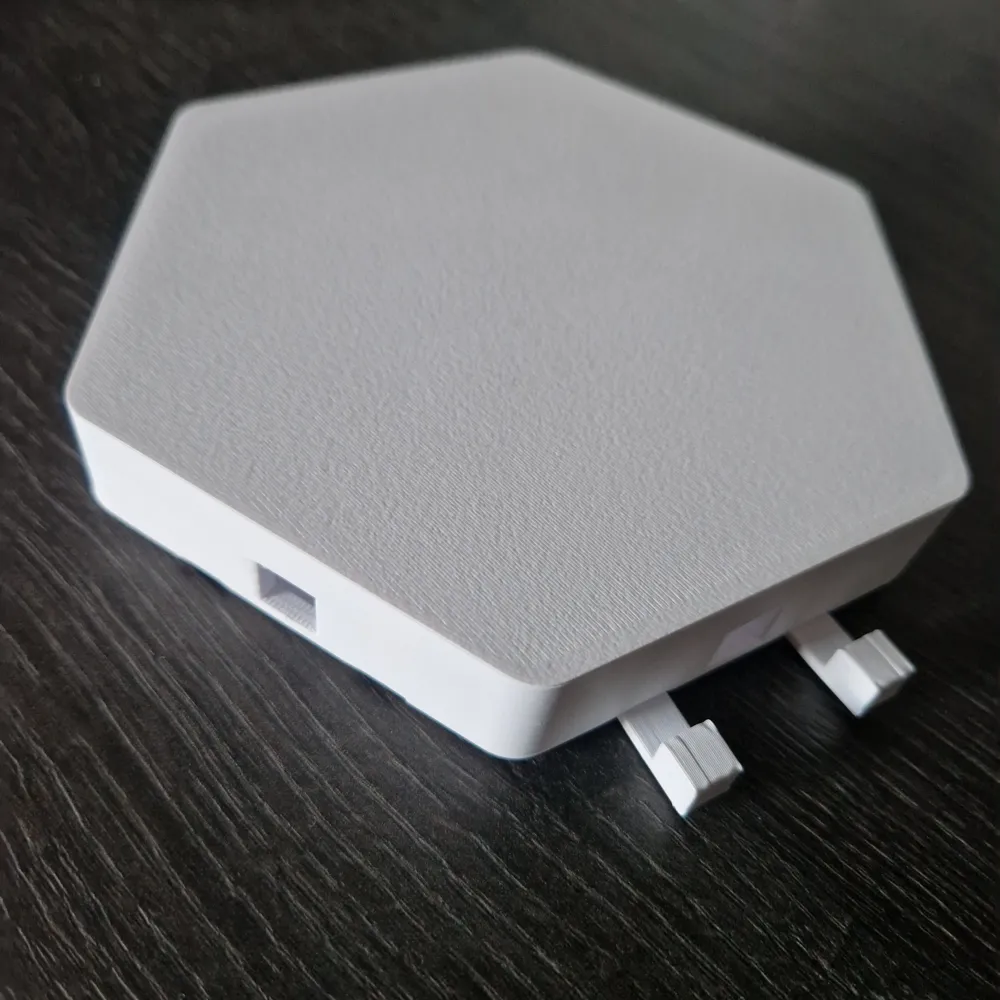
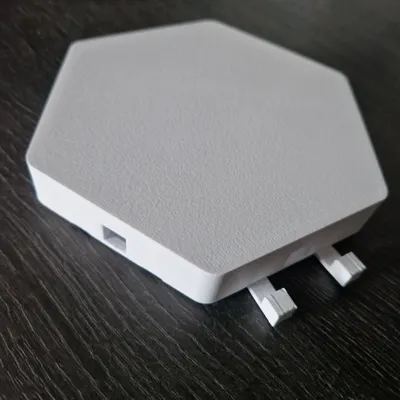
- The panels are unidirectional and can be connected on any side
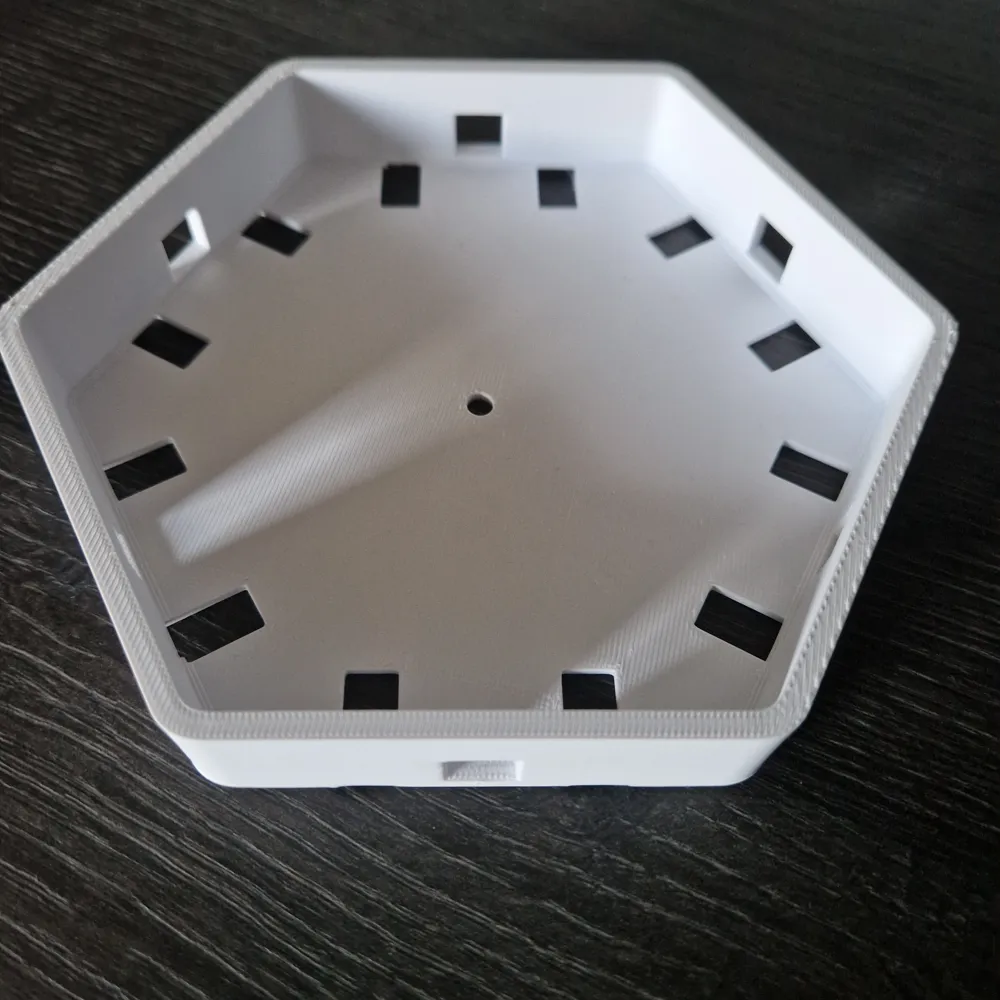
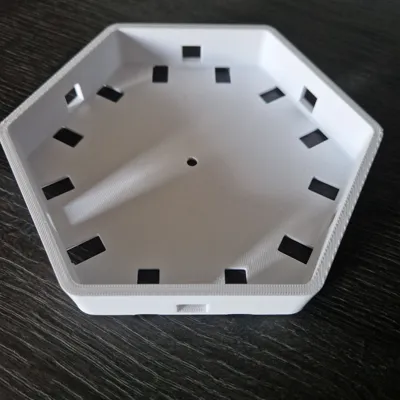
- The hole on the side is for routing the RGB strips
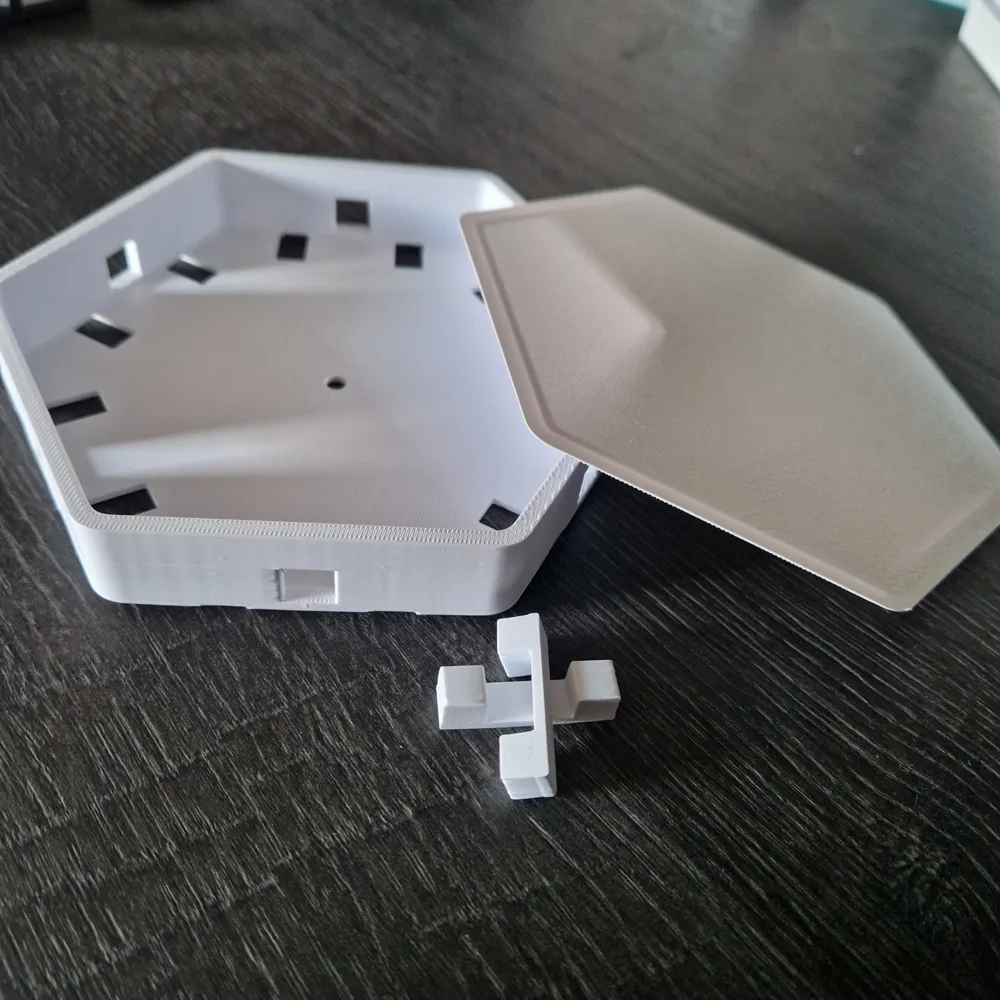
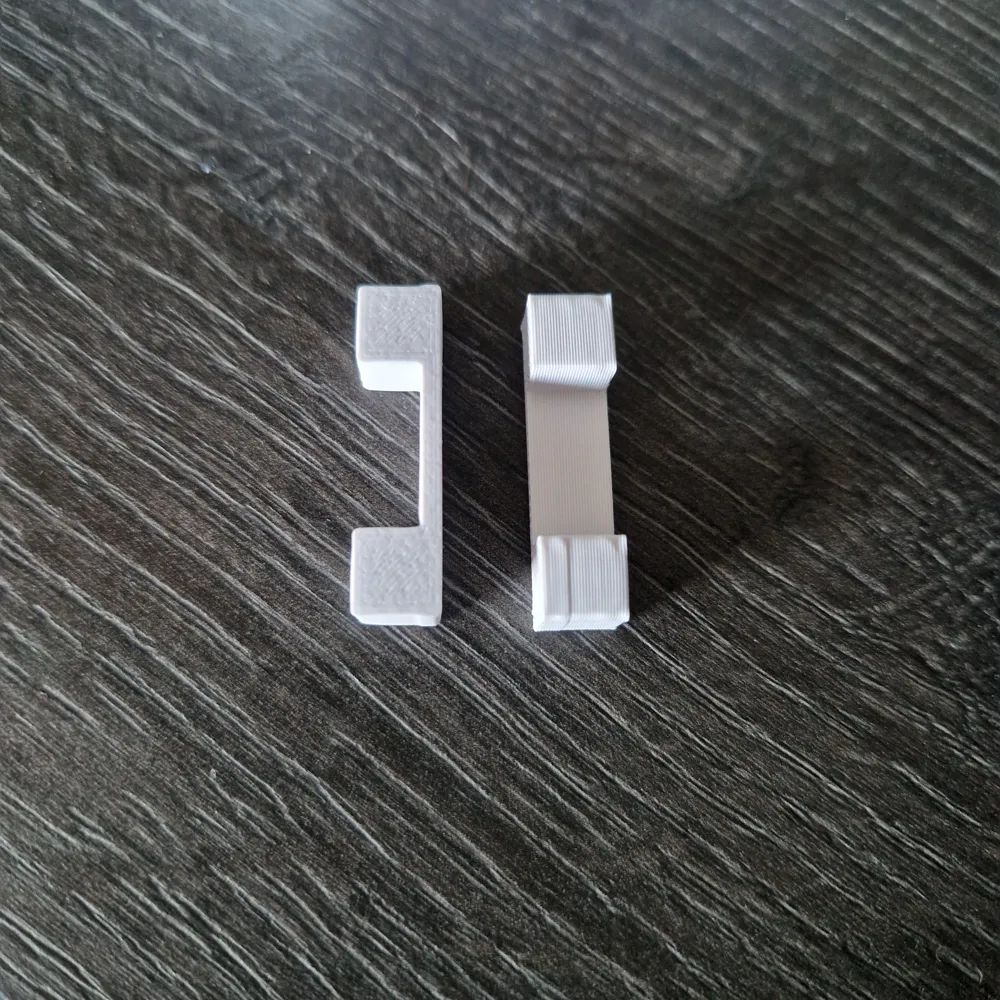
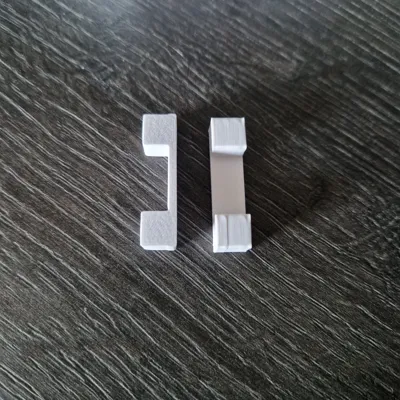
- The holes at the bottom are for the connectors and can be printed with the same print profile as the housing
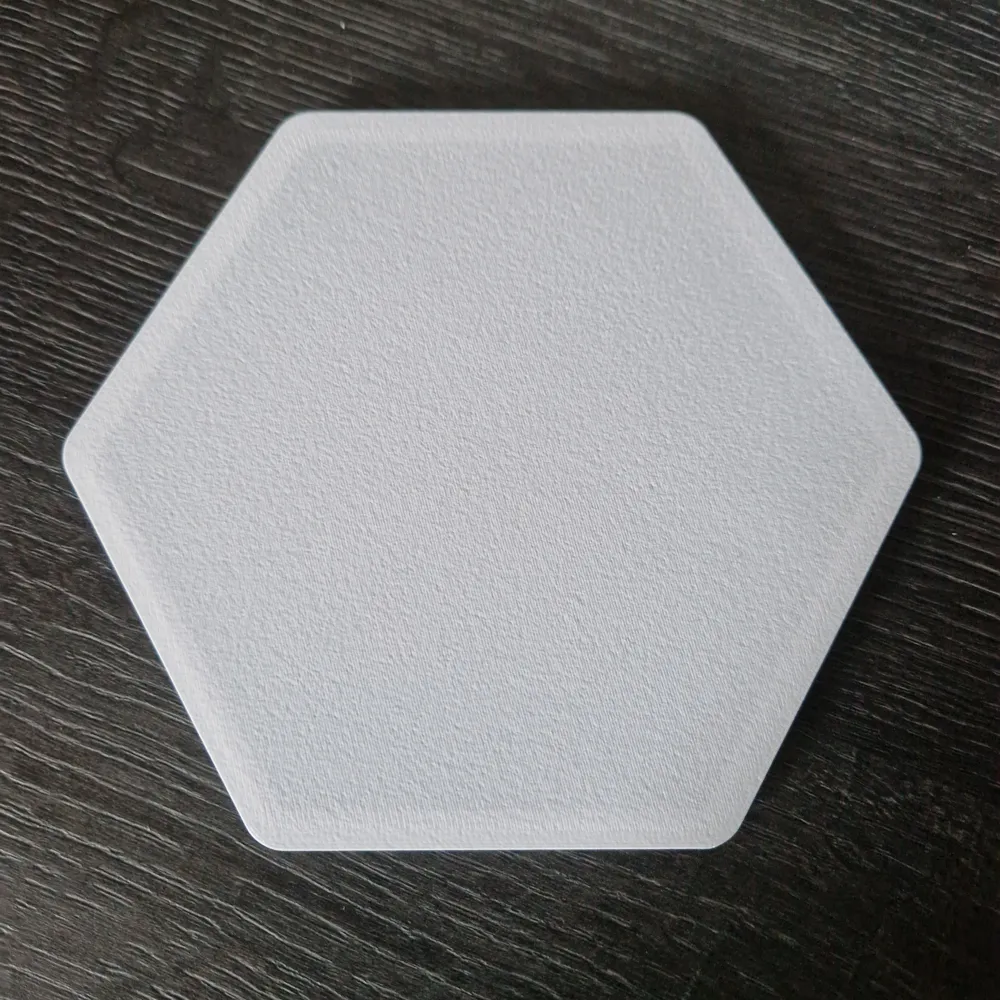
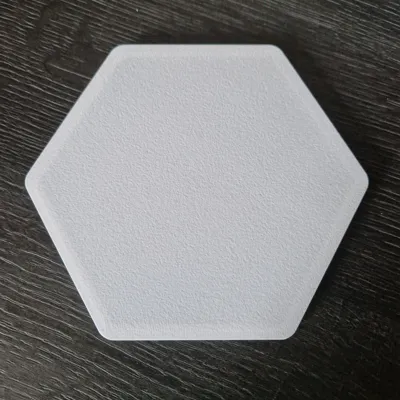
- For the panels (illumination plate), I used a separate print profile with 0.8mm height and concentric smoothing to avoid holes in the illuminated layer
- According to calculations, approximately 0.5m (exact value: 42cm) is needed per HexPanel to illuminate it
- I have read that lining such panels with aluminum foil internally helps with luminosity by reflecting light. I therefore recommend this as well
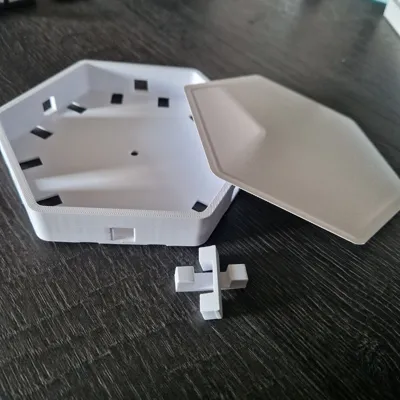
- During assembly, the connectors usually fit snugly into the base plate; some force may be required. The illumination plate sits somewhat loosely and can be secured with thin adhesive strips under the outer edge so they do not show through. Alternatively, adhesive can be used, but then the panel cannot be opened later
- I recommend screwing them to the wall/ceiling, but not every panel needs to be screwed in; depending on the pattern, ¼ or ⅓ should be sufficient
Troubleshooting
If there are issues with underextrusion (gaps or holes in the illumination plate), more flow should be attempted first. I am happy to help with any problems
I used the BIQU CryoGrip plate, however, an Engineering Plate and the standard PEI-Plate should also work. The main difference is the surface finish that is visible at the end
I used eSUN PLA Basic White filament, but most filaments should work. The color affects light transmittance
License

You shall not share, sub-license, sell, rent, host, transfer, or distribute in any way the digital or 3D printed versions of this object, nor any other derivative work of this object in its digital or physical format (including - but not limited to - remixes of this object, and hosting on other digital platforms). The objects may not be used without permission in any way whatsoever in which you charge money, or collect fees.


Comment & Rating (0)