
P2S Rear Cover V2 Complete
Print Profile(7)


Description
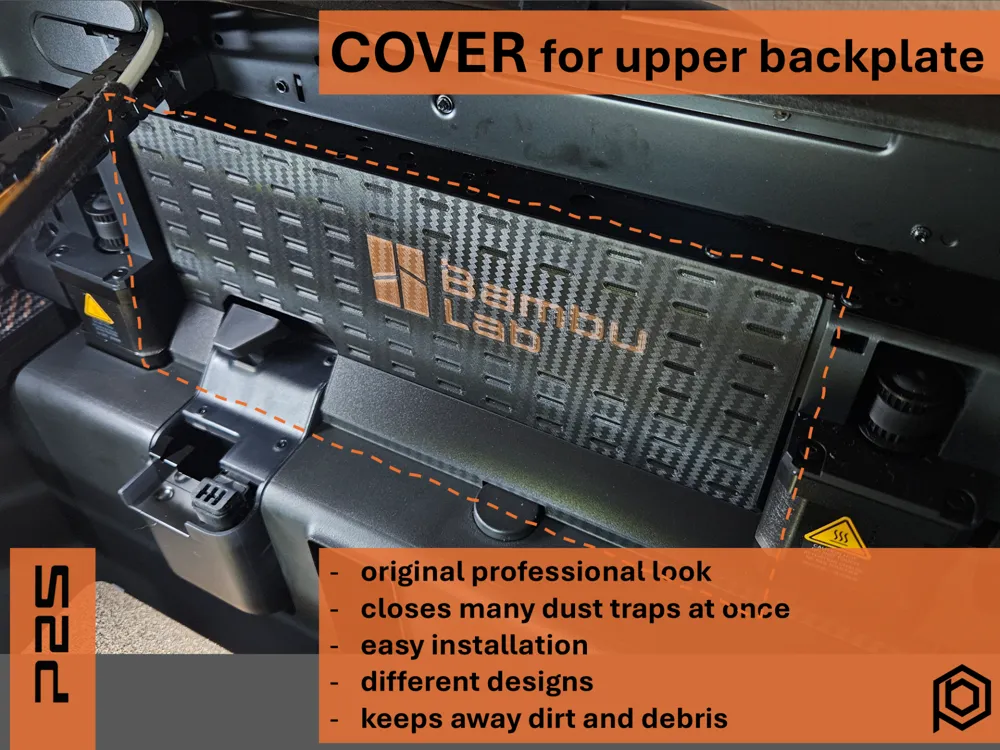
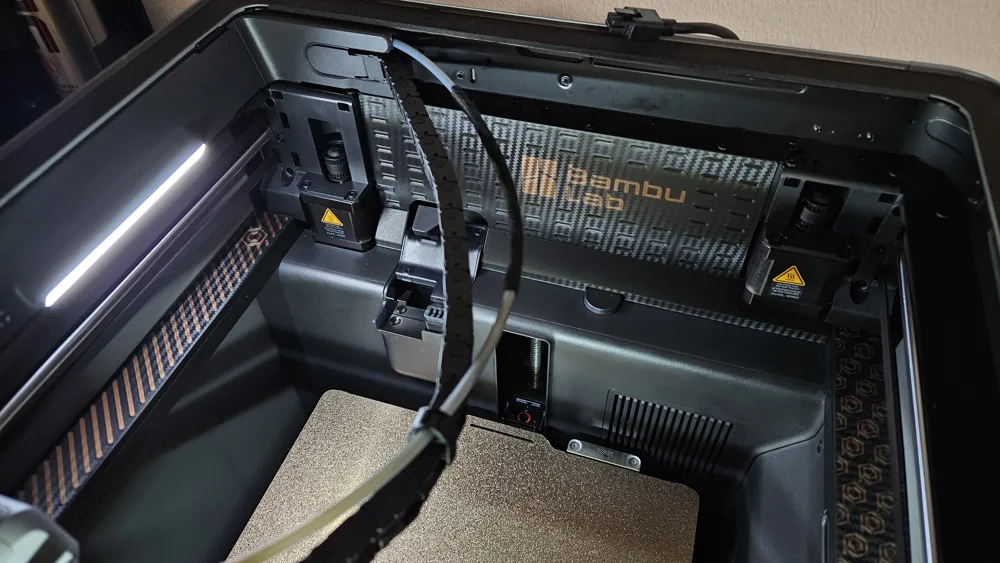
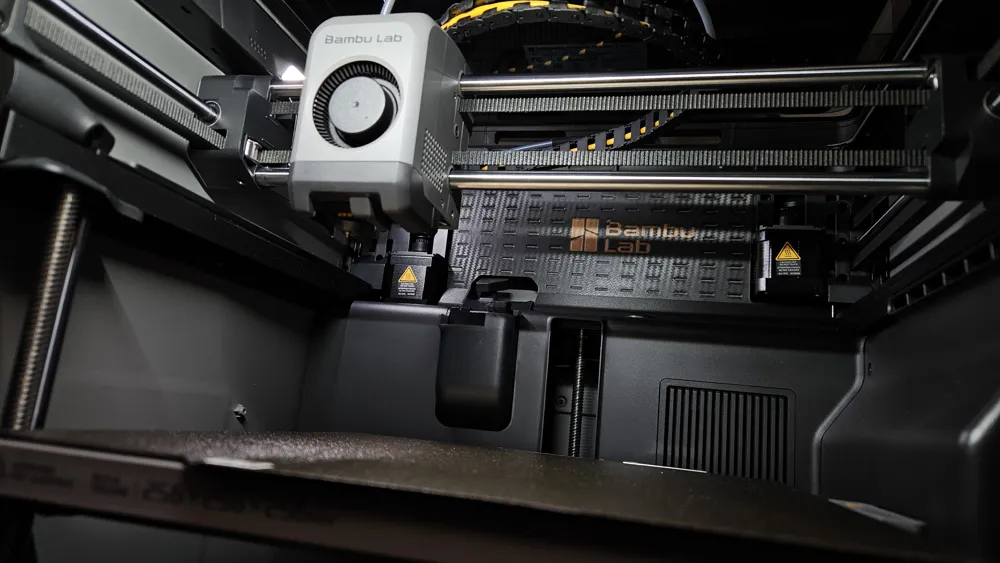
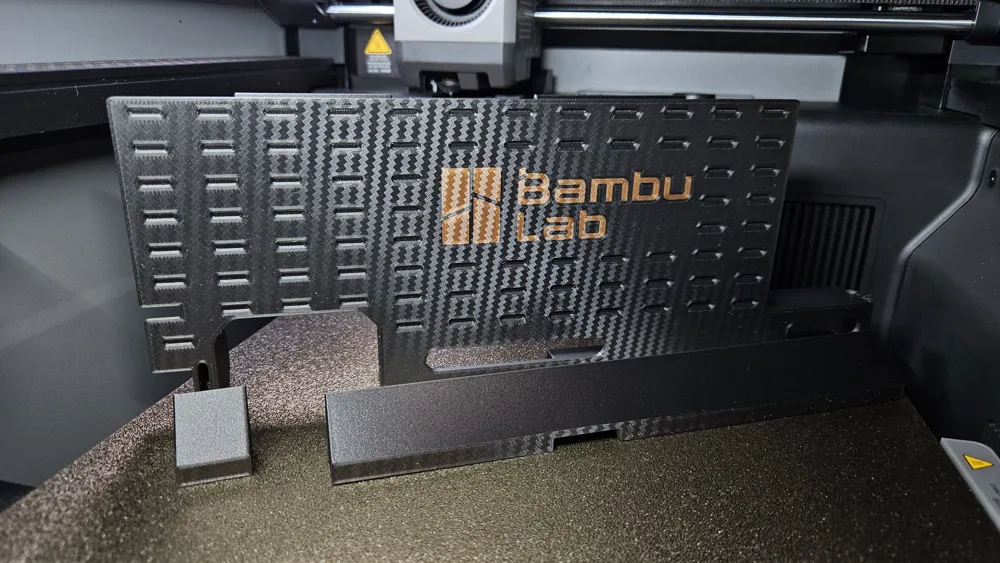
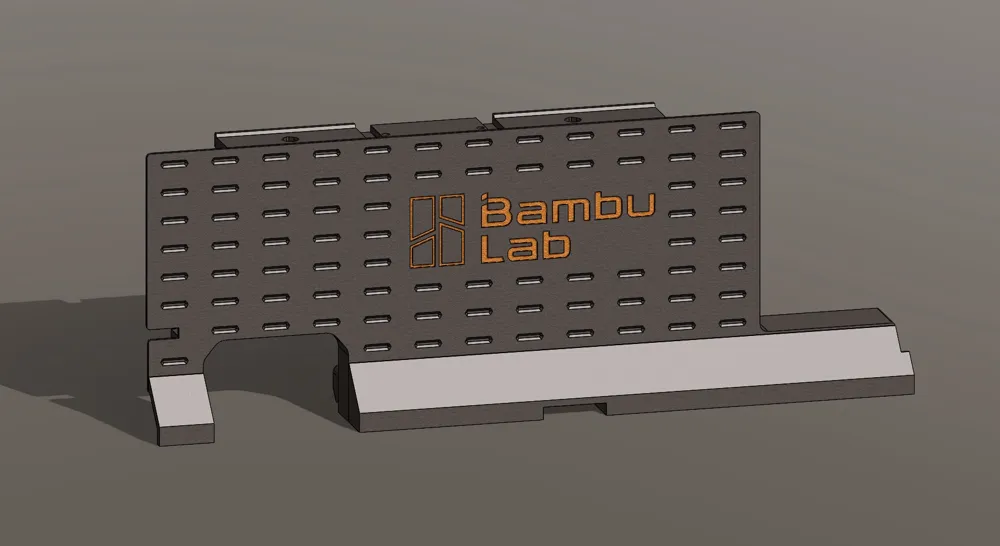
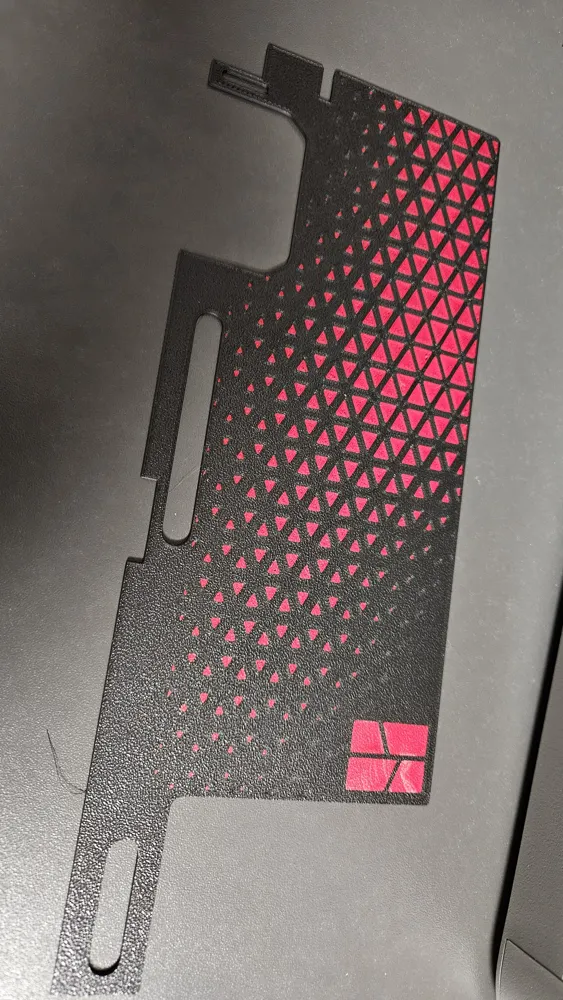
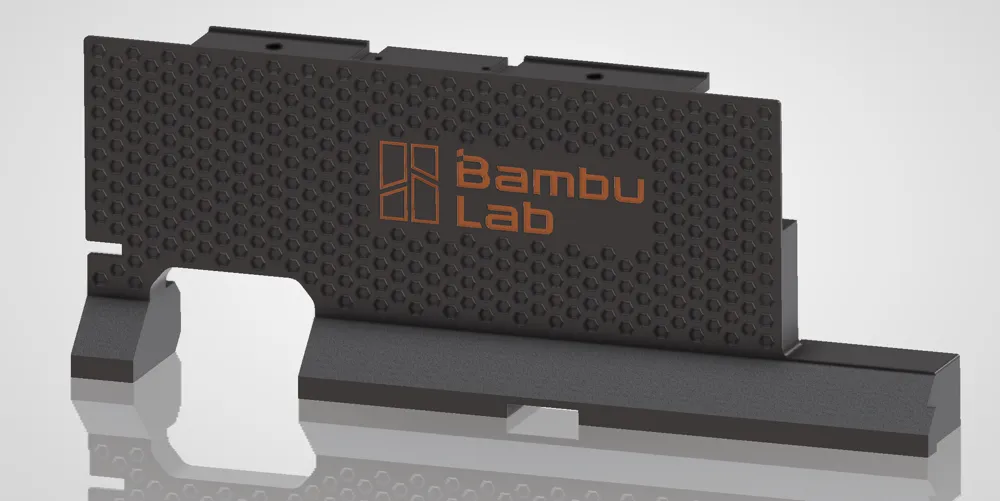
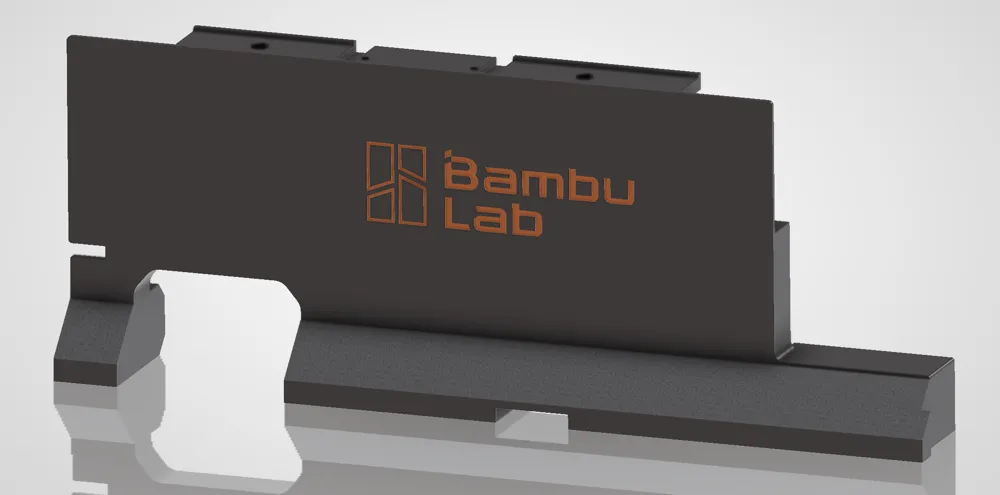
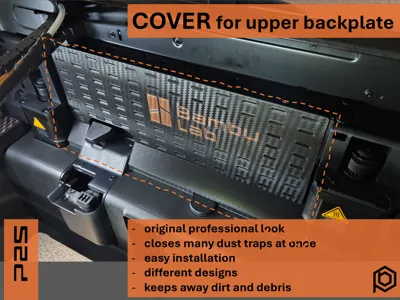
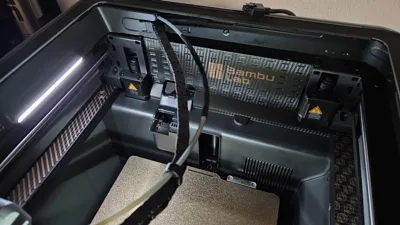
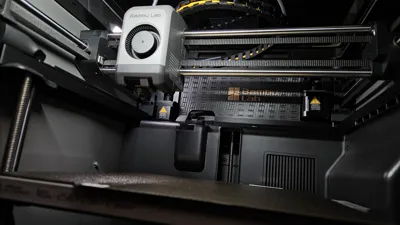
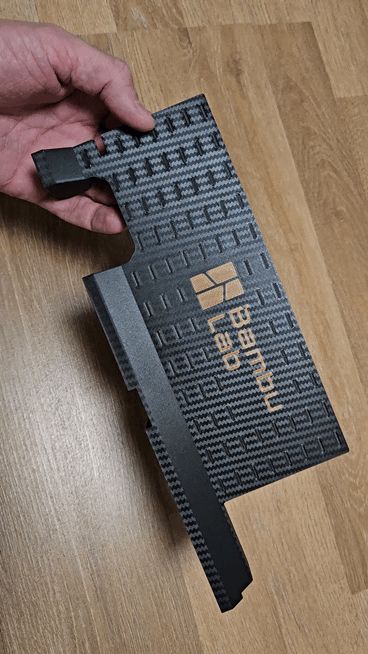
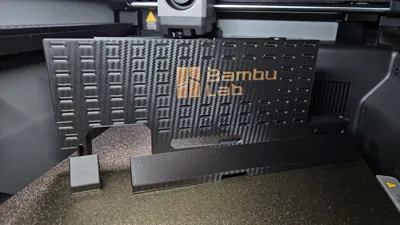
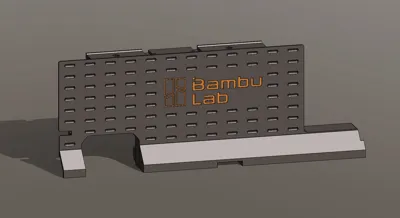
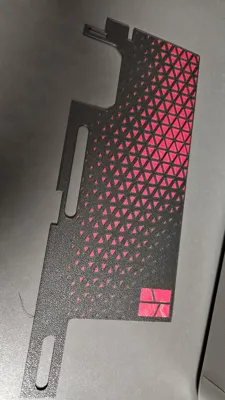
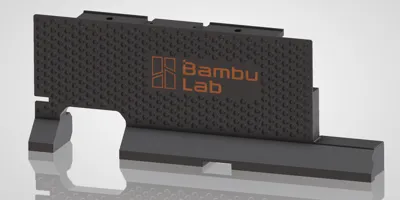
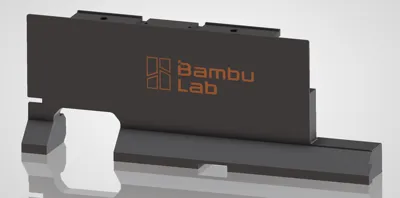
A cover for the complete rear interior wall of the P2S printer
(The improved V2 version, which can be printed flat for a visually better and more precise result)
Features:
- looks nicer :D
- gives the printer an even more premium look
- prevents accumulation of dust and filament residue
- covers the open gaps and drill holes
Boost Me (for free)
Please leave a boost if you like the part. It's truly helpful for visibility, and I'd love to continue providing you with great content. Thank you!!
PETG is recommended due to the chamber temperatures
PLA also works acceptably, though the part might warp slightly over a longer period
I used PLA CF here
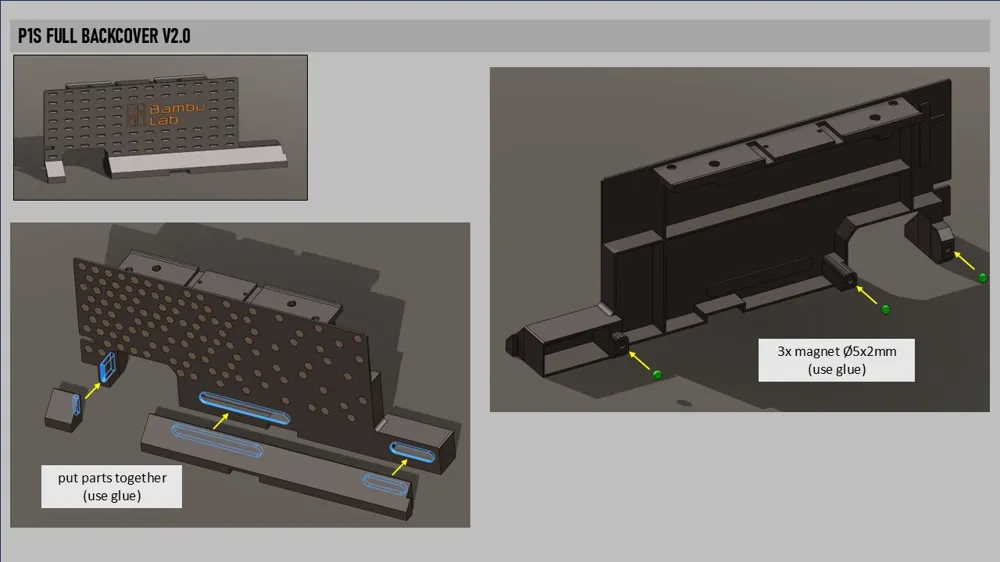
Assembly: (Please refer to the illustrated assembly guide)

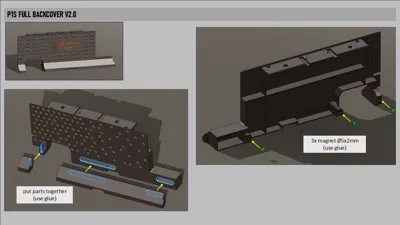
The cover generally consists of three parts
Preparation:
Assemble the three components and glue them together
Optionally, three magnets (Ø5x2mm) can be glued to the bottom rear
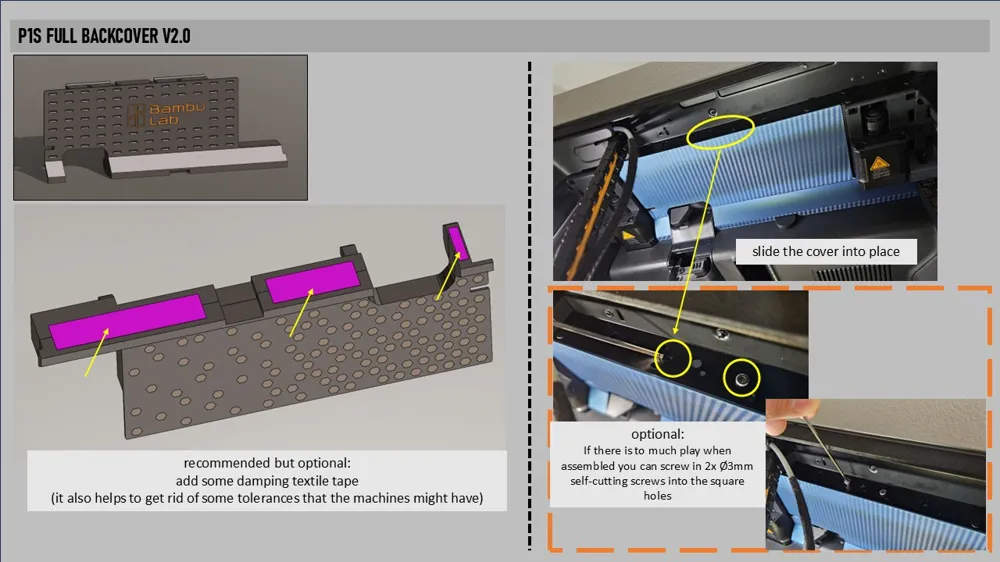
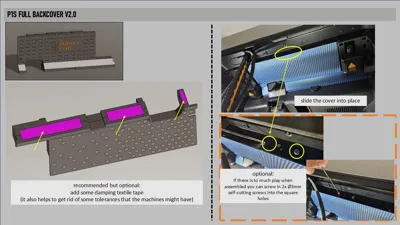
Additionally, I recommend applying textile tape to the bottom to prevent noise and help compensate for tolerances
Installation:
When installing in the printer, carefully place it and simply push it back against the wall
There are small locking ribs at the top, so proceed with careful force 😉
Normally, the cover should then sit firmly and not wobble
Optionally, a 3mm self-tapping screw can be inserted through each of the square openings in the upper metal strut
Documentation (2)
License

You shall not share, sub-license, sell, rent, host, transfer, or distribute in any way the digital or 3D printed versions of this object, nor any other derivative work of this object in its digital or physical format (including - but not limited to - remixes of this object, and hosting on other digital platforms). The objects may not be used without permission in any way whatsoever in which you charge money, or collect fees.


Comment & Rating (416)