
1967 Shelby Cobra Car Model Multi-part & size!
Print Profile(2)


Description
Boost Me (for free)
Boost me to support the creation of even more awesome models!
Boost Me (for free)
boost me to suppor the creation of even more awesome car models!
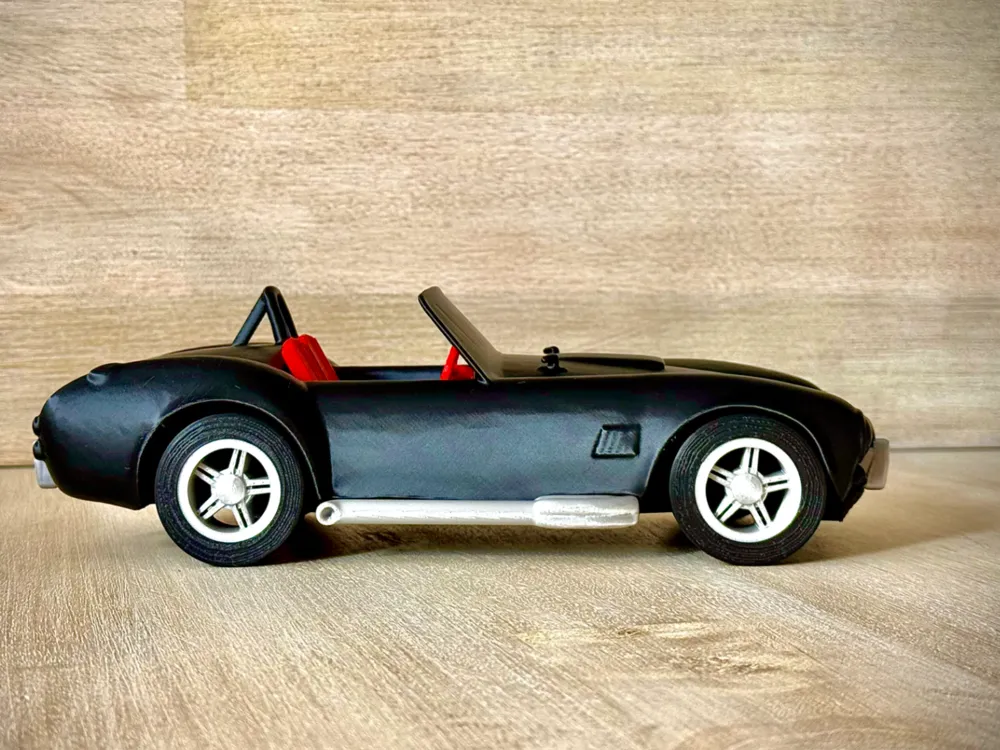
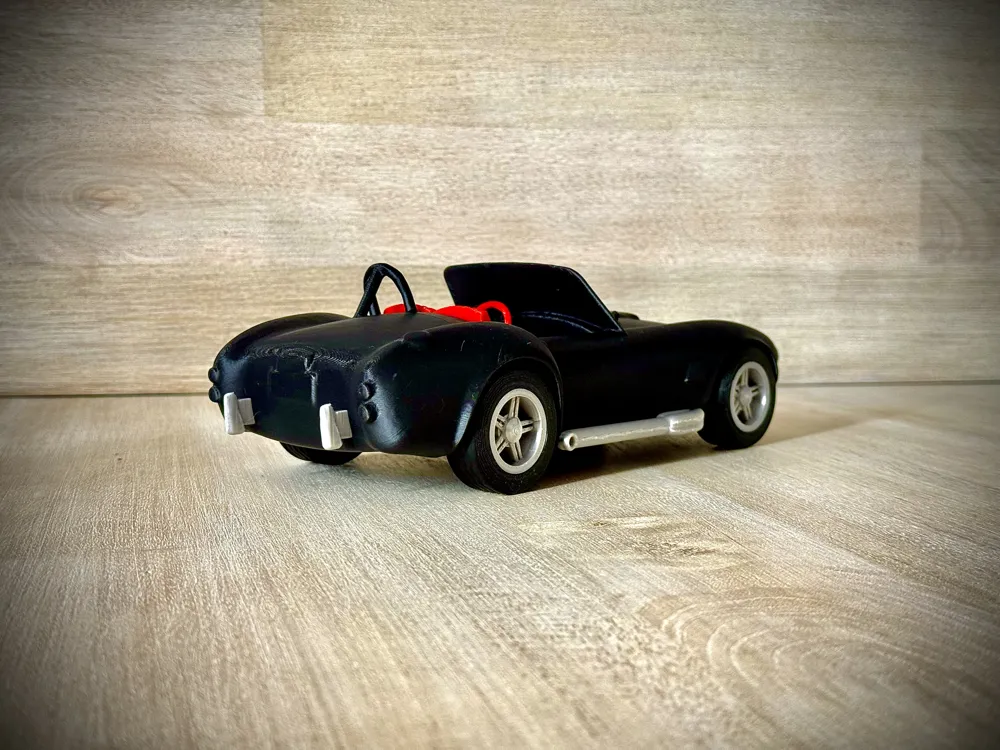
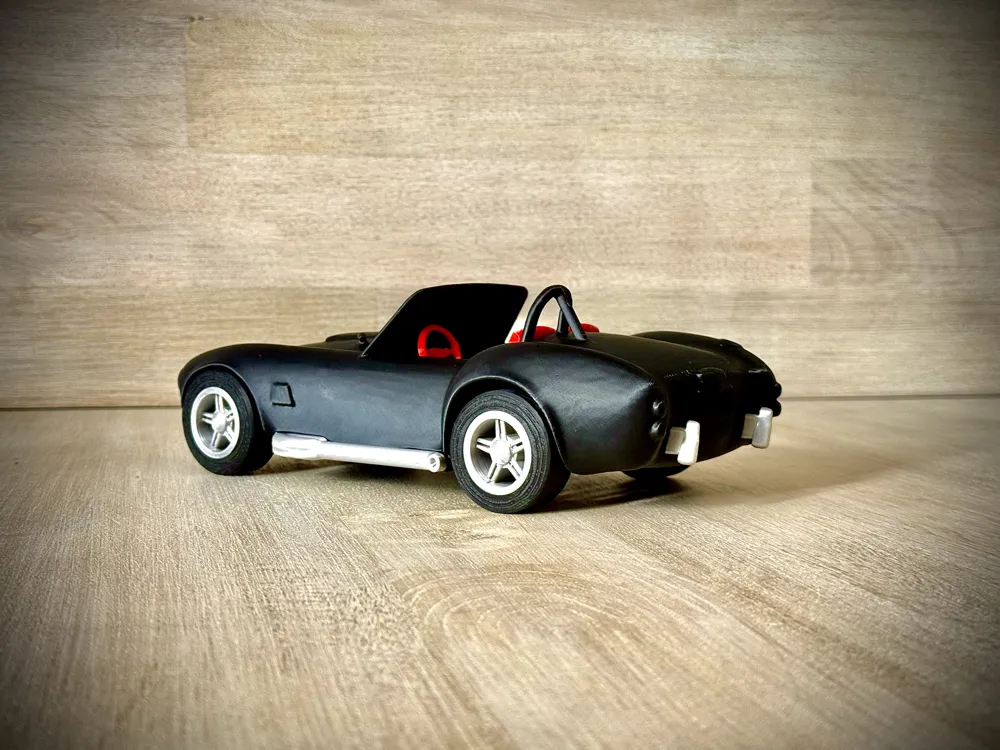
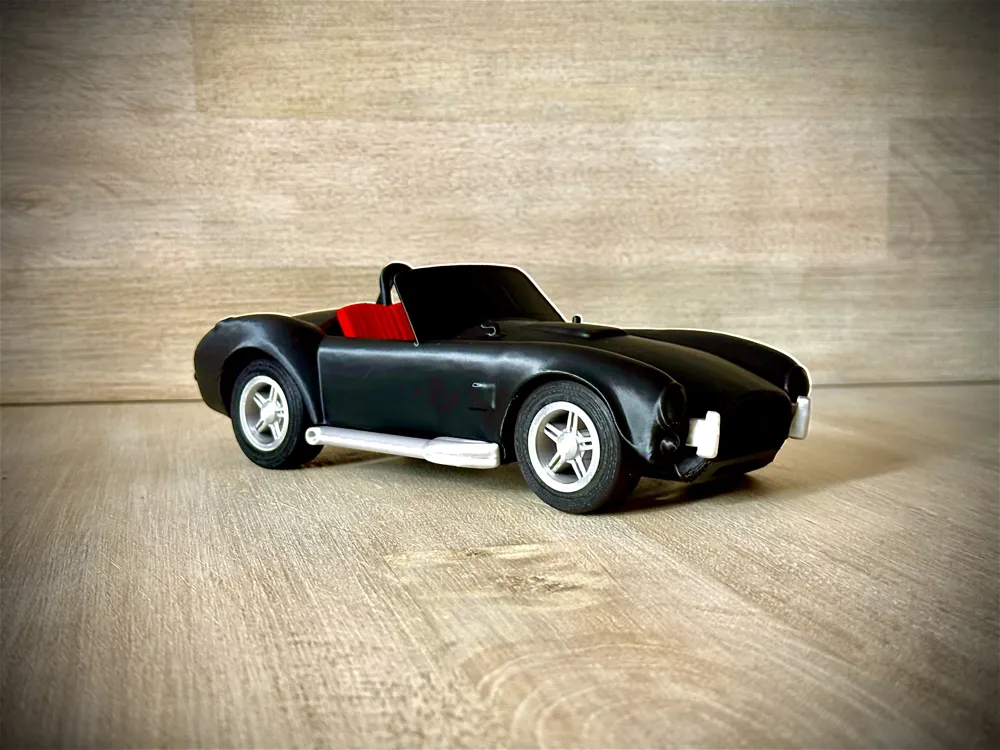
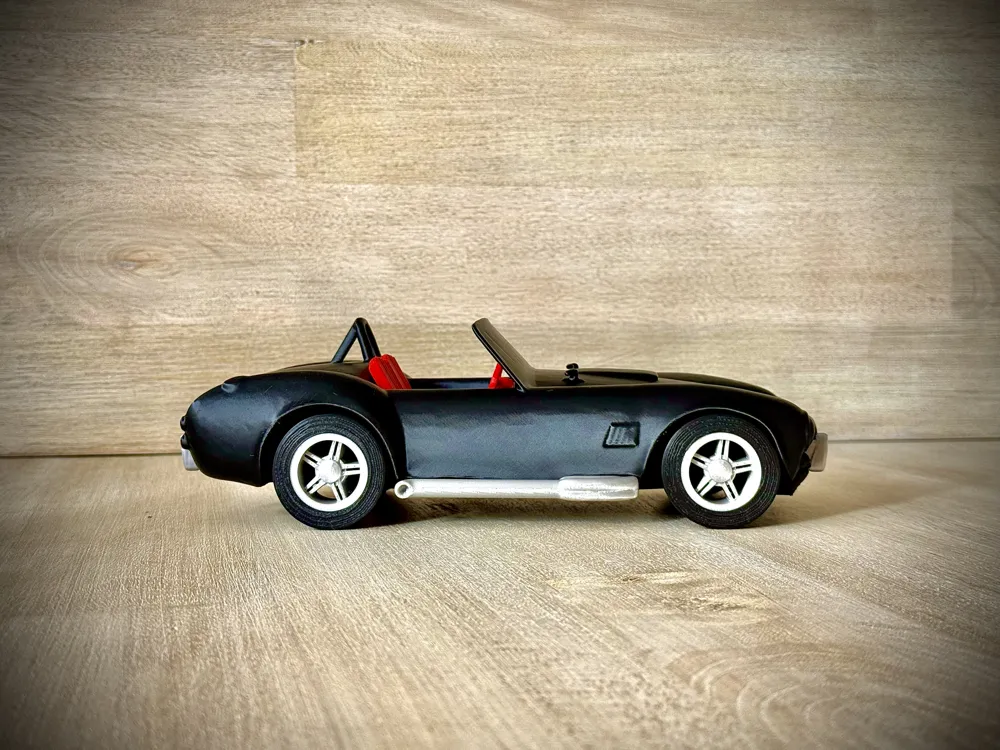
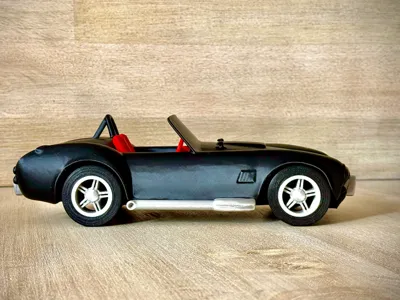
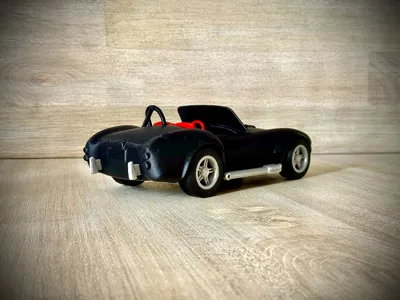
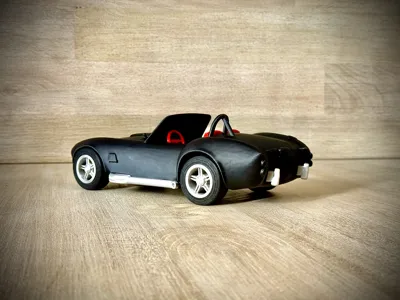
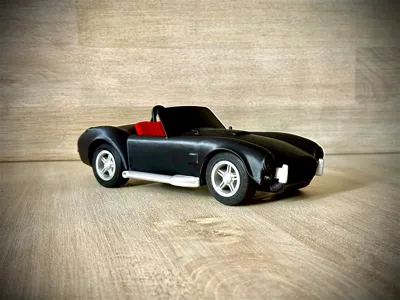
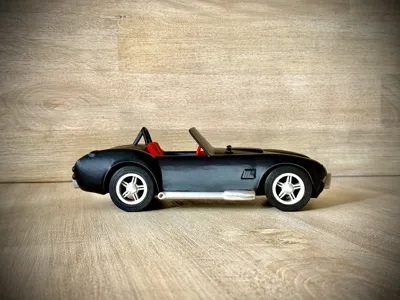
1967 Shelby Cobra - Scale Car model!
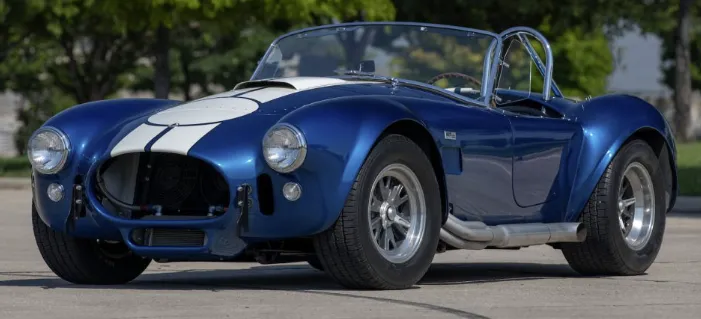
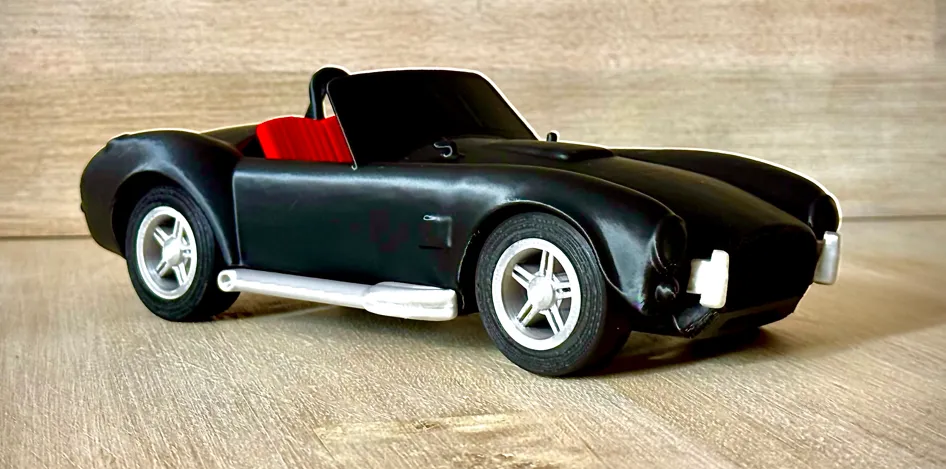
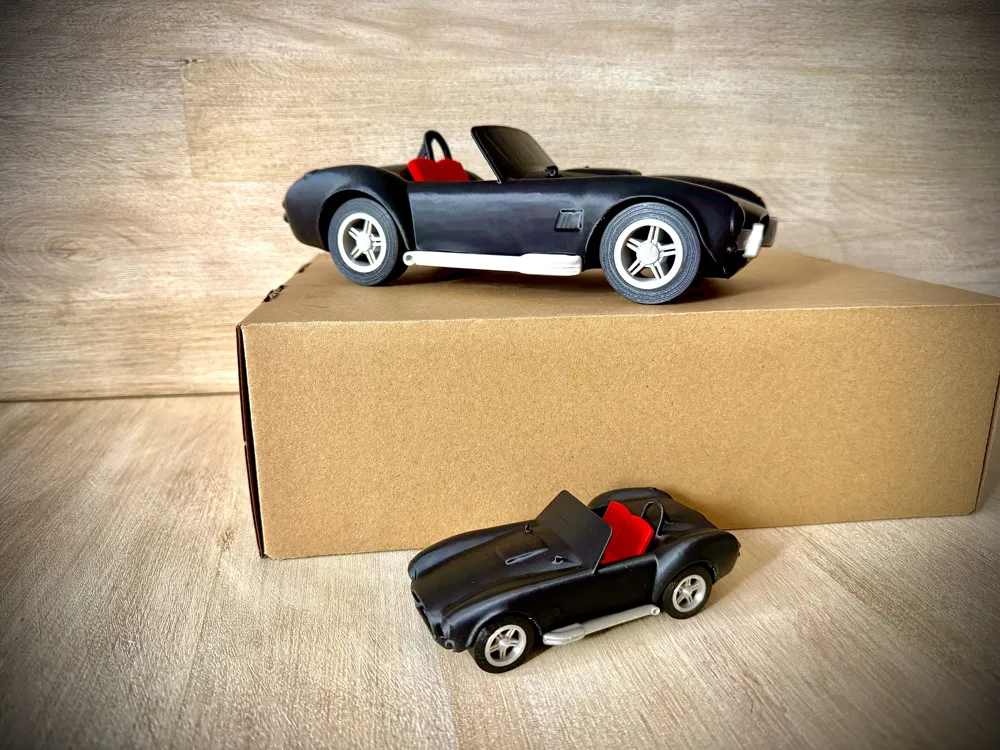
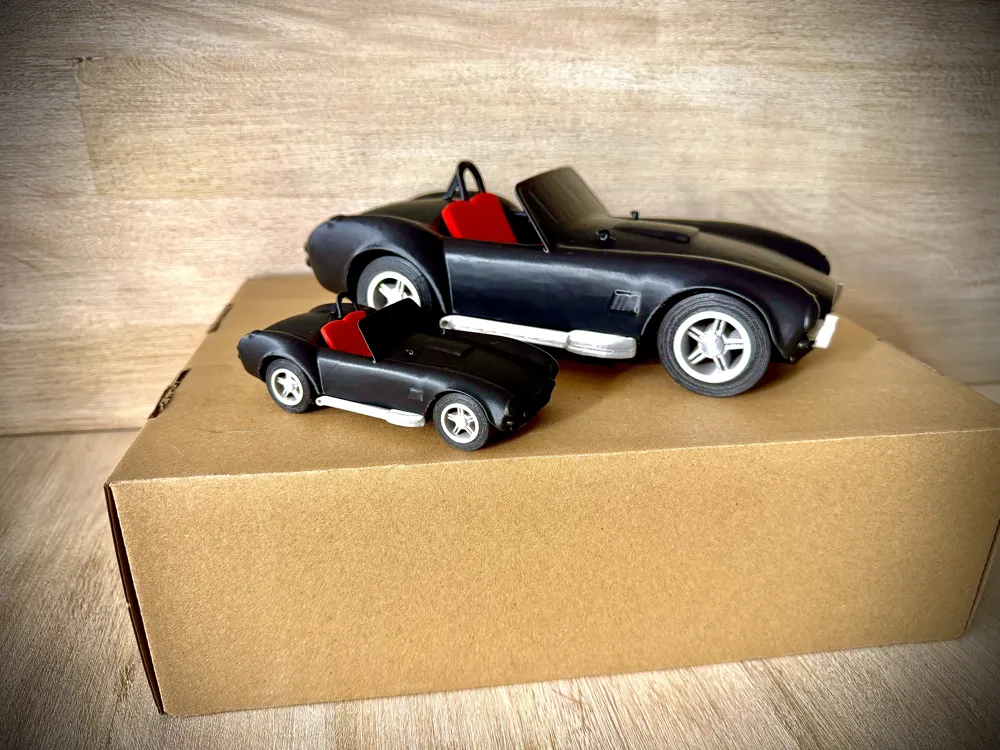
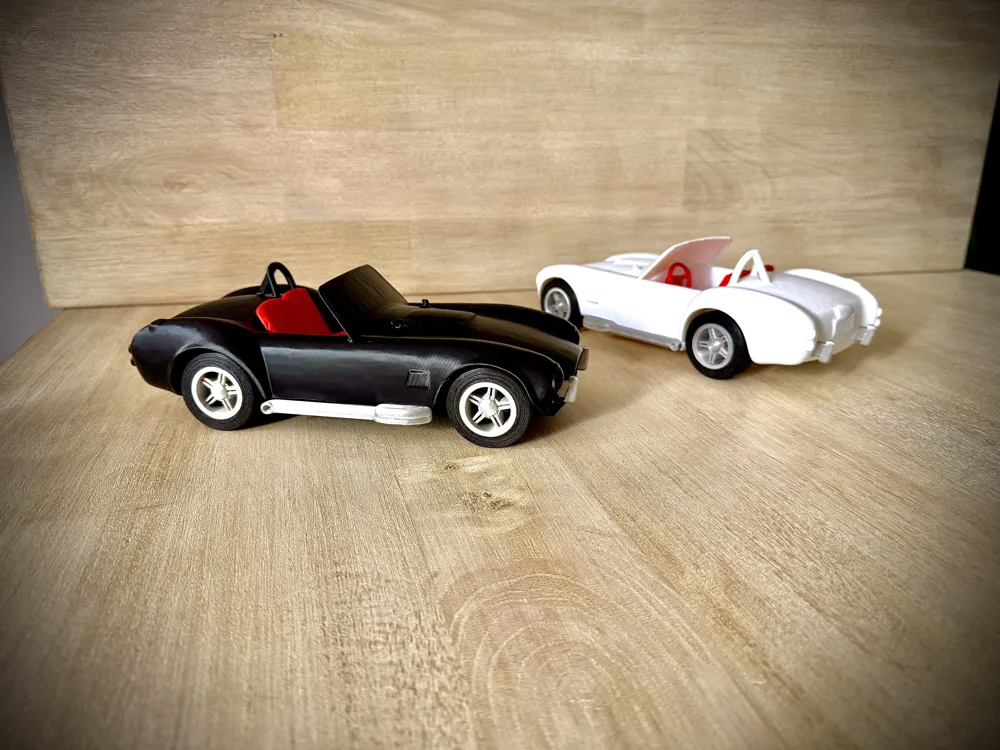
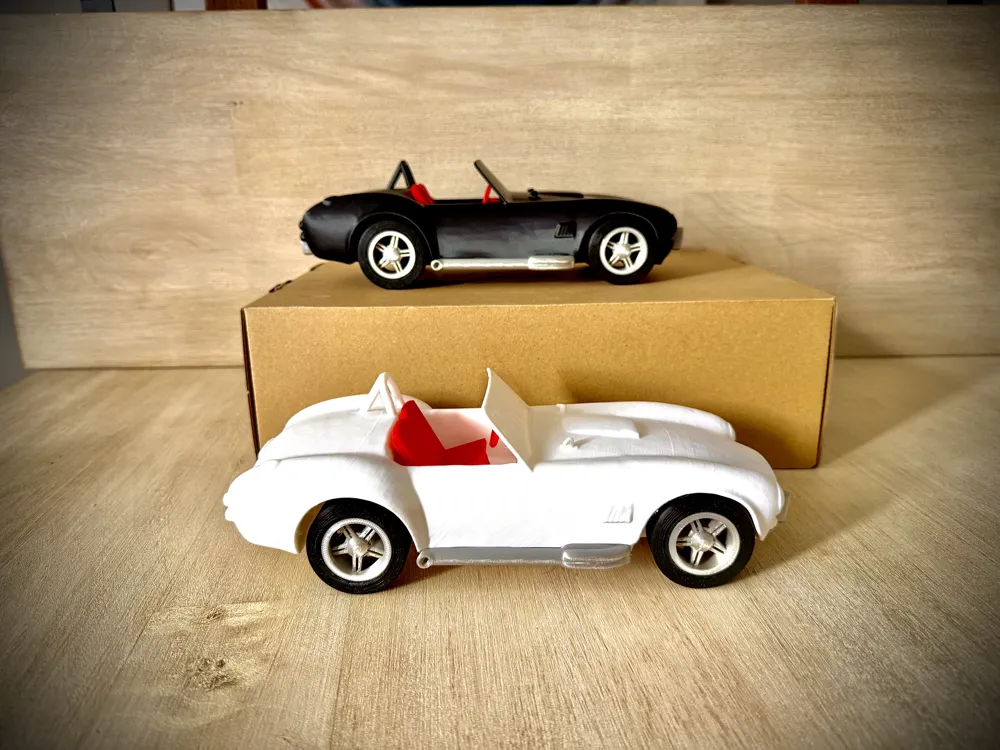
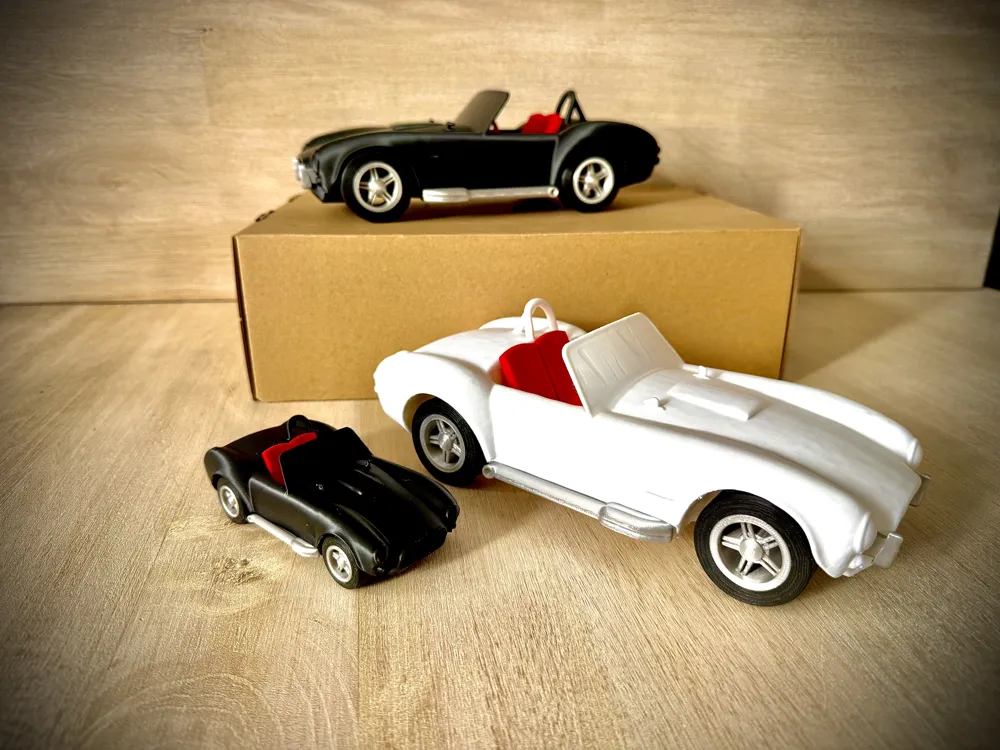
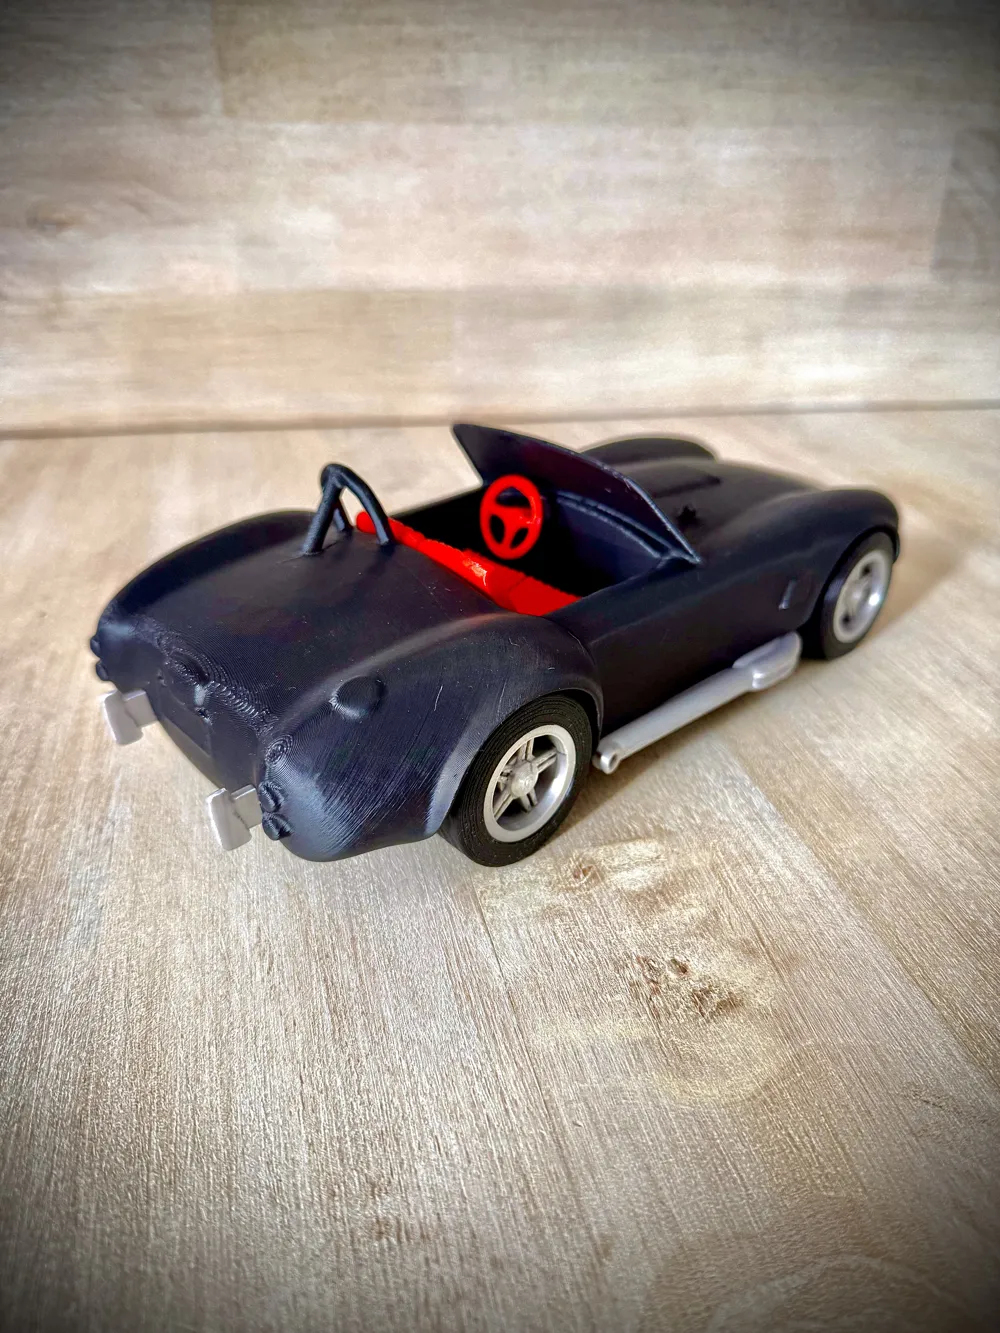
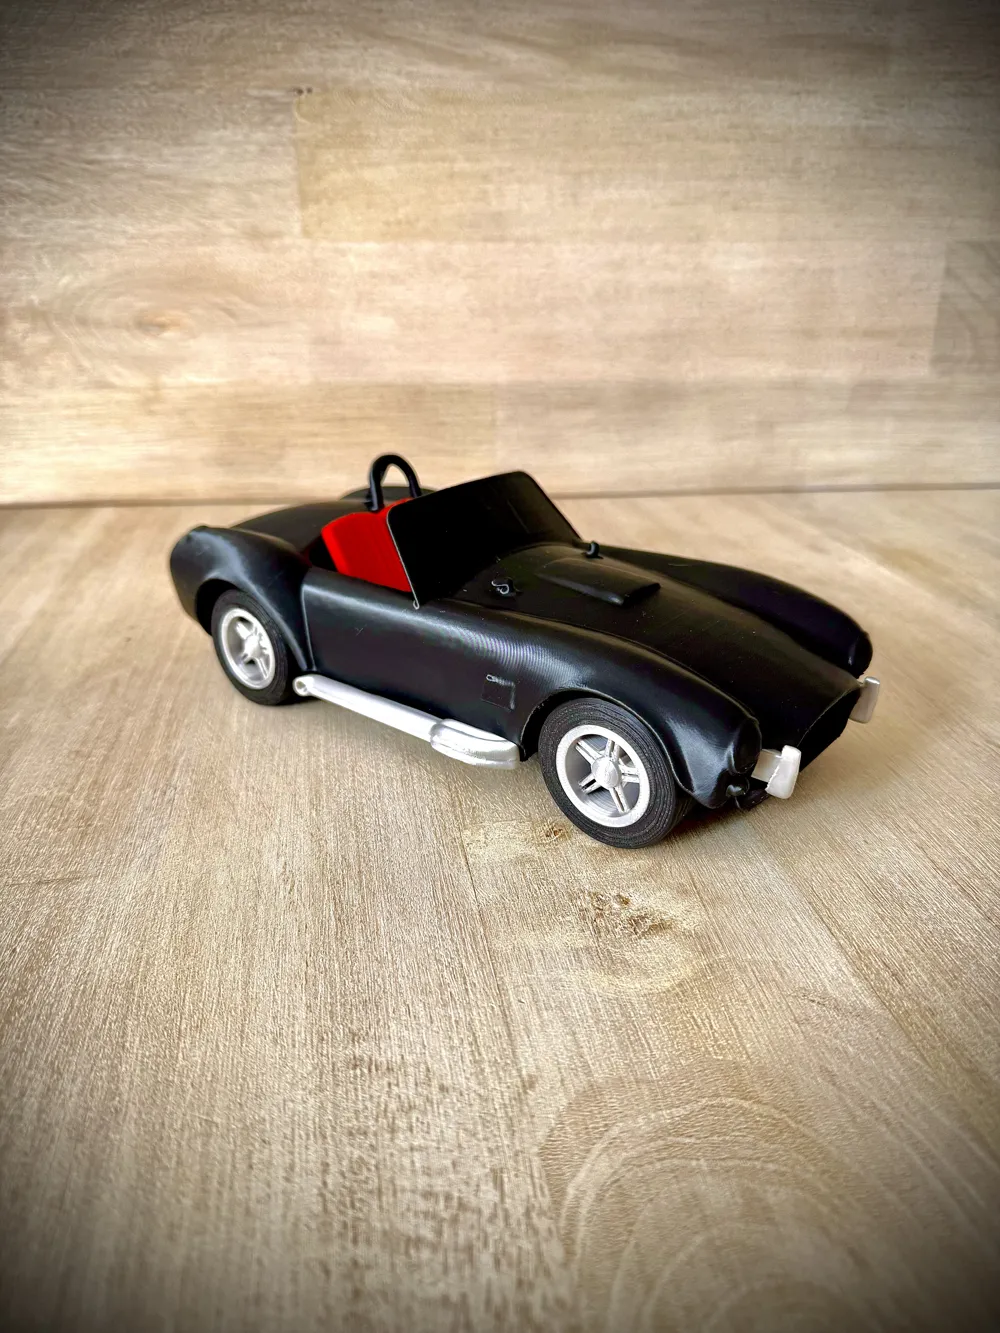
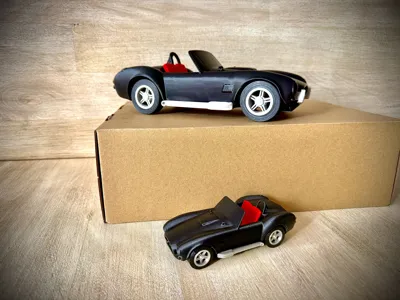
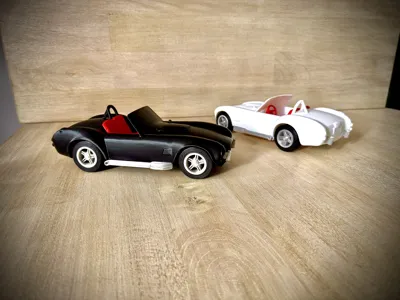
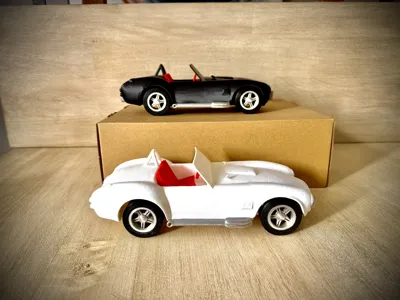
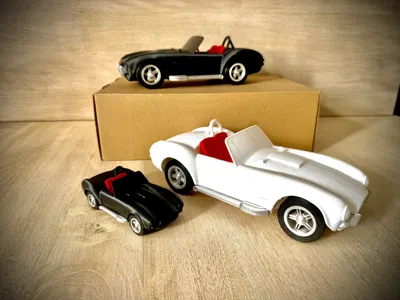
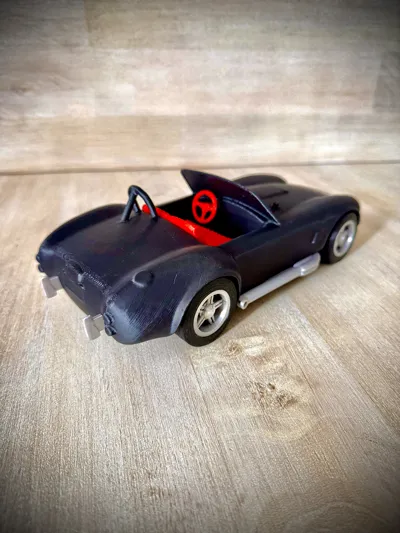
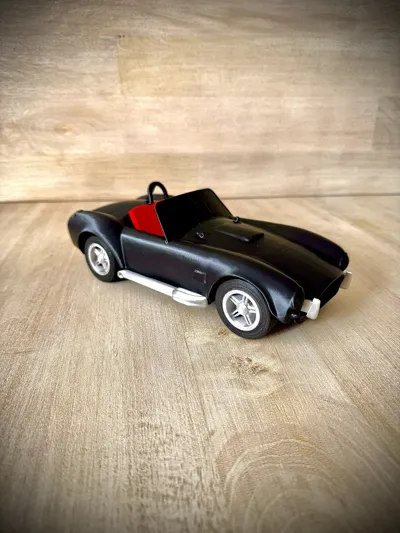
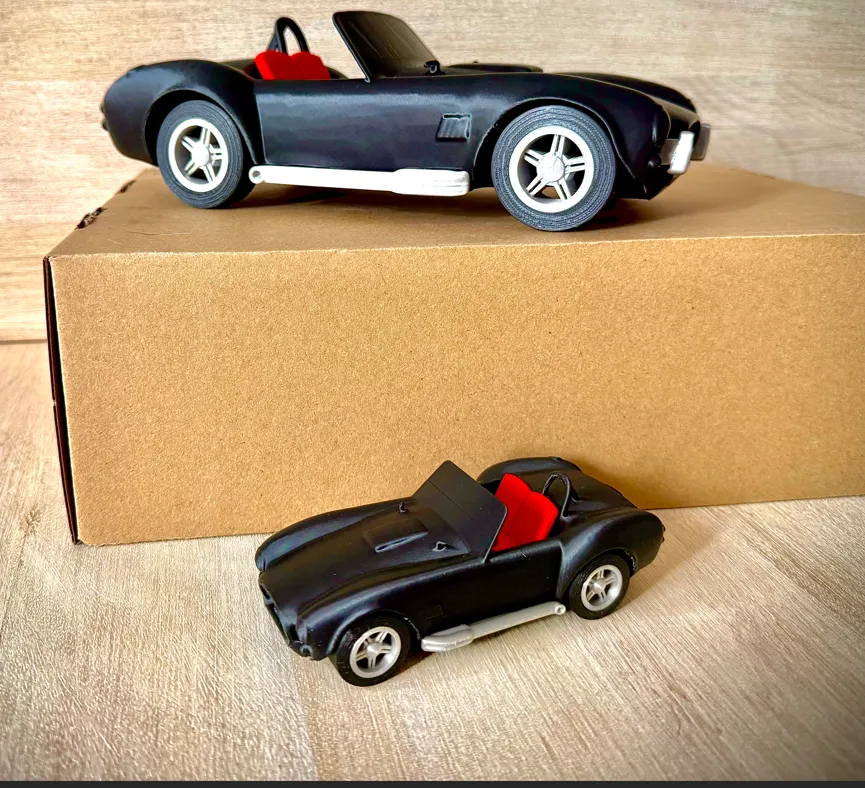
Continuing my car model collection with this absolutely stunning 1967 Shelby Cobra model! I worked to expand this model a bit more than my usual ones with a multi-part print! Not only do you have a separate exhaust, but now the front and rear bumpers, seats & the steering wheel are all separate pieces that ca be printed in a variety of colors to add some more realism and contrast to your model!
Please note that though the pieces are intended to snap together, depending on your printer/filmaent, i would recommend just a dab of glue to keep things in place, particularly on the seats!
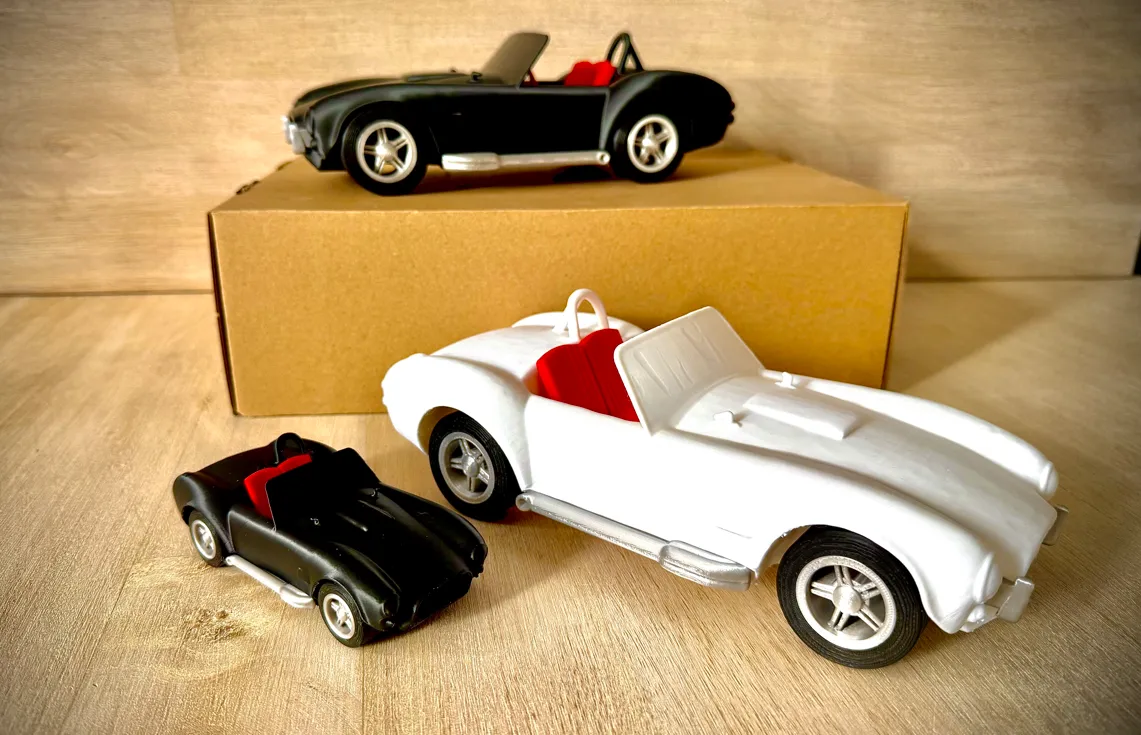
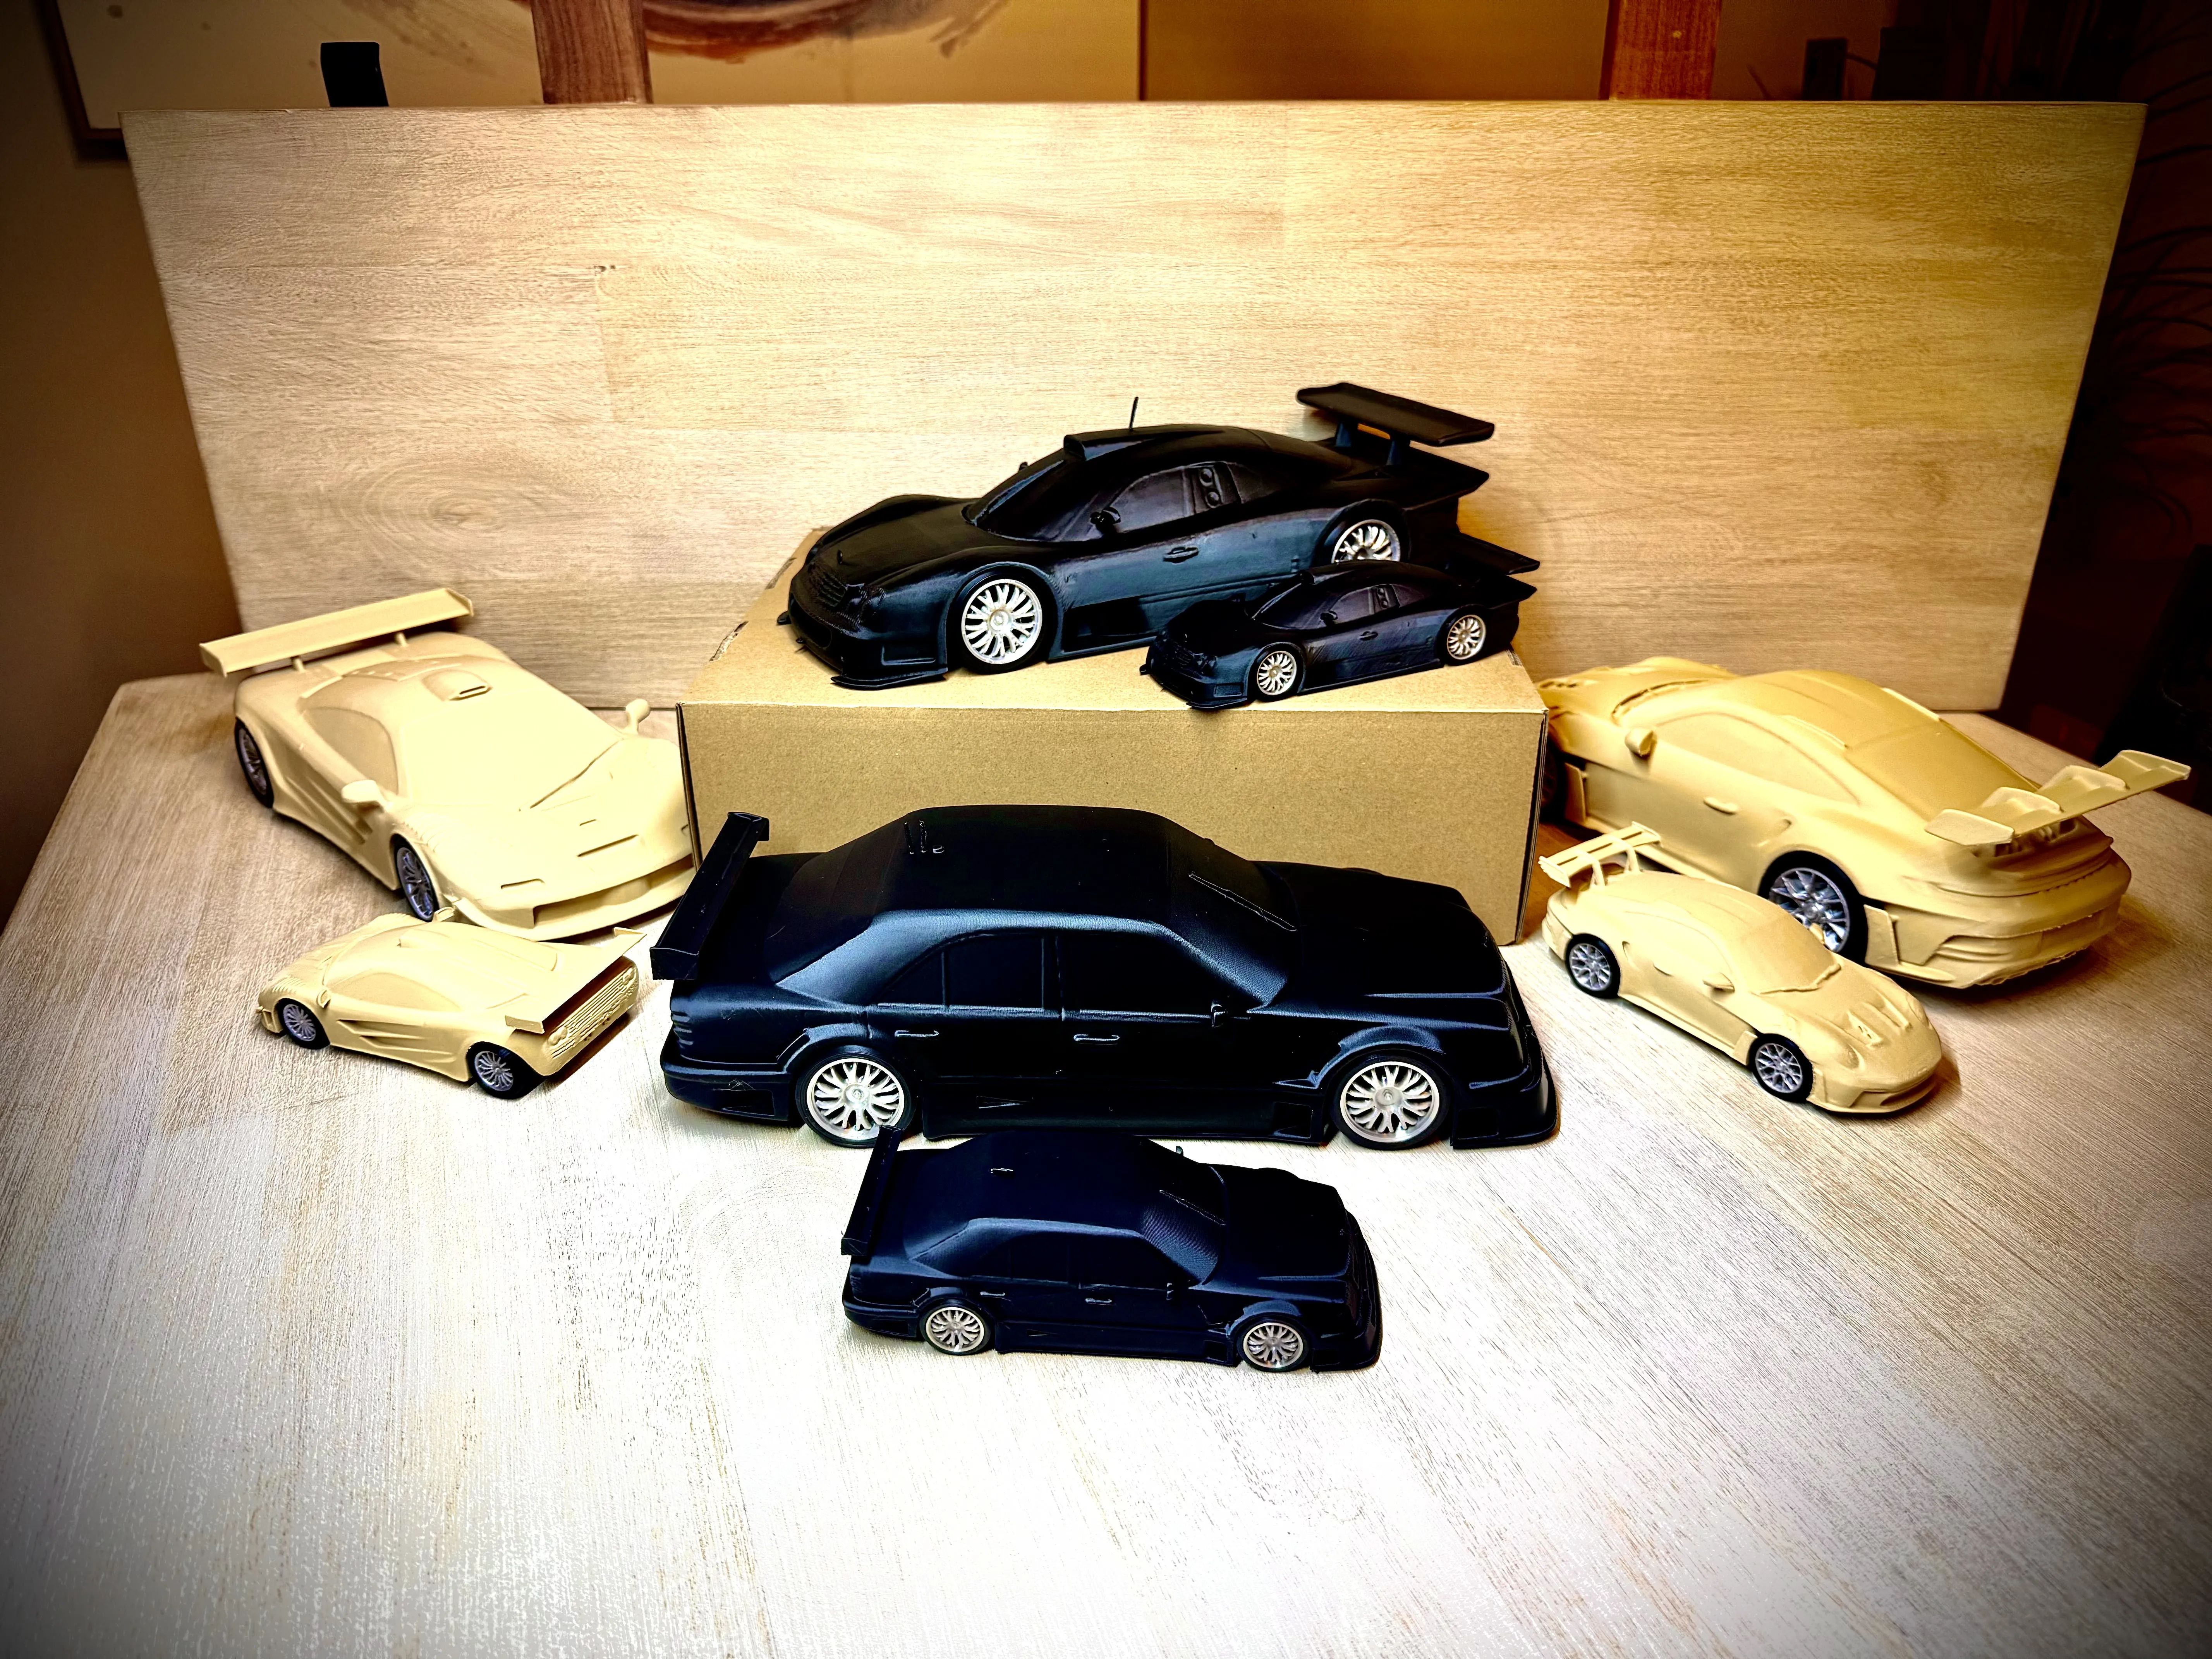
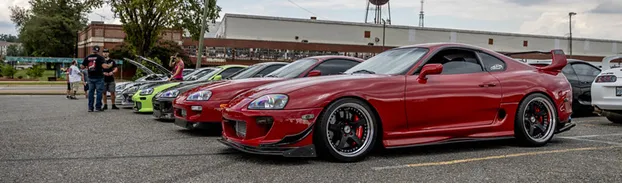
This is a small spin-off project from my recently added Supra Collection ( https://makerworld.com/en/models/1646284-toyota-supra-turbo-model-car-set-with-mods#profileId-1740049 ). I still have quite a number of cars from my Layered Car models that I've done in the past that I think would look fantastic in a full print! ( https://makerworld.com/en/collections/6642322-layered-car-art-collection )
Drop me a comment and let me know which car model you would like to see made not just layered, but in a full car print!
Size
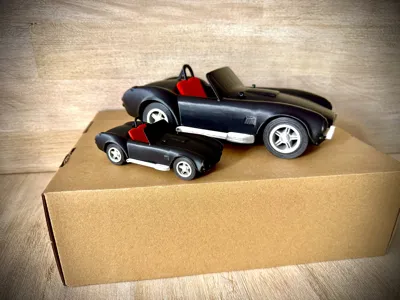
The print profiles offer 2 different sizes right now, a small and a large. The Large profile (2x the size of the small) calculates out to roughly 1:15.6 scale (so very close to 1:16, while the smaller one is roughly 1:30 ish scale (so slightly bigger than the standard 1/32).
Assembly
I have worked to clean up the models from my original prints, this model in particular paid a lot of attention to the tolerances on the wheels/tires and I don't expect that you have to make any alternations to the spindles to fit anything. The steering wheel, exhaust and bumpers should be a snug press-fit, but in certain instances you may need to add a dab of glue to keep it in place after installation. As with my previous models, if something isn't quite fitting right.. just use your scraper or blade and make some fine-tuned adjustments!
The Background
I am a huge gear-head and for the past 21 years have been fortunate enough to own my dream car: a 1995 Toyota Supra Turbo. I have spent countless hours wrenching on my car, and absolutely love anything automotive. I have also spent my fair share of time building 1:18 and 1:24 scale model cars, as well as collect die-cast models to display in my office. When I first saw these Layered Sculpture car models pop up I realized that this was my chance to put a number of my hobbies all into 1 exercise! Between my 3d Scanning, Meshmixer & blender modelling & finding available STL files online a 3 week journey began!
The Process
These sliced/layered car models follow a very straight forward, basic process.. but it all starts with a base STL file of the car model to make. There are a few options when it comes to this: 1) Find an already-created STL file of the model you want that has the appropriate licensing to remix the model. 2) Use software, like Blender or MeshMixer, to create your own base STL file using reference images, or 3) Use a 3d scanner on your existing collection of models.
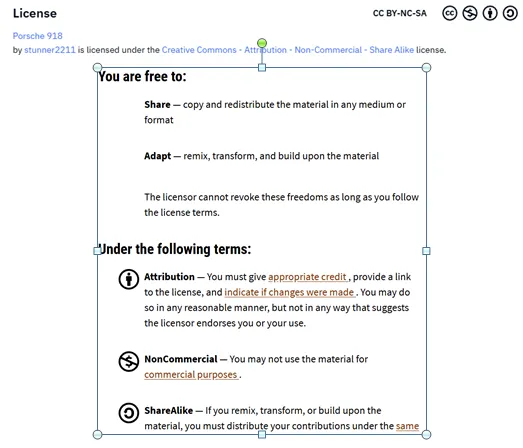
#1 is self explanatory and straightforward, make sure you’re giving the proper attribution credit where credit is due. All of my files have referenced licensing tagged for all the artist whos models I have remixed.
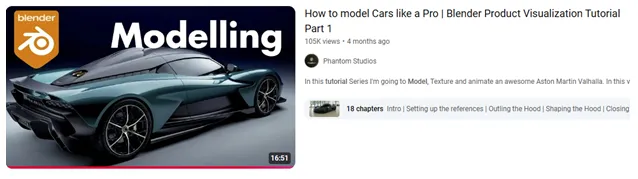
#2 is a bit more involved and I am only in the early stages of learning blender to build models from scratch, I will skip over any details here as there are plenty online tutorial demonstrating how this is done.
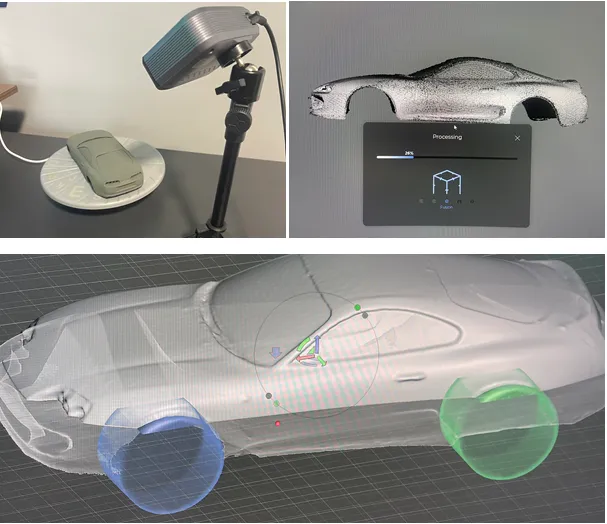
#3 is the fun one for me since I get to use my 3D scanner and sample my own models on hand. Since these layered models are heavily sliced, you don’t need intricate details in the base STL models. After doing a quick 3D scan and cleaning up of the initial STL file, I then bring it into Meshmixer where I manipulate the model and close off any open surfaces, correct any large overhands, and ensure that the model could then be properly sliced and printed without having to have supports everywhere. This process is also quite time consuming, but after making 70 different models I have gotten a pretty good hang at finding the trouble areas and correcting them quicker than I was at the start of the process.
Thank you for visiting my page and taking the time to print my models. Your support is truly appreciated. I never expected to have so many people following me and fueling my passion for creating the models that I create!
License

You shall not share, sub-license, sell, rent, host, transfer, or distribute in any way the digital or 3D printed versions of this object, nor any other derivative work of this object in its digital or physical format (including - but not limited to - remixes of this object, and hosting on other digital platforms). The objects may not be used without permission in any way whatsoever in which you charge money, or collect fees.


Comment & Rating (34)