
Ezra Bridger's Lightsaber/Blaster
Print Profile(3)



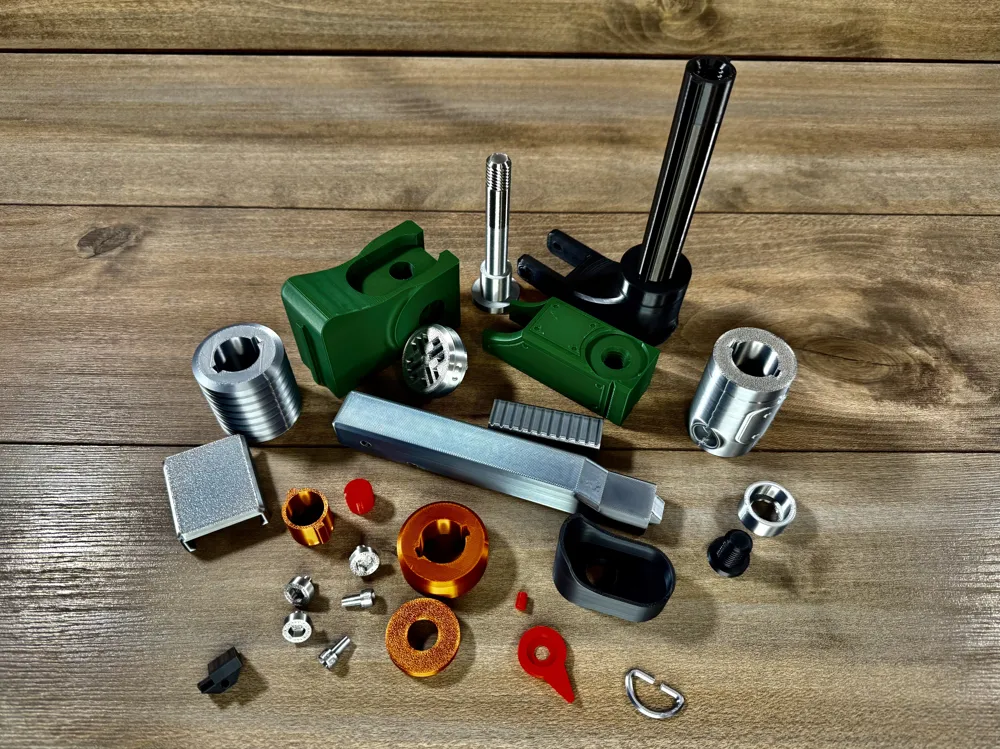
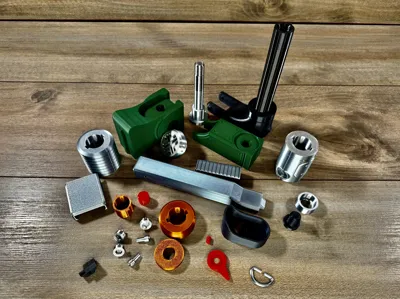
Bill of Materials




Description
Boost Me (for free)
If you like my models, please consider dropping me a boost, comment and rate the profile! Any of these things keeps me motivated to Keep going! Thank you!
Join the rebellion, Save Lothal!
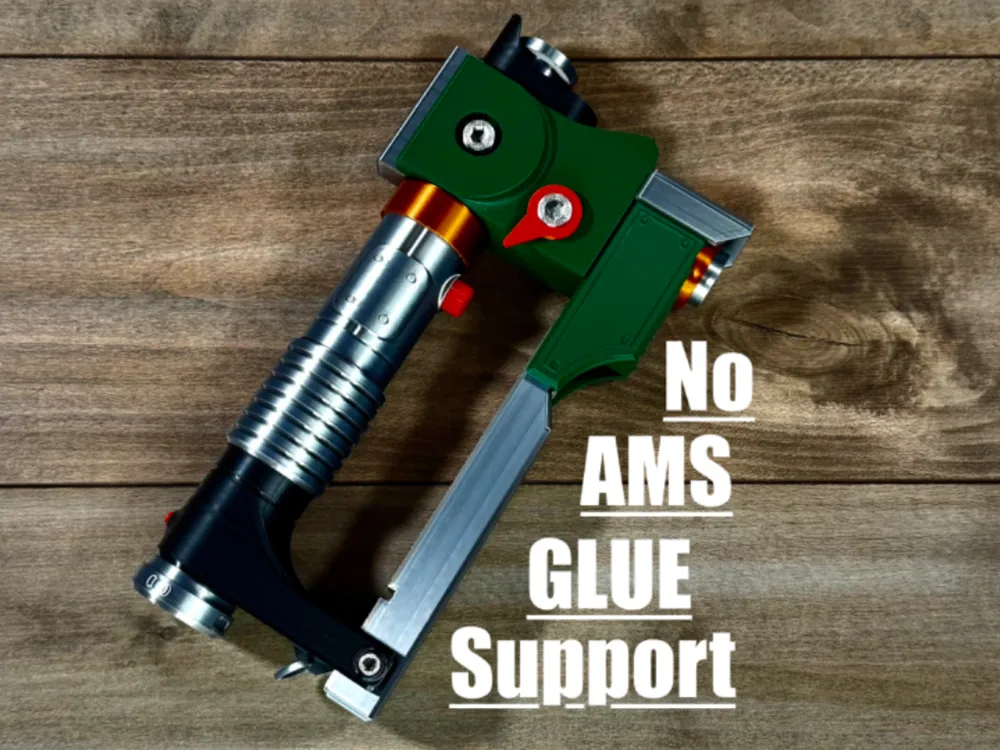
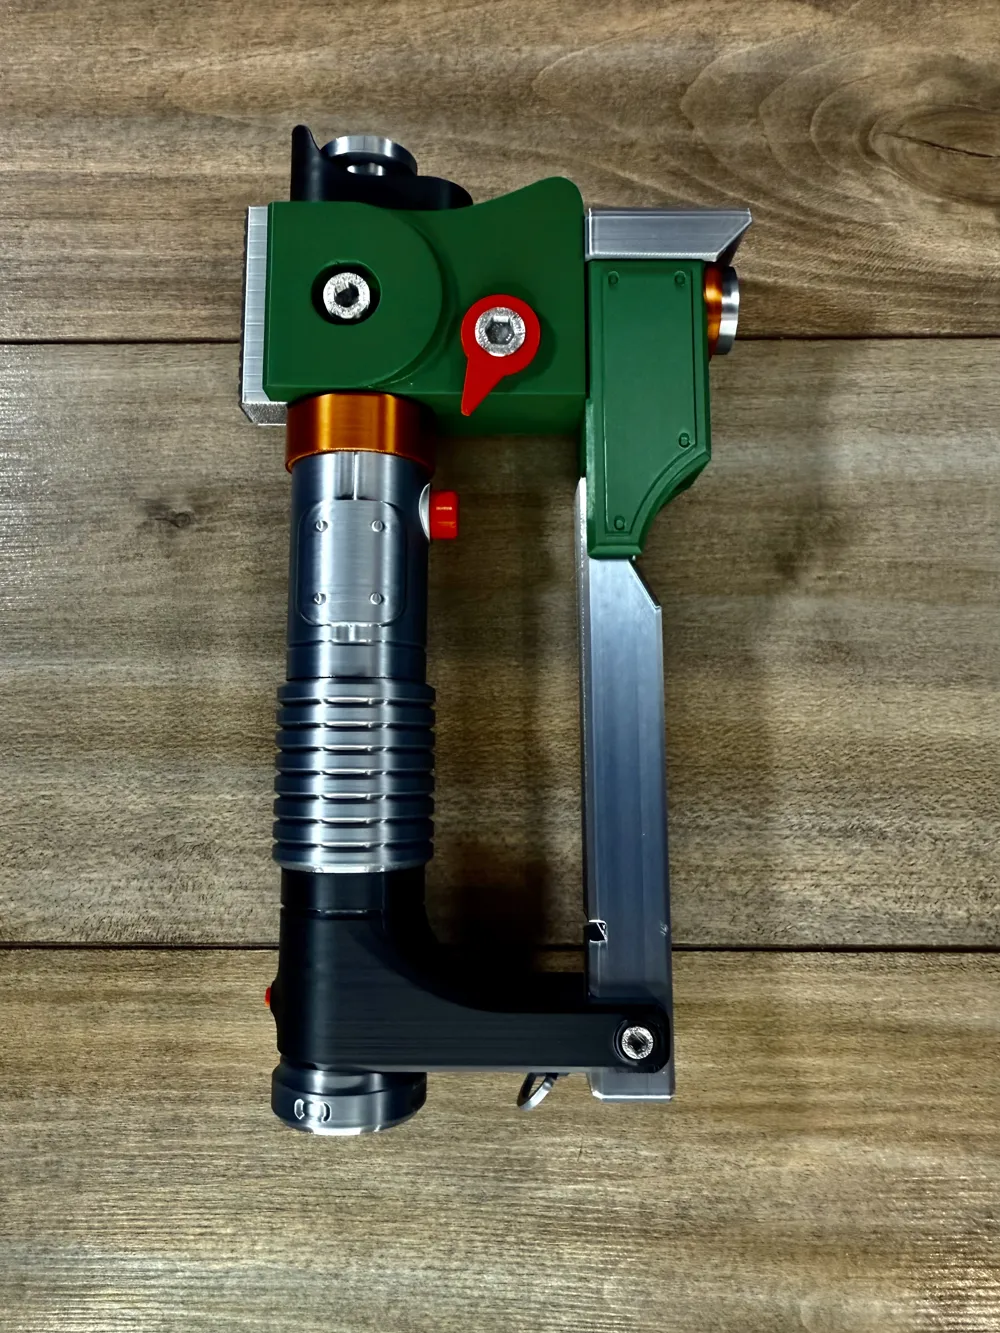
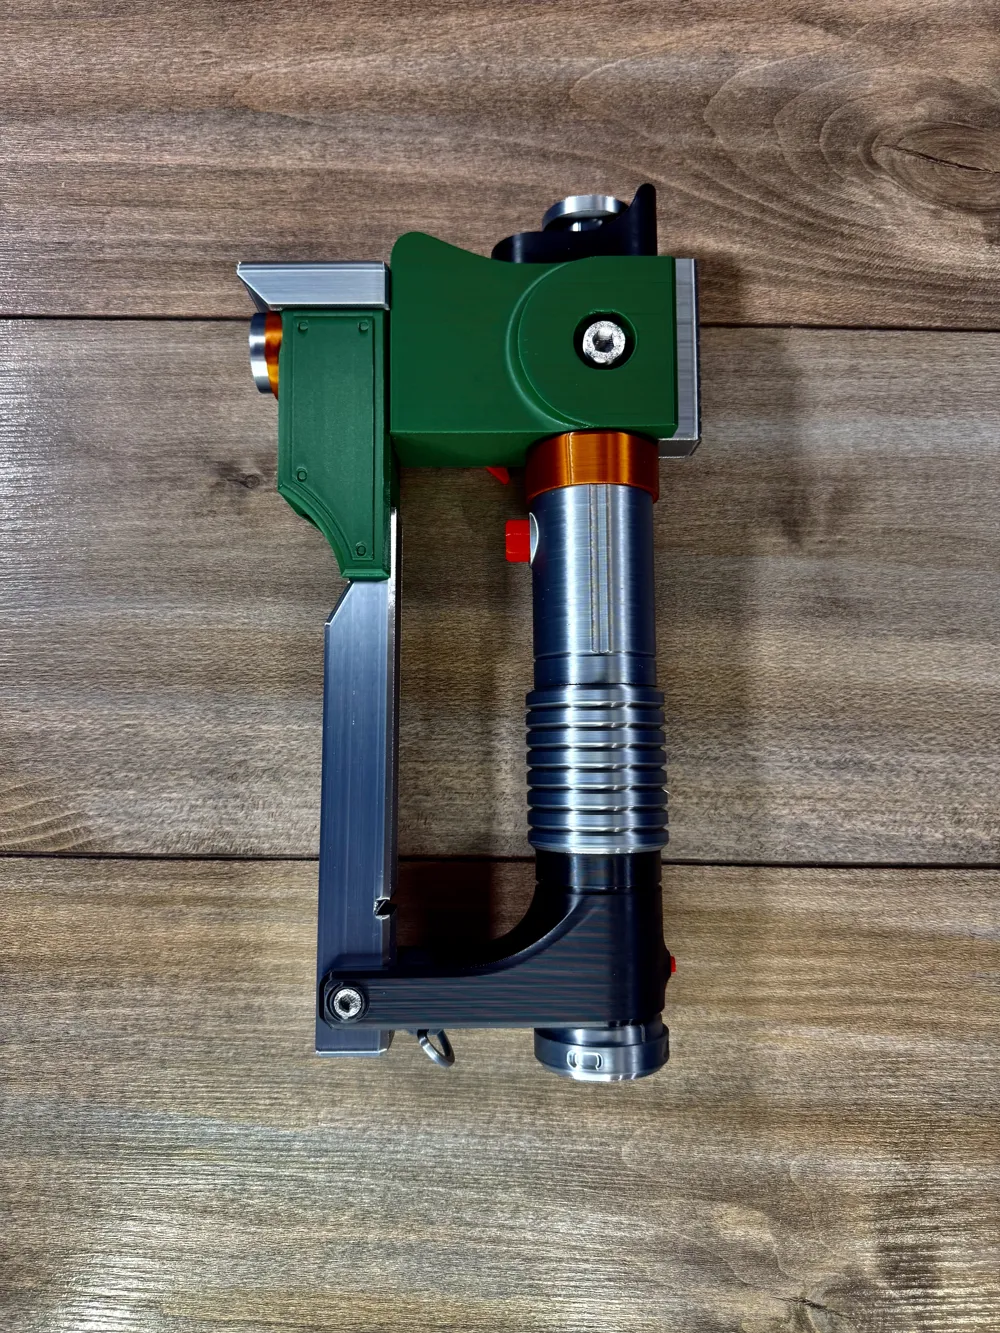
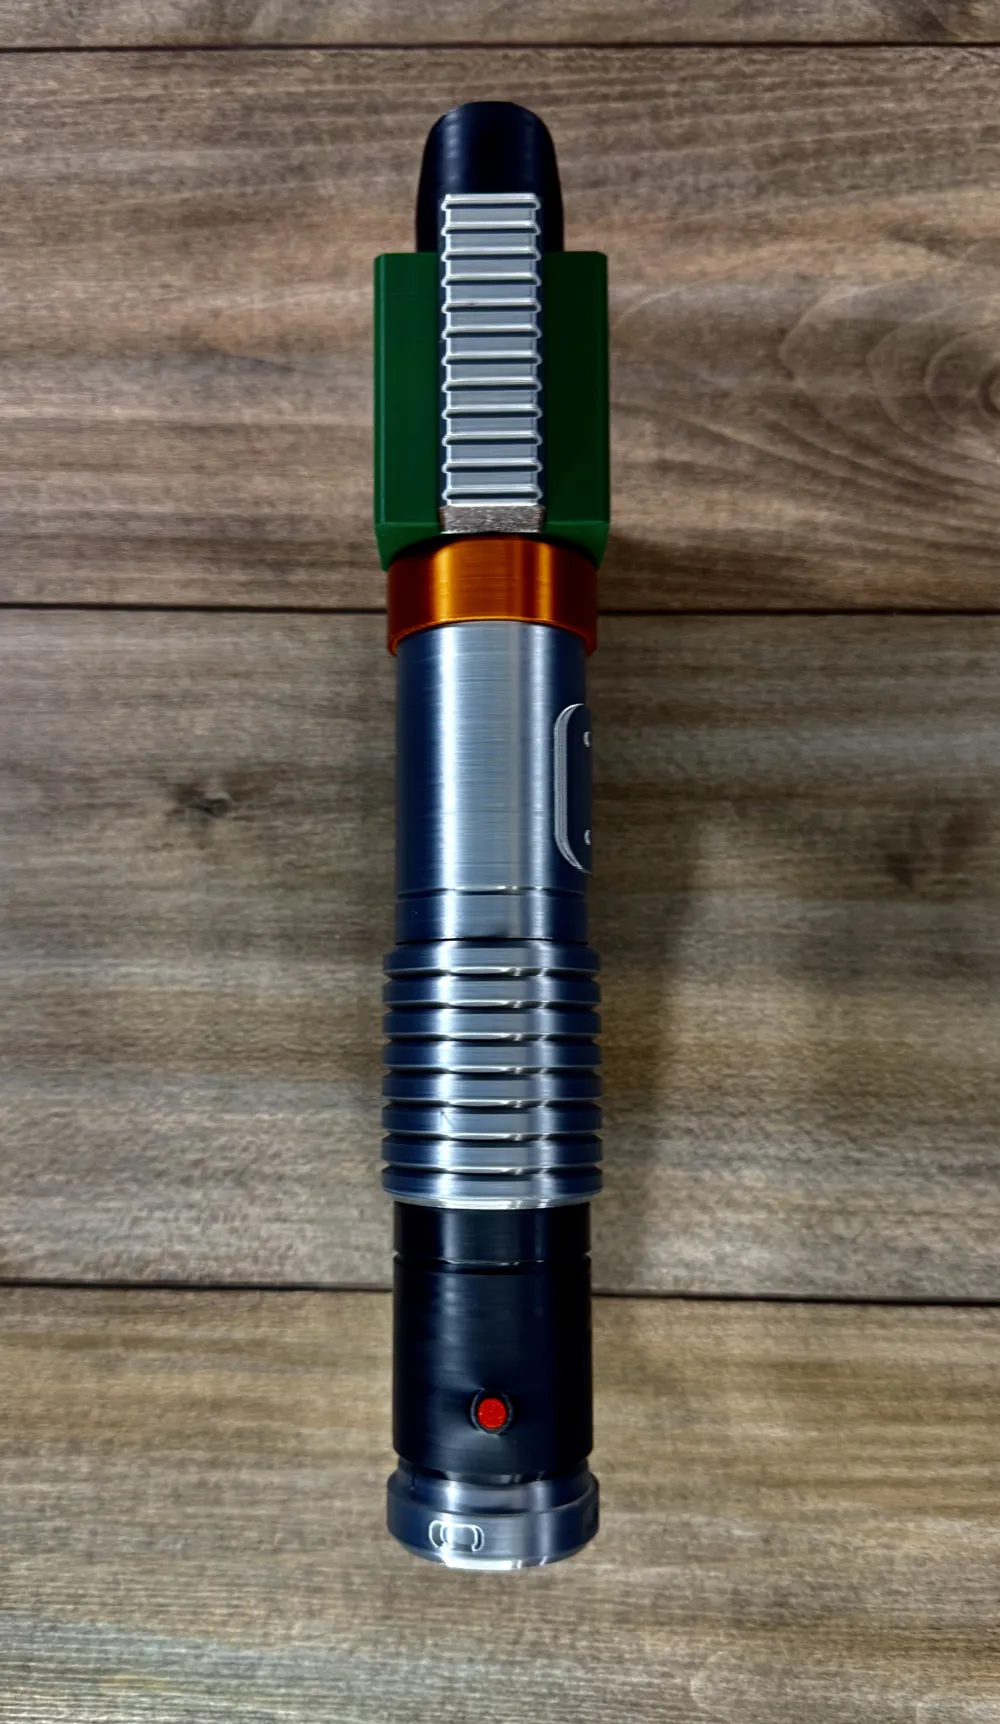
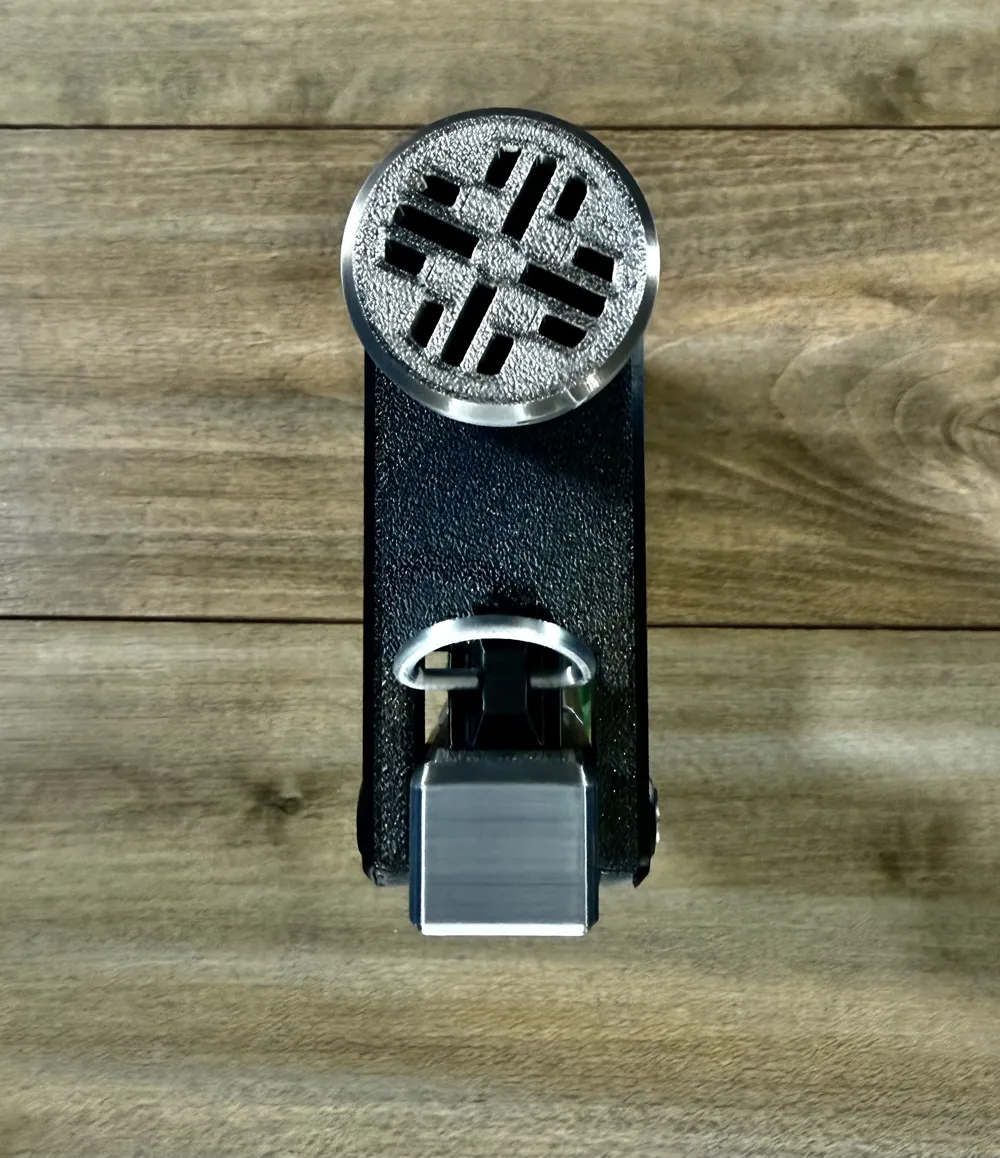
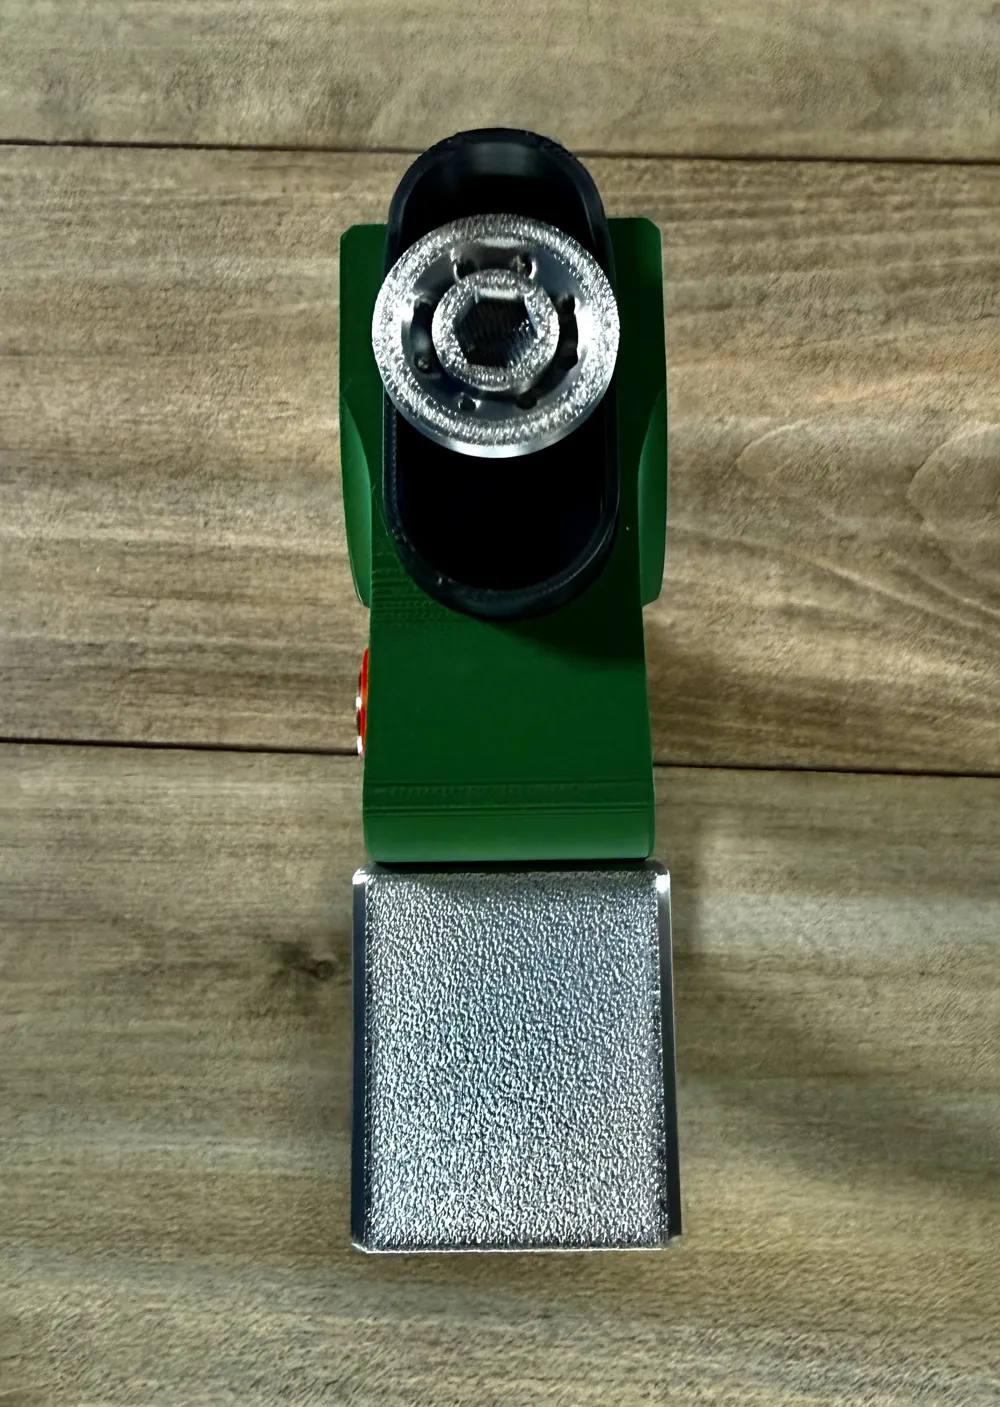
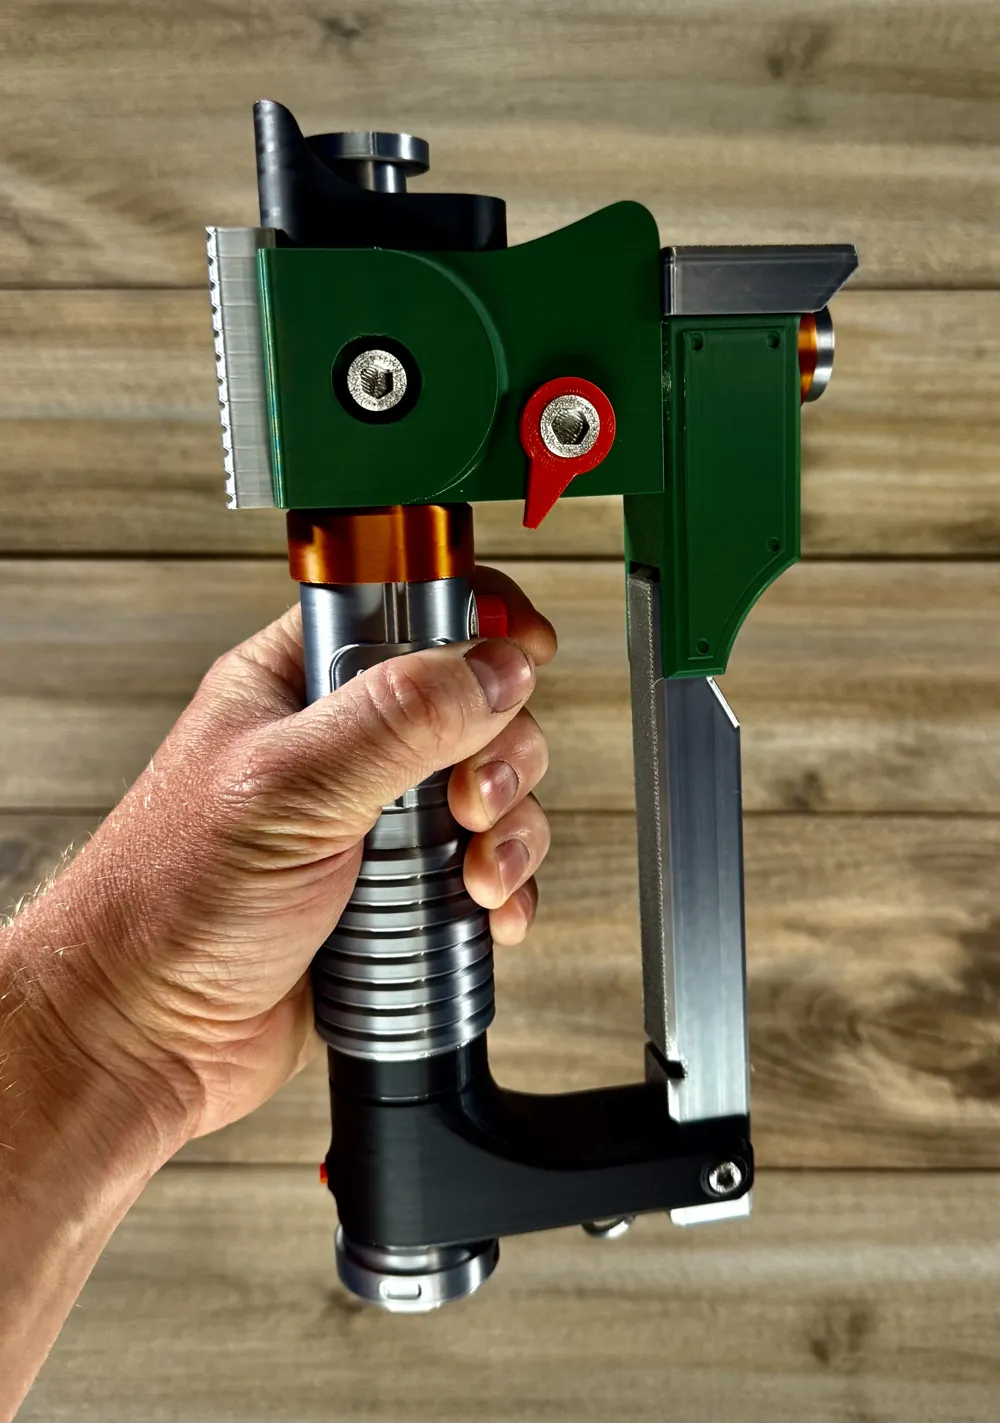
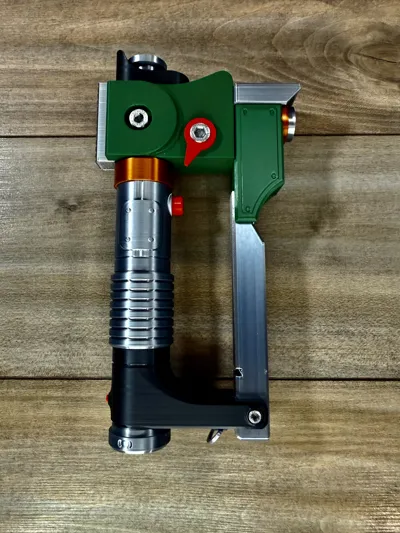
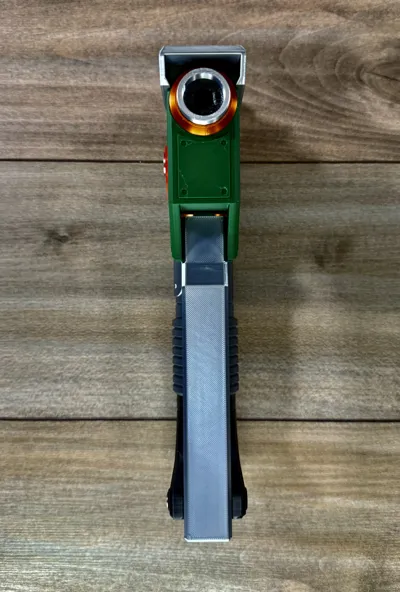
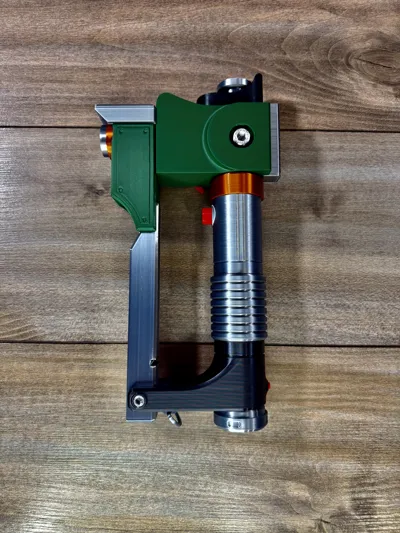
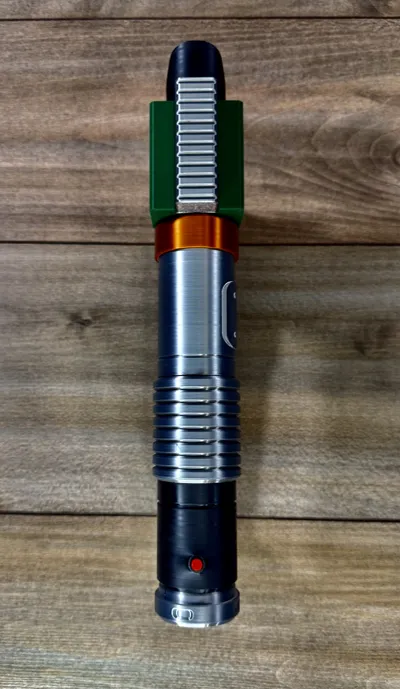
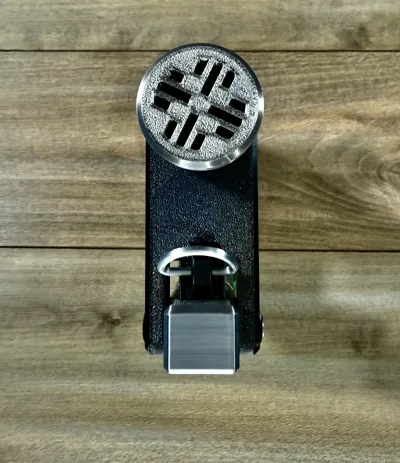
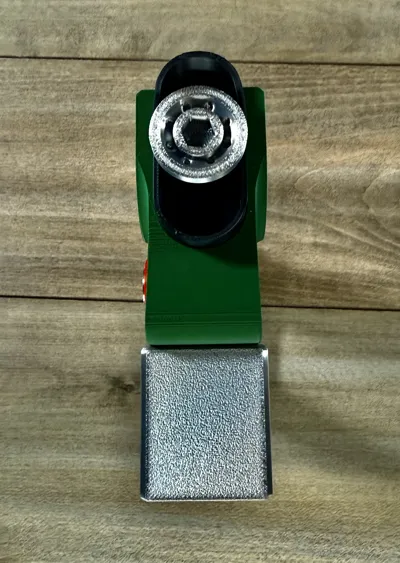
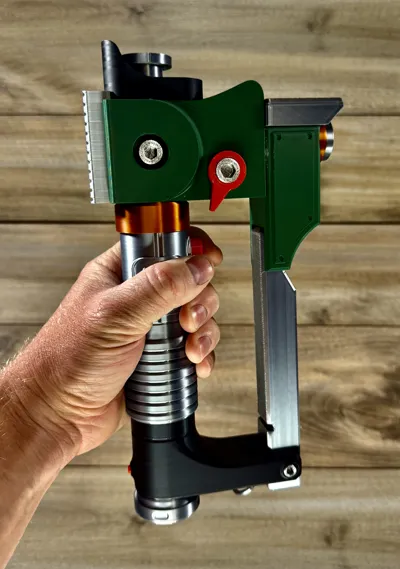
Ezra Bridger's first lightsaber is unique with its built in blaster!
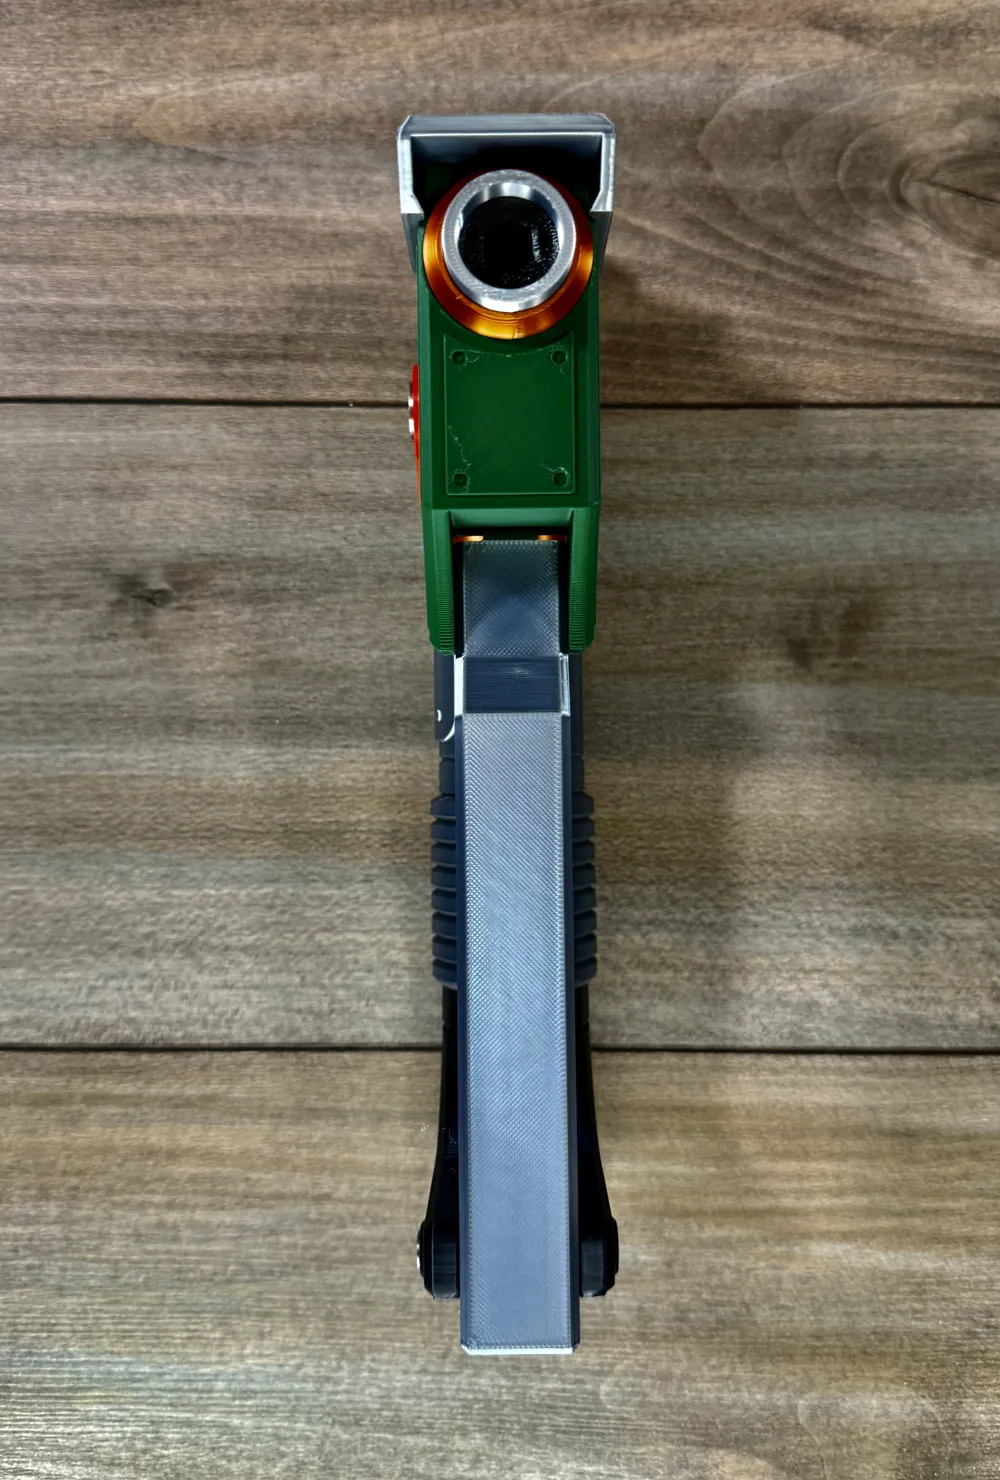
My take on this awesome saber comes in at 285mm (11.5 inches) tall
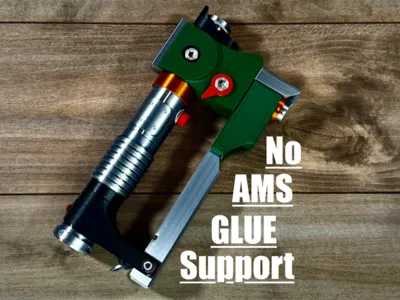
by 150mm (5.75 inches) back to front and prints without the need for supports or AMS.
Assembly is easy and doesn't require glue with a when a calibrated filament is used.
Find screw on blade here
https://makerworld.com/en/models/2279067-lightsaber-blade-screw-on-sections#profileId-2485148
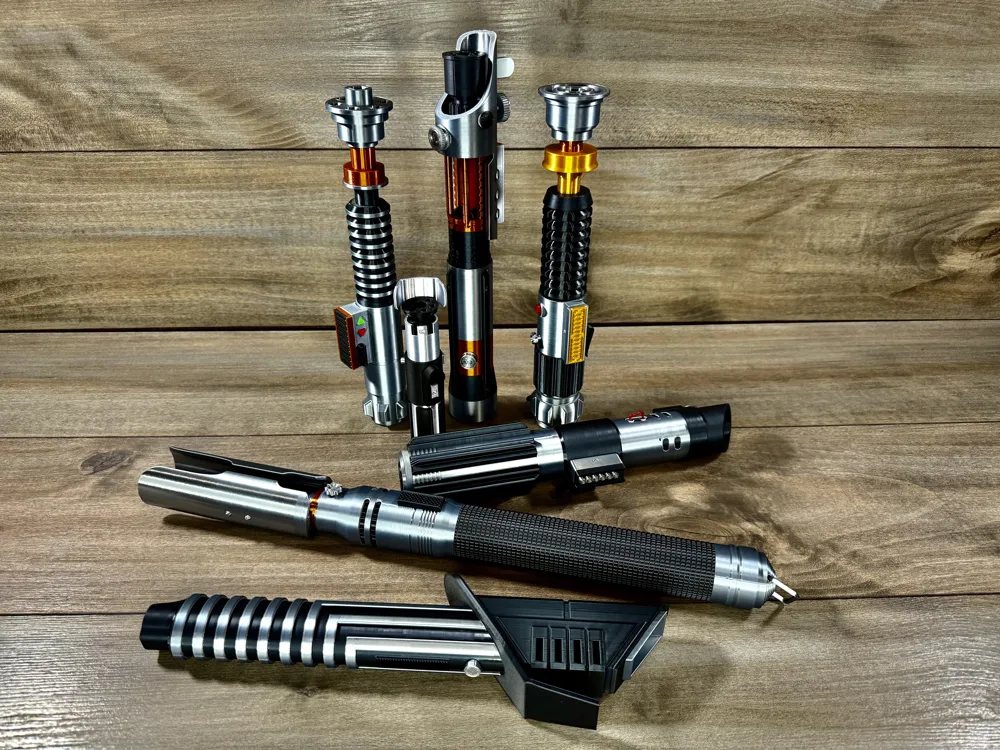
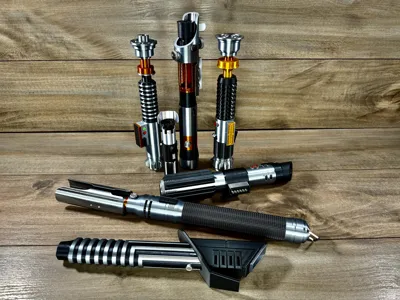
If you like this saber, be sure to check out my other models!
https://makerworld.com/en/collections/14478910-lightsabers
Fliaments used:
Sunlu silk grey, Sunlu silk black, Sunlu silk copper, Sunlu grass green and basic red
To assemble
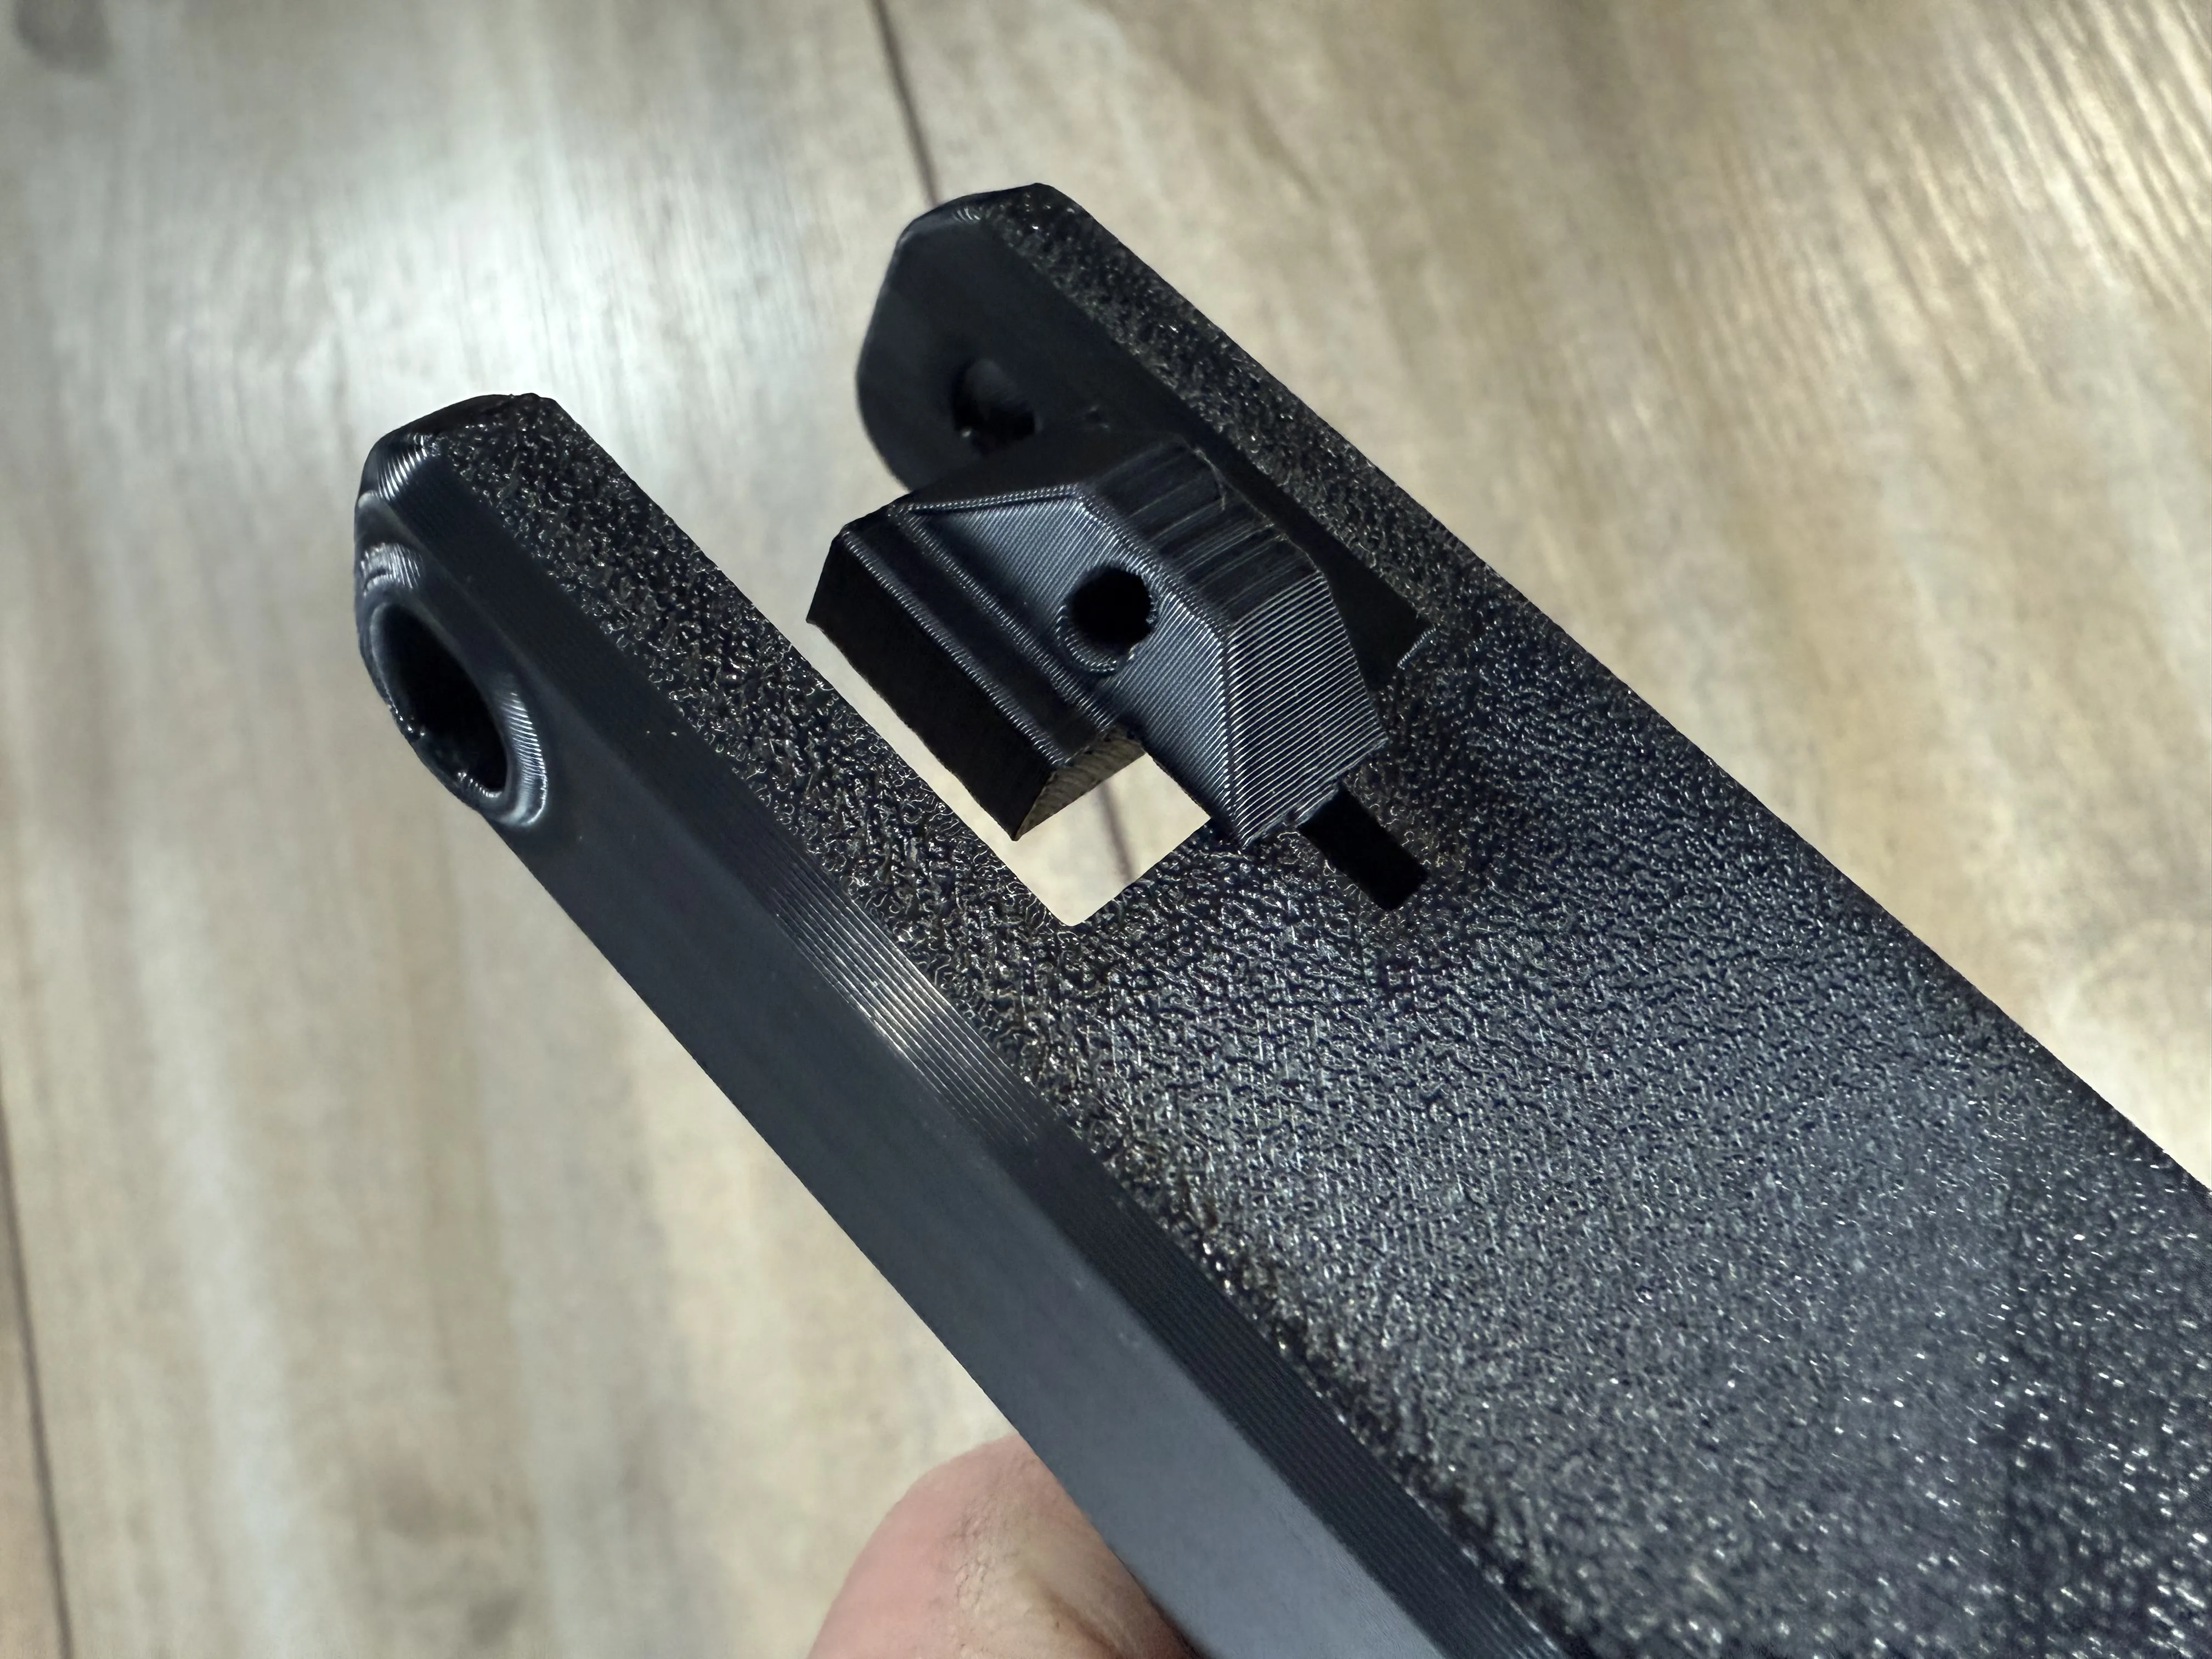
Start by sliding the d-ring clip into the dovetail at the base of the black handle base.
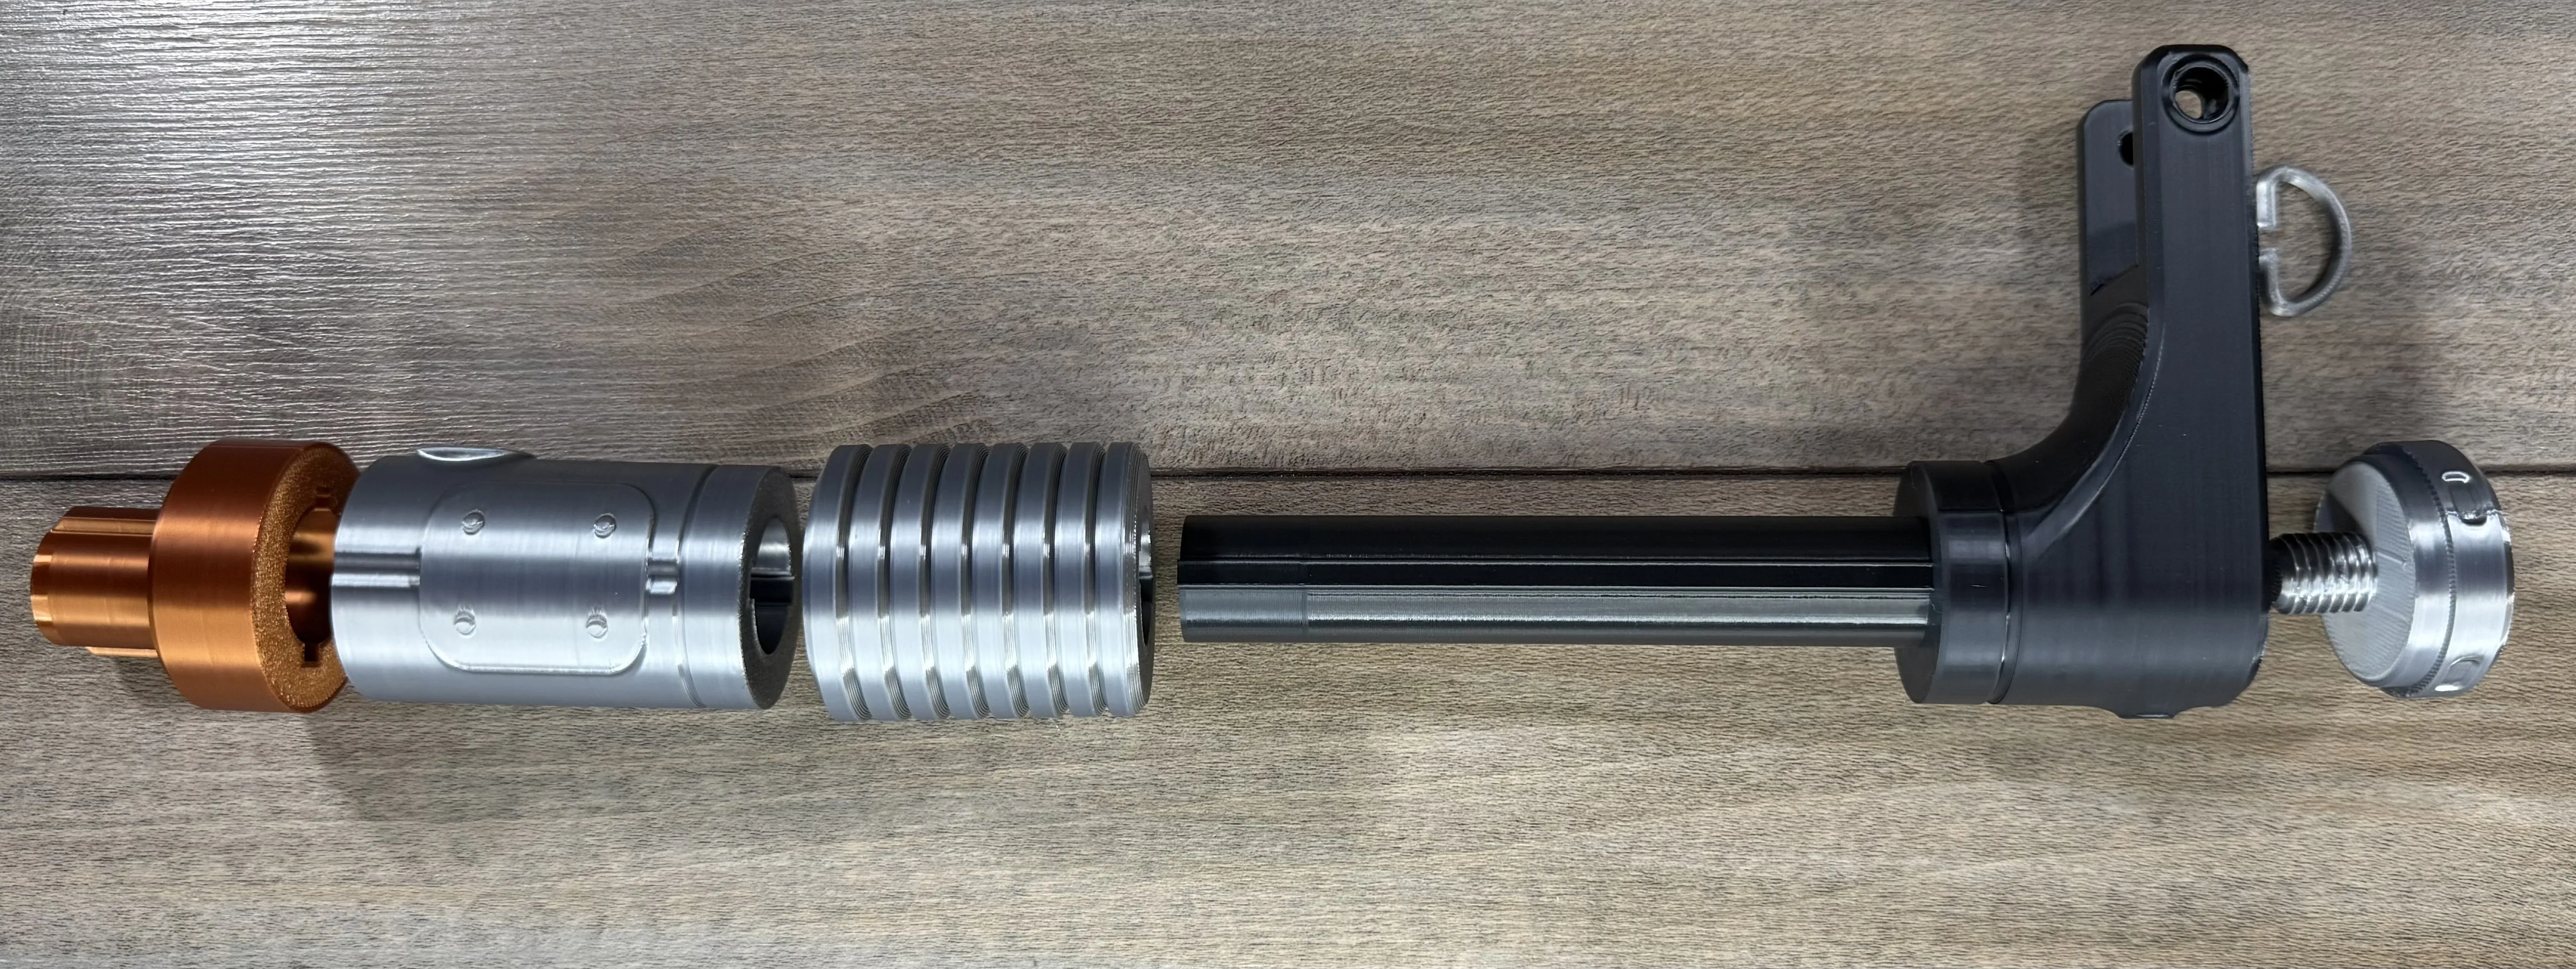
Next screw the pommel in and stack the handle parts over the tube of the handle base.
Then place the alignment ring in the top. Clip the d-ring into the bottom.
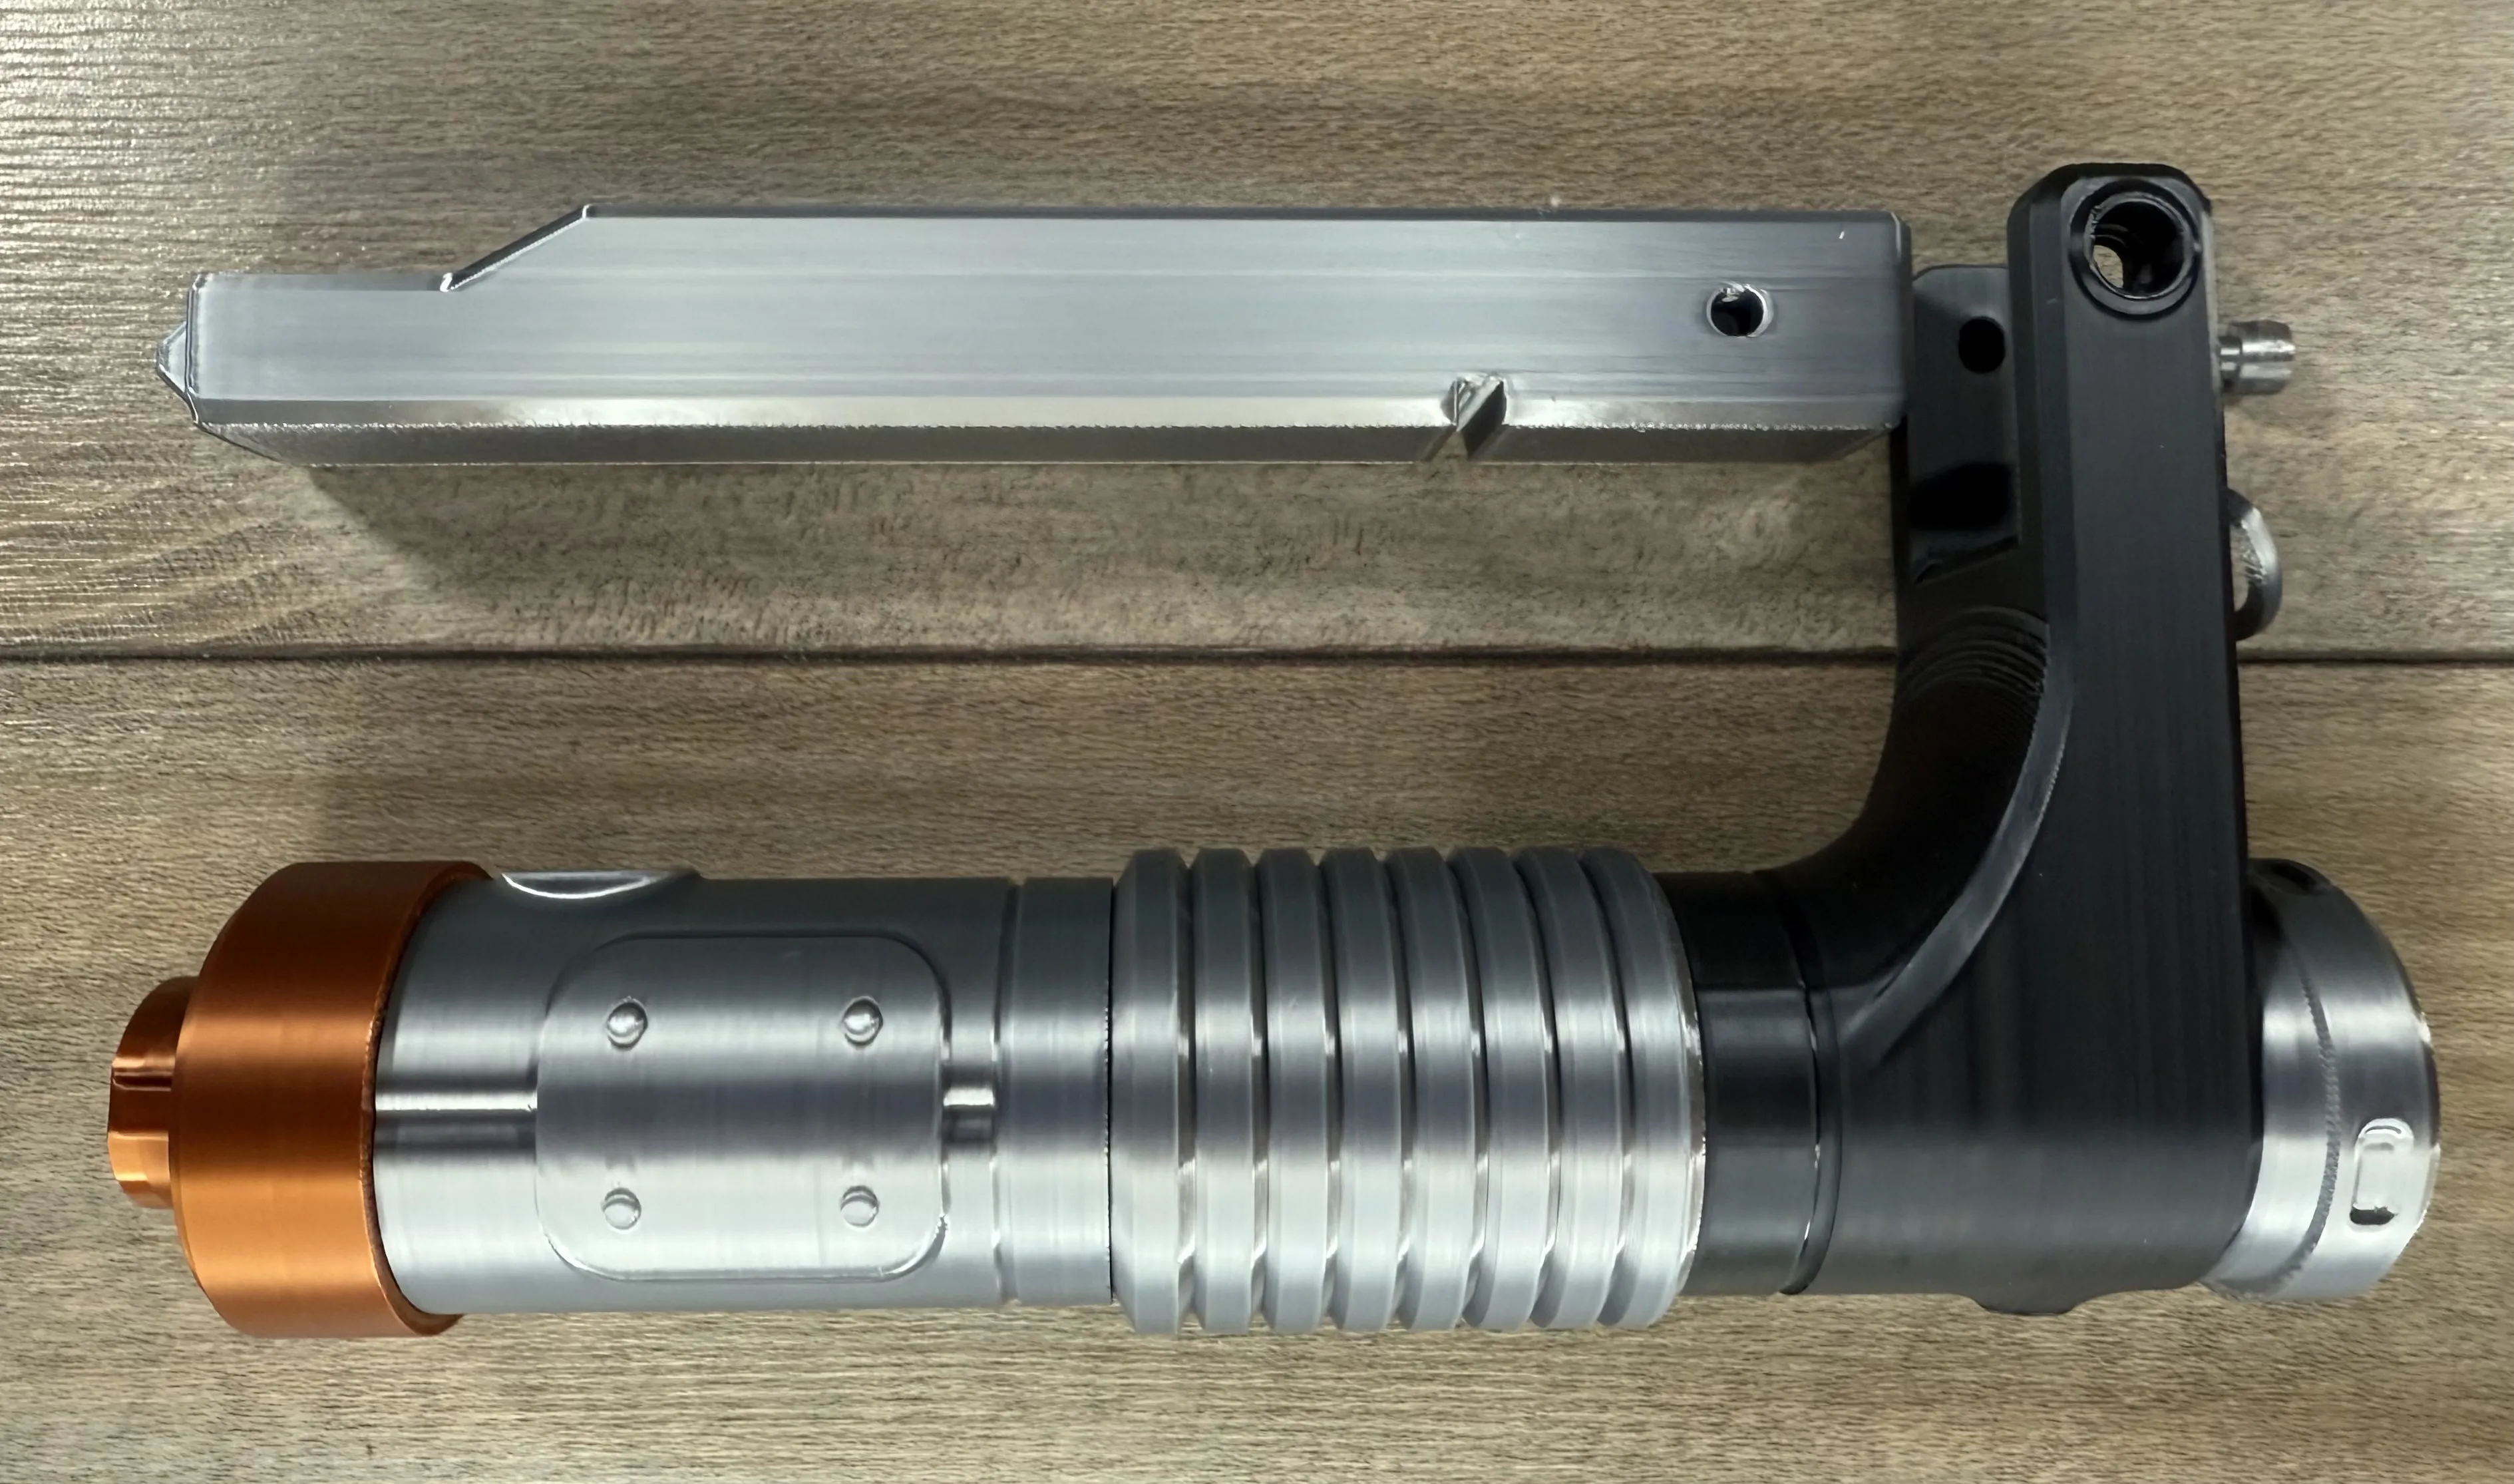
Insert the guard in the front of the handle base and use the two small pins with the hex in the face to hold in place.
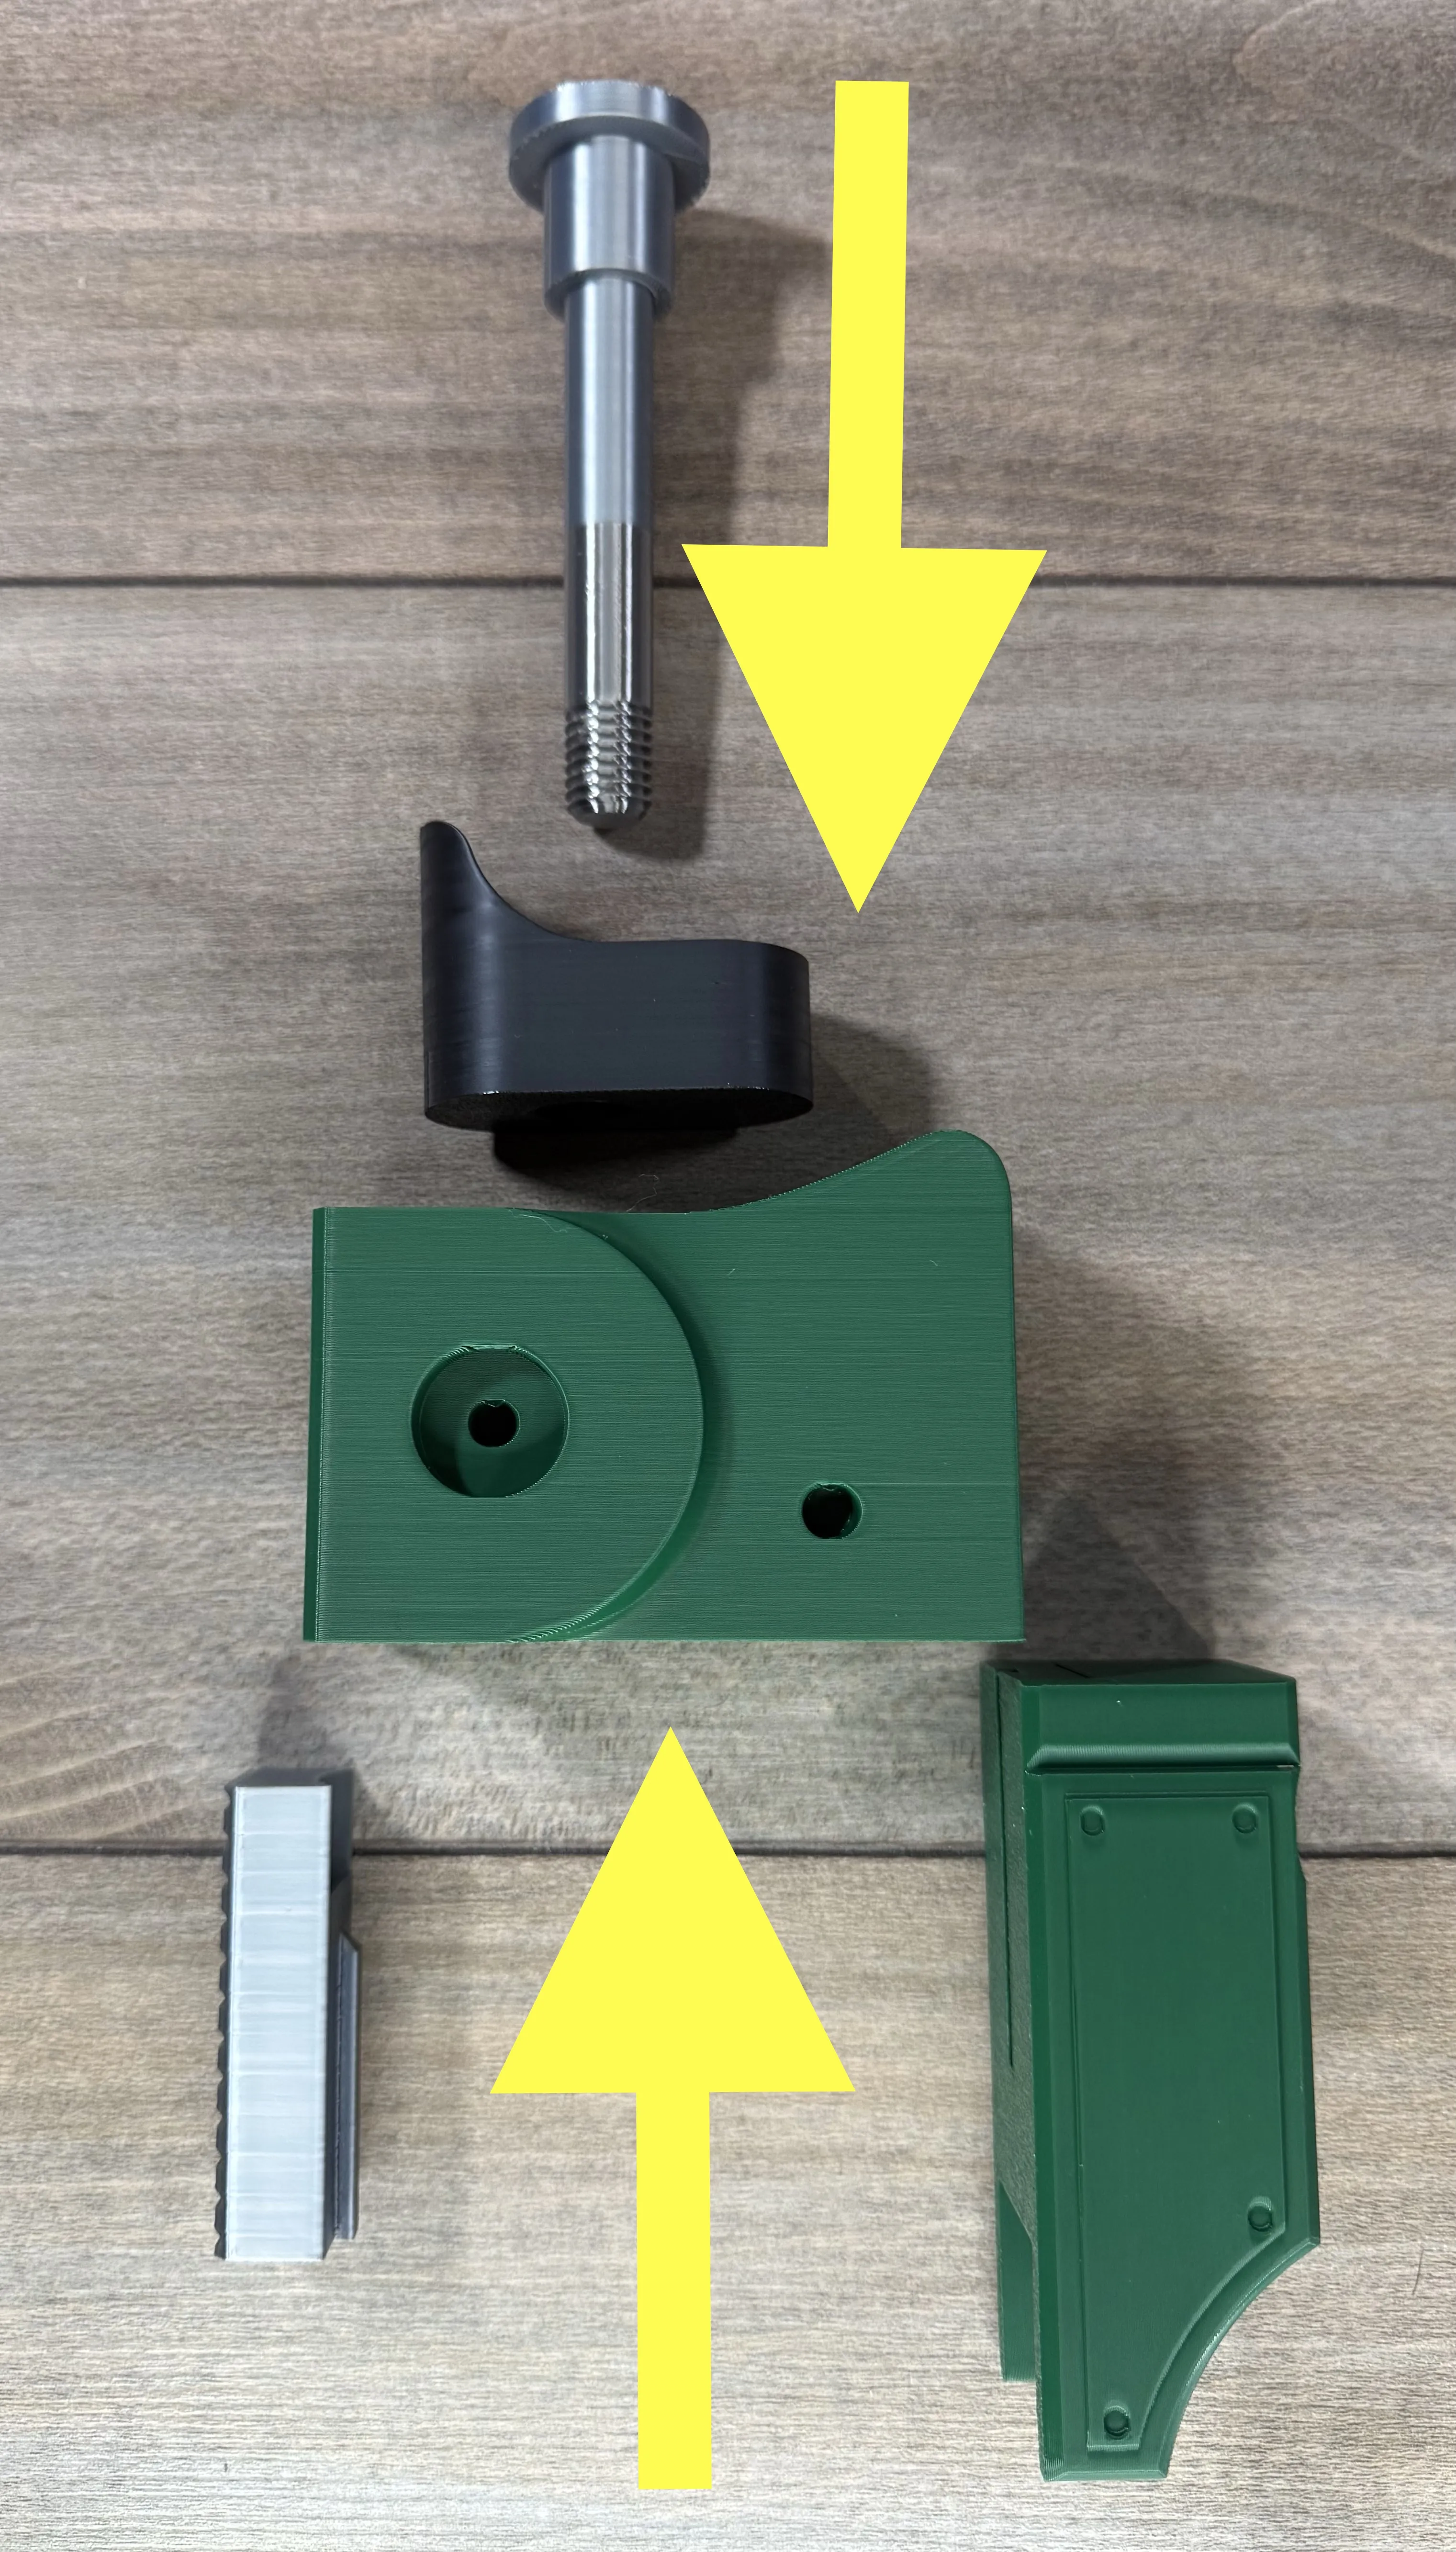
Slide the two parts onto the dovetails on the main saber/blaster body. Then the black
emitter shroud into the top.
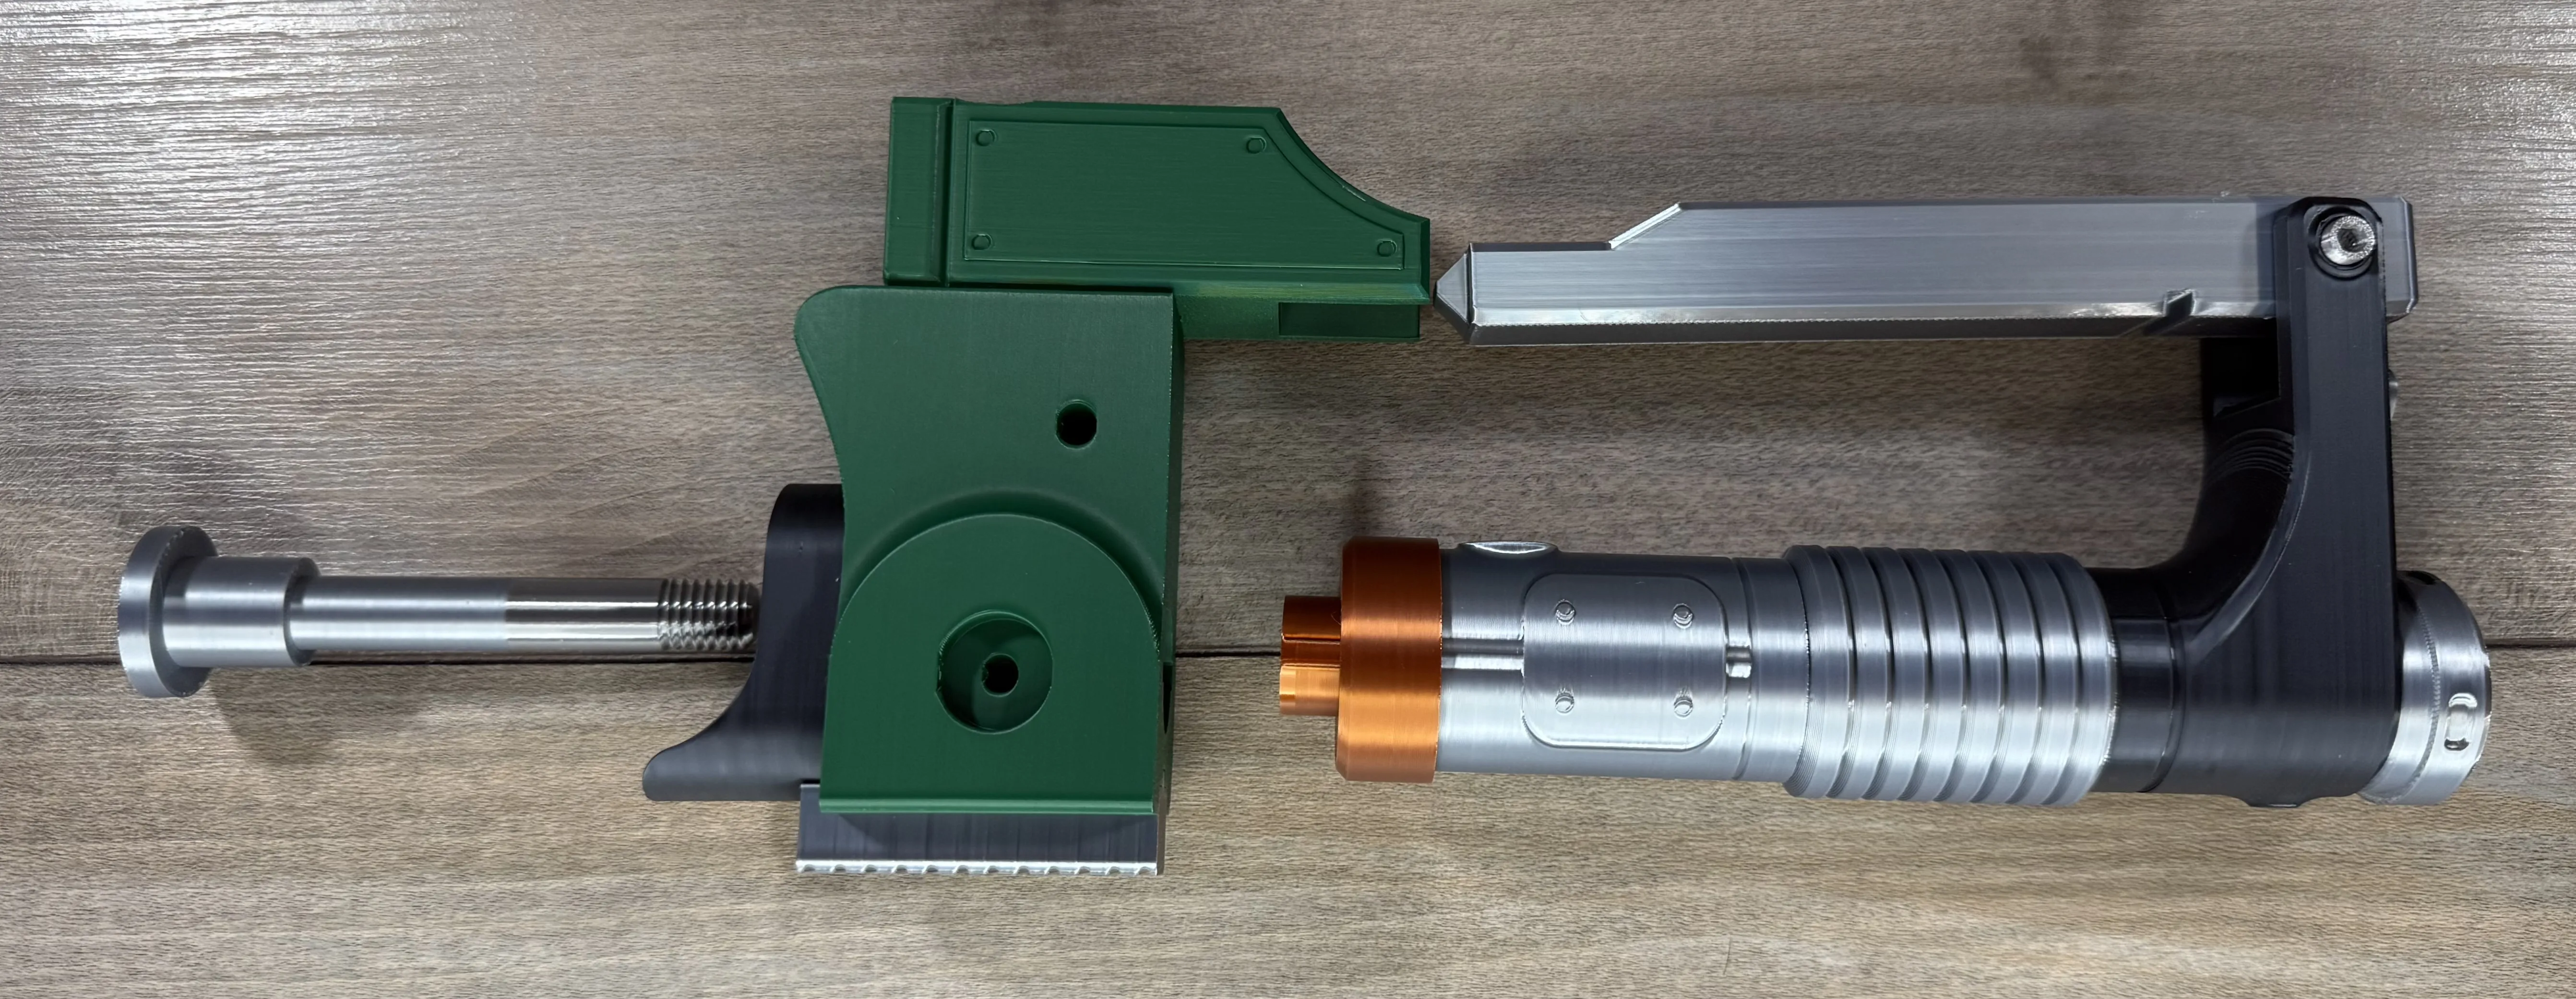
Place the top assembly onto the handle assembly, making sure to align the
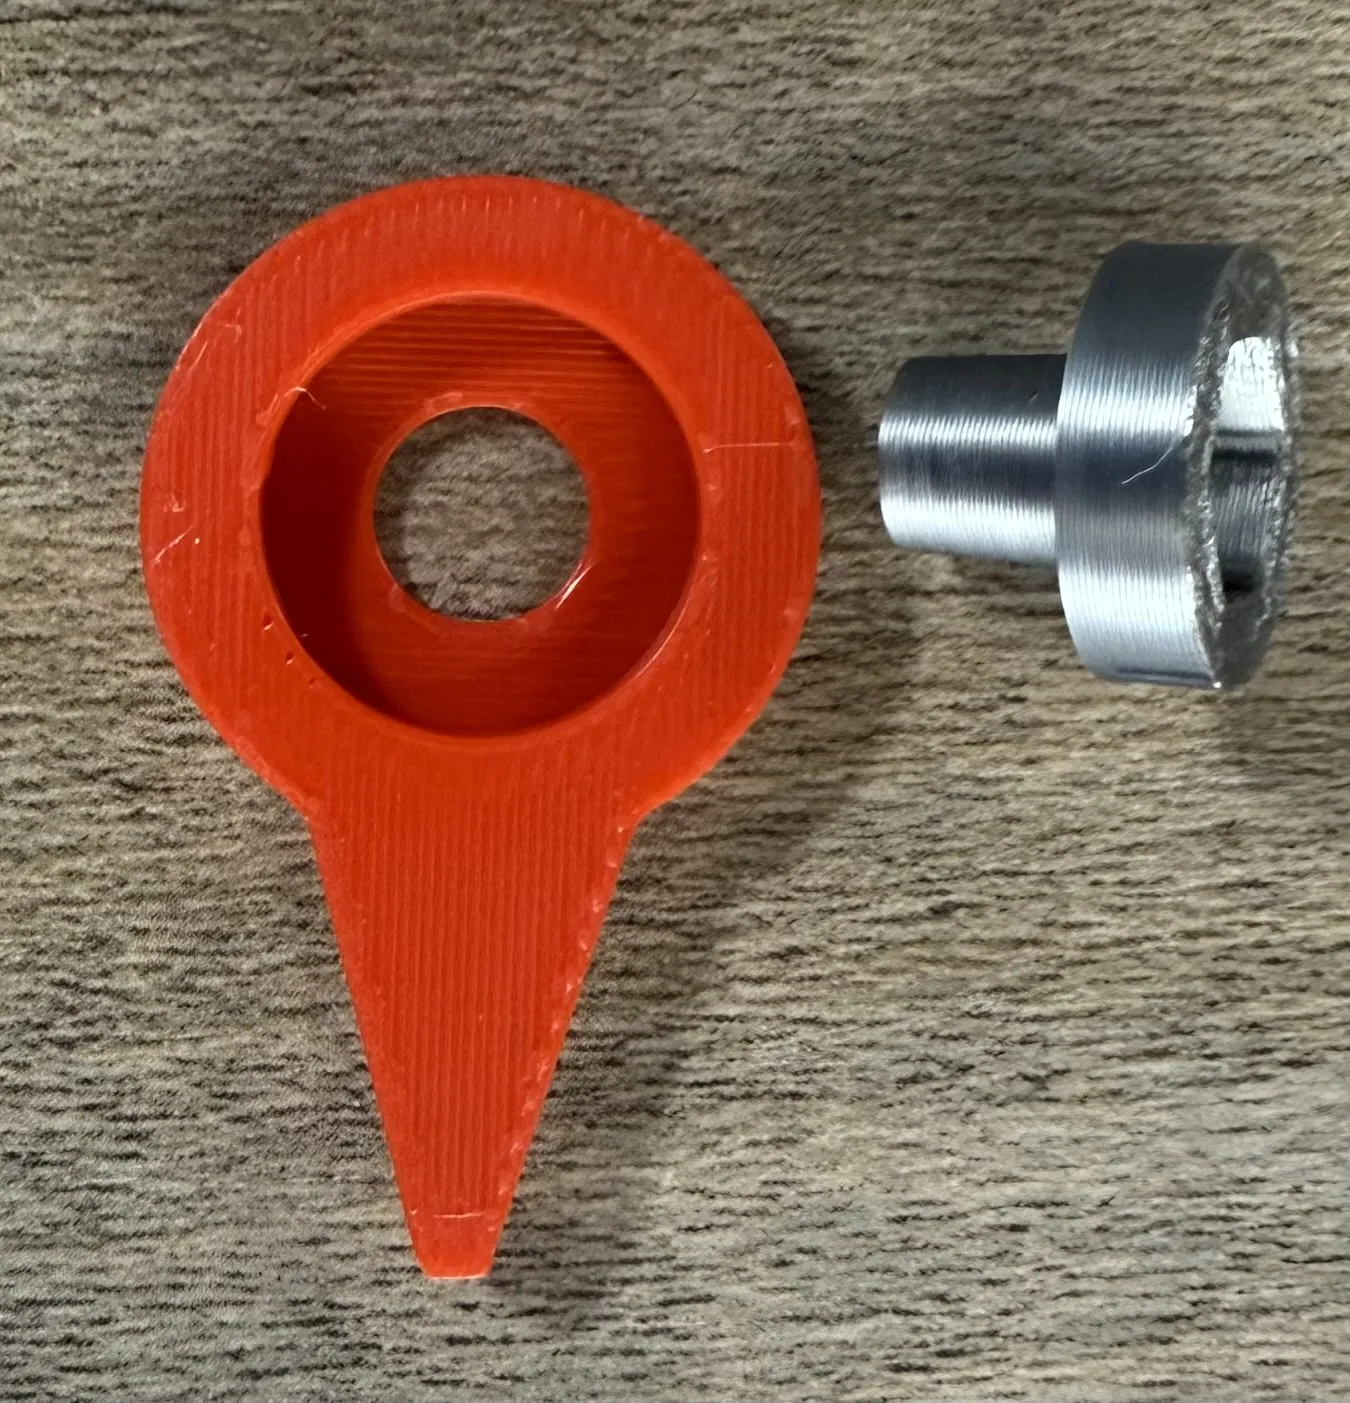
Front guard and use the bolt to lock everything in place. A 3/8 hex tool comes in handy for this and
an optional hex tool is included in the file.
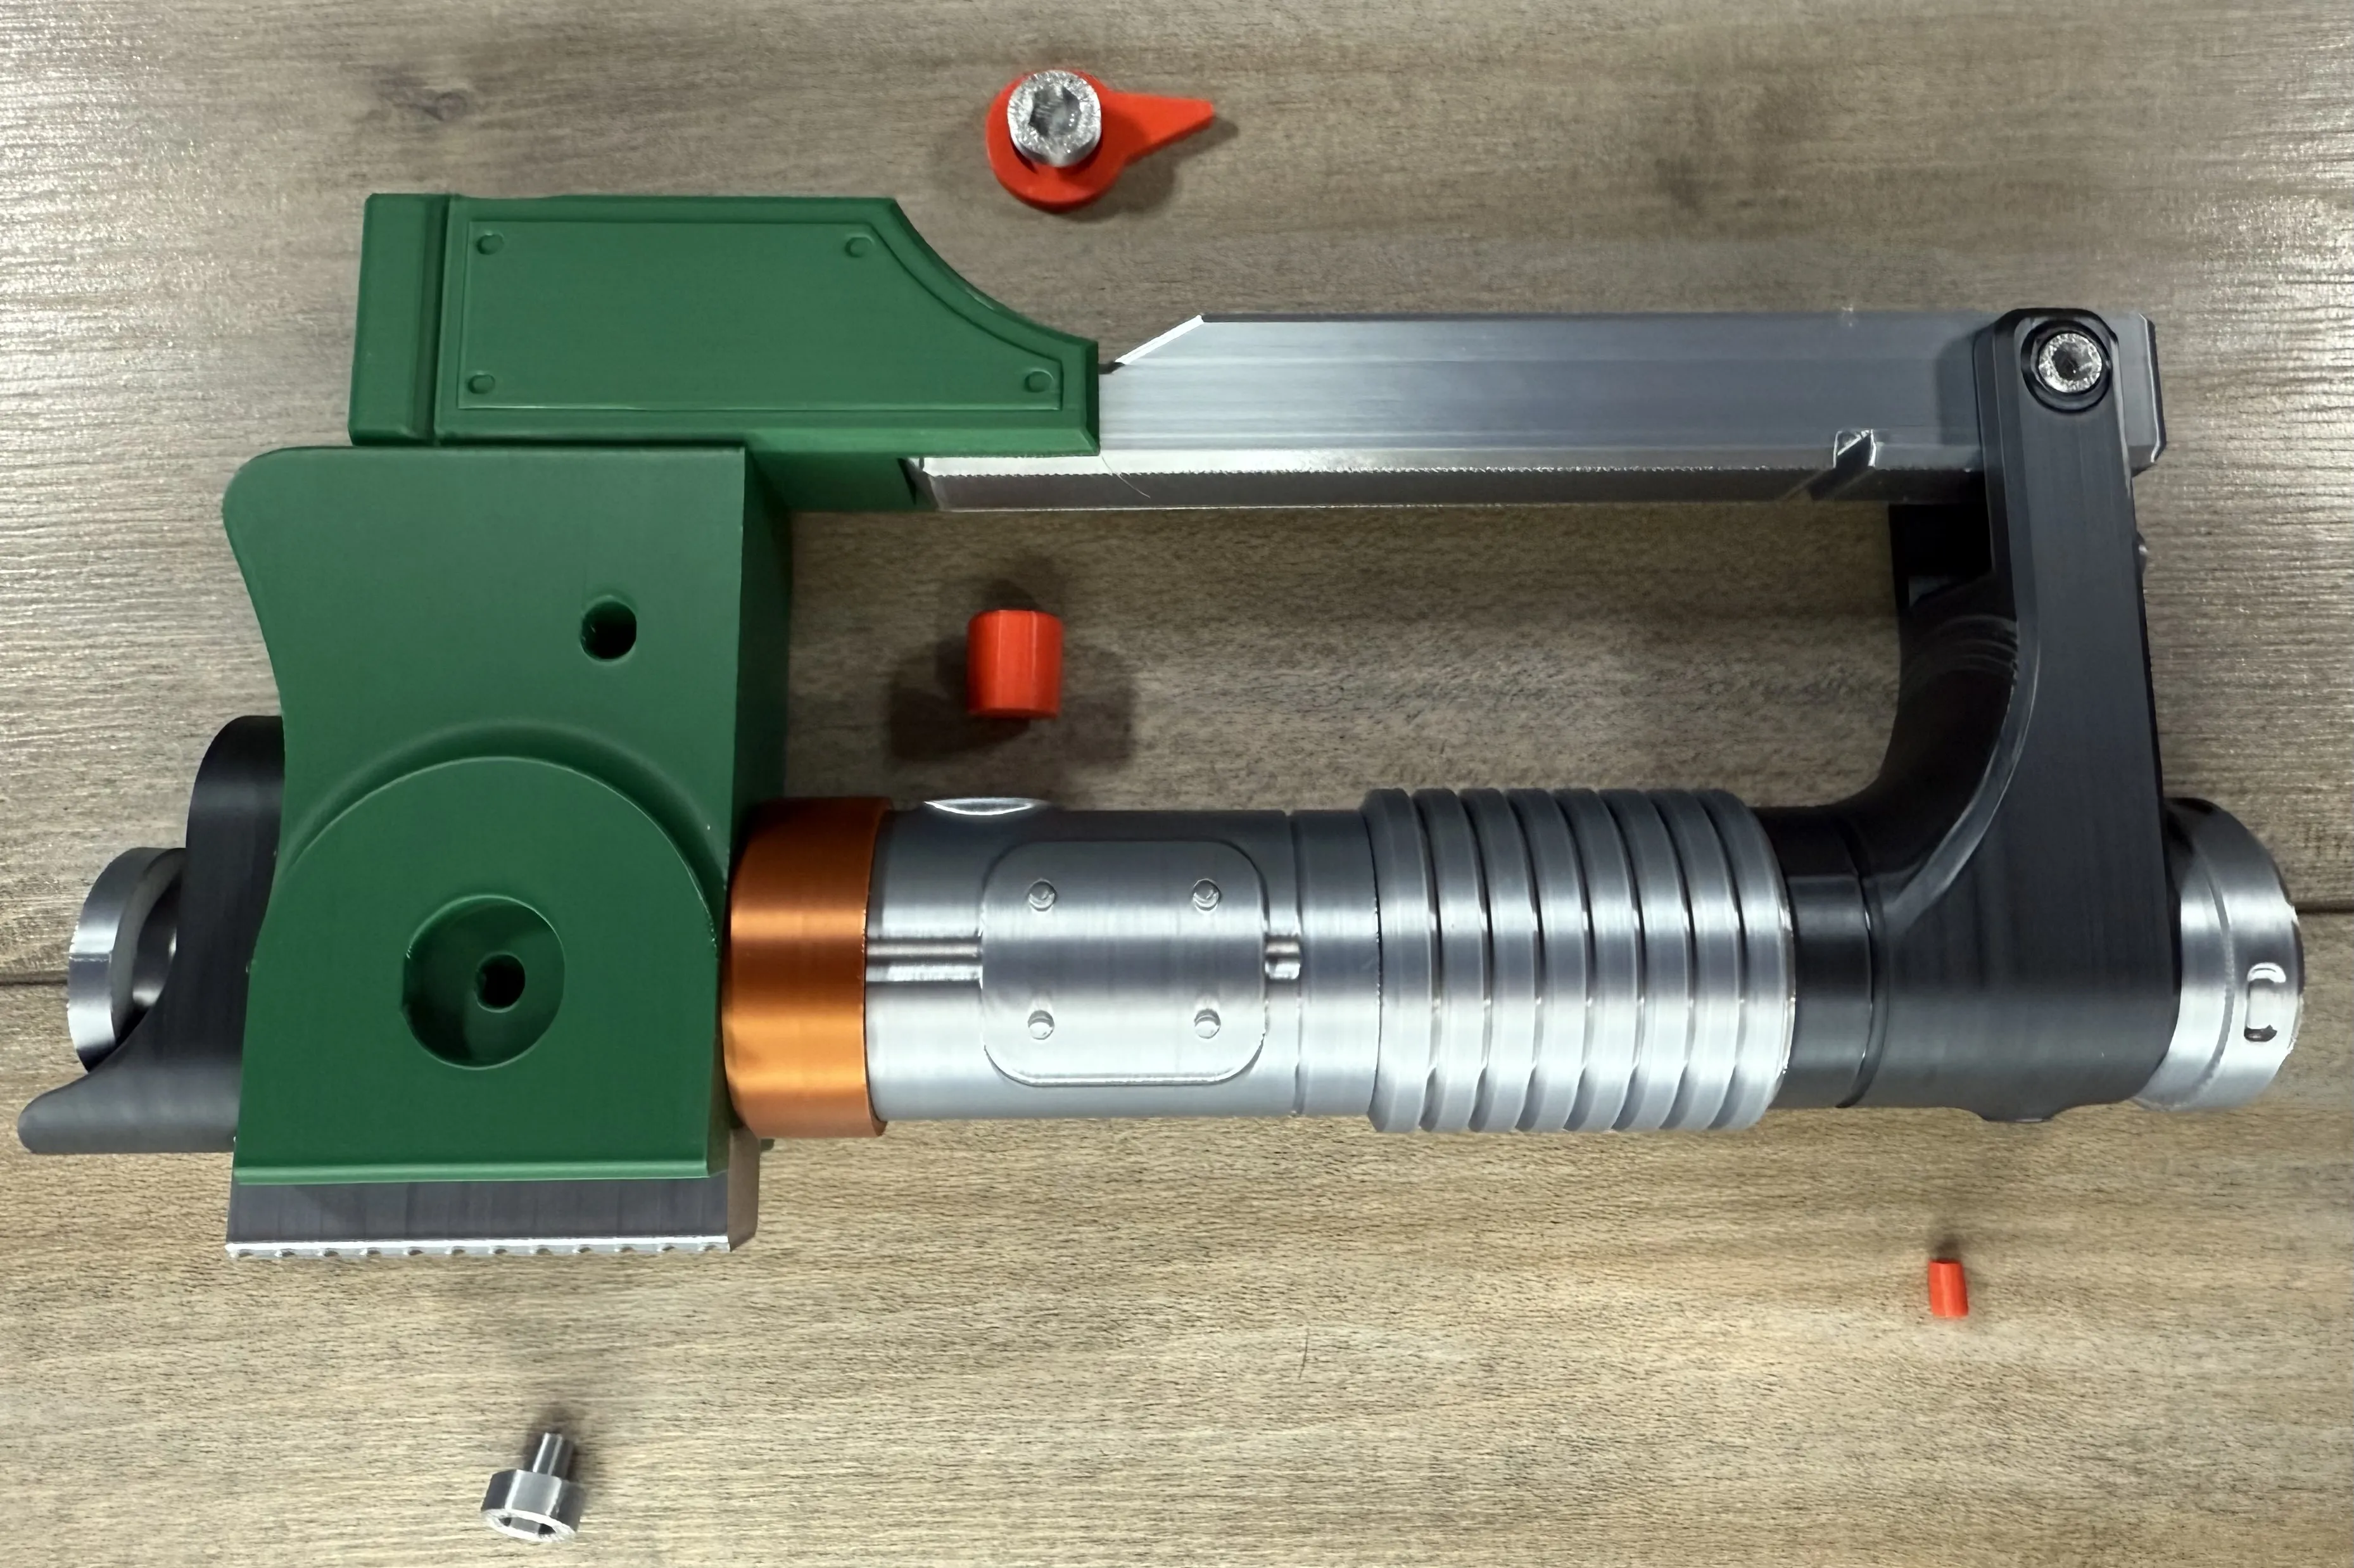
Insert the larger pin into the switch, then insert the pins and buttons in place.
All should press in.
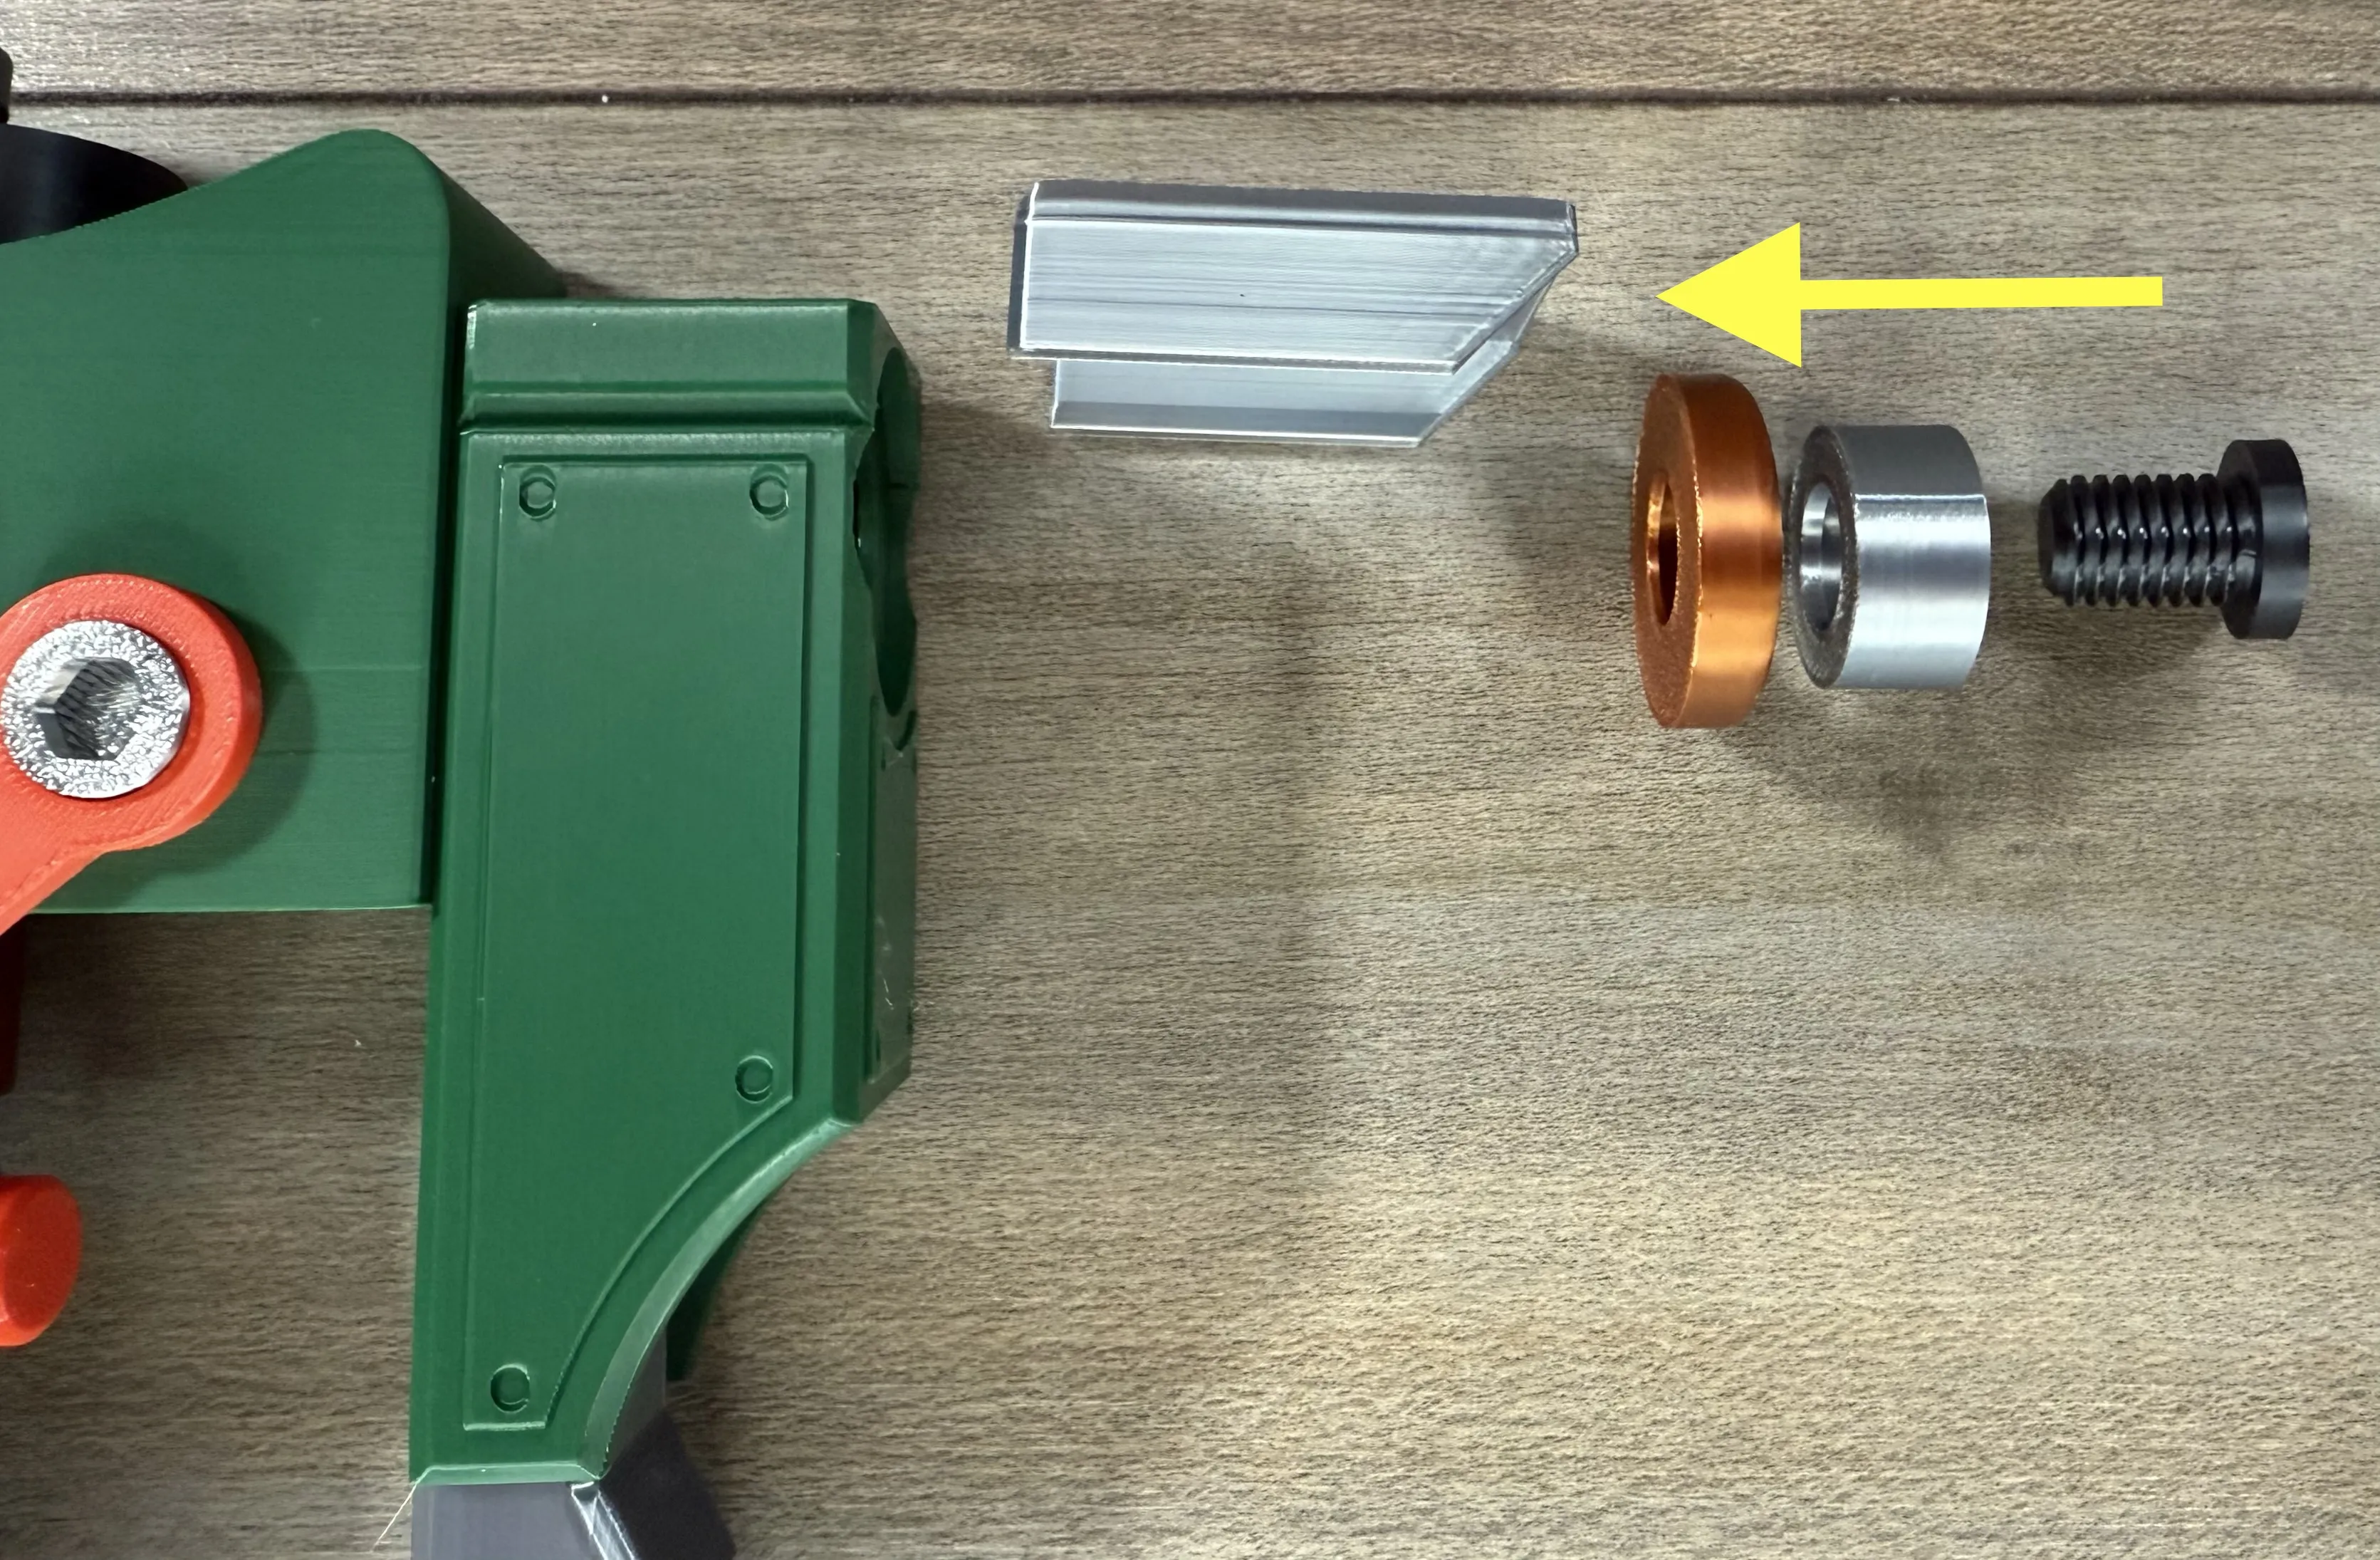
Slide the shroud over the front of the saber till it clicks, then stack the barrel together
and use the hex tool and bolt to hold it together.
Membership
Thank you for checking out my models. If you enjoy them or want to sell prints, please consider joining. Everything helps to continue to create new models!
License

You shall not share, sub-license, sell, rent, host, transfer, or distribute in any way the digital or 3D printed versions of this object, nor any other derivative work of this object in its digital or physical format (including - but not limited to - remixes of this object, and hosting on other digital platforms). The objects may not be used without permission in any way whatsoever in which you charge money, or collect fees.


Comment & Rating (60)