
Print Profile(3)


Bill of Materials





Description
Update from 05.12.2025:
Since some had difficulties with the eyelashes, there is now a new print profile for the eyelashes and a tool.
This allows the eyelashes to be printed flat and bent over the tool with the help of a hairdryer.
I have attached detailed instructions.
Update from 3.12.2025:
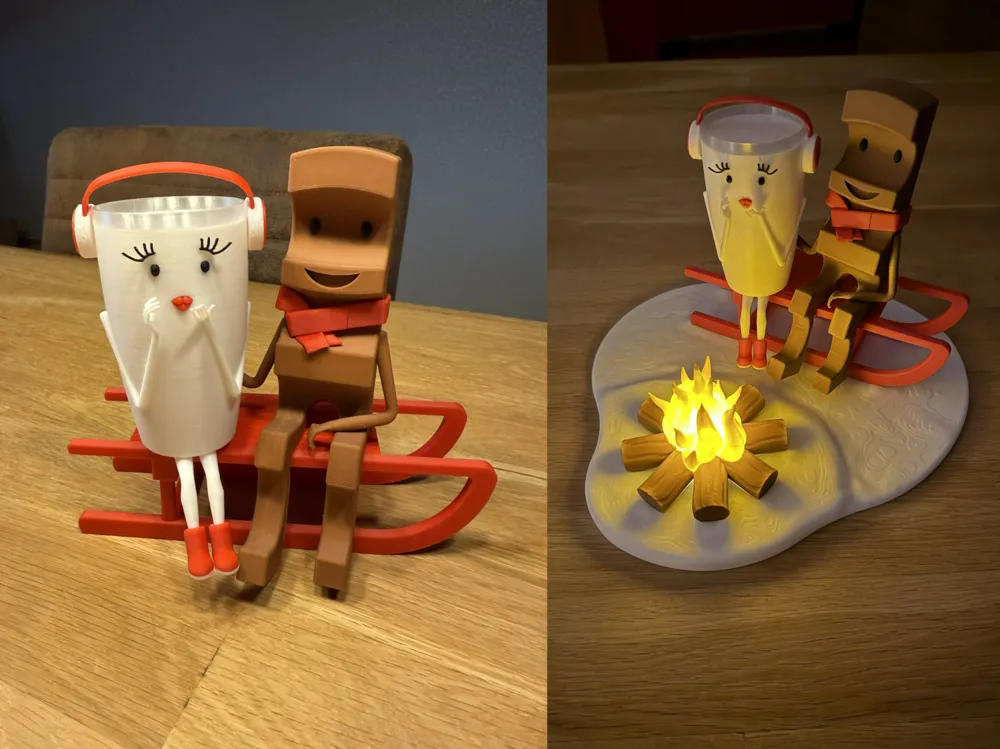
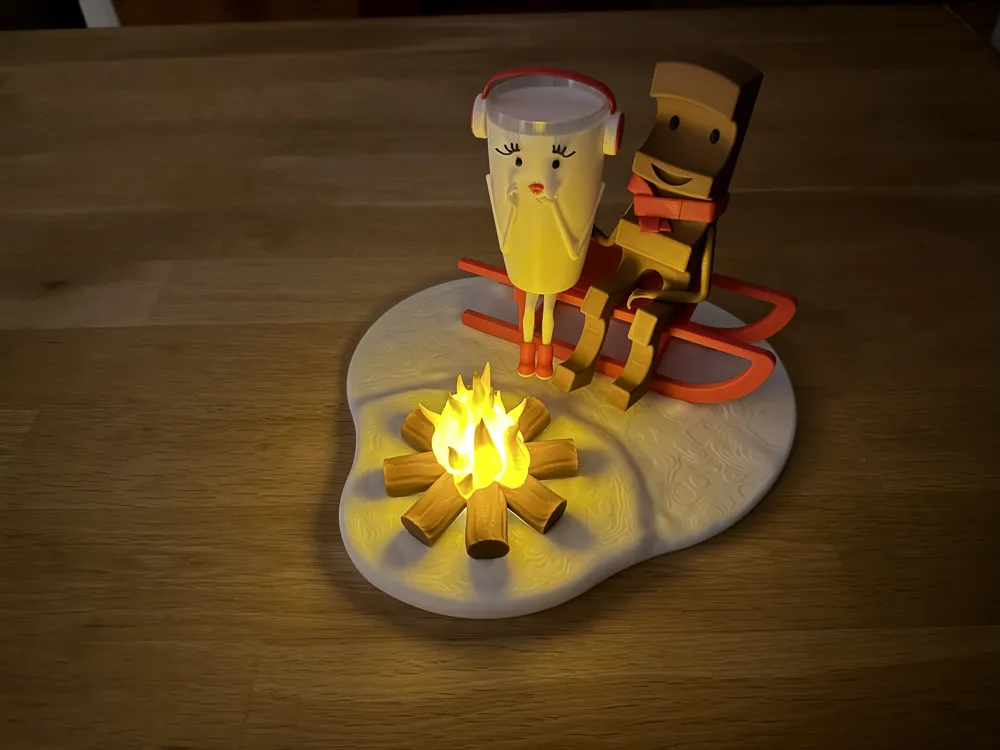
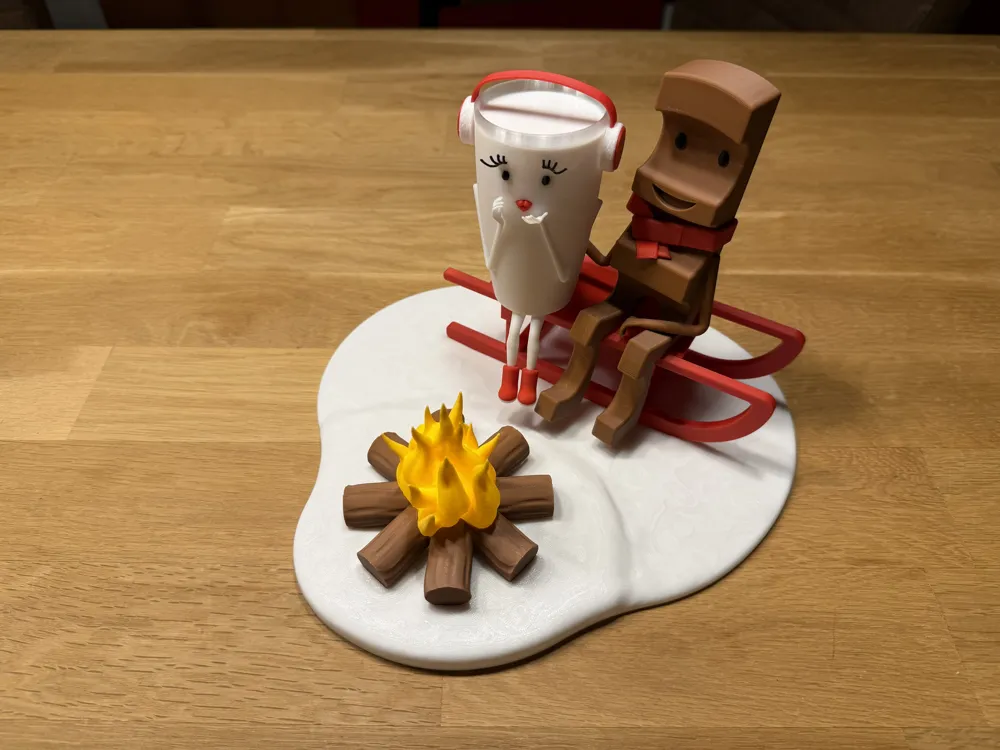
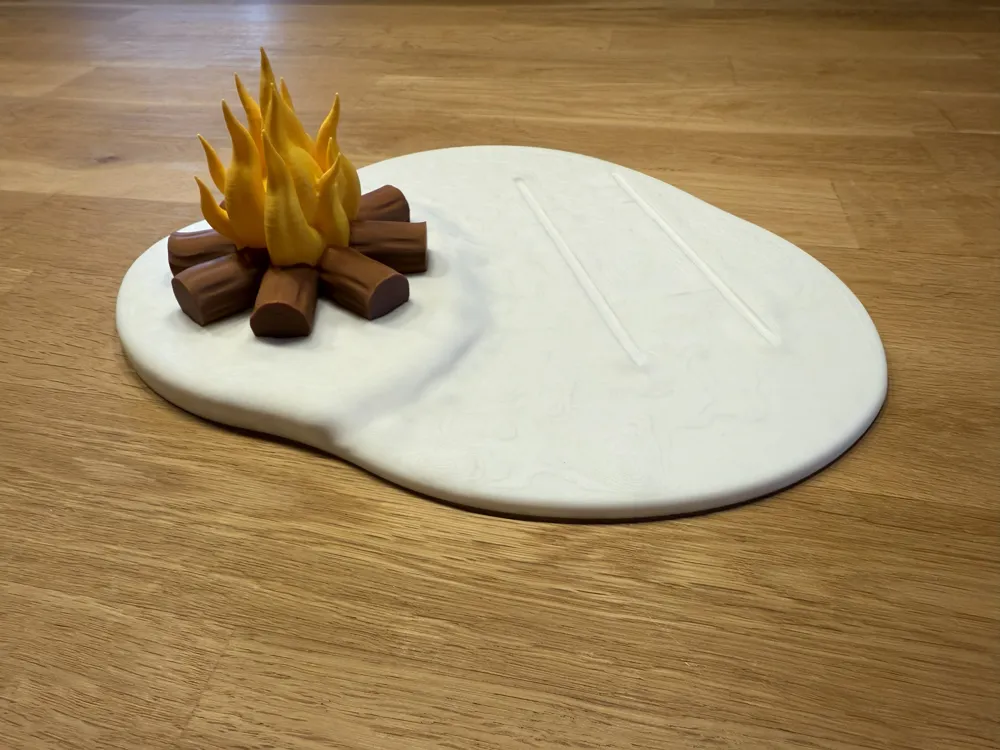
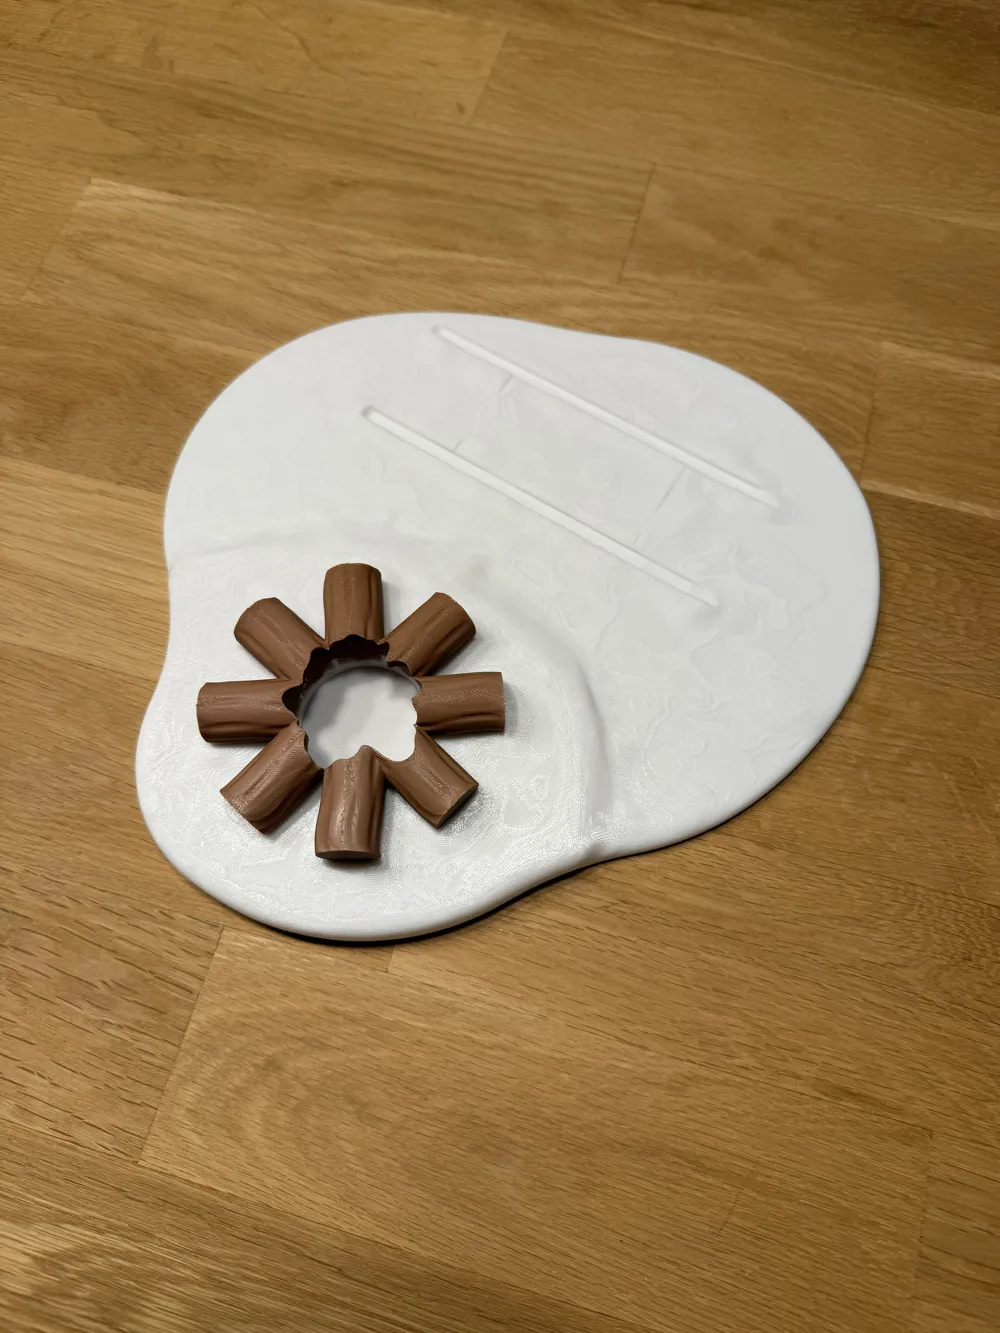
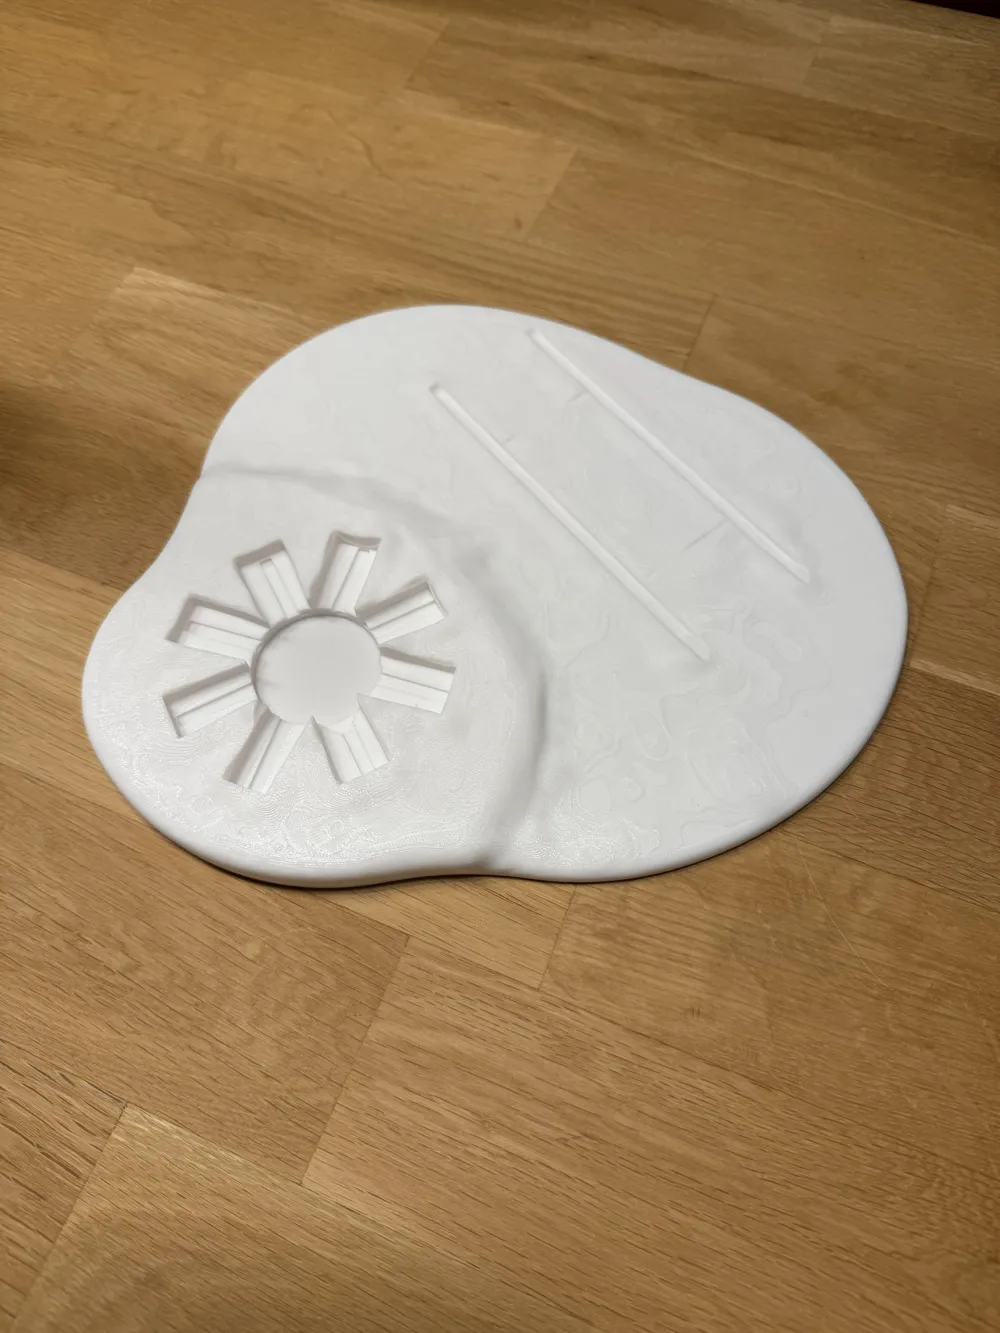
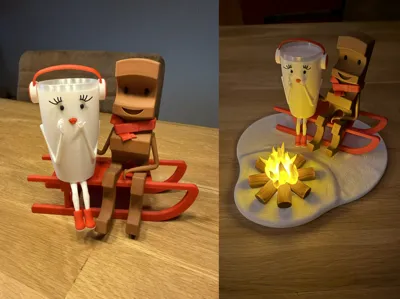
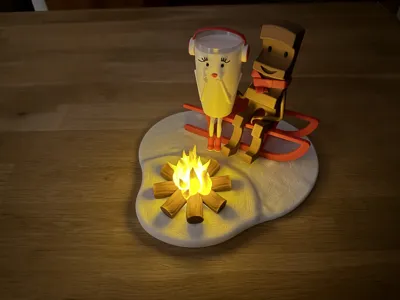
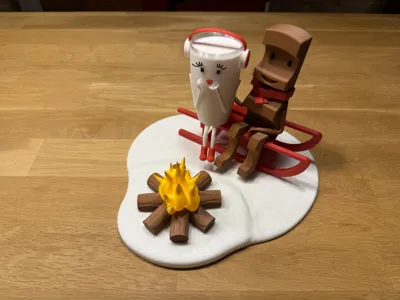
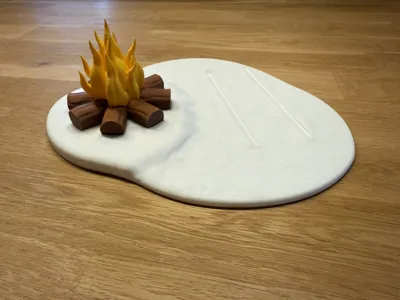
A small campfire with a tea light and snow has been added as an optional addition.
Description
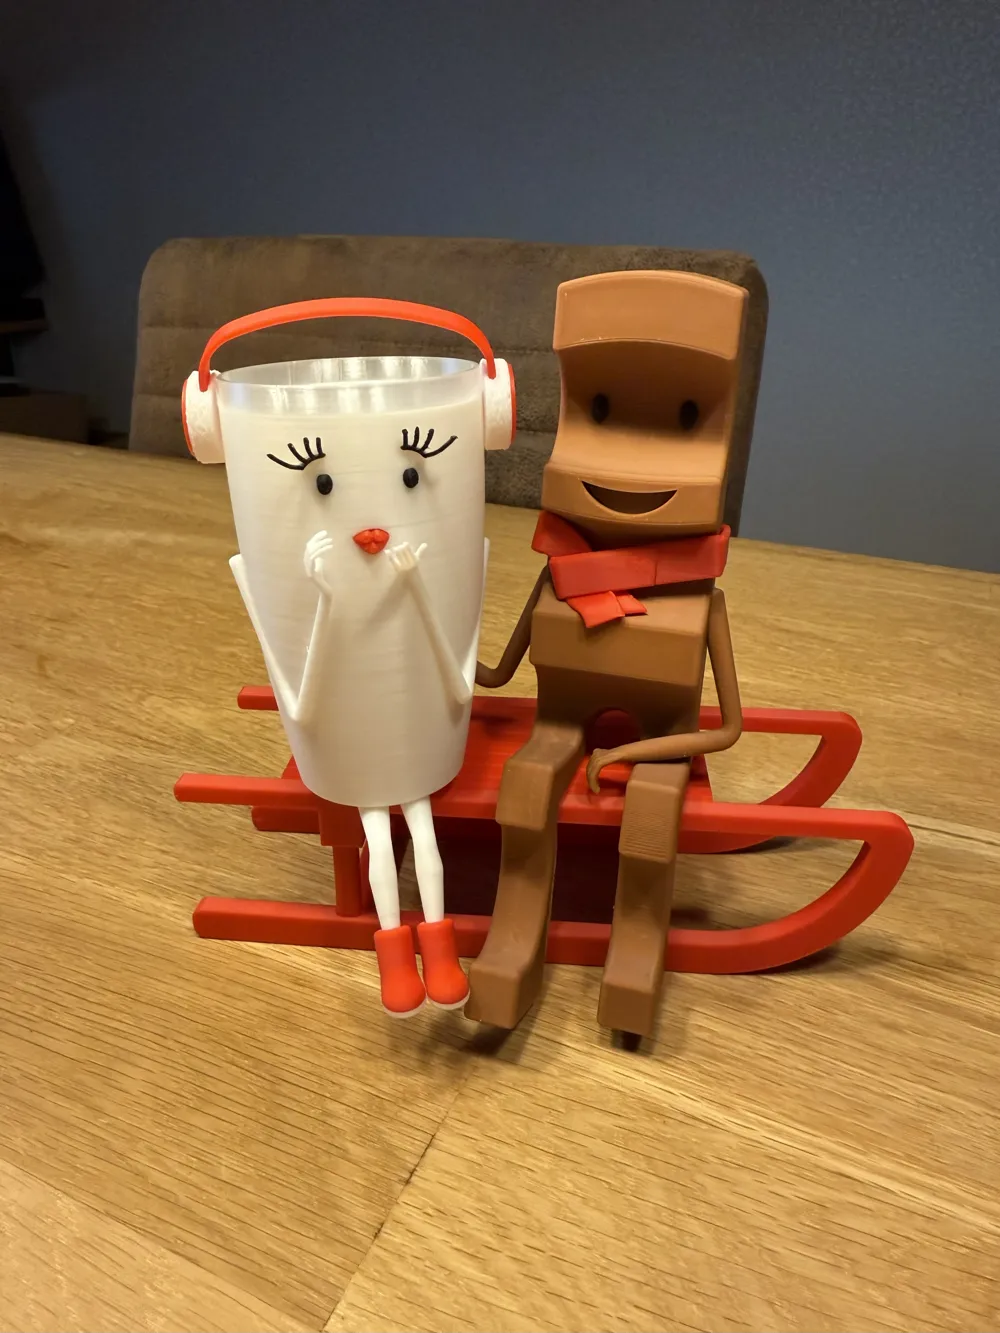
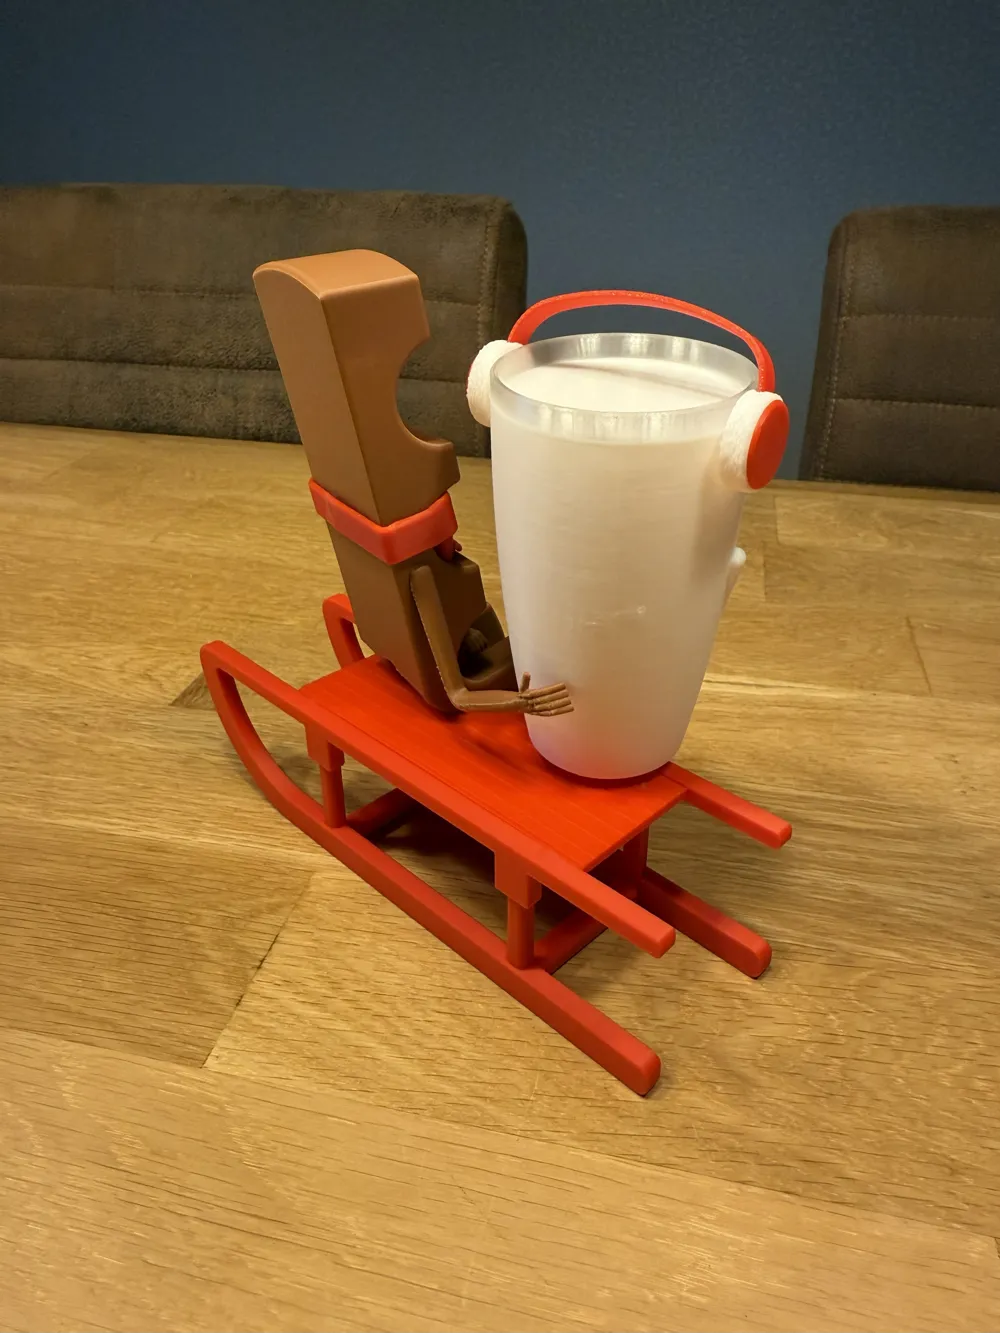
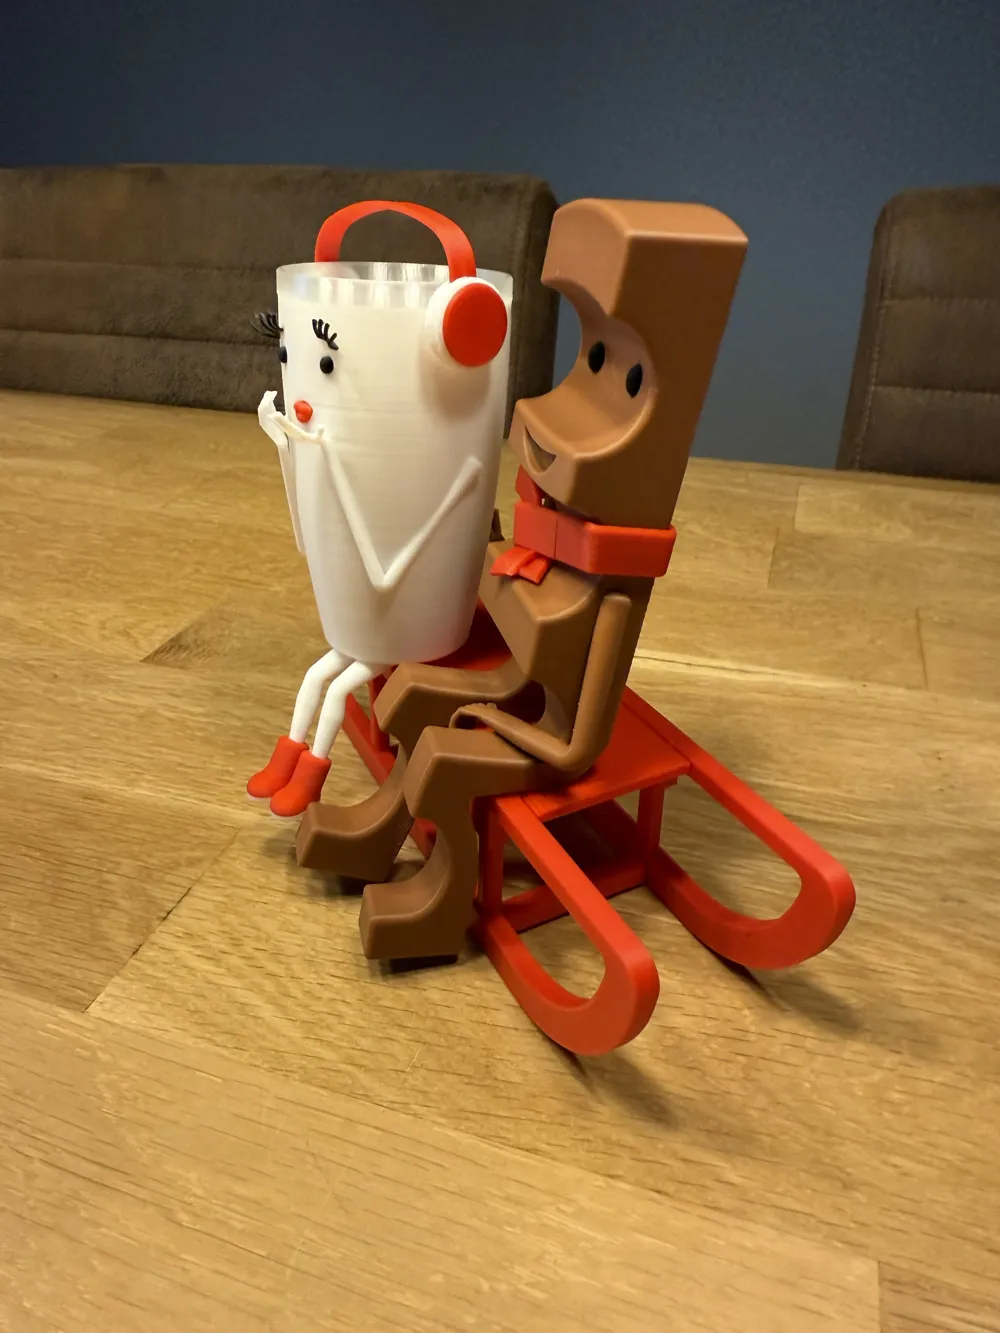
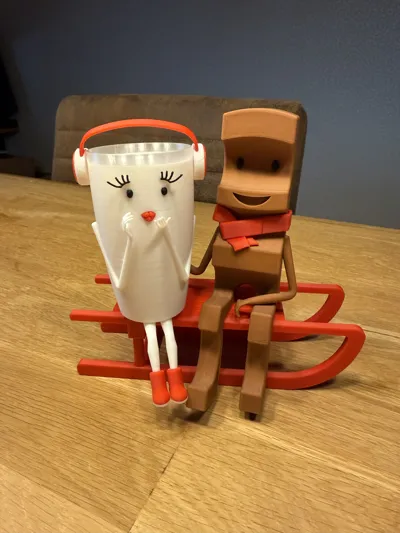
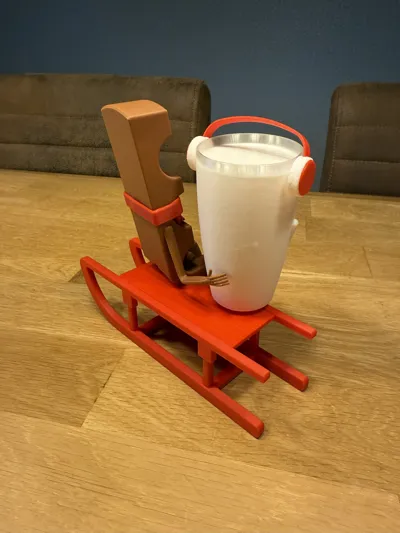
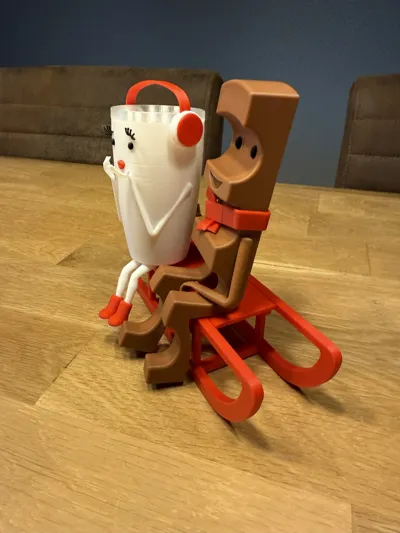
The winter edition of Milky & Schoki is here.
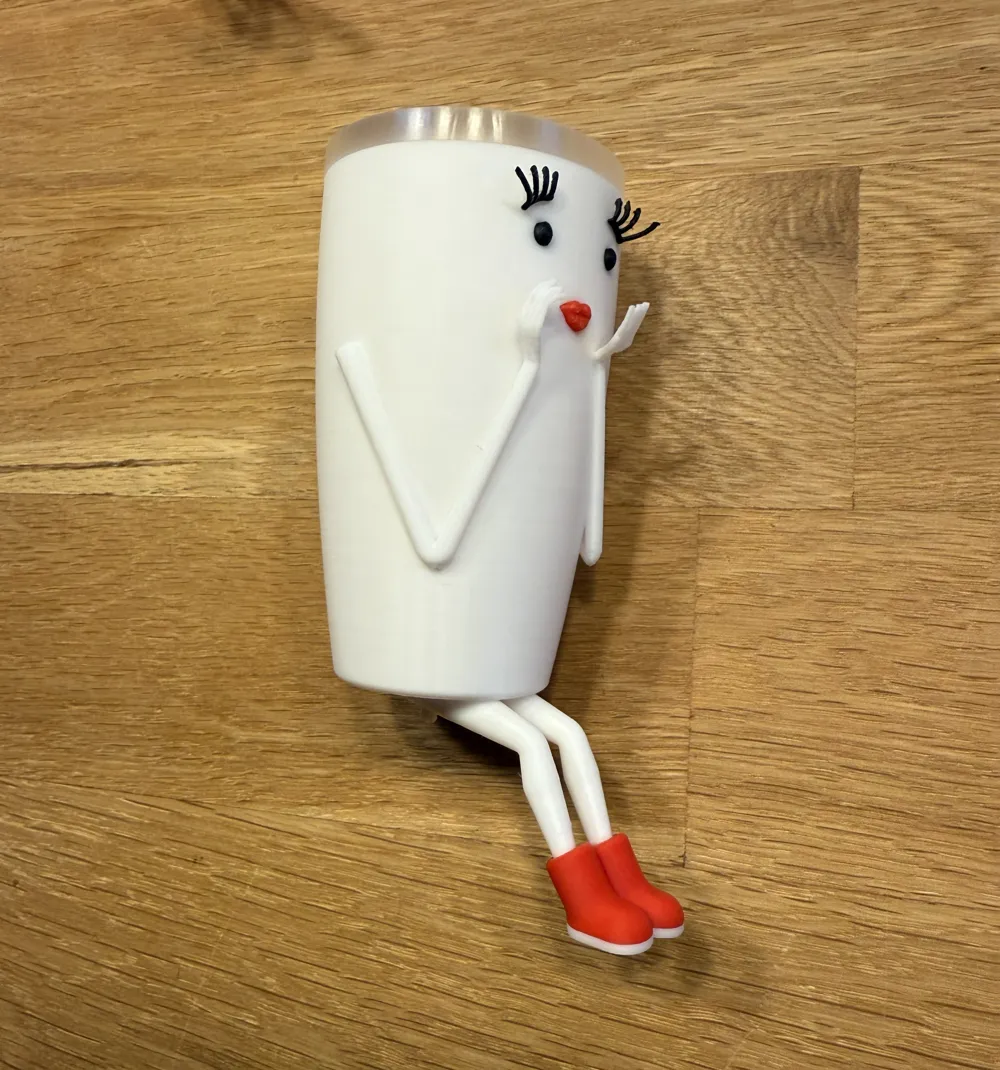
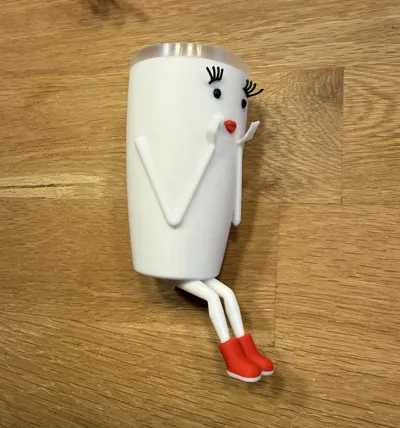
For Milky's glass rim, I used transparent PLA.
The model is divided into 7 build plates, but you don't need all of them. Depending on your printing project, you can omit some plates.
Here is the description for the build plate and its necessity:
When printing without AMS you need:
Plate 1: all red attachments
Plate 2: NOT
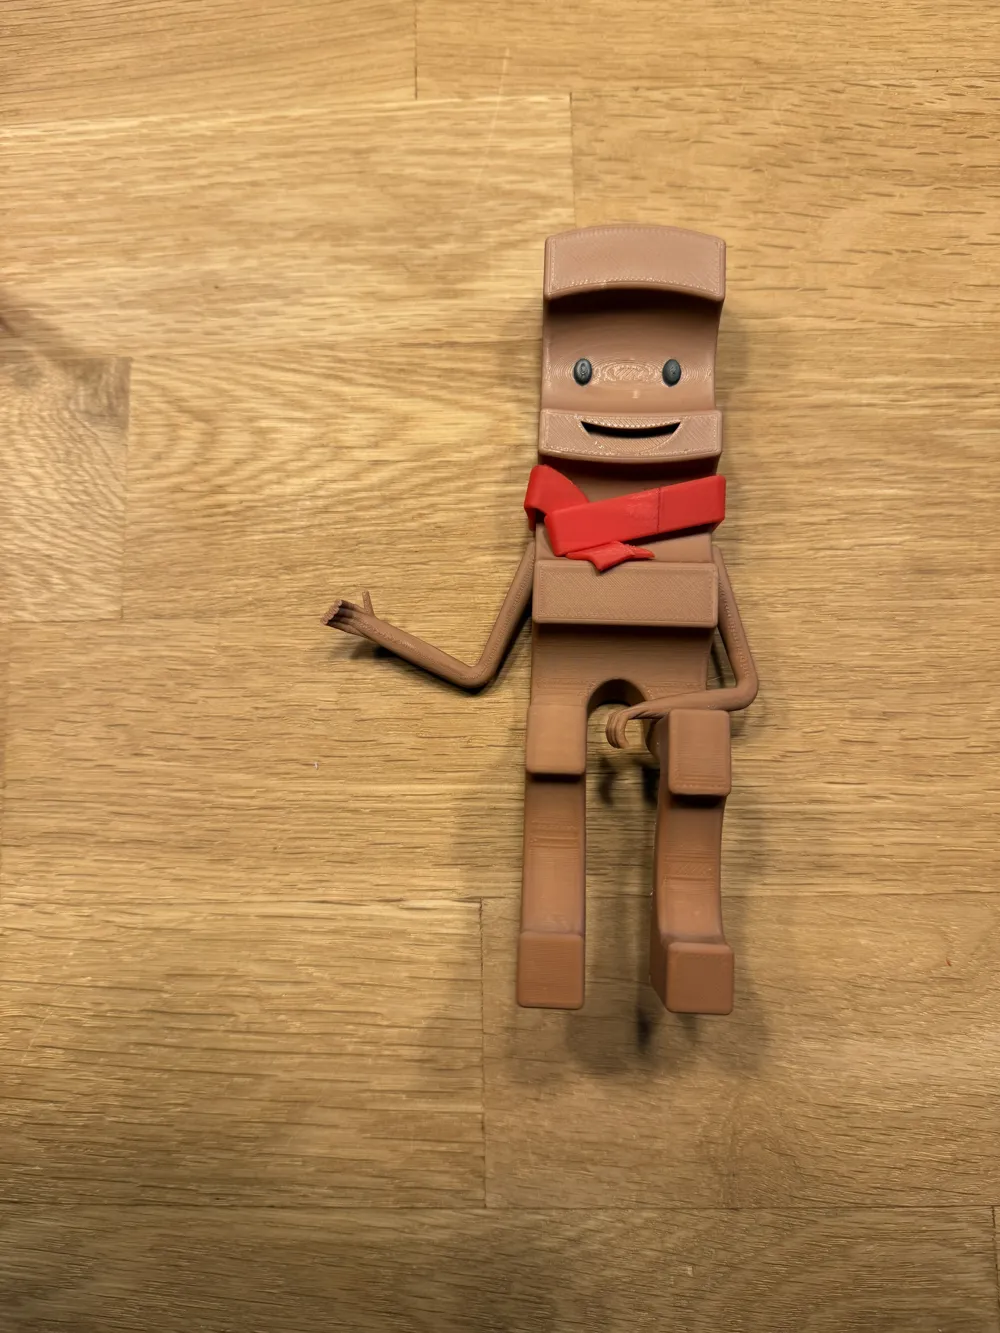
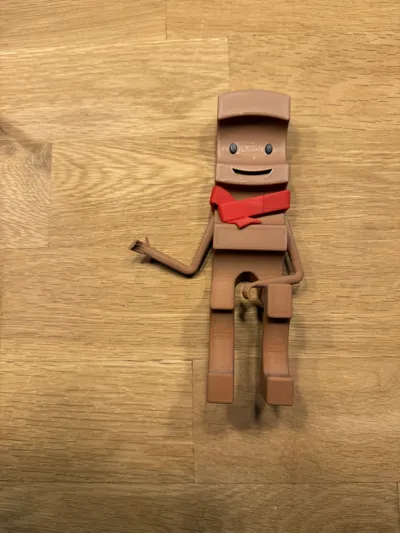
Plate 3: Schoki
Plate 4: Eyes and eyelashes
Plate 5: Milky's glass rim
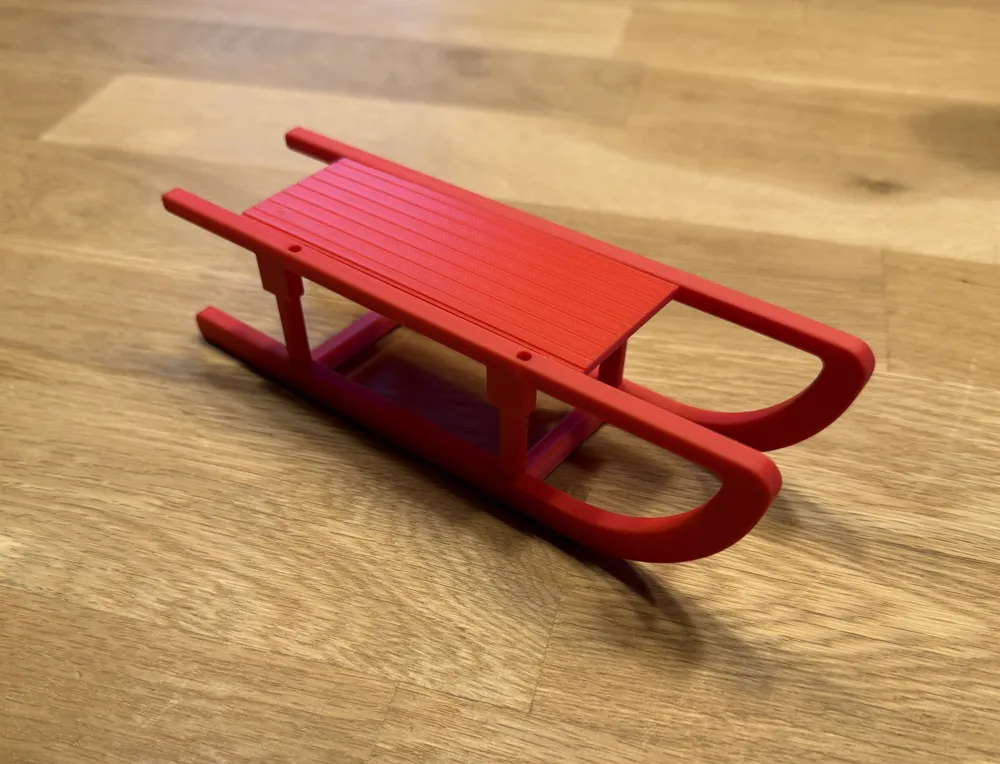
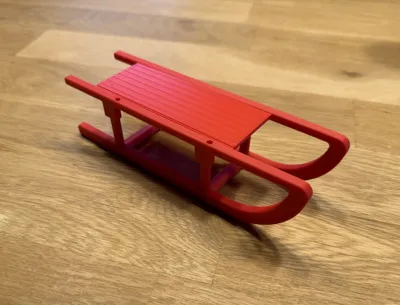
Plate 6: Sleigh
Plate 7: Milky's body, white attachments
When printing with AMS you need:
Plate 1: all red attachments
Plate 2: Milky's body including transparent glass rim, white attachments
Plate 3: Schoki
Plate 4: Eyes and eyelashes
Plate 5: NOT
Plate 6: Sleigh
Plate 7: NOT
When removing the eyelashes from the supports I recommend being very careful and possibly using a knife for assistance as they are very delicate. However it worked very well for me.
Milky's eyelashes are only glued on. I recommend using tweezers for assistance.
Milky's eyes are inserted. Please note that the left eye has a short pin and the right eye has a long pin. The small bevel on the pins should face downwards on both eyes.
When inserting Milky's mouth please be careful not to break your fingers. Use a small flat object to help press the mouth into the opening.
Milky's legs should be attached to the body with dowels and glue.
The shoes should be attached to the legs with glue.
Schoki's scarf is inserted into the side of the body and glued at the ends if necessary.
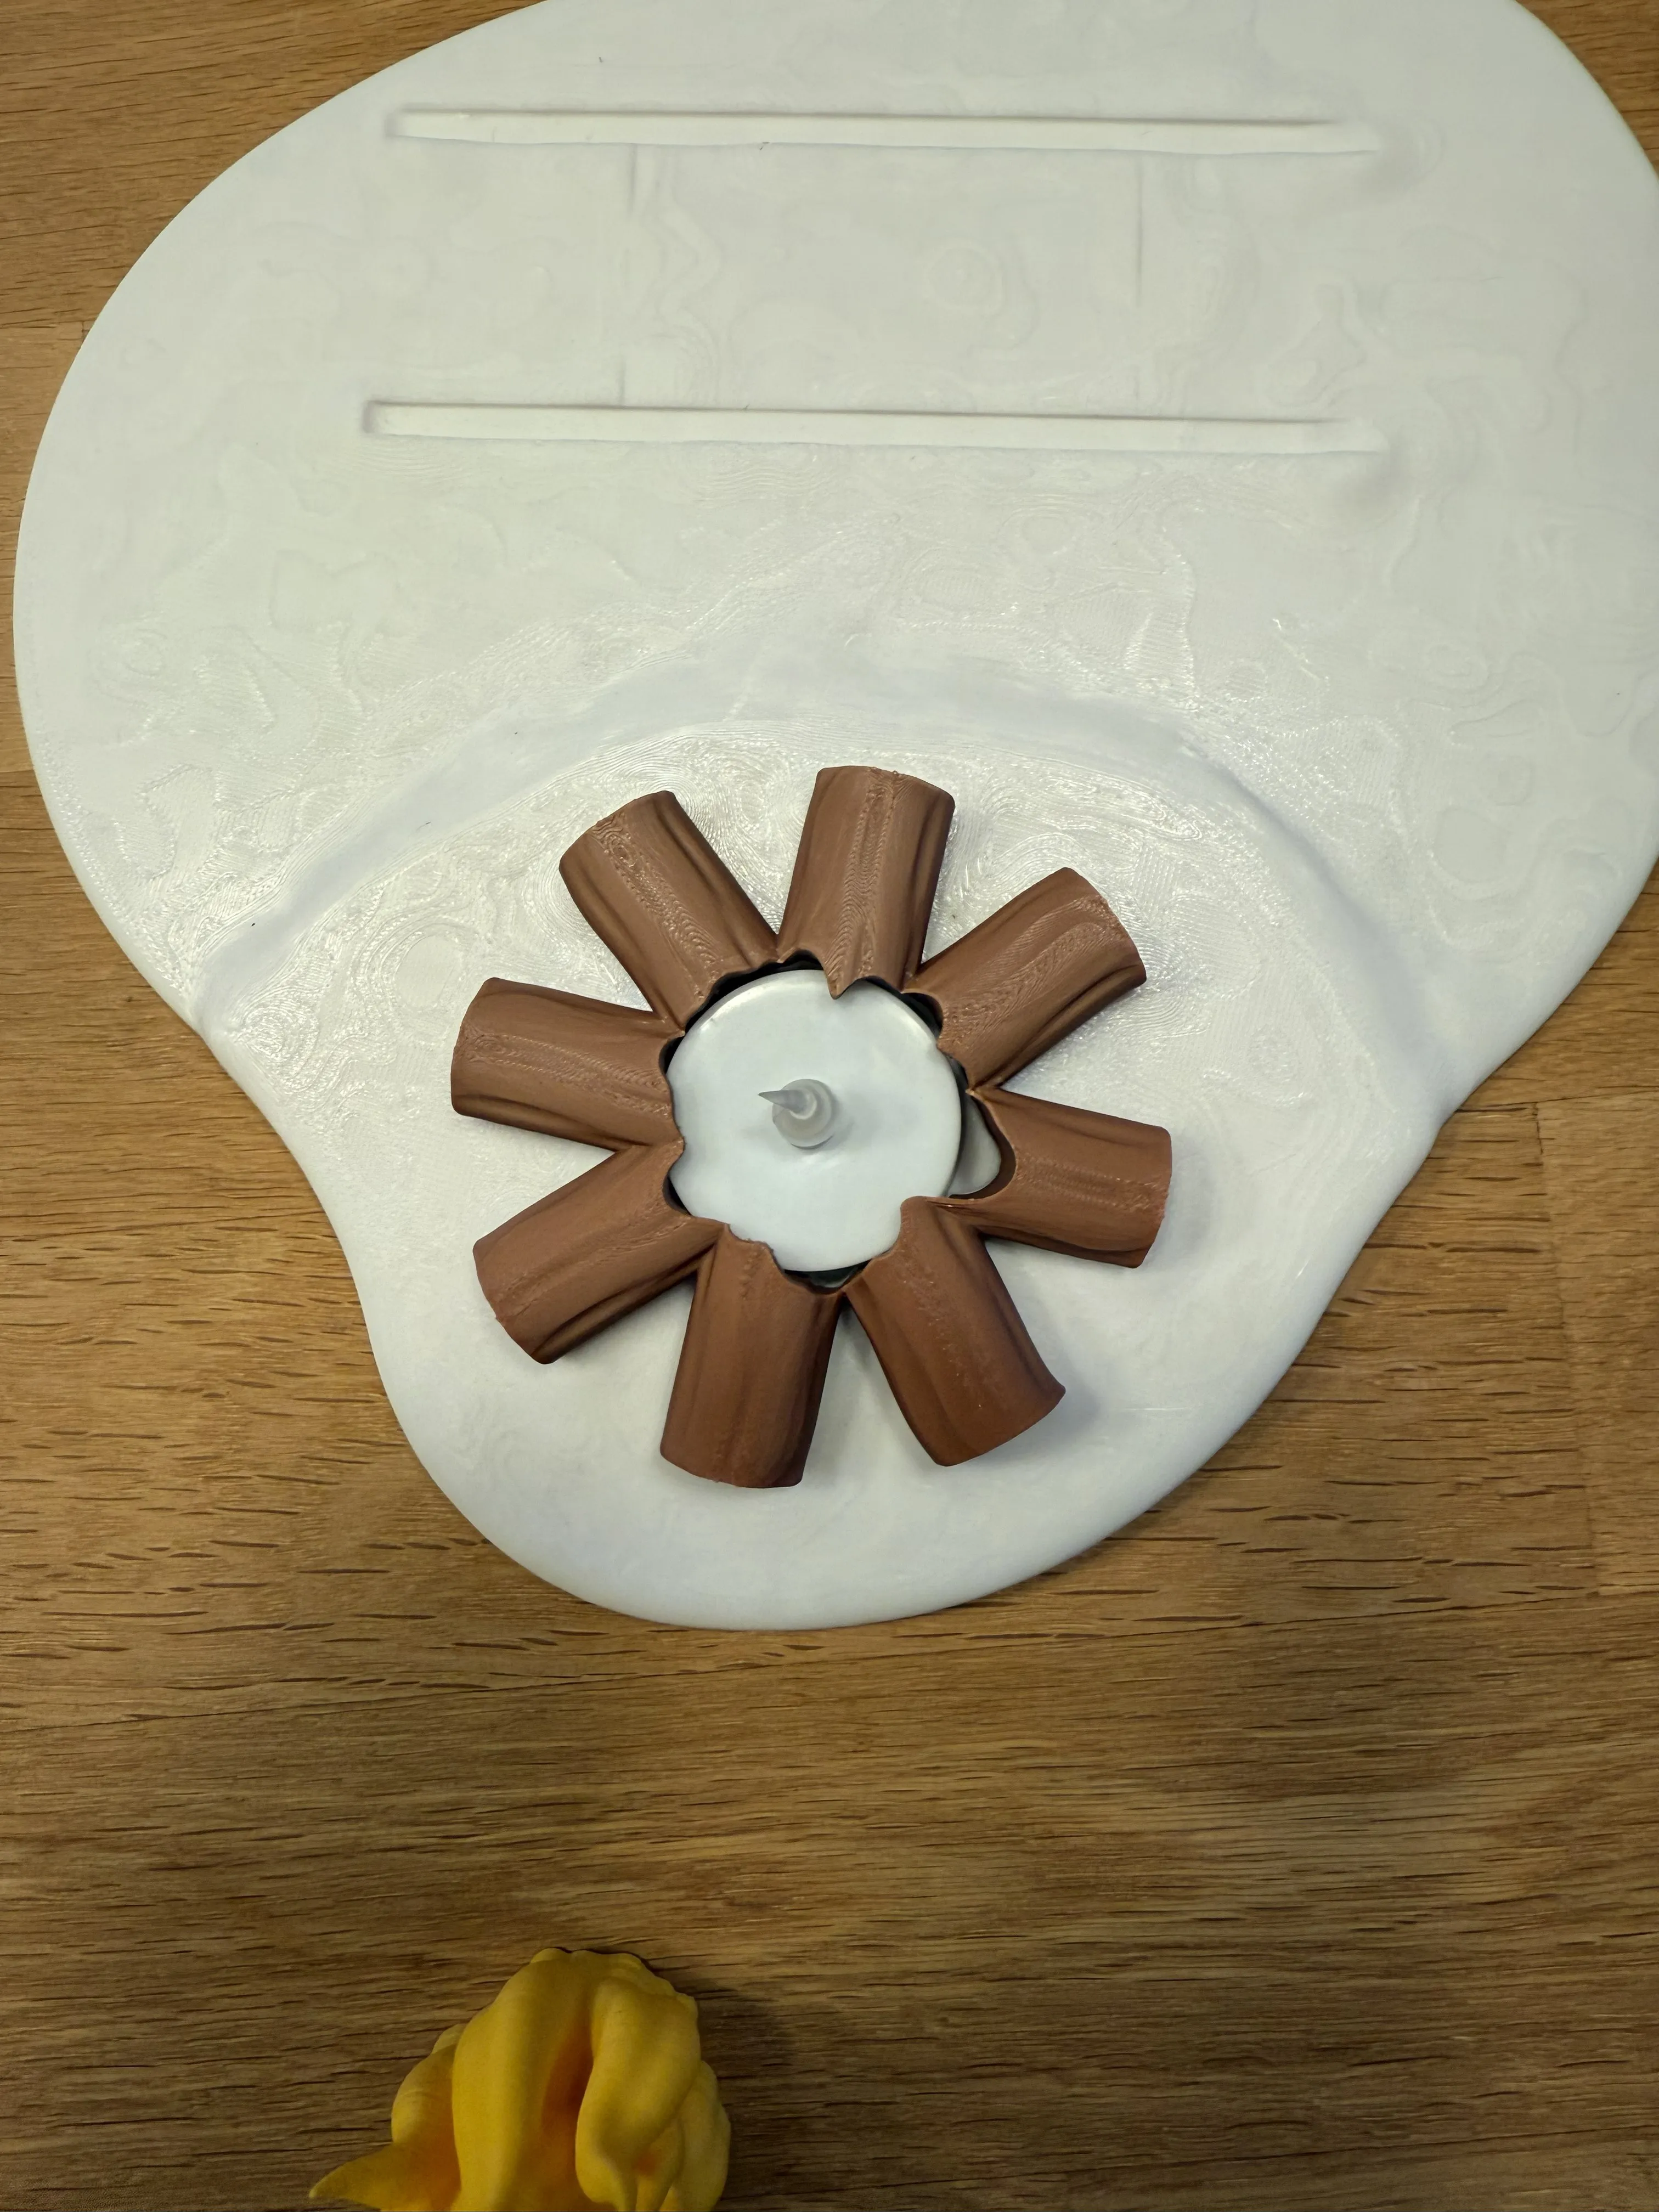
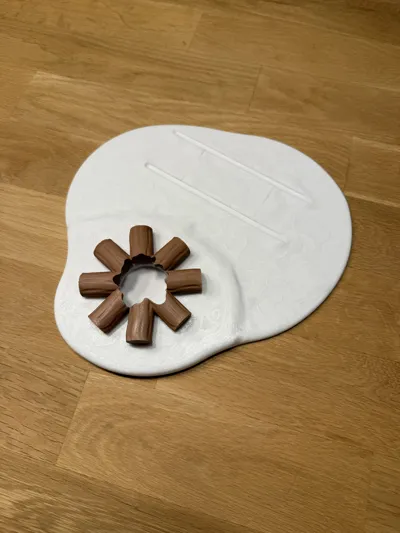
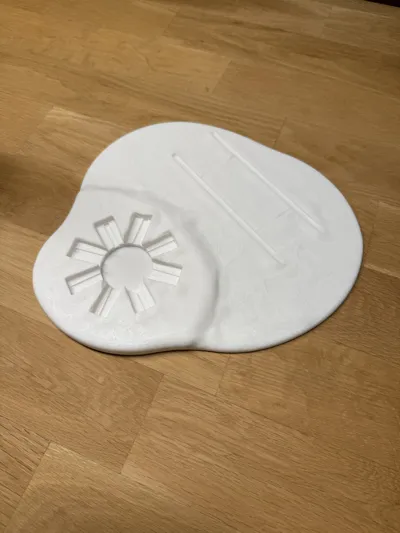
For the optional addition of the winter landscape with snow and campfire please note to insert the campfire (wood) in the orientation shown. Otherwise it will not fit.
To turn on the tea light remove the wood with the flame turn on the tea light and reattach the wood and flame.
Check out my other models:
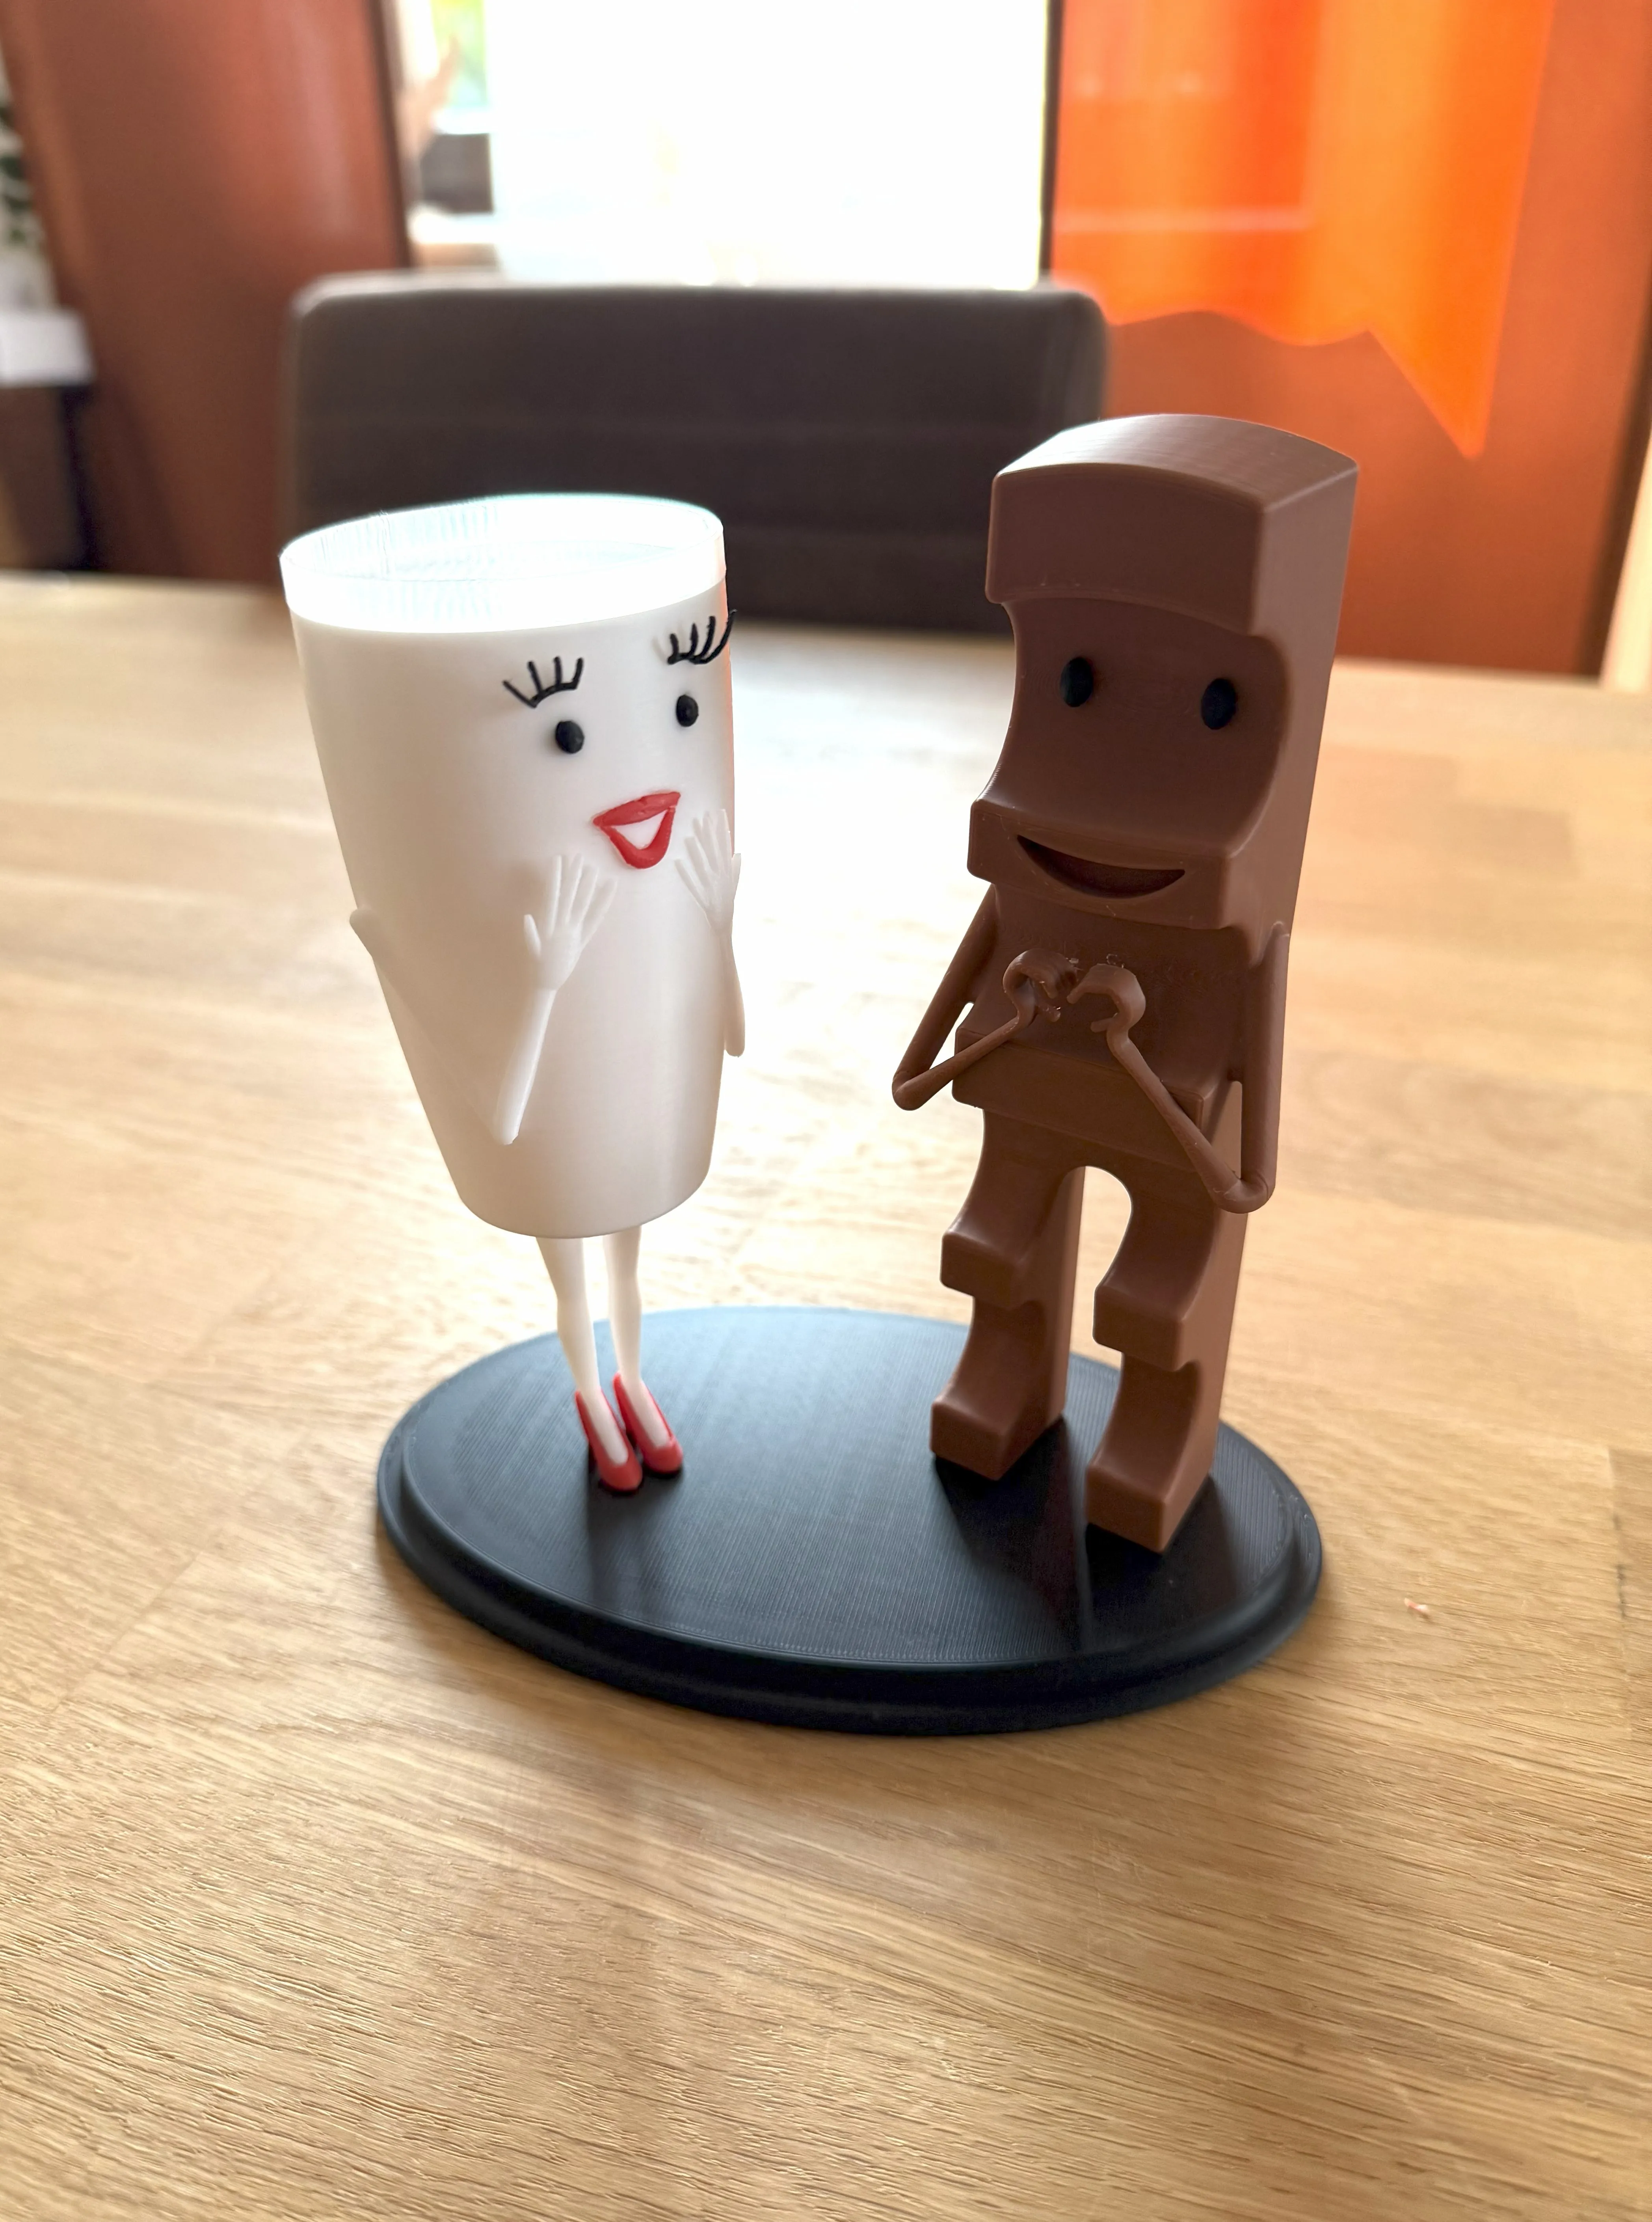
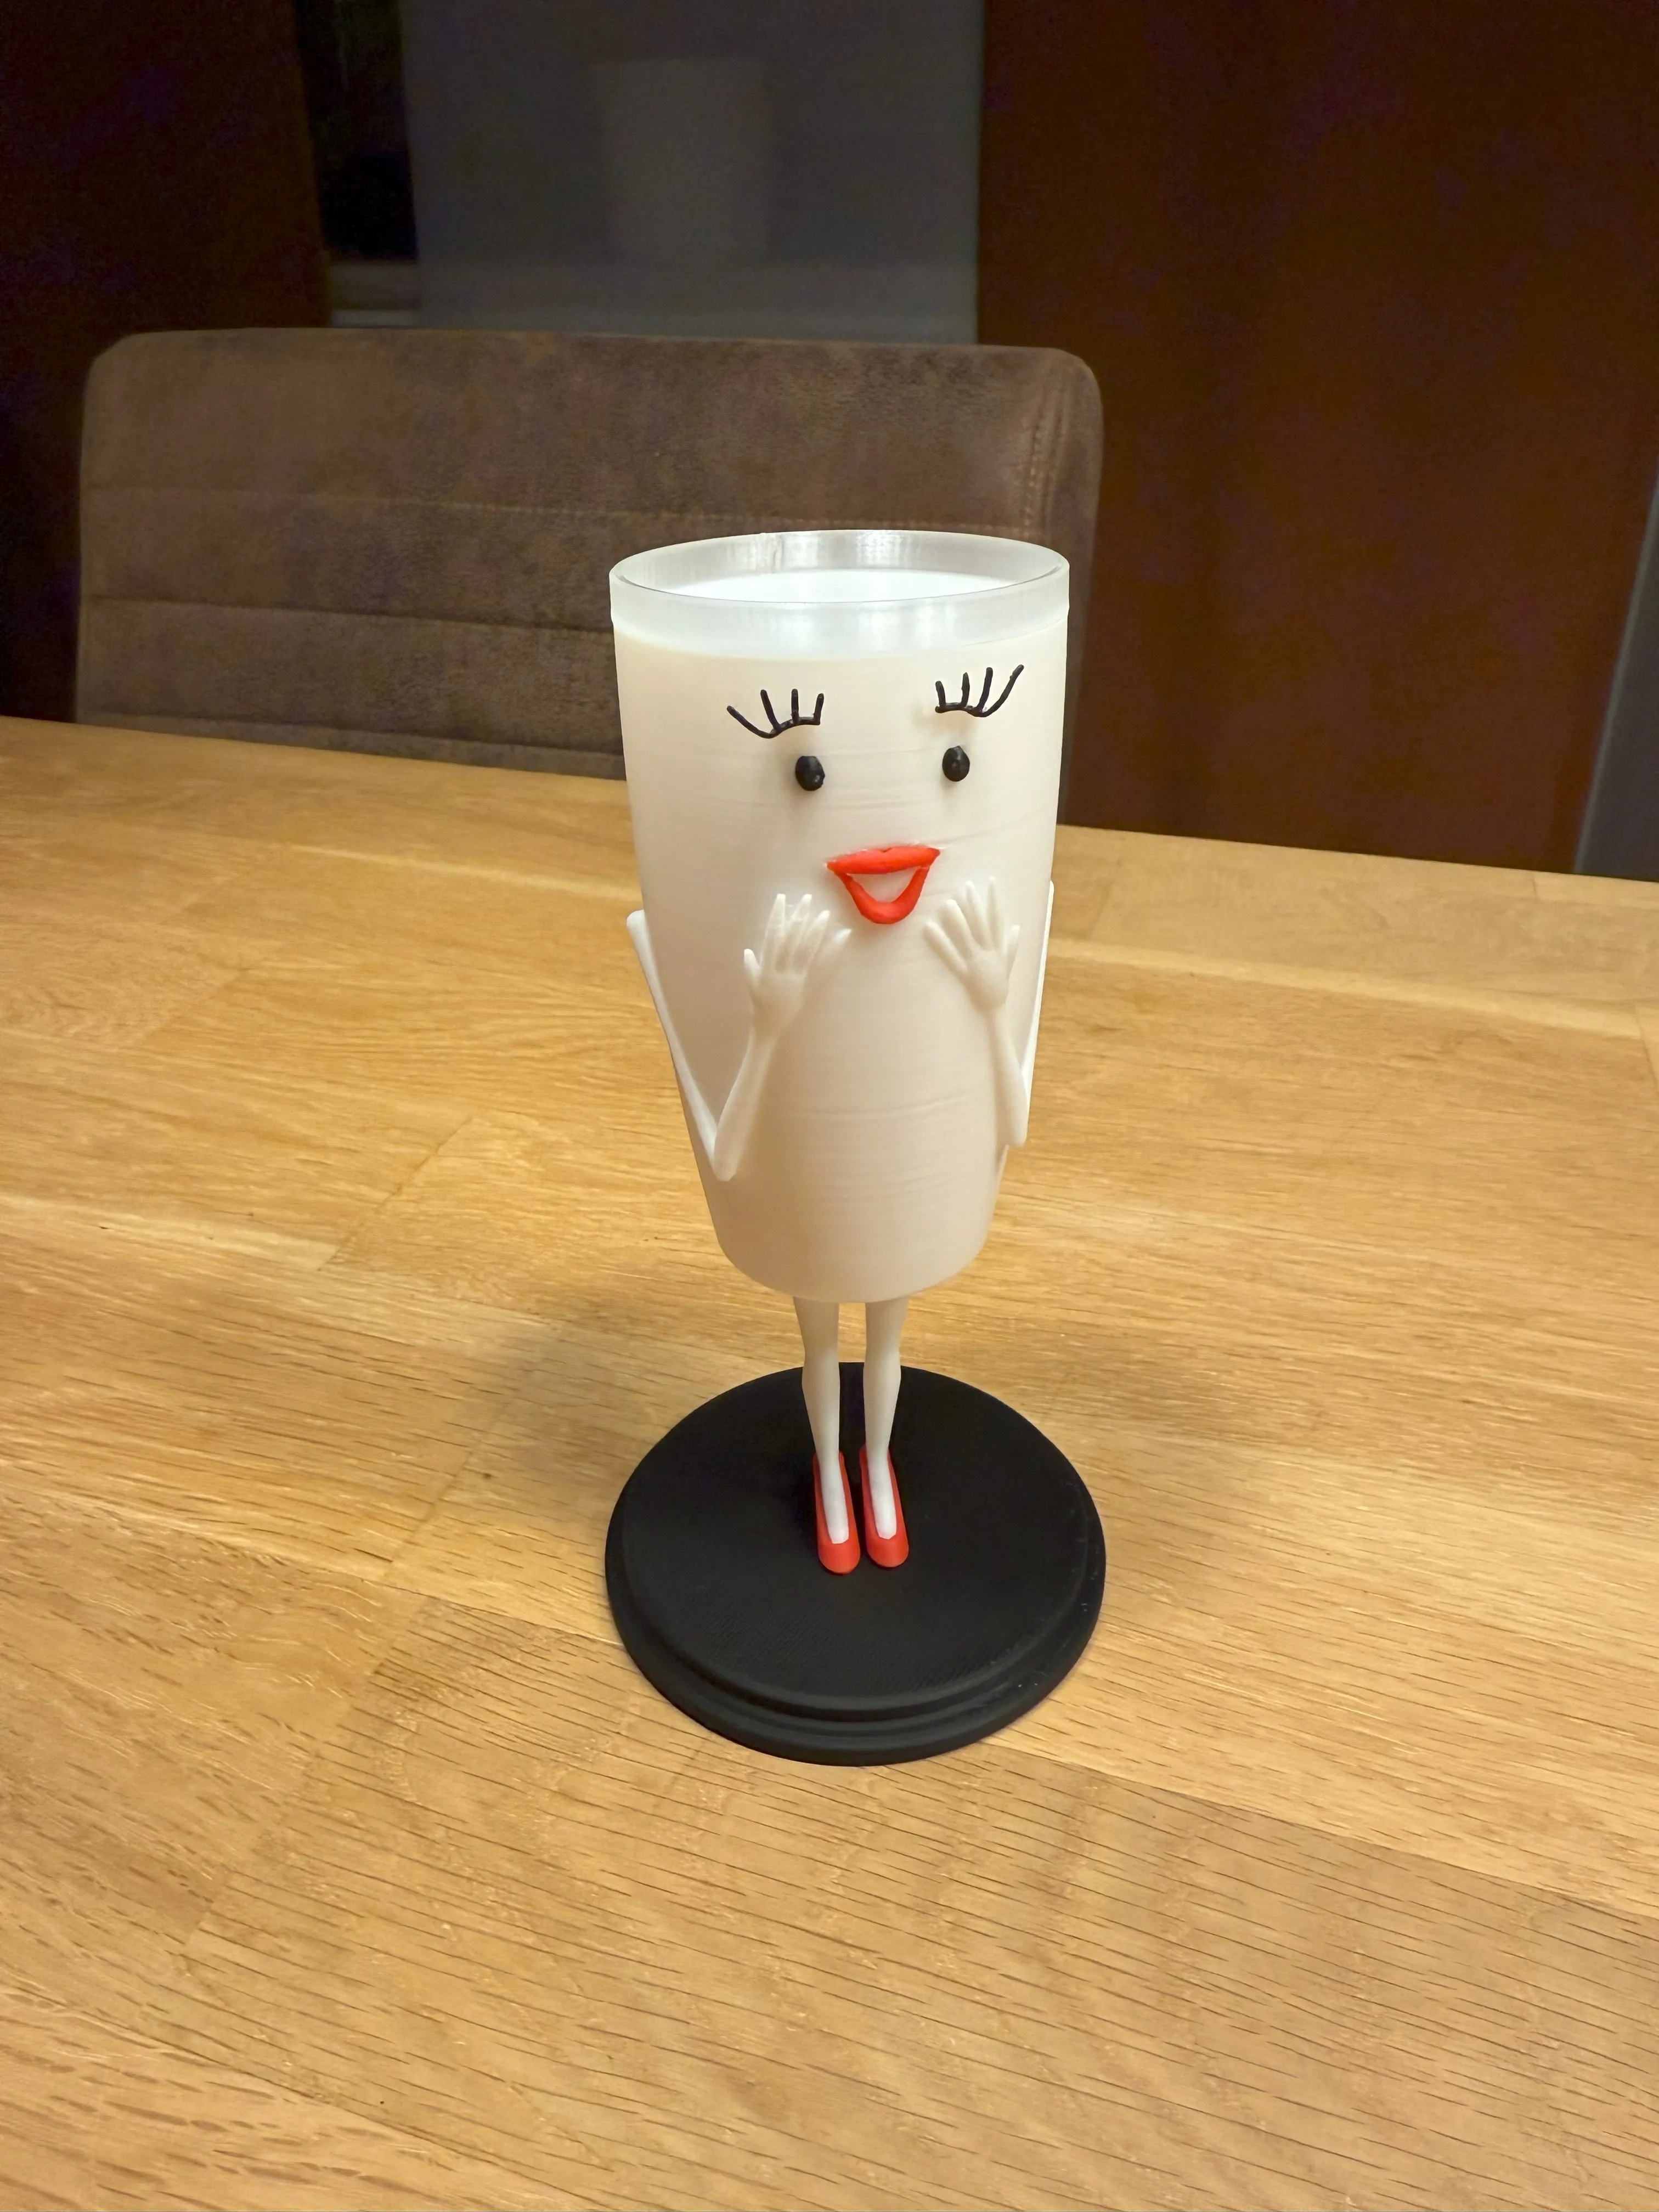
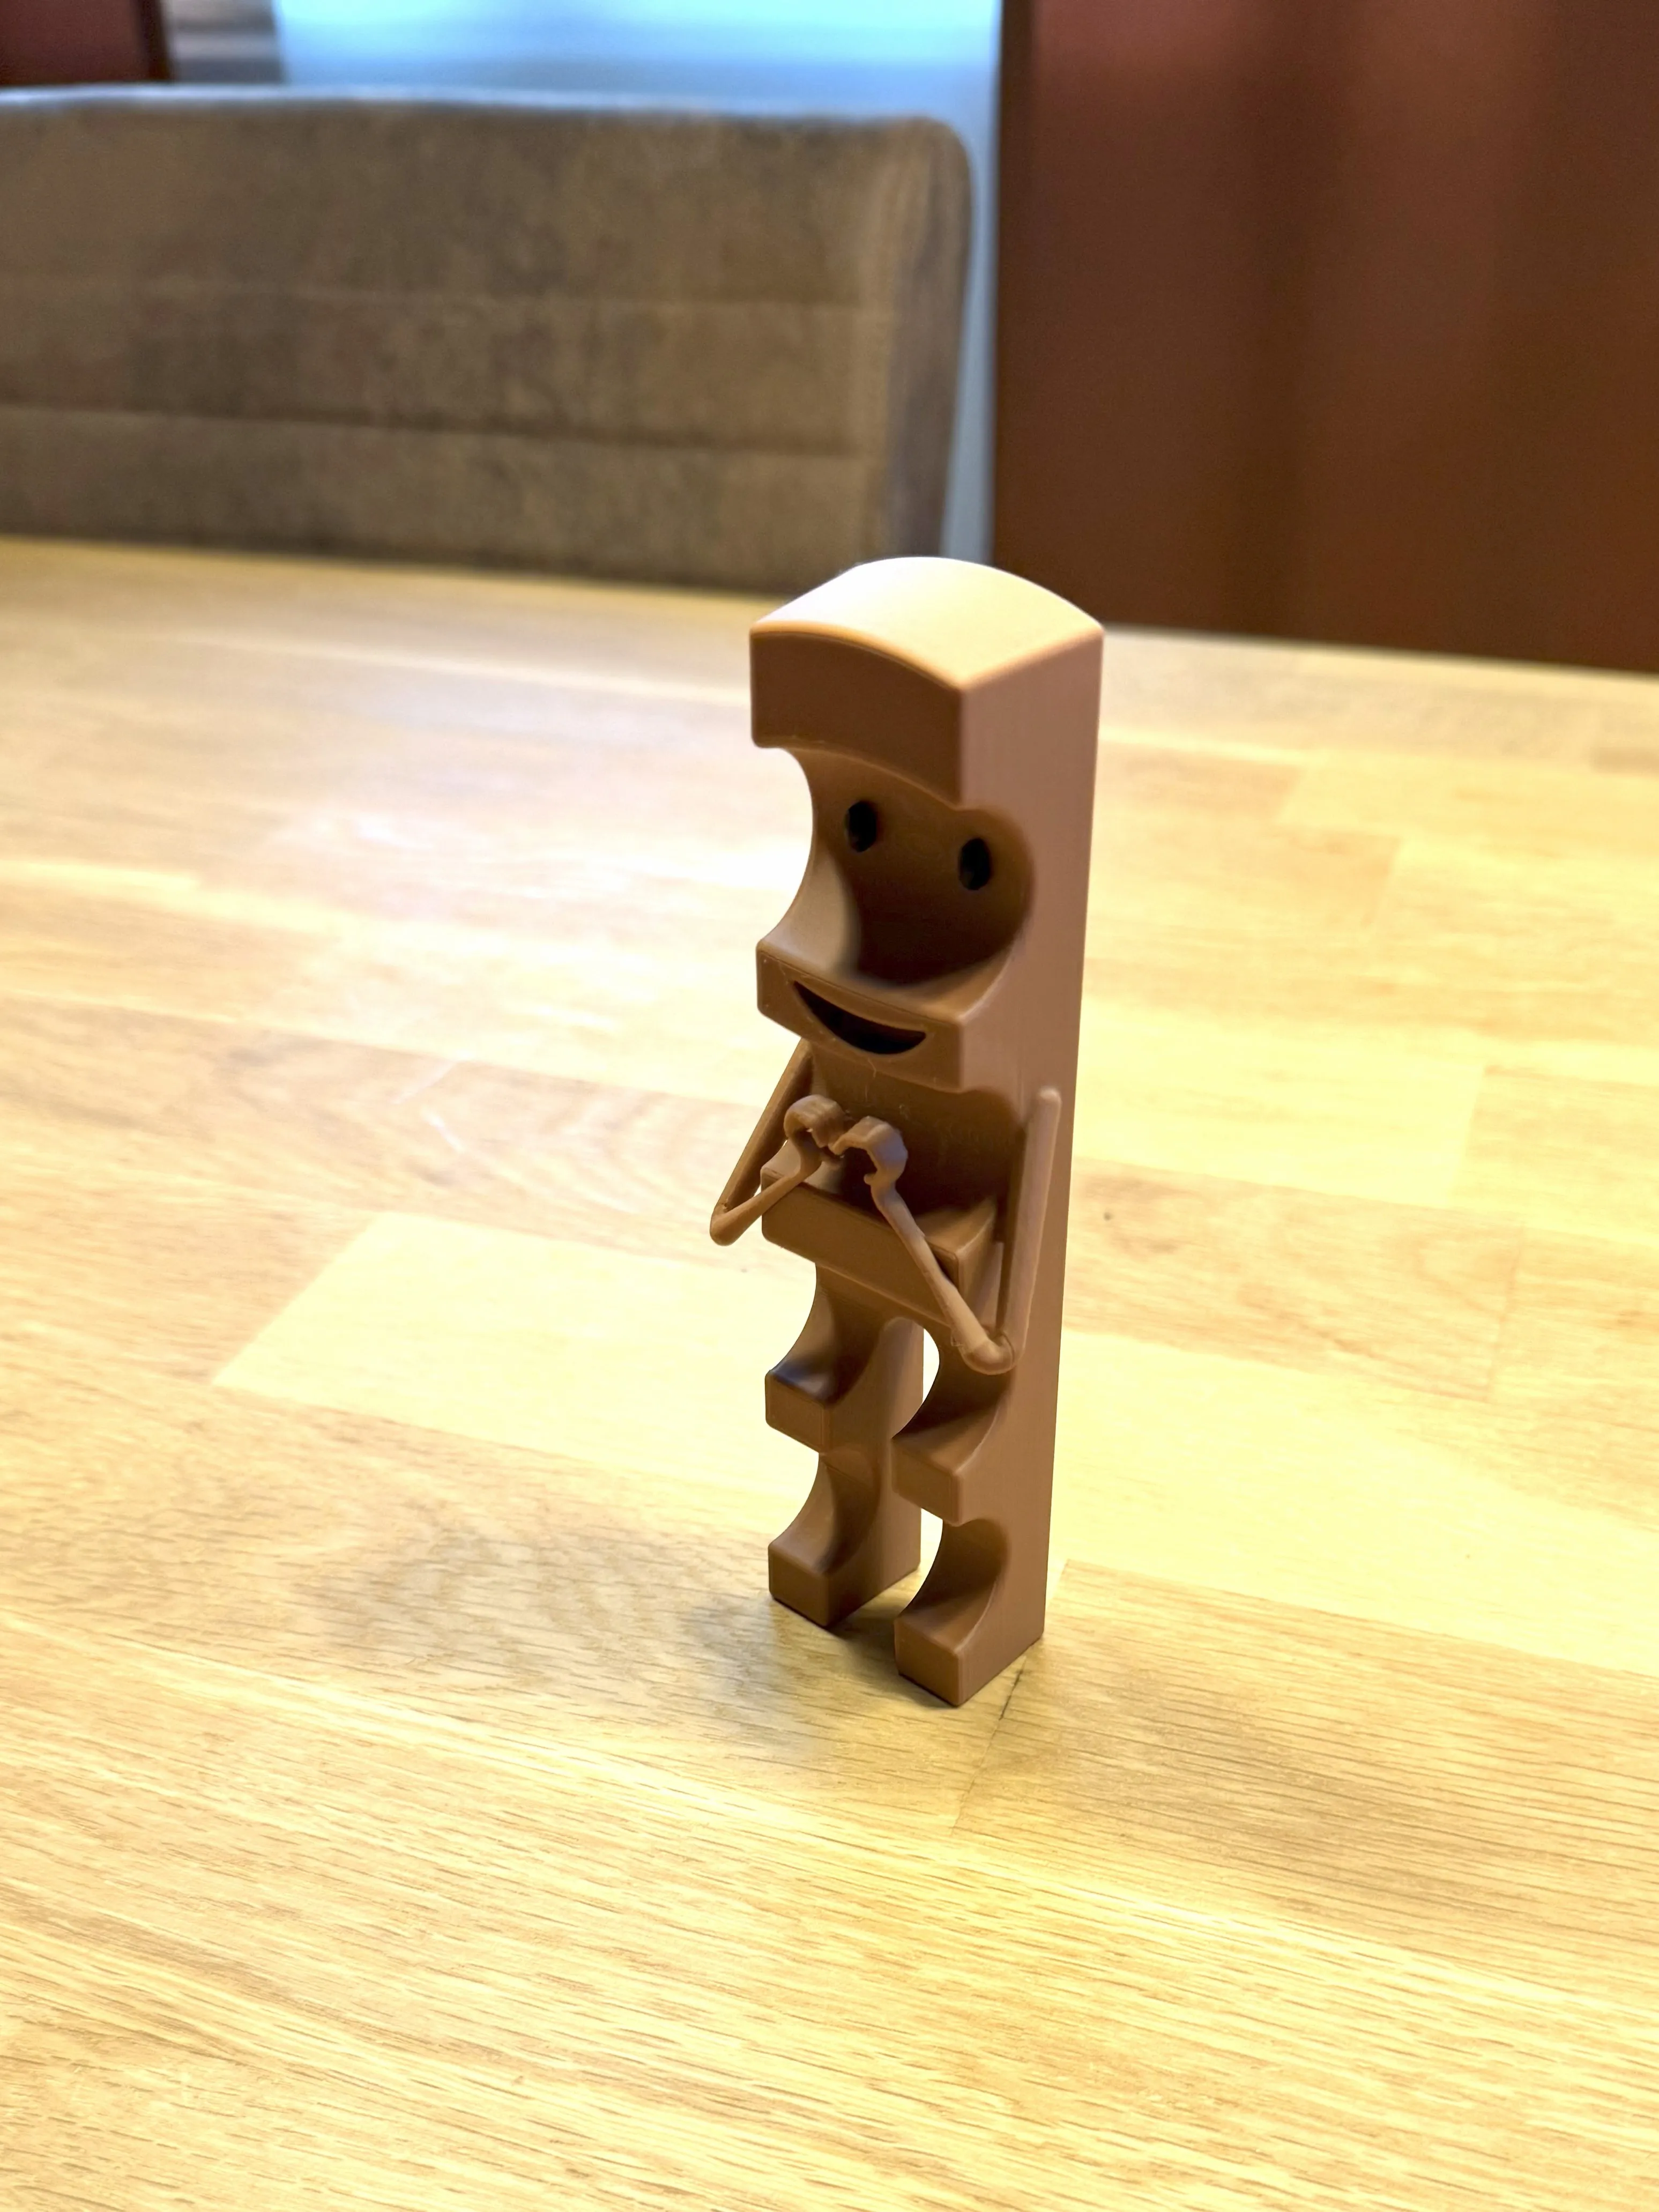
I hope you like my model, then feel free to leave a boost and a rating.
Boost Me (for free)
If you like the model, feel free to leave a boost. It's completely free for you! For me, however, it makes a huge difference and helps me continue to develop models for you.
Documentation (1)
License

You shall not share, sub-license, sell, rent, host, transfer, or distribute in any way the digital or 3D printed versions of this object, nor any other derivative work of this object in its digital or physical format (including - but not limited to - remixes of this object, and hosting on other digital platforms). The objects may not be used without permission in any way whatsoever in which you charge money, or collect fees.


Comment & Rating (38)