Reindeer – two variants - No AMS


Print Profile(3)


Bill of Materials


Description
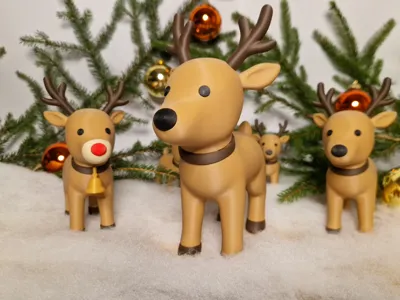
🦌 Reindeer – two variants
When snow covers the paths outside,
and the gentle jingle of bells startles, when warm light shines through windows,
then you know it's Christmas – united.
Whether as a small decoration on the table, at the window, or as part of a future sleigh –
this reindeer brings a piece of winter magic into your home
Carefully constructed, sturdy and precisely fitting –
each part was modeled in such a way that after assembly
it results in a clean, high-quality figure that appears to have been made from a single piece
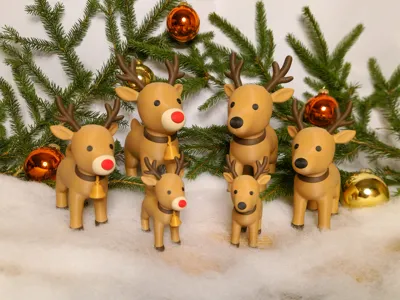
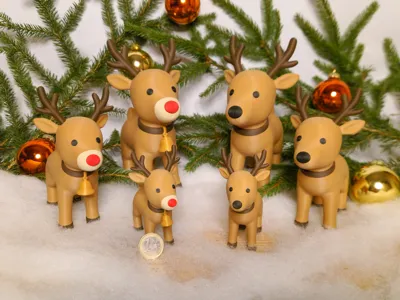
Sizes:
• Small: approx. 10 cm high
• Medium: approx. 15 cm high
• Large: approx. 19.5 cm high
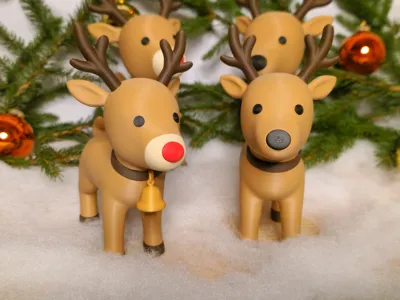
Variants:
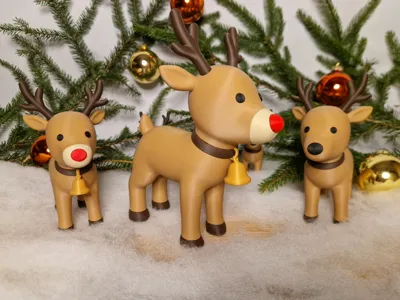
Variant 1 – Rudolf
• Red nose, head with separate snout
• Additionally, a small bell can be attached to the collar- Variant 2 – Standard Reindeer
• One-piece head, snout directly integrated
• The nose, which is set to red on the print plate, can simply be changed to black –
this creates the classic look of the standard reindeer
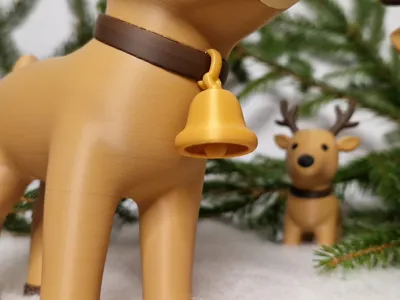
Note on the bell:
The bell can be very delicate and prone to breaking in the small variant.
It is deliberately kept dainty to maintain the correct proportions.
If you cannot remove it cleanly from the print plate, it is better to omit it –
a larger version would no longer optically fit the model
Assembly:
Before gluing, all parts should be test-fitted once
to ensure that everything sits cleanly and is correctly aligned
The feet are already arranged in the correct orientation on the print plate.
If necessary, you can refer to the example images or the print profile.
I recommend taking the body and applying a small dot of superglue to each foot end.
Then carefully press on the hooves, then turn the body over
and press it evenly on a flat surface,
until all four legs lie flat and the reindeer stands stably
The collar has a small marking, as does the body.
These markings must align when gluing –
then the position is correct.
Afterward, attach and glue the head
Depending on the variant, either the snout part with nose is then attached
or only the nose is inserted directly.
The antlers can simply be inserted;
in my tests, they always sat firmly enough without glue.
If you regularly put the model away, you can also leave them loosely inserted –
that way the antlers won't break off when stored
The eyes have a fixed position.
Carefully apply superglue with a toothpick,
place the eye, press lightly and align with small pliers,
until it sits visually clean
The bell is attached centrally to the collar.
First check if it fits, then apply a little superglue to the contact point
top and bottom and press gently.
A little pressure is enough to hold it well.
On small models, it can easily break when removed –
on larger ones, it usually works without problems
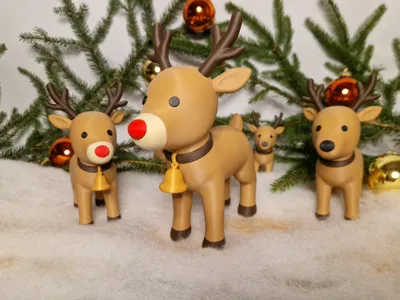
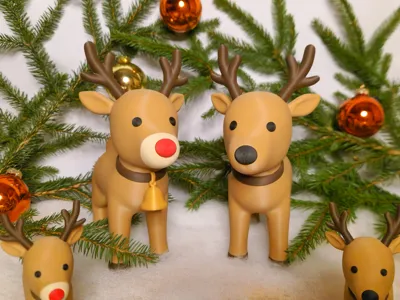
The models are designed so that all parts are cleanly printable
and after assembly, appear as if they were made from a single piece – colorful, stable, and high-quality in appearance.
The reindeer fits perfectly into any Christmas arrangement and ideally complements future models such as a planned sleigh
Boost Me (for free)
If you like the model, I would appreciate a boost or a review.
This helps to make further high-quality designs possible. Thank you!
More models:


License
You shall not share, sub-license, sell, rent, host, transfer, or distribute in any way the digital or 3D printed versions of this object, nor any other derivative work of this object in its digital or physical format (including - but not limited to - remixes of this object, and hosting on other digital platforms). The objects may not be used without permission in any way whatsoever in which you charge money, or collect fees.
Comment & Rating (6)