
Print Profile(4)


Description
READ THE DESCRIPTION 👇
Boost Me (for free)
❤️ If you loved it, Boost it! 🚀
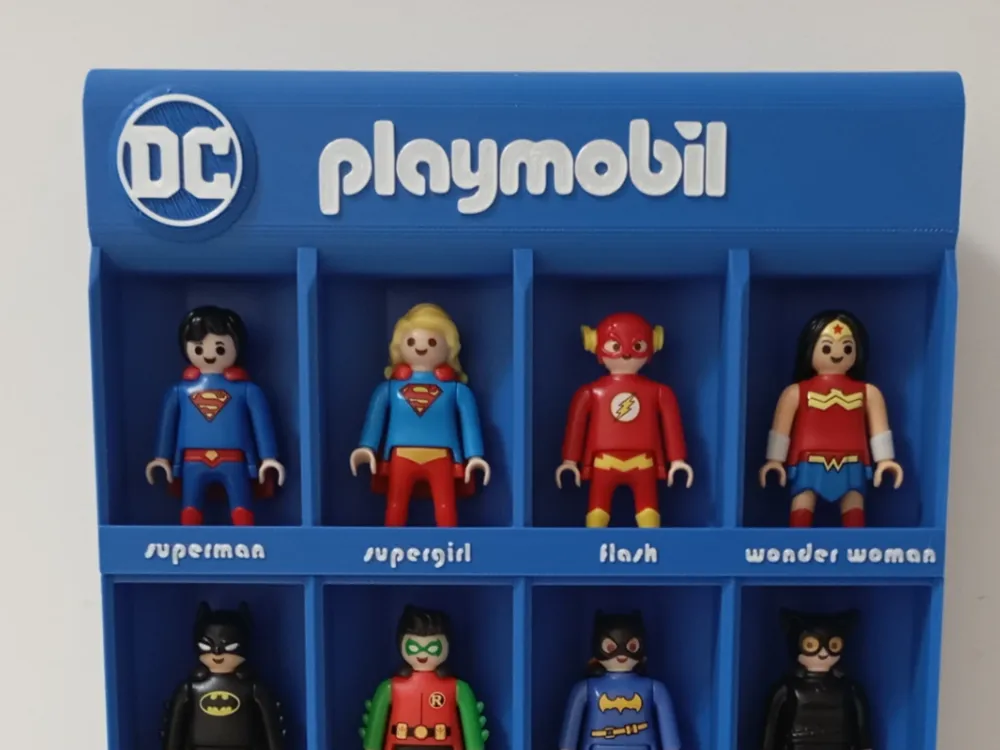
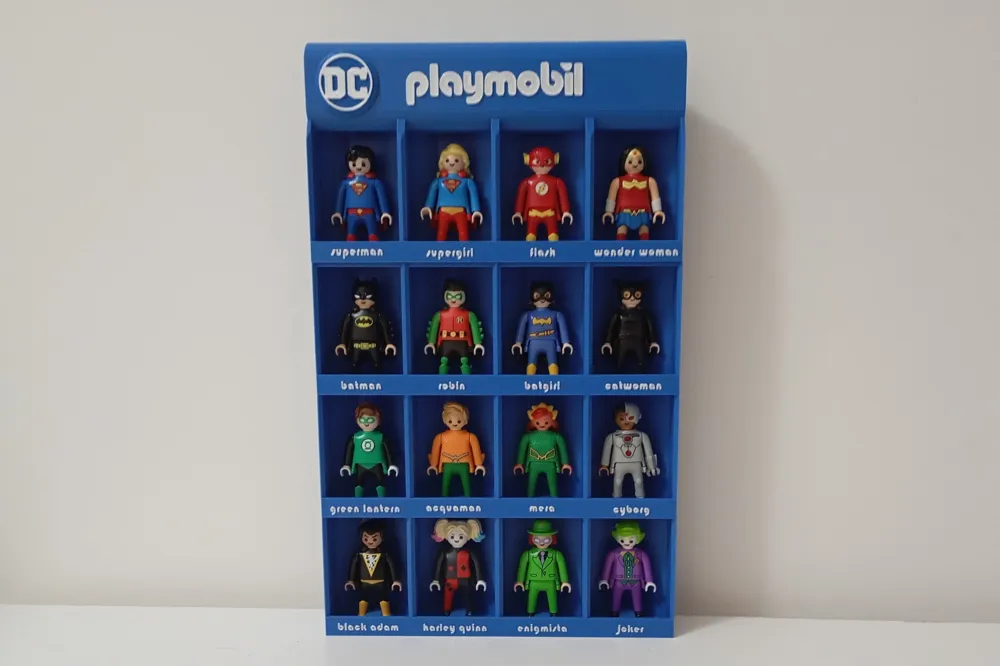
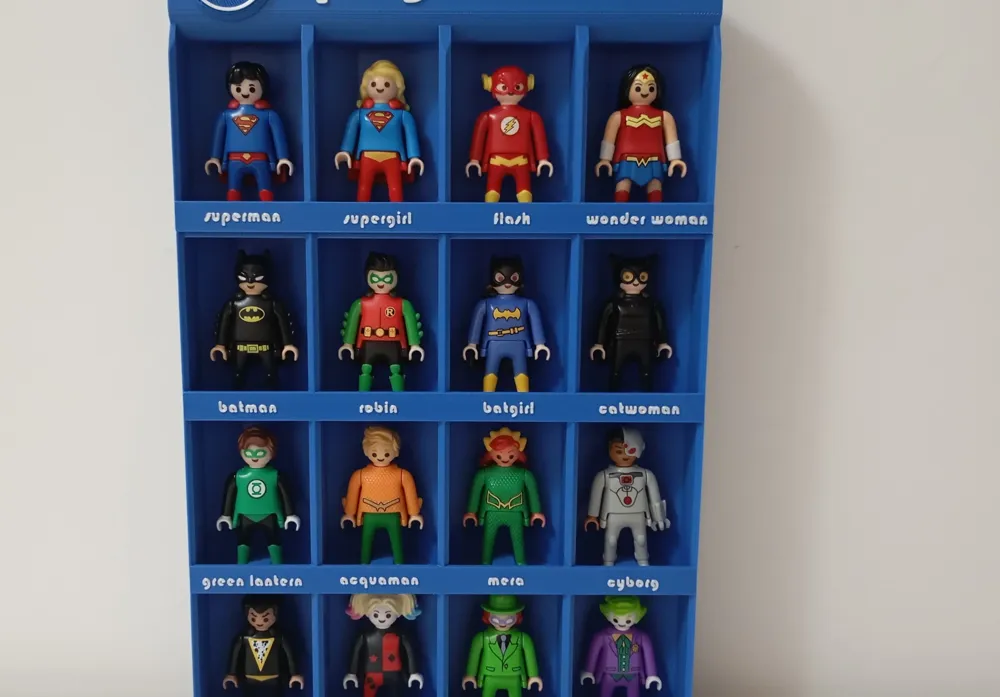
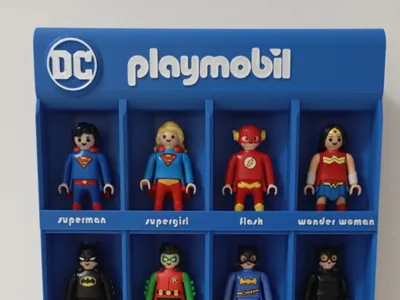
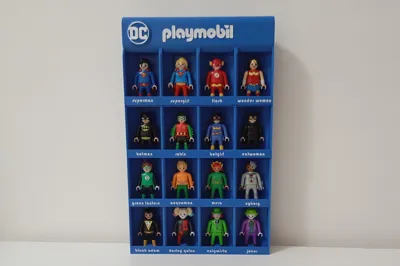
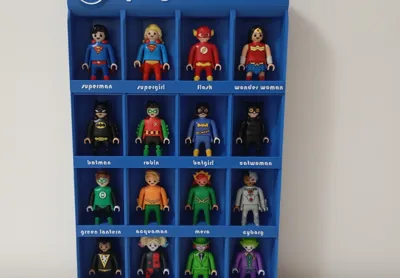
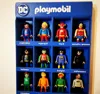
PLAYMOBIL SUPERHEROES KINDER DC collection display: in two colors for AMS
THIS MODEL IS FOR PERSONAL USE - resale is not permitted
The logos present are for illustrative purposes only
.:: ADDED VERSION for A1 MINI: profile 2 ::
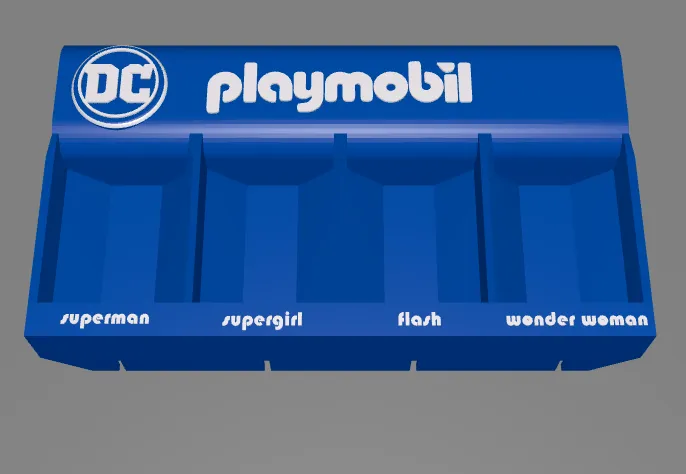
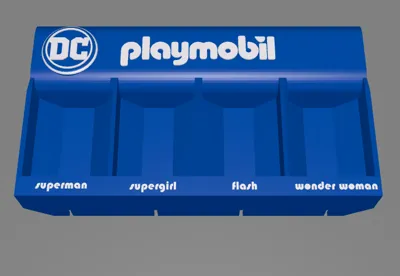
.:: CUSTOMIZABLE: remove example logos and insert a phrase or graphic as you like ::
Collector for DC Playmobil Kinder surprises
✅ EASY ASSEMBLY 👉NO glue needed :
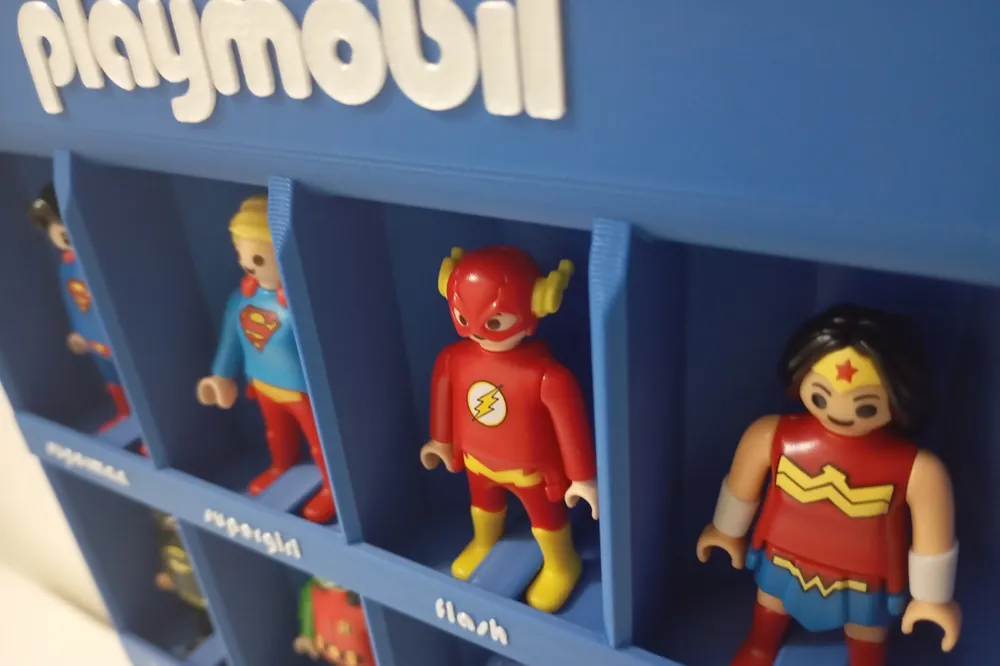
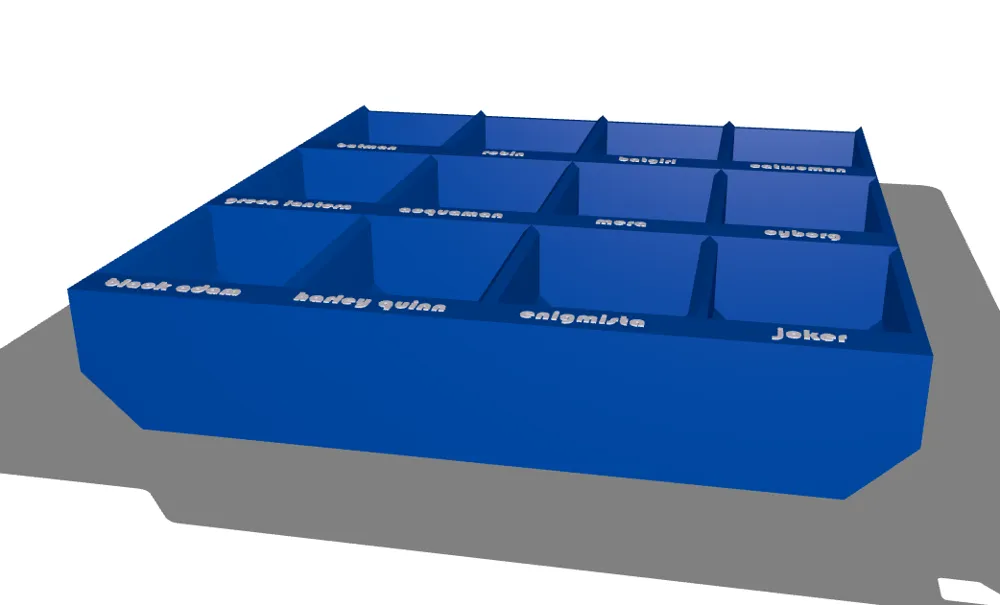
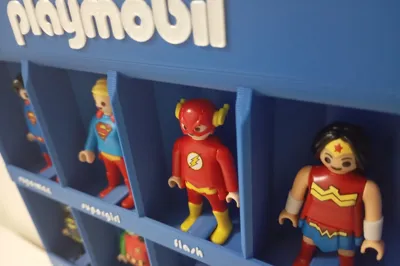
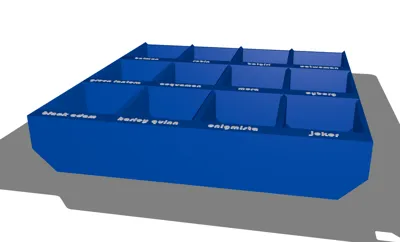
✅ EMBOSSED names already set and colored in Bambu Studio :
- Customizable - you can insert graphics or text instead of the example logos: import an SVG into Bambu Studio (vector file), or use the text function and customize it as you wish: you can insert a name and color it, or write a superhero phrase!
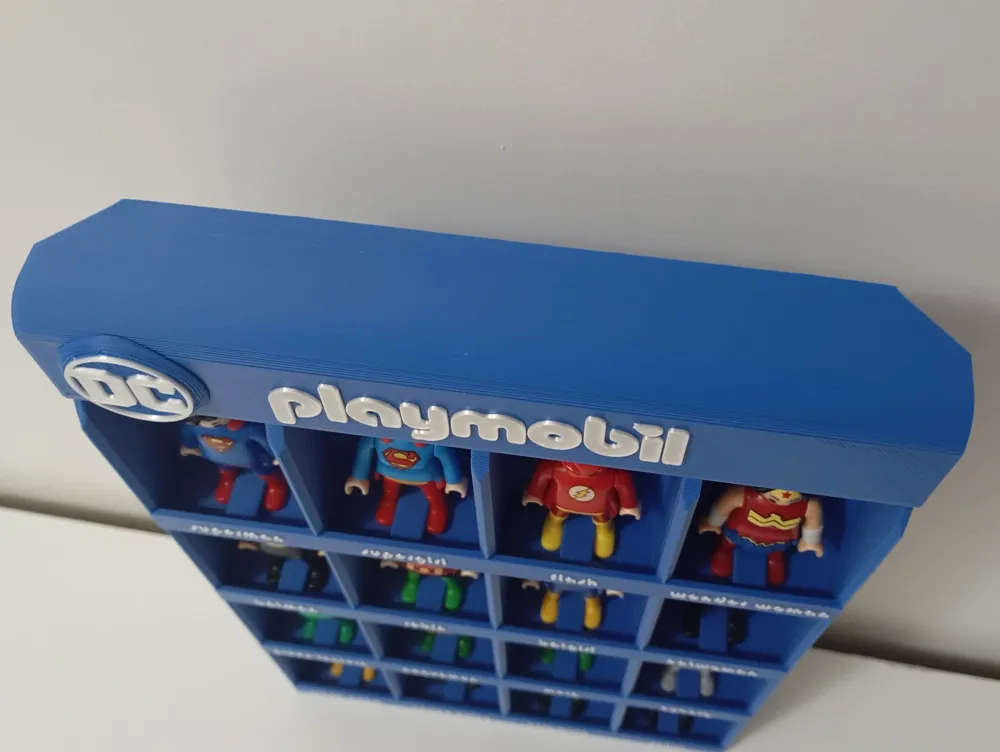
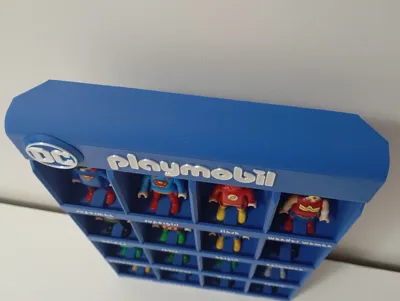
🏅 Appealing DESIGN with octagonal cells
I created this display with a very modern and appealing design specifically for my grandchildren who have completed the entire Playmobil Kinder DC collection
I wanted an excellent quality solution for them, with an attractive design and above all simple to print, without using glue, and that was sturdy and easy to assemble
HOW TO INSERT PLAYMOBIL FIGURES INTO THE CELLS
To insert them easily, lock them onto the specific guide inside the cells: tilt the figure and insert the tip of the feet and then the heel so as to position the figure vertically inside the cell
HOW TO INSERT GRAPHIC FILES
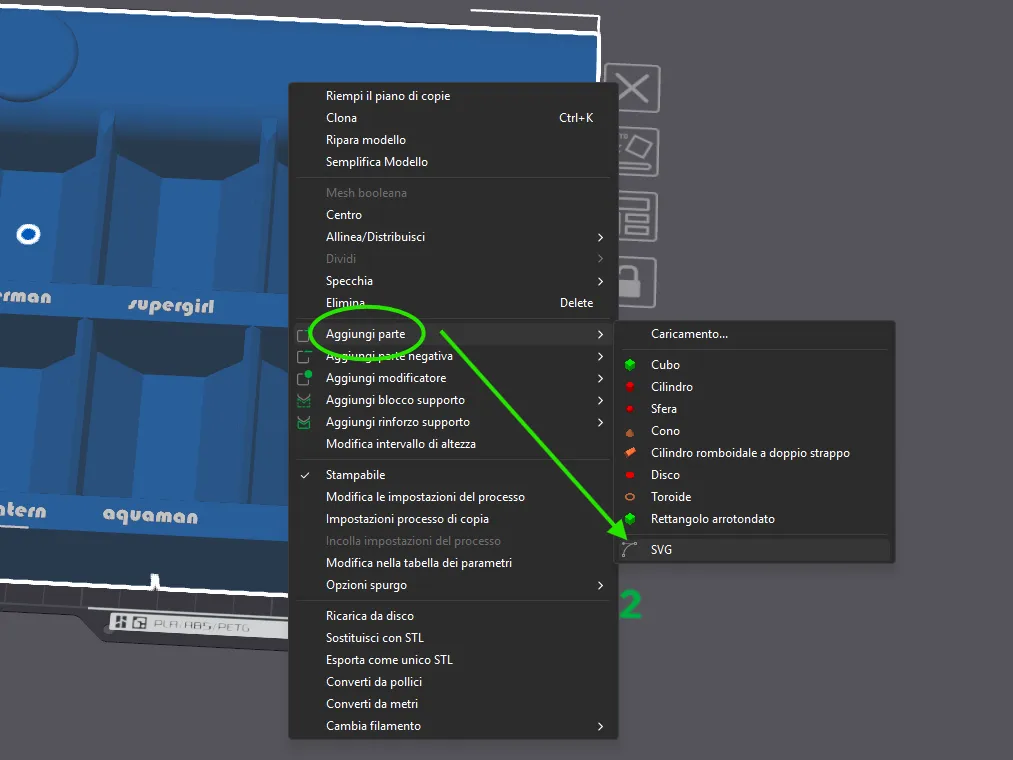
- Search for graphics you like in SVG (SVG is a vector format)
- Delete the example logos
- Import the graphic into Bambu Studio: right-click on the model and select: ADD PART → SVG
- Position it on the head of the display
- change color from the OBJECTS menu on the left, selecting the object
HOW TO INSERT TEXTS (no logos version)
- Delete the example logos
- Click on the model and then on the text tool
- Insert the text and move it by dragging the yellow cursor onto the empty header space
- Modify it as you wish by adapting thickness, width, and font type
- change color from the OBJECTS menu on the left, selecting the text
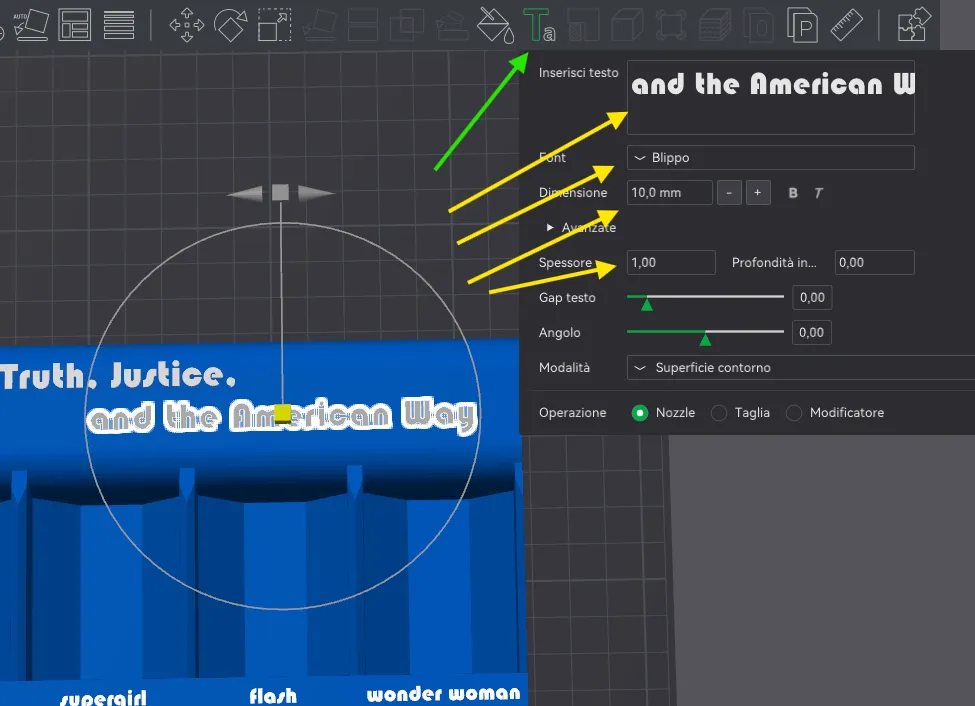
Color the text simply by assigning a different color filament to the object in the object list on the left
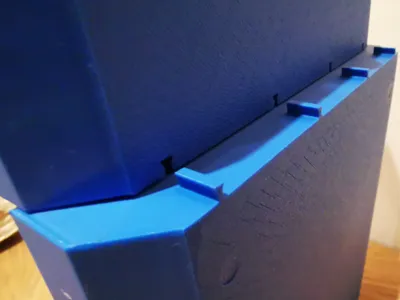
ASSEMBLY
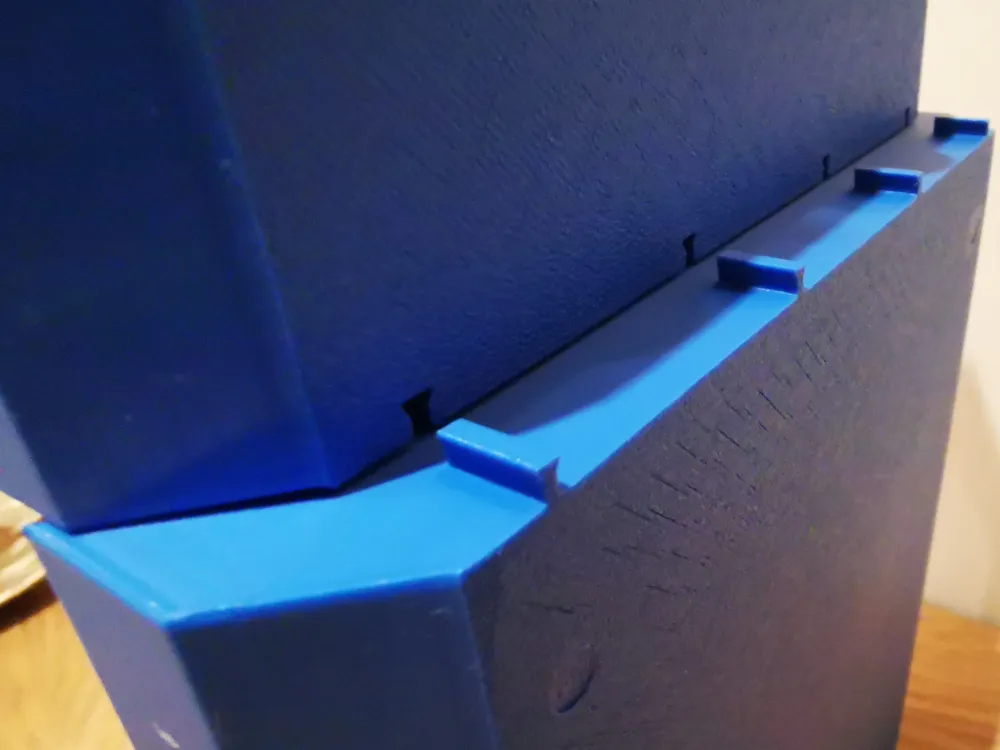
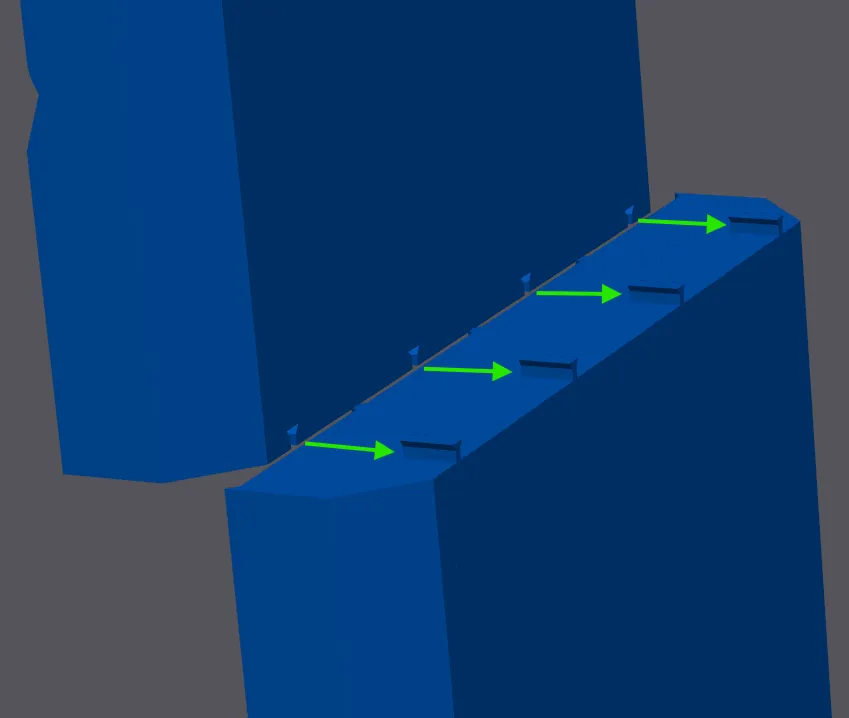
Just slide the upper part onto the lower part using the appropriate rails
INSTALLATION - IMPORTANT ⚠️
CHOOSE THE SOLUTION YOU PREFER:
- IF YOU WANT TO REST IT ON FURNITURE, PRINT IT without making changes (The two screw covers on plate 1 will not be needed)
- IF YOU WANT TO FIX IT TO THE WALL, then follow these steps:
- Uncheck the green box for the PLUGS group as highlighted in figure 1: This way the cover caps will not be printed (see following figure) and you will have a print with counterbored holes specifically for wall screws
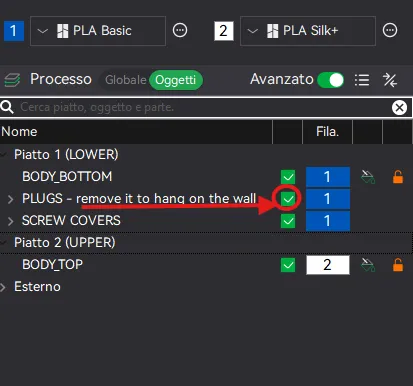
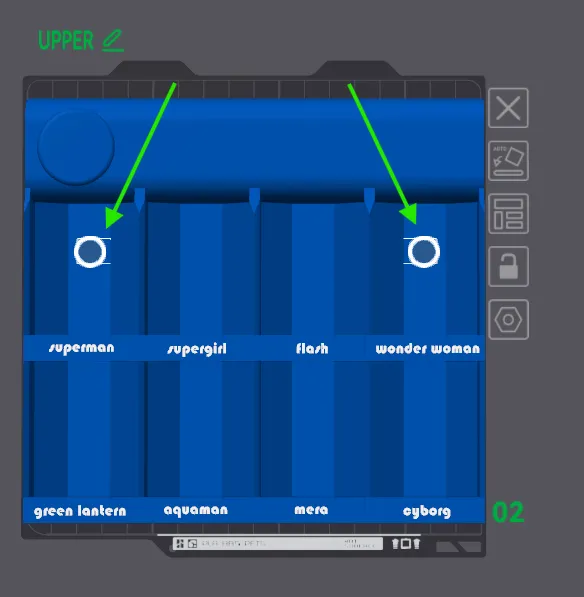
Use 6mm SCREWS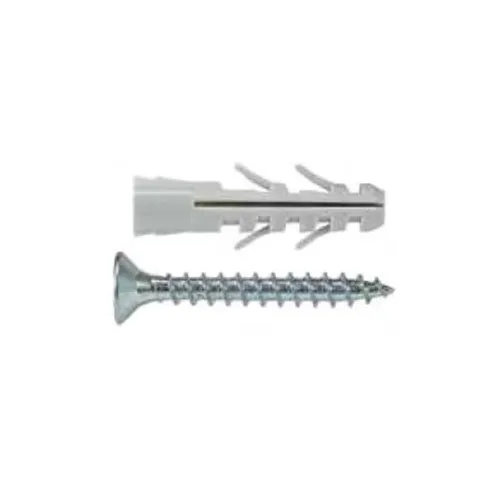
To cover the screws (see next figure), you will find the appropriate screw covers on PLATE 1 which you can glue onto the screw head after fixing the display to the wall
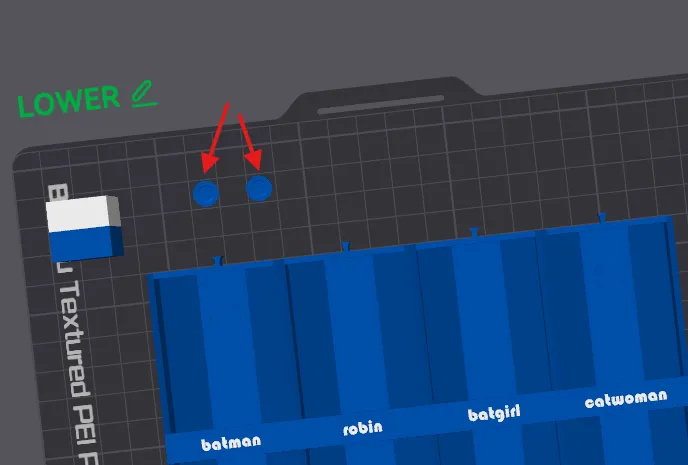
VERSION for A1 MINI: profile 2
I HAVE NOT TESTED THE A1 MINI VERSION, BUT IT SHOULD BE FINE
Attention: there is no Prime Tower due to space constraints, as the plates are completely occupied
▄▄▄▄▄▄▄▄▄▄▄▄▄▄▄▄▄▄▄▄▄▄▄▄▄▄▄▄▄▄▄▄▄▄▄▄▄▄▄▄▄▄▄▄▄▄▄
Useful tips for optimal printing:
ALWAYS DRY the filament and keep the bed CLEAN
check the EXTRUDER TIGHTENING
I STRIVE to create useful or fun objects If it was worth it for you, reward my time:
Boost Me (for free)
❤️Fuel my passion ✨
See my other works on my PROFILE: https://makerworld.com/en/@kaledo
▄▄▄▄▄▄▄▄▄▄▄▄▄▄▄▄▄▄▄▄▄▄▄▄▄▄▄▄▄▄▄▄▄▄▄▄▄▄▄▄▄▄▄▄▄▄▄
License

You shall not share, sub-license, sell, rent, host, transfer, or distribute in any way the digital or 3D printed versions of this object, nor any other derivative work of this object in its digital or physical format (including - but not limited to - remixes of this object, and hosting on other digital platforms). The objects may not be used without permission in any way whatsoever in which you charge money, or collect fees.


Comment & Rating (223)