
Govee DreamView T1 Under-TV Camera Enclosure
Print Profile(1)

Description

Membership
Want to sell my designs? Join one of my membership tiers to unlock official commercial rights!
Boost Me (for free)
If you enjoy this model, please consider giving it a boost to help others discover it too! I put a lot of care into designing it for quality, ease of printing, and functionality. Your support means a lot to me and feedback is always welcome, feel free to leave a comment or remix it. Thanks for checking it out, and happy printing! 🚀🖨️
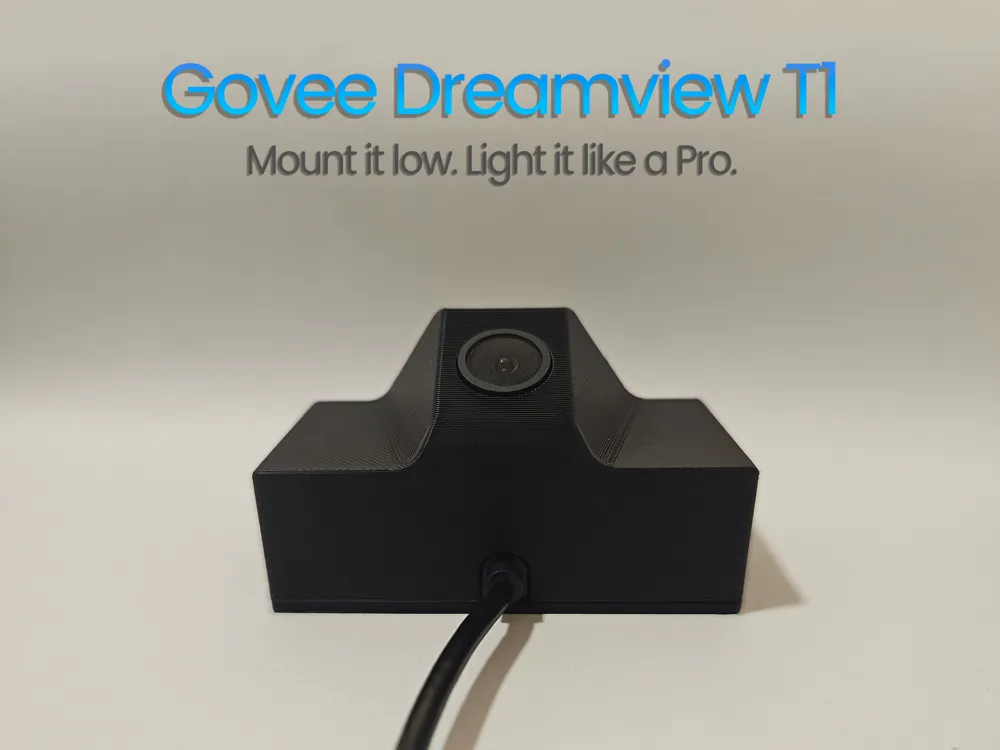
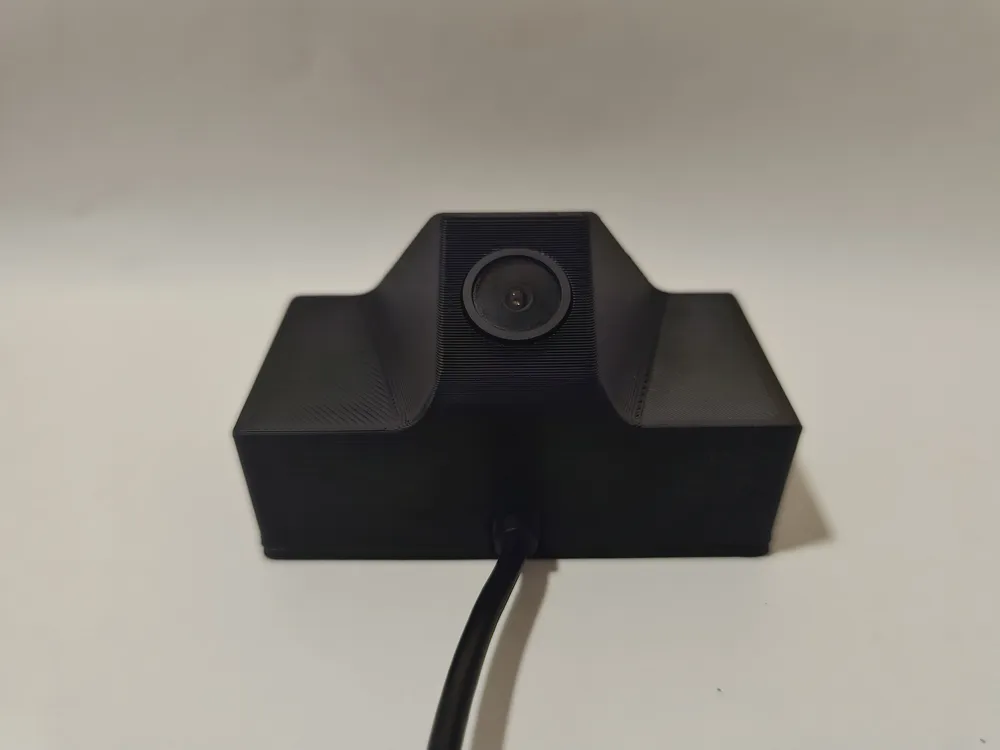
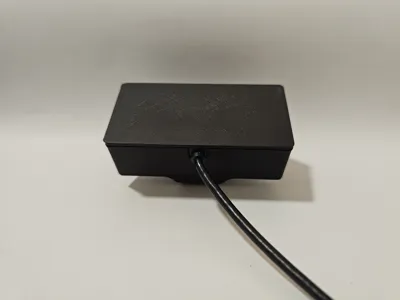
📺 Low-Profile Govee T1 Cabinet Mount (Fully Enclosed)
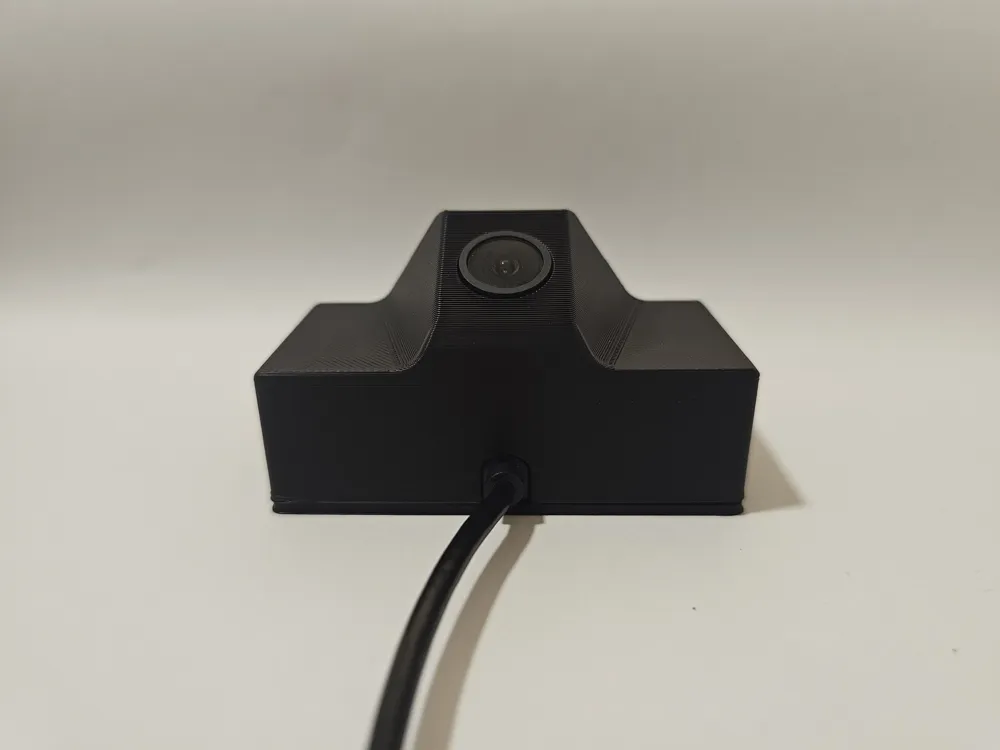
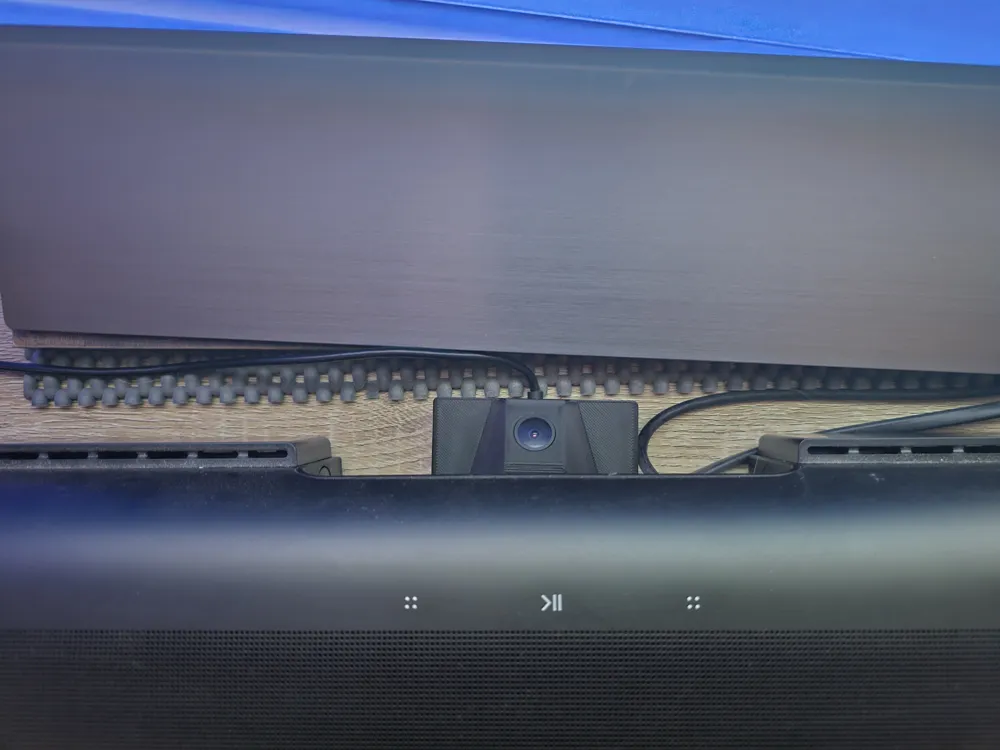
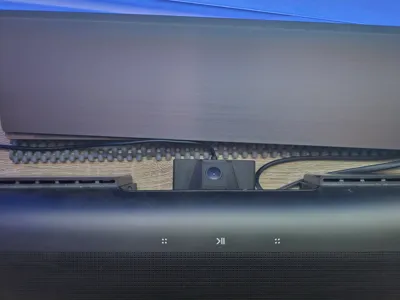
Tired of the Govee Dreamview T1 camera cluttering the top of your TV? This mount gives it a sleek, low-profile home on your TV cabinet or shelf.
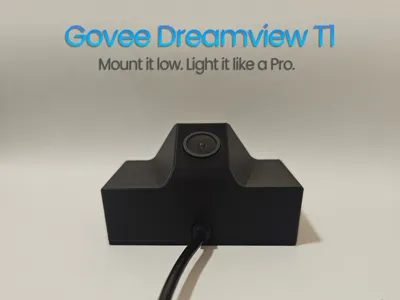
This design is a complete remix and fix based on Heeedi's model on Printables. After disassembling your T1, this enclosure houses all the original components, including the circuit board, in a secure, custom-fit case.
⭐ Design
This design was created to fix a few flaws I found in other versions:
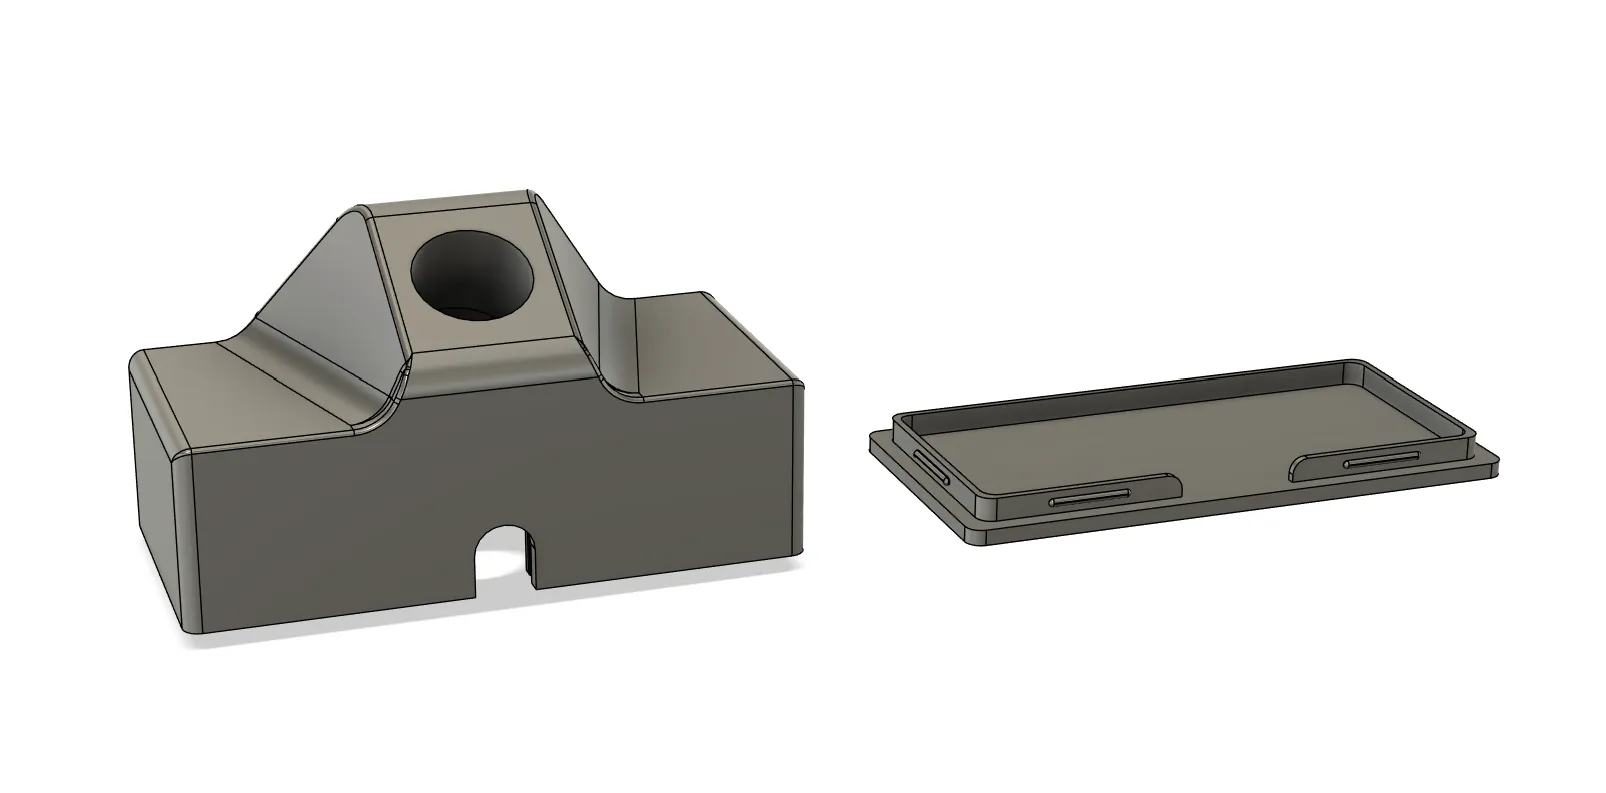
- 🔌 Place for the PCB: Securely mounts the T1 circuit board using the original two screws.
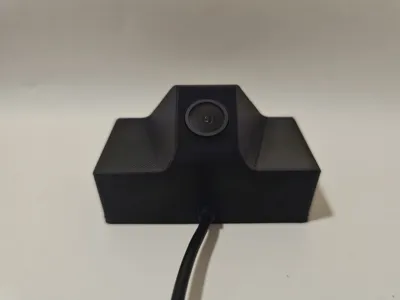
- 🎯 Correct Camera Hole: The camera aperture is sized perfectly.
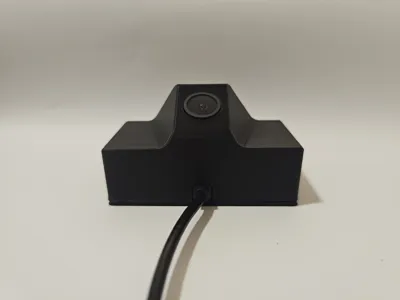
- 👌 Integrated Cable Slot: A dedicated channel for the USB cable to fit cleanly.
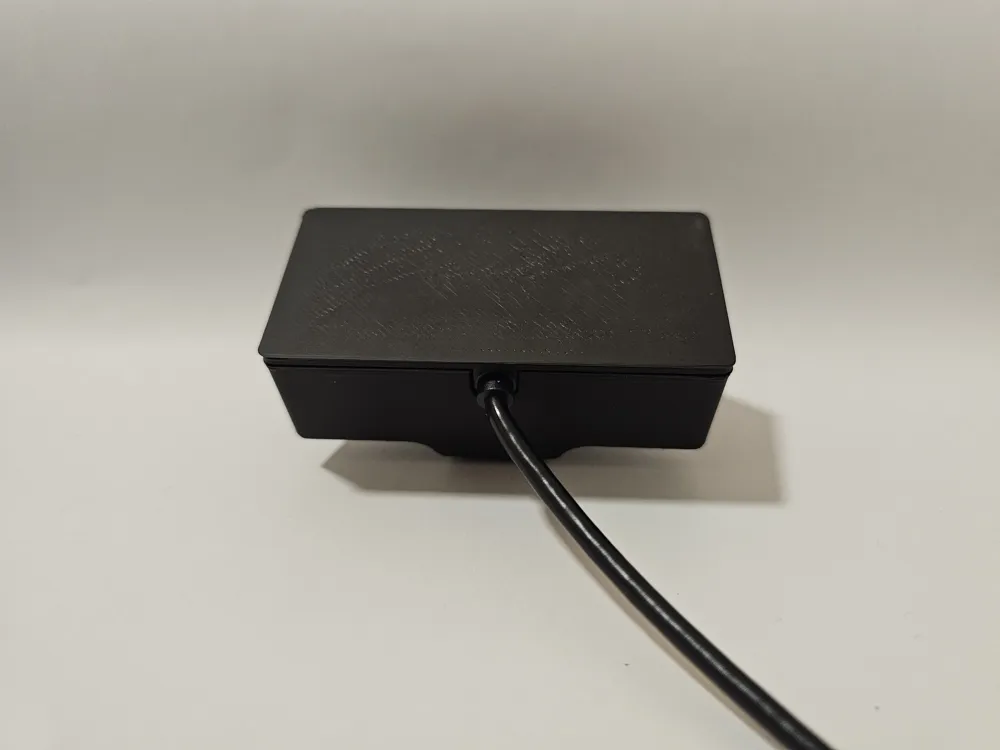
- 🔒 Full Enclosure Base: A snap-fit base is included to enclose and protect all the circuitry for a clean, finished look.
Key Features
- 📸 Snug Camera Fit: The camera sensor slots in securely without needing any glue.
- 🔩 Uses Original Hardware: Re-uses the two original screws from your T1.
- ✨ Sleek & Low-Profile: Designed to be discrete and blend in.
- ⚙️ Easy Assembly: Simple disassembly and re-assembly process.
Print Settings
- Material: PLA (Black is recommended for a stealthy look ⚫)
- Supports: Tree Organic (some scaring will be seen inside the model, but won't be visible when assembled)
🔧 Assembly Instructions
- Disassemble Original: Carefully use a pry tool to separate the two halves of your Govee DreamView T1.
- Remove PCB: Unscrew the two original screws and gently remove the circuit board and camera.
- Install Camera: Slot the camera sensor into the new 3D-printed enclosure. It will be a snug, secure fit.
- Mount PCB: Place the circuit board onto the integrated posts and secure it using the original two screws.
- Enclose: Snap the base onto the bottom to enclose the entire unit.
I love seeing how these prints turn out! 🖨️ If you download this, please **post an image of your print** or **leave a review**. ✅ If you have any issues or suggestions, drop a comment, I’m always looking to refine and improve my designs based on your feedback! 🔧📐
Check out some of my other designs:


This remix is based on

License



Comment & Rating (5)