


Print Profile(9)


Description
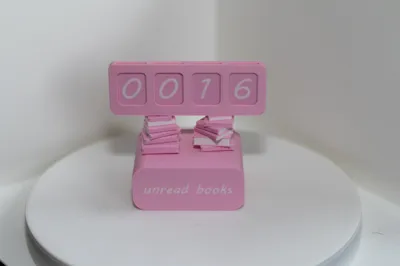
This Book Counter is a simple, charming way to keep track of your reading progress in three categories: unread books, read books, and owned books. The model uses interchangeable number tiles that slide easily into place, allowing you to update your count without any fuss.
Features:
- Three counting modes: Unread Books, Read Books, and Owned Books.
- Easy-to-use number tiles: Just slide the tiles into the top slots to update your book count.
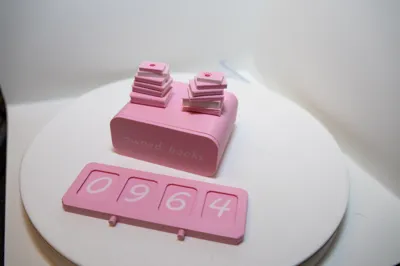
- Built-in storage drawer: Keep all unused tiles neatly stored in the integrated drawer.
- Stacked-book design elements: The upper counting section is supported by customizable stacks of books that you can arrange individually for a personalized look.
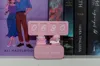
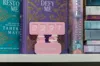
- Compact and decorative: Works as both a functional tracker and a cute display piece for any bookshelf or reading corner.
This model is great for readers who love practical accessories with a touch of personality. It’s straightforward to assemble, satisfying to use, and visually appealing both printed in color or as a minimalist single-tone print.
Boost Me (for free)
Assembly Instructions:
Follow these steps to assemble the Book Counter correctly.
Insert the dowels into the rods
Take the small dowels and push them firmly into the hollow rods.
Make sure they sit straight, as these will support the book stacks.
Attach the rods to the drawer unit
Insert the rods (now with dowels inside) into the holes on top of the drawer unit.
You may glue them if you want a permanent and sturdier assembly, but this is optional.
Stack the book pieces
Each book piece has a center hole and is designed to slide onto the rods.
The pieces are grouped per rod on the print bed so the height is correct once stacked.
Slide the book pieces onto the rods in any order you like to create your custom book piles.
Mount the counter section
Align the counter section with the top of the book stacks.
Insert dowels into the holes to secure it, just like with the bottom unit.
Glue is optional depending on how solid you want the final model to be.
Insert the number tiles
Slide the number tiles into the slots of the counter section.
Spare tiles can be stored in the integrated drawer.
License
You shall not share, sub-license, sell, rent, host, transfer, or distribute in any way the digital or 3D printed versions of this object, nor any other derivative work of this object in its digital or physical format (including - but not limited to - remixes of this object, and hosting on other digital platforms). The objects may not be used without permission in any way whatsoever in which you charge money, or collect fees.
Comment & Rating (30)