
Large Magnetic Gears Toy
Print Profile(1)


Description
Boost Me (for free)
I’ve put a ton of time (and filament!) into designing these! If you like my work, I’d really appreciate a boost!

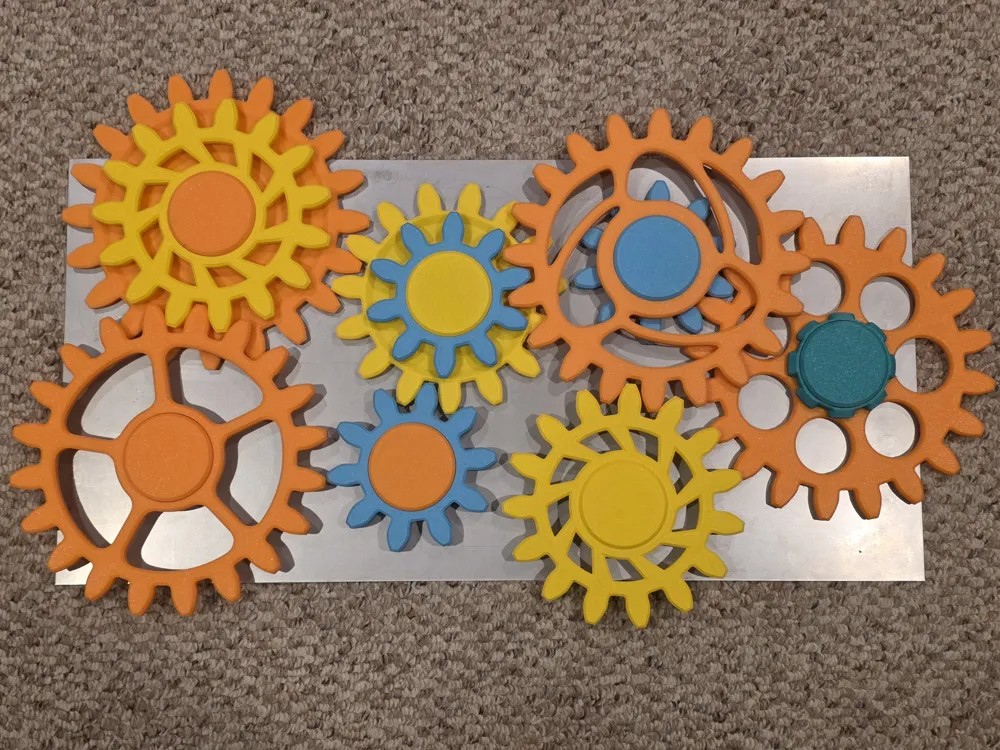
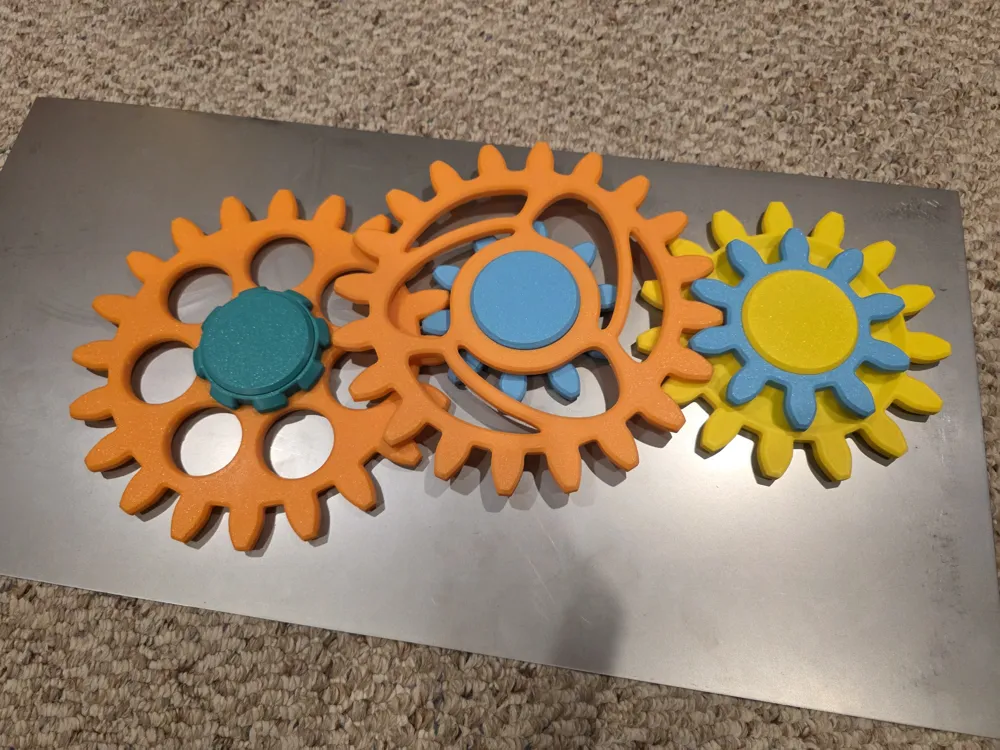
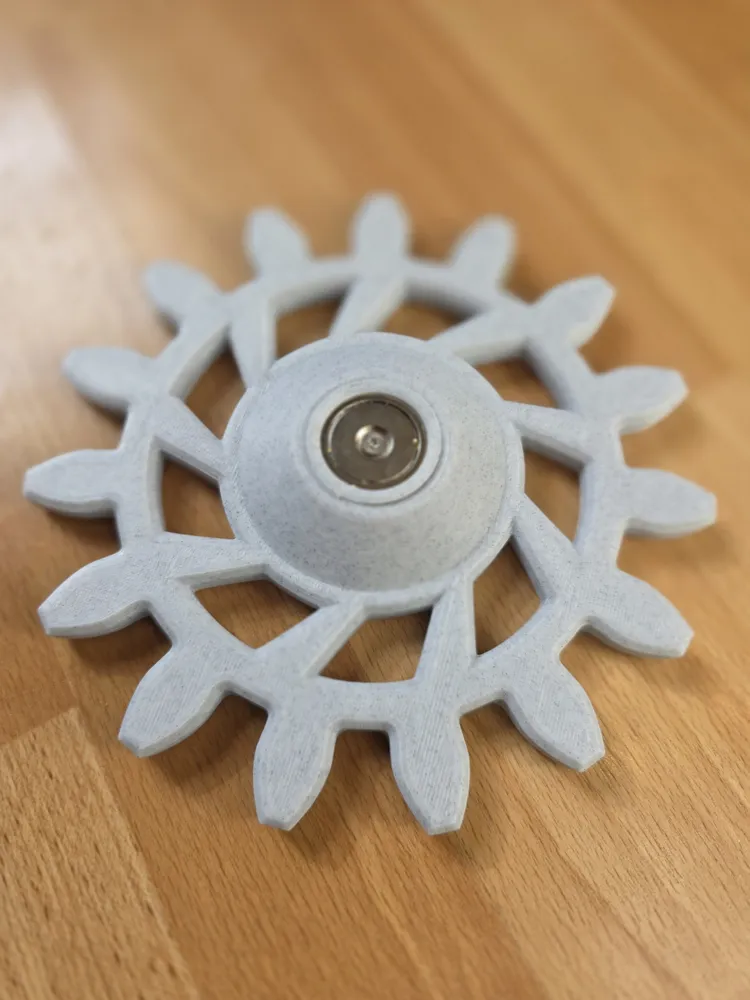
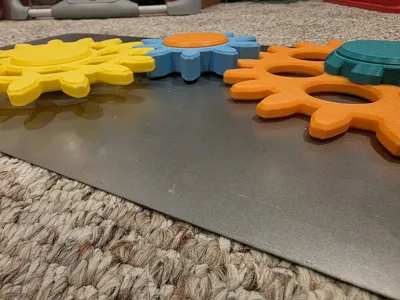
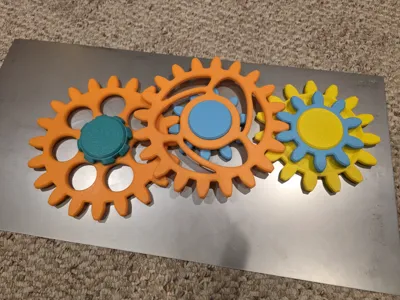
This Magnetic Gear Train Toy is a modular set that lets you explore simple and compound gear mechanics. The set includes multiple gears and compound gear components in 10T, 15T, and 20T sizes. The largest 20-tooth gear is 220 mm in diameter and does not fit on the A1 Mini, but the 15T and 10T gears can be printed on the A1 Mini without issue.
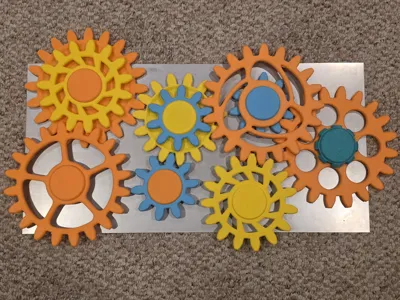
The magnets allow each gear to be placed, rearranged, and driven on refrigerators or any flat ferrous metal surface. You can explore gear ratios, mechanical advantage, rotation direction, compound reductions, and multi-stage gear trains simply by experimenting with the layout.
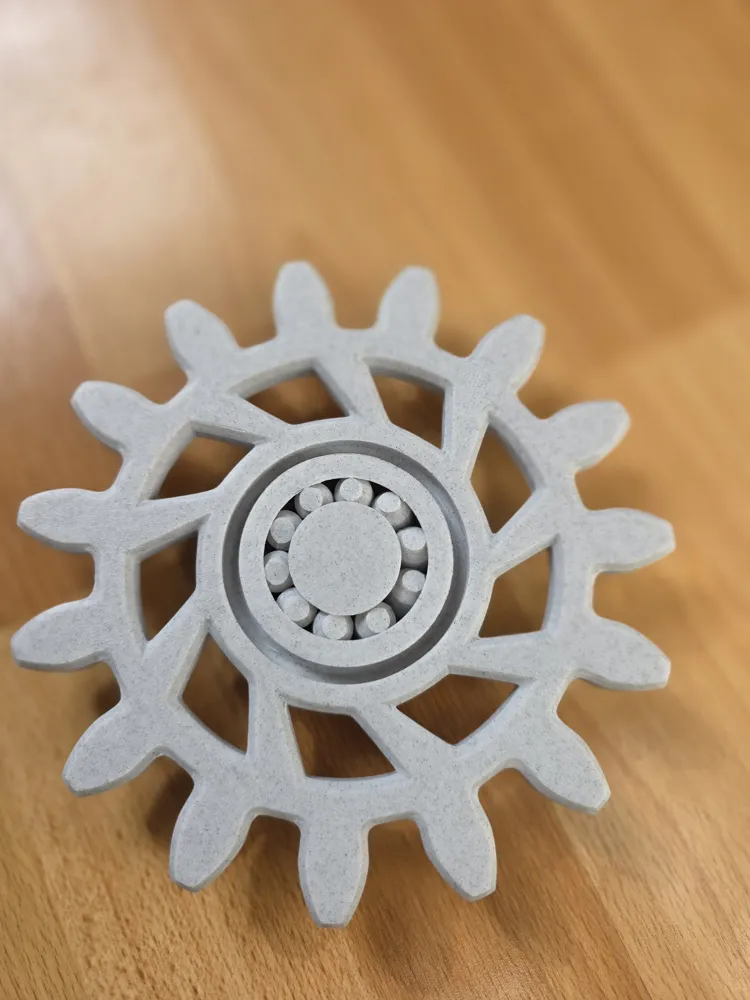
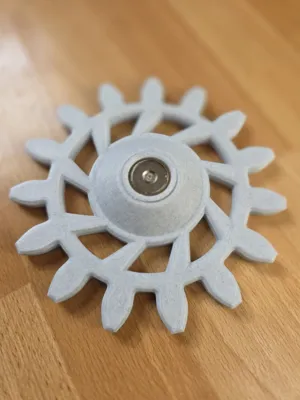
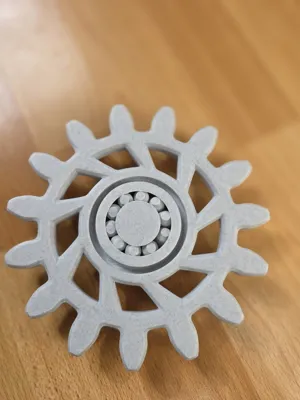
All gear hubs print in place with integrated roller bearings. The rollers become fully enclosed once the hub caps are glued in place, which helps reduce the chance of the rollers escaping. The bearings are designed with 0.2 mm of clearance, allowing smooth rotation when printed on a reasonably tuned printer without the rollers fusing.
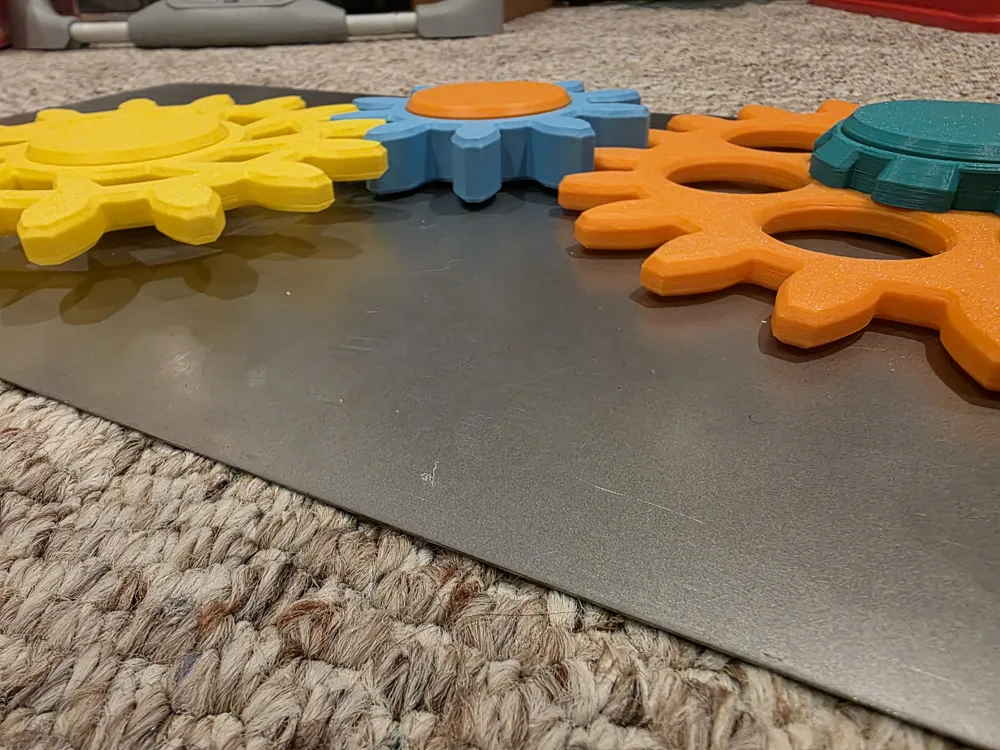
The gears in this set are positioned on two different levels relative to the surface they are attached to. Standard (Std) gears sit on the higher level, farther from the mounting surface. The reduction hub places any press-fit gear on the lower level, closest to the surface. The 10T double-thick gear is designed to bridge these two levels and can mesh with gears on either level, allowing for more flexibility when creating multi-stage or compound gear trains.
For compound gears, print a "Compound with Hub" part and a "Press-Fit Gear" in your desired tooth count, then glue them together.
Magnet Spacers:
Because magnet manufacturing can vary slightly in thickness, I have included 0.2 mm, 0.4 mm, and 0.6 mm magnet spacers. These allow you to fine-tune the depth of the magnets inside the hub bodies.
How to choose the right spacer:
- Choose the spacer that positions the magnet just shy of the surface of the printed plastic. This reduces the risk of scratching or damaging the finish on the surface you attach the gears to.
- Make sure the magnet sits far enough outward to maintain good magnetic attraction so the gears do not slide around.
The magnets used can be purchased here: https://www.amazon.com/dp/B07YBBCJ5W?ref=ppx_yo2ov_dt_b_fed_asin_title&th=1
Printing:
- Print without supports
- Recommended: 3 walls, 15% infill or higher
- Filament: any non-flexible material (PLA, PETG, ABS, Etc.)
Test Before Printing Everything:
A “Roller Bearing Test Print” is included.
Print this first to ensure your tolerances allow the bearing to spin freely.
If the test bearing doesn’t rotate easily, adjust your print settings (flow, temp, cooling, etc.) and try again.
Assembly:
- Standard (Std) gears:
- Std gears print in place with the hub/bearing
- Attach magnet to the central hub with either the screws included with the magnets from Amazon or using M3x12 flat head screws
- The hole may need to be drilled slightly larger after printing.
- Glue the hub cap in place AFTER attaching the magnet
Install the magnet before gluing on the hub cap as it is very difficult to hold the center of the hub still to tighten the screw once the hub cap is installed! (I learned this the hard way)
- Compound/Reduction Hub gears:
- Print a “Compound with Hub” gear (10T, 15T, or 20T) or a “Reduction Hub”.
- Print a “Press-Fit Gear” of your desired tooth count.
- Glue the press-fit gear onto the hub.
- Attach magnet to hub with either the screws included with the magnets from Amazon or using M3x12 flat head screws
- The holes may need to be drilled slightly larger after printing.
- After attaching the magnet glue the hub cap in place
- Install the magnet before gluing on the hub as it is nearly impossible to hold the center of the hub still to tighten the screw once the hub cap is installed!
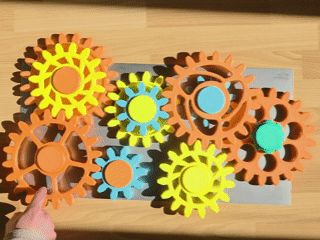
Parts needed for the gear train shown in the photos (file names for printed parts are in bold):
- 10T/15T Compound:
- Qty 1: 10T Compound With Hub
- Qty 1: 15T Press Fit
- 20T/10T Compound
- Qty 1: 20T Compound With Hub
- Qty 1: 10T Press Fit
- 15T/20T Compound
- Qty 1: 15T Compound With Hub
- Qty 1: 20T Press Fit (Choose solid, 5 spoke, or circles)
- 20T Reduction (positions gear at lower level)
- Qty 1: Reduction Hub
- Qty 1: 20T Press Fit (Choose solid, 5 spoke, or circles)
- Qty 1: 20T Std Gear
- Qty 1: 15T Std Gear
- Qty 1: 10T Double Thick
- Qty 7: Hub Caps
- Qty 7: magnets & Screws
DISCLAIMER:
- These models have not been tested or evaluated in any way by me or by any regulatory agency, and they have not been approved as safe or non-hazardous for children. This design contains small parts and magnets, which may pose choking hazards or other safety risks. If you choose to give this toy to a child, please use your own discretion and ensure it is appropriate for their age and abilities. Adult supervision is strongly recommended.
CAUTION:
- The magnets are recessed to help reduce scratching, but they may still damage delicate painted or coated surfaces. Use on refrigerators or metal boards at your discretion.
License



Comment & Rating (11)