
Dual Text Illusion v2.0
Print Profile(1)

Description


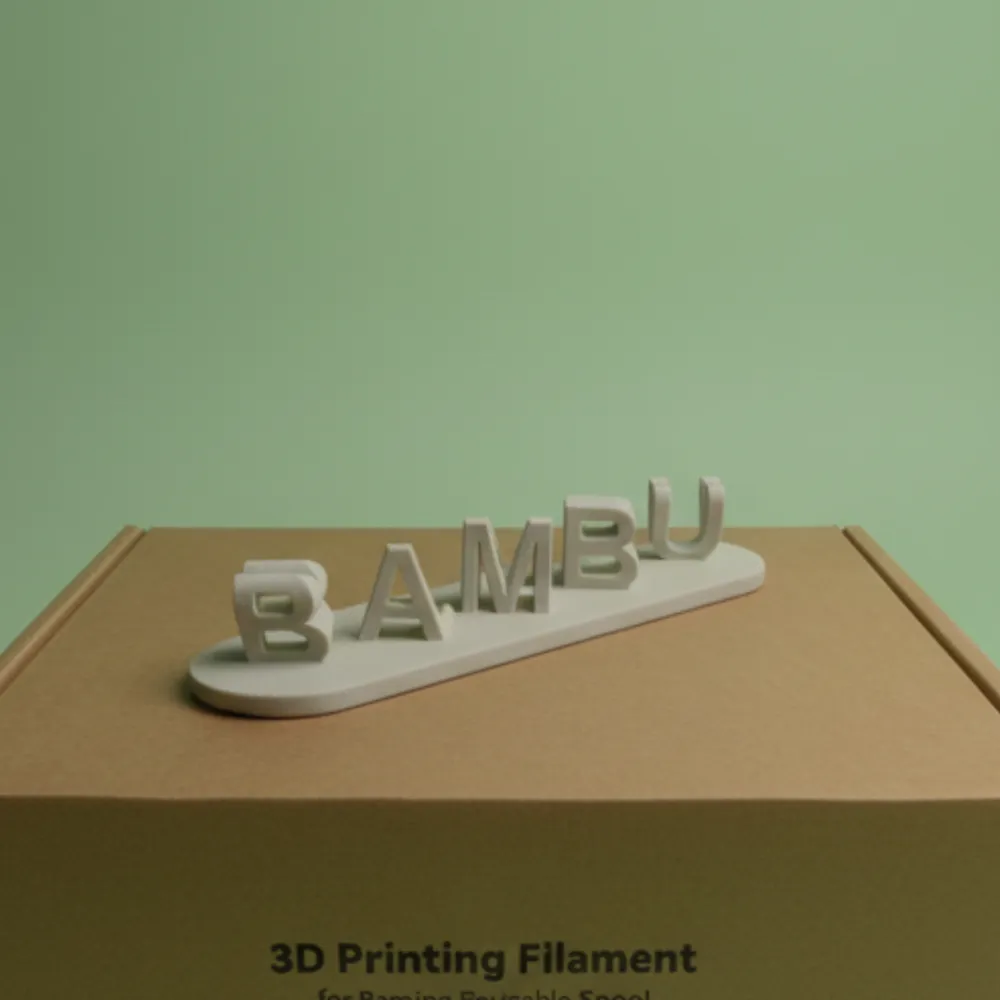
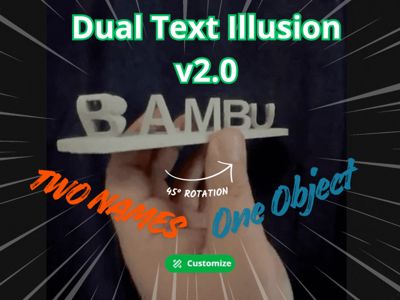
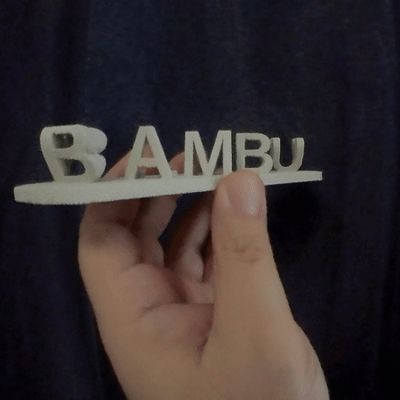
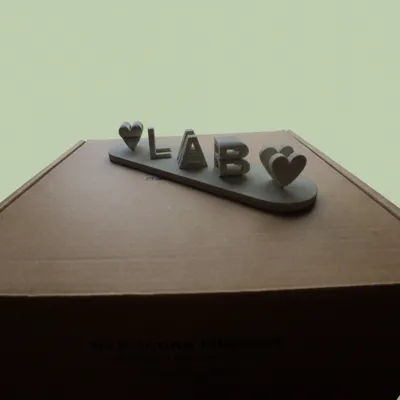
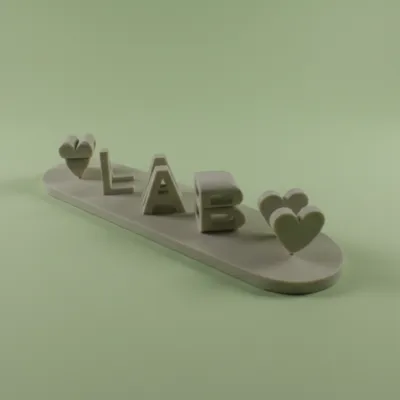
What is a Dual Name Illusion?
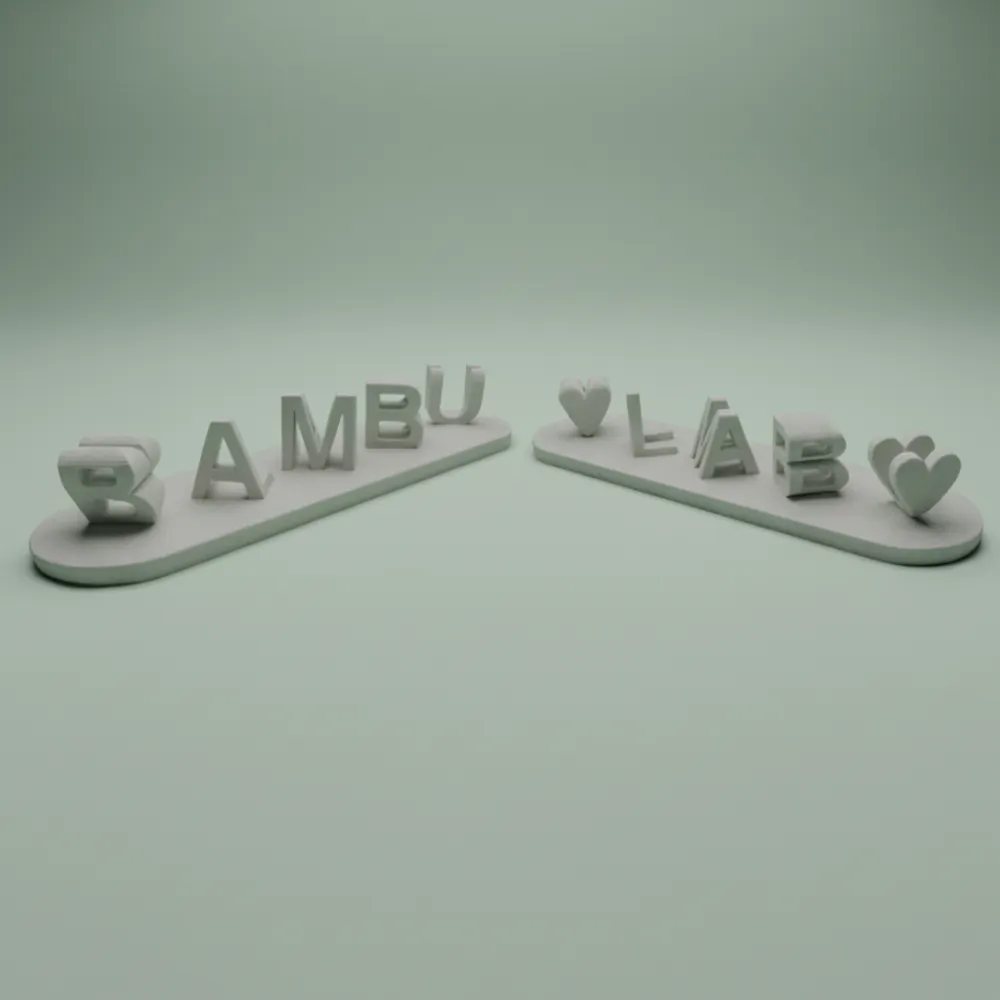
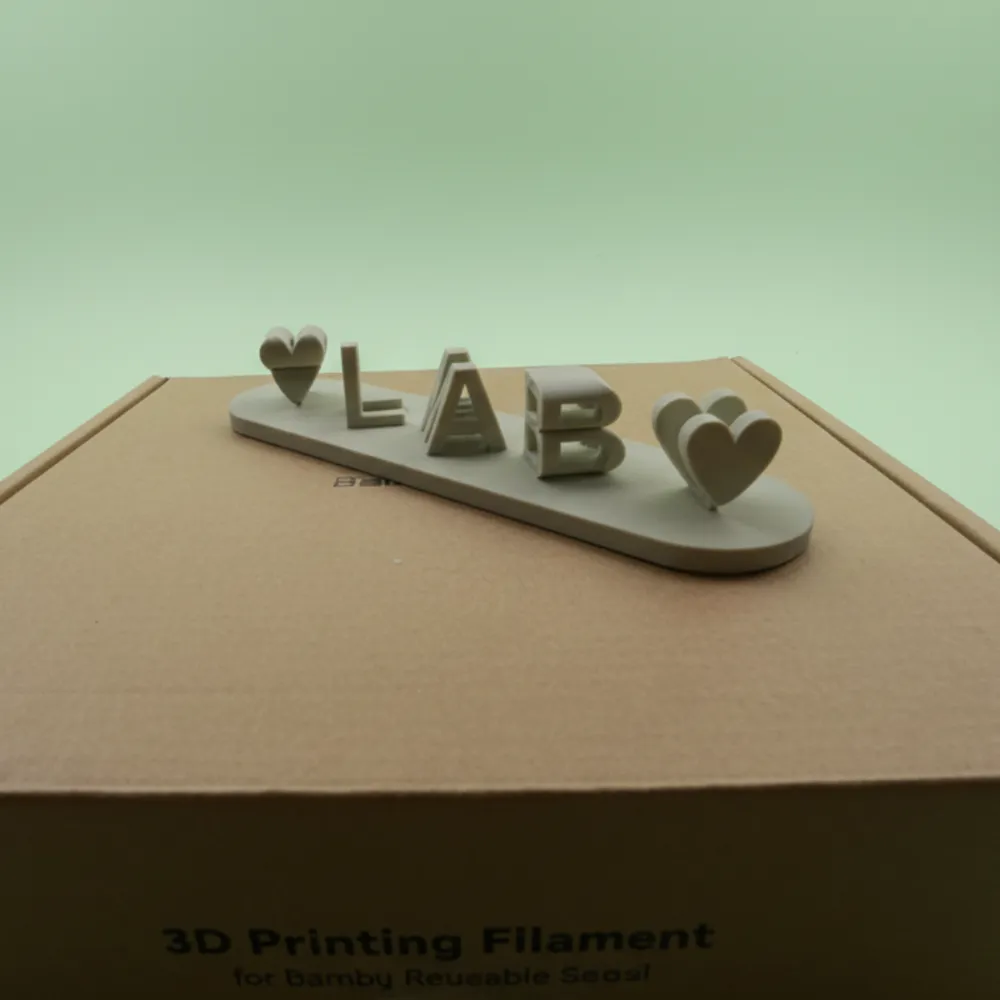
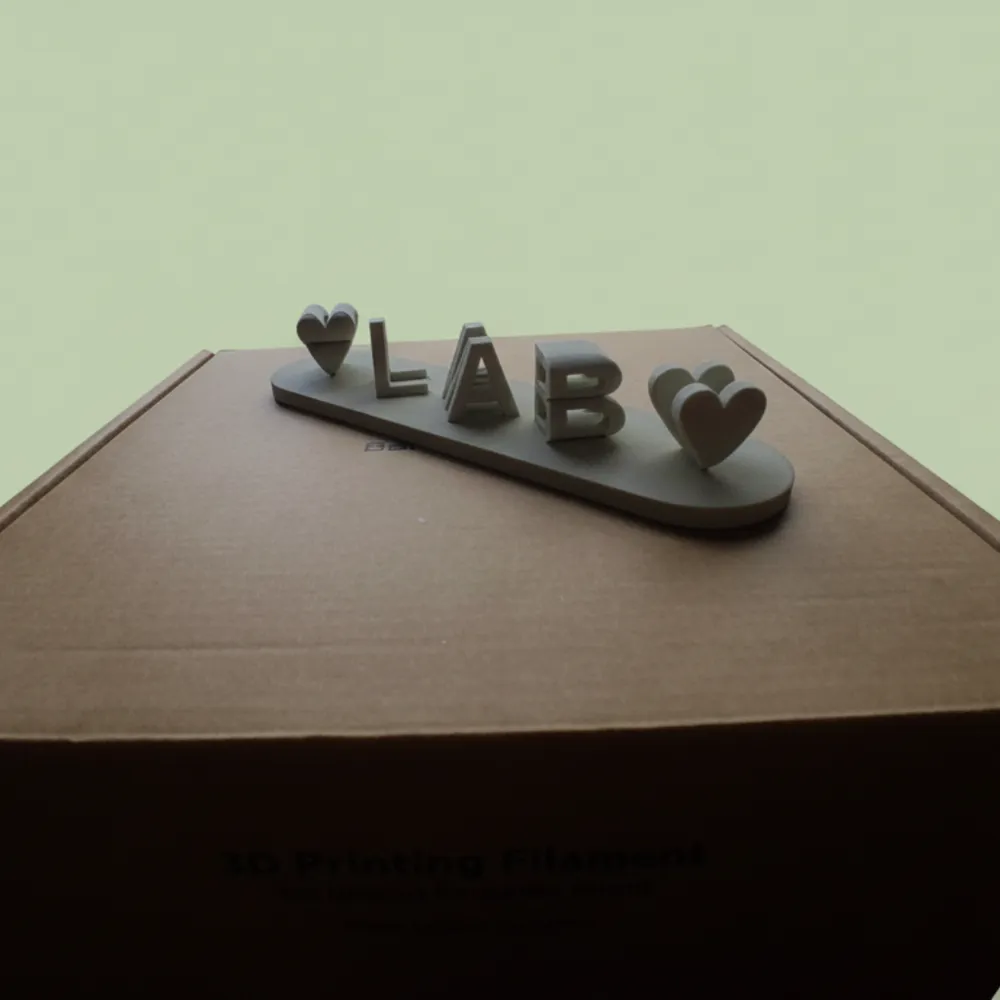
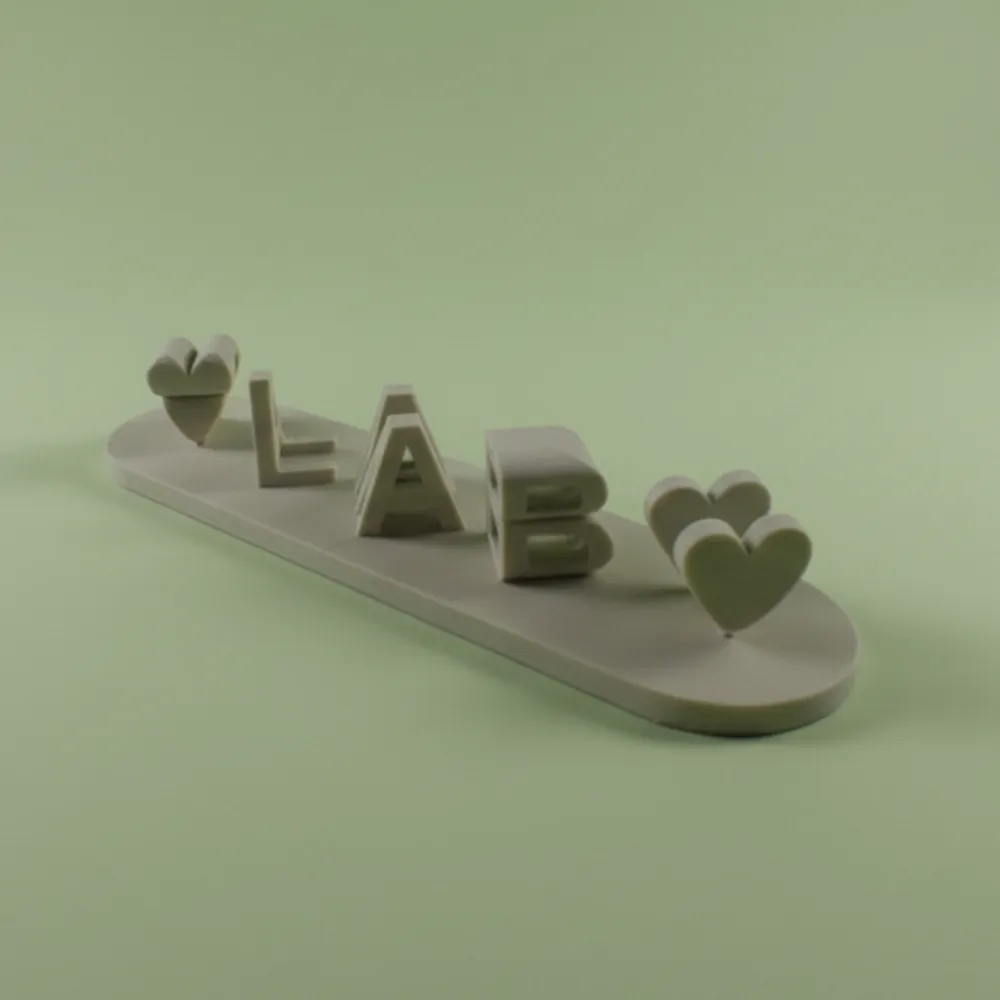
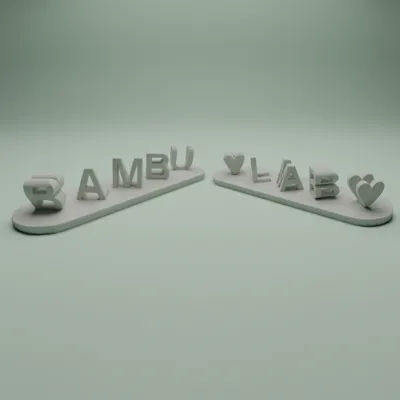
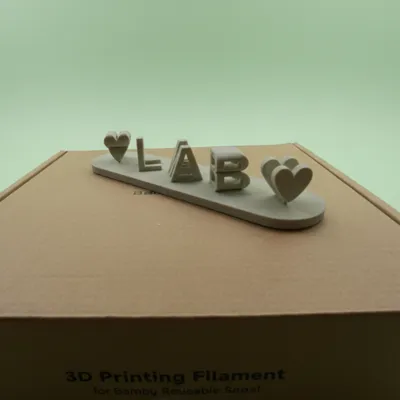
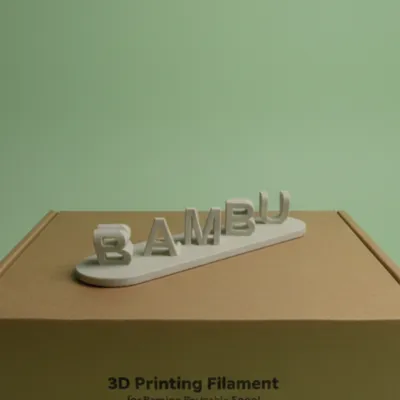
A Dual Name Illusion is a 3D nameplate where two different words share the same geometry:
- from a first angle you read the first name,
- by rotating the piece 90° the second name appears.
It's an optical illusion based on the superposition of two sets of extruded and rotated letters.
This makes it perfect for:
- personalized desk nameplates (first name + last name, name + role, nickname, etc.)
- special gifts (two names, couples, parents, children, friends…)
- decorations for bedrooms, study, office, or shop
- small creative branding projects and text logos
Boost Me (for free)
Project Overview
This model is written in OpenSCAD but you don't need to know how to use it:
on MakerWorld you can customize everything through the "Customize this model" interface.
- Type: Generative 3D Model
- Script: Neverland Forge DUAL TEXT ILLUSION V2.0 – Extended Range Edition + Noto Emoji support
- Output: STL file ready to import into any slicer
- Compatible with all FDM 3D Printers (Bambu, Prusa, Creality, Anycubic, etc.)
What's New in Version 2 – Extended Range Edition
This version has been rewritten and improved compared to the first model, thanks to community feedback.
🔄 Wide letters (W, M, etc.) much more readable
- Improved handling of extrusion and thickness for very wide letters.
- Dedicated parameter for "extra extrusion length" to give more body to critical letters.
- The illusion remains clean from both views, reducing the risk of letter parts disappearing.
❤️ Improved special characters (hearts, symbols, emojis)
- You can choose a fill/padding character (♥, ♠, ♣, ♦, ♟, ♪, ★, etc.) to balance word length.
- The special character can:
- be enlarged or reduced compared to normal text,
- be stretched vertically (vertical stretch),
- be sunk into the base via a dedicated depth parameter, giving it more contact surface and preventing it from easily detaching.
🌈 Optional Noto Emoji Support
- If you activate the option, the special character can be rendered with Noto Emoji (trees, flowers, colored hearts, animals, various symbols…).
- Ideal for super expressive nameplates, baby names, "themed" symbols.
- ⚠️ Caution: many emojis are complex and difficult to 3D print in FDM; use simple and well-supported shapes.
🧱 Improved Base with Fillet and More Stability
- New parametric base with:
- adjustable thickness
- padding around the letters
- side margin to prevent letters from "leaving" the base
- fillet (rounded corner) with adjustable radius for a cleaner look
- Letters and symbols are slightly recessed into the base, increasing adhesion area and strength.
📐 Adjustable Curvature
- The base can be straight or slightly curved.
- The curvature factor parameter allows for both normal and inverted curves (negative values).
- The algorithm aligns text and base to follow the same curve.
🧩 Model Resolution Control
- "Mesh resolution / rounding" slider to set the $fn value:
- lower values → fast generation and light files
- higher values → smoother curves and finer details
- Perfect if you want to do quick tests first and then the final version.
Customization Features
🔡 Left and Right Text – Dual Text
- Word 1 (left view) → the name/term visible from the left
- Word 2 (right view) → the name/term visible from the right
- The code automatically converts the text to UPPERCASE and replaces spaces with the chosen padding character, so the two words are aligned correctly.
🎨 Available Fonts
From the OpenSCAD file (internal font_list):
- Liberation Sans Bold (default)
- Liberation Serif Bold
- DejaVu Sans Bold
- DejaVu Serif Bold
- Ubuntu Bold
- Noto Sans Bold
- FreeSans Bold
- Arial Black
All in Bold style to ensure good readability and sufficient thickness for 3D printing.
🔠 Spacing and Dimensions
- Font size → controls the overall size of the letters.
- Extra word spacing → adjusts the distance between characters (more compact or more spaced out).
- Special handling for some characters like "I", to avoid gaps and misalignments.
- The base length is calculated based on the text, so everything remains centered.
♡ Special Character (padding / symbol)
- You can use standard padding (special_padding_char: ♥, ♠, ♣, ♦, ☻, ♪, ▲, ★, ♟, space)
- Or activate the Noto Emoji and choose an emoji from the supported ones.
- Dedicated parameters:
- auto or manual special char size
- vertical stretch (how "tall" the symbol is)
- special char depth to make it sink into or emerge from the base
How to Customize the Model – Step-by-Step Guide
⚠️ The "Customize this model" function on MakerWorld/Bambu works correctly only from a computer (desktop/laptop).
On smartphones or tablets, the button may not be visible or may not work as expected.
- Open the model on MakerWorld
Log in with your account and make sure you are logged in. - Click on "Customize this model"
You will find the button near the preview or the file list.
The generative model interface will open. - Enter the texts
- Word 1 / Left word field → first name or word (left view)
- Word 2 / Right word field → second name or word (right view)
- Choose the font
- Select the font from the list (Liberation Sans, DejaVu, Ubuntu, Noto Sans, Arial Black, etc.).
- Keep Bold for robust and easily readable letters.
- Set dimensions and spacing
- Adjust font size according to how large you want the inscription.
- Use extra word spacing if the letters are too close or too far apart.
- Configure the special character / emoji (optional)
- Choose the standard padding char (e.g., ♥) or activate the Noto Emoji option.
- Choose the main emoji.
- If necessary, adjust:
- special char size (size)
- vertical stretch (how "stretched" it is)
- special char depth (how much it sinks into the base)
- Adjust the base
- base_thickness → base thickness (thicker = more robust).
- base_padding & side_margin → margin around the text and sides.
- base_fillet_radius → edge curve/rounding.
- curvature_factor → straight base (0) or curved (moderate positive/negative values).
- Set the resolution
- Slider rounding / mesh resolution →
- low: fast previews
- high: smoother surfaces for the final 3D print
- Slider rounding / mesh resolution →
- Generate the model
Click on Generate / Preview / Download STL.
Wait for MakerWorld to process the model and offer you the download. - Download the STL and open it in your slicer
- With Bambu Studio you can import the file directly.
- With other 3D printers: Cura, PrusaSlicer, OrcaSlicer, etc.
- Scale if necessary
If you want a larger or smaller nameplate, scale the entire model (e.g., 120–150%) directly in the slicer.
3D Printing Tips
These tips are designed to reduce common problems (letters detaching, unstable supports, fragility).
Recommended Settings (FDM)
- Layer height: 0.2 mm
- Walls: 2–3 perimeters
- Infill: 15–20% (grid / gyroid)
- Supports:
- Enable supports for the text part
- Use classic supports from the build plate
- Tree supports are not recommended: they tend to shift and can hit the letters.
Model Orientation
- Rotate the model approximately 45° on the build plate:
- improves support adhesion
- better distributes inclined surfaces
- reduces defects on thin letters
Material
- PLA recommended for most applications.
- With PLA Silk or very smooth materials:
- slightly reduce speed on details
- use brim/raft or super glue if adhesion is not perfect.
Increase Letter Strength
- Increase base_thickness if the base seems too thin.
- Use a bit of fillet to increase the contact area.
- If a letter seems too fragile:
- increase font size or scale the entire model
- avoid excessive curvatures that push the letters to the edge of the base.
Compatibility
Even though the generator is hosted on MakerWorld/Bambu:
- the exported STL is standard
- you can use it in any slicer and with any FDM 3D printer.
Known Limitations and Tips
- The algorithm is optimized for the Latin alphabet and numbers.
- Very complex characters (e.g., Chinese/Kanji, intricate emojis) can be difficult to transform into a 3D printable illusion.
- For best results:
- avoid overly long phrases
- prefer texts with similar lengths
- use simple and well-supported symbols.
Support Neverland Forge
If this Dual Name Illusion Nameplate Generator v2.0 is useful to you:
- leave a like and a review
- share your 3D prints by searching for "neverland forge" on marketplaces
- follow me for upcoming generative projects, optical illusions, and customizable accessories
🔥 Created by Neverland Forge – Dual Text Illusion v2.0 Extended Range & Emoji Ready
Boost Me (for free)
Membership
Want to sell items made from my models? Become a member to unlock commercial rights and extra perks.
Boost Me (for free)
If you enjoyed this model, please consider giving it a Boost 💚 It really helps me keep creating new designs for you!
License

You shall not share, sub-license, sell, rent, host, transfer, or distribute in any way the digital or 3D printed versions of this object, nor any other derivative work of this object in its digital or physical format (including - but not limited to - remixes of this object, and hosting on other digital platforms). The objects may not be used without permission in any way whatsoever in which you charge money, or collect fees.


Comment & Rating (67)