
Star Wars Rey’s NN-14 Blaster – Moving Trigger
Print Profile(1)

Bill of Materials








Description
Thanks for checking out my model! Interested in supporting my work or selling prints?
Support Crew – Show some love and help keep the projects flowing
Galactic Maker Foundry – Sell physical prints of my original designs
Foundry License+ – Sell prints and use my photos for listings
🎉 Supporter-only Discord coming soon – get early access, tips, and sneak peeks!
Membership
Join here to support or get a license
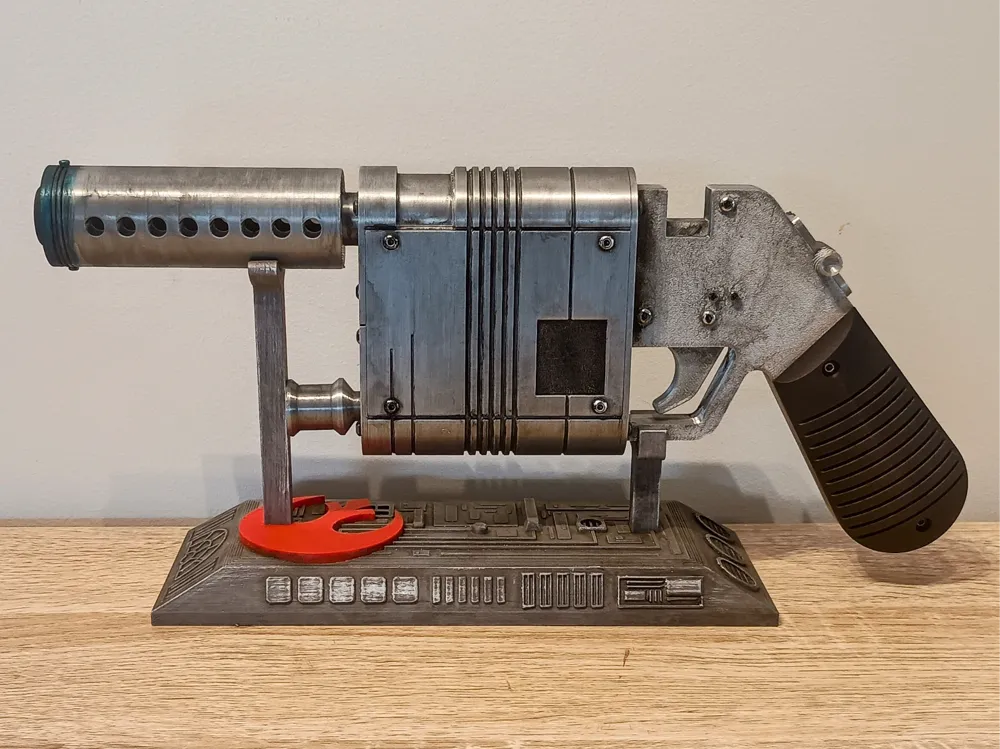
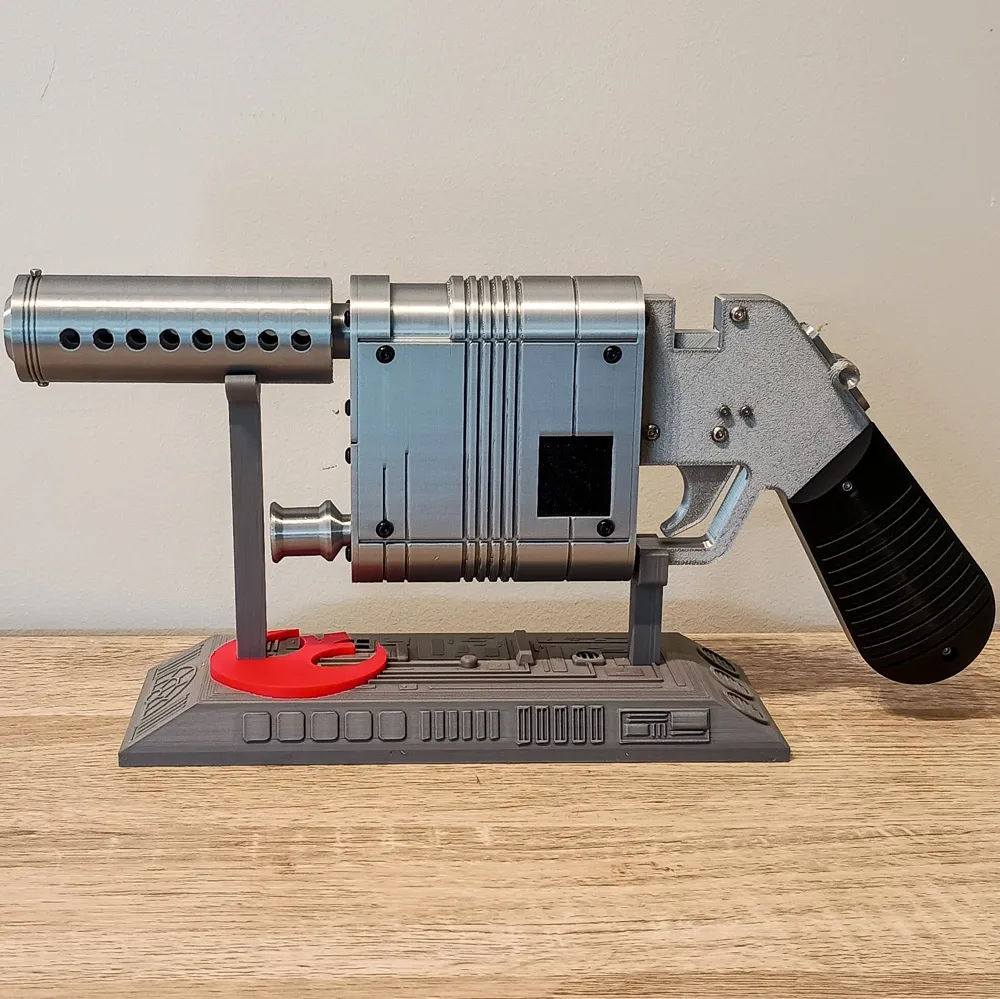
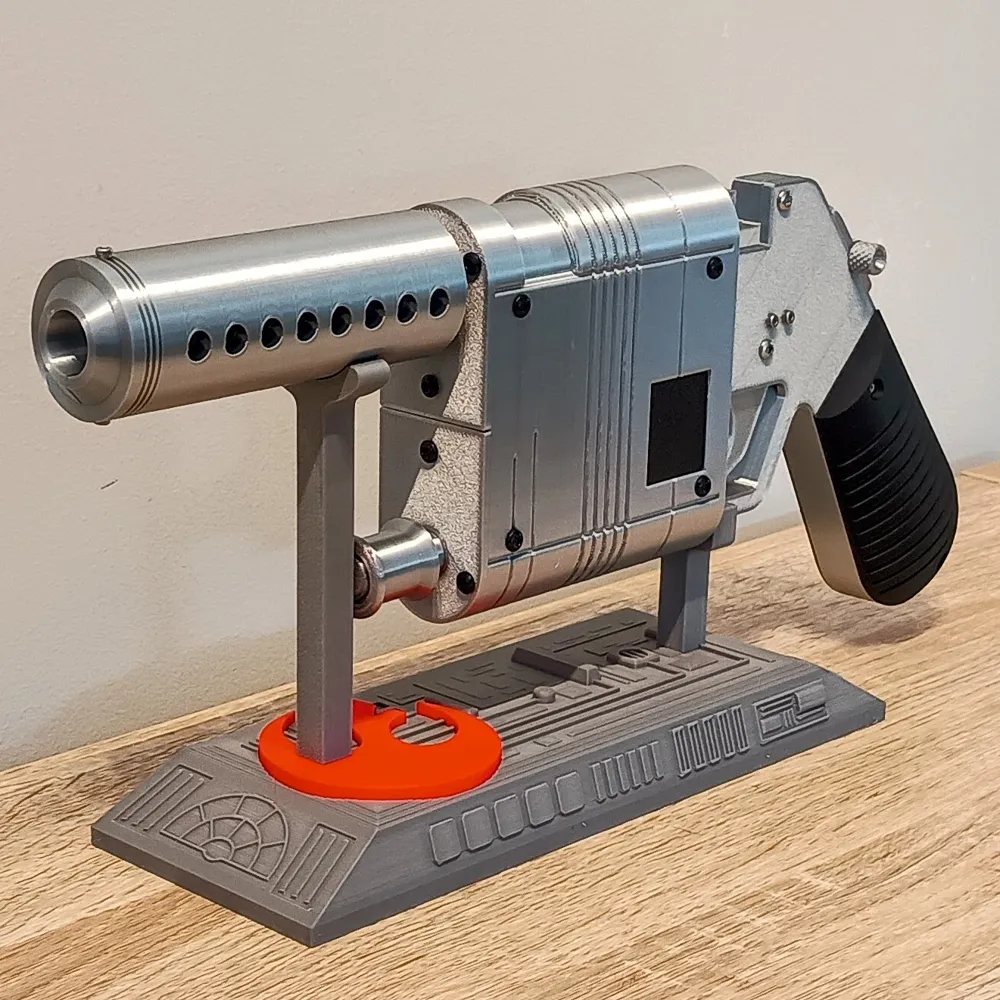
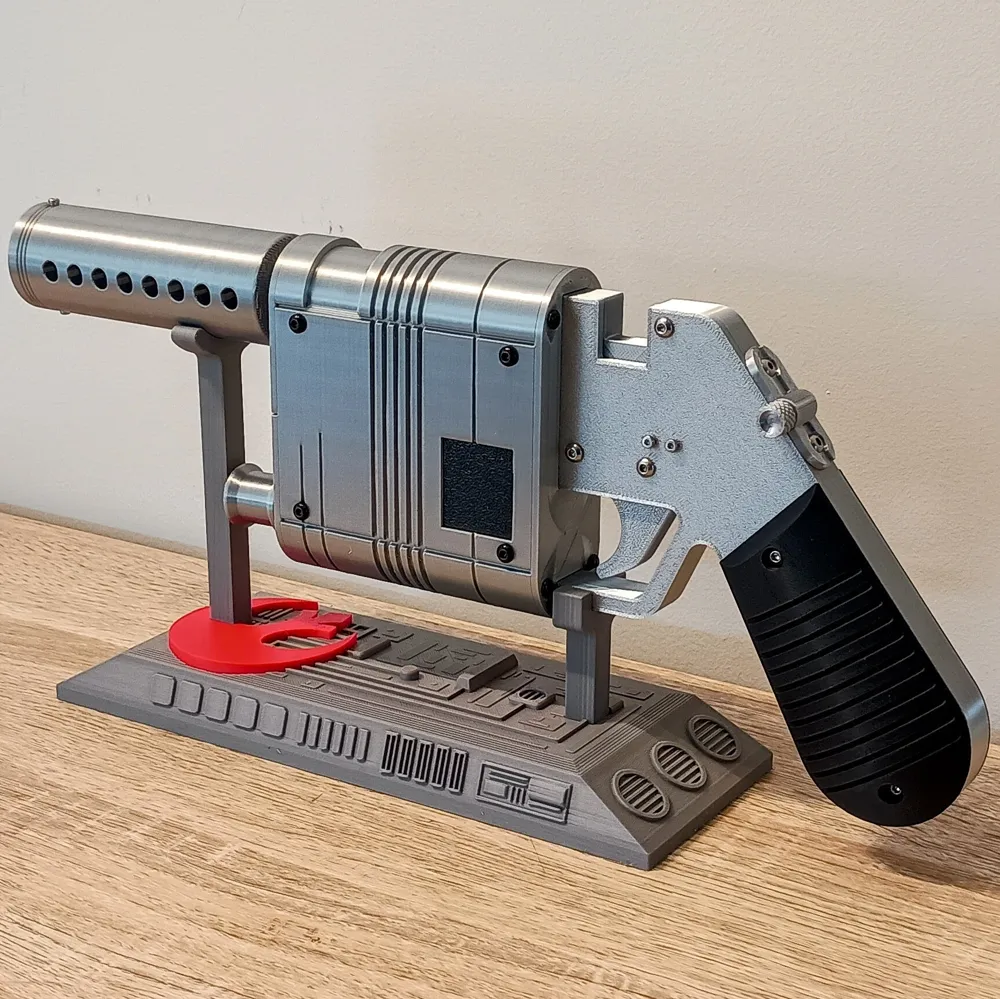
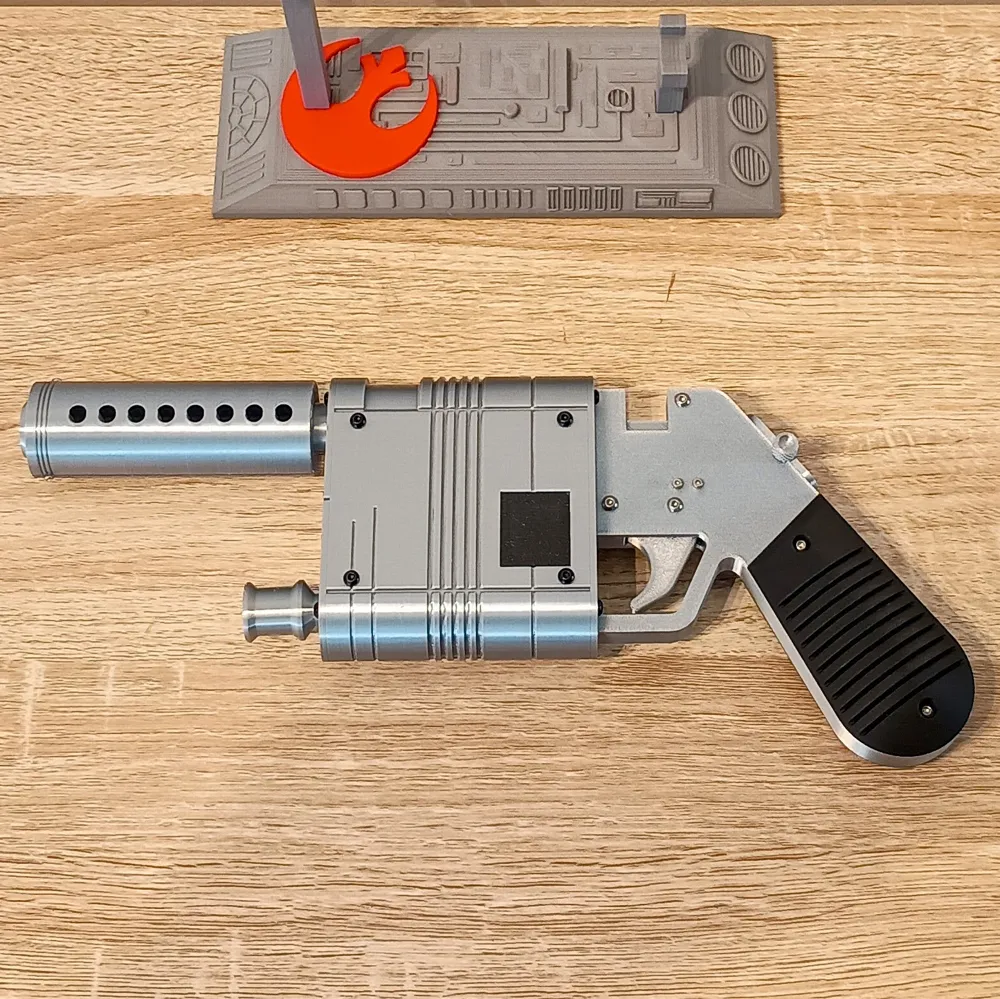
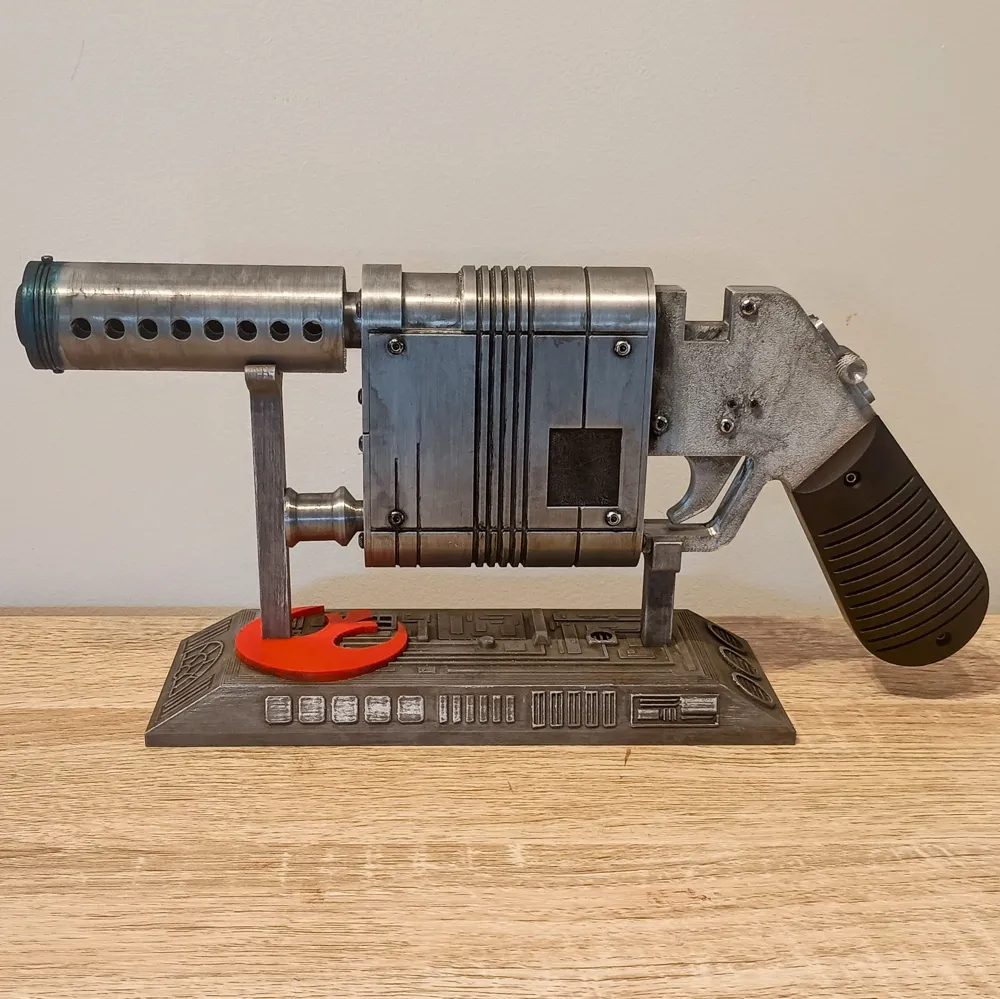
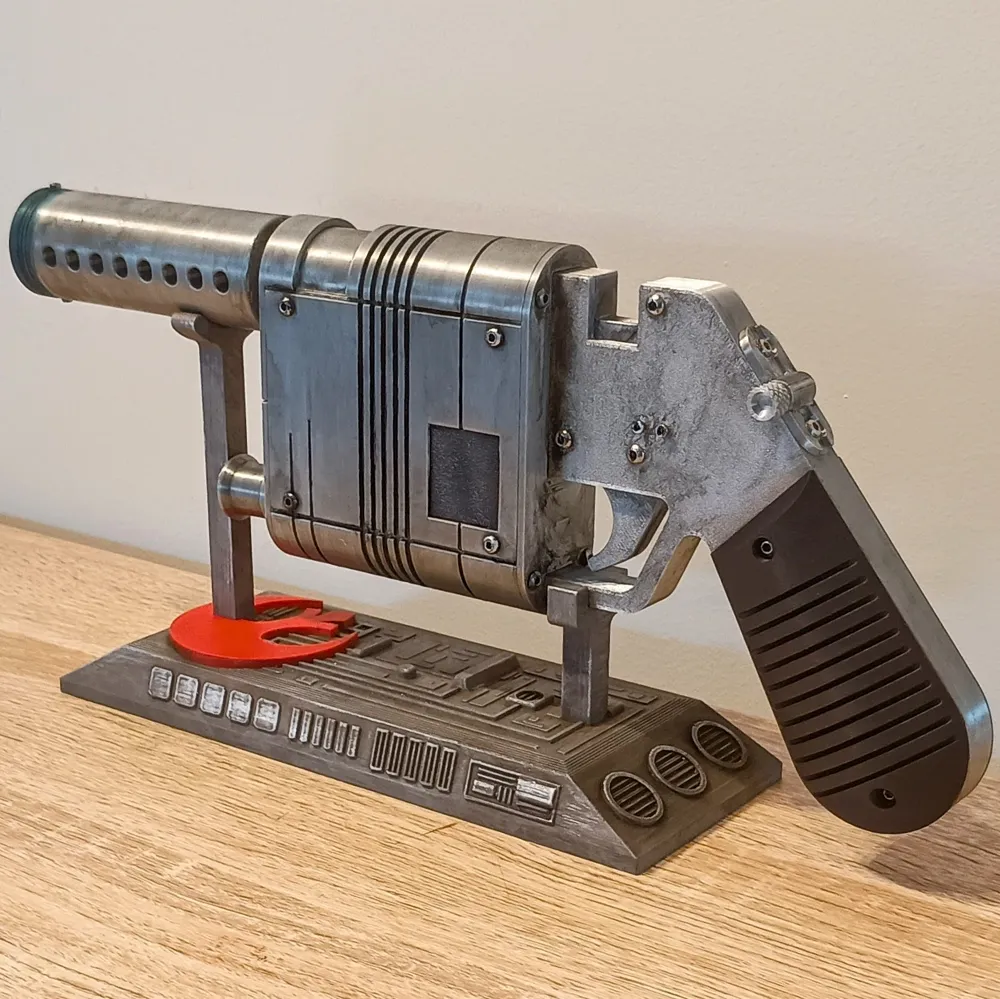
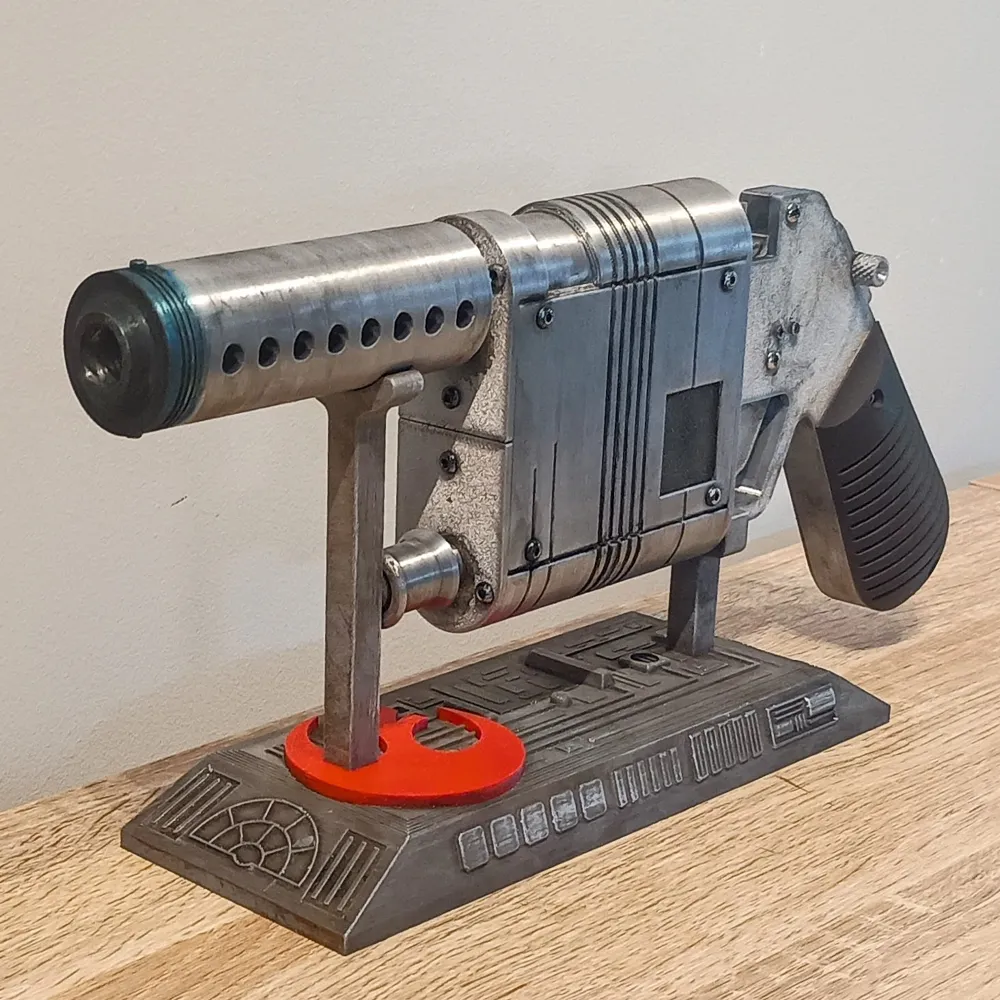
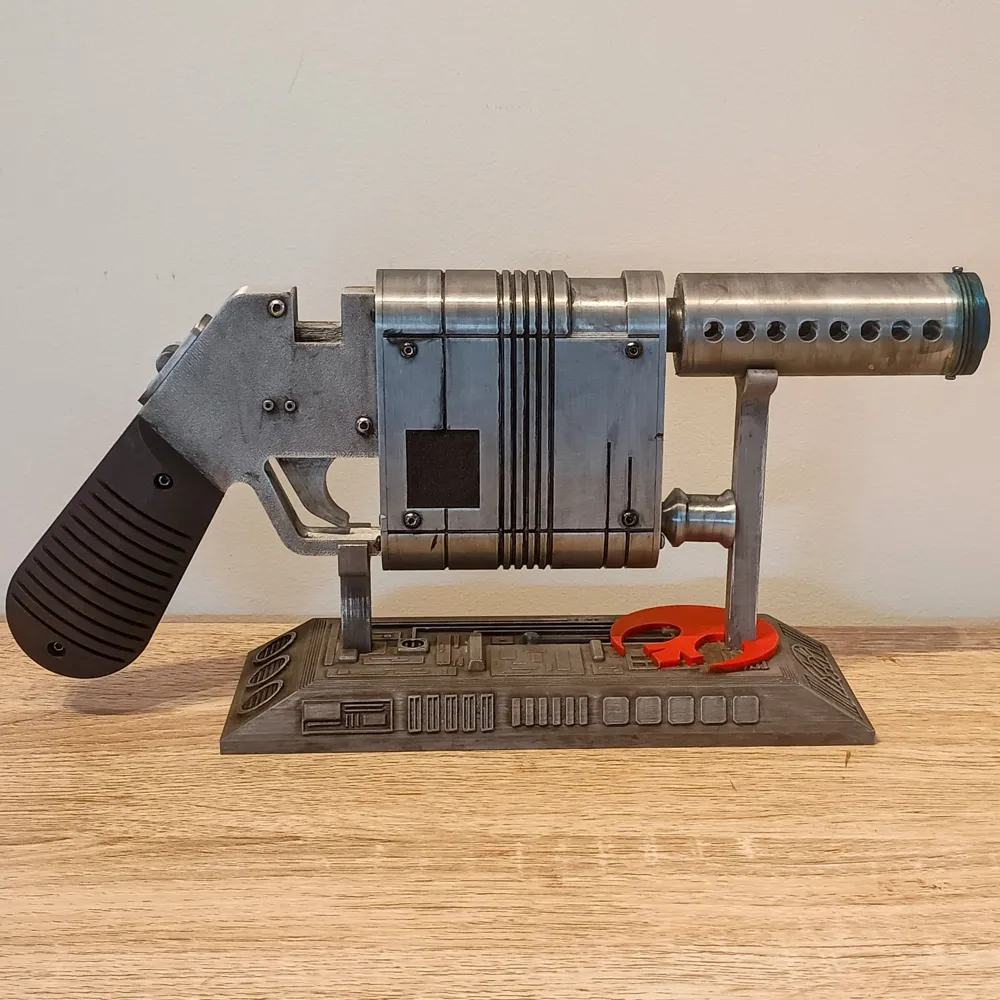
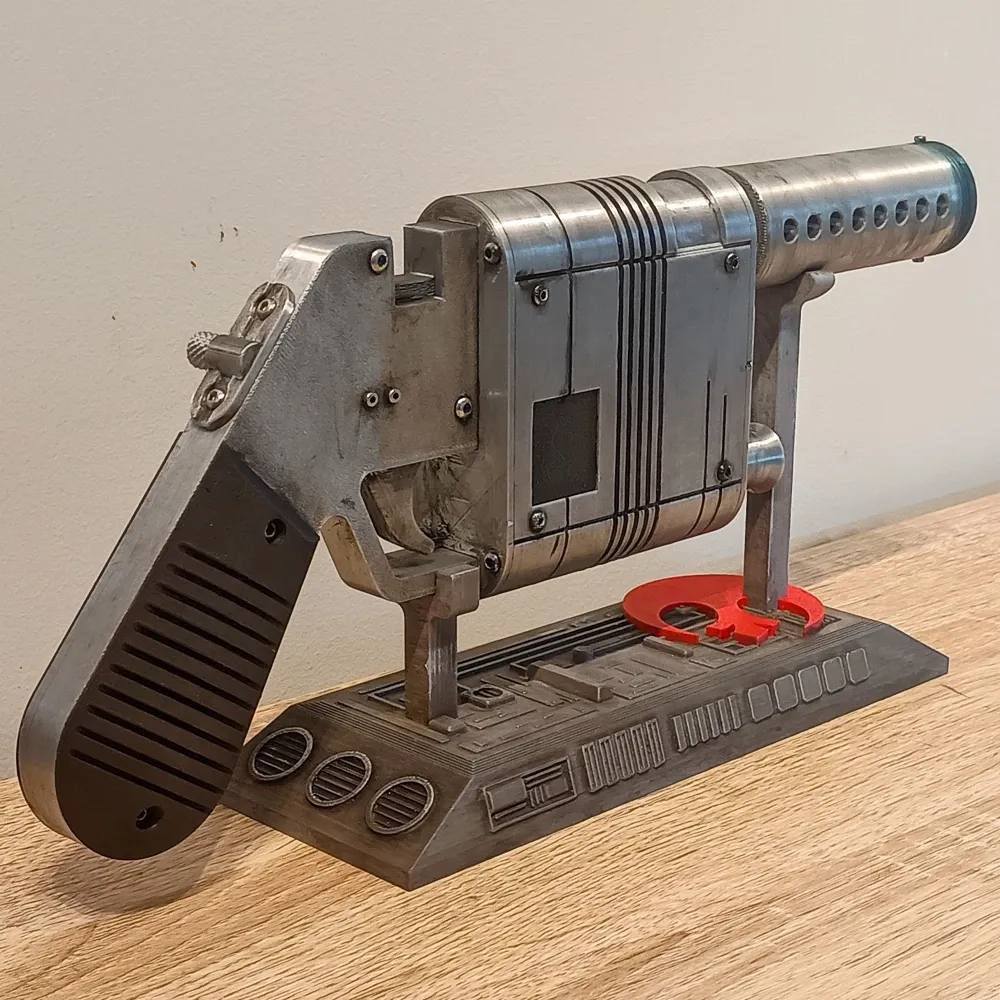
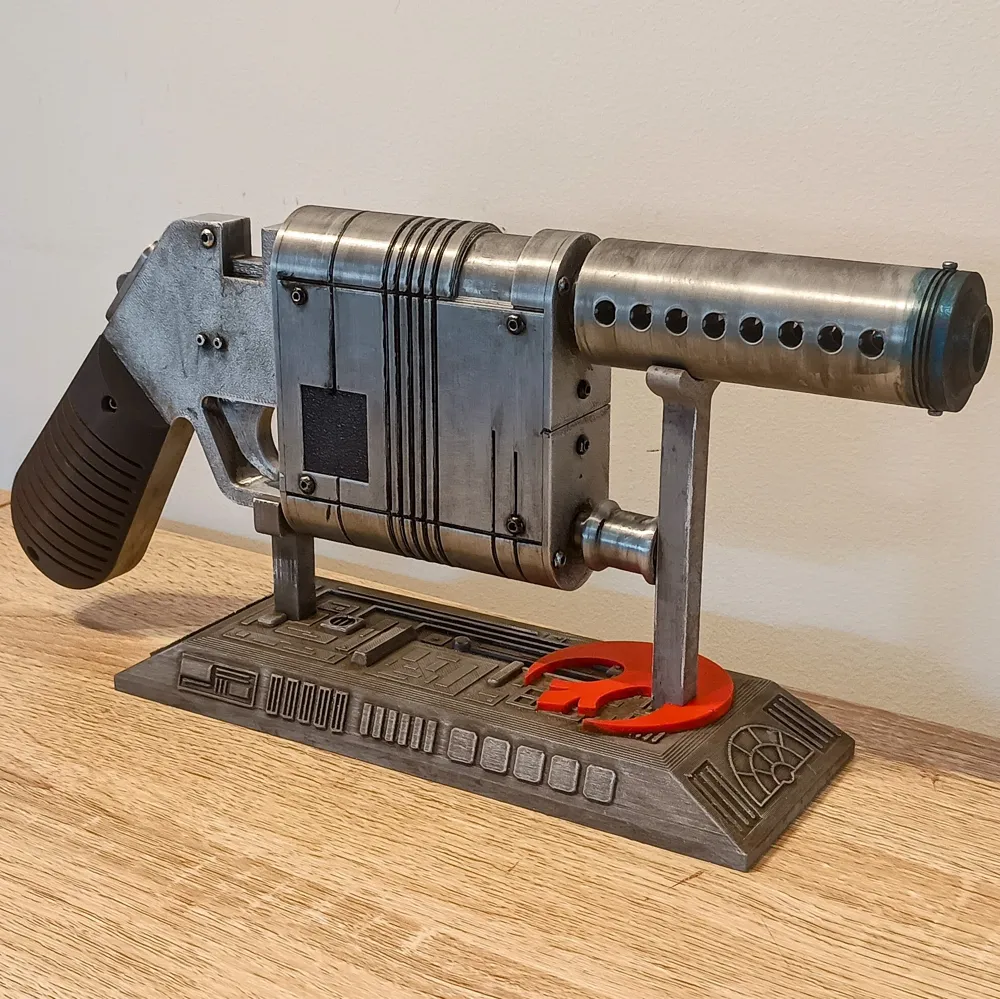
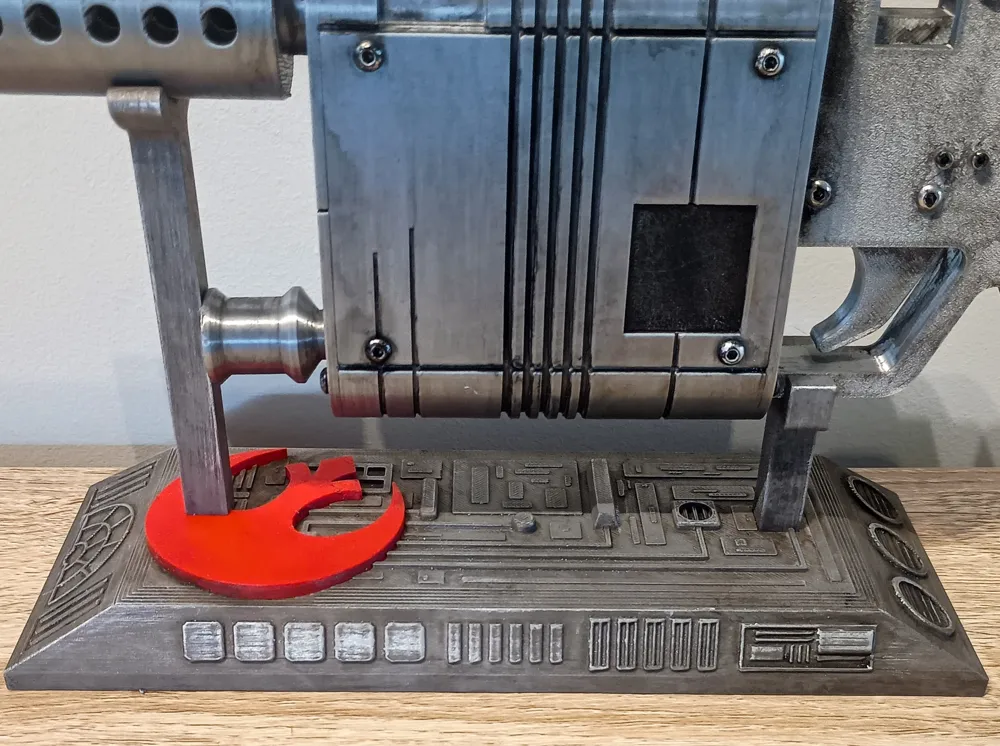
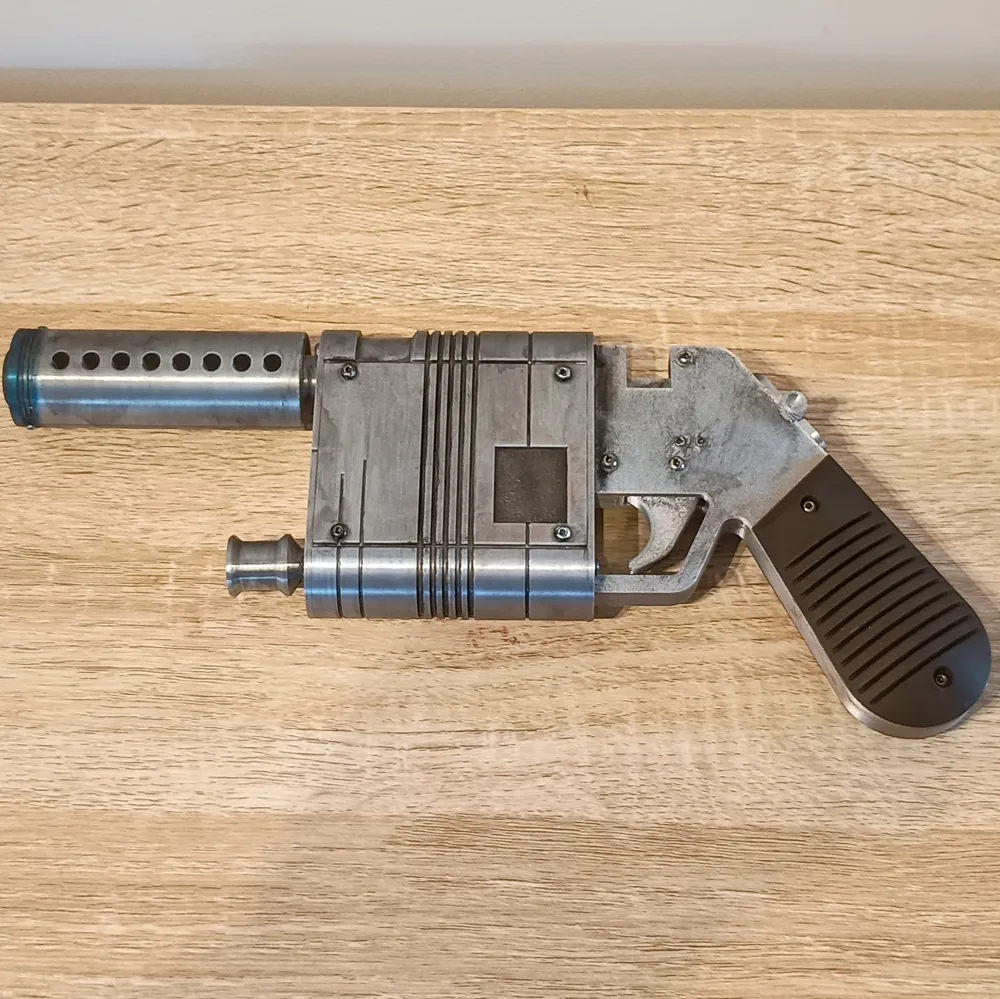
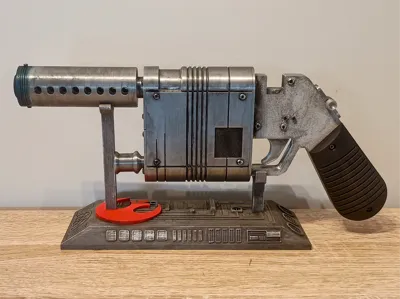
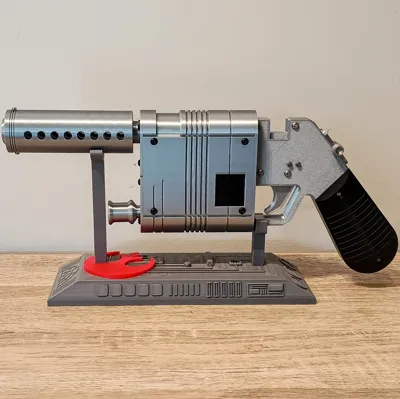
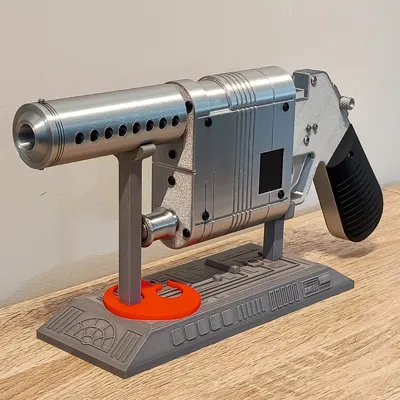
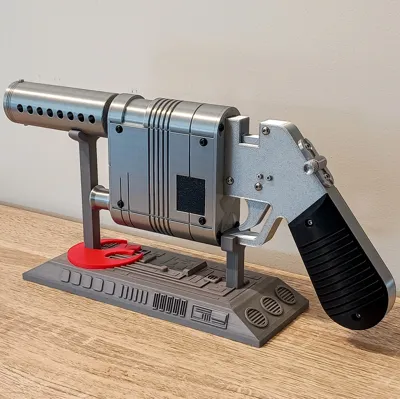
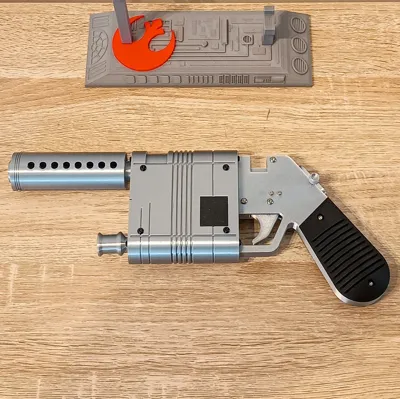
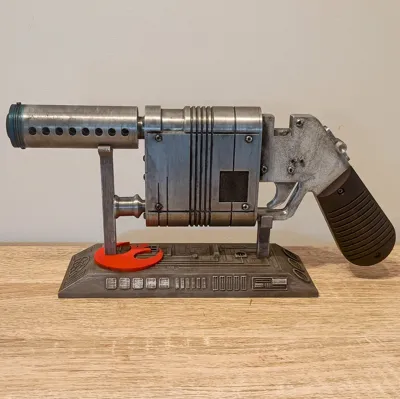
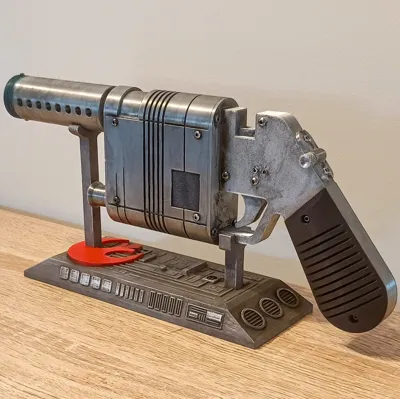
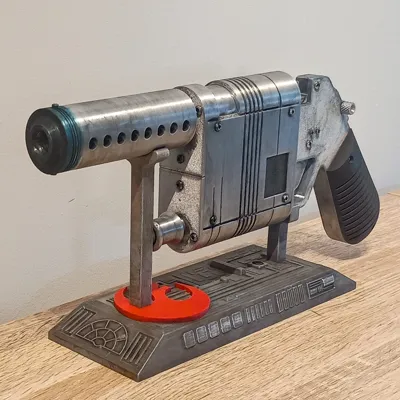
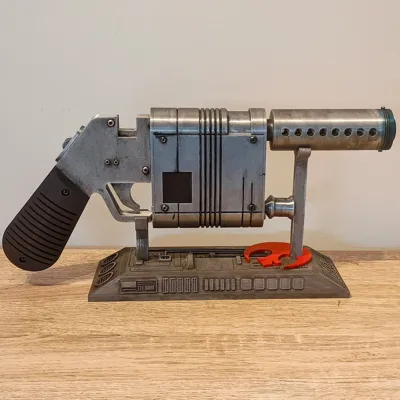
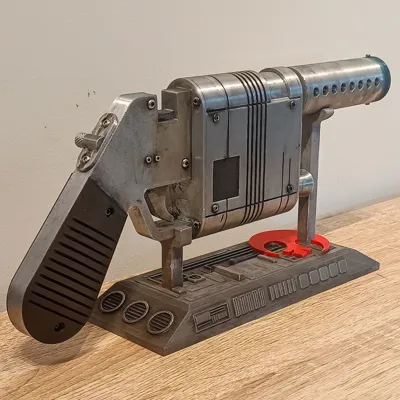
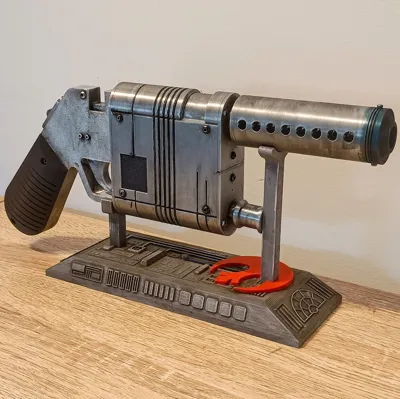
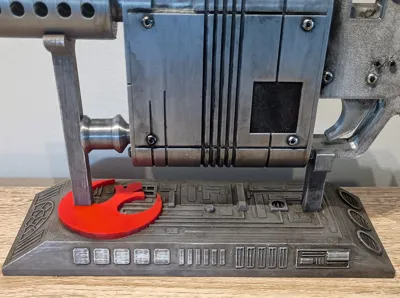
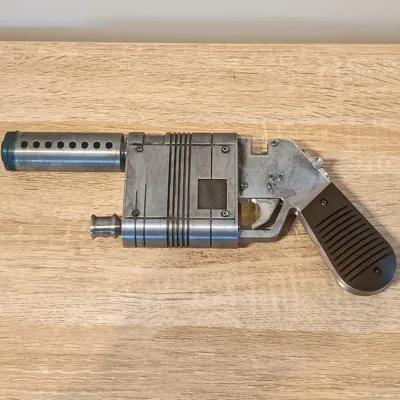
I recently rewatched Episodes I–IX and noticed just how many great blasters appear in The Force Awakens that barely have any printable models available. Rey’s NN-14 really stood out, so I decided to design my own take on it — and since the original prop didn’t have one, I added a moving trigger. I mean… who doesn’t enjoy a trigger you can actually pull?
This version is straightforward to print and assemble. The inside is surprisingly roomy, so if enough people are interested, I can also make a lights-and-sounds variant using a Proffie board, Arduino, or similar. (I’m releasing a DL-44 with electronics soon — making room for wiring without ruining the silhouette is always the tricky part!)
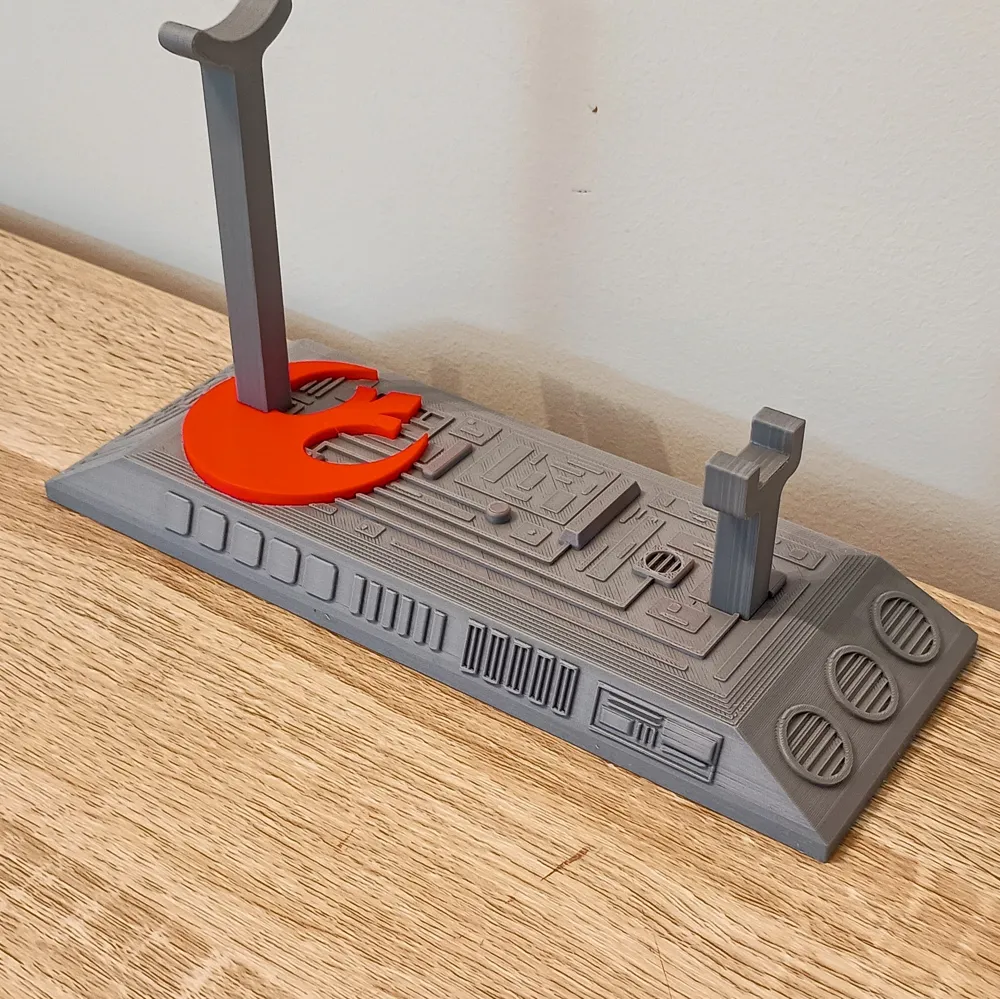
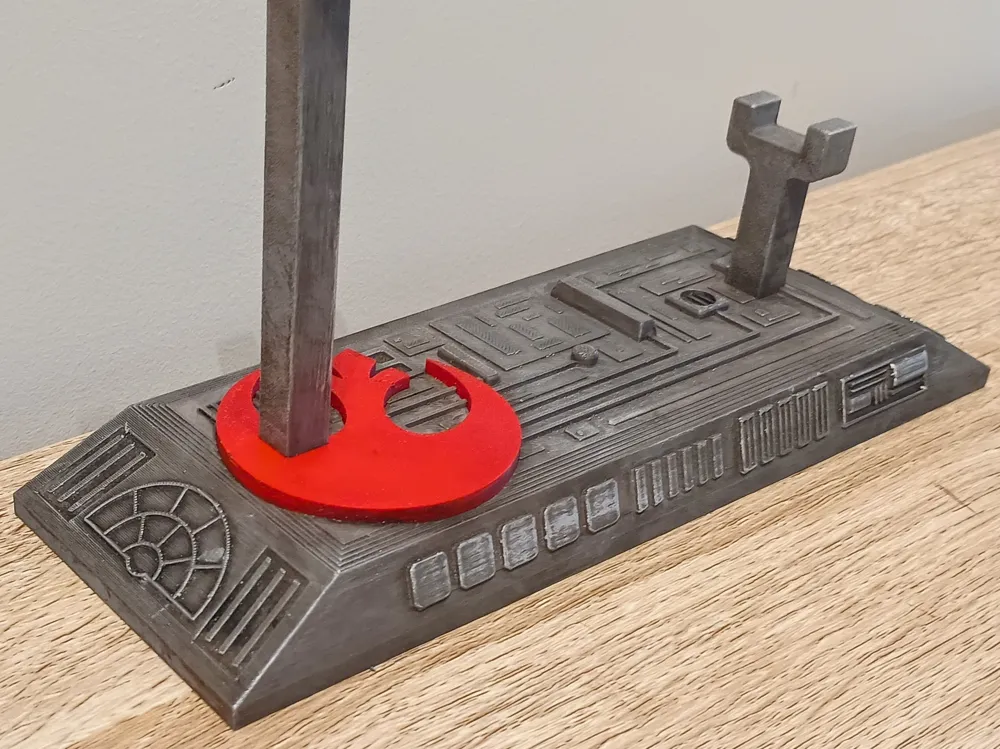
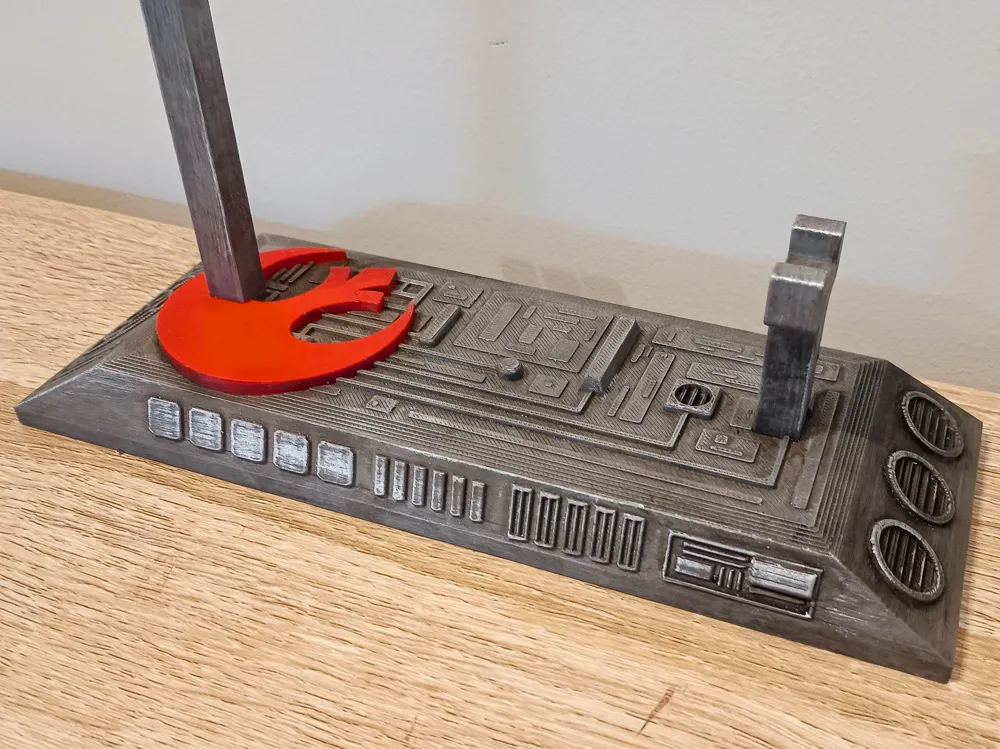
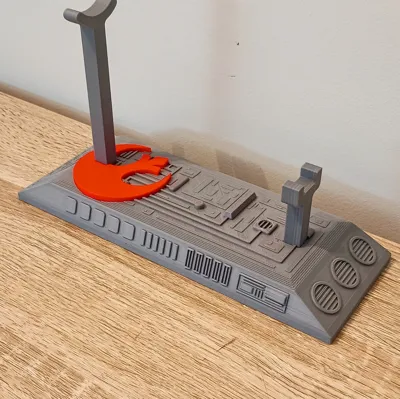
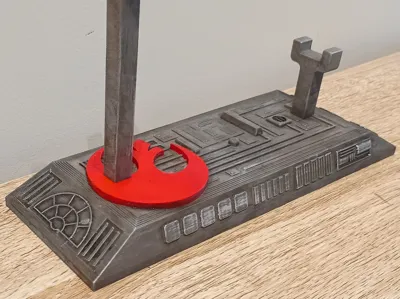
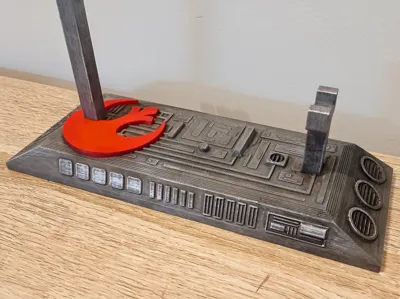
For the display stand, I wanted something that felt like a blend of Millennium Falcon greeblies, Rey scavenging parts on Jakku, and a touch of Resistance, so I added the Rebel Starbird badge. I originally planned to keep it all the same colour, but it looks far better with the Starbird printed in bright red using the AMS — it really makes the stand pop.
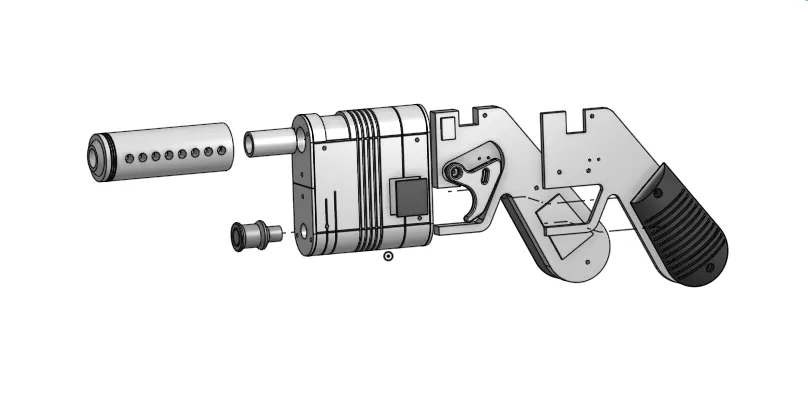
🛠️ Quick Assembly Instructions
- Install the Trigger Spring
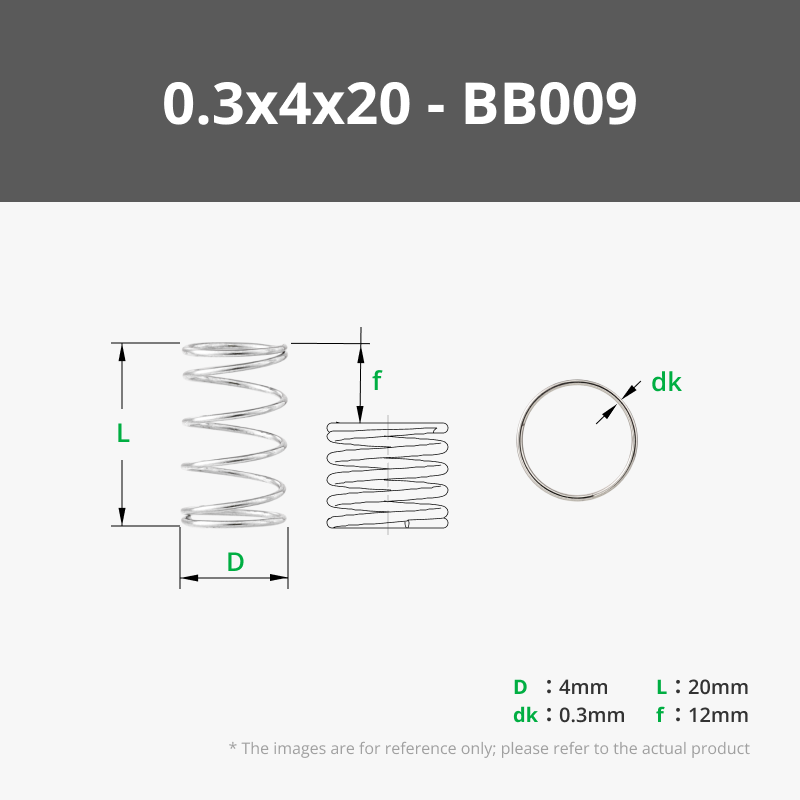
Insert the 4×20 mm compression spring into the trigger, then drop the trigger into the Handle Right part. - Join the Handle Halves
Place the Handle Left part over the right side.
Test the trigger to make sure it moves freely.
If it feels tight, lightly sand or file the channel, or add a drop of lubricant/grease for a smoother pull.
The two halves are keyed so they line up automatically. - Install the Safety Panel
Before attaching anything to the main body, screw the Safety Panel onto the handle.
This is much easier to do at this stage. - Add the Safety Button
Cut a short piece of 1.75 mm filament (about 5 mm long).
Use it as a locating pin to align the Safety Button on the Safety Panel.
Once aligned, glue the Safety Button in place. - Add the Cosmetic Screws (Greeblies)
Add the M3×6 mm and M2×4 mm screws to the handle and the main body now.
These are purely cosmetic and much easier to install before the larger parts are glued together. - Attach the Handle to the Main Body
With the handle now sealed, glue the full handle assembly to the main body.
Ensure the trigger still moves smoothly after alignment. - Assemble the Barrel
Glue the rear barrel to the front barrel, making sure the Z-seams align.
Then glue the complete barrel assembly onto the main body with the Z-seam facing down and the M2 screws oriented vertically. - Add the Front Greeblie
Glue the front greeblie into position with its Z-seam facing down so it hides once weathered. - Attach the Grips
Use M3×10 mm screws to attach the left and right grips to the handle.
A small amount of glue under each grip is optional but adds strength. - Painting & Weathering
Now for the fun part — paint and weather the blaster and stand however you like. Weathering on this model is simple and very forgiving: use black acrylic on the silver silk parts, raw umber on the black grips, and a touch of Vallejo Model Air Blue on the muzzle to create a burnt-titanium effect. Don’t forget the stand — a little Silver Leaf Rub ’n Buff across the raised Millennium Falcon–style greeblies really makes the details pop.
🧰 Bill of Materials (BOM)
| Item | Description | Quantity | Link |
|---|---|---|---|
| M3 Button Head Screw | 6 mm (Hex Head) | 25 | https://www.aliexpress.com/item/1005006954497310.html |
| M3 Button Head Screw | 10 mm (Hex Head) | 4 | https://www.aliexpress.com/item/1005006954497310.html |
| M2 Cap Head Screw | 4 mm (Hex Head) | 6 | https://www.aliexpress.com/item/1005008585550992.html |
| Compression Spring | 4 × 20 mm (0.5mm Diameter) | 1 | https://www.aliexpress.com/item/1005005402716572.html |
License

You shall not share, sub-license, sell, rent, host, transfer, or distribute in any way the digital or 3D printed versions of this object, nor any other derivative work of this object in its digital or physical format (including - but not limited to - remixes of this object, and hosting on other digital platforms). The objects may not be used without permission in any way whatsoever in which you charge money, or collect fees.


Comment & Rating (26)