
CyberDeck - Play, Record & View.










Print Profile(1)

Bill of Materials

.png)











Description
The New Era of the Personal Computer Mouse is here, BIHMO AIR, the New way of stay in touch and control your Windows and Mac OS Computer, go and take a look here: https://makerworld.com/en/crowdfunding/316-bihmo-air-reinventing-the-pc-mouse

Boost Me (for free)
Do you like this kind of projects or the Ecosystem of GT-RC Cars? Then help me by supporting my works leaving a Boost, Thanks!
Membership
You want to sell any of the models I have available? Don´t think it more and purchase my Membership to start selling my models
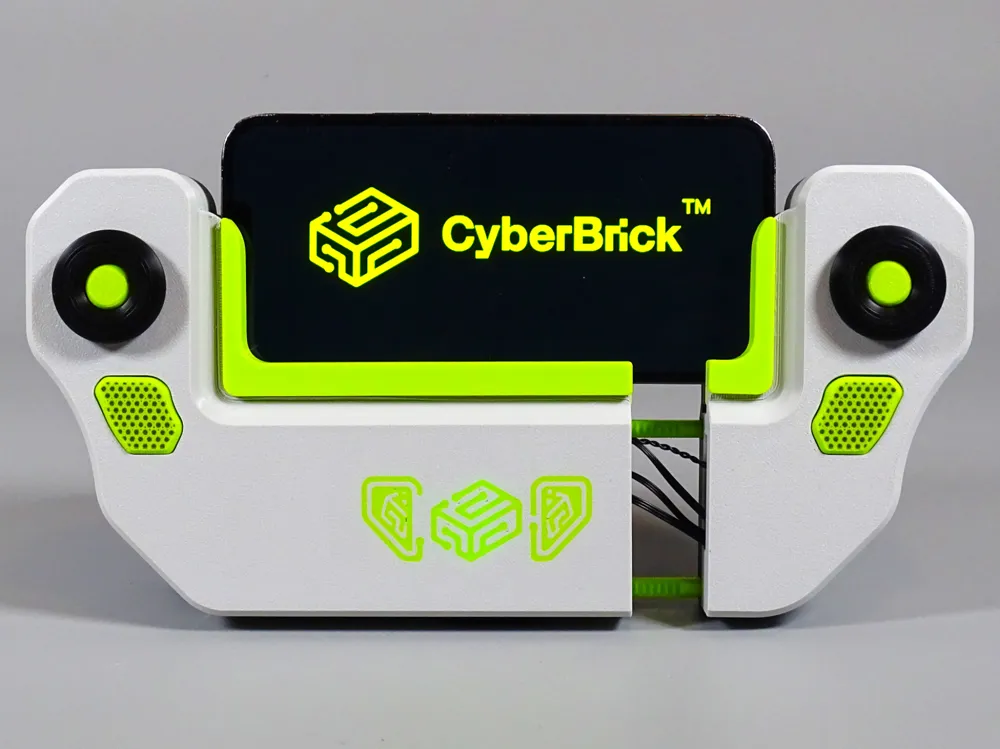




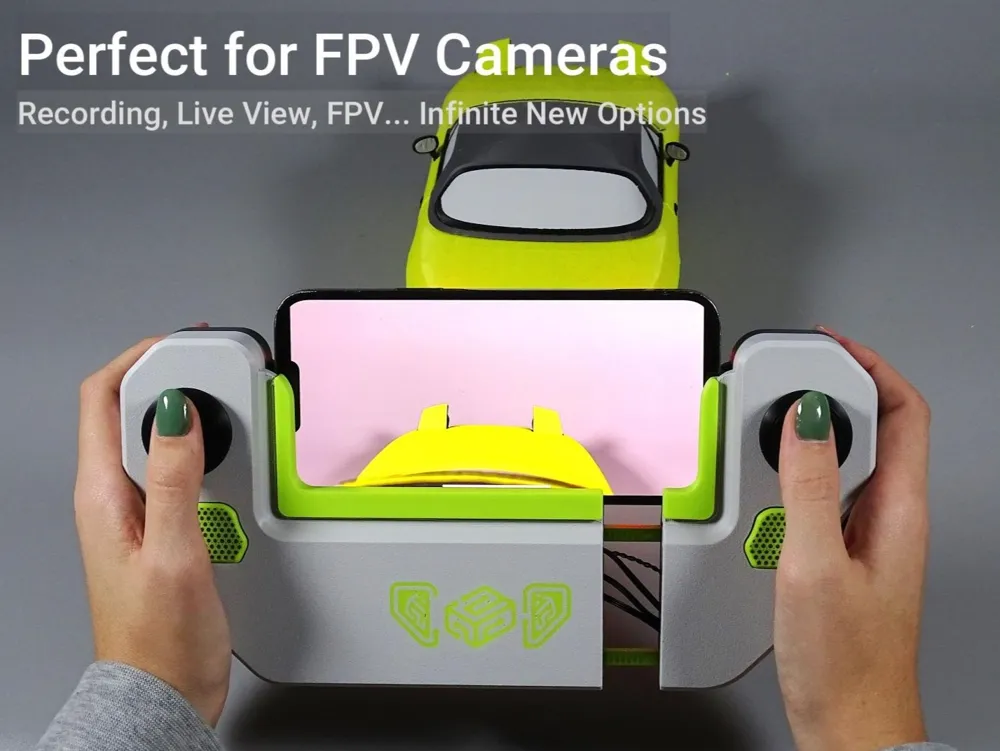


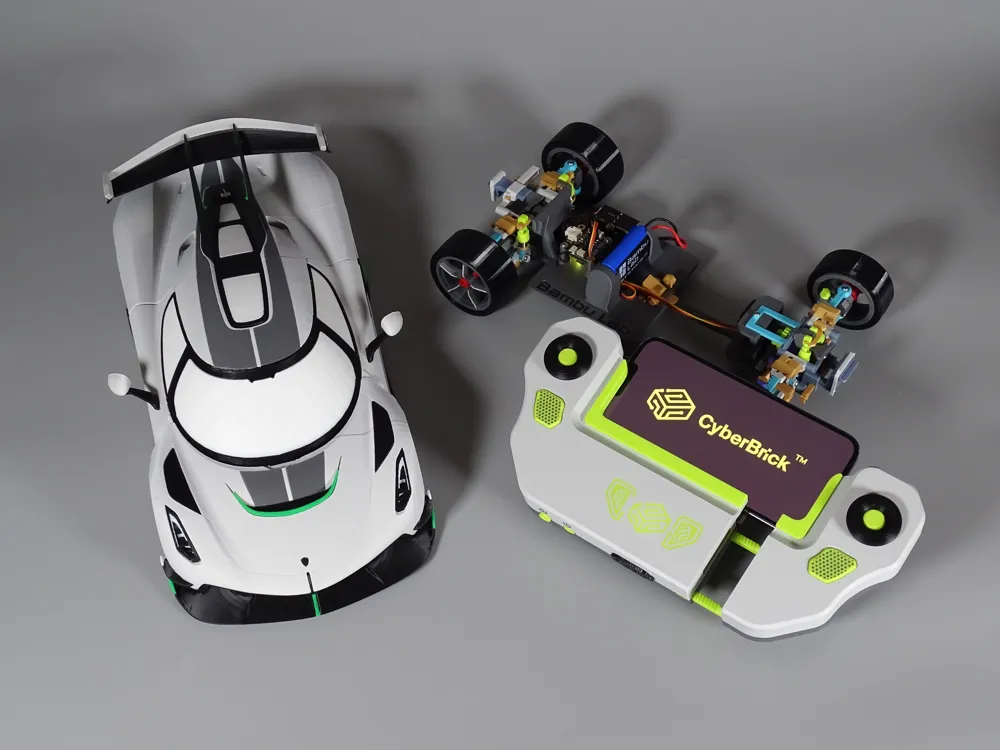
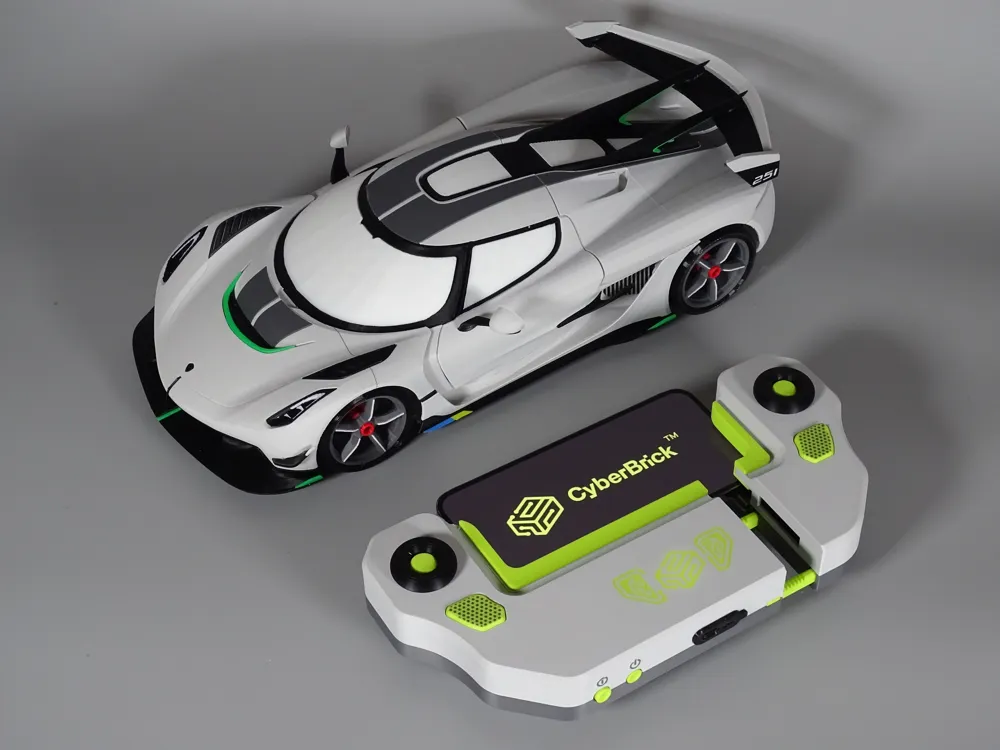
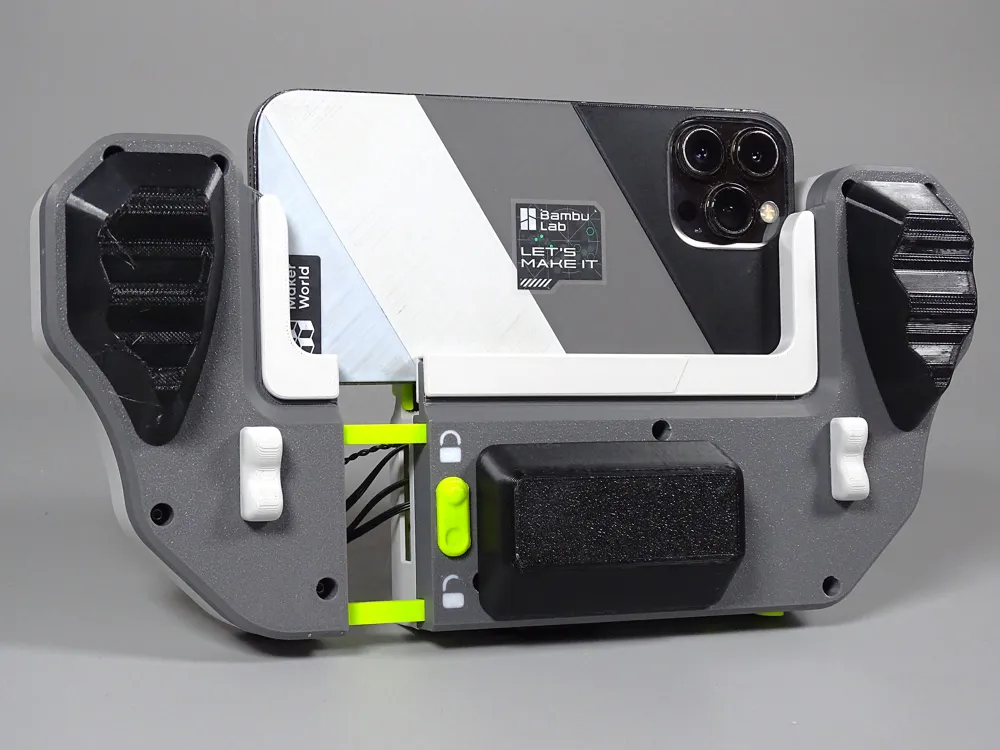
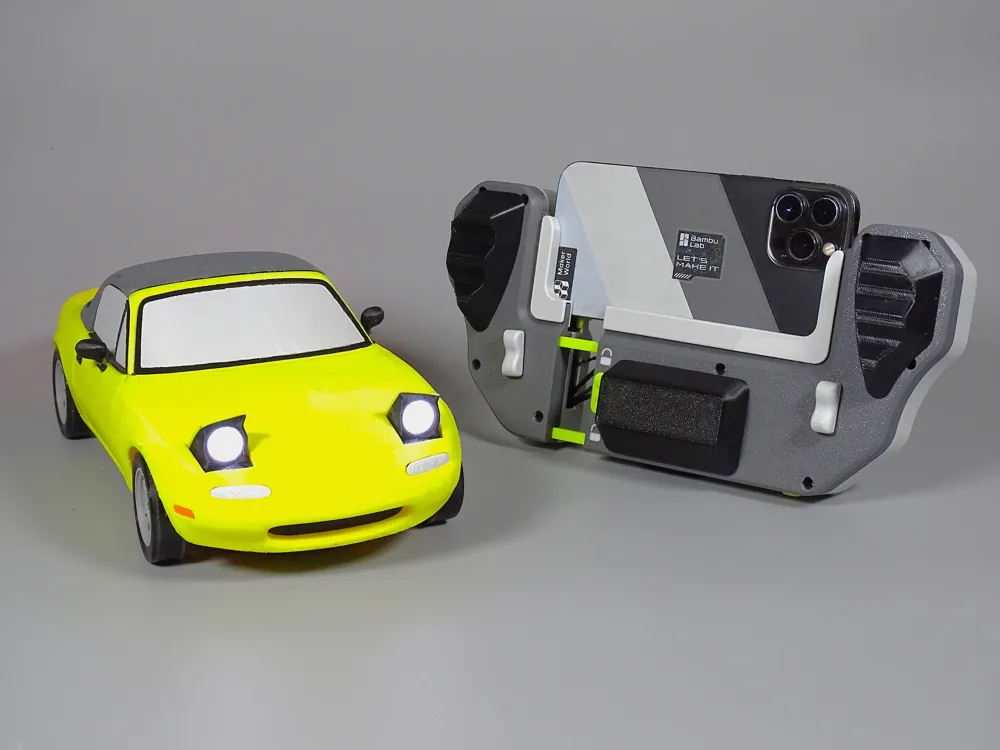
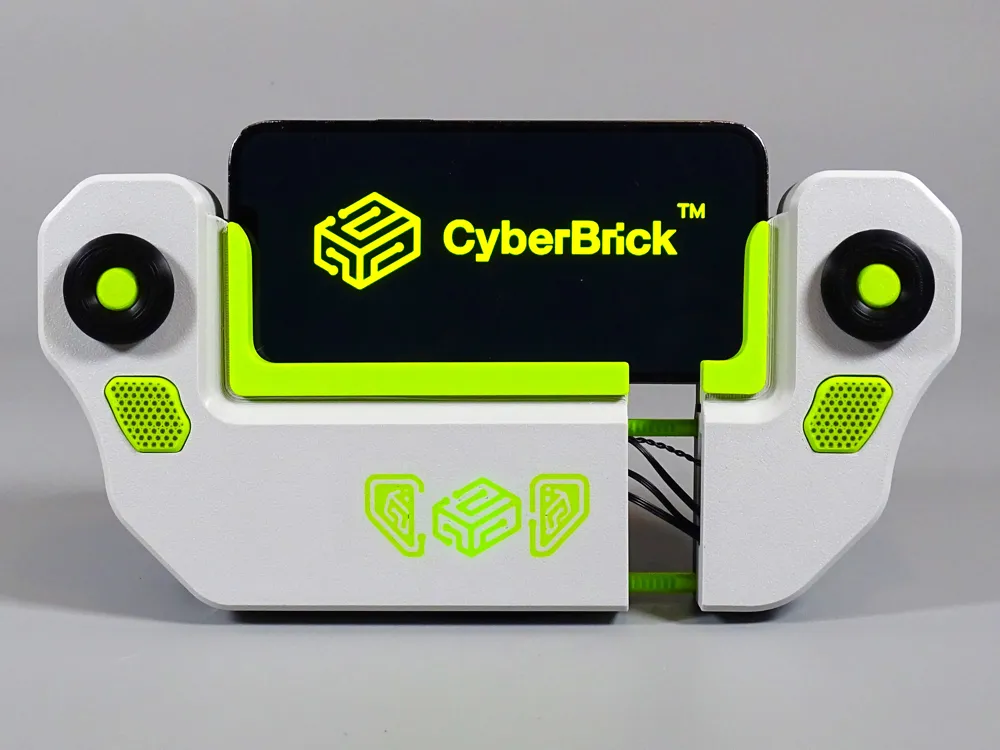
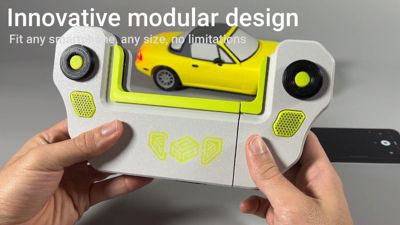
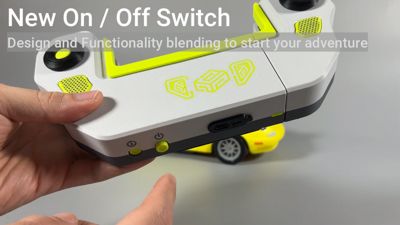
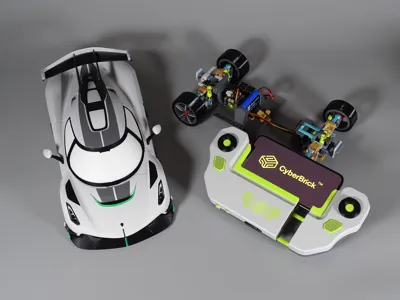
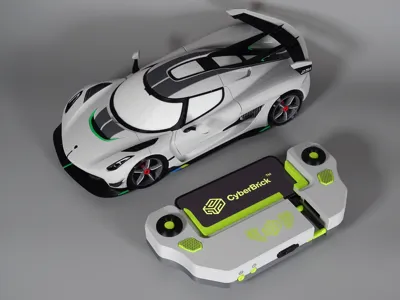
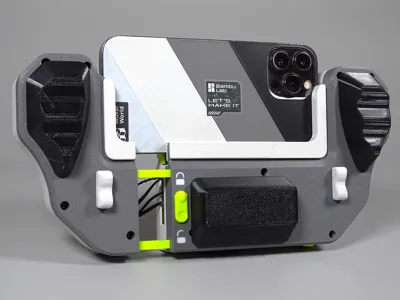
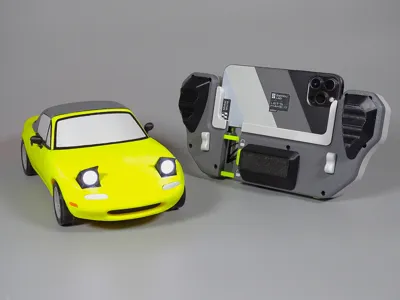
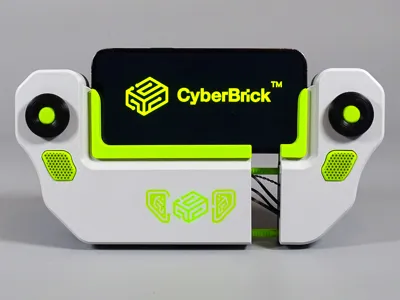
This is CyberDeck my latest controller for Cyber Brick, this new modular controller can hold on top any smartphone available no matter the size as can be seen in photos, this was all thanks to a combination of mechanical locking systems and TPU90A Elements, record all the things you make with your CyberBrick controller, Watch in real time your mounted FPV Camera and even more.
With this new controller there´s the possibility to implement lights on my CyberBrick RC Chasis:
https://makerworld.com/en/models/1741091-gt-rc-s-v-1-1-cyberbrick-modular-rc-car#profileId-1850359
The Wiring Diagram for the Chasis components it´s available into this models Assembly and Guide .pdf, to get to know more about my CyberBrick Modular RC Chasis click the link above.
IMPORTANT: GT-RC Cars are not OEM Compatible with Lights modules of CyberBrick, to install lights on them like in the photos you´ll have to make holes with a driller and print again parts involved into lighting removing the infill and even removing some walls so the LED´s light can pass through. The car you can see in photos received this DIY process to adapt lights into it, GT-RC S Chasis has now compatibility with Light LED Modules from CyberBrick but as said cars are not OEM Compatible.
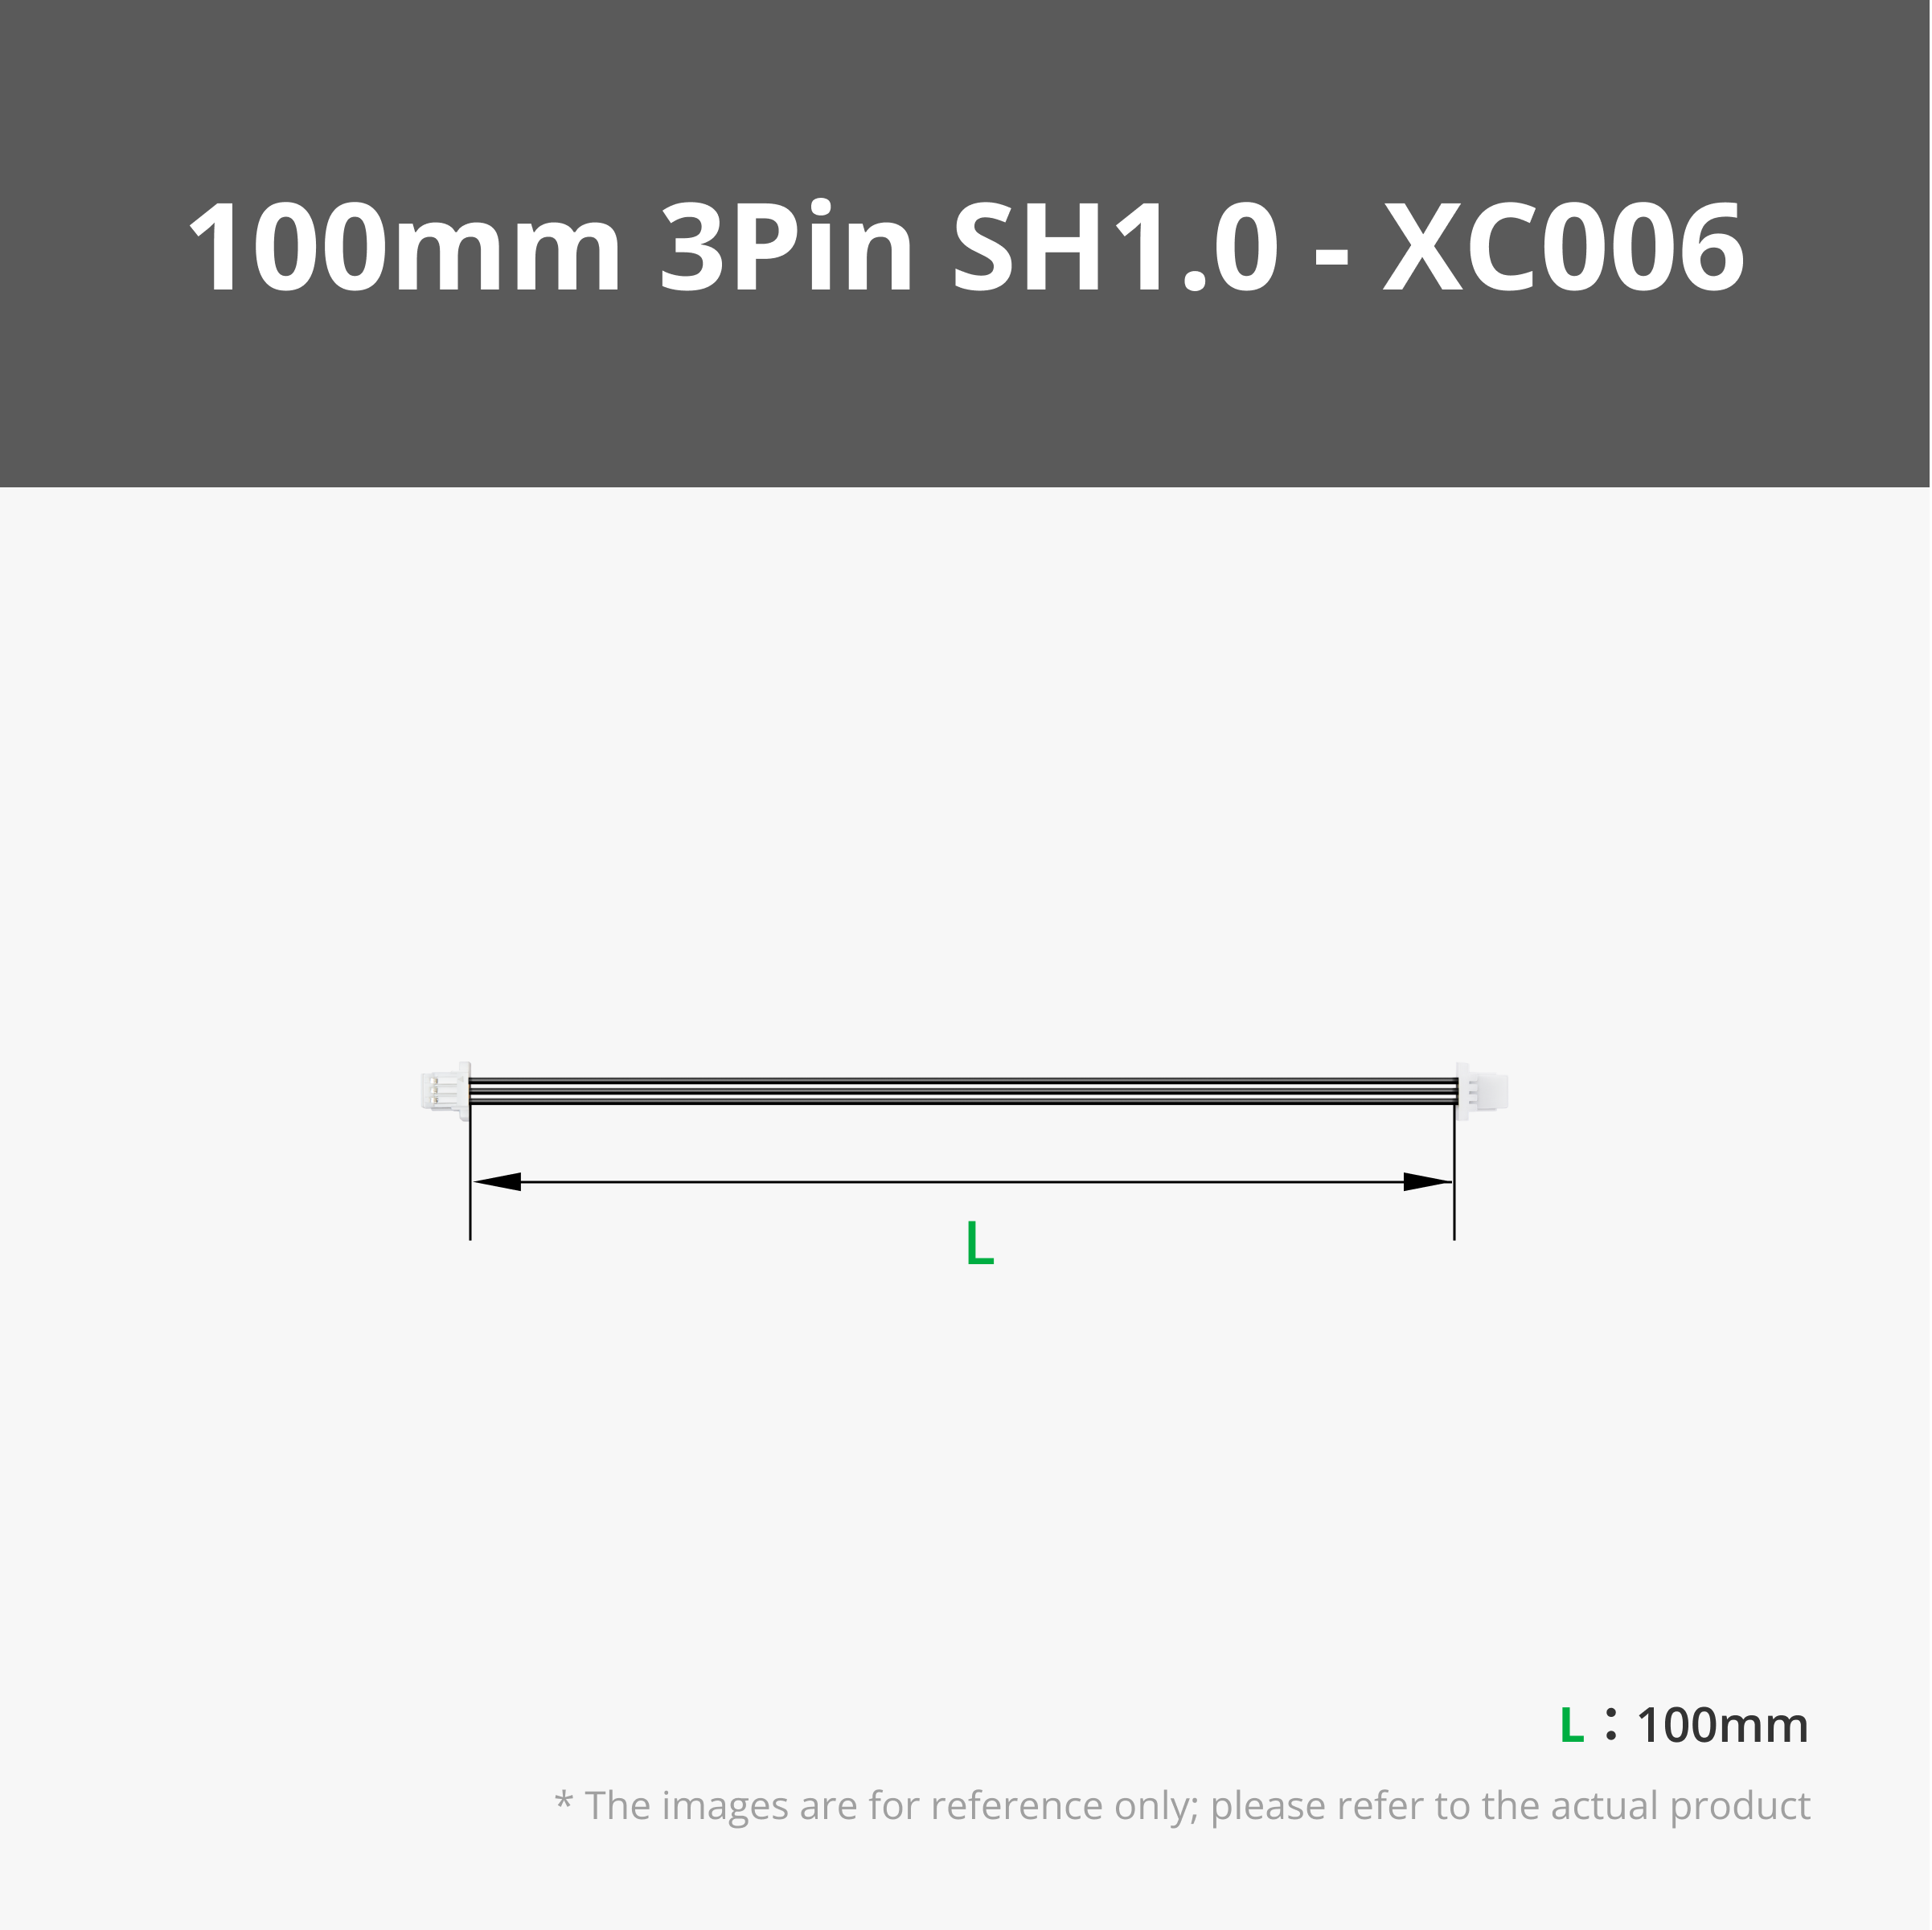
IMPORTANT: To being able to make this project you´ll need to purchase some cables from MakerSupply, nowadays MakerSupply don´t have 3PIN cable extensions (at least in EU Market) so you´ll have to purchase 3PIN 100mm cables and then cut one end and tie it together with the other end to archieve a final result of a 200mm 3PIN Cable connectors (This process don´t needs to iron soldering the cables, I´ve made 3D Printed parts for this as can be seen in Assembly Guide) , mabe there can be some solutions outside of MakerSupply, like 200mm 3PIN SH1.0 Cables or Male to Male 3PIN SH1.0 Interconnectors Boards, but with this project I´ve decided to go entirely with MakerSupply even though for the 2PIN Cables needed for the Single Buttons you can purchase a 200mm 2PIN Connector that it´s selled in MakerSupply, to get all the needed Info and Materials previously read the Assembly and How to Use Guide pdf attached to this project
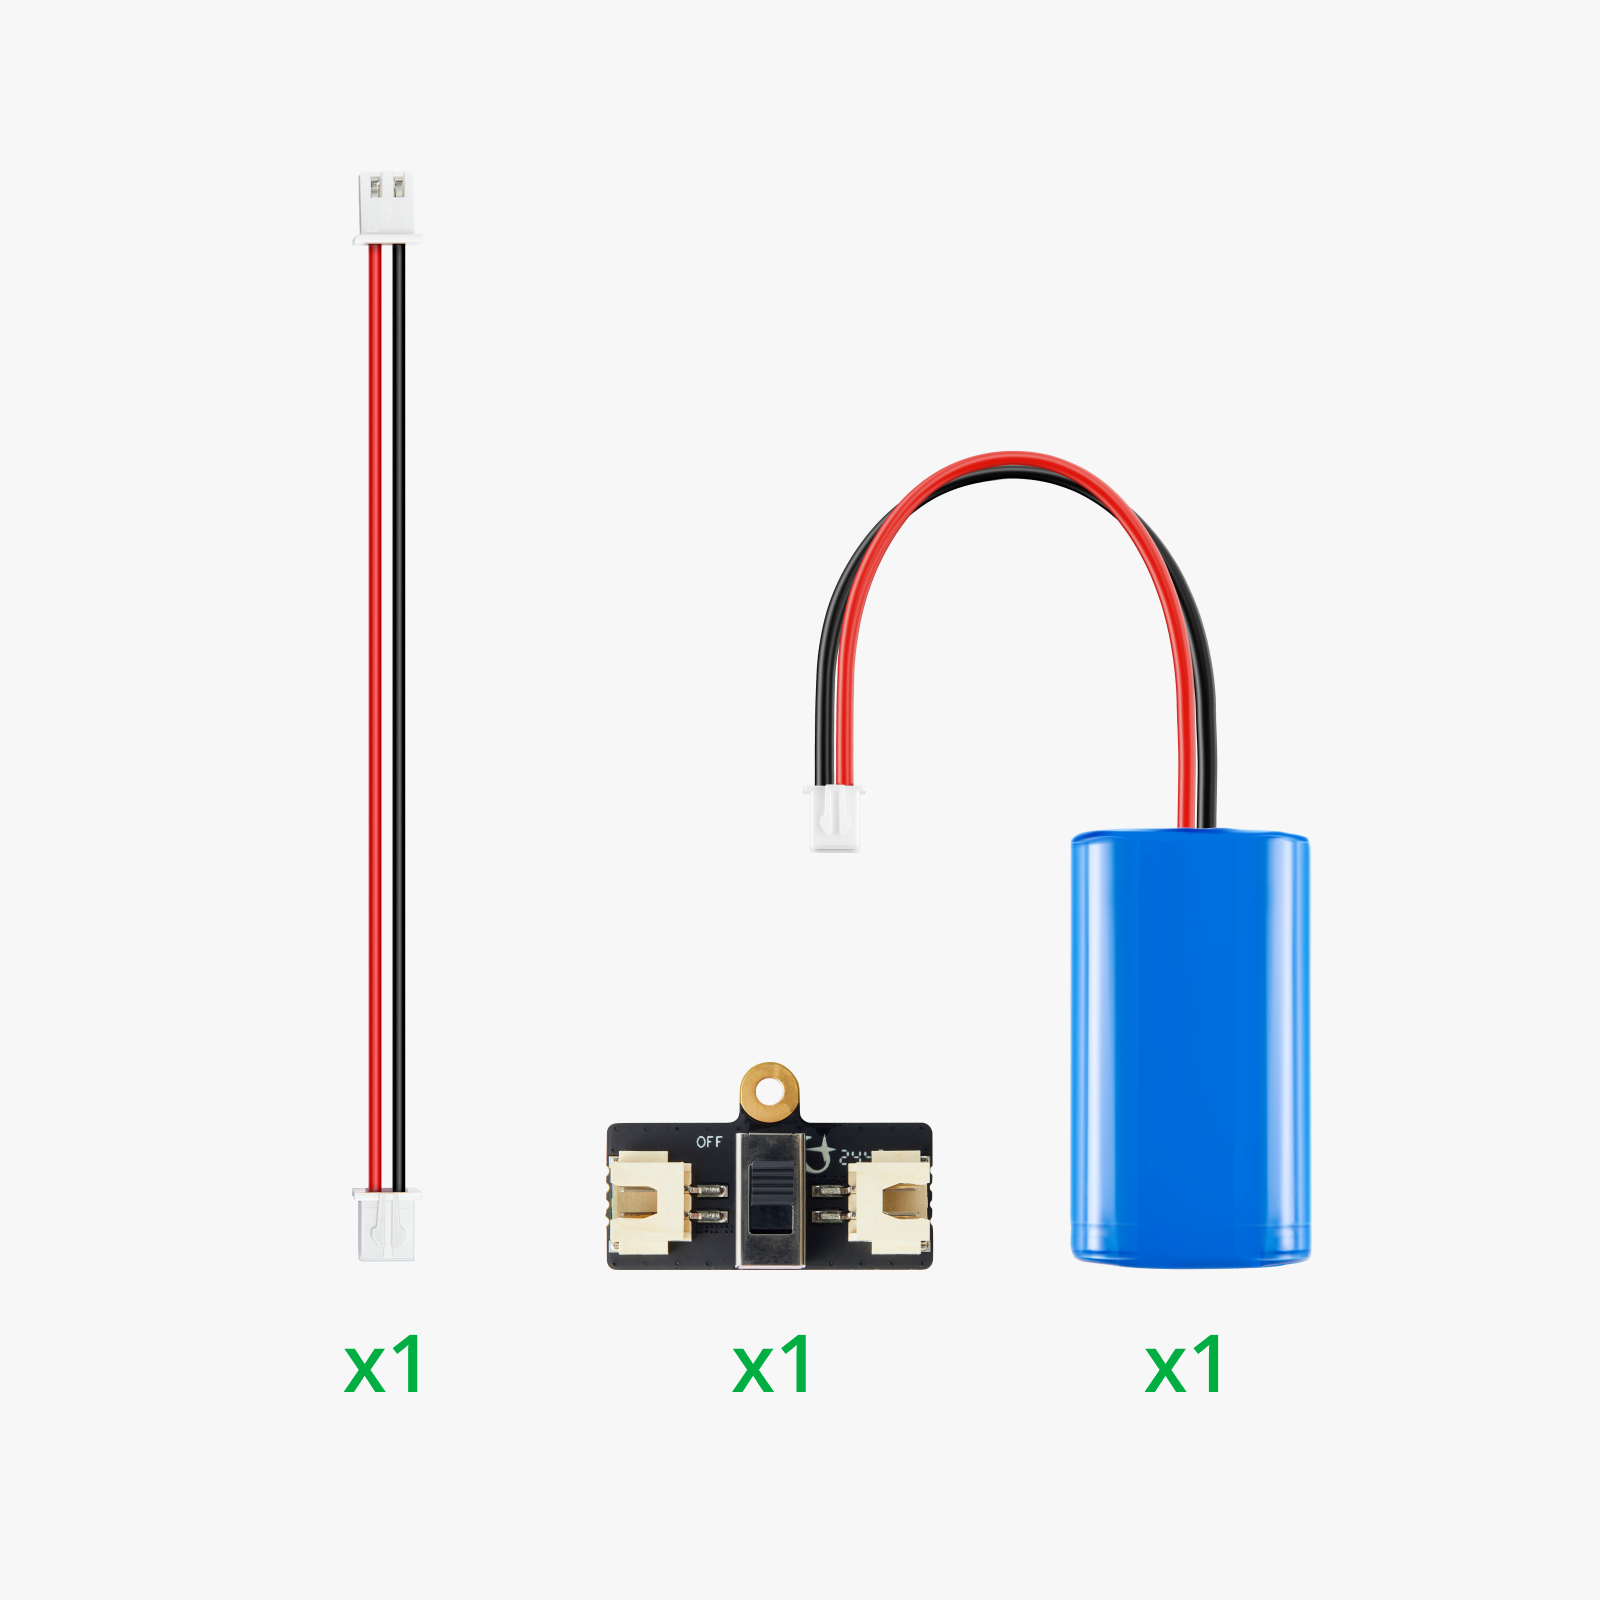
IMPORTANT: You´ll need to purchase some parts for this project, to get the full info of components watch the BOM List down this project or go to the Assembly and Guide pdf attached in this project, watch it before deciding to start or not this process of building this amazing controller.
Enjoy this build and as always any problems let me know in comments or DM me via MakerWorld
Documentation (1)

License

You shall not share, sub-license, sell, rent, host, transfer, or distribute in any way the digital or 3D printed versions of this object, nor any other derivative work of this object in its digital or physical format (including - but not limited to - remixes of this object, and hosting on other digital platforms). The objects may not be used without permission in any way whatsoever in which you charge money, or collect fees.


Comment & Rating (16)