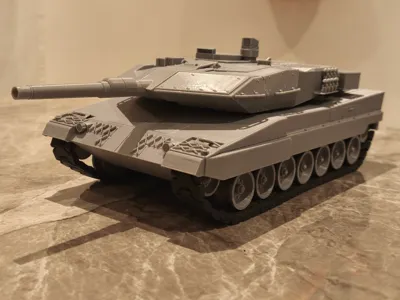
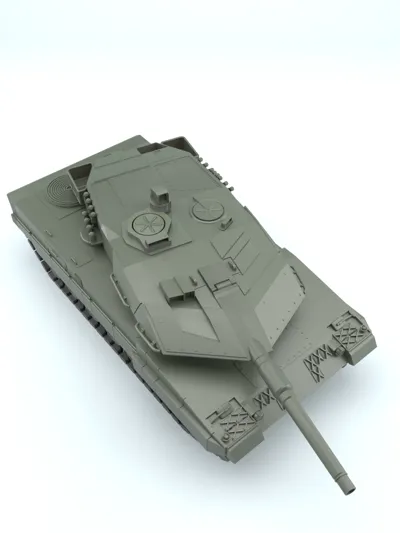
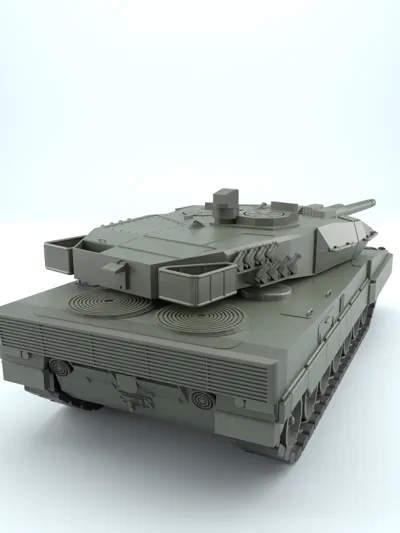
Leopard 2A5 – Functional 1:35 Scale Model


Print Profile(4)


Description
UPDATE 09.01.26 - Missing parts of the chassis inserted.
Leopard 2A5 – Functional 1:35 Scale Model
This detailed model of the Leopard 2A5 was designed in 1:35 scale.
The goal was to create an aesthetic, functional, and durable replica suitable for both play and display — all without the need for any glue!
Design and Features
• Movable tracks – simplified design for high stability during printing and use

• Working road wheels and suspension – inspired by the original Leopard 2 torsion bar suspension system


• Rotating turret and elevating main gun
• Modular construction – all parts can be assembled without glue or tools
Stability and Detail
The model is sturdy and built for everyday use (thoroughly tested by my 2- and 4-year-old children!).
Some small details, such as antennas or fine exterior parts, were intentionally simplified or omitted to improve printability, durability, and handling.
The result is a well-balanced combination of functionality and realism — ideal for anyone who enjoys technical 3D printing projects.
Assembly
Patience is recommended during assembly. A detailed instruction manual is included, and it’s important to follow it closely for the best results. The supports of the rear turret section should be removed carefully and gently to avoid damaging the countermeasure launchers.
The suspension bearing should be rotated clockwise and counterclockwise using the printed hex key until it moves freely.
Print Settings
For optimal print quality, please follow the provided print profile.
Wheels and tracks should be printed without supports, as otherwise the mechanism won’t function properly.
All parts were tested on a Bambu Lab A1 using ESUN PLA+ filament.
The photos show a prototype version — minor imperfections were corrected in the final release after several quality refinements.
Personal Note
This is my first project of this level of complexity, and it took quite some effort to bring it to life.
The idea came from my son, who asked me to print a tank that not only looks real but can actually be played with.
This model is the result — and I’m happy to share it with you all.
Documentation (1)
License
You shall not share, sub-license, sell, rent, host, transfer, or distribute in any way the digital or 3D printed versions of this object, nor any other derivative work of this object in its digital or physical format (including - but not limited to - remixes of this object, and hosting on other digital platforms). The objects may not be used without permission in any way whatsoever in which you charge money, or collect fees.
Comment & Rating (53)